
This post may contain affiliate links. This means that if you purchase from one of these links I will make a small commission, but rest assured you will not pay more for any products.
- Popsicle Sticks
- Wood Beads
- Chalkboard Paint
- Red Acrylic Paint
- Air Dry Clay
- Scissors
- 220 Grit Sandpaper
- Hot Glue
- Paint brush
- Chalk
Each sign takes 2.5 – 3 popsicle sticks, so keep in mind how many you want to make when buying your popsicle sticks. I’ll be explaining as though you are making just one.
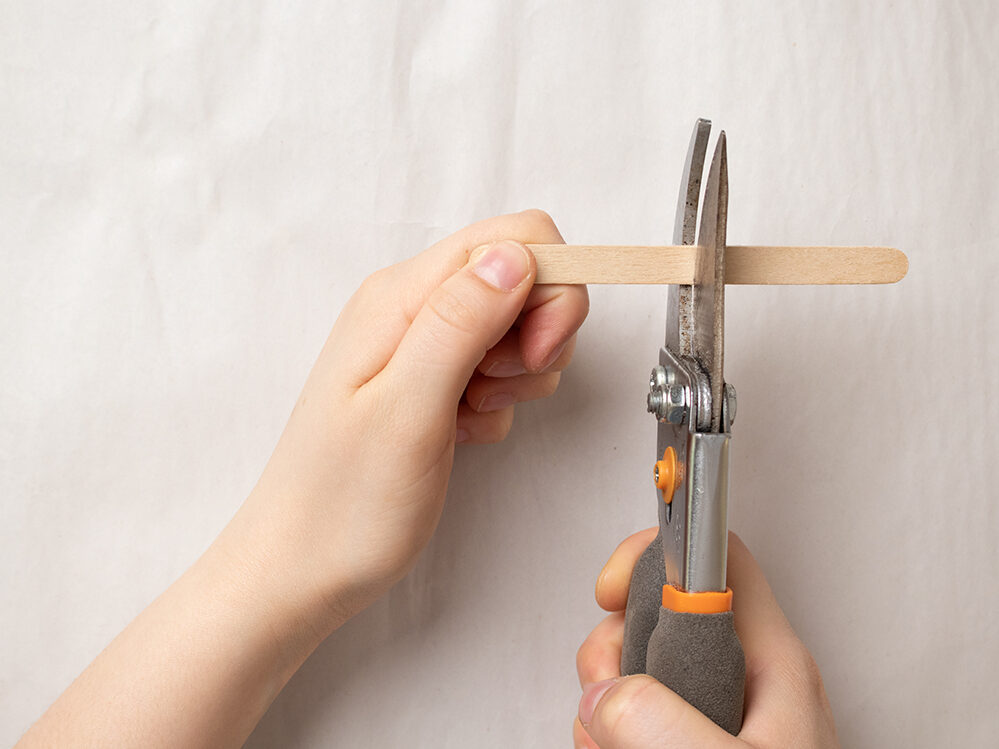
First, I cut two popsicle sticks in half, leaving me with 4 short pieces with one straight end and one rounded end.
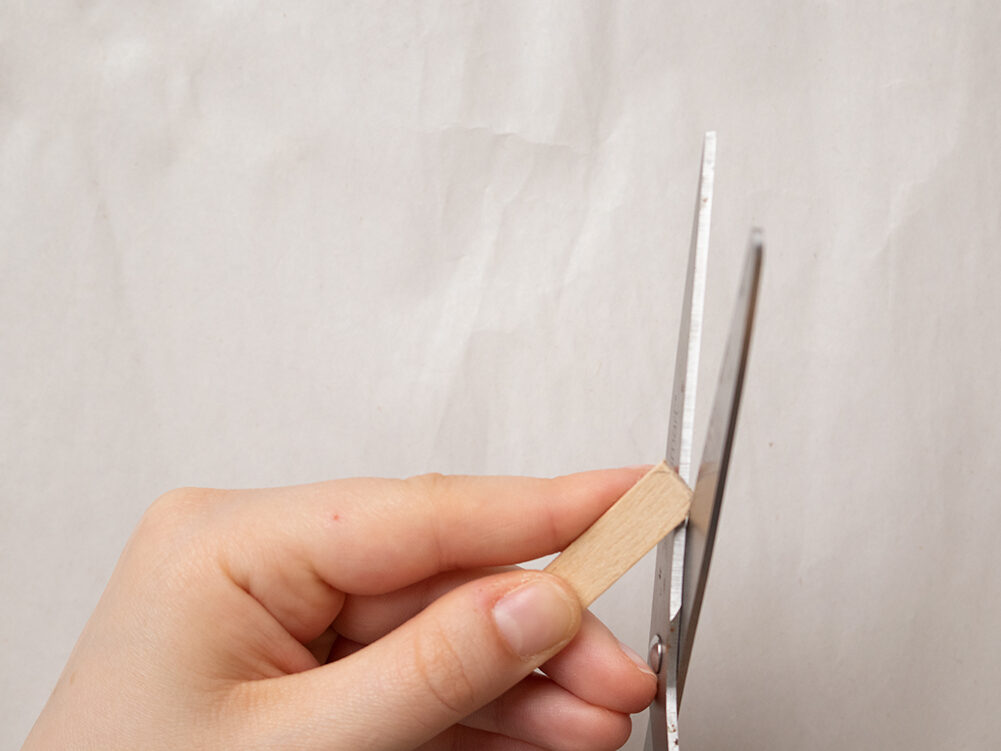
Using a pair of scissors I rounded the straight end of the popsicle sticks so they are all even.
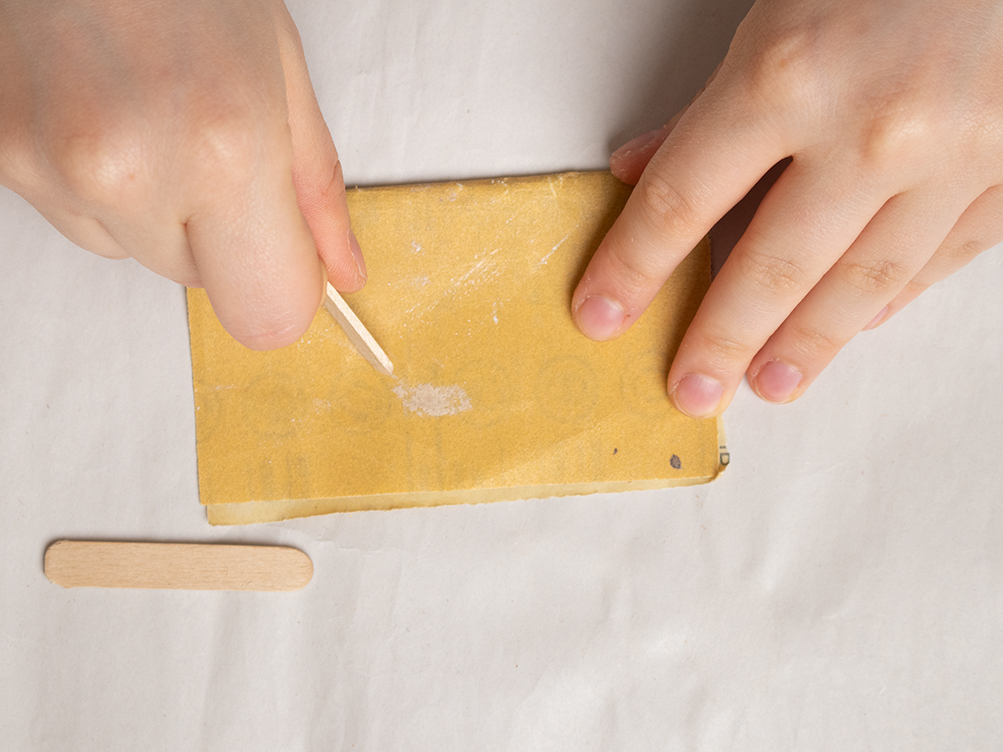
To smooth the ends, pull them across some 220 grit sandpaper for a more finished look.
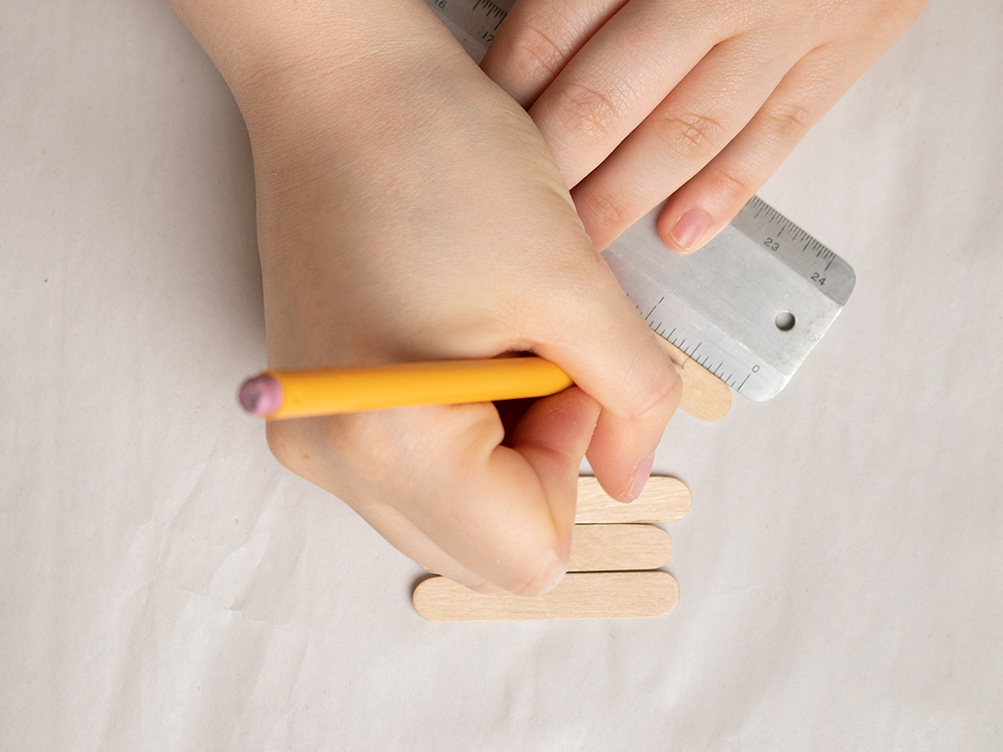
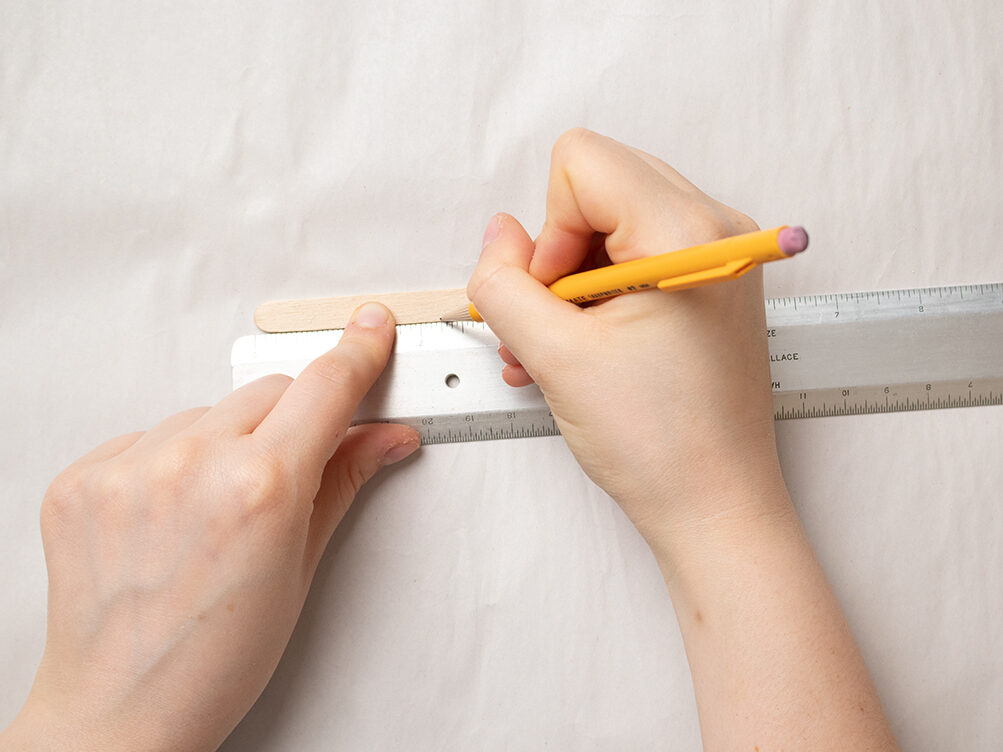
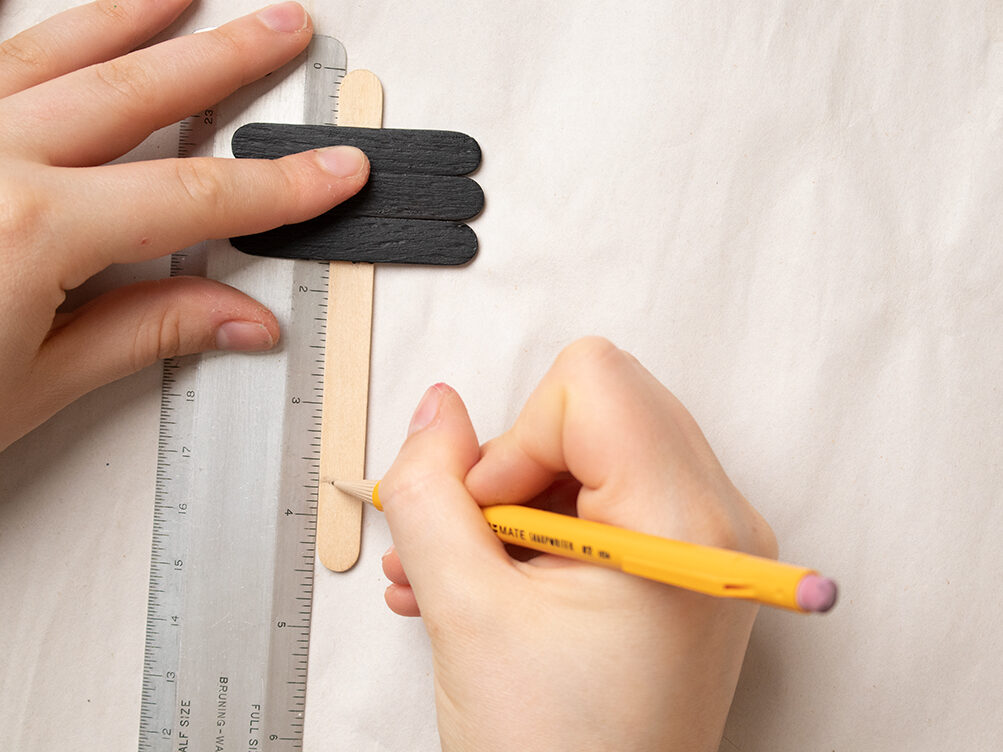
Then, mark the third popsicle stick approximately a half-inch down from the top. This will be where the top edge of the first plank will be.
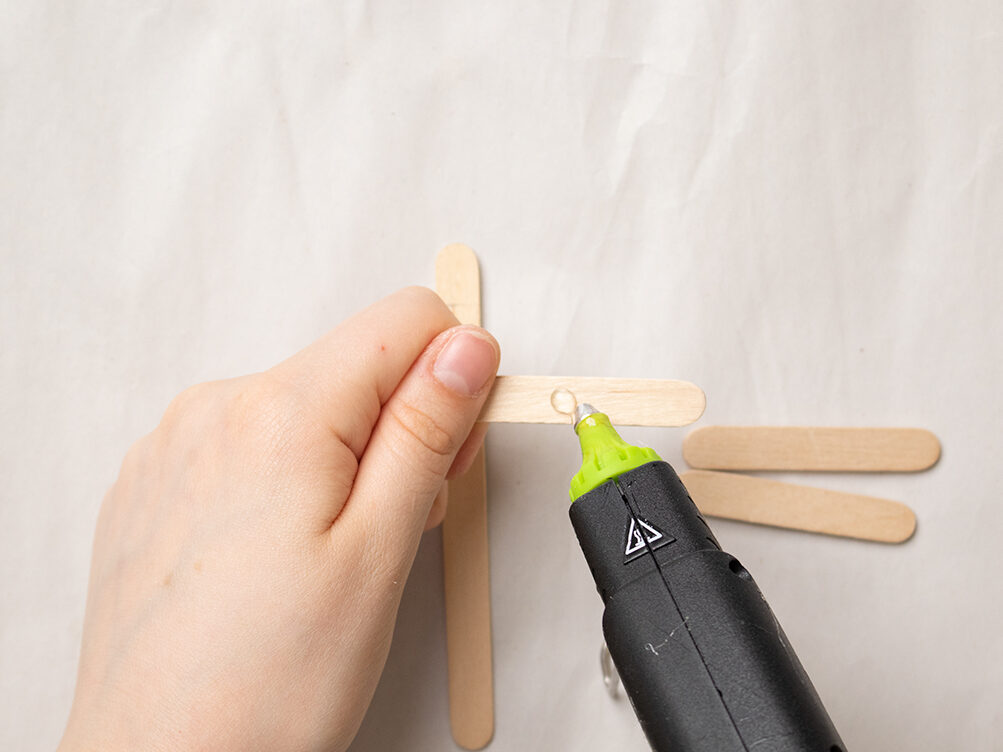
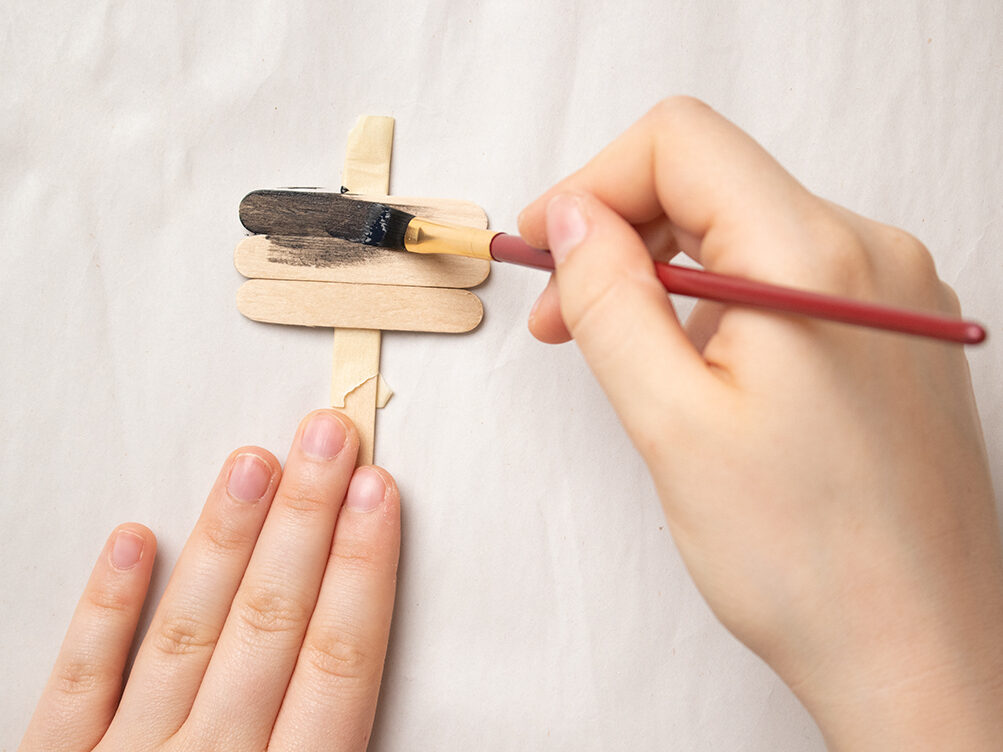
Hot glue the three popsicle stick planks horizontally along the stick making sure they are flush together.

Before painting the front of the sign with the chalkboard paint, tape off above and below the sign with masking or painters tape.
I used two thin coats for full coverage.
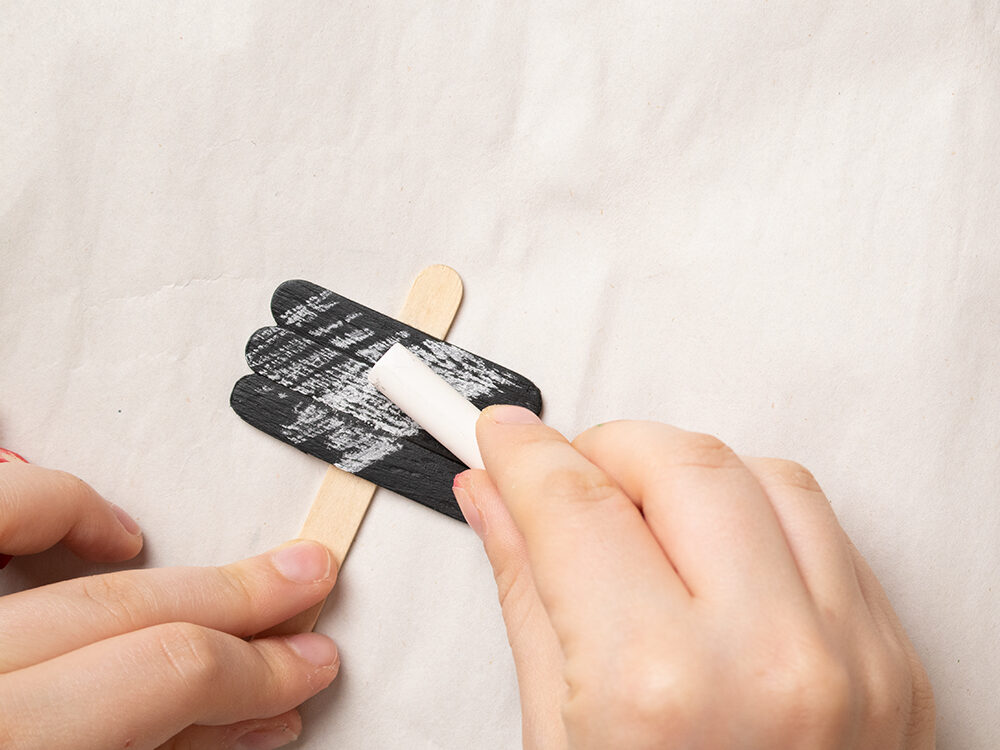
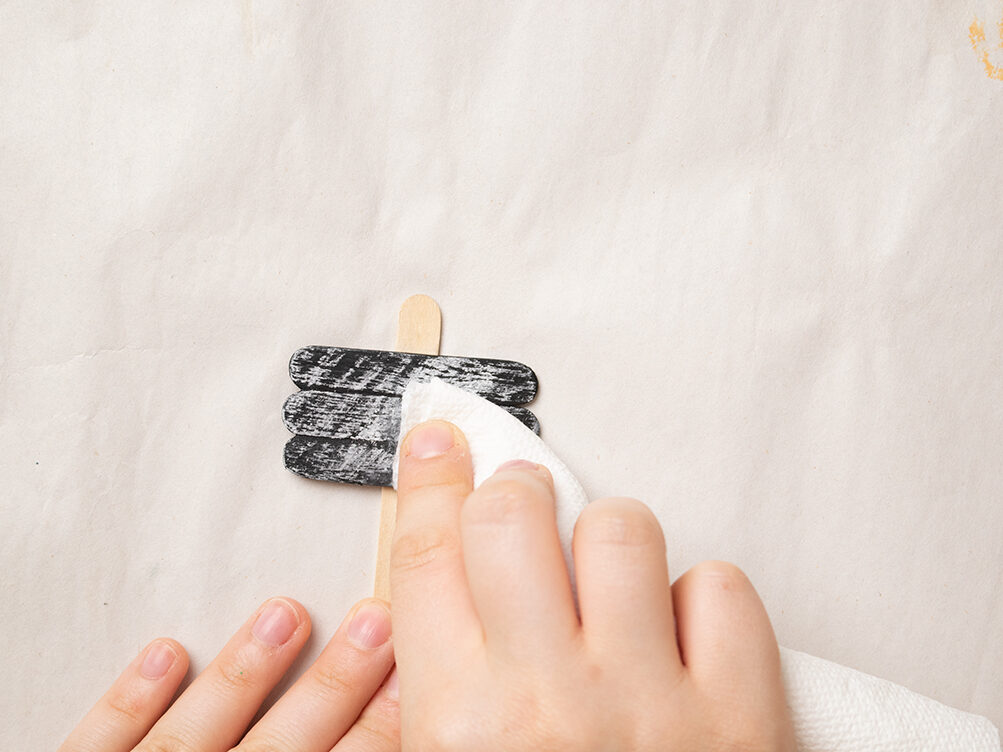
When the chalkboard paint is dry, rub a piece of chalk all over the surface and then rub away to season the chalkboard.
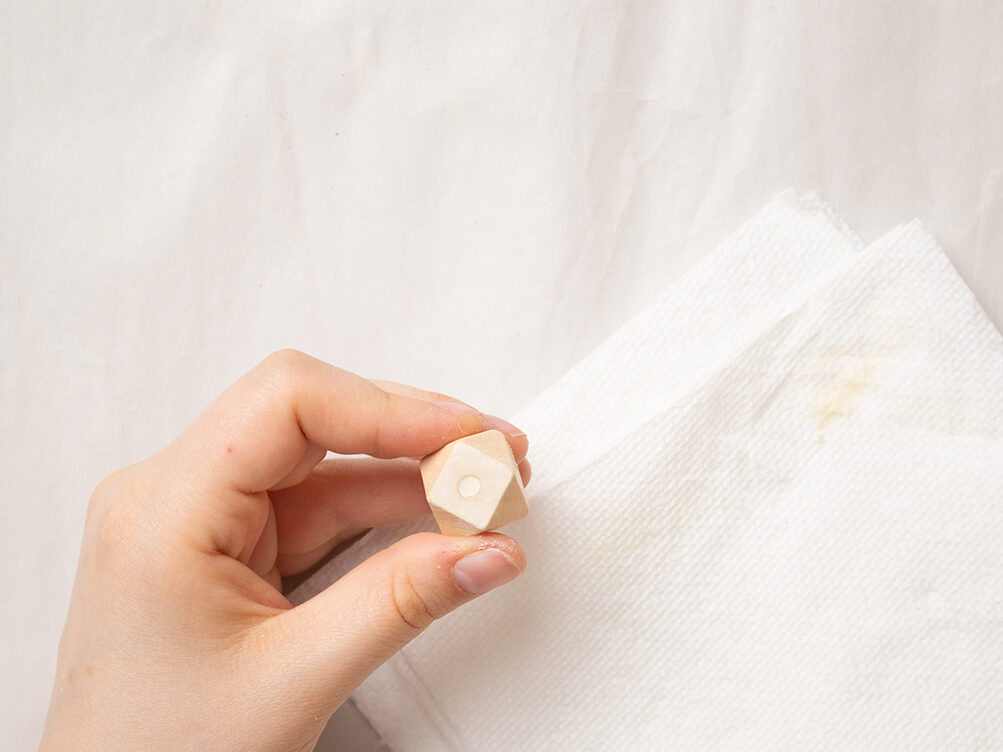
Fill in the holes of the bead with air dry clay.
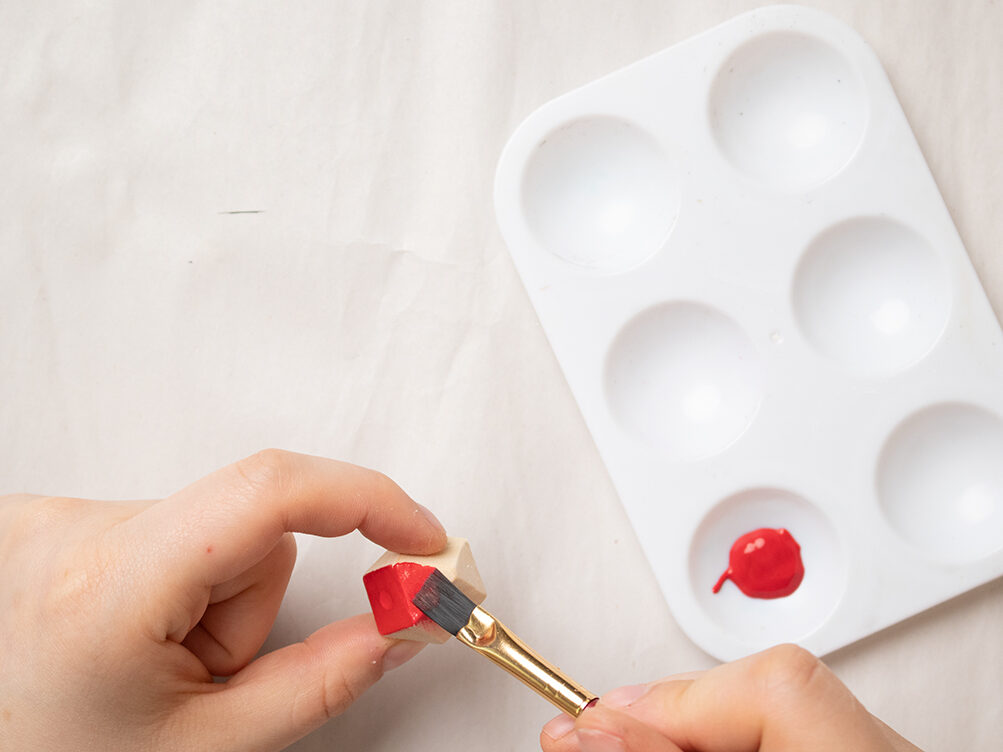
Also, paint the wood bead red, I used three coats.
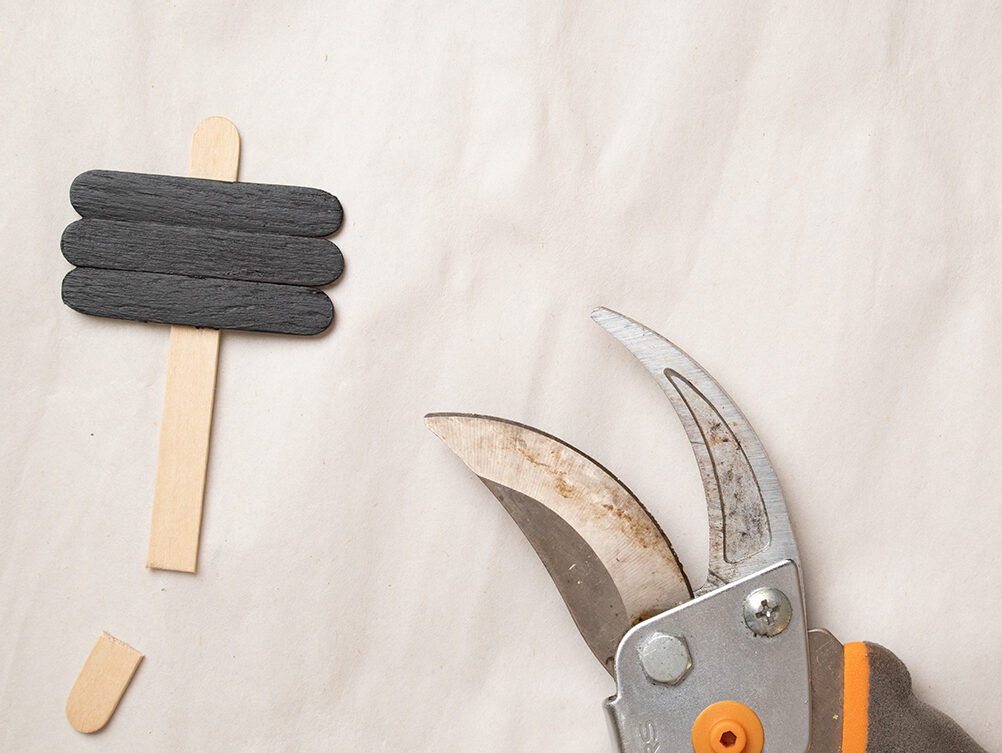
Trim the popsicle stick to the desired final height.
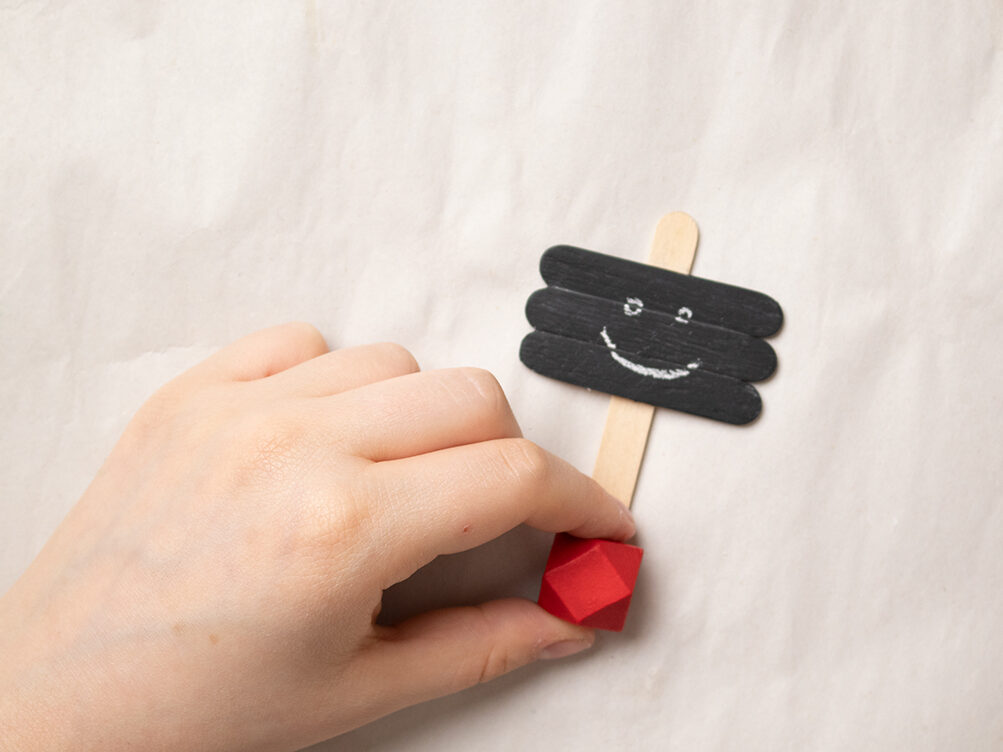
Then add a bead of hot glue to the front bottom of the stick and glue it to the back of the wood bead. This will make it so the sign can stand on its own.
Now you have a functional mini chalkboard sign. I suggest using regular chalk for guidelines and then writing with a chalkboard marker. Once the marker is dry, you can wipe away the chalk marks leaving the nice lettering.
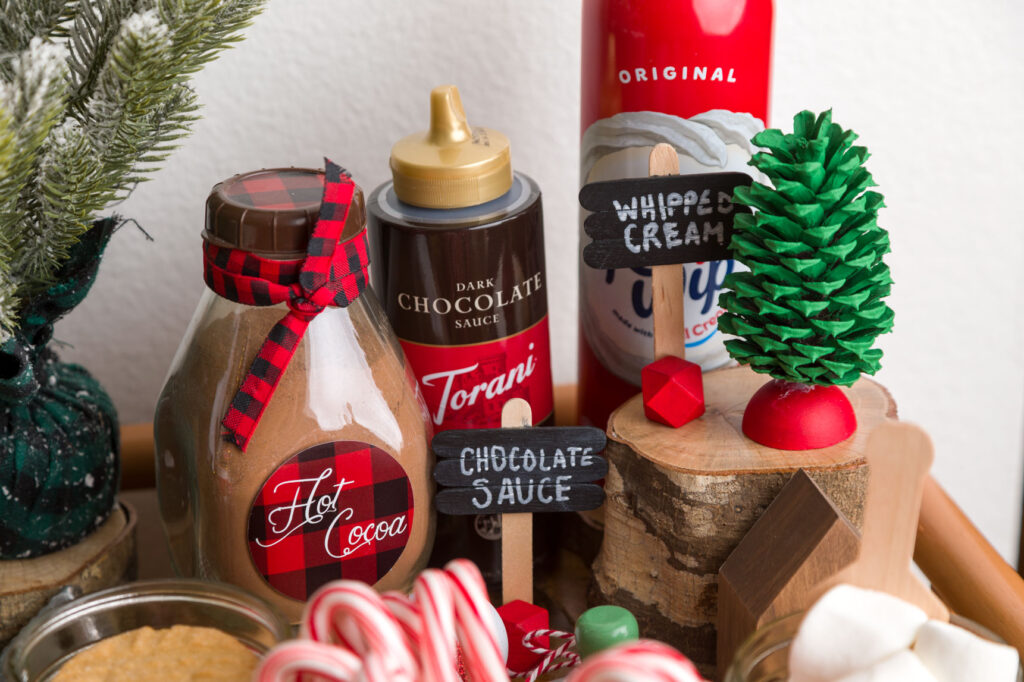
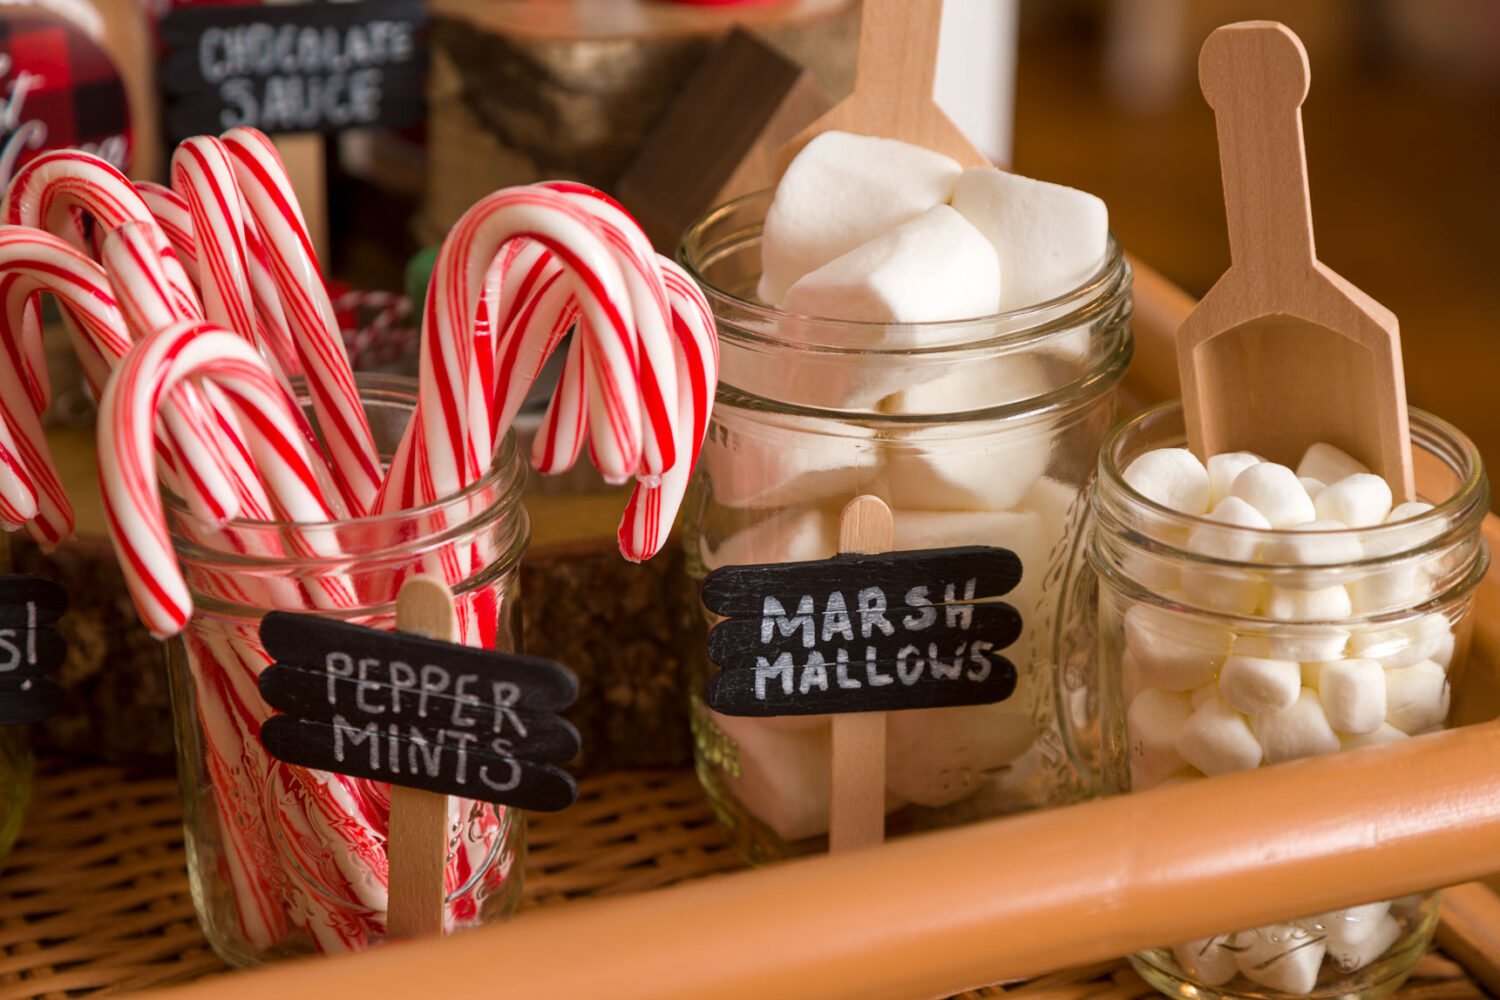




Hot Chocolate Bar Ideas | DIY Crafts & How to Set-up | Olivia OHern
Saturday 21st of November 2020
[…] Mini Signs […]