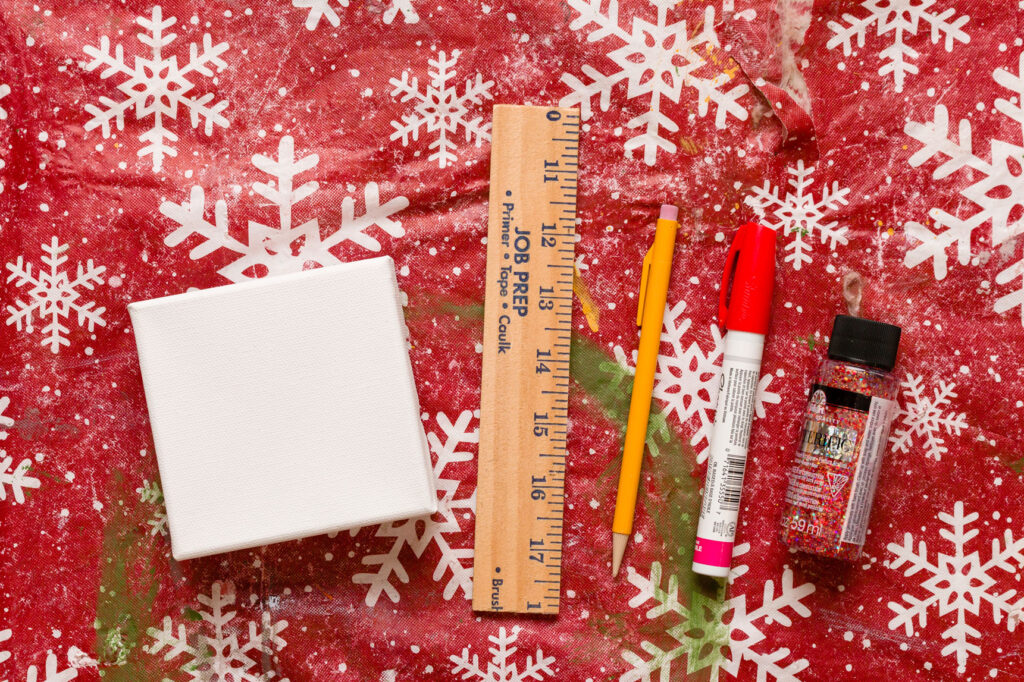
Supplies
- 4″x 4″ Canvas
- Ruler
- Pencil
- Red Paint Marker
- Glitter Paint
- Paintbrush
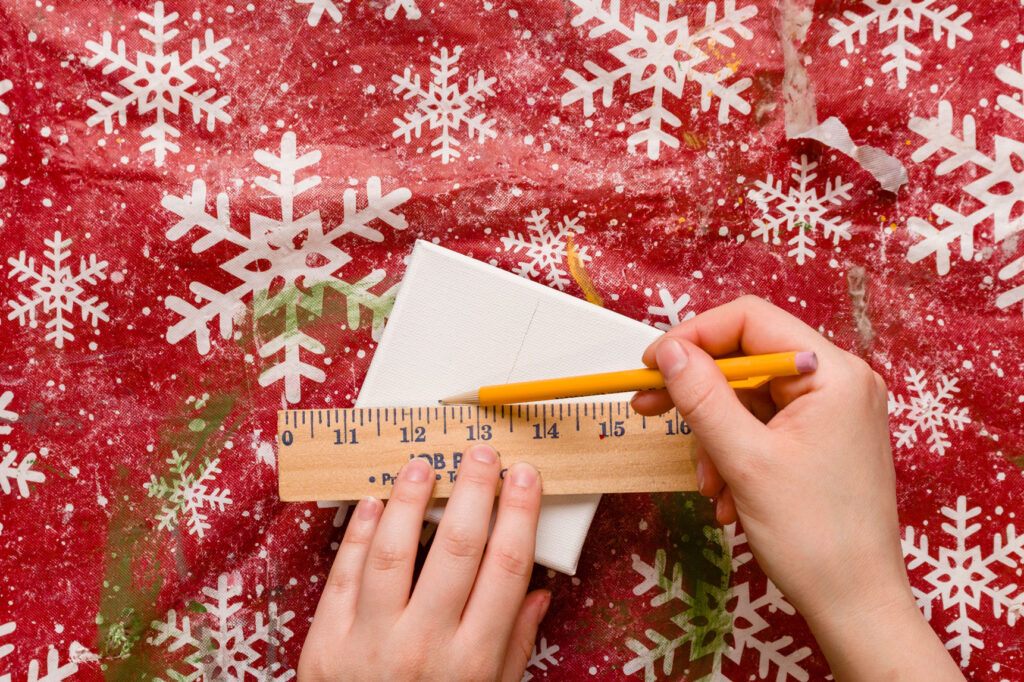
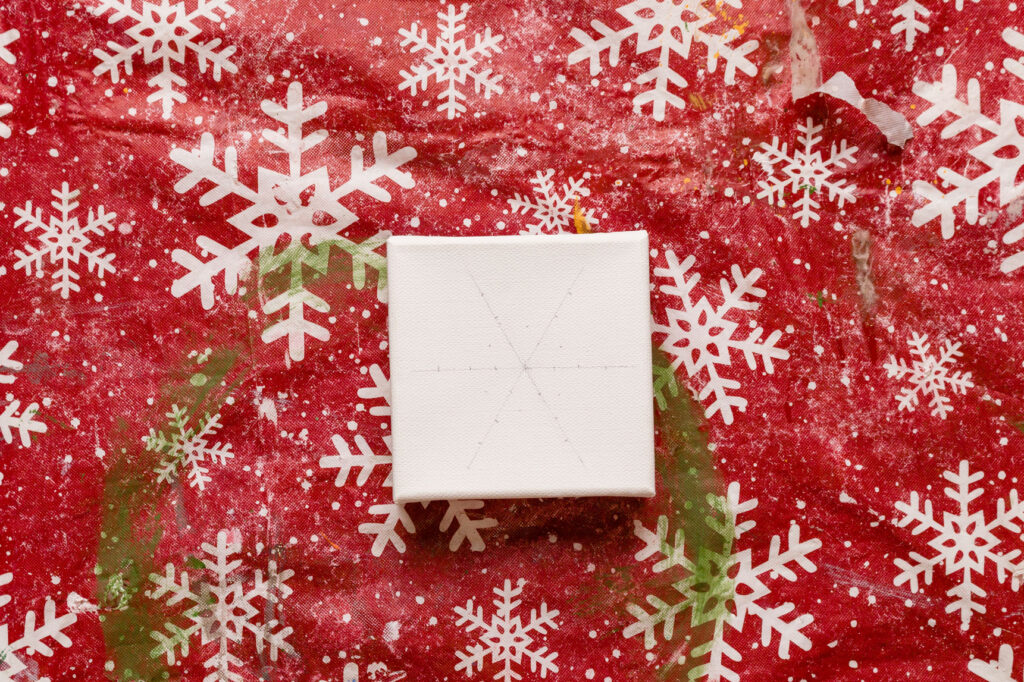
I found the easiest way to draw a snowflake was to start with some light pencil marks on the canvas. The very first mark is the center point of the canvas, so 2 inches in on two sides. Each arm of the snowflake is 1.75 inches out from the center.
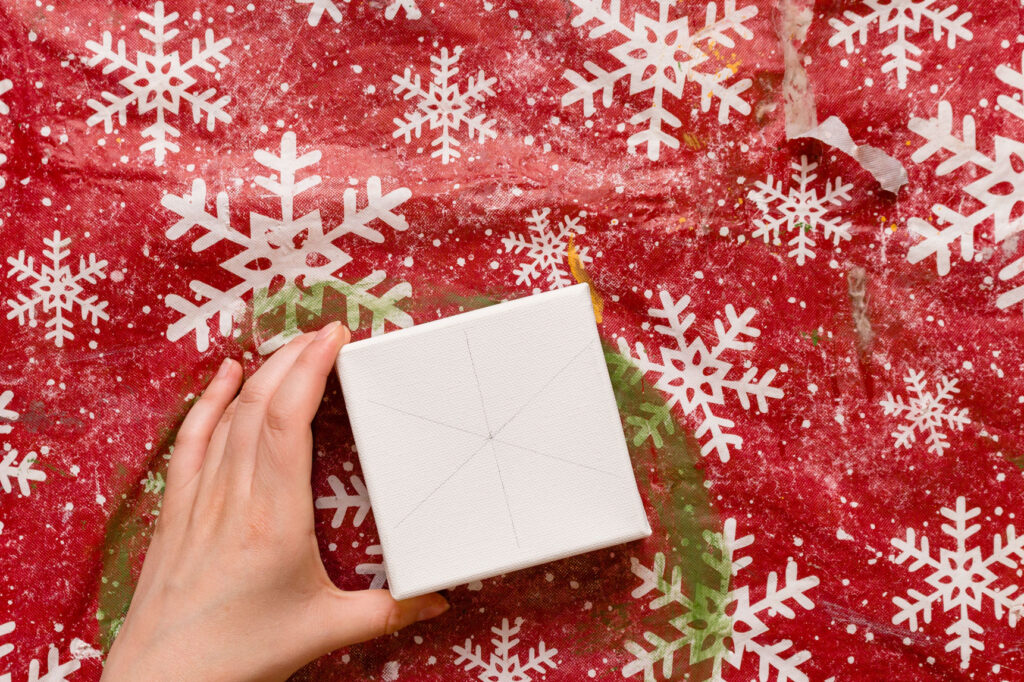
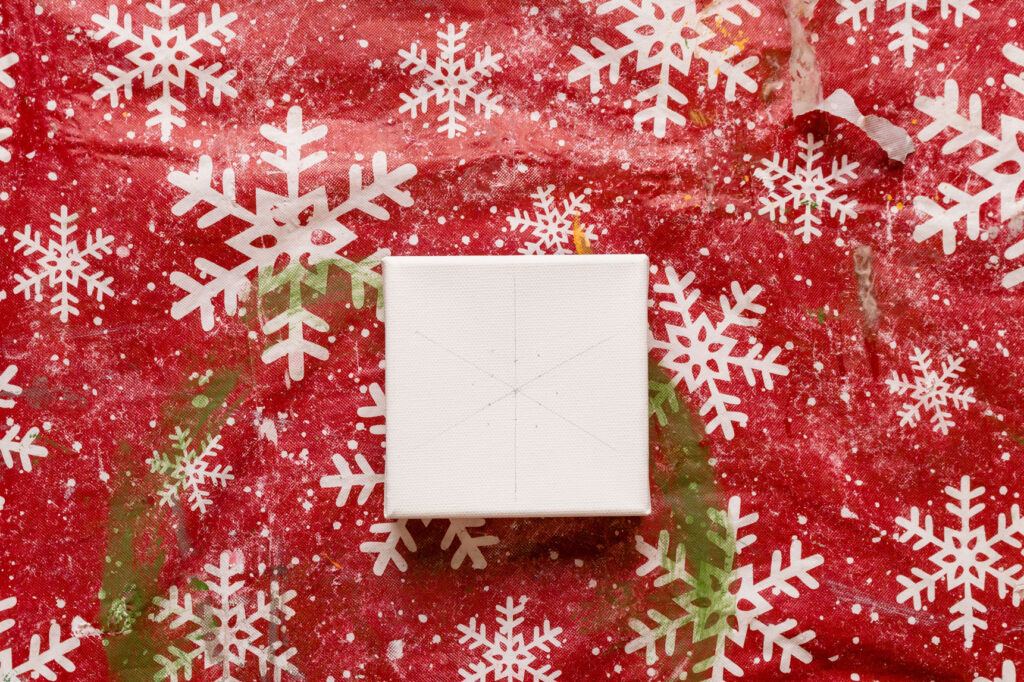
To create the six pointed star I draw the first lines straight up and down through the middle of the canvas. Then I create a wide x through the center, eyeballing the evenness of the sections.
Next, I marked up .5 inches from the center on each of the arms and .75 inches between them.
From there, I marked where I wanted the branches to come off of the arms of the snowflake.
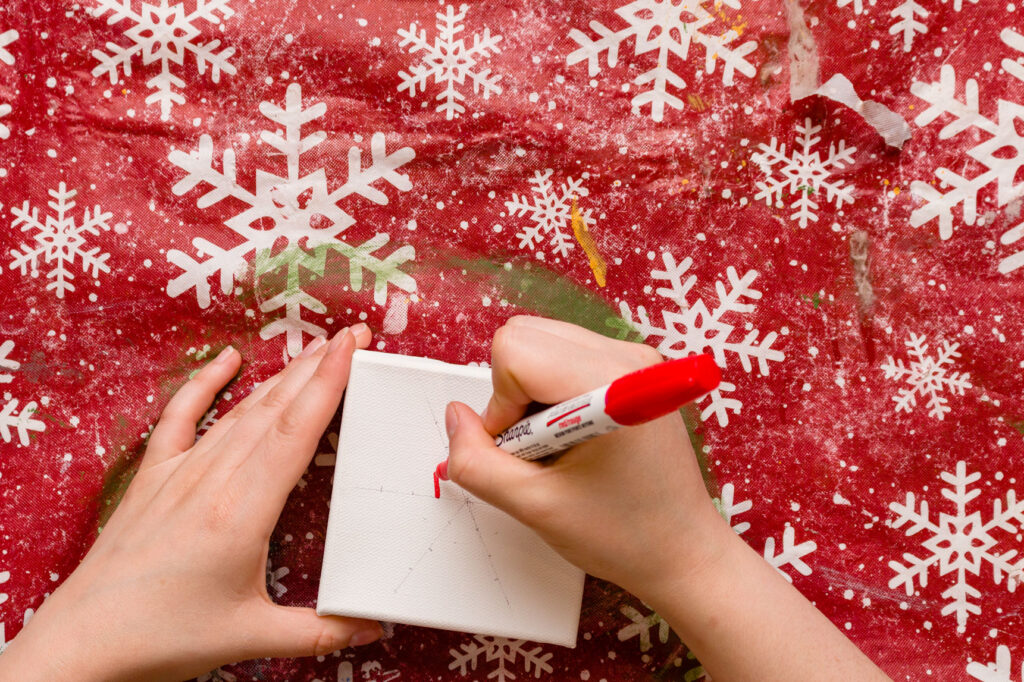
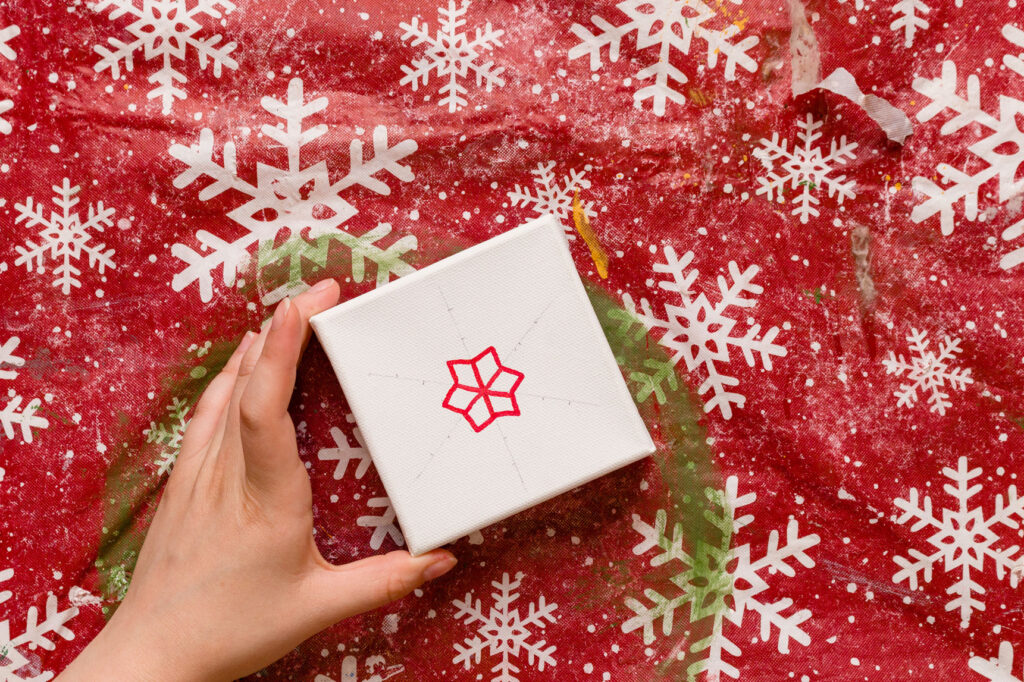
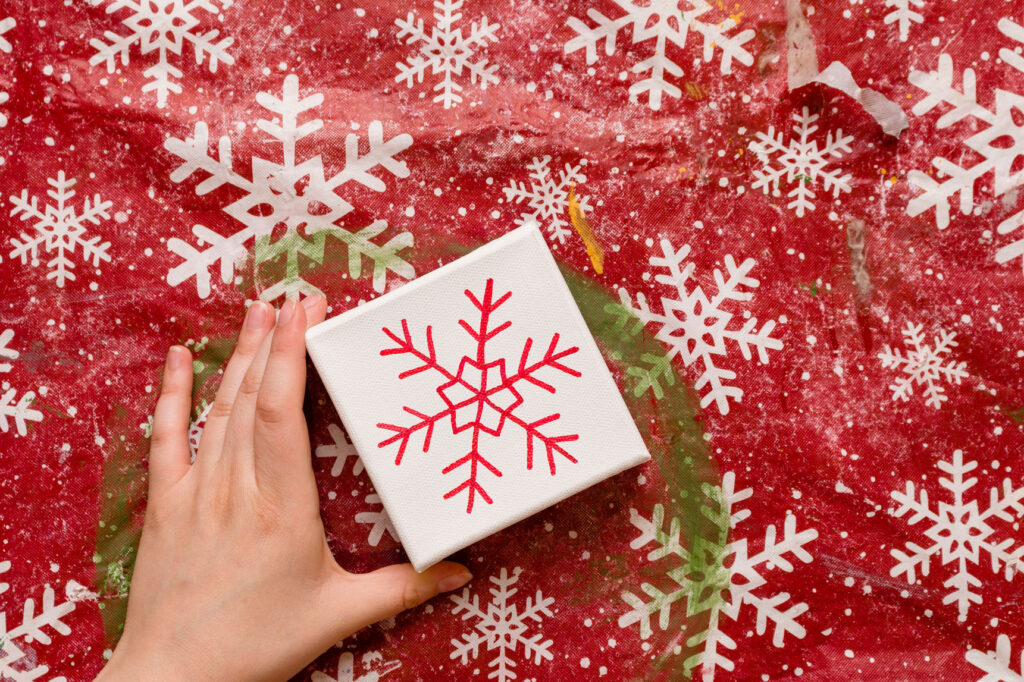
Finally, I begin going over the pencil marks with a red paint marker. To begin, I connect the center points to create a six-sided star in the middle of the snowflake.
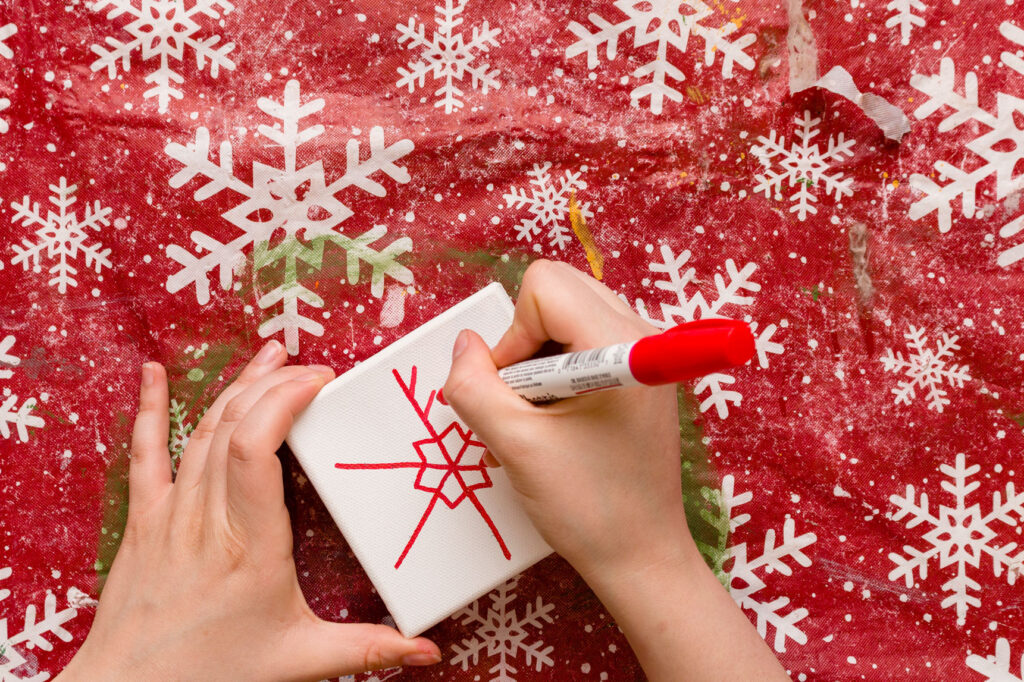
Then I draw the long arms of the snowflake.
Now I go in and add those branches to the ends. I did the right side of each arm first, then flipped the canvas and went back to fill in the other side.
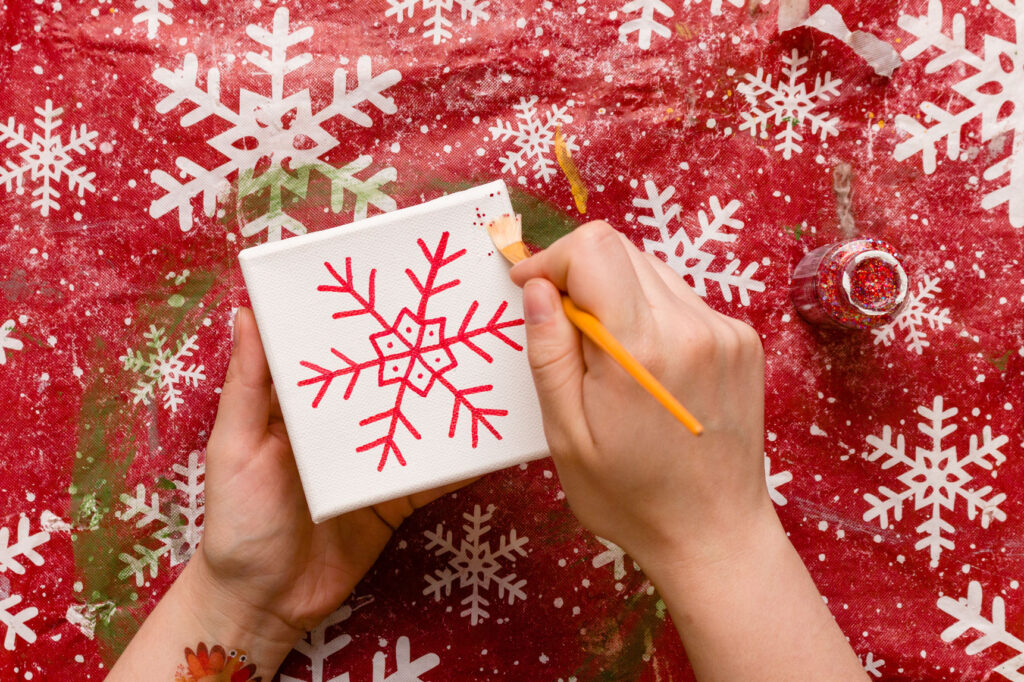
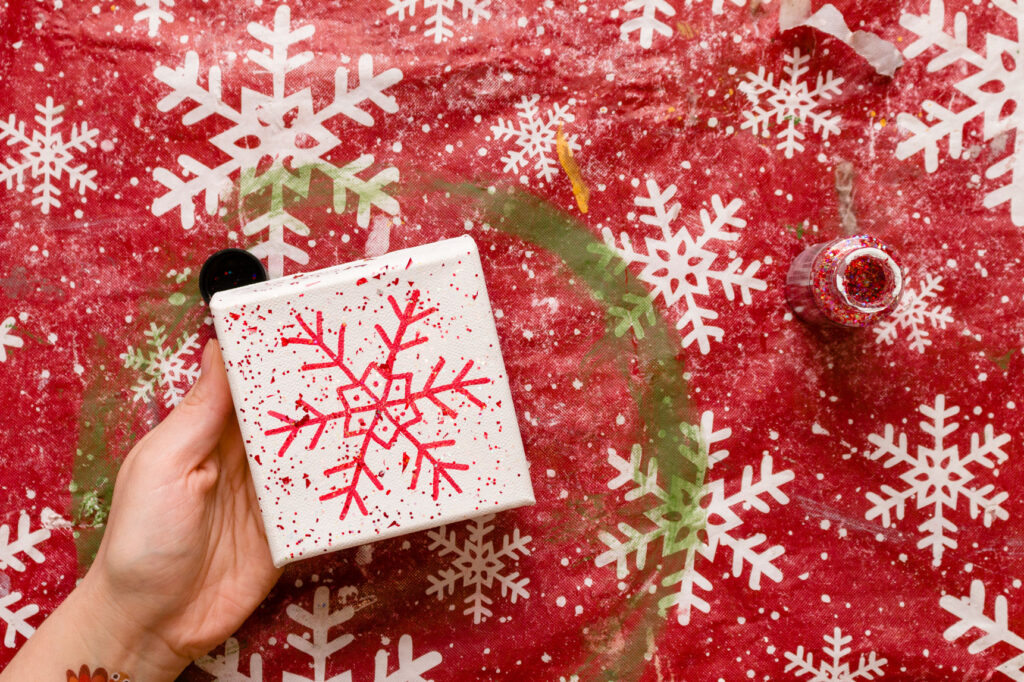
I added little dots near the center of the snowflake and added this pretty red glitter paint to the background.
Don’t forget to paint the edges!
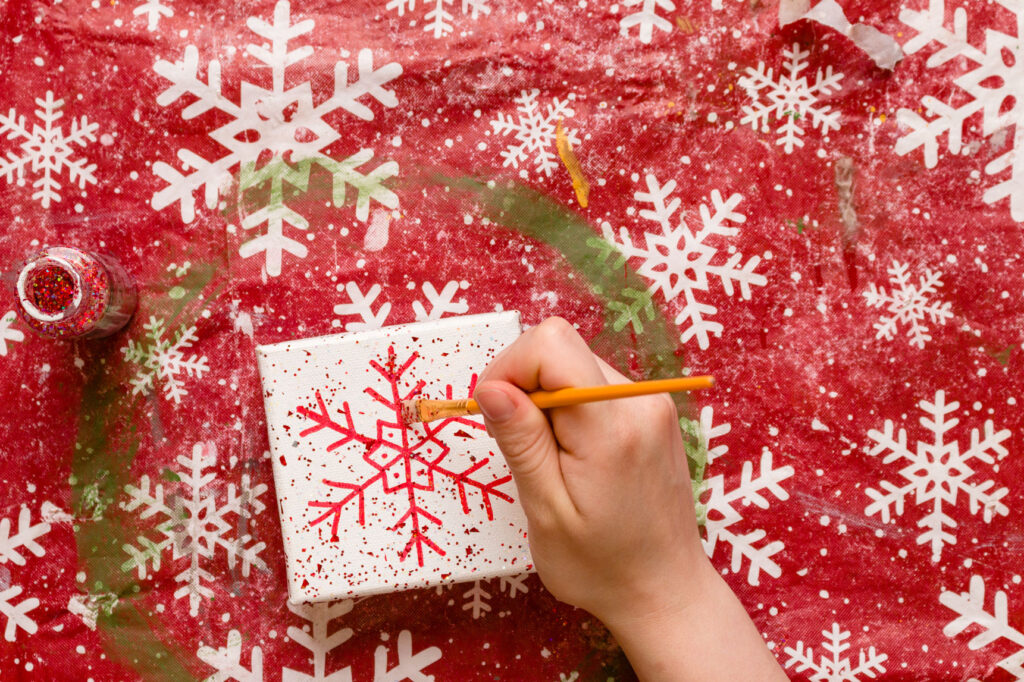
This is optional, but I went back in and added more of the glitter over the lines of the snowflake to really make it sparkle.
Below you can see the difference between the one I created with lots of guidelines as I explained above, and one where I used very few helpful lines.







Rebecca
Tuesday 11th of January 2022
Great tips. Thank you for sharing.
Cecilia
Saturday 1st of January 2022
These are so cute! Thanks for sharing at Vintage Charm--pinned!