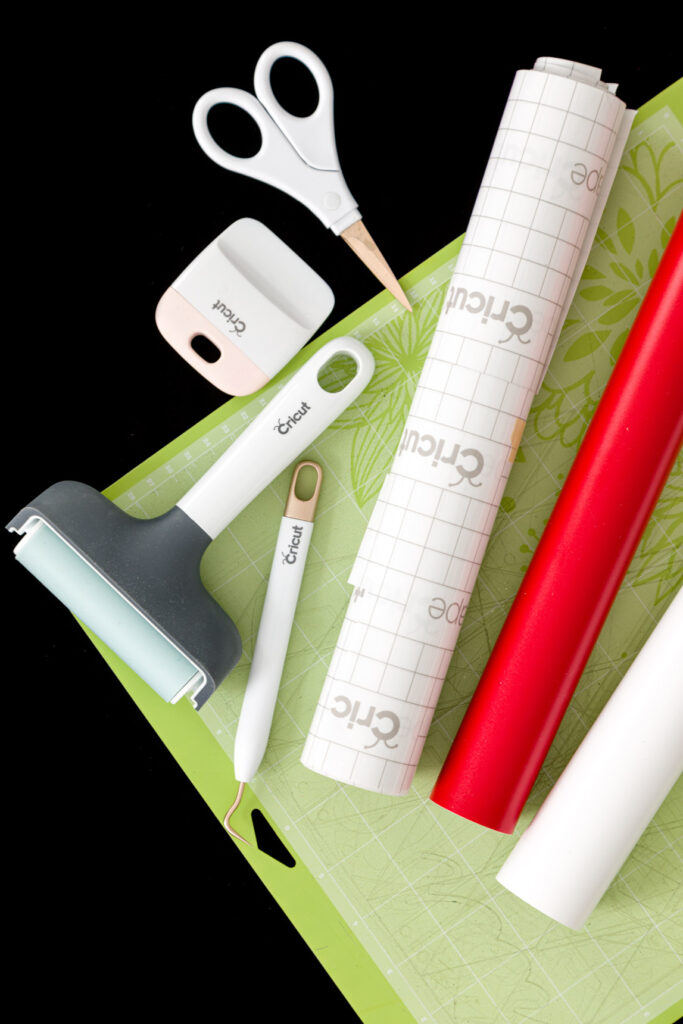
- Cricut Maker or Cricut Explore Air 2 or Cricut Joy
- Surge Protector
- StandardGrip Mat
- Scraper
- Weeding Tool
- Scissors
- Brayer
- White Vinyl
- Red Vinyl
- Transfer Tape
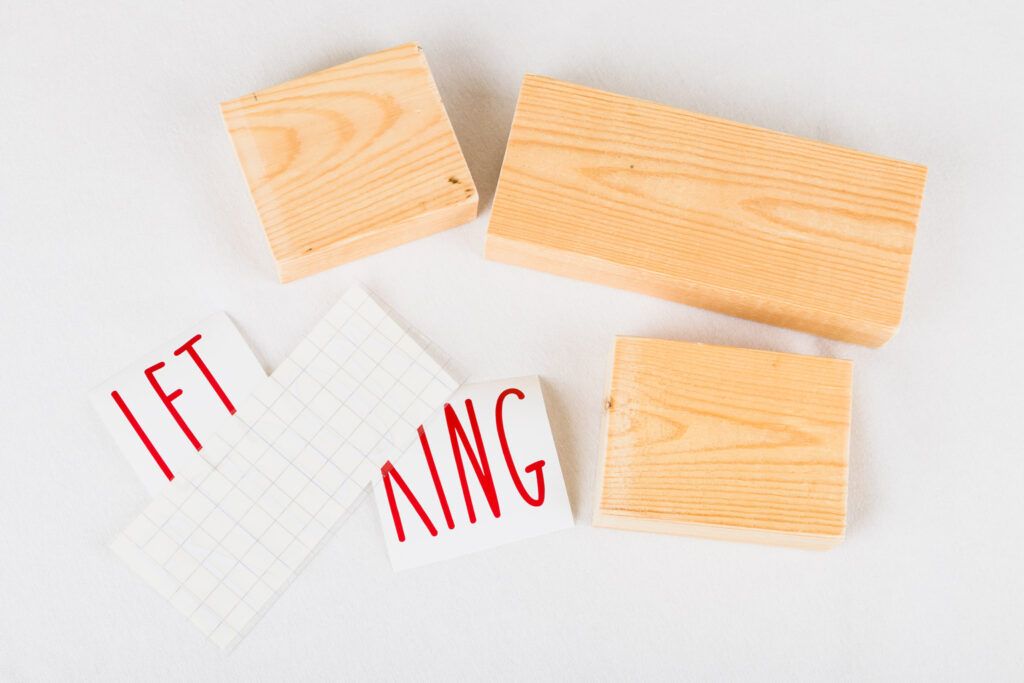
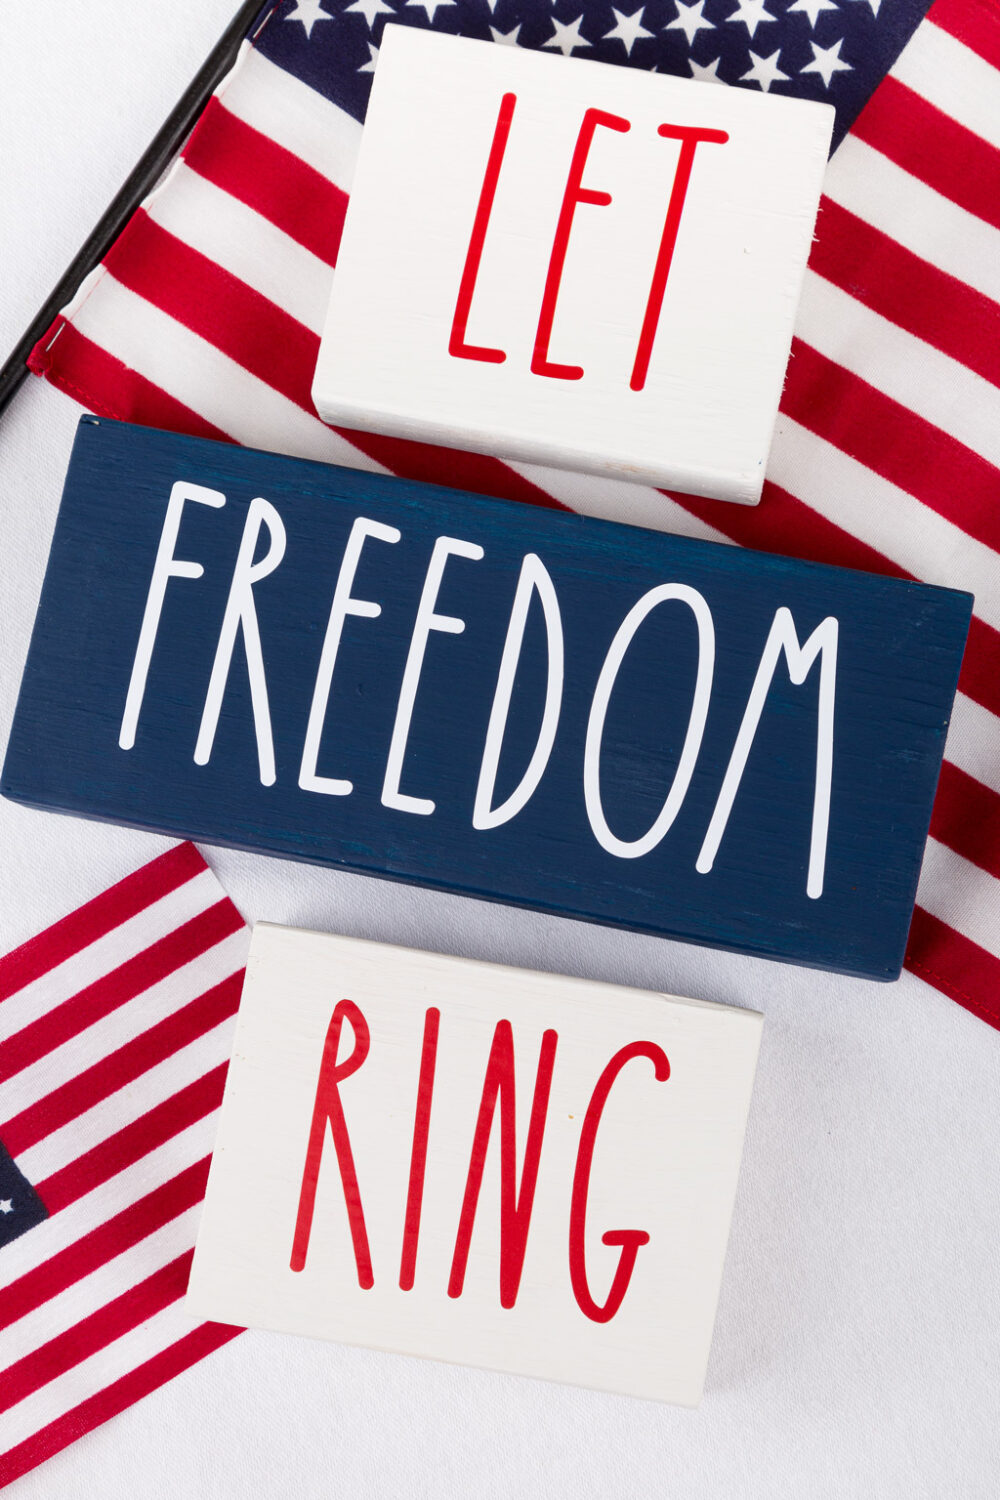
2×4 scraps of wood these are cut at 3″, 4″, 4.5″, and 8″. Sand the ends. Paint the 3″ block red, the 4″ and 4.5″ blocks white, and the 8″ block blue.
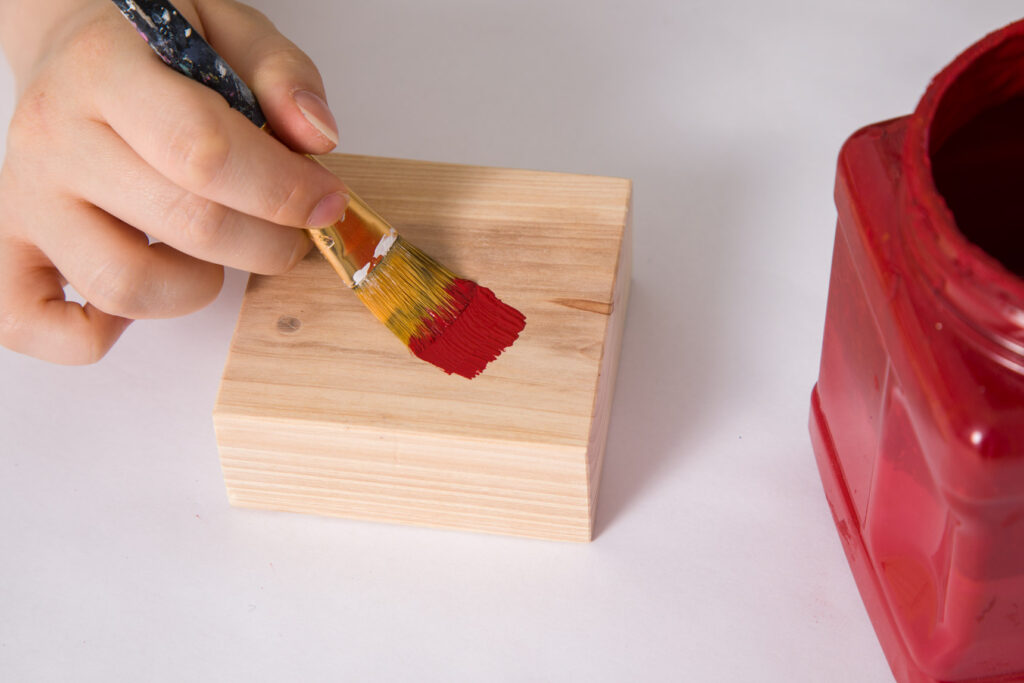
Paint 5 sides of the block, leaving the bottom unpainted.
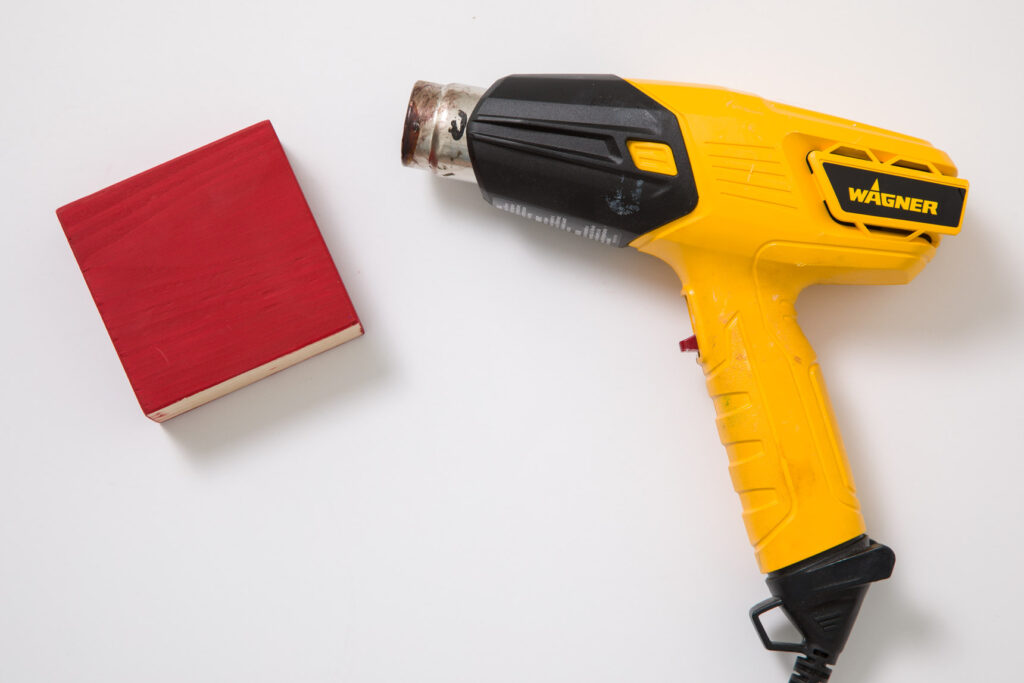
I like to use my Wagner Heat Gun to speed up the drying process.

Using the Cricut Maker, I cut each decal out of vinyl. “Let” and “Ring” out of red vinyl. “Freedom” and the Liberty Bell out of white vinyl. Weed each decal by removing the excess vinyl from around and inside the design. I like to use Cricut’s basic weeder tool for this, though I have my eye on the full weeding tool set.
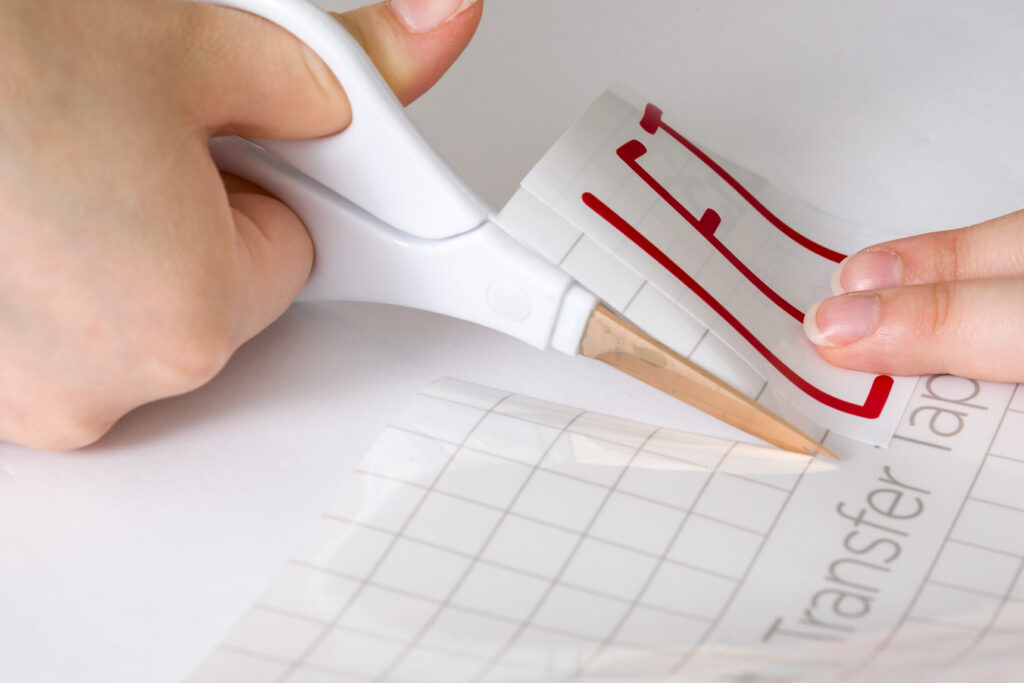
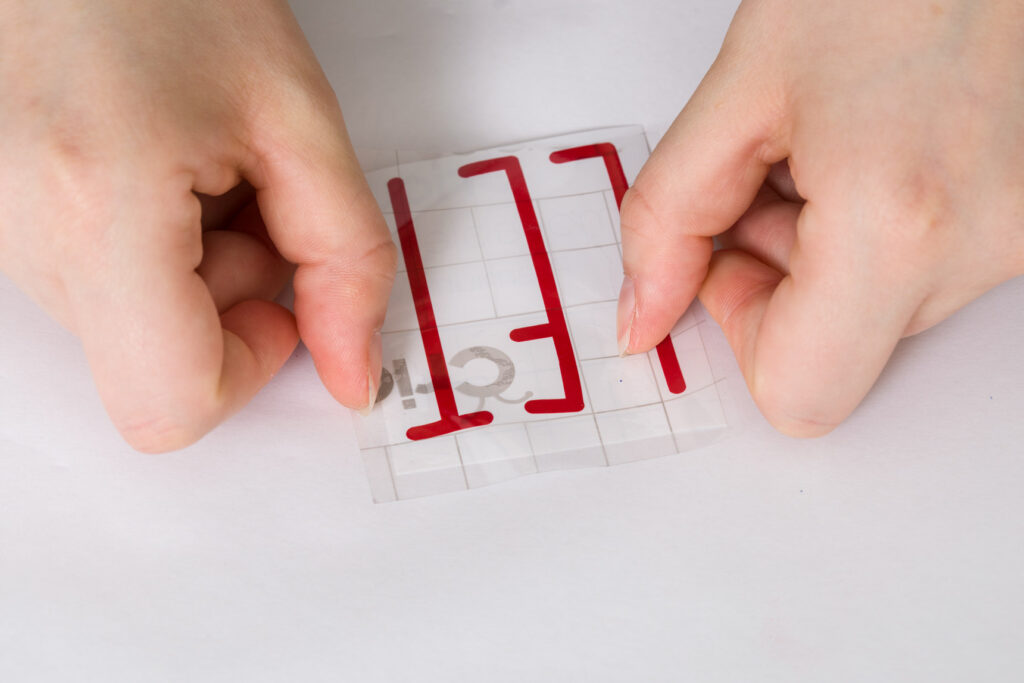
Lay the vinyl decal on top of the transfer tape to cut it to size.
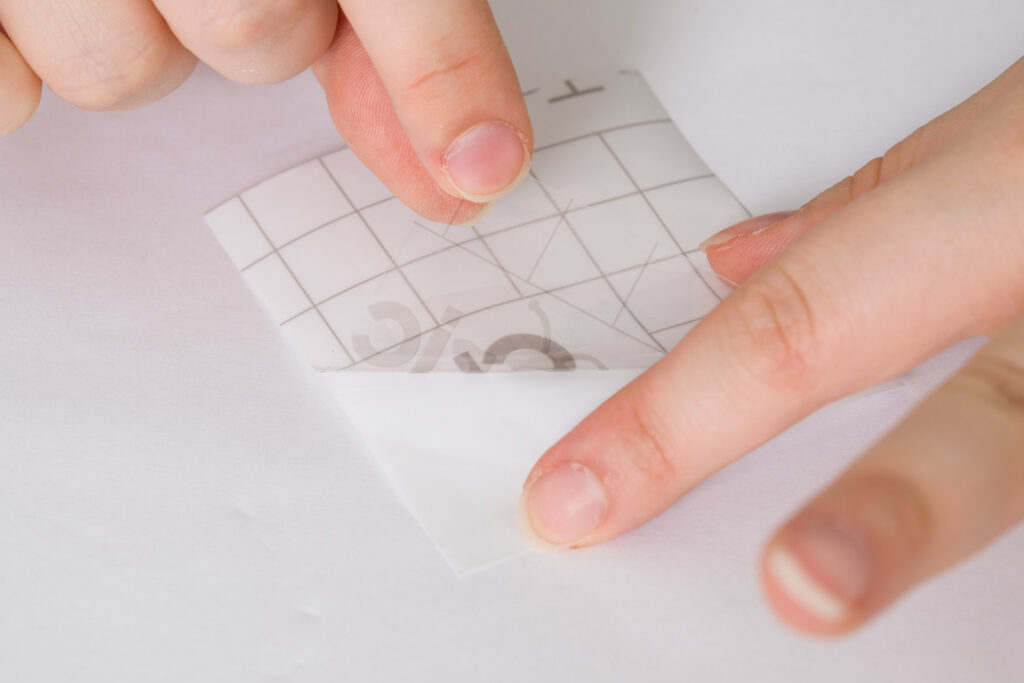
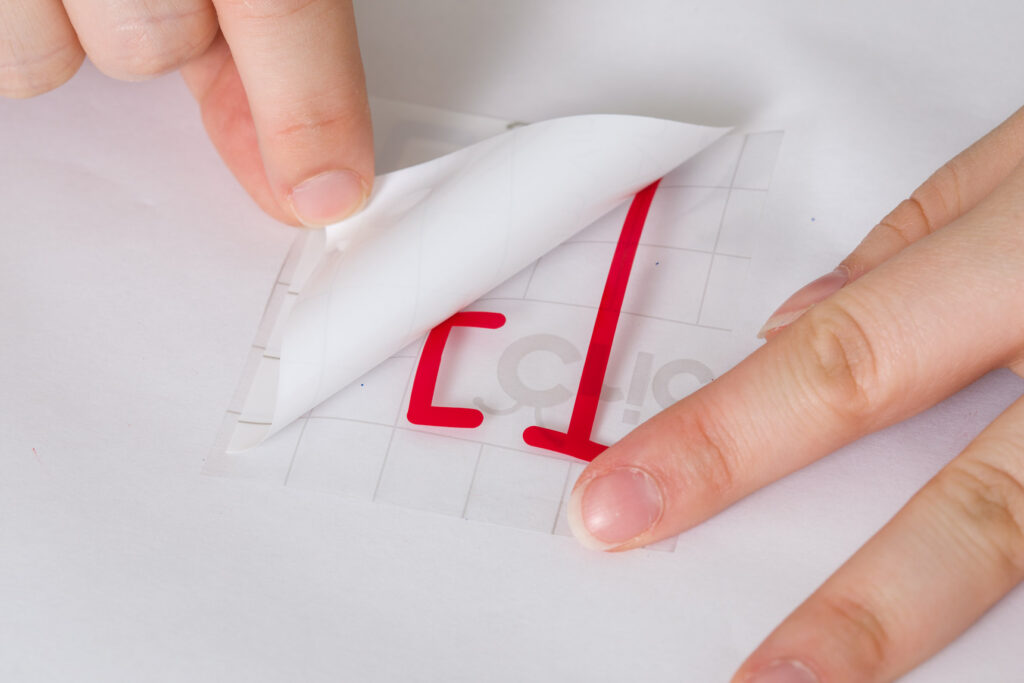
Peel the clear “tape” with the grid away from the backing and apply on top of the vinyl decal. I like to place it on top lightly.
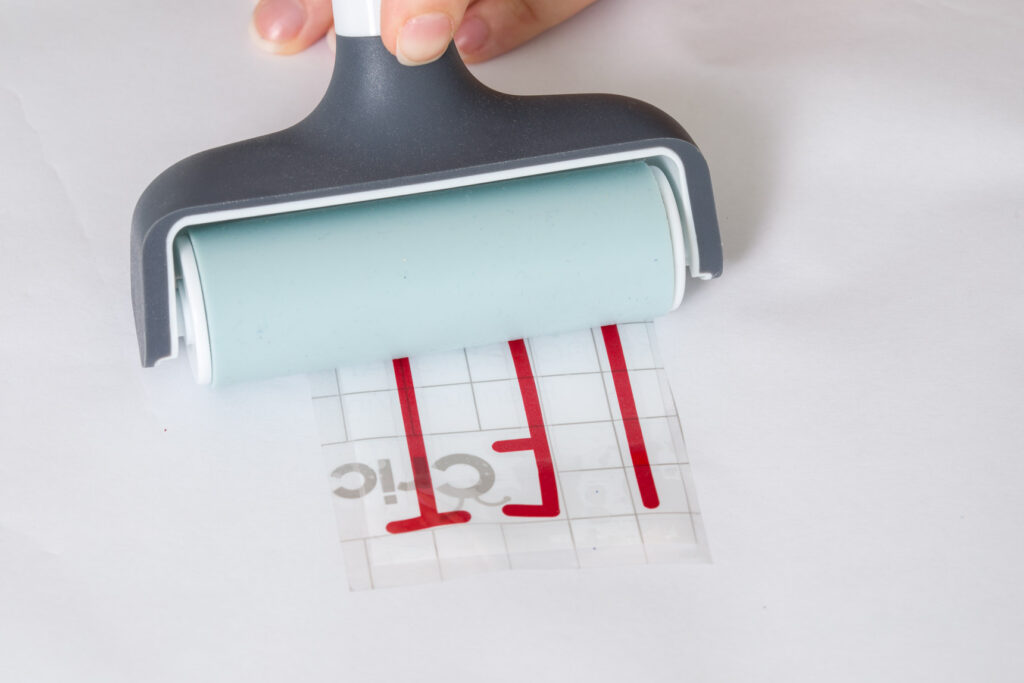
Then use a brayer to properly adhere the vinyl to the transfer tape. Pull the backing away.
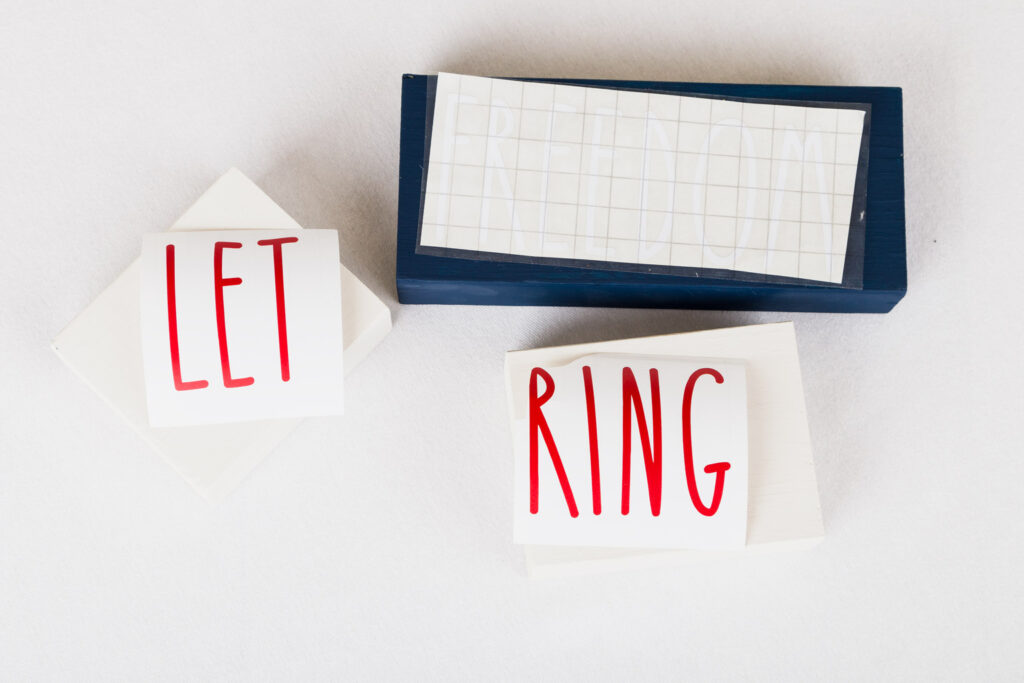
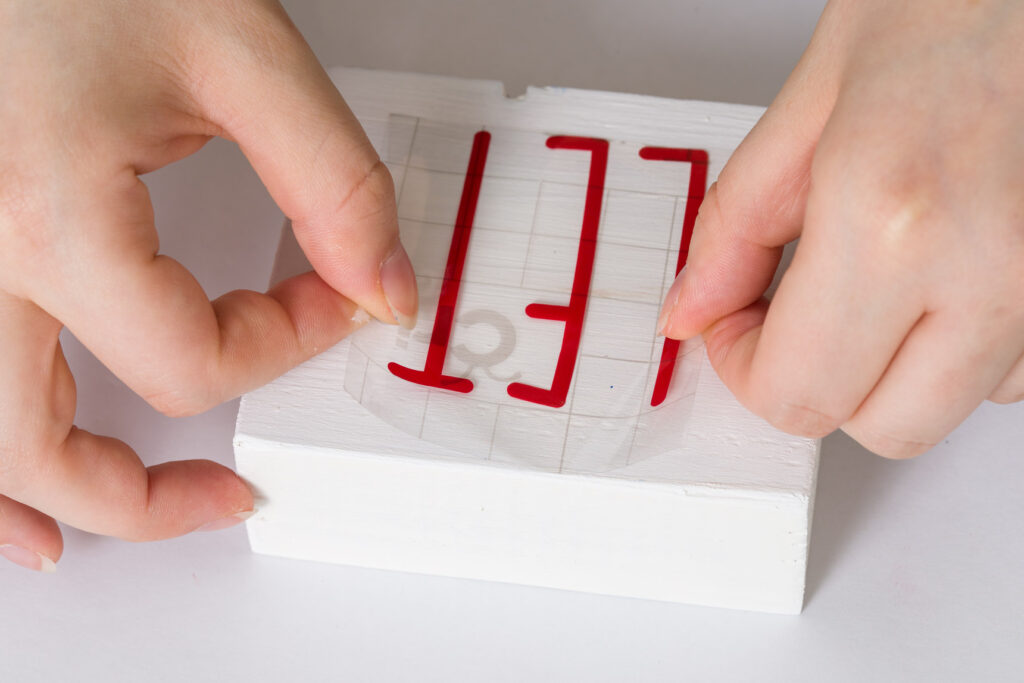
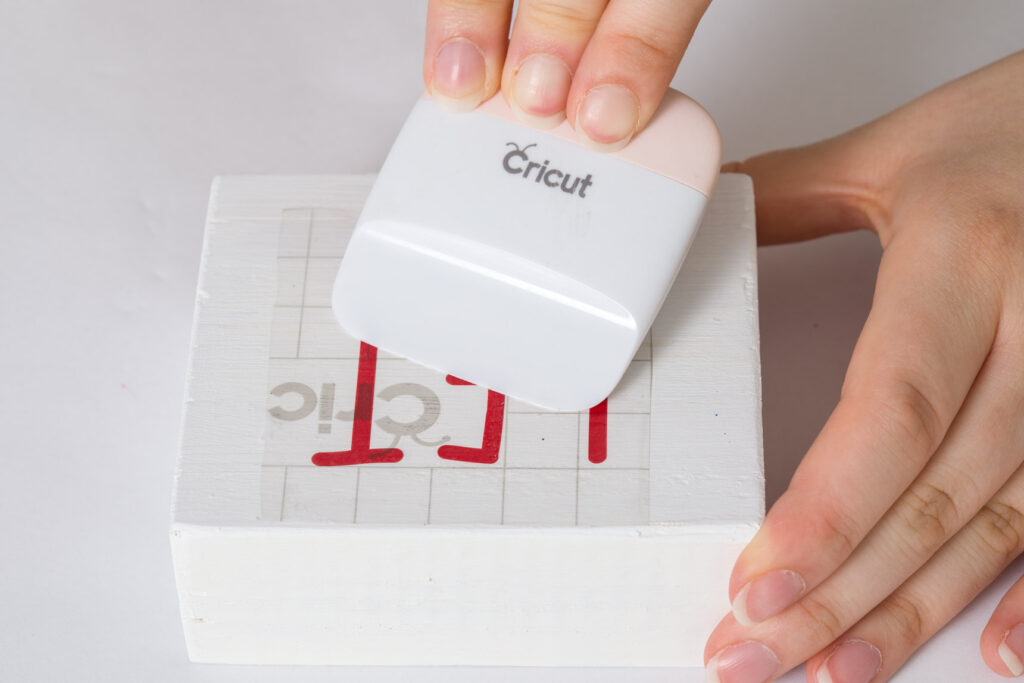
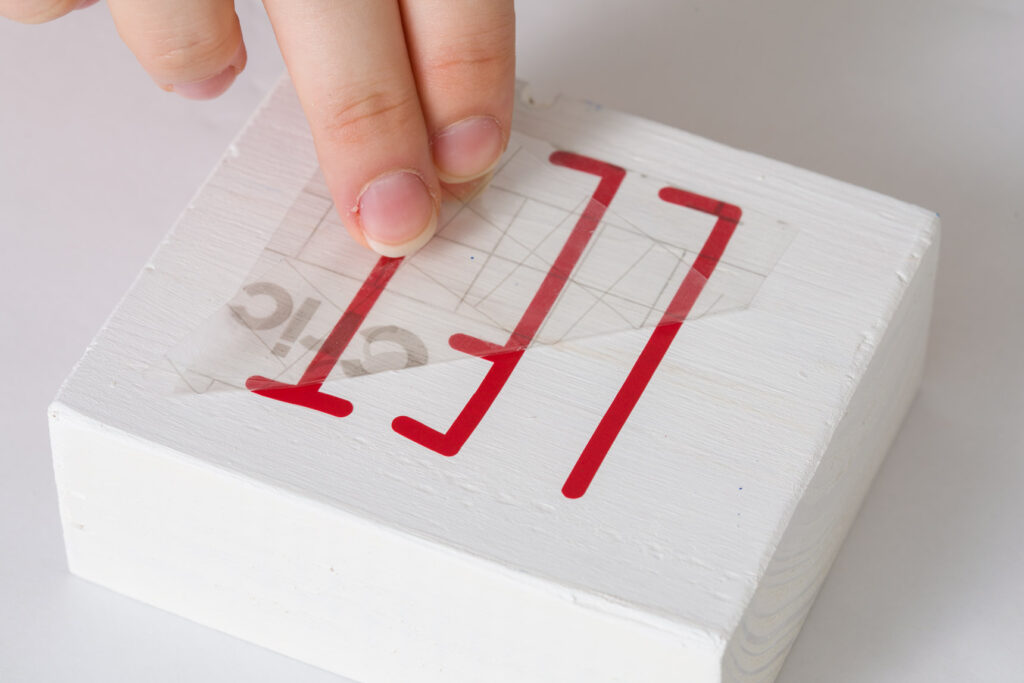
Line up the vinyl decal on the wood block before placing it down. Then use scraper to rub the vinyl onto the wood. When it is good and adhered pull the transfer tape away from design and wood.
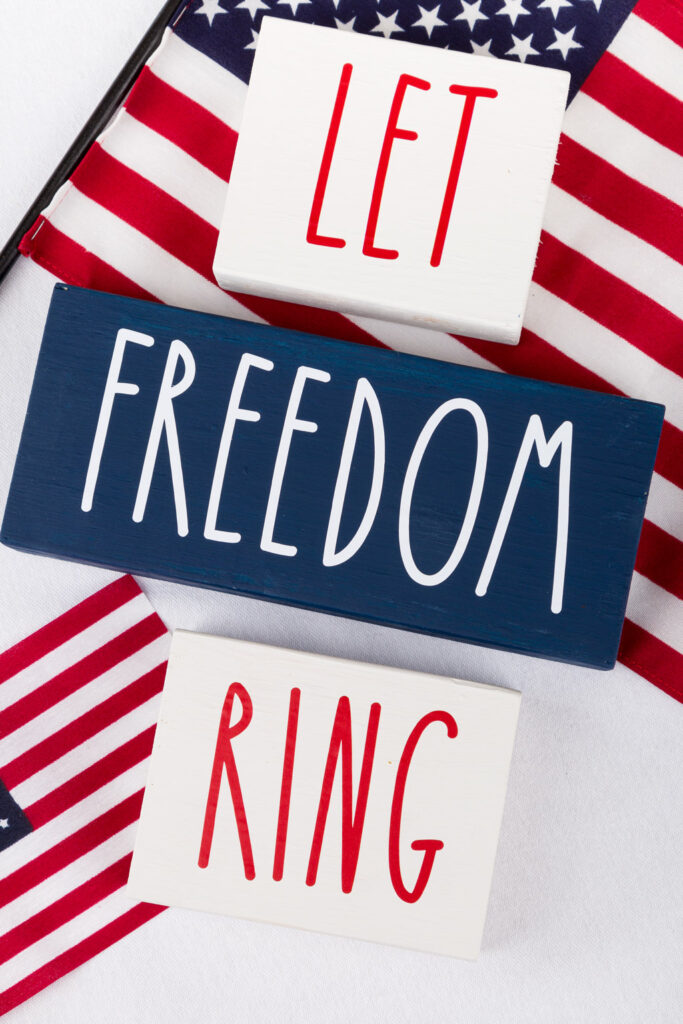
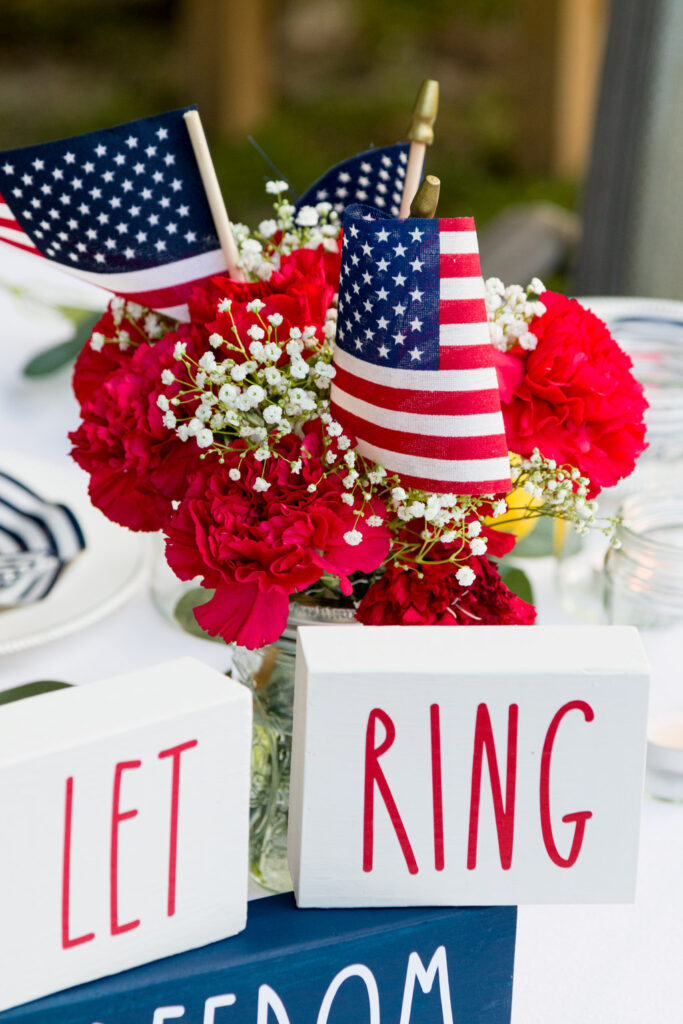

4th of July Party Ideas | DIY Decorations How To | Olivia OHern
Sunday 30th of May 2021
[…] of July USA Banner 4th of July Wood Block Signs 4th of July Rocket & Firecracker […]