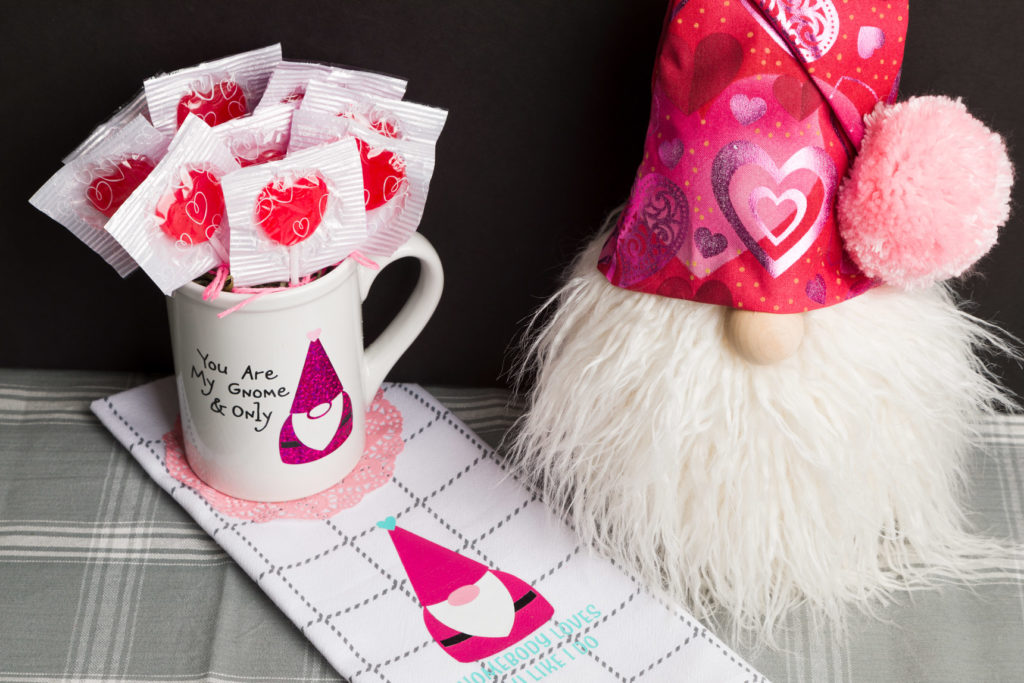
So I got the Cricut Easypress Mini for Christmas, and I have to admit, I am obsessed. Don’t get me wrong my 12″ x 10″ is so great for medium to large projects, but when ironing a one-inch icon it is excessive. The size makes the Mini very versatile. I can easily maneuver it on mugs and wood and other non-flat surfaces. The Mini doesn’t have a timer you can set nor numerical temperature control, but that has not affected the outcome of my projects.
Tools & Materials
This post may contain affiliate links. This means that if you purchase from one of these links I will make a small commission, but rest assured you will not pay more for any products.
- Cricut Maker
- Surge Protector
- Cricut Rotary Blade
- Cricut Easypress Mini
- Cricut Pressing Mat
- Teflon Pressing Sheet
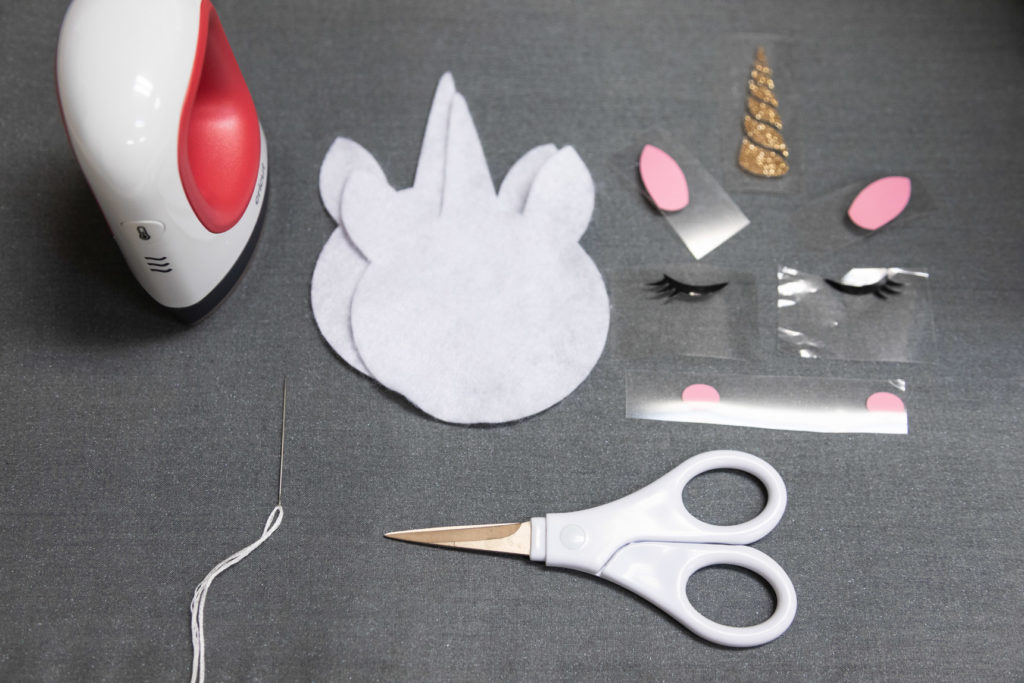
- Scissors
- Weeding Tool
- Crewel Needle
- Pompom maker
- Felt
- Iron-on Vinyl
- Pink
- Gold Glitter
- Black
- Tiny Pompom
- Pink Yarn
- Pink Velvet Ribbon
- White Embroidery Floss
- Polyfil
The first step is to cut out all of your pieces of felt and HTV with your Cricut. The best way to cut out the felt is to use the rotary blade if you have the Cricut Maker.
Assemble!
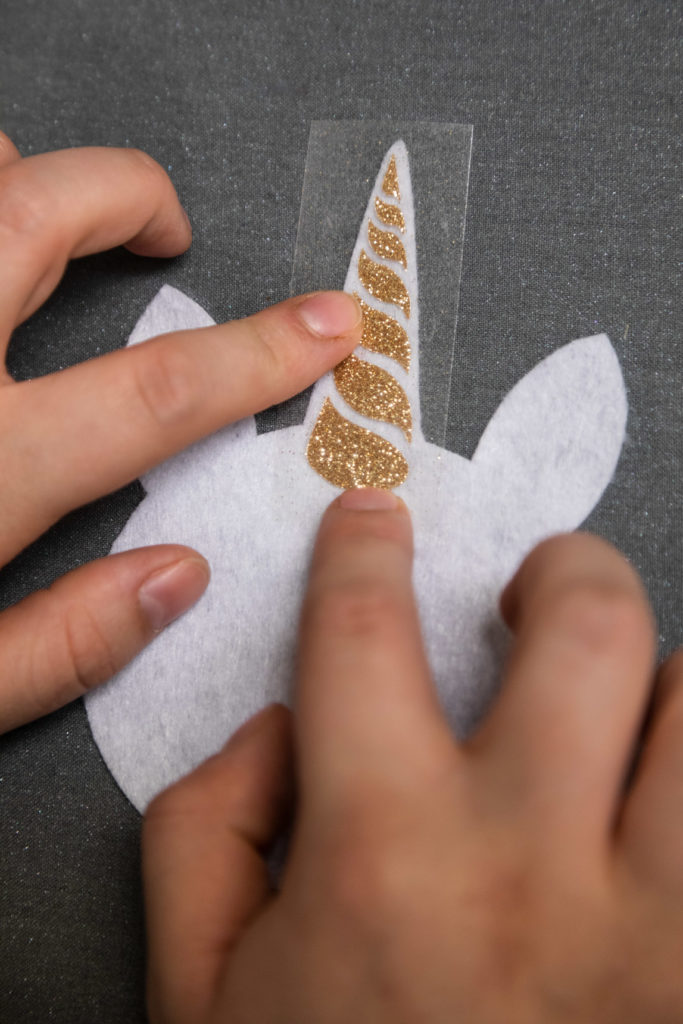

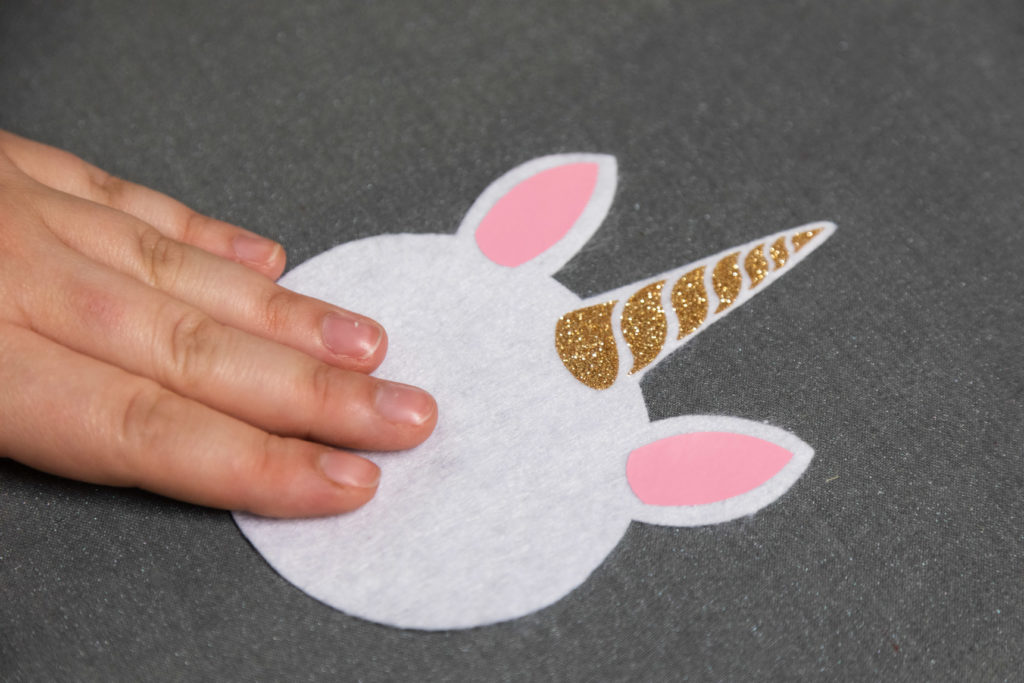
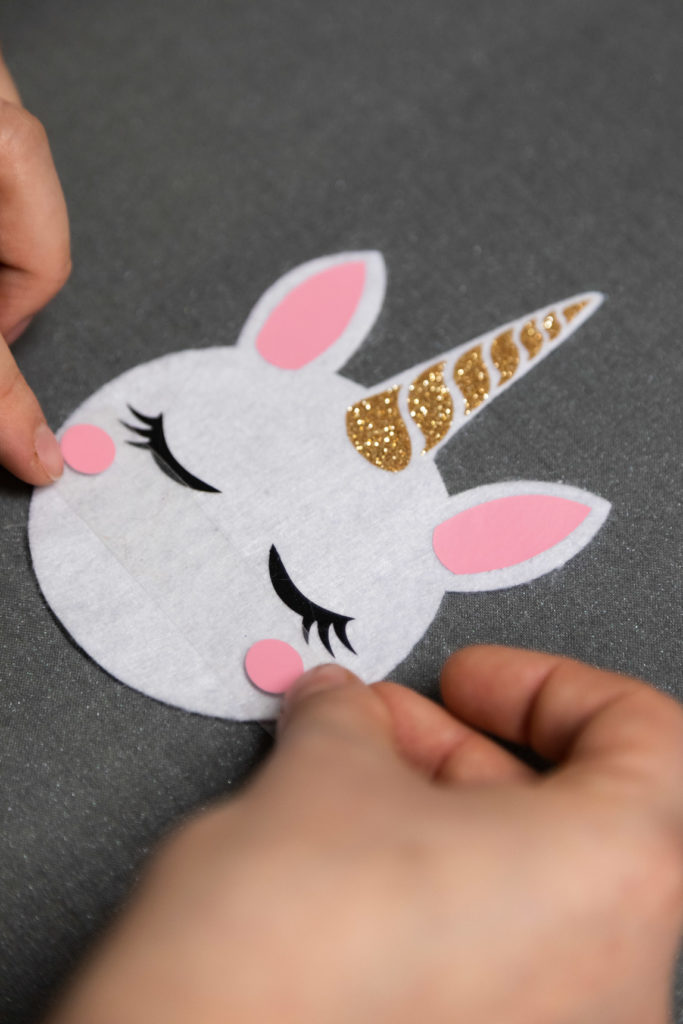
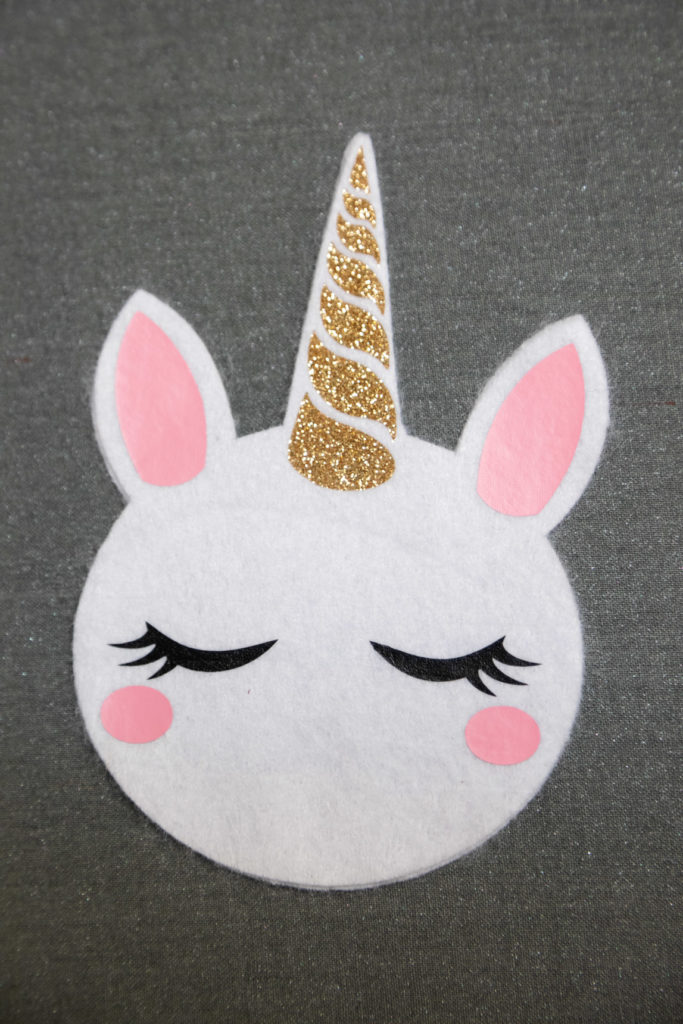
The first thing to do is to determine which felt piece you will use as the top. From there, lay one HTV piece down at a time onto the top piece, cover with a Teflon sheet and press for 30 seconds on the medium heat with the Cricut Easypress Mini.
I noticed when trying to stack the felt pieces for the next step, that the heat actually shrank the piece of Felt a bit. To remedy this, I ironed the back piece until they became the same size.
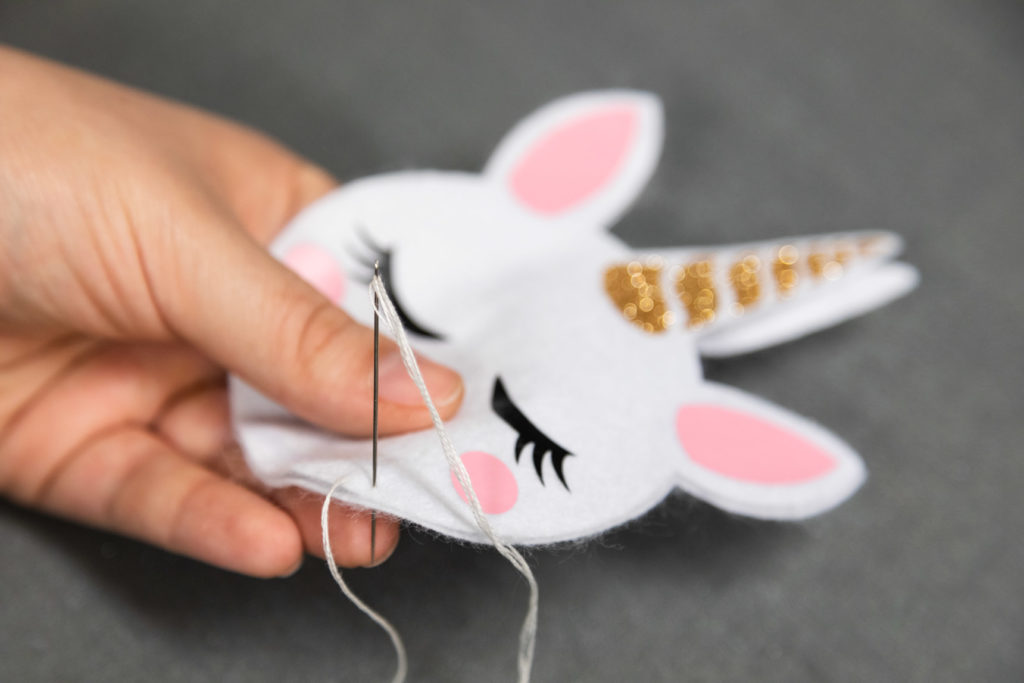
To attach the felt pieces together, use the blanket stitch around the perimeter. I like to start mine near the bottom so the beginning and end won’t be as noticeable. When there are about two inches left at the bottom, start stuffing. I use a chopstick to get small pieces of stuffing up into the ears and horn. Then finish stitching it up!
Moving on to the finishing touches…
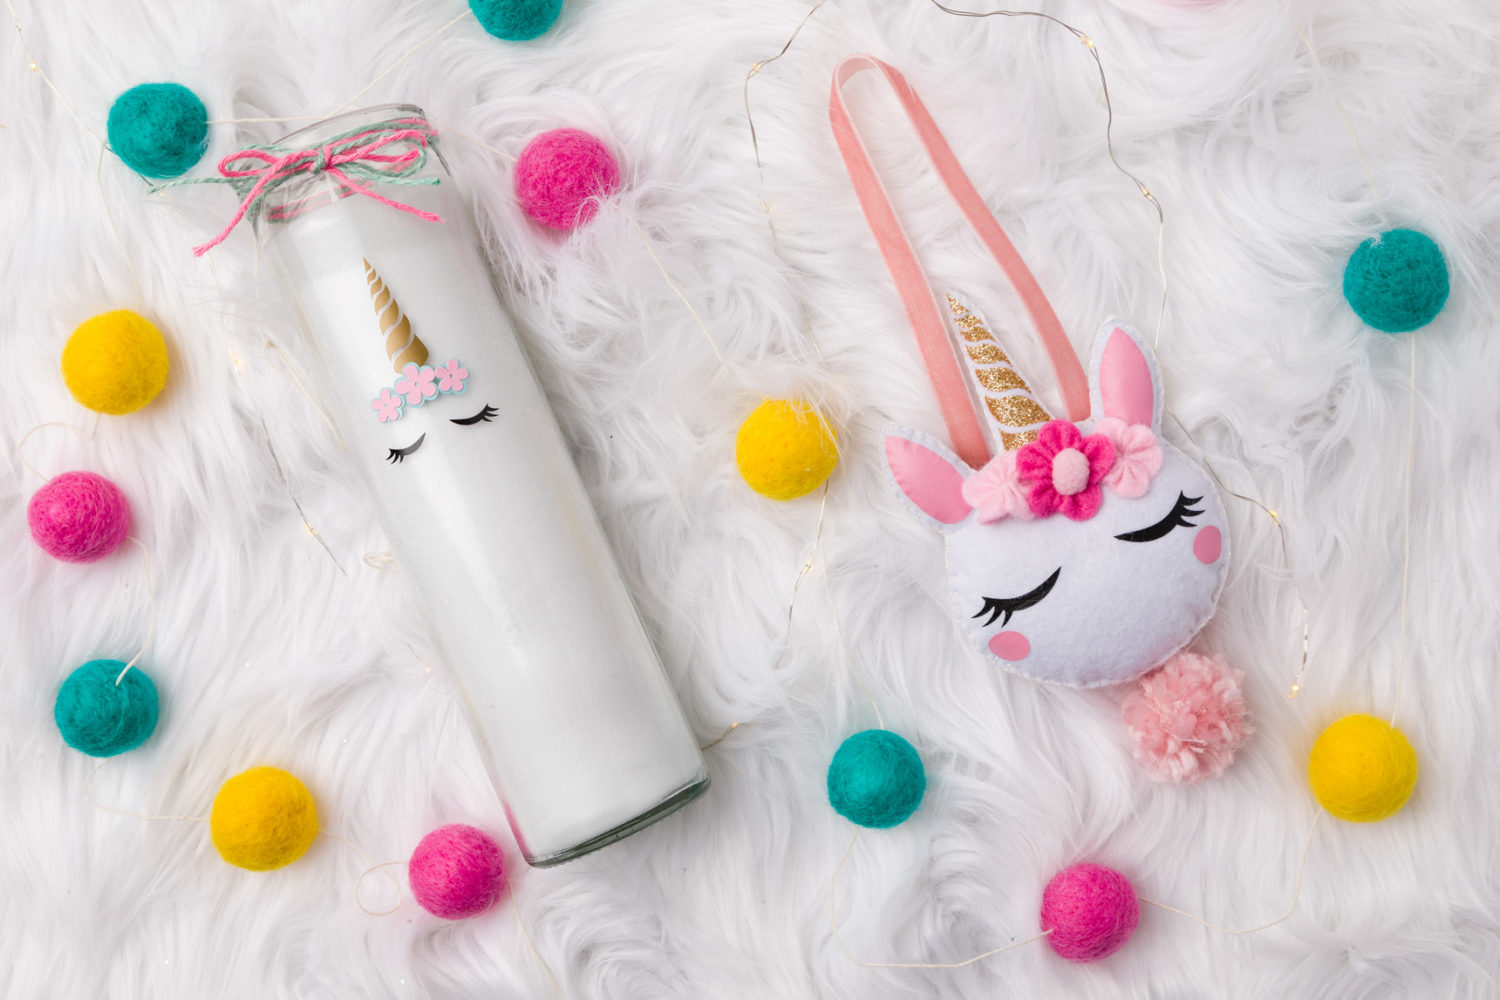
I used an eight-inch piece of pink velvet and looped it. Then I stitched it to the back of the unicorn.
I also made a pompom out of pink yarn and stitched the long strings to the back.
Now it’s time for the flowers! I cut this out felt the Cricut Maker and ran a running stitch through the strip, gathered it up and BAM a flower, I made three in total, one with a tiny pompom in the center, and stitched them on the front.
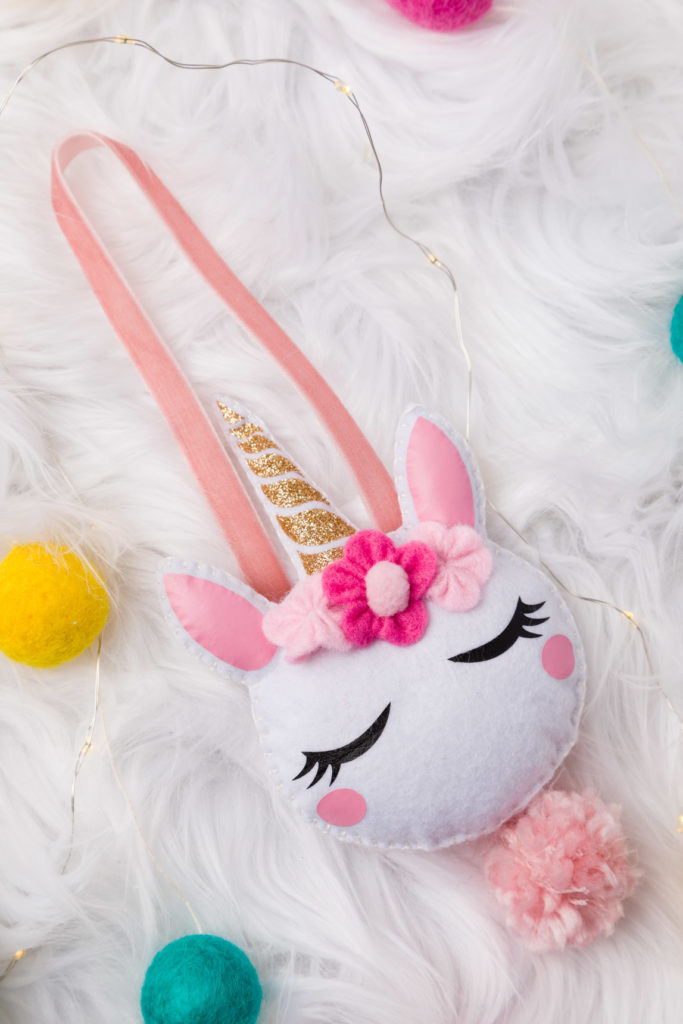
Annnddddd…Viola! She’s done.
Wow, it’s a two-for-one special!
- Cricut Maker
- Scraper
- Weeding Tool
- Scissors
- Transfer Tape
- Tombow Mono Aqua Liquid Glue
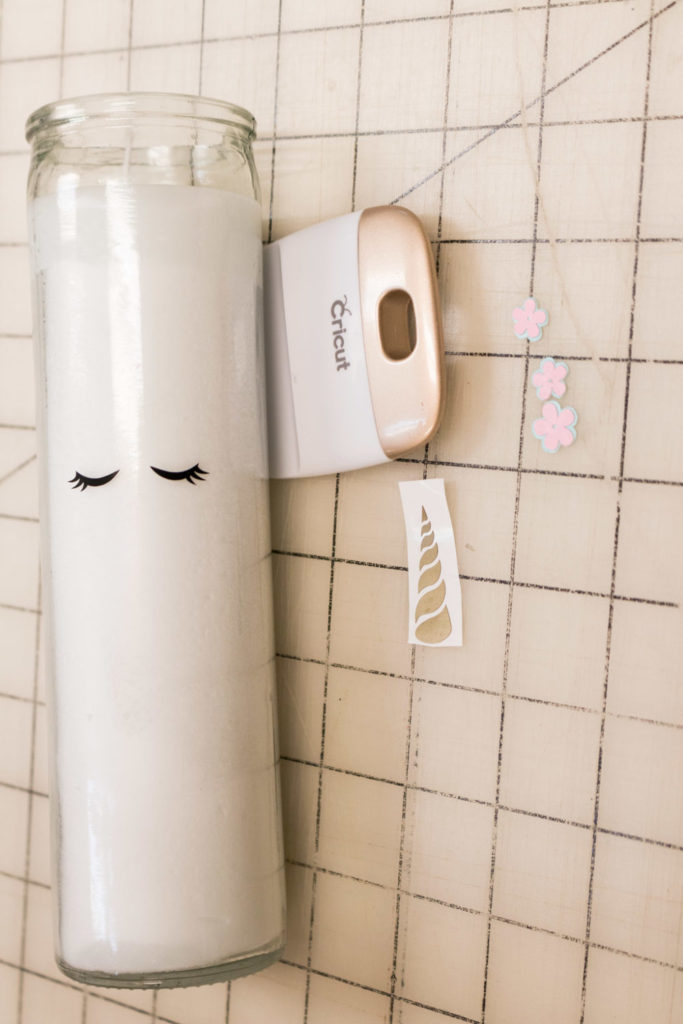
- Candle
- Cardstock
- Pink
- Blue
- Vinyl
- Black
- Gold
- Twine
- Pink
- Blue
To begin with, I use my Cricut Maker to cut out the vinyl and paper pieces. I go ahead and glue the two layers of paper together to make the flowers with Tombow Mono Aqua Liquid Glue.
Then I clean the surface of the glass where I will apply the vinyl decal.
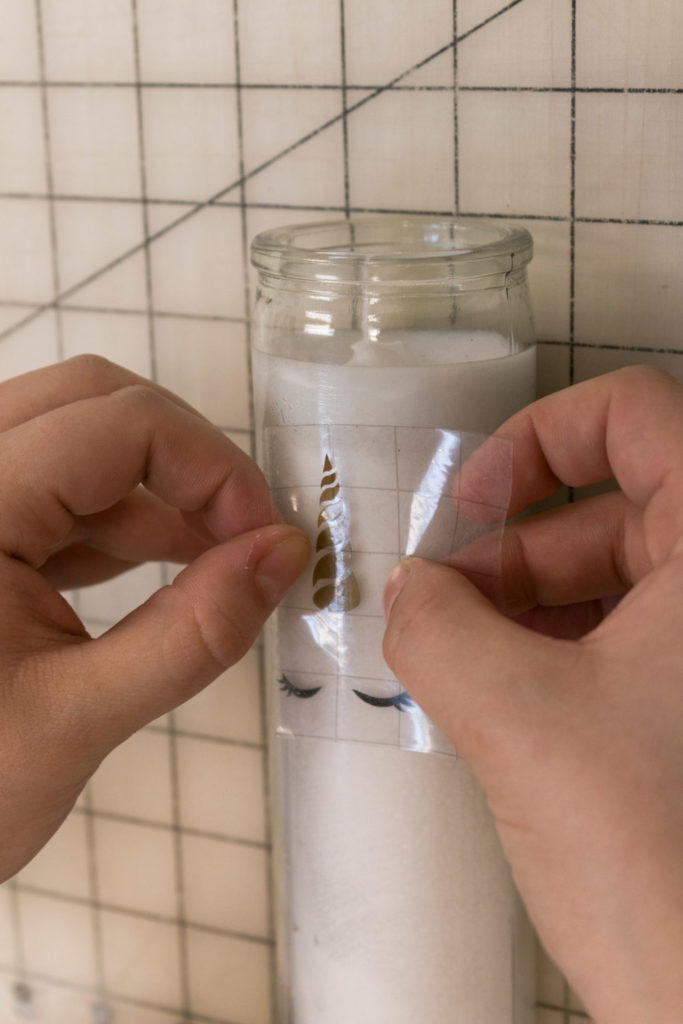
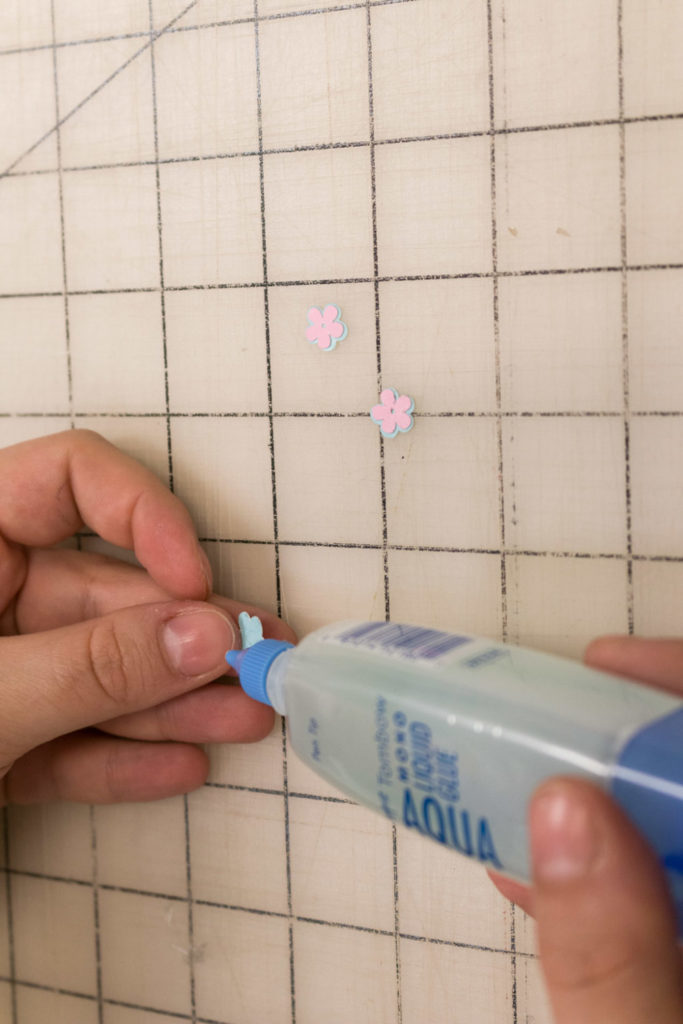
Using Transfer tape and a small scraper I apply the vinyl decal part of the design. Then, using the same glue, I adhered flowers to the candle at the base of the horn.
For a finishing touch, I wrap two colors of twine around the lip of the candle and tie a little bow.

And Check Out These Projects!
Coming up soon!

Easy Unicorn Glitter Epoxy Resin Coaster How To | Olivia OHern
Sunday 13th of June 2021
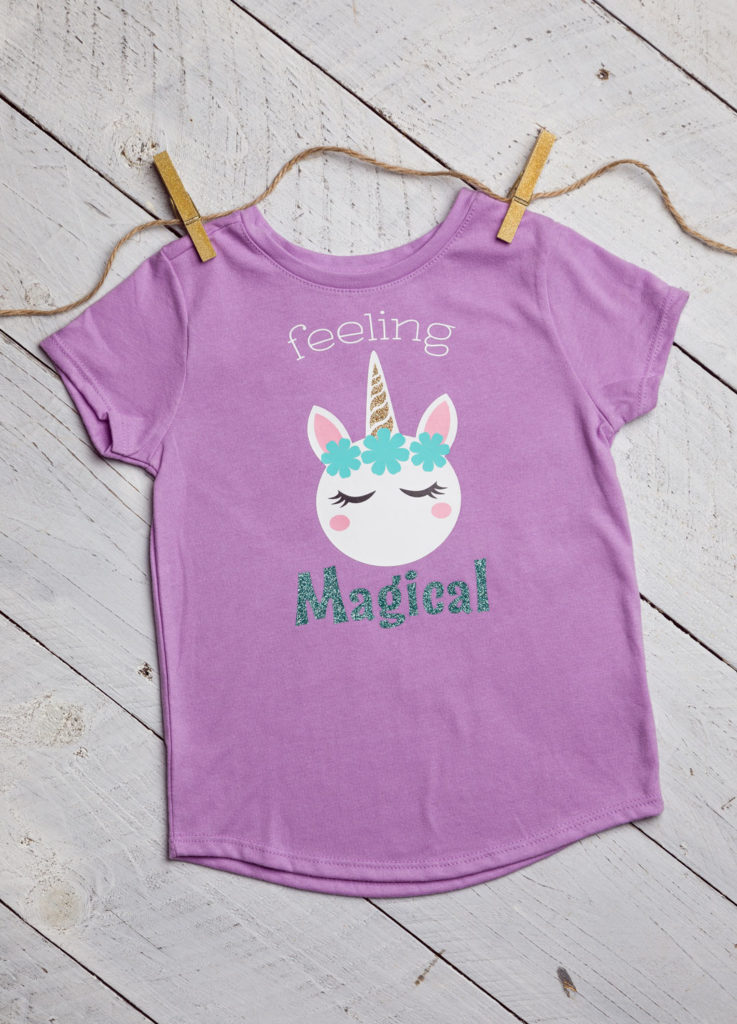
[…] How to Make Cute Unicorn Decorations Adorable Vinyl “Feeling Magical” Unicorn T-Shirt Quick & Easy Easter Basket Vinyl Decals […]
Maria Gueldner
Friday 7th of February 2020
I don’t have a Cricut so it still be made wanting to make for granddaughter..
Meryl
Monday 3rd of February 2020
Nice job. Interested in getting a Cricut but I haven decided. But and when I do you got me on the mini press.