This post is part of a Christmas stocking blog hop! So scroll to the bottom for more Christmas stocking inspiration.
This post may contain affiliate links. This means that if you purchase from one of these links I will make a small commission, but rest assured you will not pay more for any products.
Supplies
How To
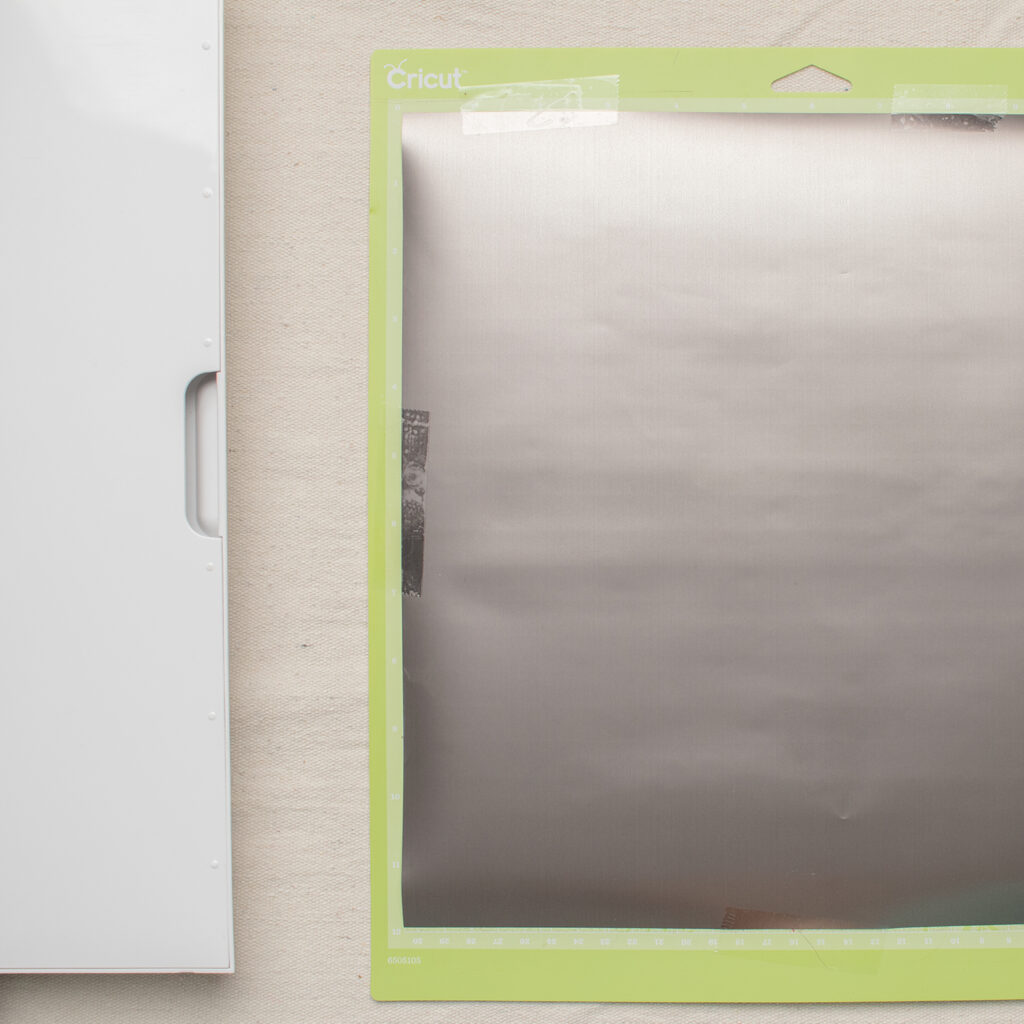
First, I cut out my vinyl on my Cricut Maker using a StandardGrip mat.
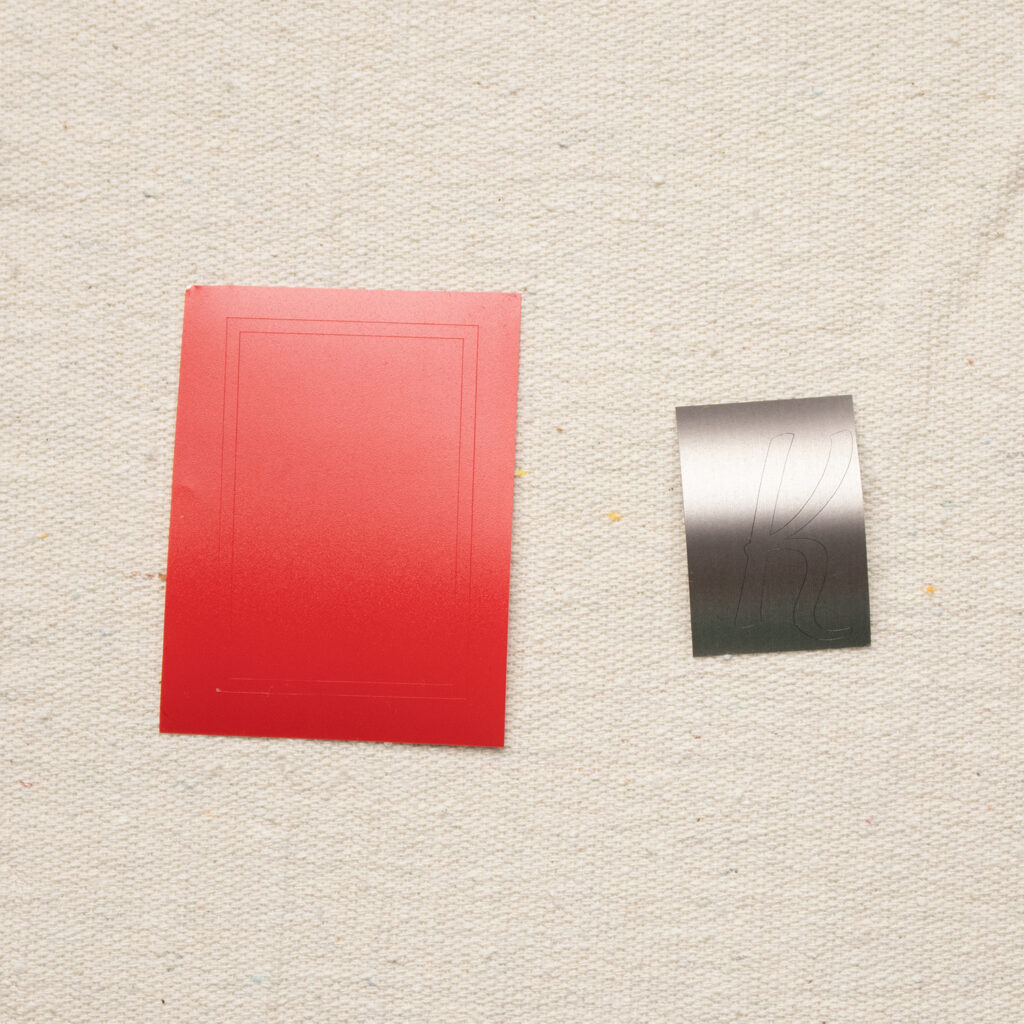
Once your pieces are cut out, weed them.
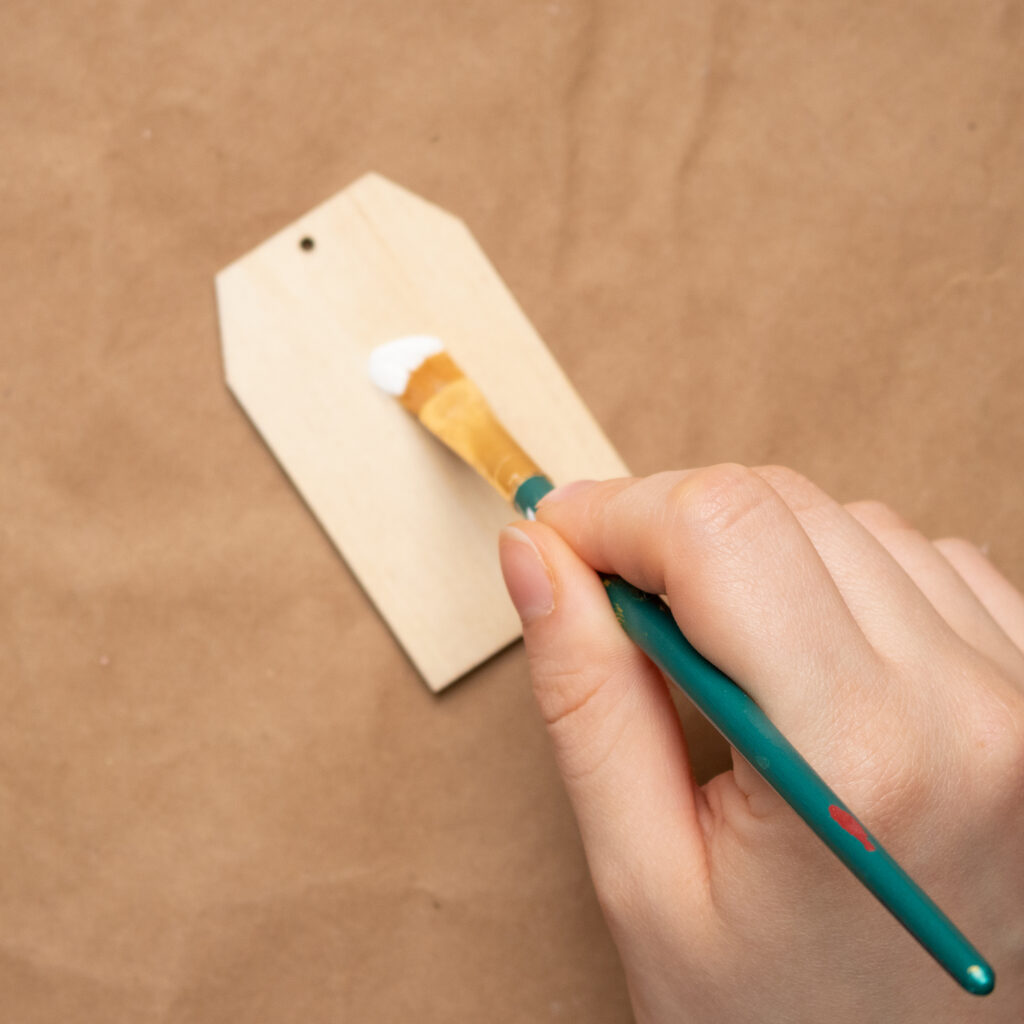
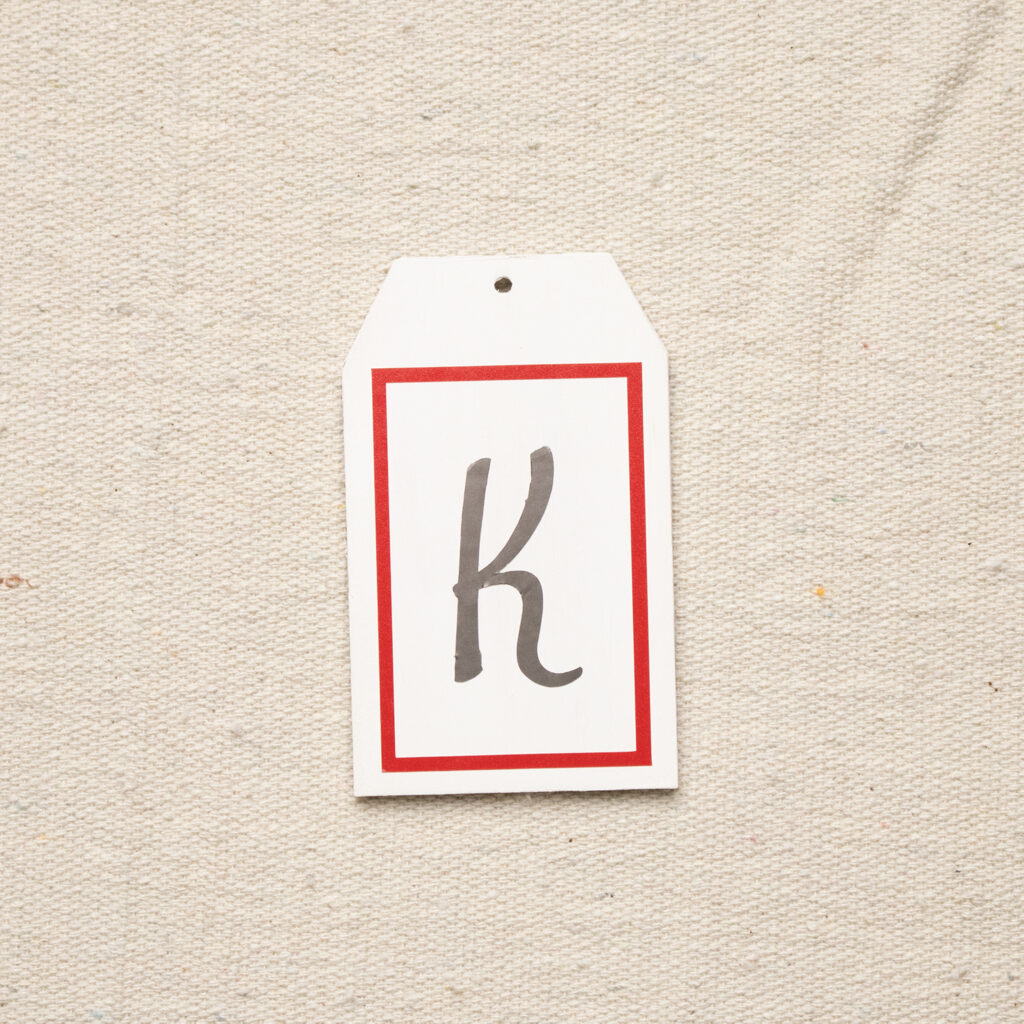
I used two coats of white chalk paint on this wooden tag.
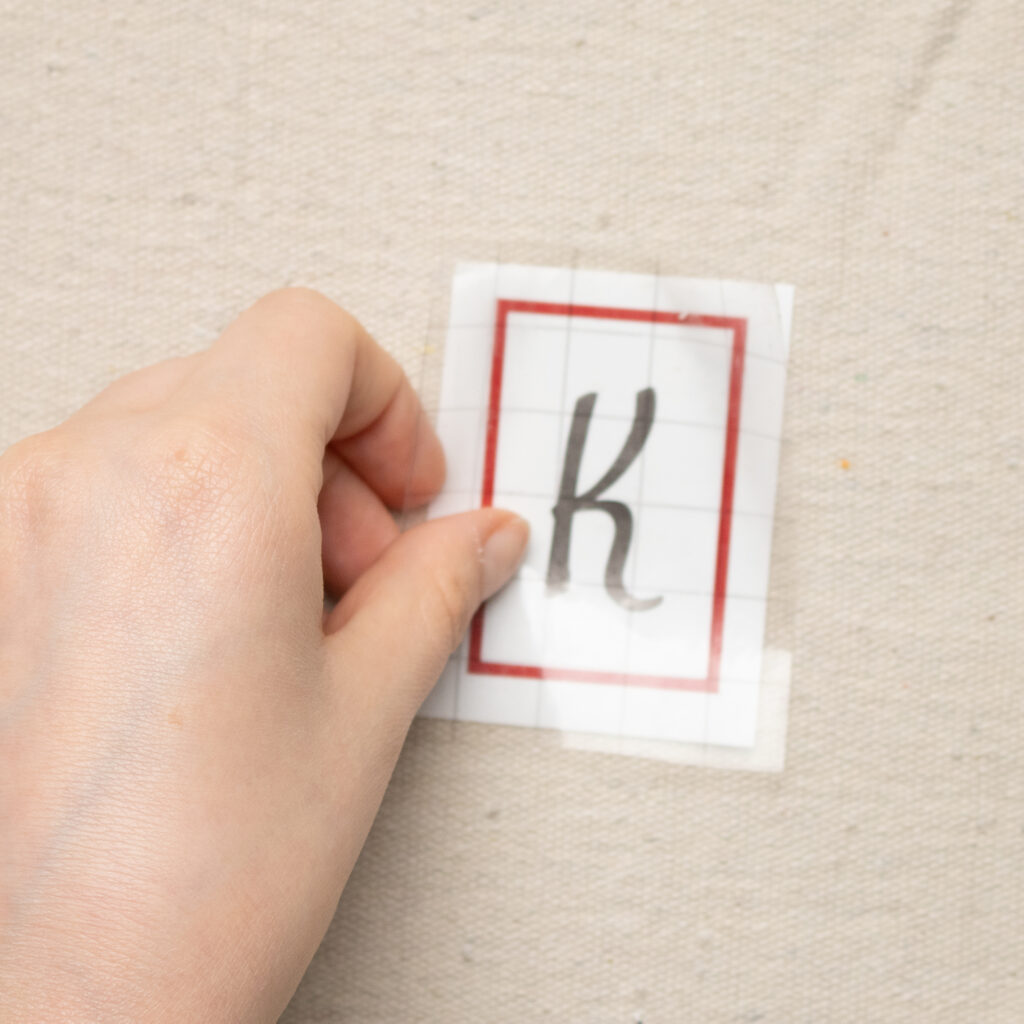
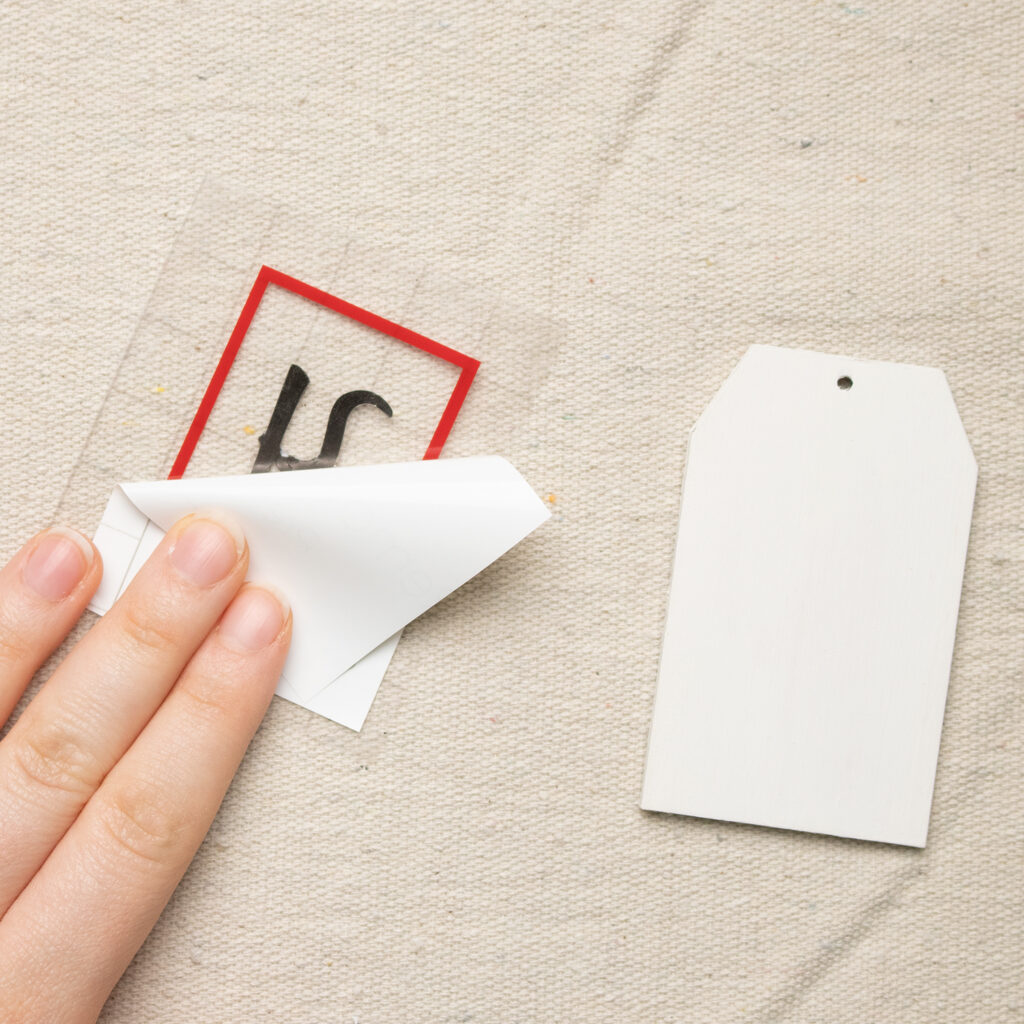
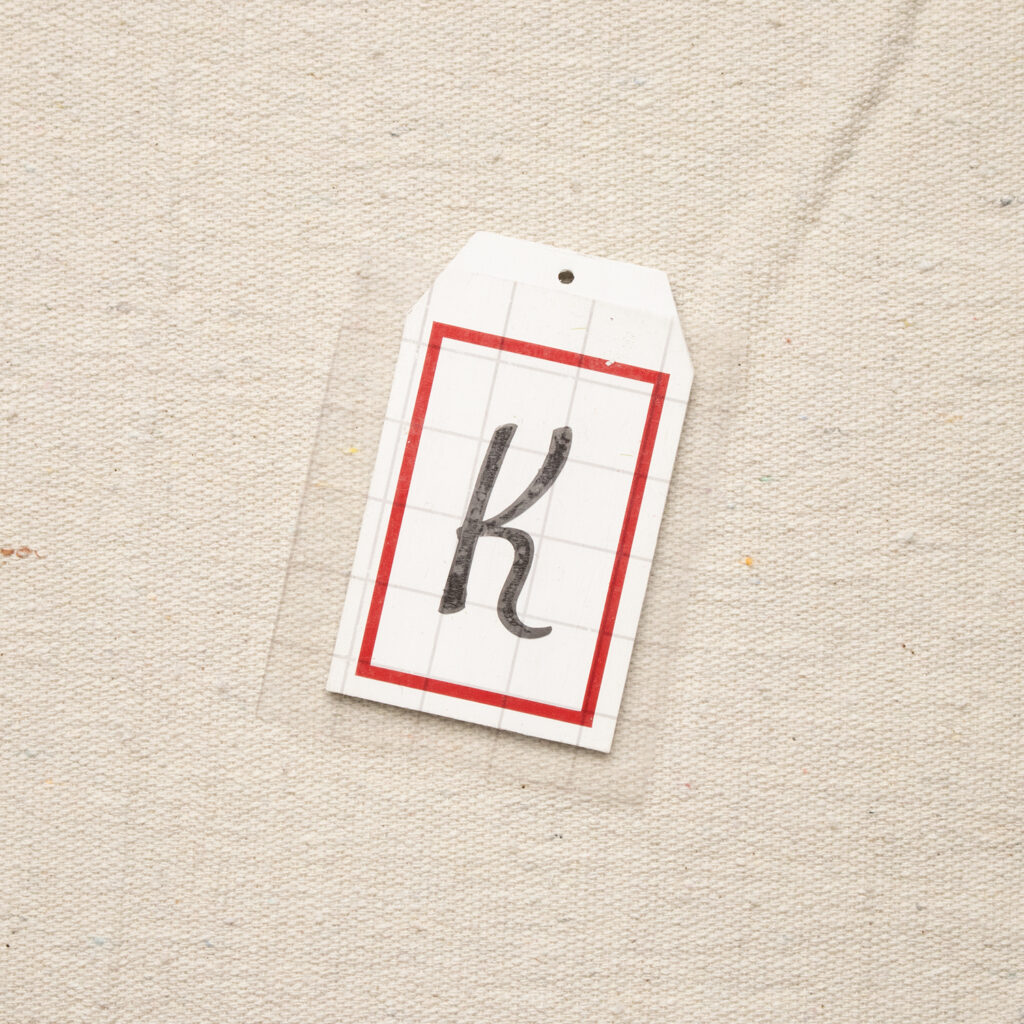
I put the K in the center of the rectangle before applying the transfer tape on top of the vinyl. Then flipped it over and pulled the backing off.
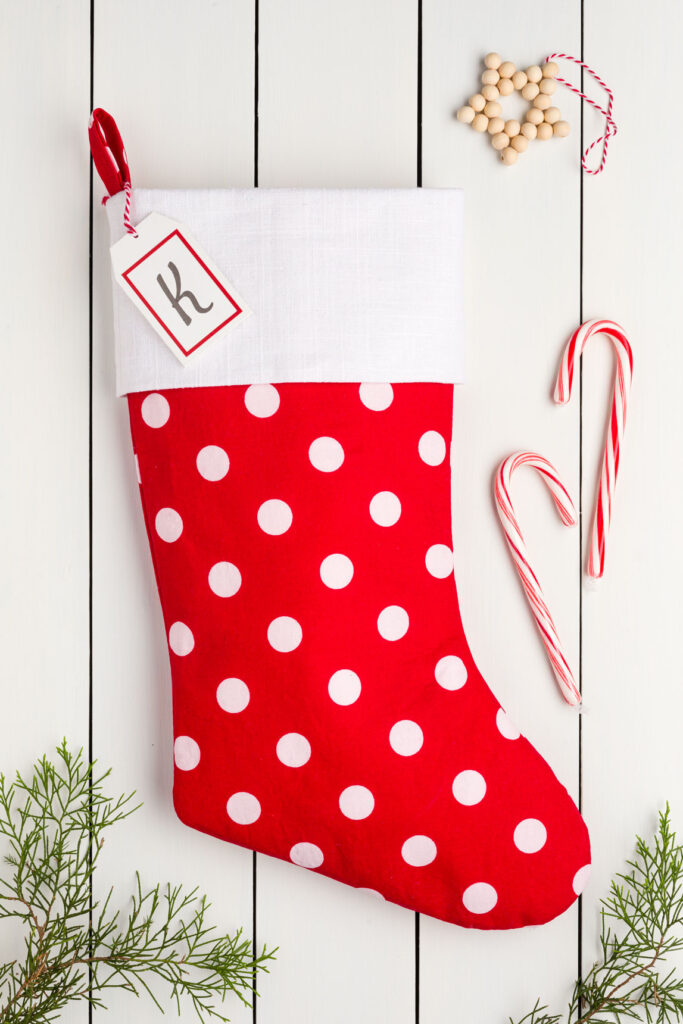
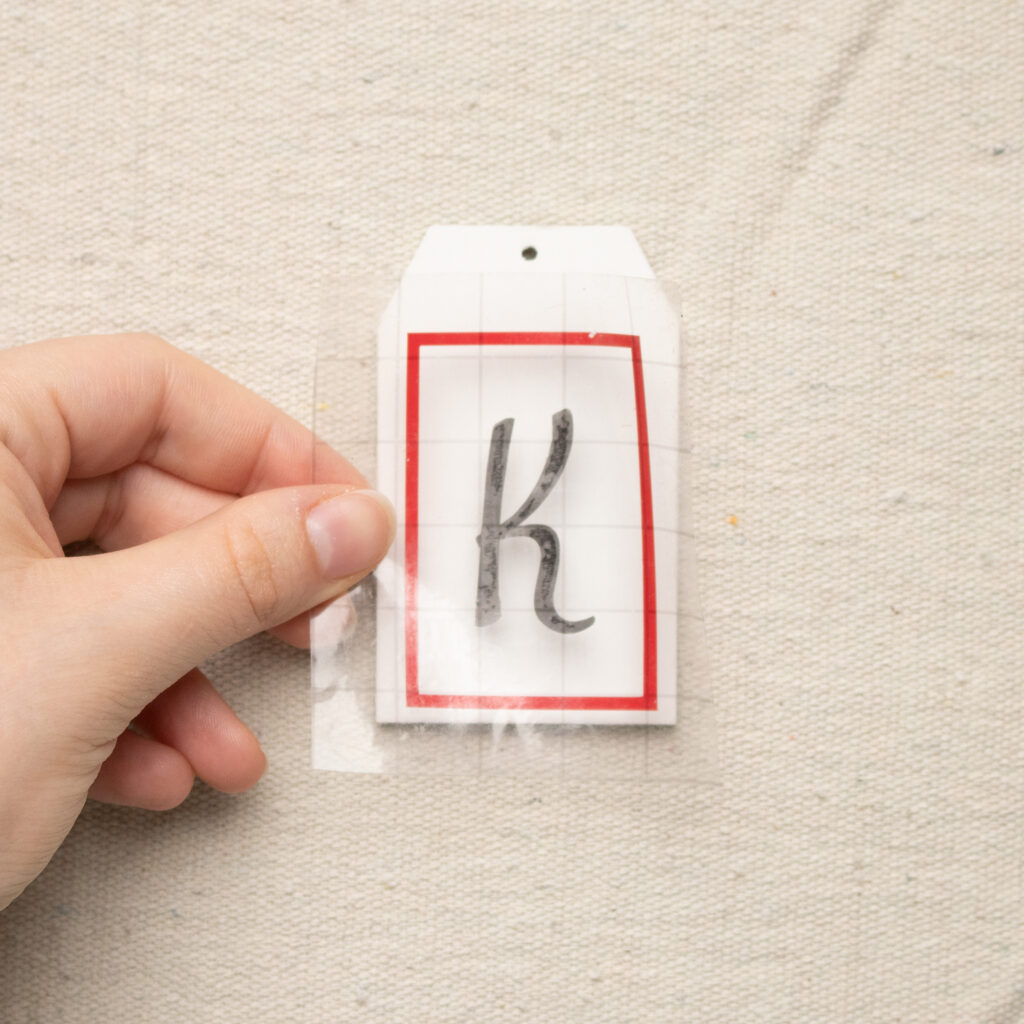
From there, I lined up the rectangle with the sides of the tag before pressing the vinyl down onto the tag.
Then, to pull off the transfer tape I go from a corner and pull it away.
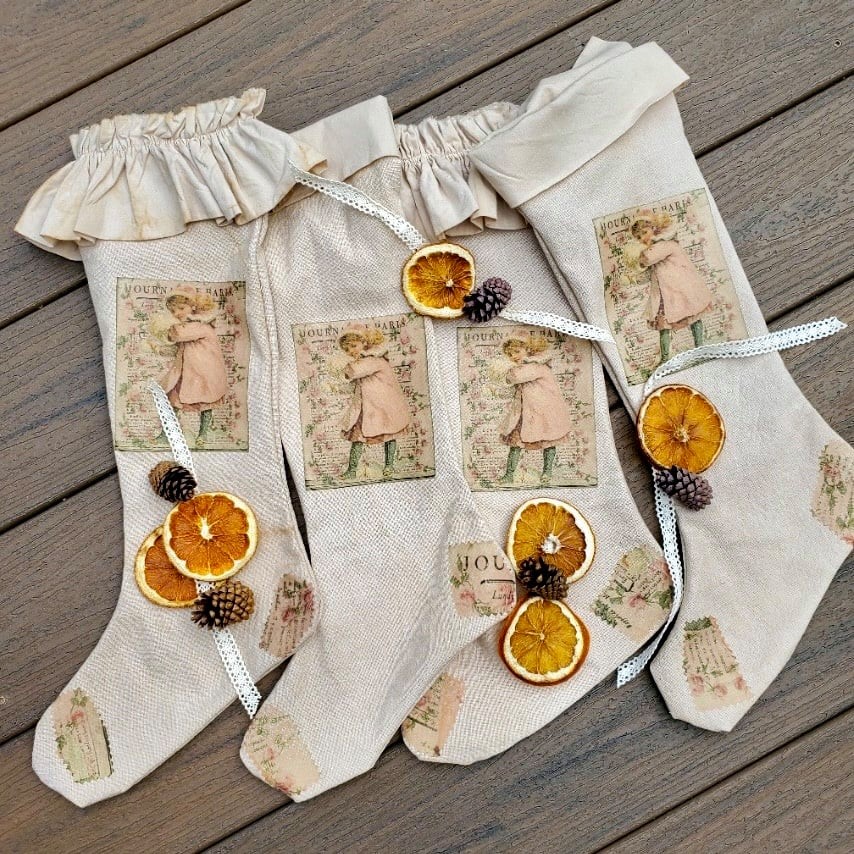
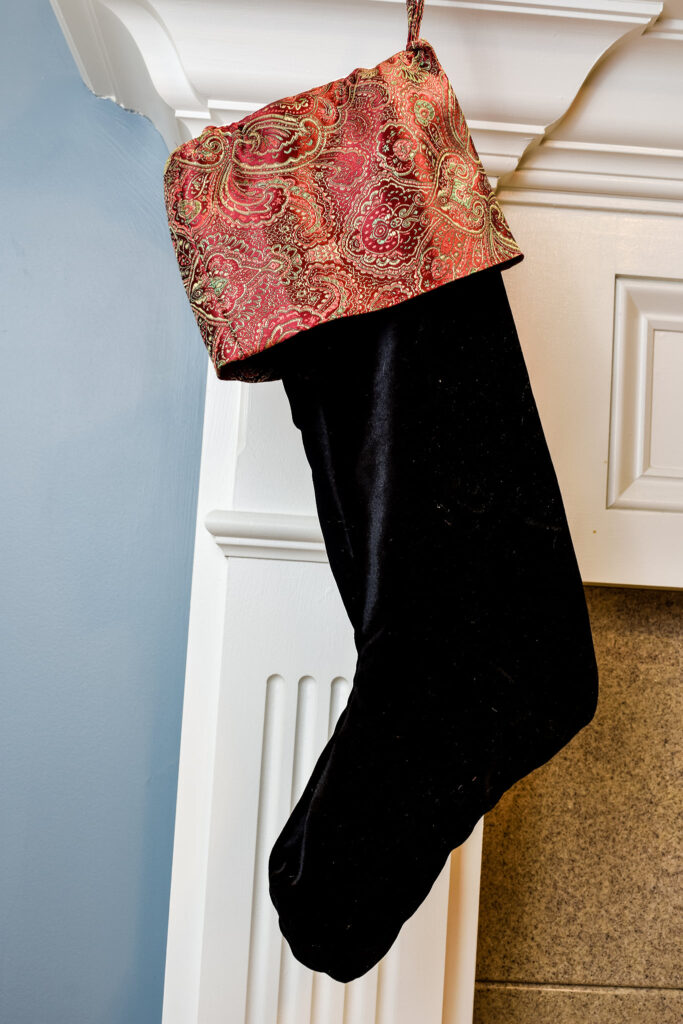
Christmas Stockings
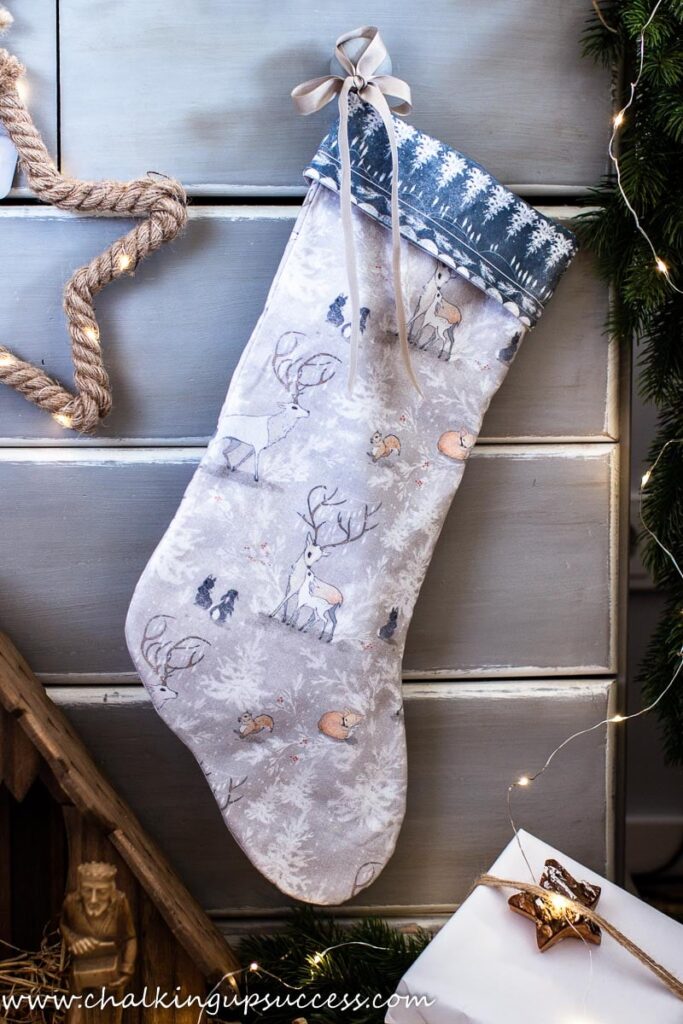
Kippi At Home // Chalking Up Success
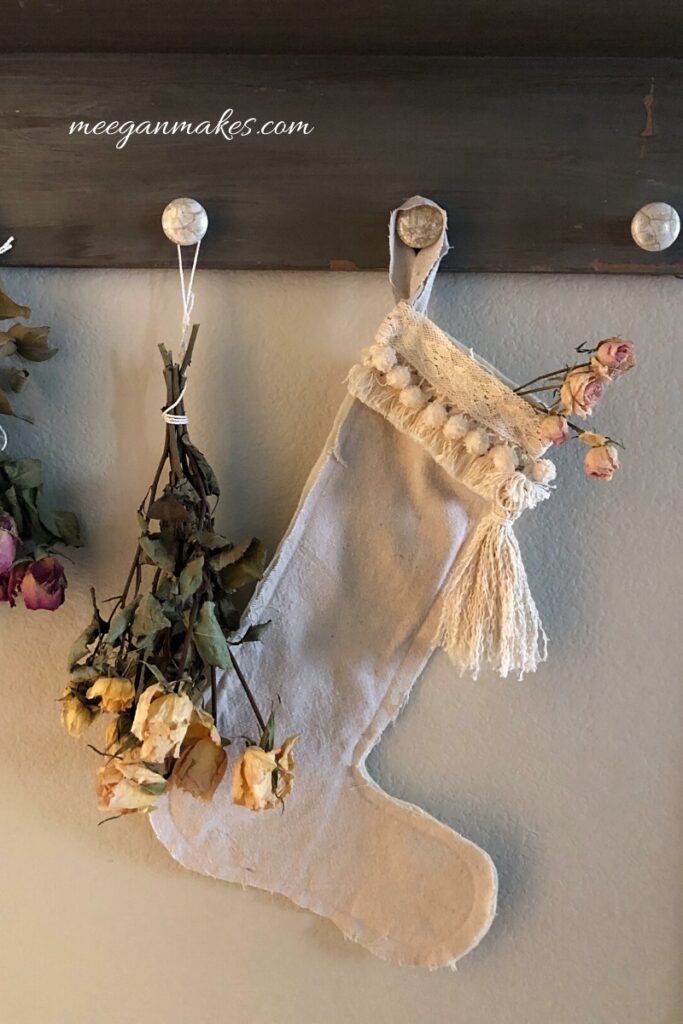
Cloches & Lavender // Meegan Makes



Rebecca
Monday 27th of September 2021
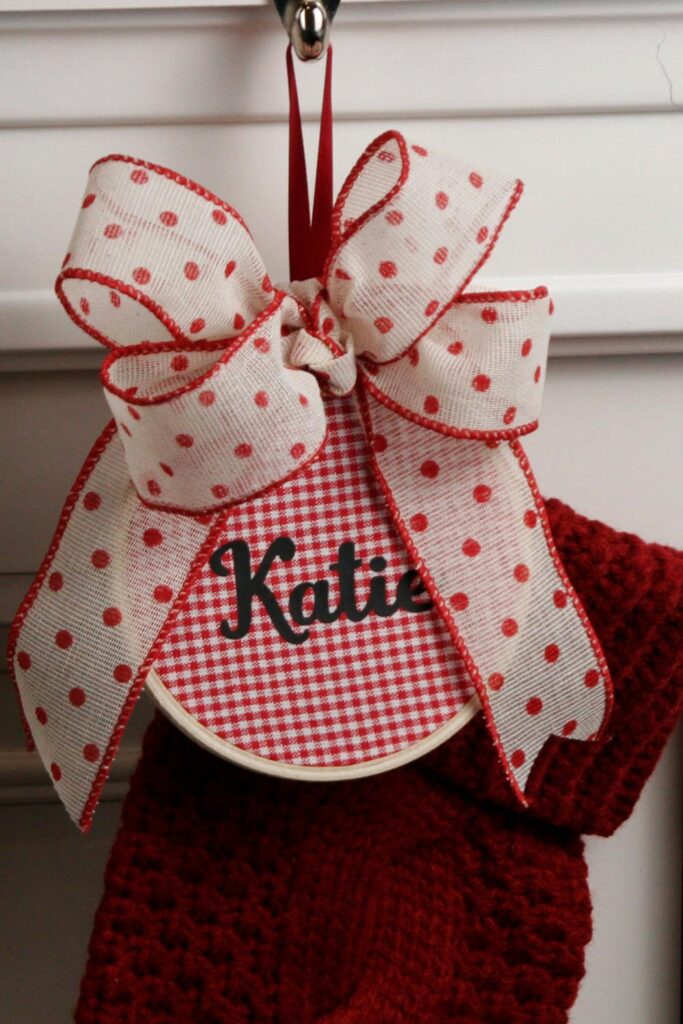
What a great way to personalize a stocking! I really need to learn how to use my Cricut. You make the cutest crafts with your Cricut, Olivia! These tags would be great for gifts, too. Thanks for sharing! It was fun hopping with you. Pinned!
Janet
Monday 27th of September 2021
These are so cute and so easy.
Cindy
Saturday 25th of September 2021
These tags are cute Olivia. Great job! You did a great tutorial!
Meegan
Saturday 25th of September 2021
Such a fun and creative way to add personality to any Christmas stocking or gift! Thanks for the step by step tutorial, Olivia. I am excited to make some of my own.
How to Make a Boho Style Christmas Stocking - What Meegan Makes
Friday 24th of September 2021
[…] Wooden stocking tags are easy to make and personalize for all of your Christmas stockings created by Olivia O’hern. […]