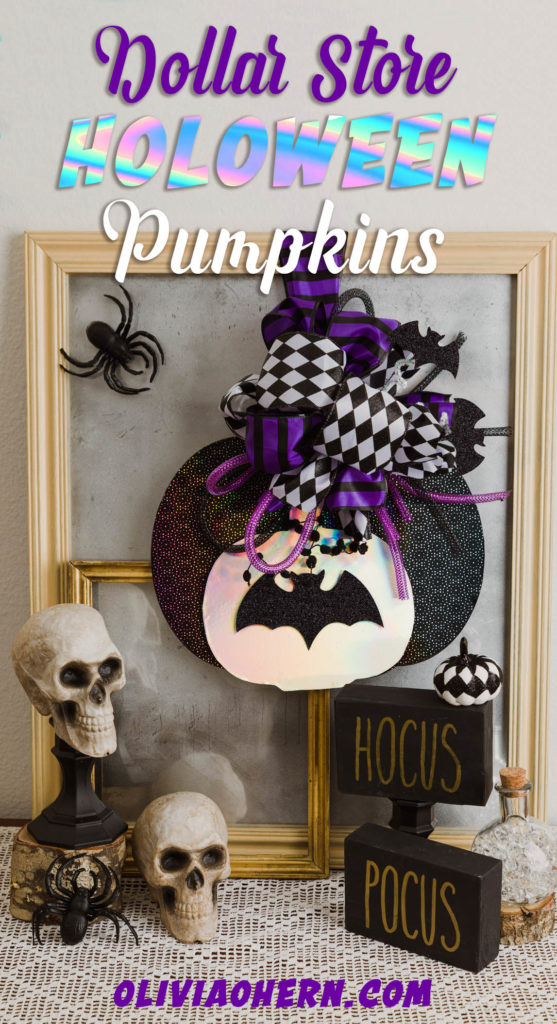
My favorite holiday is hands-down Halloween, and one of my favorite colors? Holographic (or Holo for short) I wanted to make something fun and cheap for Halloween that would outshine the rest!
Surfaces that are holographic reflect the whole color spectrum
This post may contain affiliate links. This means that if you purchase from one of these links I will make a small commission, but rest assured you will not pay more for any products.
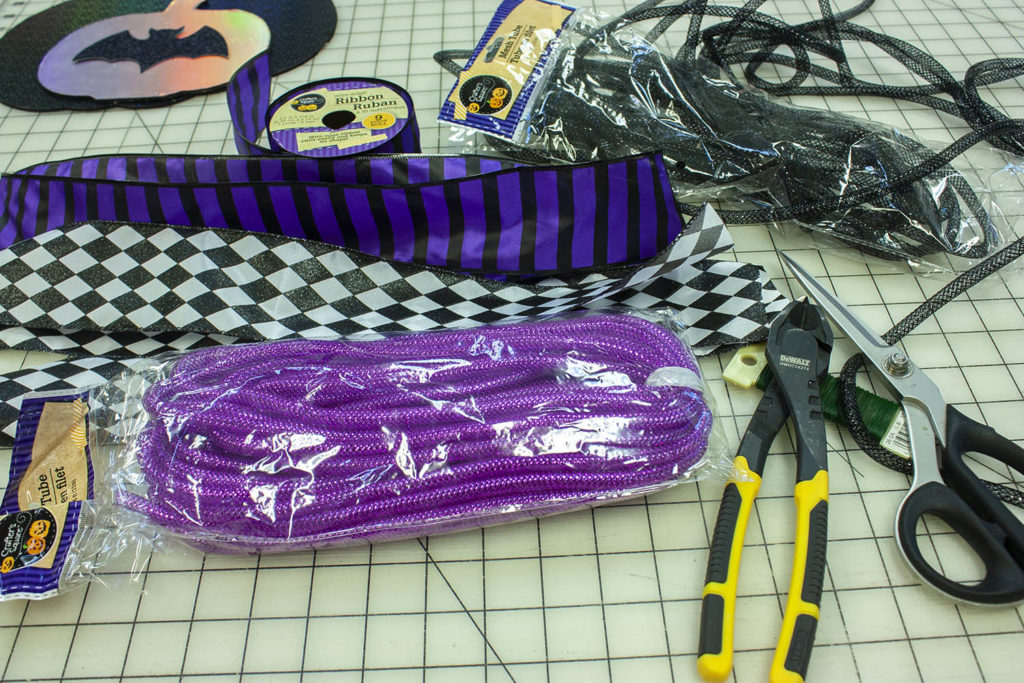
Tools & Materials
- Dollar Store Pumpkin Signs
- Dollar Store Ribbon
- Dollar Store DecoMesh Tubing
- Hot Glue Gun & Glue Sticks
- Scissors
- Chenille Stem
- Cricut Maker
- Black & Holographic Vinyl
- Linear Holographic Vinyl
- Black Glitter Cardstock
- Floral Wire
- Wire Cutters (or Nail Clippers)
- Pencil
- Surge Protector
This is my fastest project to date, took 20-30 minutes from start to finish! And it is super easy to make!
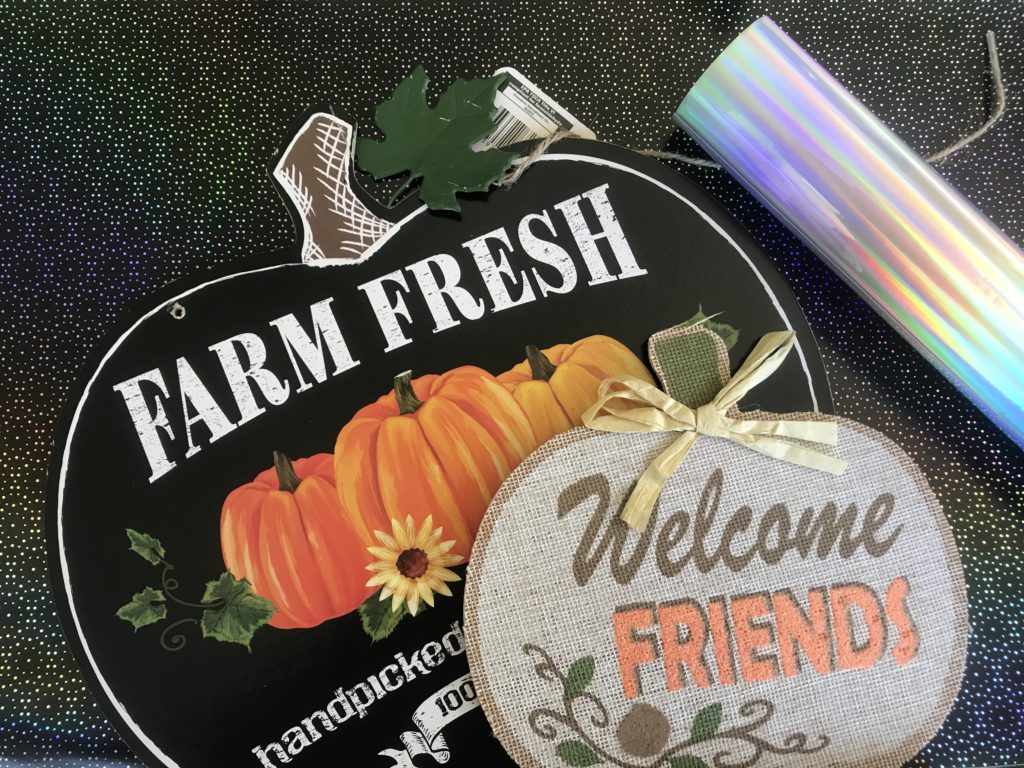
I went on a shopping spree at the local dollar store and ended up with these pumpkin signs, ribbons, and this wild deco mesh tubing.
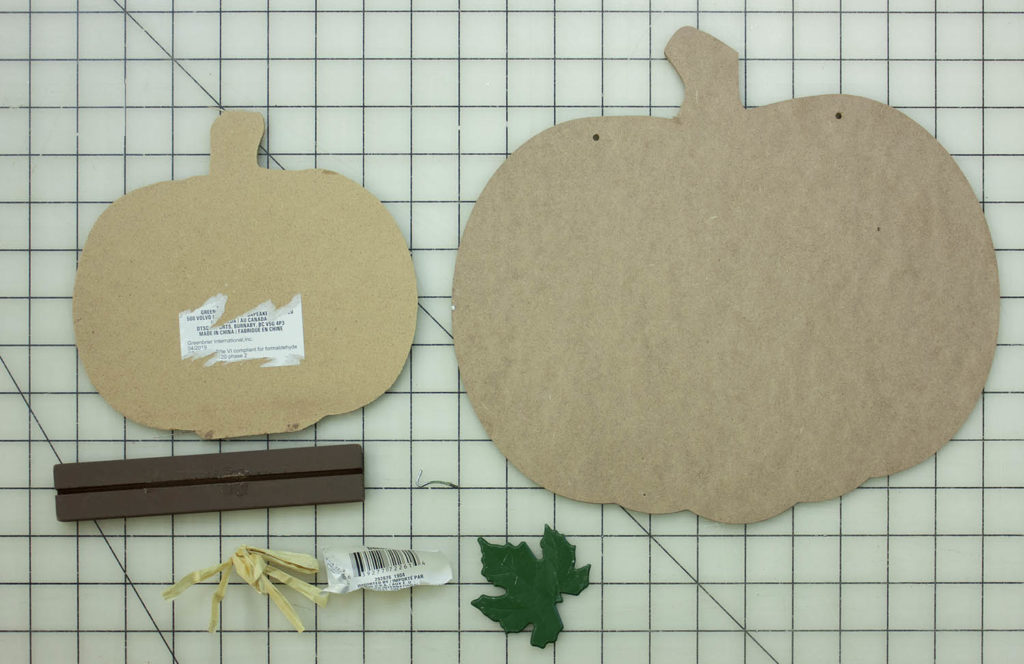
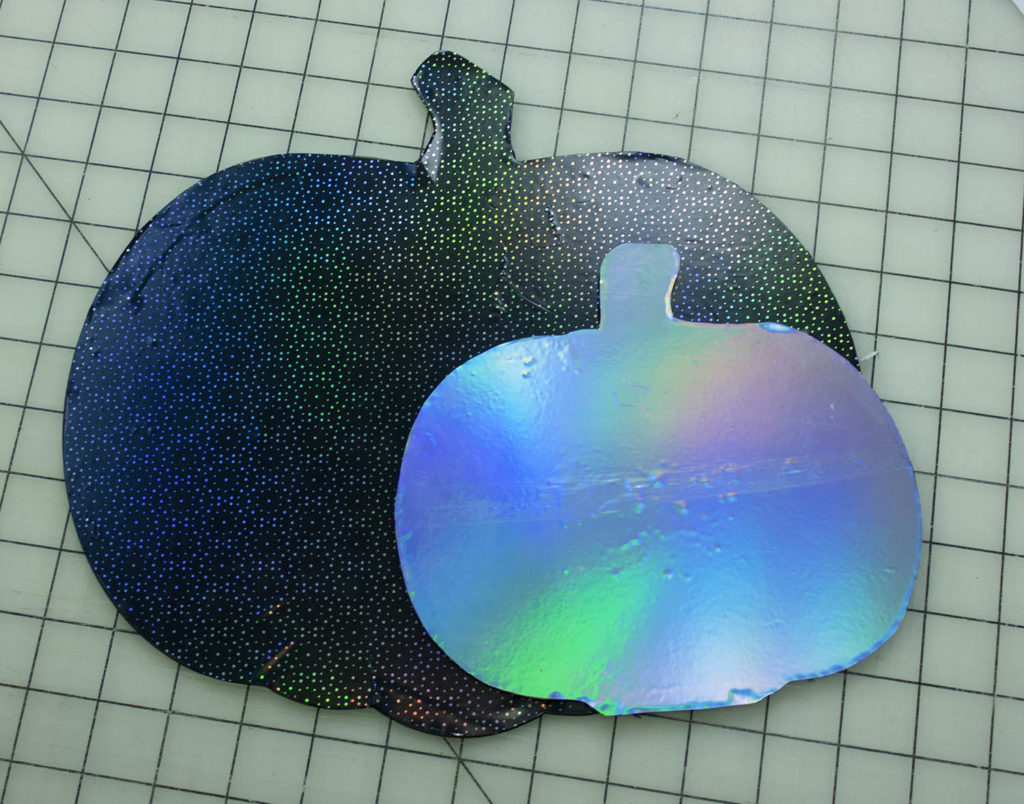
First things first, when I got it all home, I removed all the extra parts on the signs that wouldn’t be needed such as the raffia bow, metal leaf, and twine hanger leaving me with two flat pumpkins to work on.
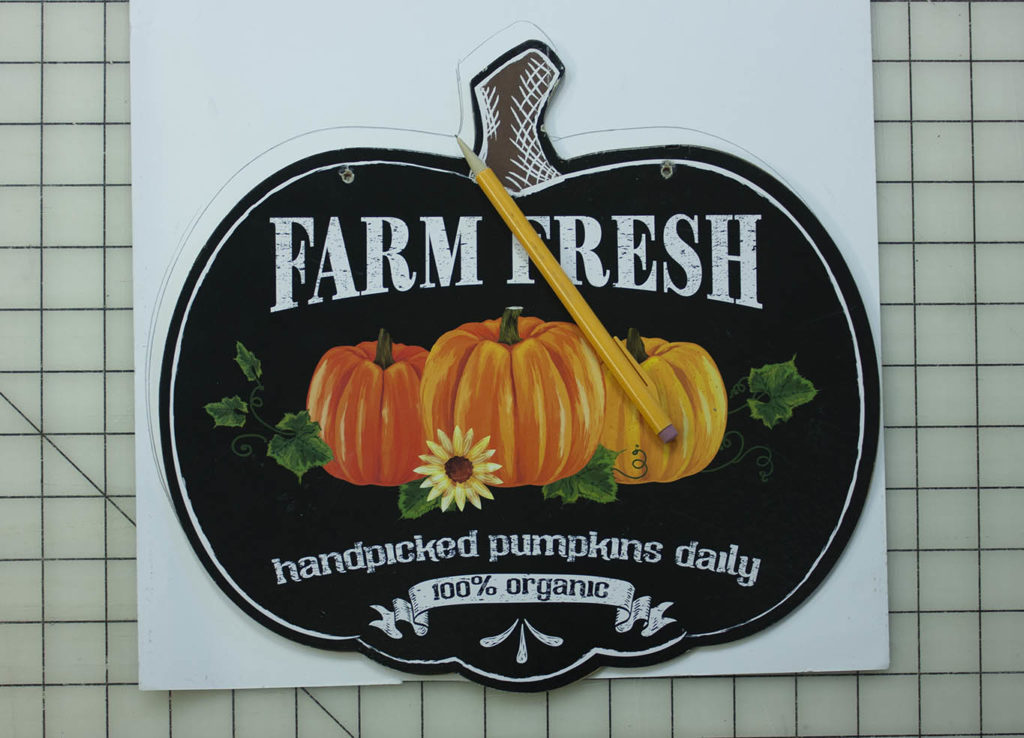
I placed my vinyl and pumpkin front side facing down and traced out the shape in pencil before cutting it out with scissors, I did the same with the other pumpkin.
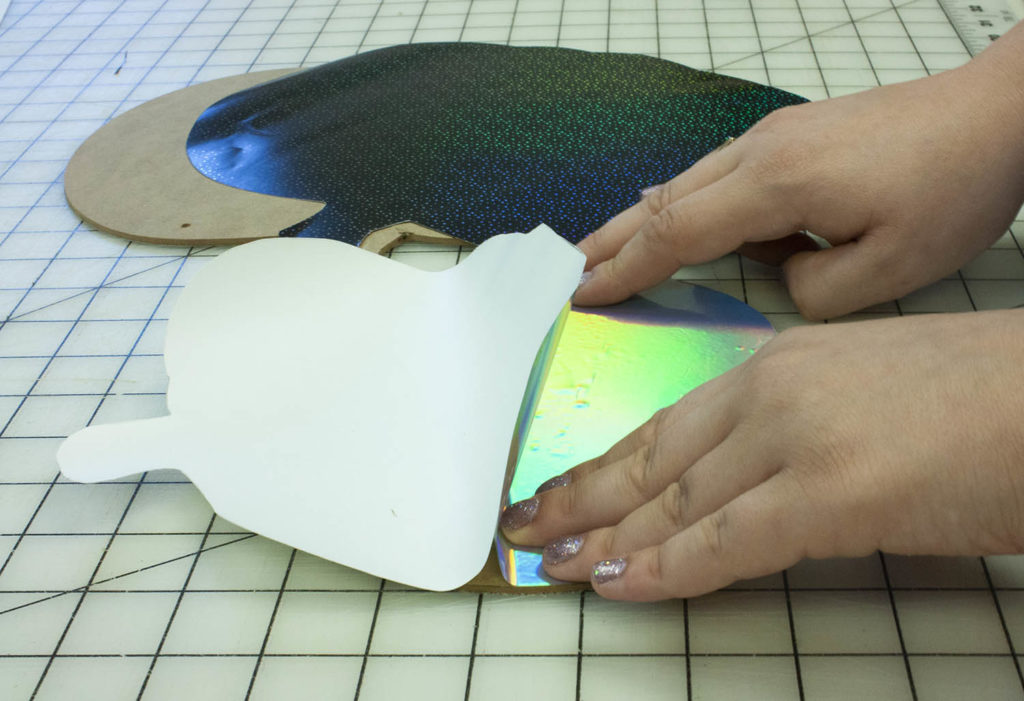
Then I worked carefully to remove the backing on the vinyl and smoothing it onto the pumpkin flat.
Gone Batty
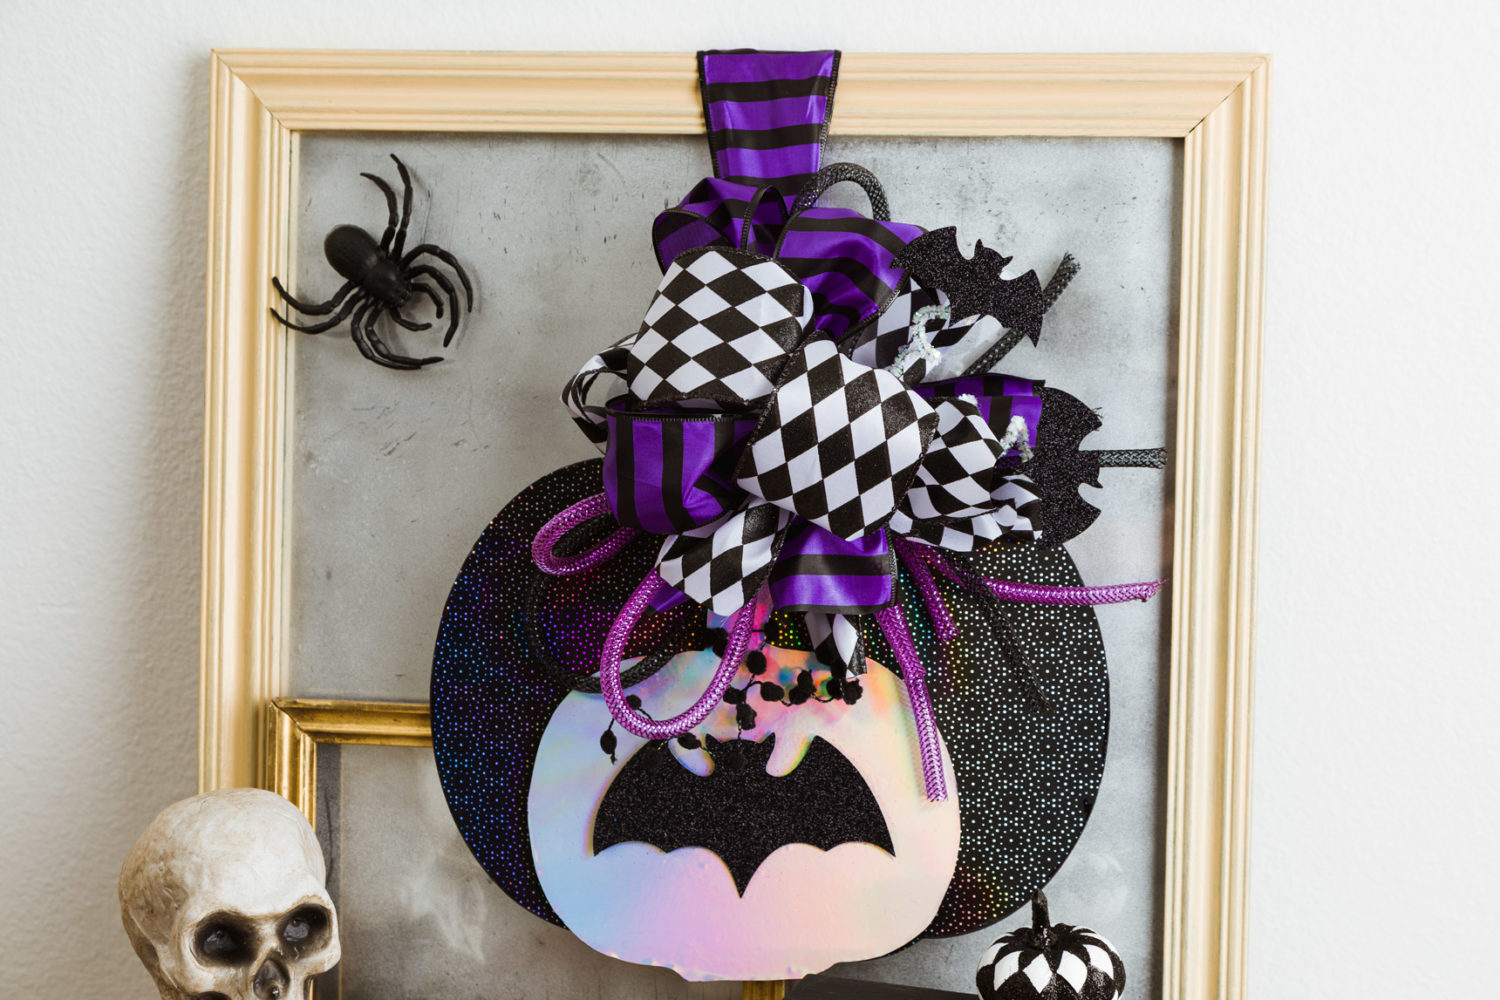
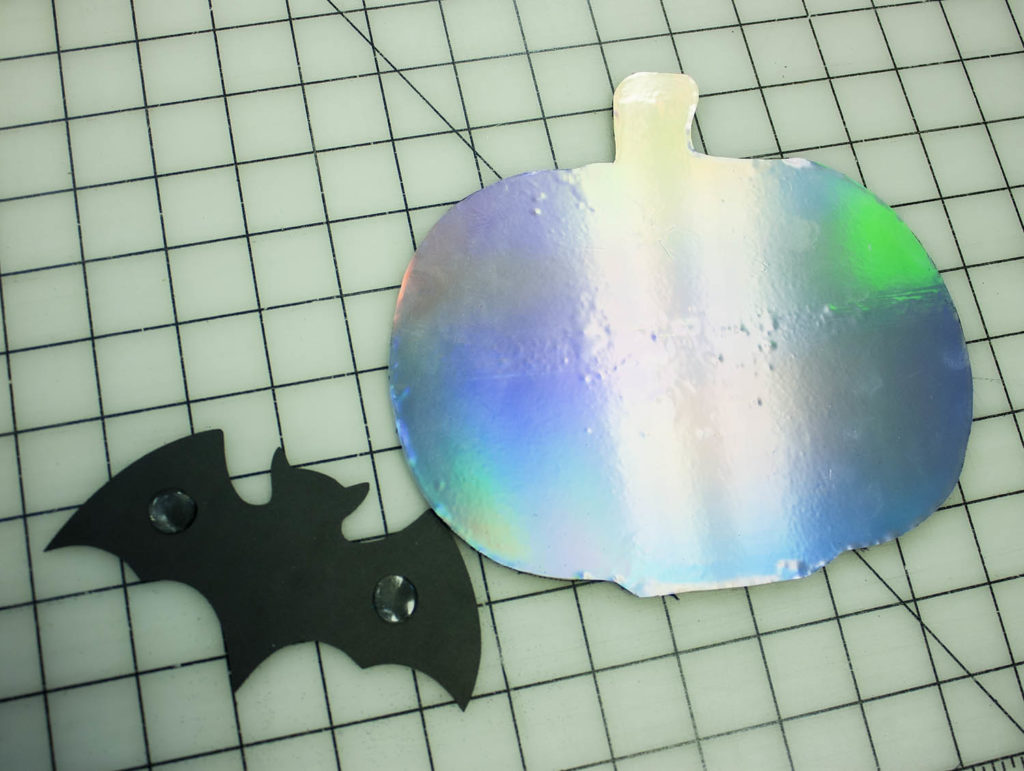
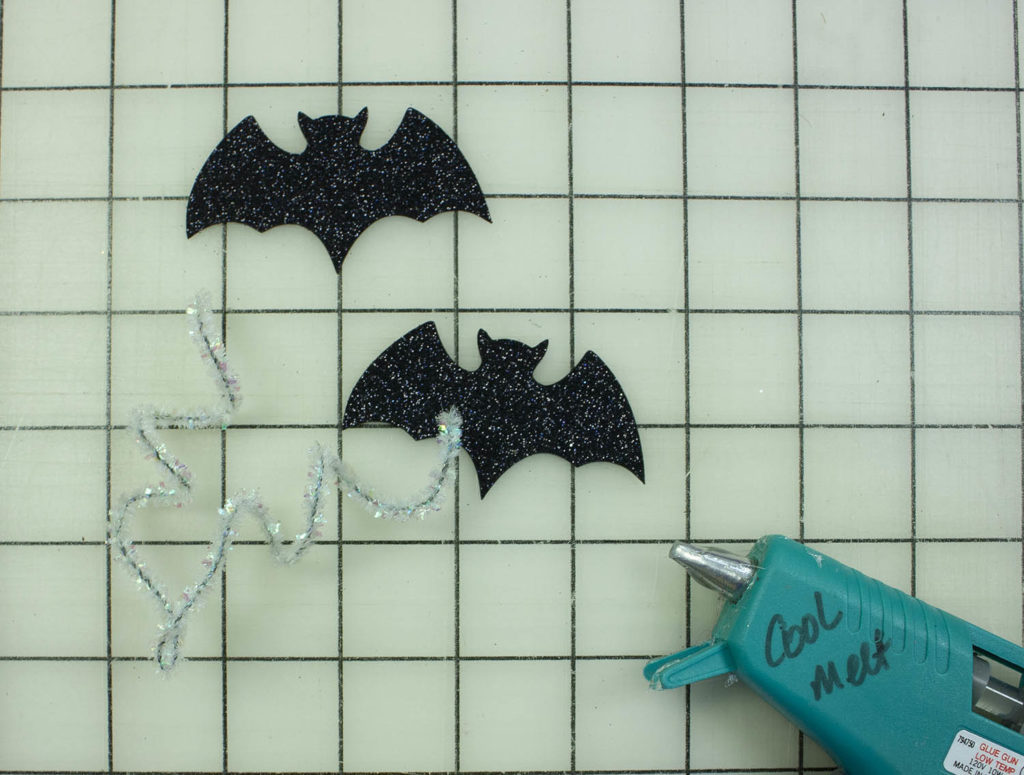
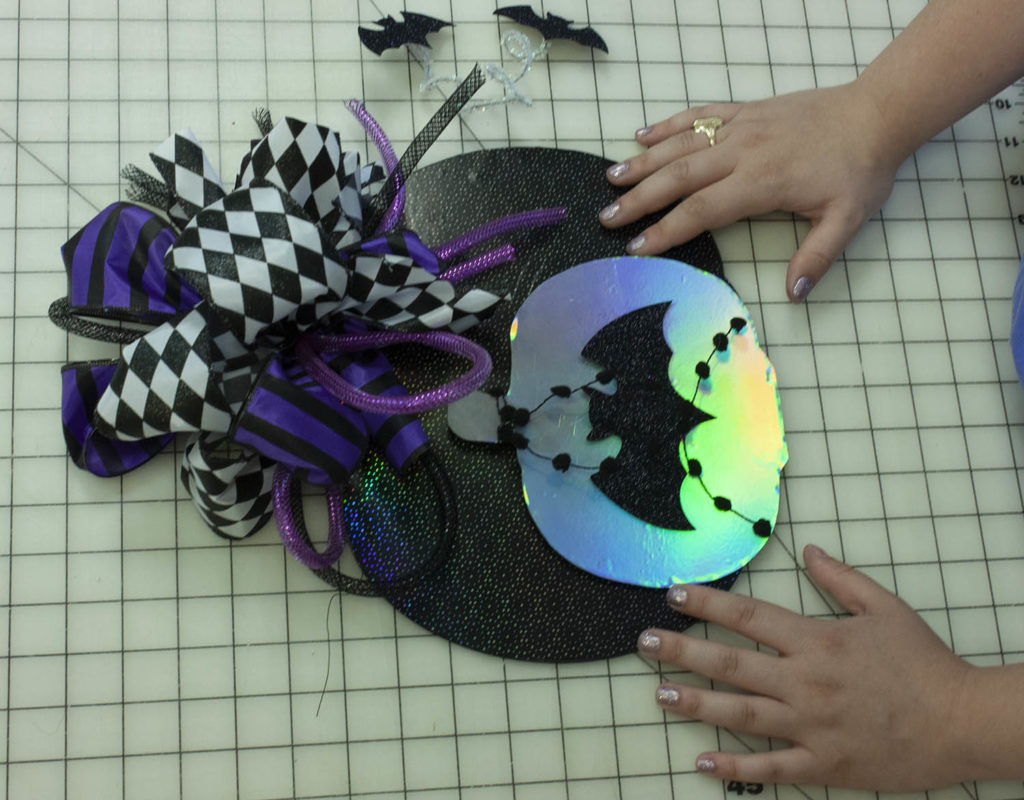
Bats are one of my favorite animals, so what better time to feature them than on this Halloween door hanger? I used my Cricut Maker to cut out one big bat, and two smaller ones. They could be easily cut out on a different machine or by hand, but I would definitely stick with the black glitter cardstock it adds some really interesting texture.
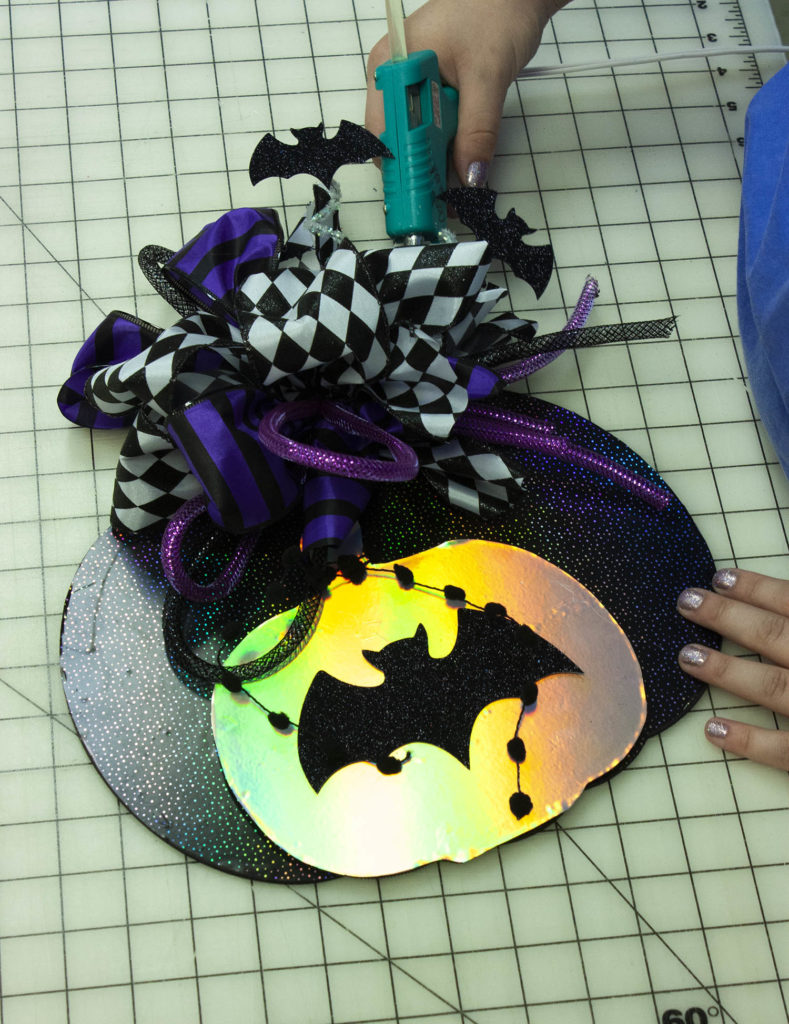
To attach the big bat to the pumpkin I used adhesive dots to give it a more 3D effect. I hot glued the small ones onto a chenille stem (or pipe cleaner) I curled with my fingers.
Tie it in a Bow
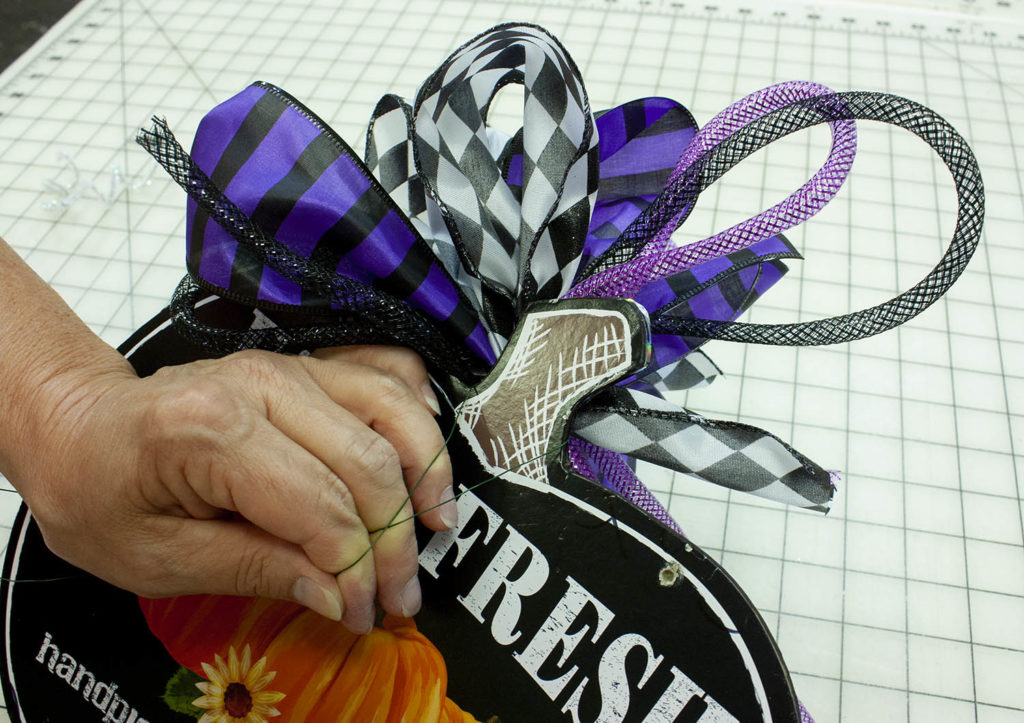
From here this bow was added with floral wire by Kippi from Kippi At Home. You can also check out her video on how to make a bow below!
Here’s a list of twelve different bows you can make for your door hanger!
That was a nice little detour, but now we have to get our heads back in the game and finish this!
Final Touches
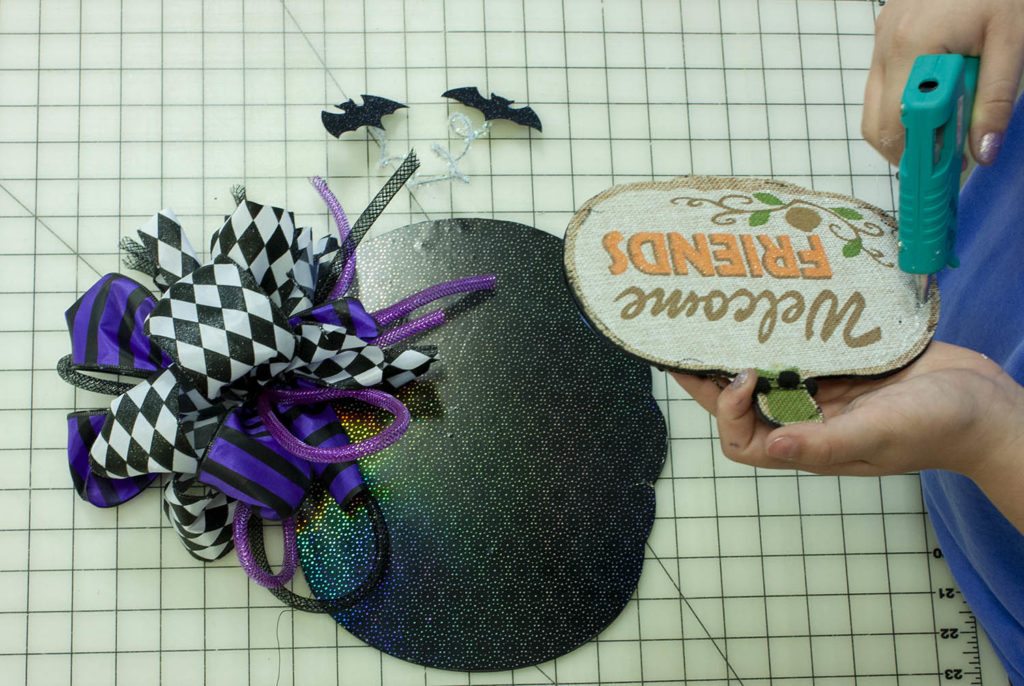
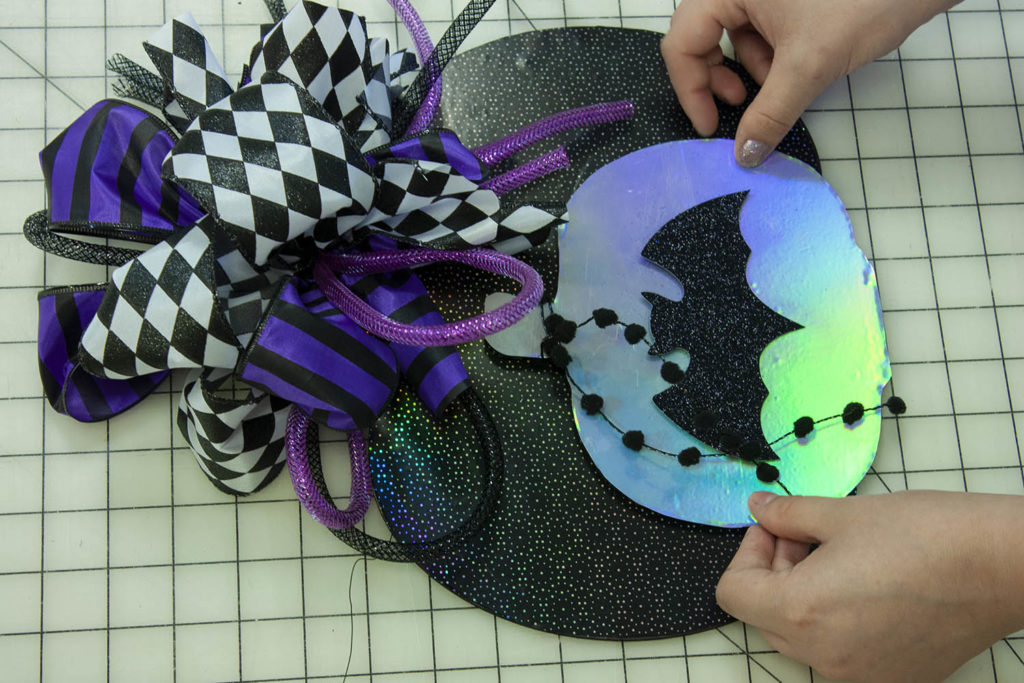
I find it best to figure out exactly how you want to place your pieces together before pulling out any adhesives. I quickly applied hot glue to the back of the smaller pumpkin and then pressed it down onto the bigger one. Then I hot glued my little twin bats into the bow for a fun finishing touch.
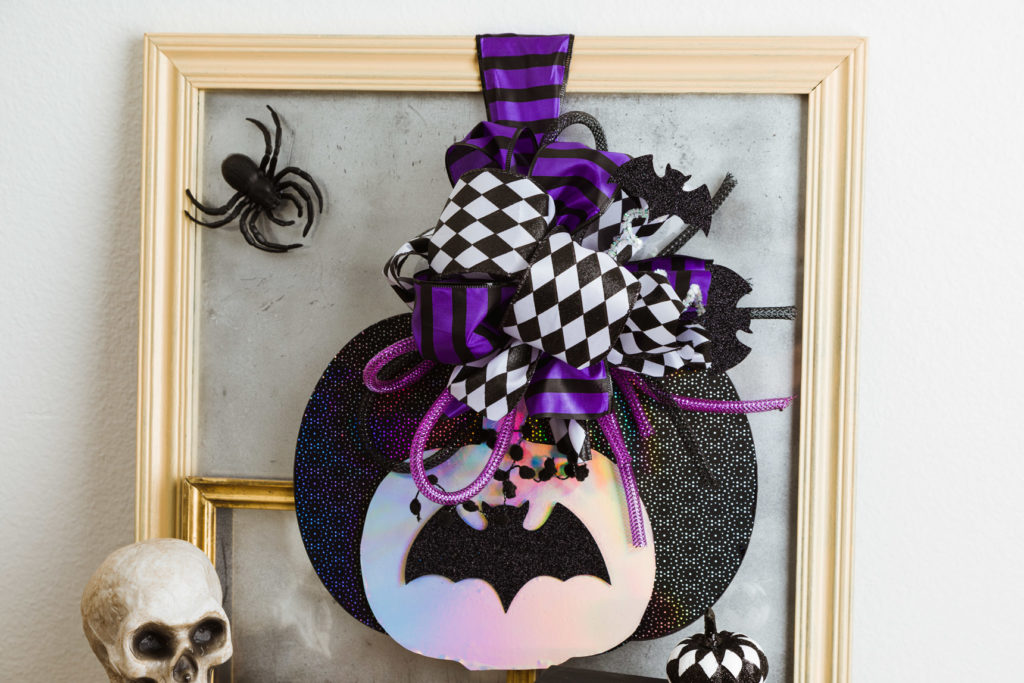
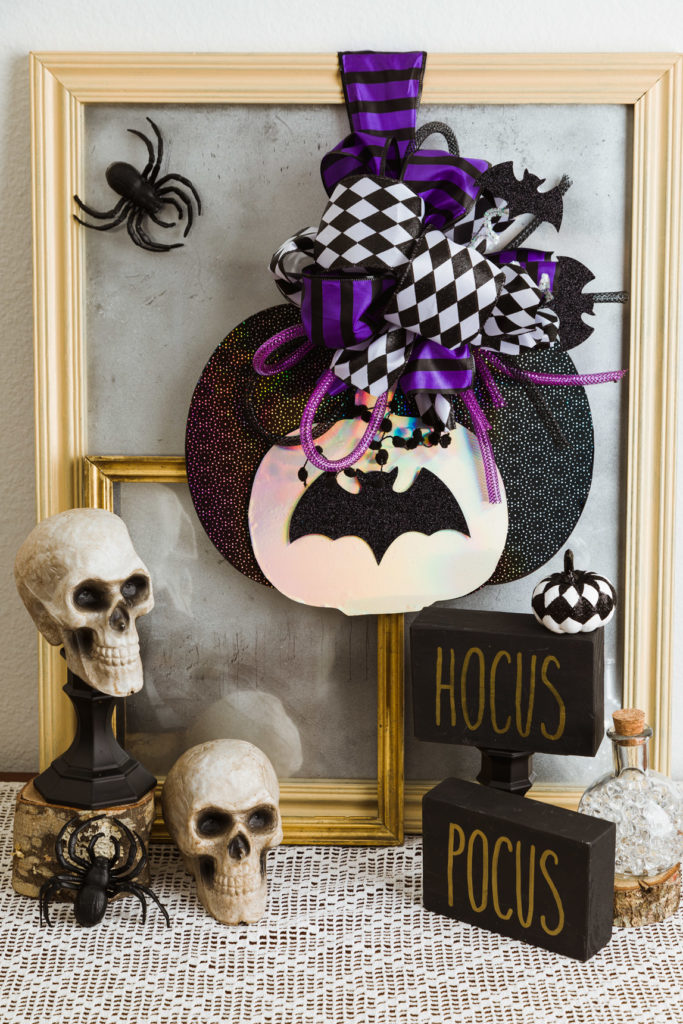
And here we are, at last, finished. I would love it if you’d pin the Pinterest pin I made below and I’d love to see your Dollar Store creations, especially if they are Holo.
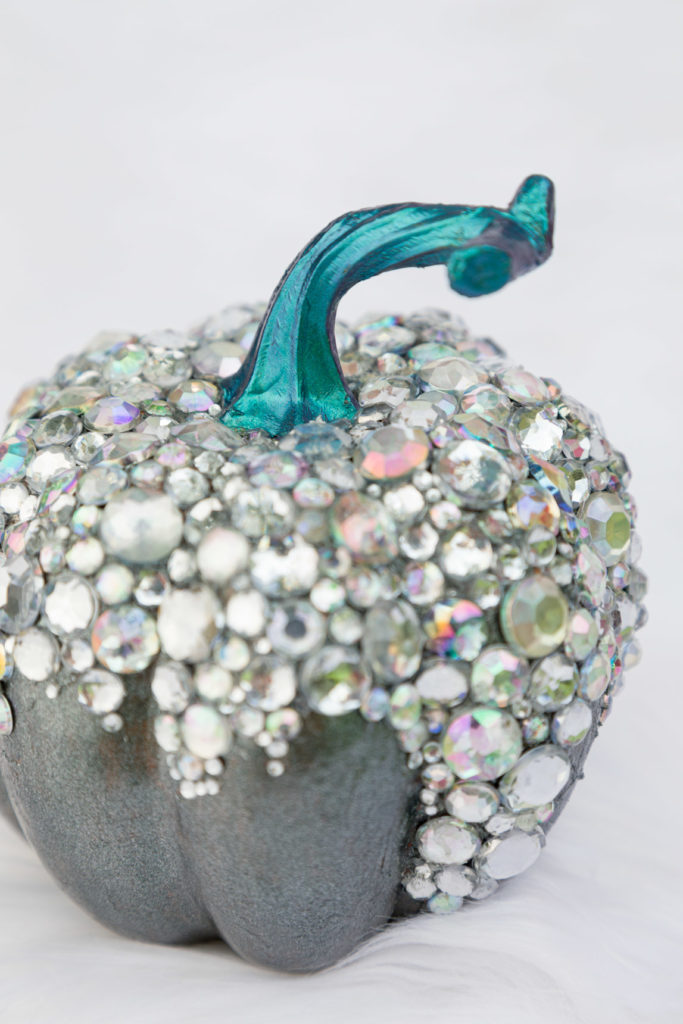
Wait…There are more sparkly crafts?

Dollar Store Teal Pumpkin Project Decorating Ideas - Olivia OHern
Tuesday 28th of September 2021
[…] Afterward, I attach my flowers, leaves, and wire to the pumpkin using hot glue. For more information on the curly wire look HERE. […]
Ultimate Halloween Inspirations · Just That Perfect Piece
Sunday 22nd of August 2021
[…] Easy Dollar Store Halloween & Holoween Pumpkin Door Hanger Decorating Ideas […]
20+ DIY Pumpkin Ideas | Olivia OHern
Thursday 5th of August 2021
[…] Halloween Door Hanger […]
Carol
Thursday 19th of September 2019
Love, love love! Featuring when my party opens.
Rosemary
Thursday 19th of September 2019
Love these!!