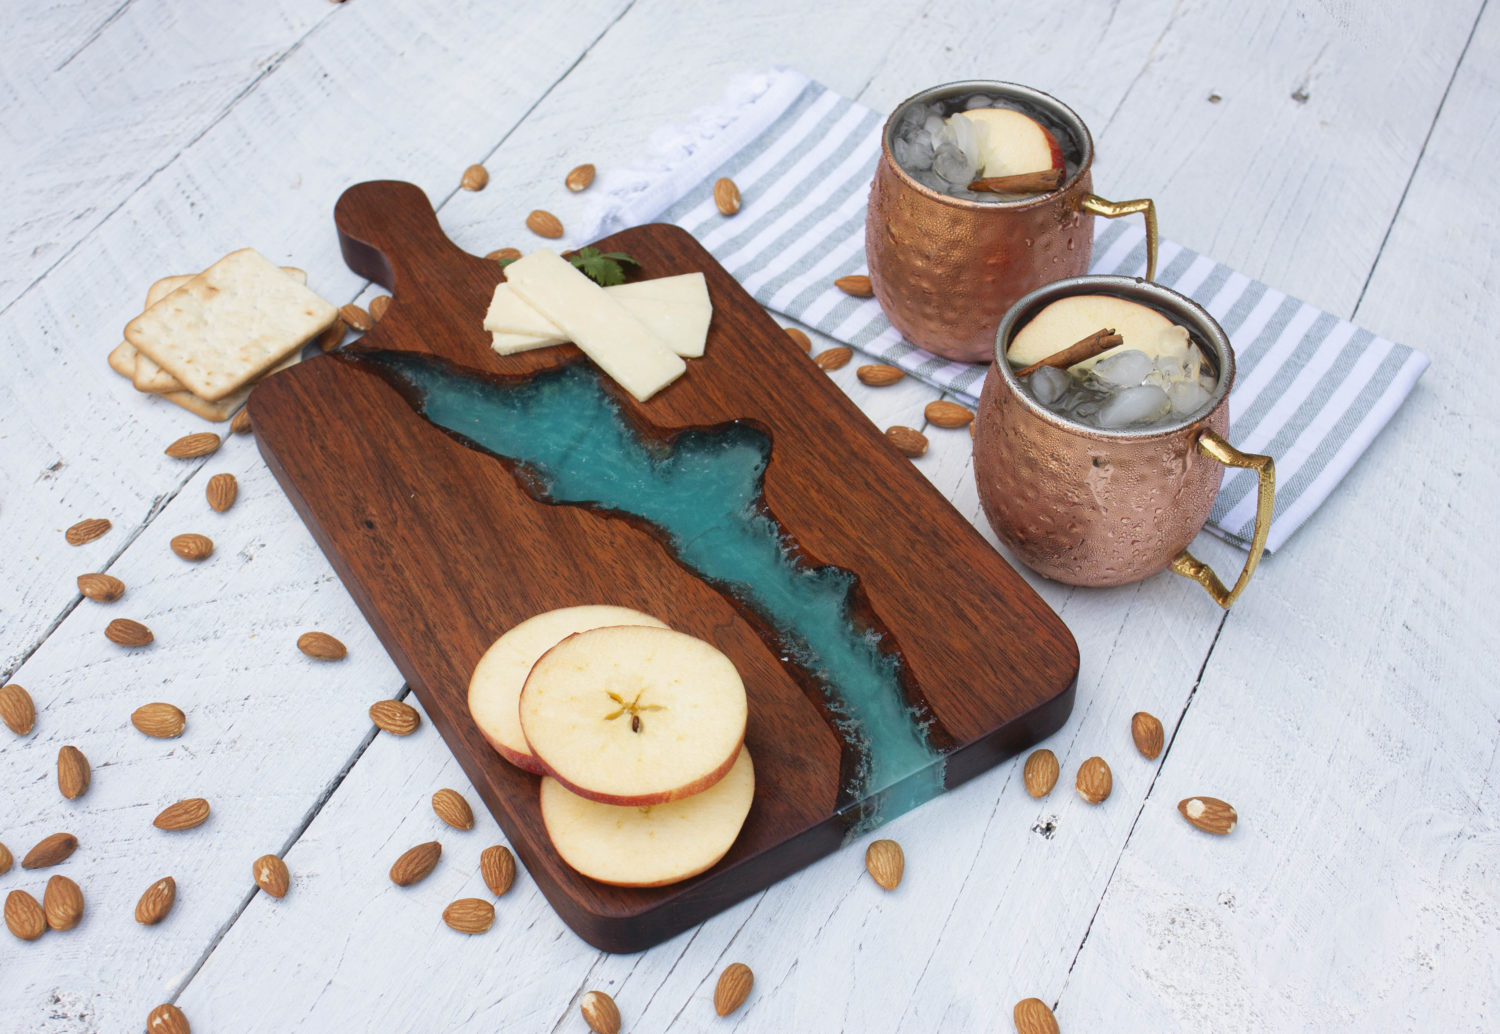
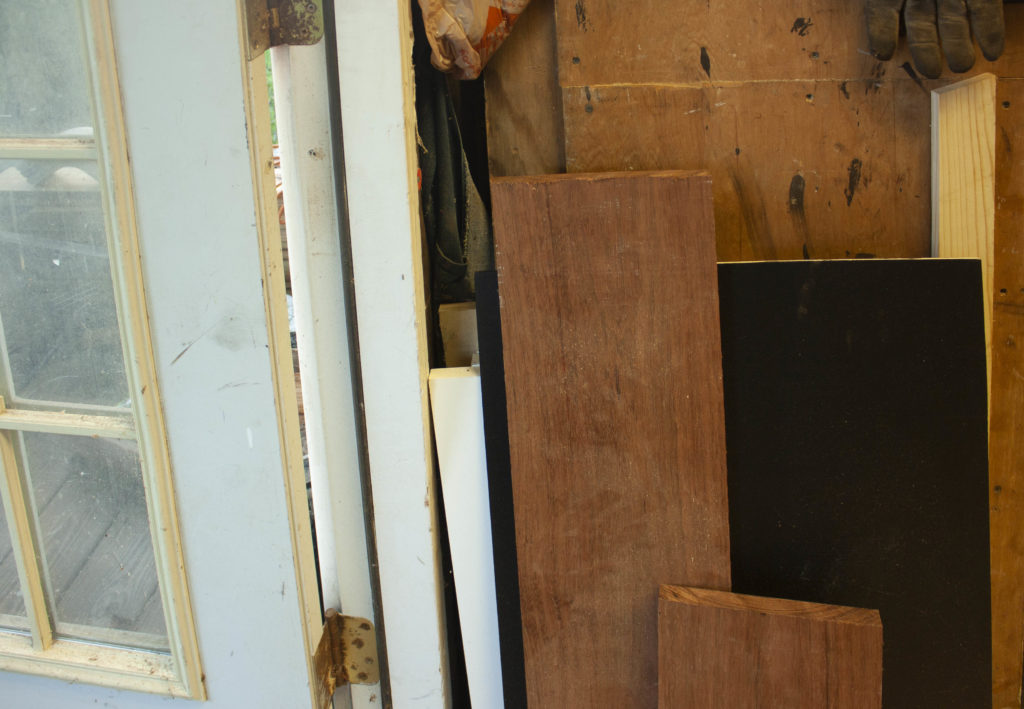
So for the past few years, I have been obsessed with resin, watching people create and bring so many amazing things to life, tables, chairs, you name it. I wanted to make my own! Luckily, I stumbled across a scrap piece of Brazilian Cherry in the shed, and I immediately knew I needed to make a wood & resin river charcuterie board.
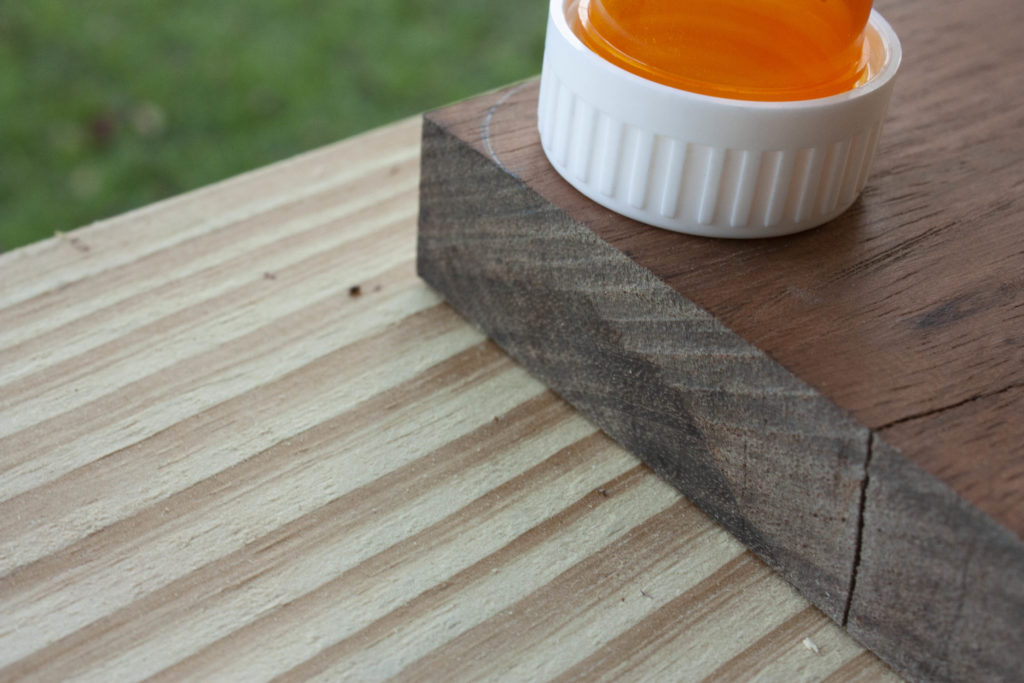
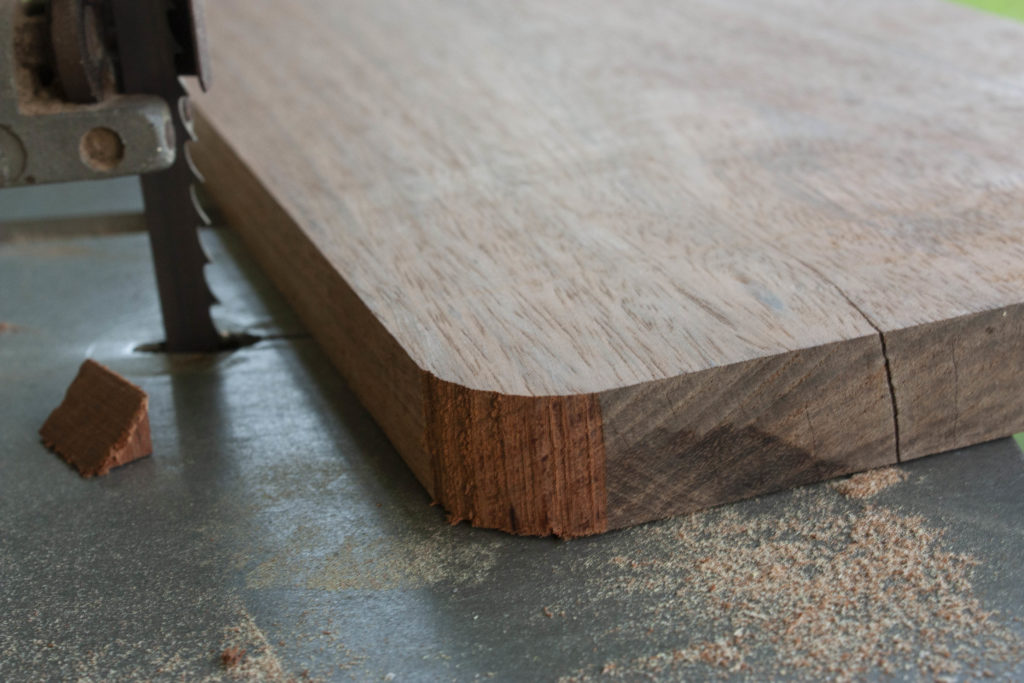
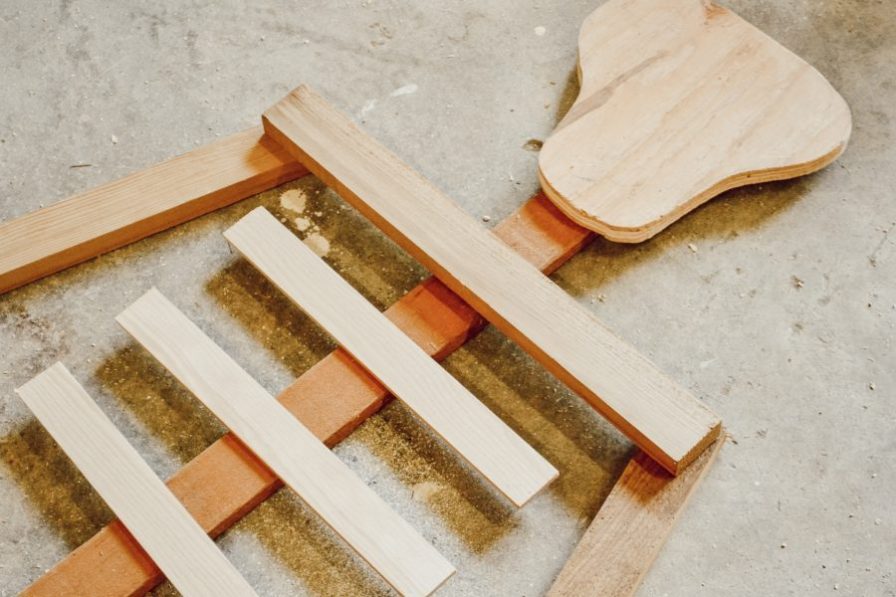
First I planned out the shape for the board and sketched it onto the piece of wood. I used the cap of a prescription bottle to draw out my rounded corners. Then I used a bandsaw to cut the shape out of my piece of wood.
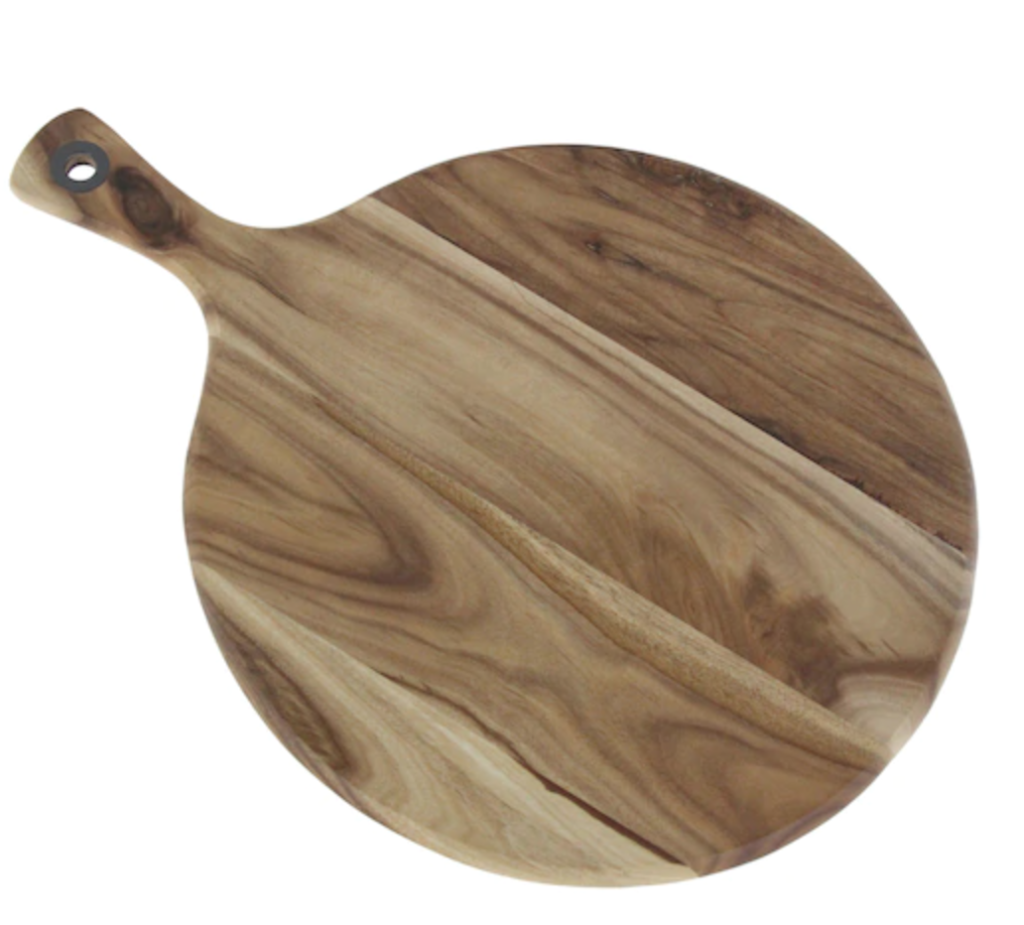
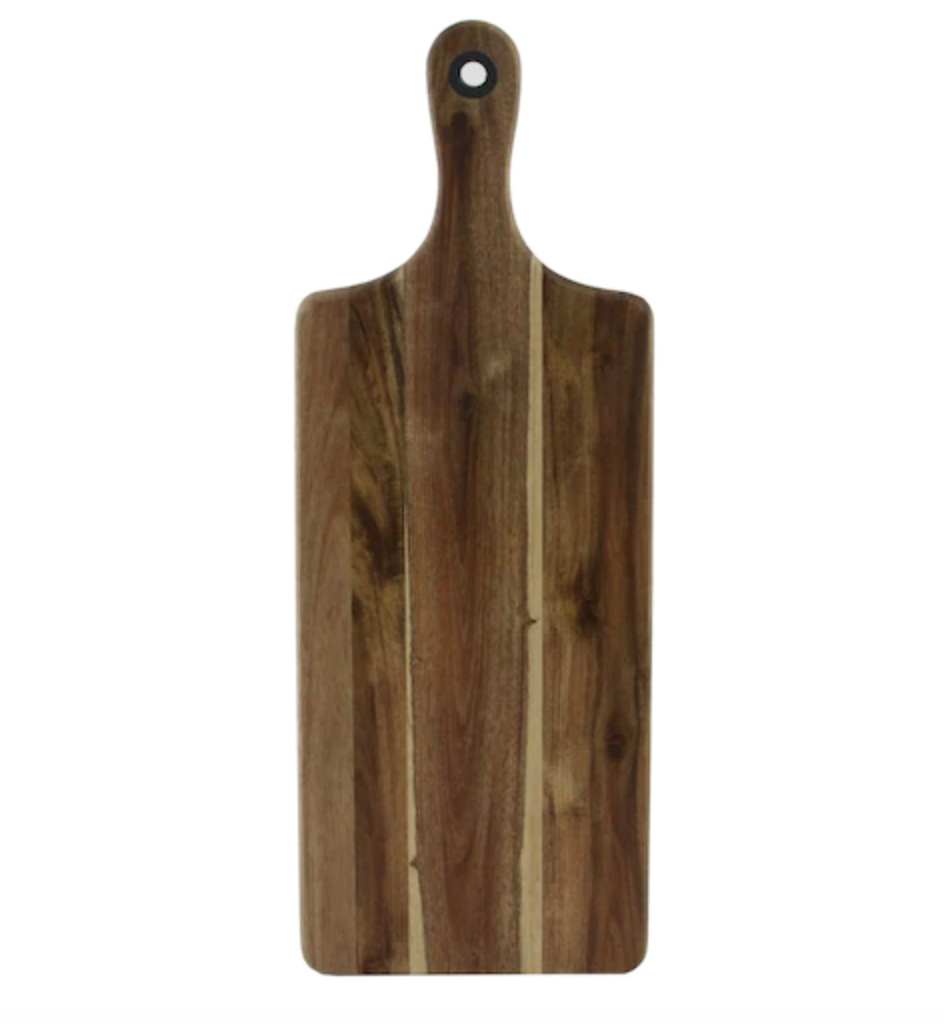
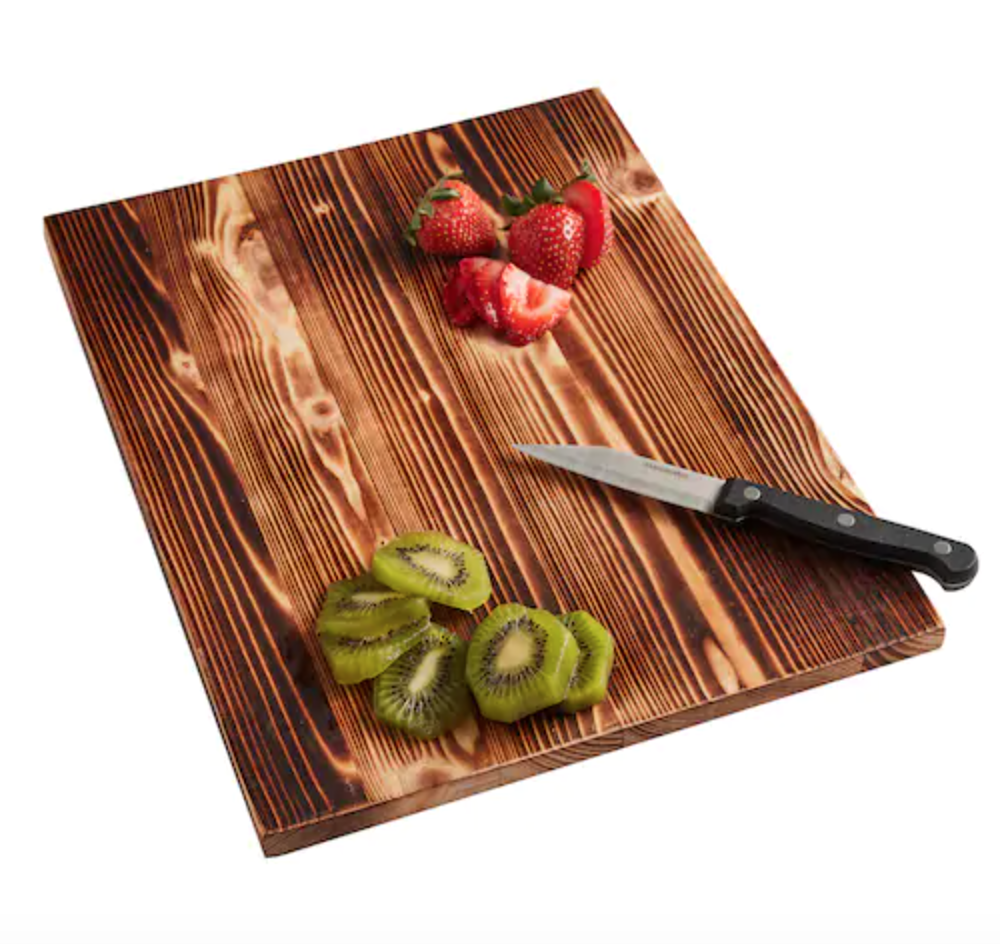
If you don’t have access to wood you can always follow the rest of the steps using a purchased cutting board or one you already have.
Here are a few wood cutting boards
This post may contain affiliate links. This means that if you purchase from one of these links I will make a small commission, but rest assured you will not pay more for any products.

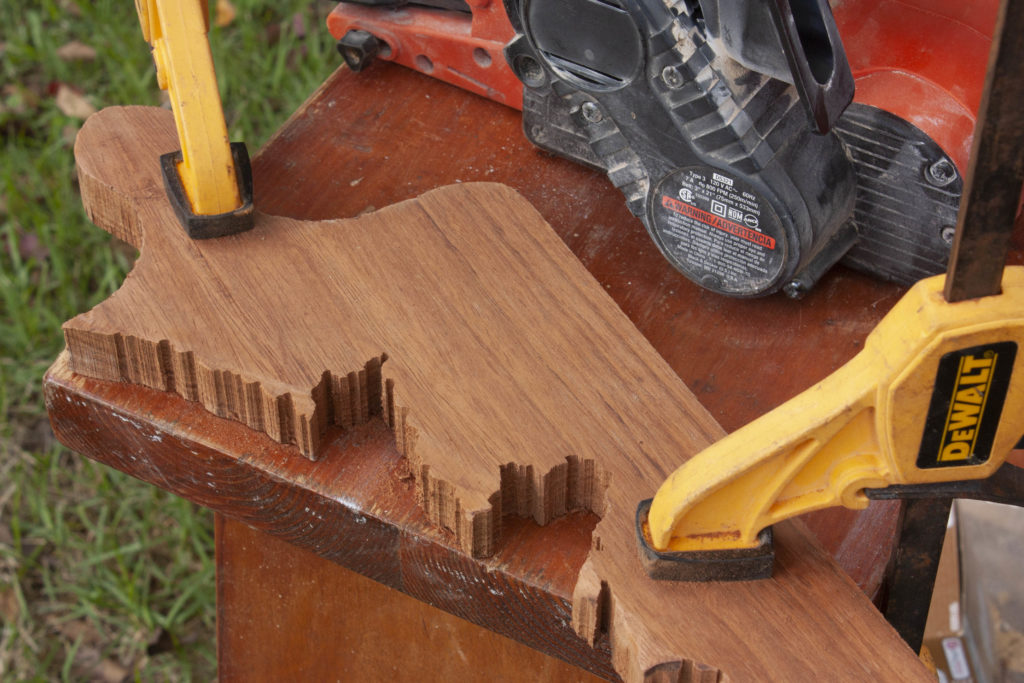
From here it starts to get wild, I had this idea to make a faux live edge valley with a resin river flowing through it. So I put my board back up on the band saw and cut it in half. I took each half and started slowing cutting bits out of each side creating an open section in the middle of the wood.
Shaping
This post may contain affiliate links. This means that if you purchase from one of these links I will make a small commission, but rest assured you will not pay more for any products.
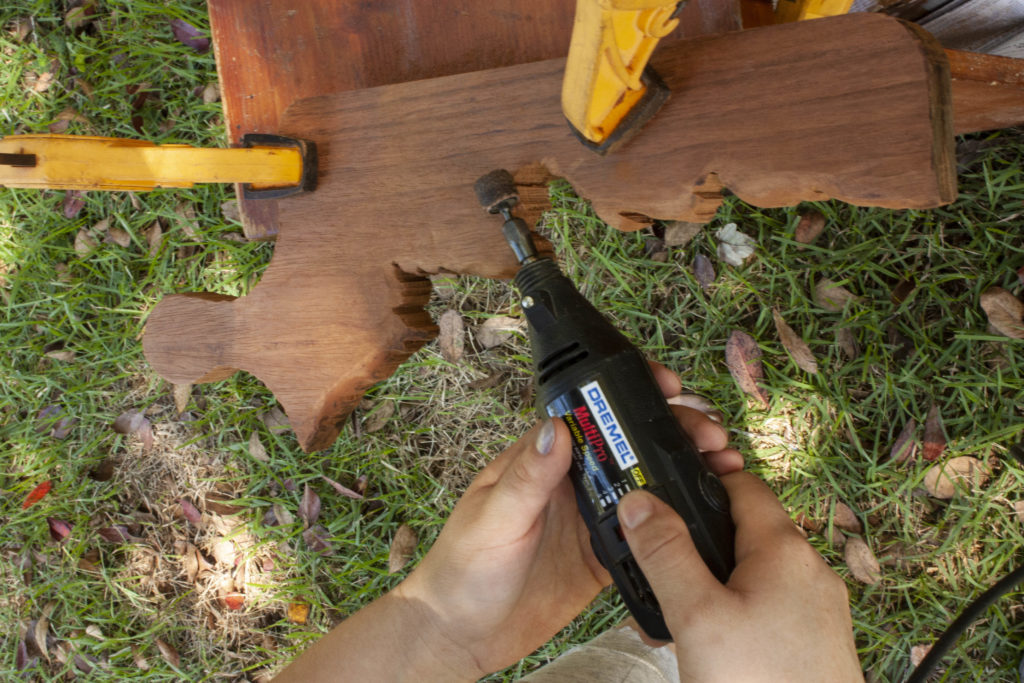
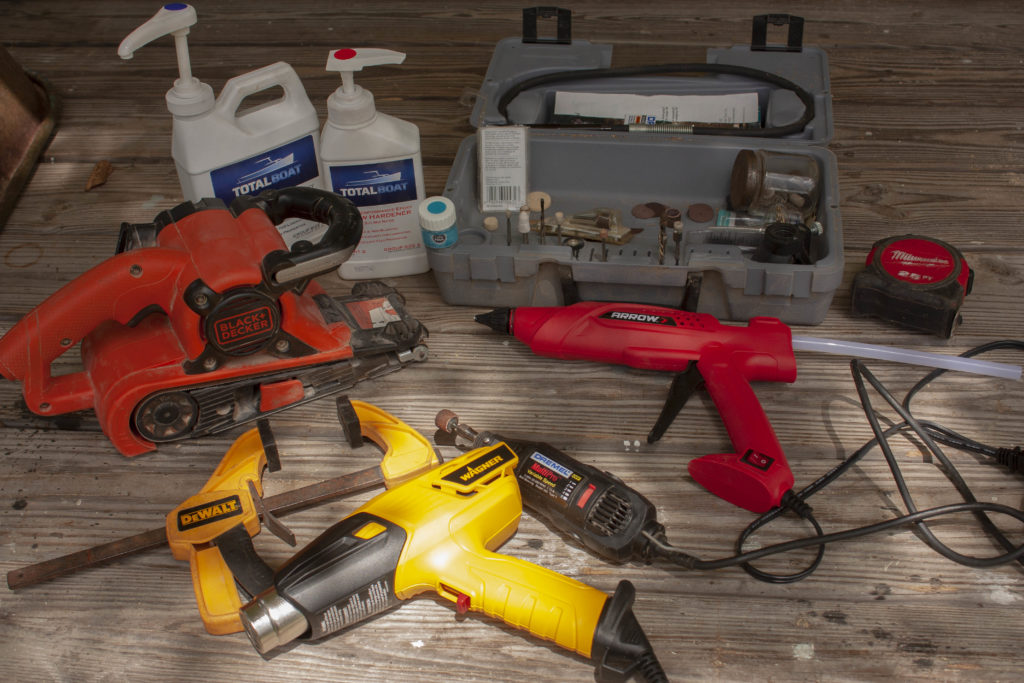
Then it was time to bring out the belt sander. I will admit my arms are still sore from wielding that thing. I used it to quickly knock down the sharp, rough edges created by the bandsaw and add more depth to the charcuterie board. The wood was clamped down to keep it from moving around while I worked. Some of the spots I had created were too small for the big sander, so I used a Dremmel to smooth out those tight spaces. Here’s a newer one that’s on my wishlist!
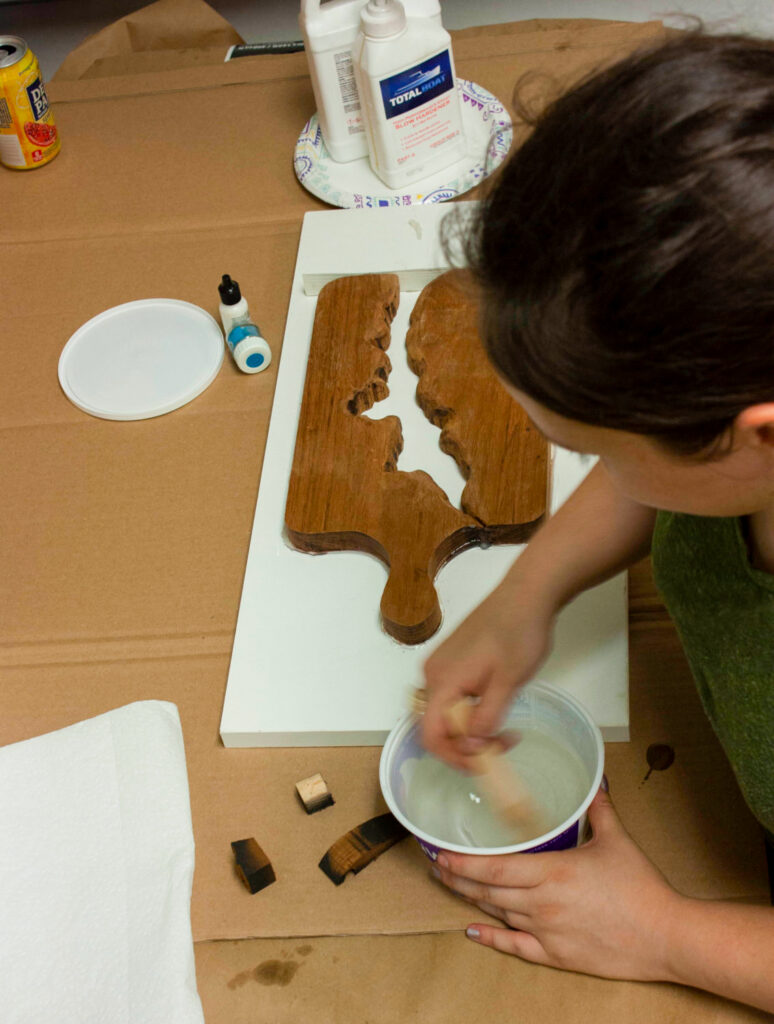
Working with Resin
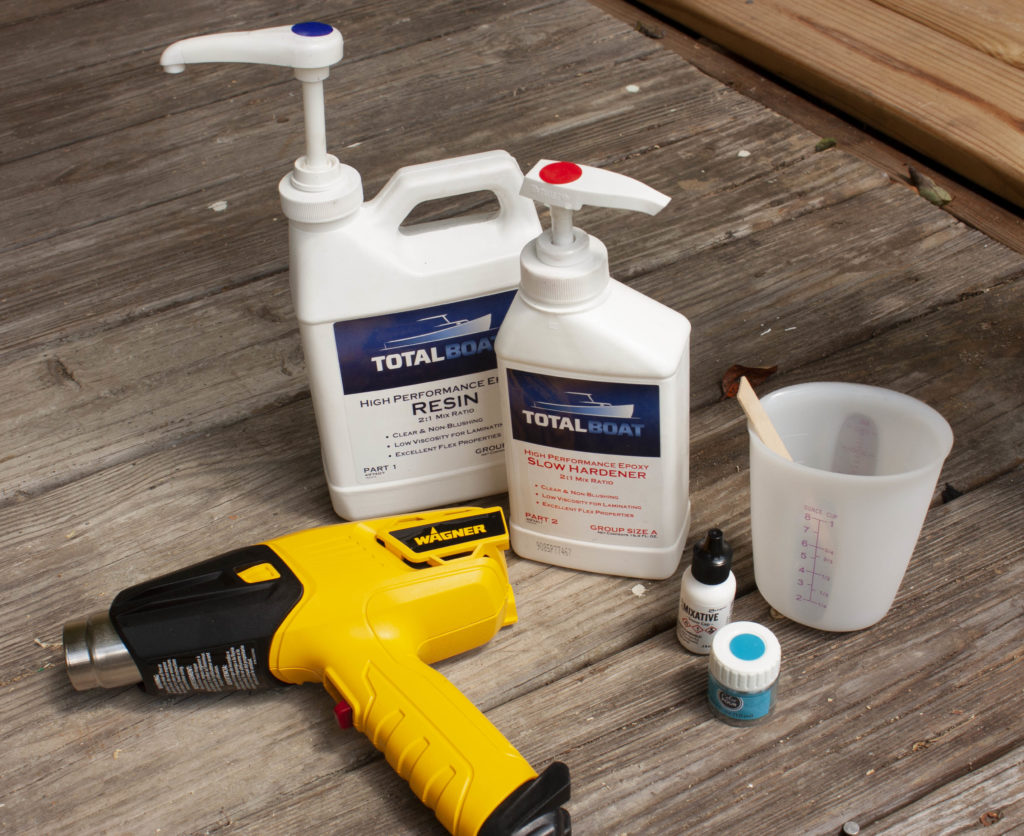
But first, head over to my other post where I explain important safety and optimal use information when working with epoxy resin!
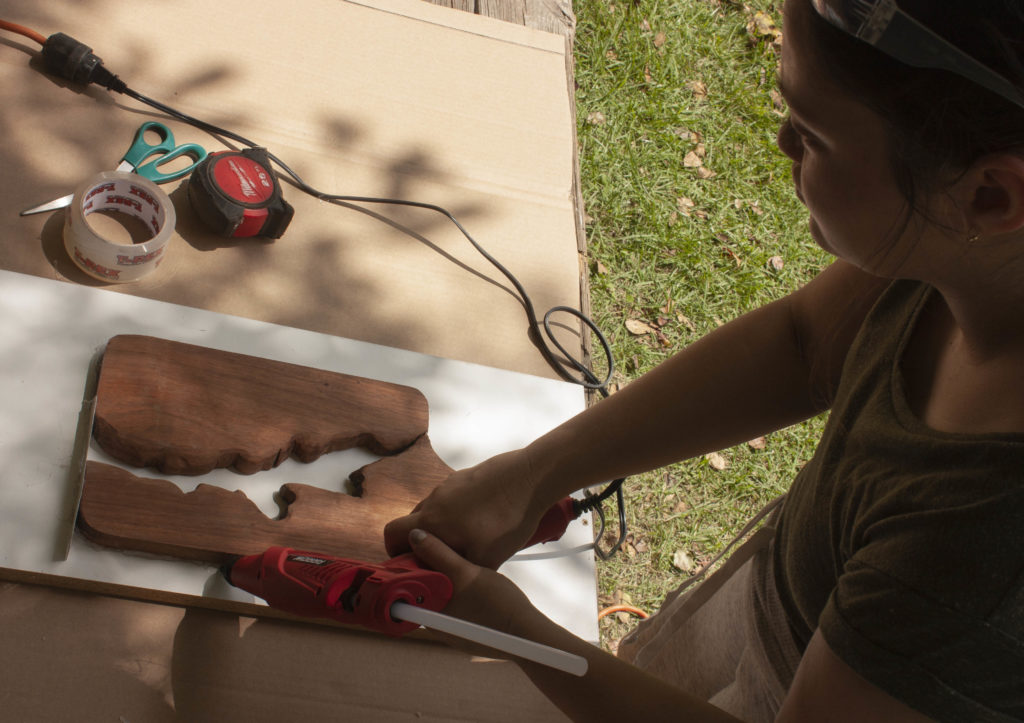
Now it was time to prep for the resin! I took those two pieces and placed them on a melamine board and secured them and their perimeter with hot glue to prevent leaks. This is 2:1 High-Performance Slow-hardening Resin by Total Boat. I added a little bit of blue pigment because of how it beautifully contrasted the natural oranges in the wood of the charcuterie board. Find the pigment I used HERE.
This epoxy is USDA approved. This means that it can come into contact with food once cured and you do not have to worry about chemicals that may be in it contaminating your food.
While great for display and serving, please do not use as a cutting board. Small bits of plastic could end up in your food. If you do cut on it, make sure to do so on the wood portions.
Since a lot of you were wondering
But if you’re still worried, here’s one that is used for tumblers.
It is best to keep the pour in one place and let the resin level itself out, I also like to use my Wagner Spraytech 503059 Wagner, Furno 300, Yellow to help minimize bubbling. Let the resin cure for 24 hours. If it is completely dry it should pull away from the melamine easily.
Finishing


I’m almost done, I promise. These are the important finishing tips! I started with a sander and some 600 grit sandpaper before moving on to 1000-grit in only vertical strokes, and then 1500-grit in horizontal strokes to get the best possible polish on the wood & resin river charcuterie board.
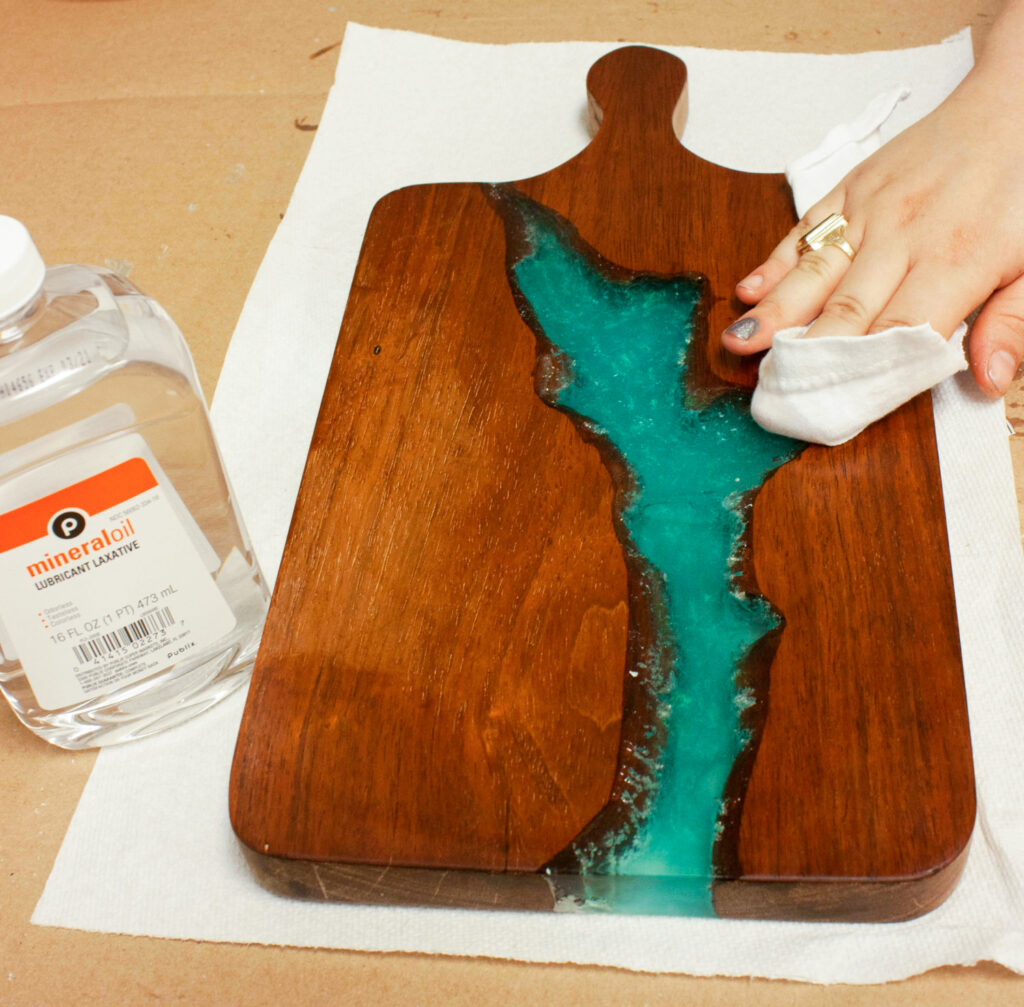
The secret to making beautiful wet-looking boards is mineral oil! Grab a rag and with a few drops of oil and some elbow grease, you have a beautiful, rich charcuterie board.
This charcuterie board should be hand washed with light soap and hot water. Then, set upright to dry. After washing your board it is recommended to rub in more mineral oil.
This was my first time doing woodworking like this, I really enjoyed it, and hope to make some more wood projects in the future!

Guess what, I’m not the only one creating things from wood scraps, Check out these other bloggers below!
That platform sure looks nice, but I really want to know where she got that mirror.
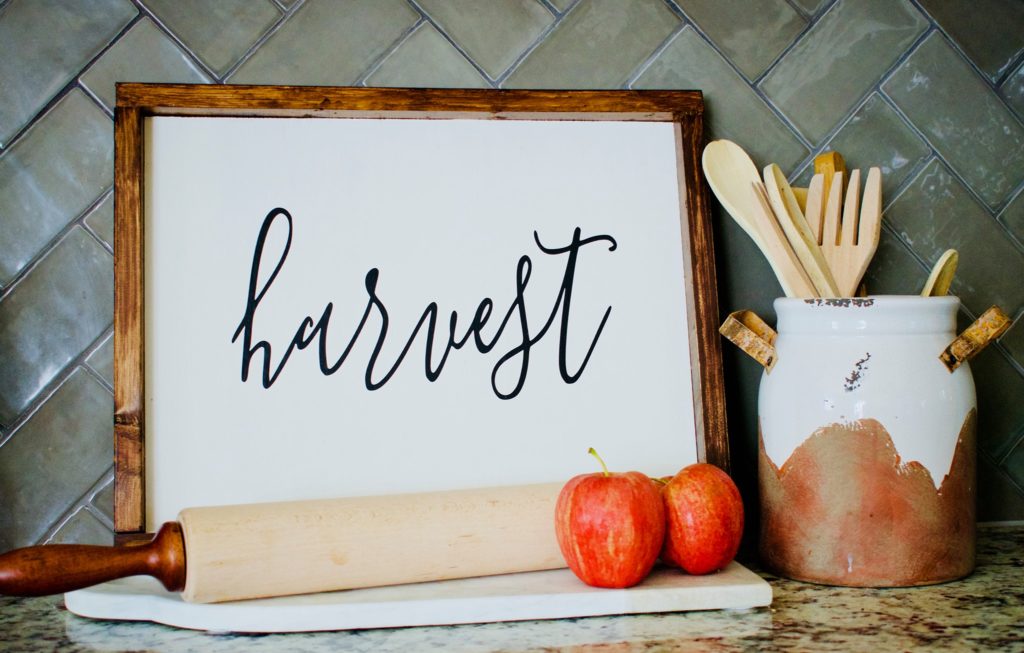
This Fall sign has it all, simple, elegant and rustic all combined into one!
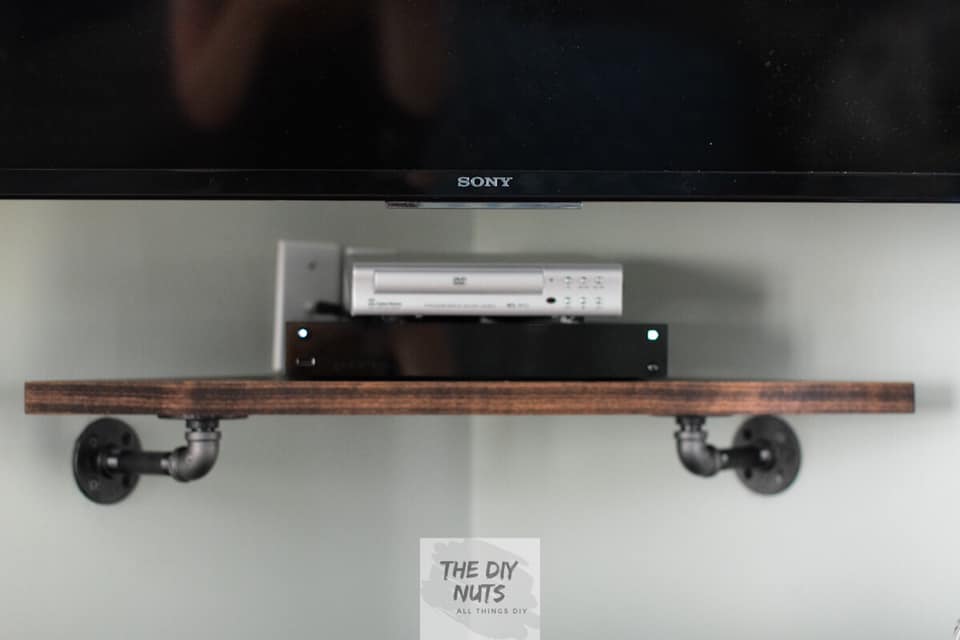
What a great way to utilize waste corner space with some scrap wood!
More Resin Projects

The Ultimate River Charcuterie Board DIY & Buyers Guide
Saturday 1st of April 2023
[…] Charcuterie Credit: Olivia Ohern […]
Easy Unicorn Glitter Epoxy Resin Coaster How To - Olivia OHern
Thursday 31st of March 2022
[…] to Make a Rose Gold Epoxy Resin Coaster Wood & Resin River Charcuterie Board How To How to Make a Resin Quote […]
Michelle @ The Painted Hinge
Thursday 2nd of September 2021
This is so incredibly cool! Thanks so much for sharing it on Farmhouse Friday - we're featuring you at tomorrow's party!
Cindy@CountyRoad407
Thursday 2nd of September 2021
This is incredible and so unique! Thank you for sharing it on Farmhouse Friday. I can hardly wait to try this!
How to Make a Modern Boho Hanging Planter | Olivia OHern
Friday 28th of May 2021
[…] Wood & Resin River Charcuterie Board How to Make a Resin Quote Tray […]