This post may contain affiliate links. This means that if you purchase from one of these links I will make a small commission, but rest assured you will not pay more for any products.
Prep:
Download the SVG file and gather all of your materials and tools.
Make an Easy Fall Bow by watching the video FOUND HERE.
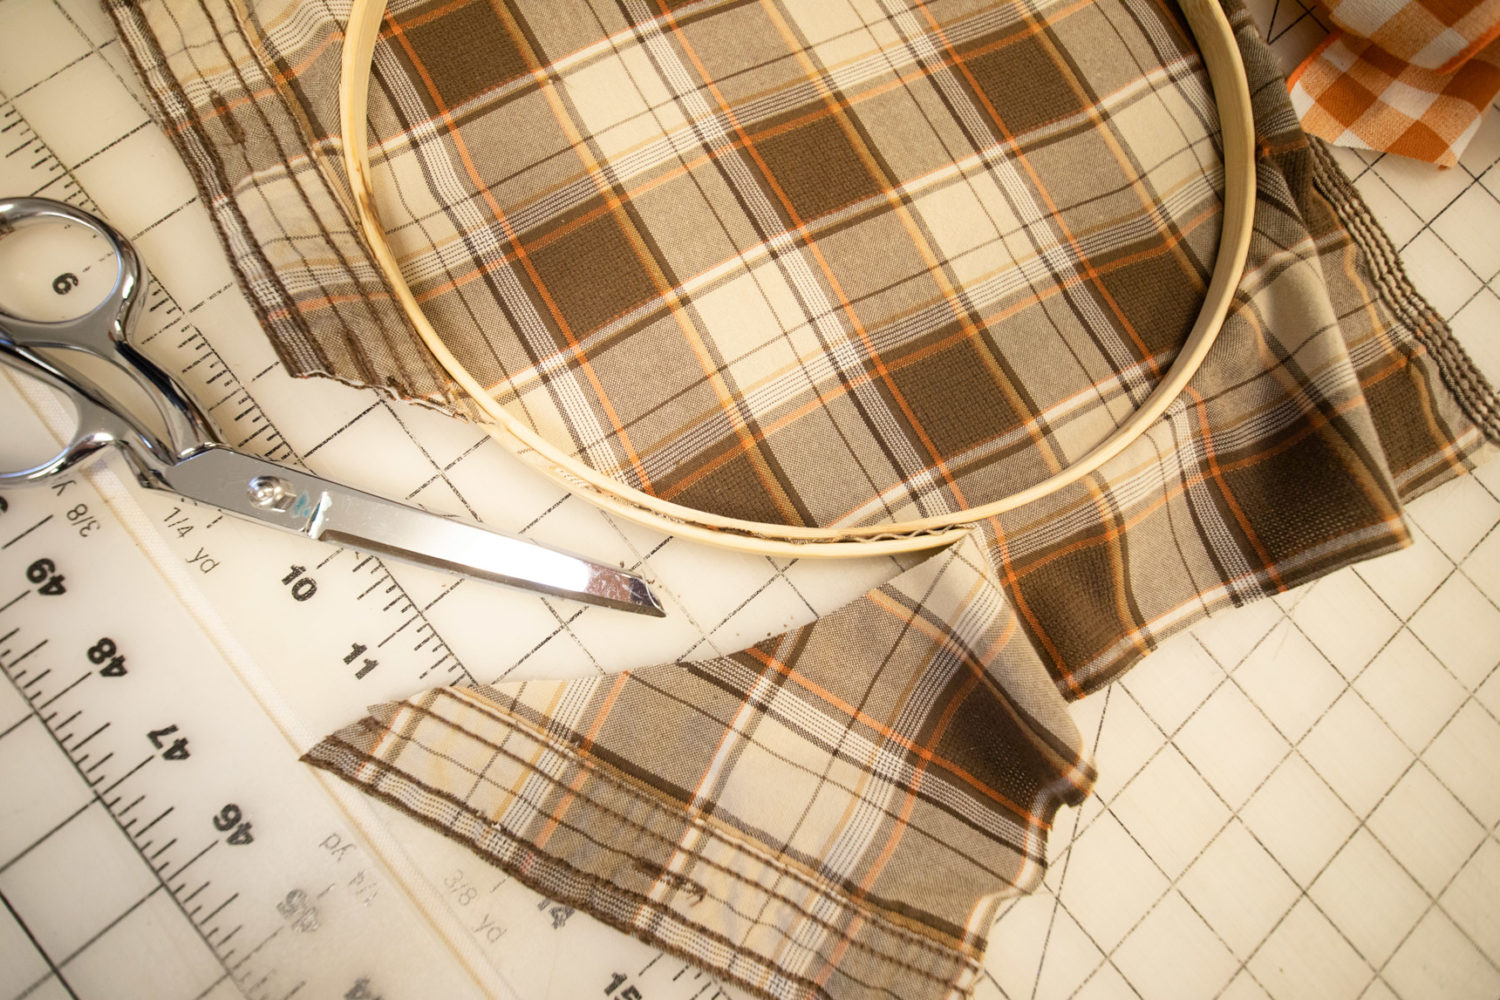
Prewash your Thrifted Shirt or Fabric and cut a 12″x 12″ piece.
Cut a piece of Heat Transfer Vinyl.
Make sure your machine is on and connected to your device.
Preheat your EasyPress to 330°F.
The Main Event:
Upload the SVG File to Cricut Design Space and place it onto your Canvas. Select the entire design and hit the Attach button.
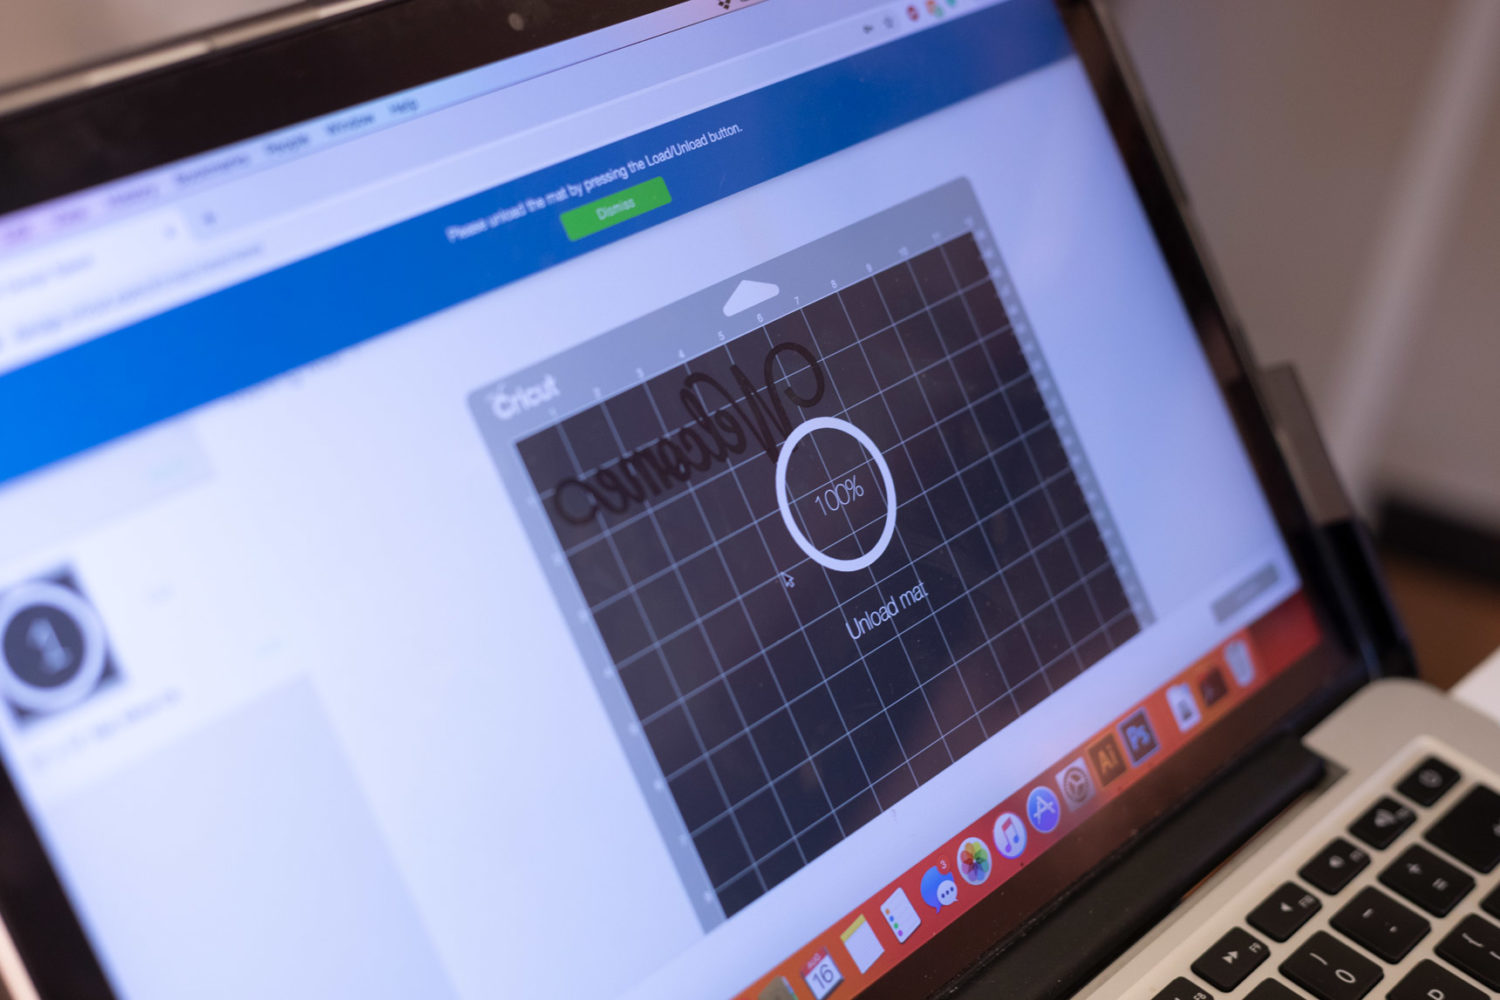
Hit the Make button, Select the mat and turn Mirror On. Hit Continue.
Set your Machine to Everyday Iron-On Vinyl.
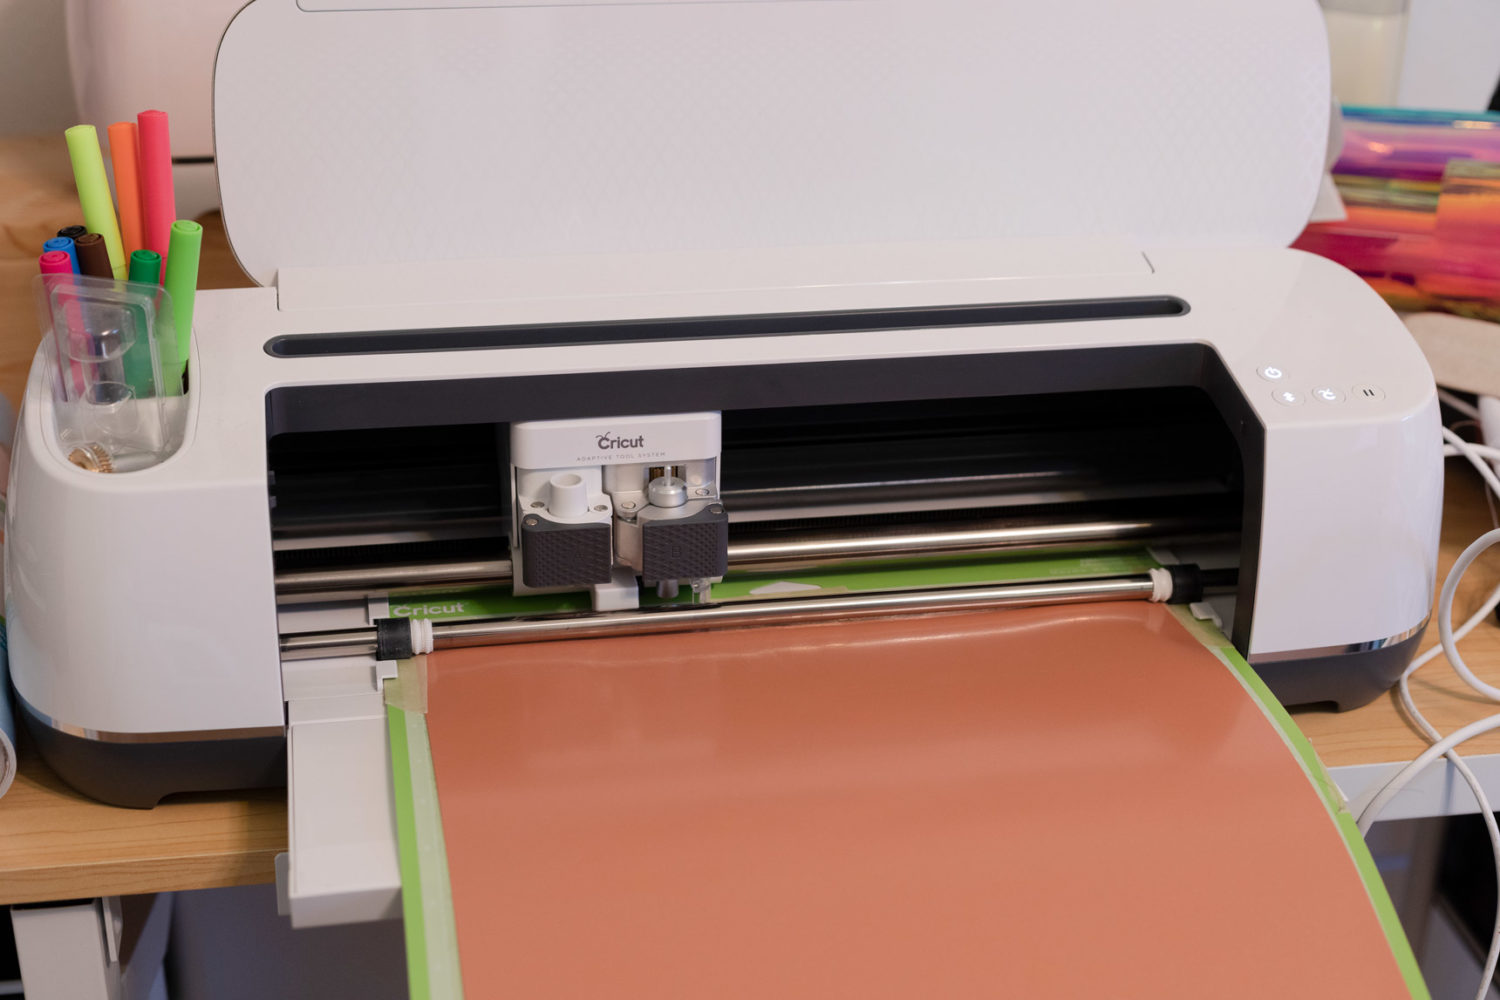
Place your vinyl rectangle with the shiny side facing down. Load the Standard Grip mat and hit the Cricut button.
When your machine is finished cutting the design, unload the mat and pull the vinyl up from the mat.
Working from the dull side of the vinyl, weed the excess vinyl from around and inside of the letters.
Layout your fabric and using the embroidery hoop and vinyl design, mark their final placement on the fabric in chalk.
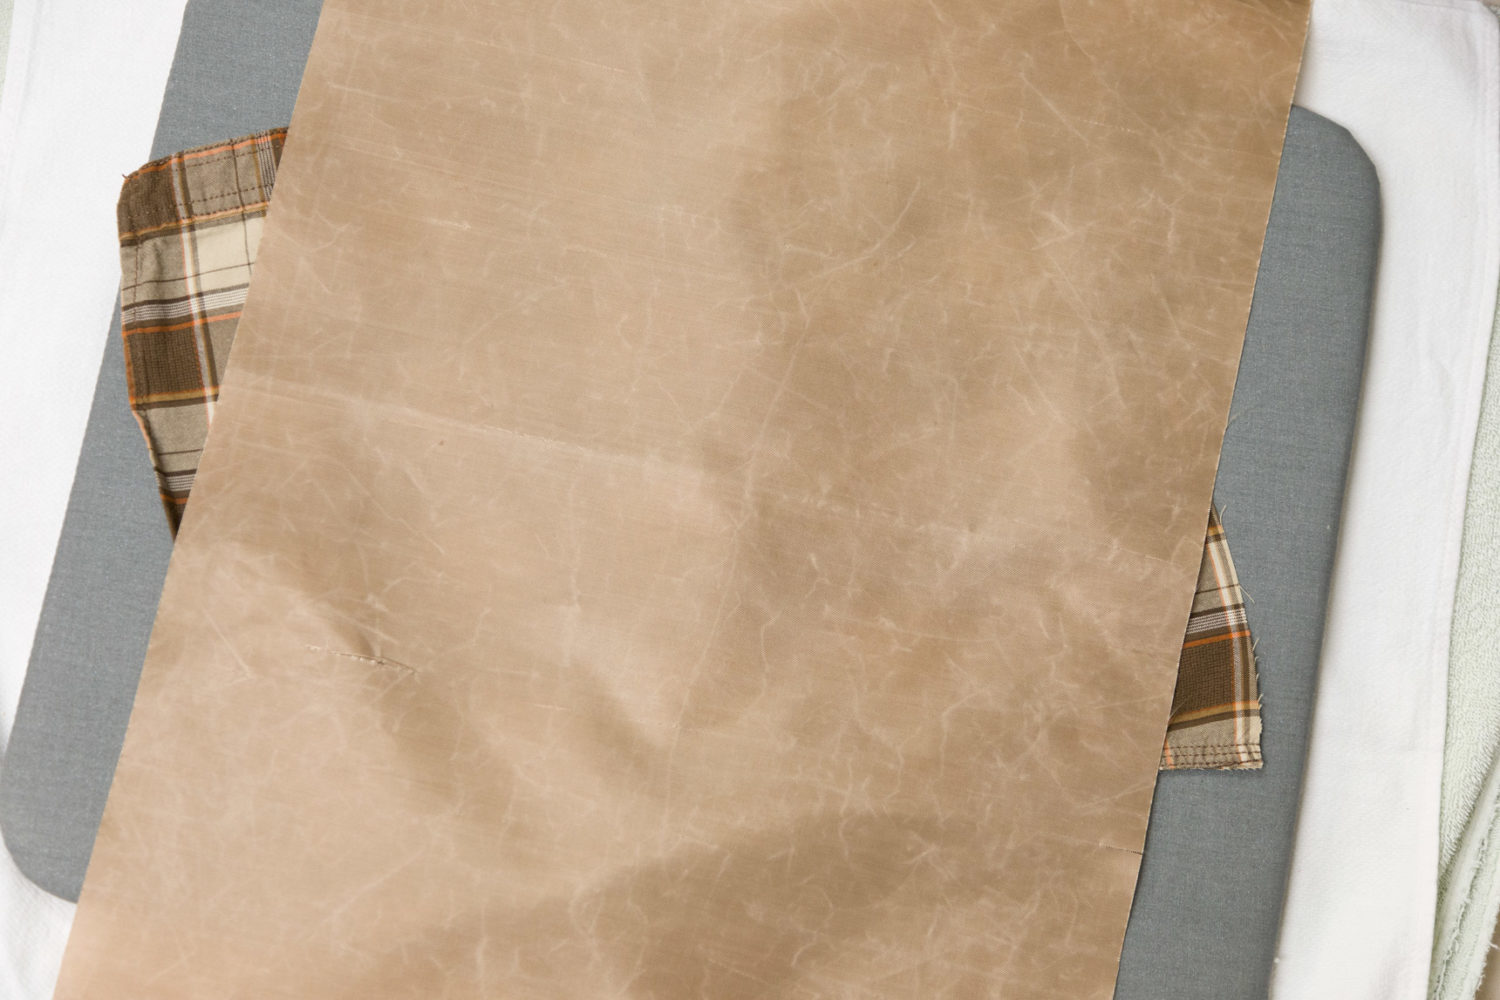
Place fabric on top of EasyPress mat and towel and iron with the EasyPress for 5 seconds.
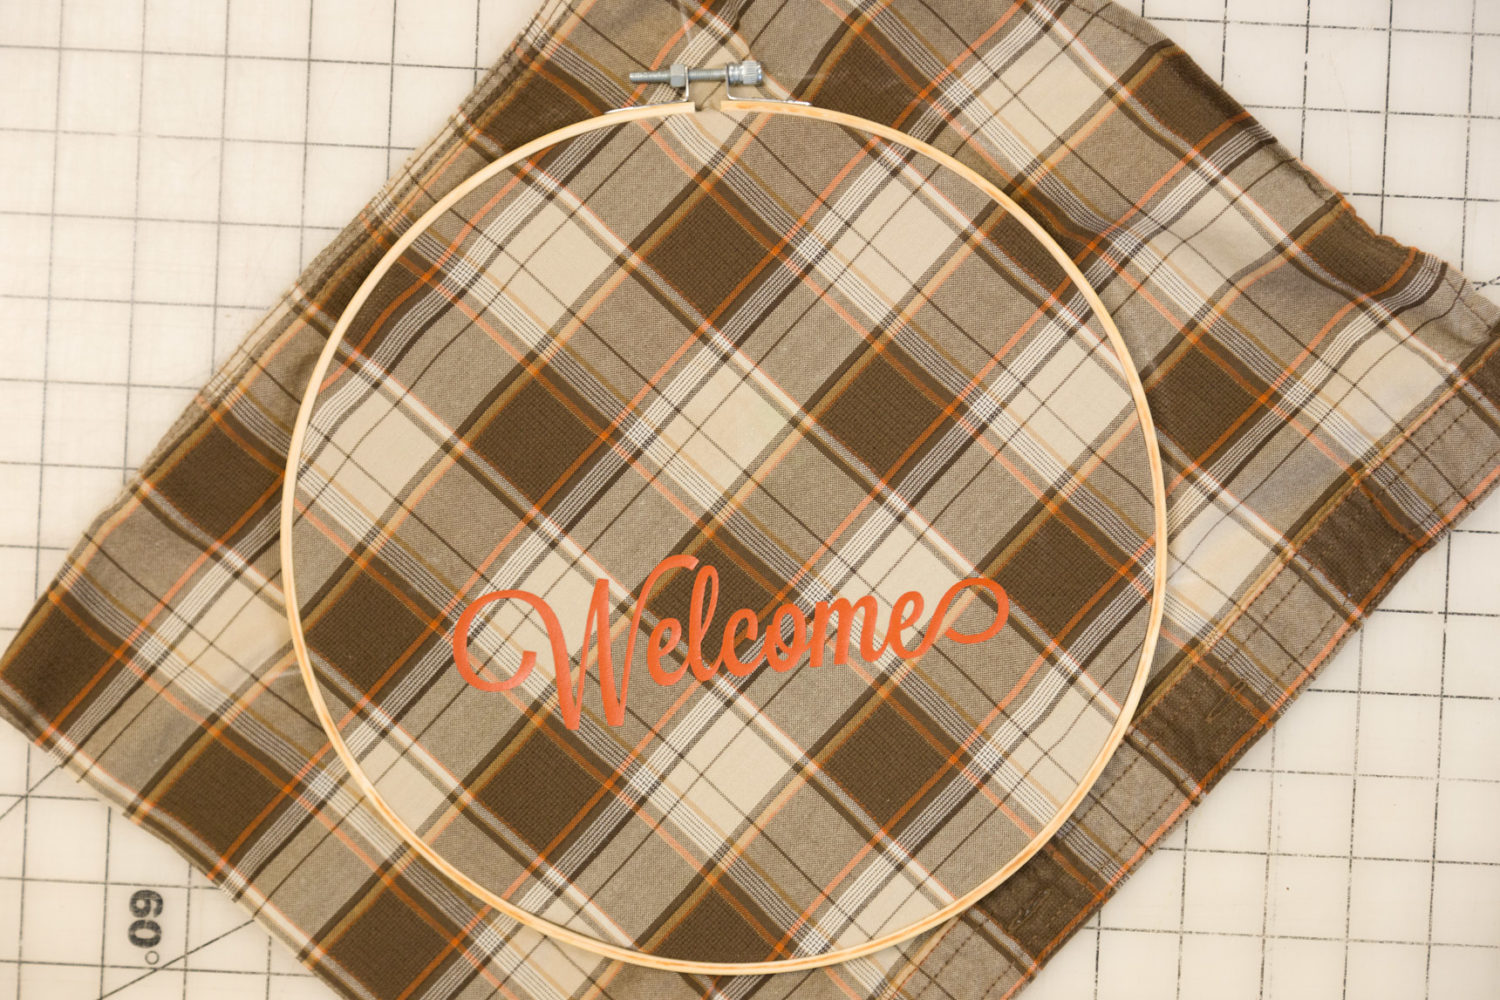
Place your vinyl design, shiny side up, on the fabric where it is marked and cover with the Teflon sheet.
Press your EasyPress down over the design for 30 seconds. Then flip the fabric over and press for an additional 15 seconds.
Peel the clear plastic carrier sheet away from the vinyl.
On a hard, flat surface place down the inner circle of the embroidery hoop. Place the fabric on top of the circle lining up your chalk marks.
Loosen the screw of the outer circle of the hoop, and push the circle down around the outside of the fabric with the screw at the top.
Pull the fabric taut and retighten the screw.
Cut the excess fabric from the back of the door hanger.
Attach the Chenille stem to the screw to create the hanger.
Attach your bow, leaves, and any other decorations with hot glue.
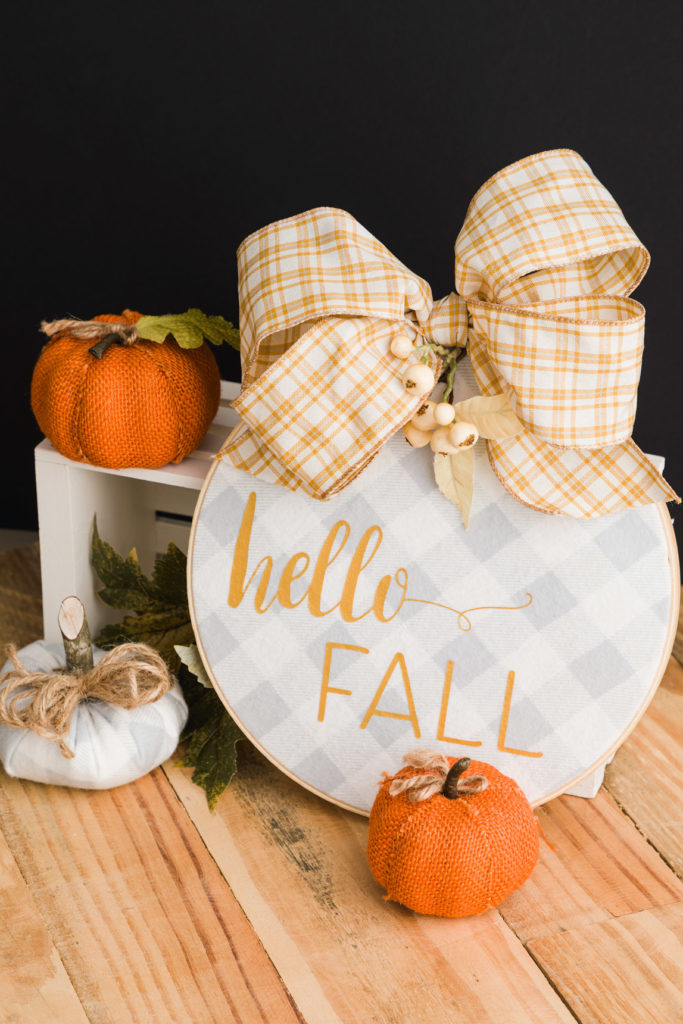
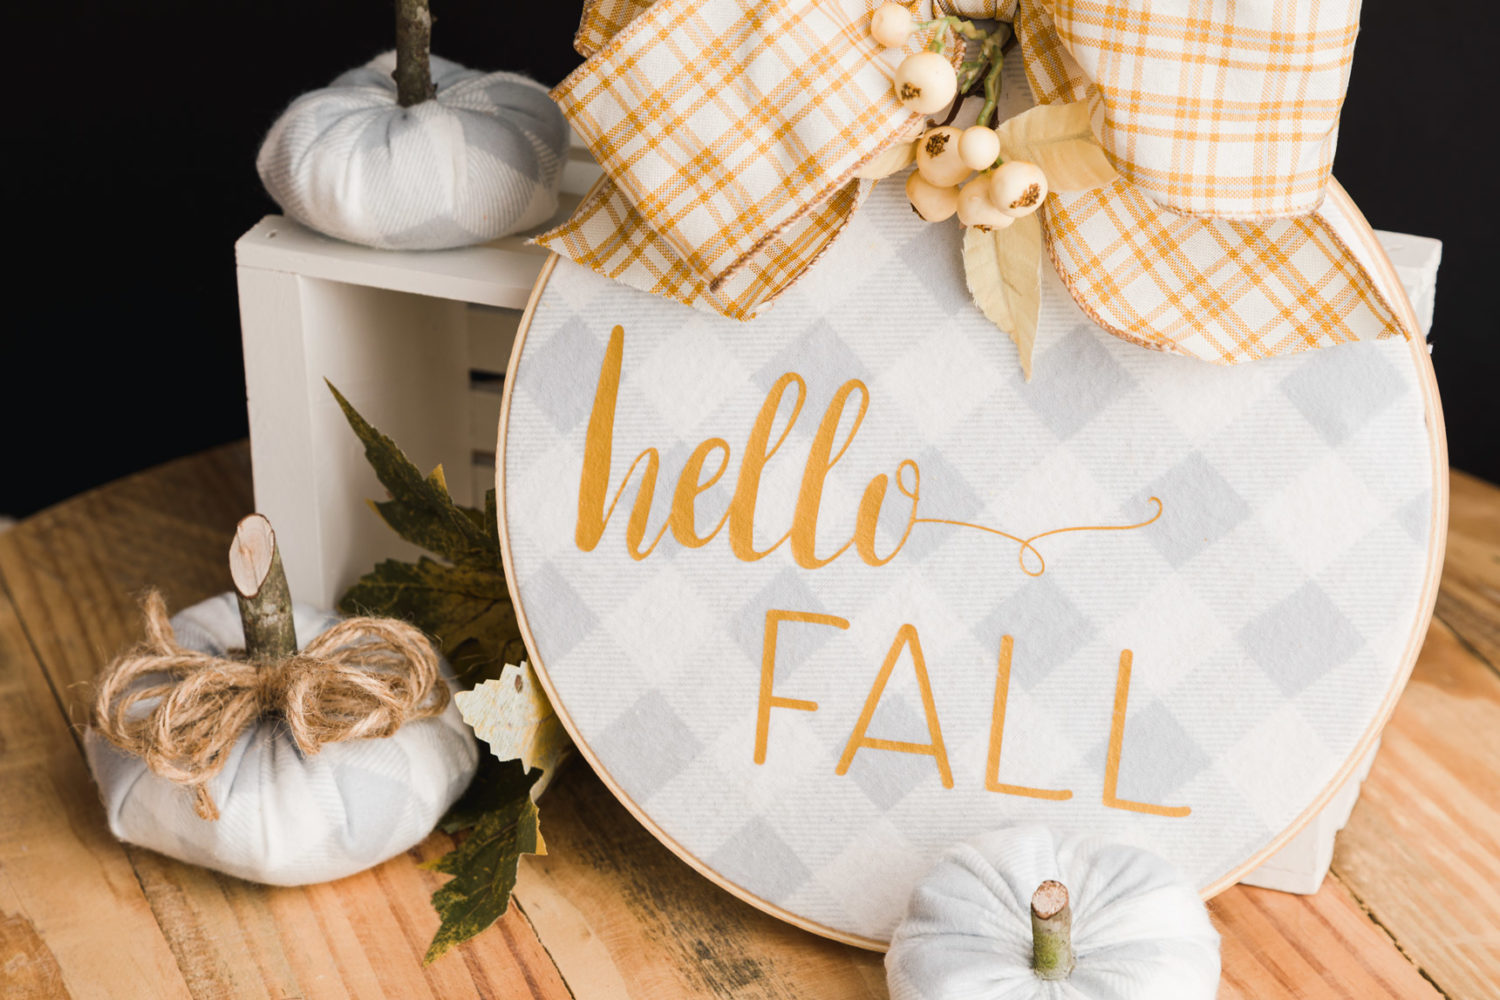
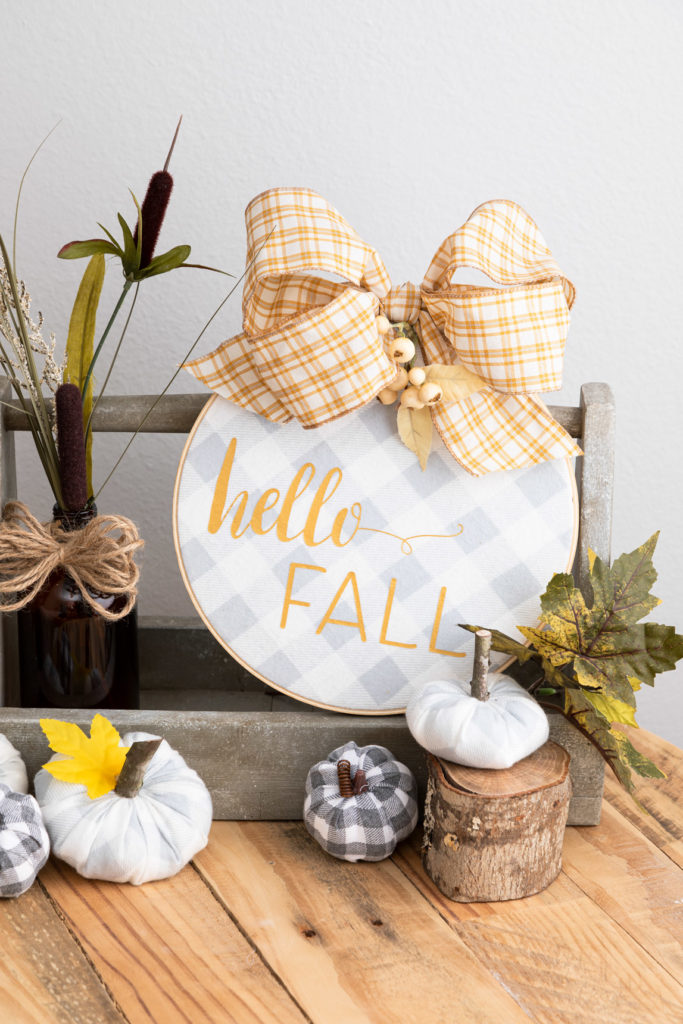
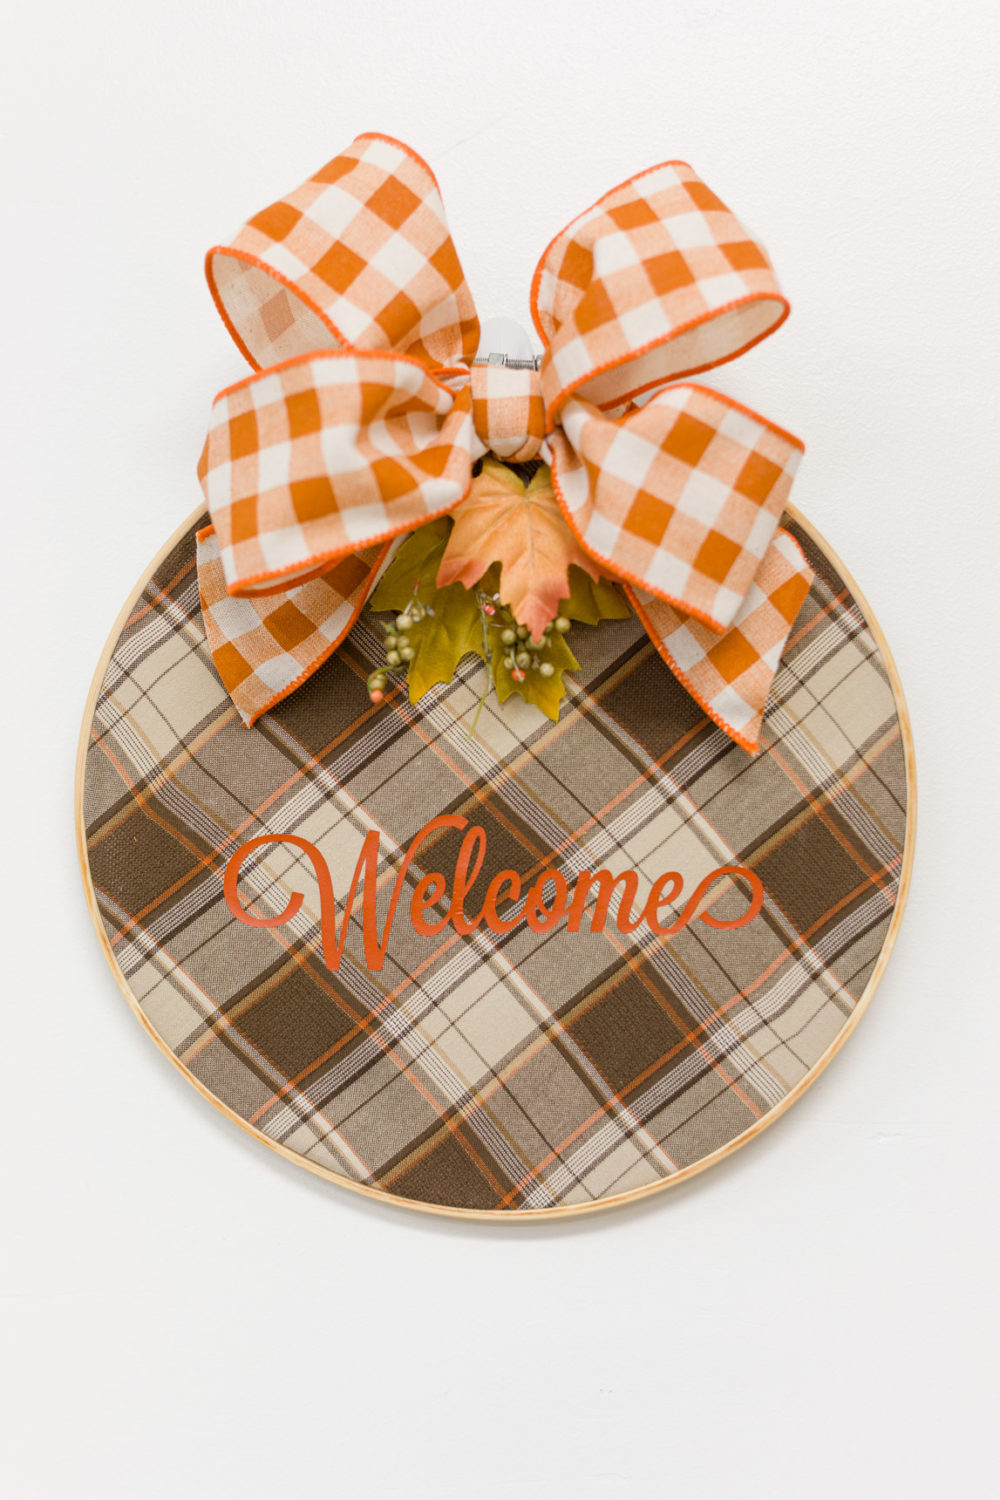
Easy Fall Embroidery Hoop Door Hanger

Materials
- Thrifted Shirt or Plaid Fabric
- SVG File - Welcome
- 10 inch Embroidery Hoop
- Siser Easyweed HTV Texas Orange
- 2yds - 2.5" Plaid Wired Edge Ribbon
- Fabric Leaves
- Chenille Stem
Tools
- Scissors
- Computer, Laptop, Tablet or Smartphone
- Cricut Maker or Cricut Explore Machines
- Cricut StandardGrip Mat
- Cricut Easypress 2 or an Iron
- Cricut Easypress Mat (optional)
- Towel
- Teflon Sheet
- Chalk
Instructions
Prep:
- Download the "Welcome" SVG File.
- Gather all of your Materials and Tools.
- Make an Easy Fall Bow by watching the video FOUND HERE.
- Prewash your Thrifted Shirt or Fabric and cut a 12" x12" piece.
- Cut a 3" x 7" piece of Heat Transfer Vinyl.
- Make sure your machine is on and connected to your device.
- Preheat your EasyPress 2 to 330°F.
- Lay down the towel and Easypress Mat near the EasyPress.
The Main Event:
- Upload the "Welcome" SVG File to Cricut Design Space and place it onto your Canvas. Select the entire design and hit the Attach button.
- Hit the Make button, Select the mat and turn Mirror On. Hit Continue.
- Set your Machine to Everyday Iron-On Vinyl.

- Place your vinyl rectangle with the shiny side facing down. Load the Standard Grip mat and hit the Cricut button.
- When your machine is finished cutting the design, unload the mat and pull the vinyl up from the mat.
- Working from the dull side of the vinyl, weed the excess vinyl from around and inside of the letters.
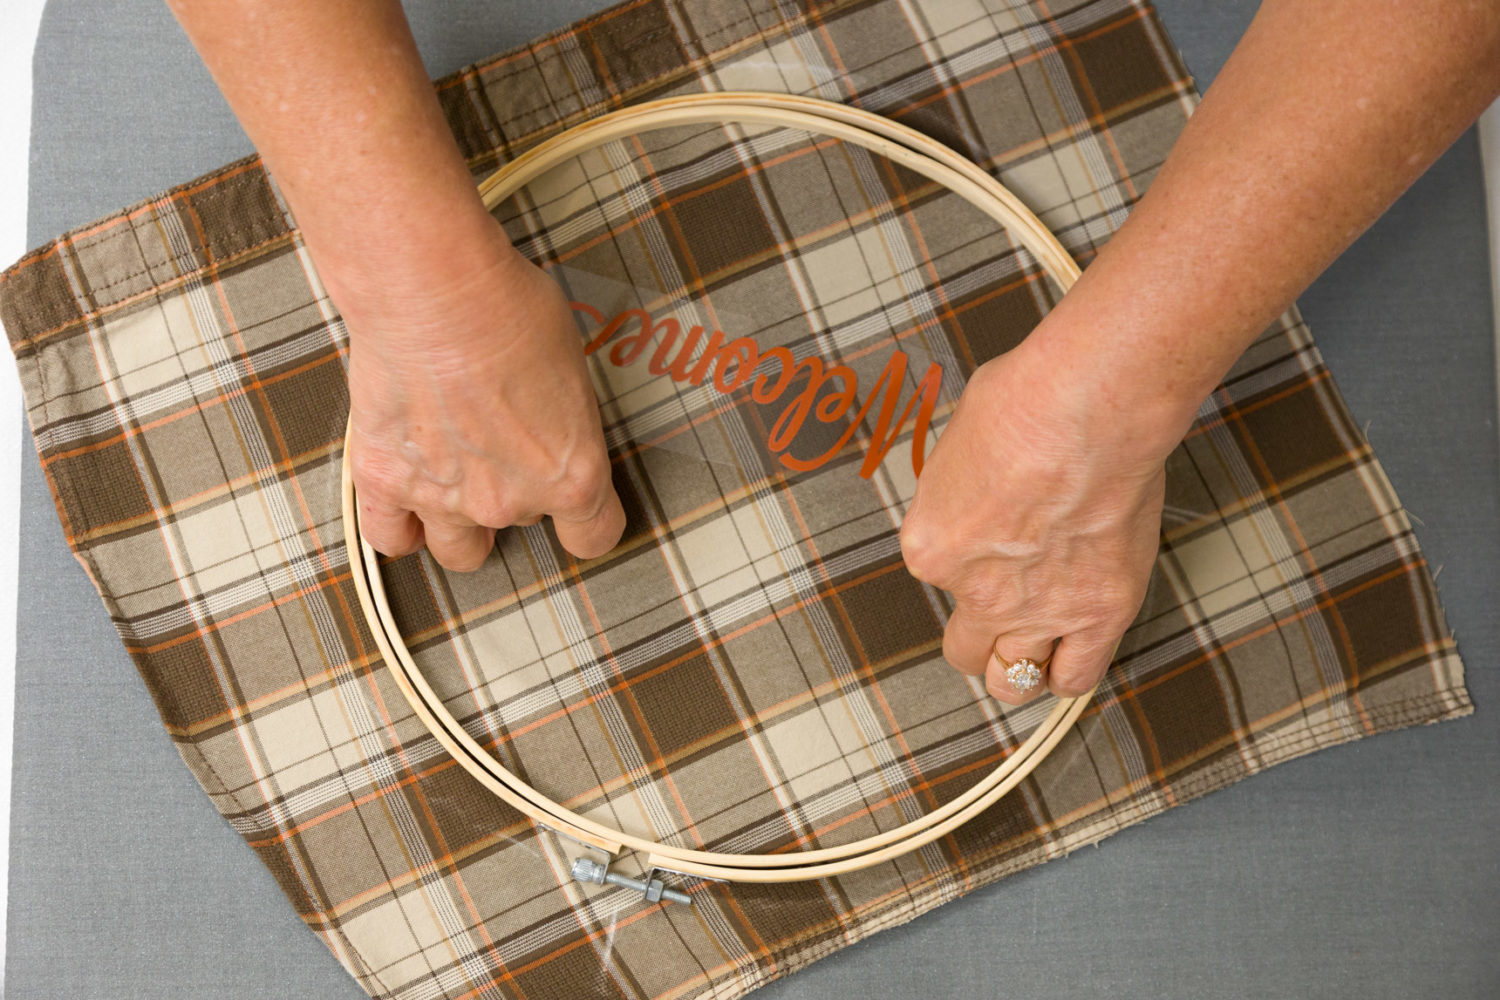
- Layout your fabric and using the embroidery hoop and vinyl design, mark their final placement on the fabric in chalk.
- Place fabric on top of EasyPress mat and towel and iron with the EasyPress for 5 seconds.
- Place your vinyl design, shiny side up, on the fabric where it is marked and cover with the Teflon sheet.
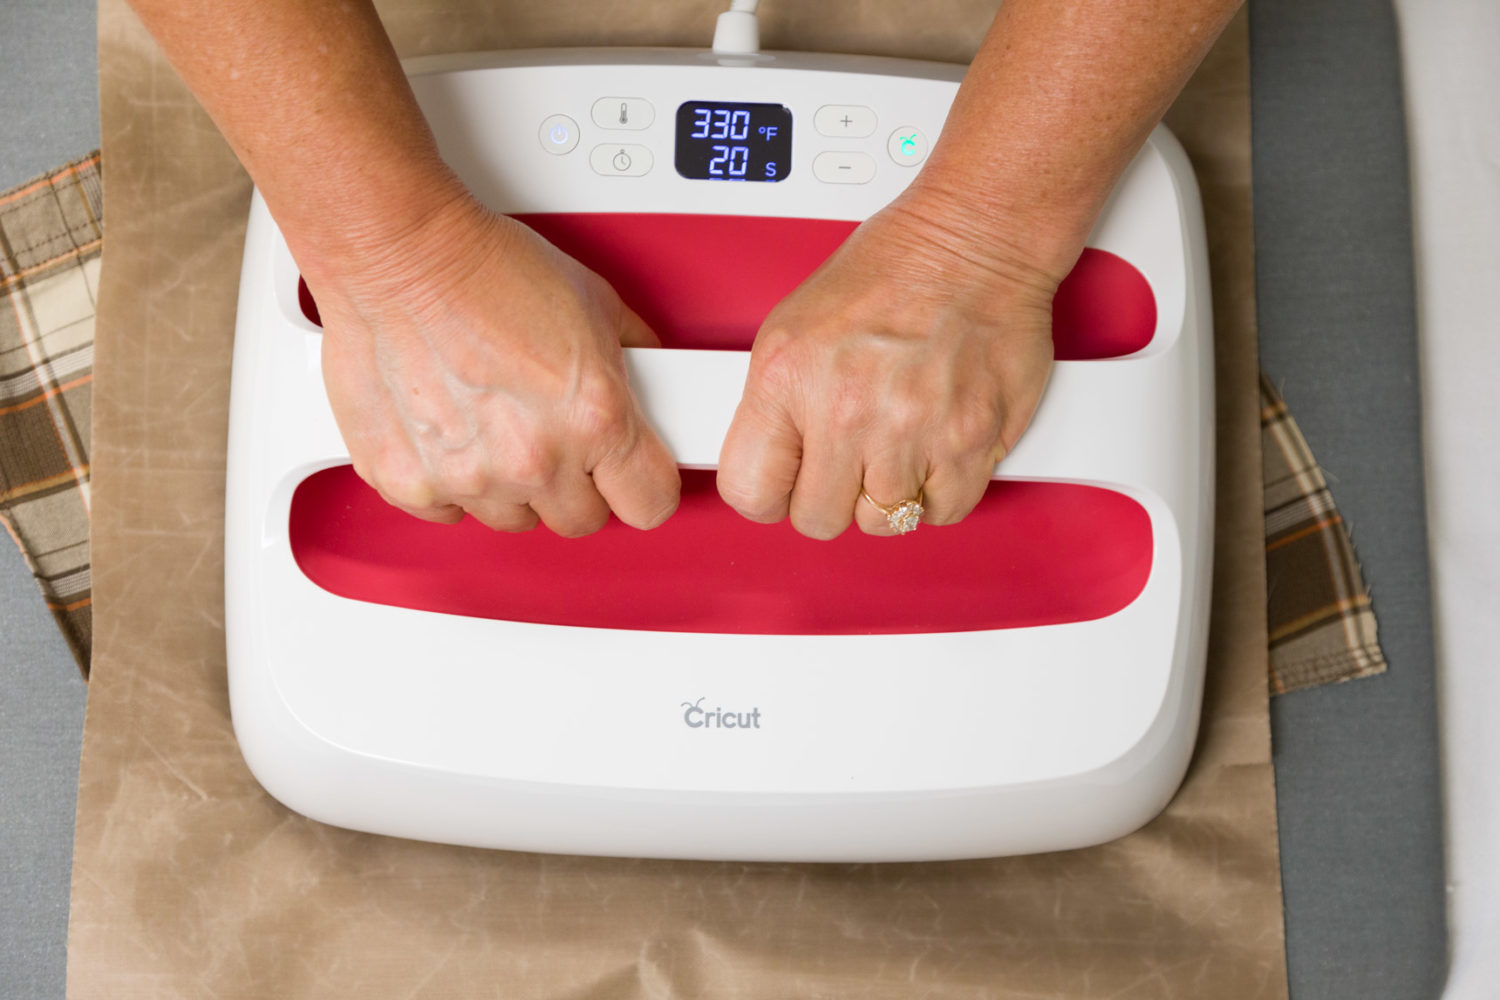
- Press your EasyPress down over the design for 30 seconds. Then flip the fabric over and press for an additional 15 seconds.
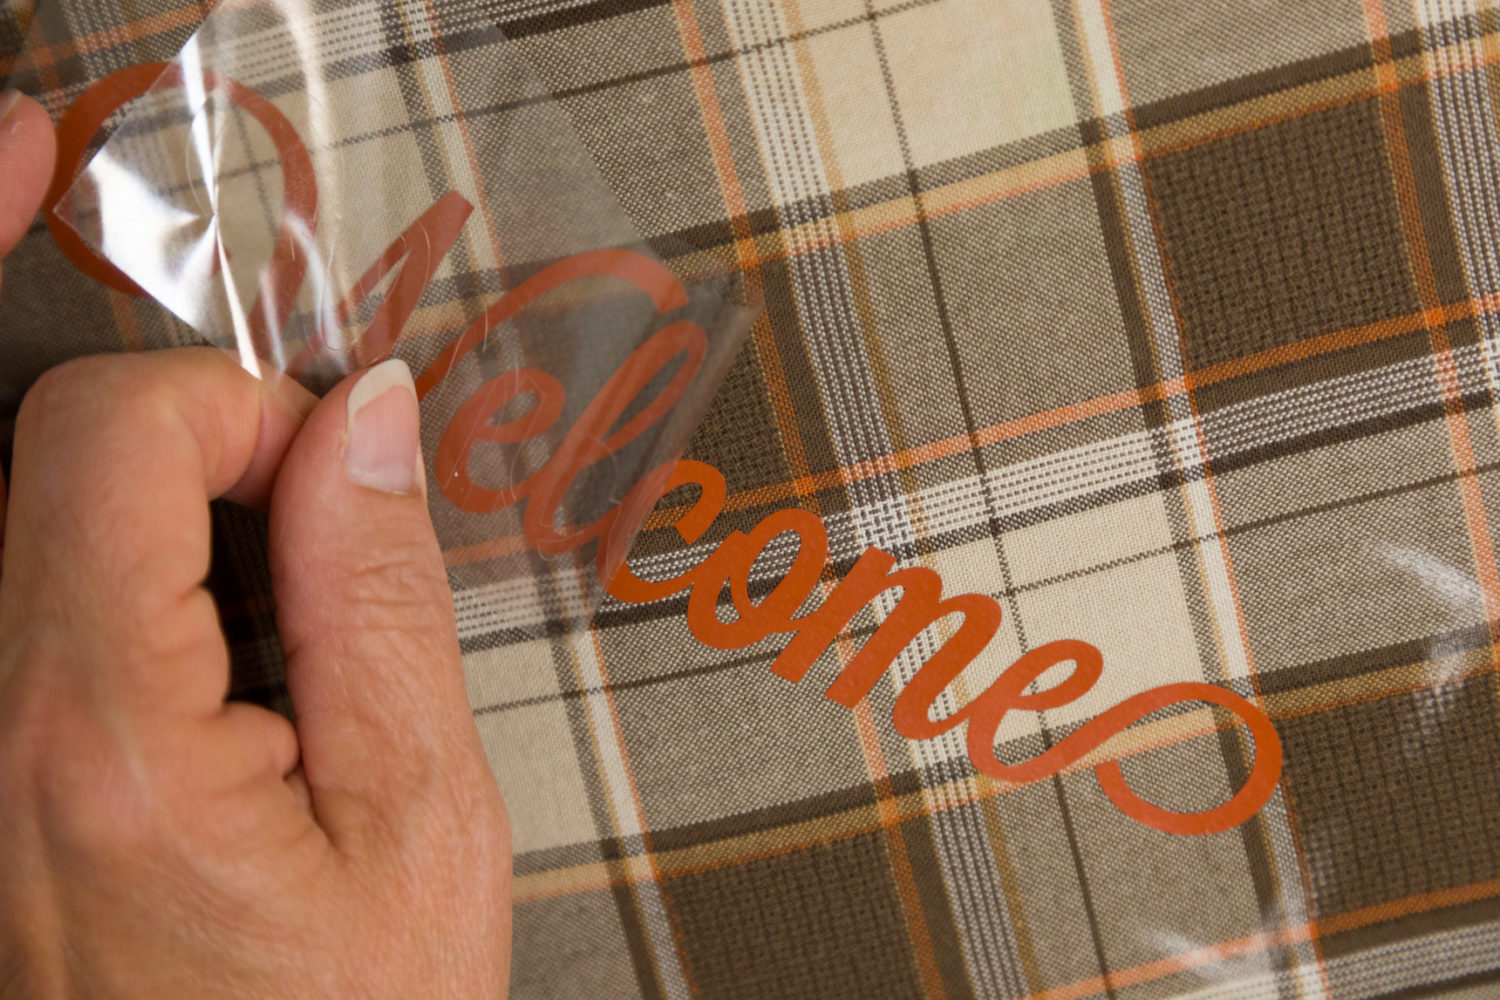
- Peel the clear plastic carrier sheet away from the vinyl.
- On a hard, flat surface place down the inner circle of the embroidery hoop. Place the fabric on top of the circle lining up your chalk marks.
- Loosen the screw of the outer circle of the hoop, and push the circle down around the outside of the fabric with the screw at the top.
- Pull the fabric taut and retighten the screw.
- Cut the excess fabric from the back of the door hanger.
- Attach the Chenille stem to the screw to create the hanger.
- Attach your bow, leaves, and any other decorations with hot glue.
Notes
Depending on which type of HTV you are using the temperature, press time, and when to peel may be different. Check your roll for instructions.

Kippi Ohern
Tuesday 28th of September 2021
I love this pretty fall door hanger!
Cute Easy Felt Pumpkin Garland How To | Olivia OHern
Thursday 1st of July 2021
[…] Fall Decorating Ideas – DIY Fabric Pumpkin Animal Crossing Inspired Felt Fall Garland “Hello Fall” Door Hanger Decoration Ideas Fall Dollar Tree Pumpkin Trio Door Hanger Easy Fall Decorating Dollar Store DIY Ideas Fall […]