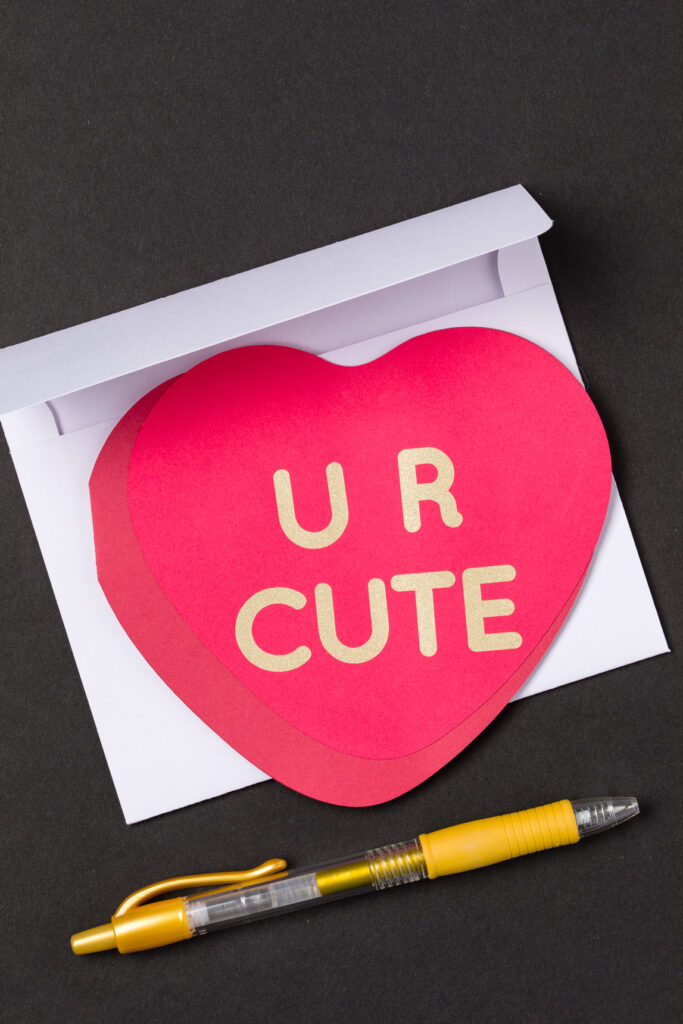
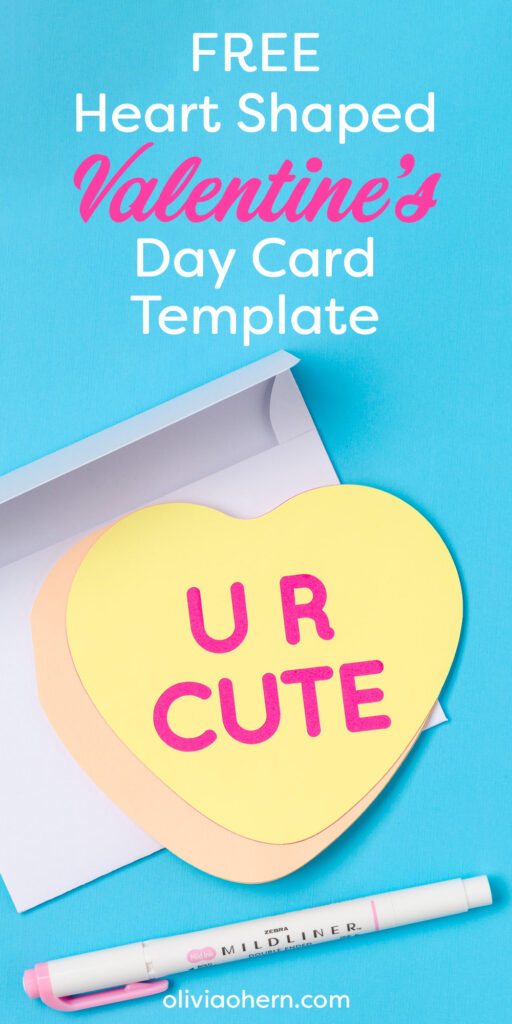
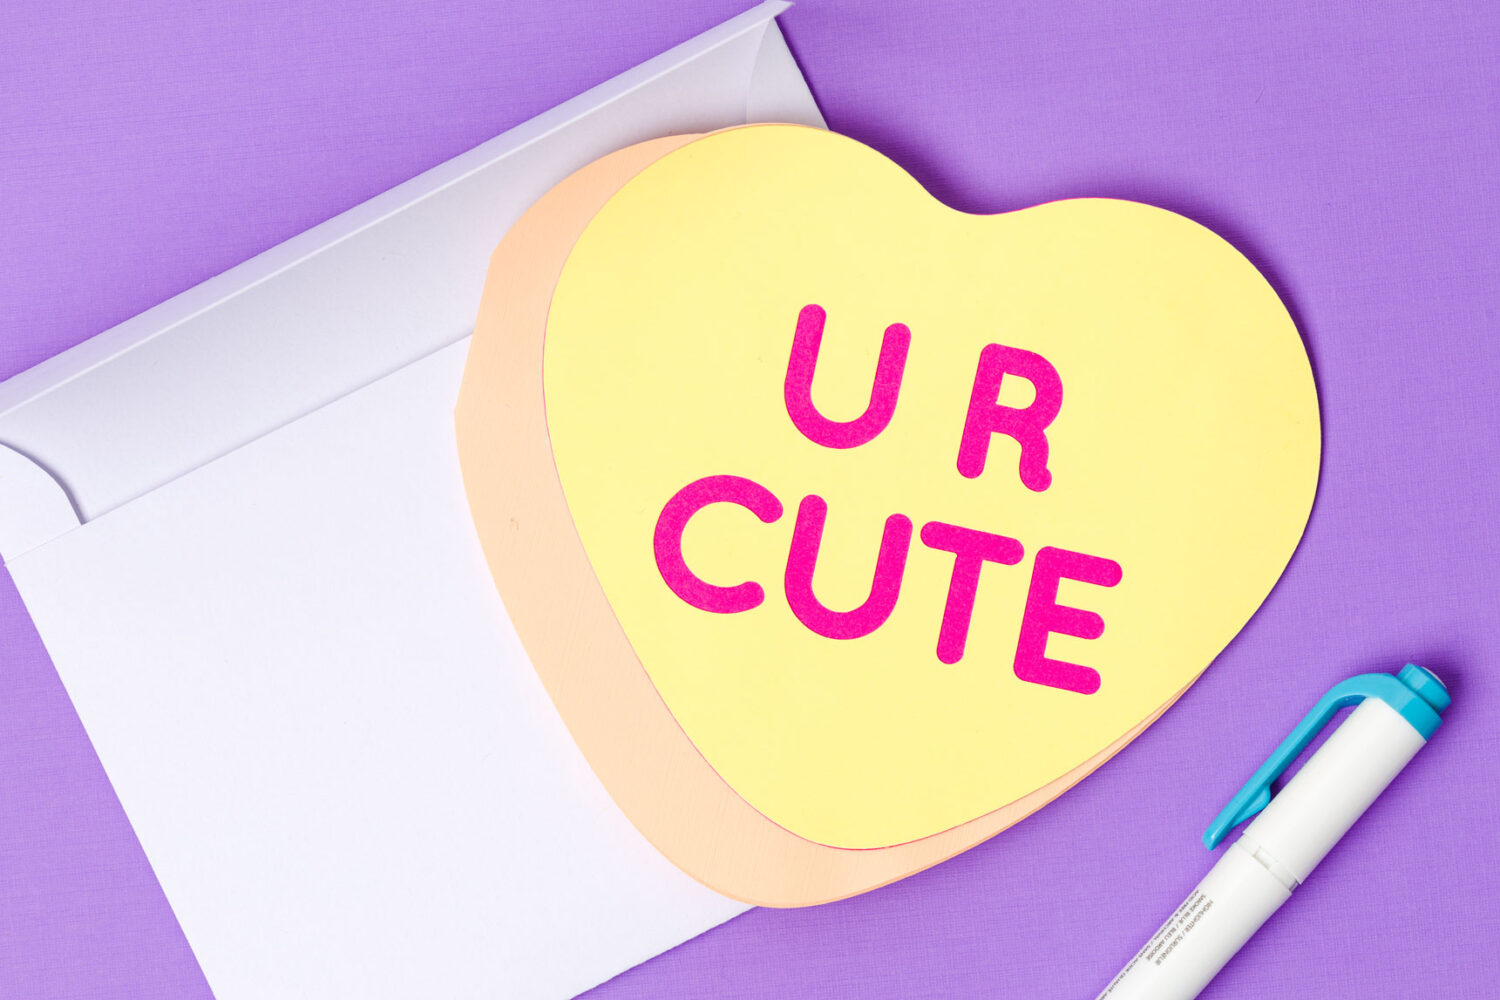
I am going to talk about two ways to make this Valentine’s Day card! The first way will have the letters recede mimicking the classic stamped message on a conversation heart candy. The second has the letters on top of the heart, making it easier to customize the card’s front.
This post is part of a Valentine’s Blog Hop put together by Kippi At Home! Make sure to check out all of the great Valentine’s ideas at the bottom of this post.
This post may contain affiliate links. This means that if you purchase from one of these links I will make a small commission, but rest assured you will not pay more for any products.
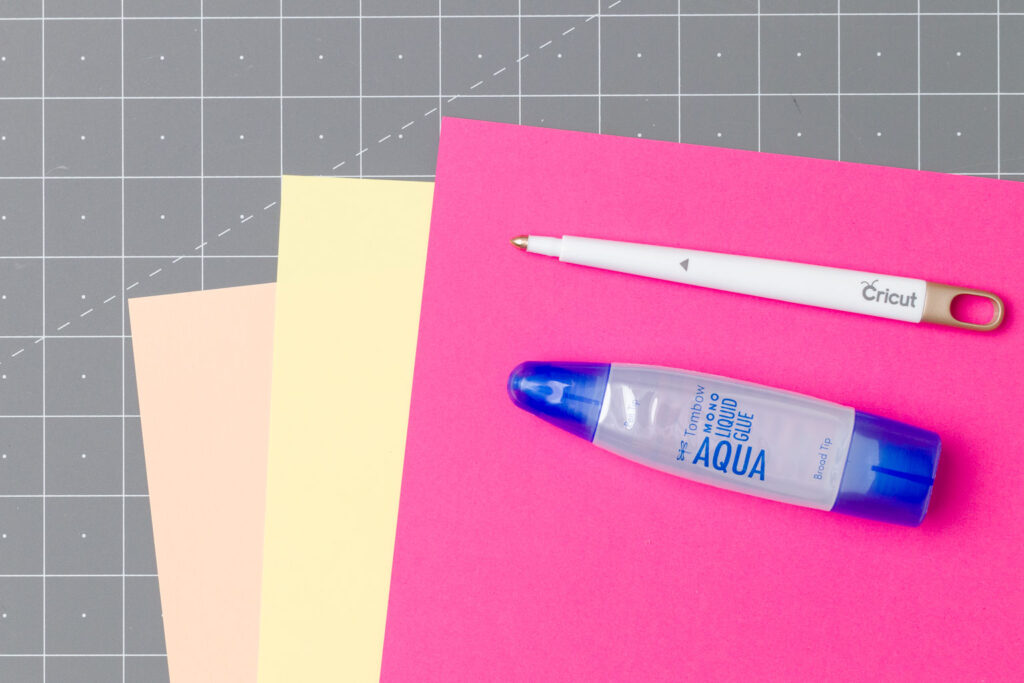
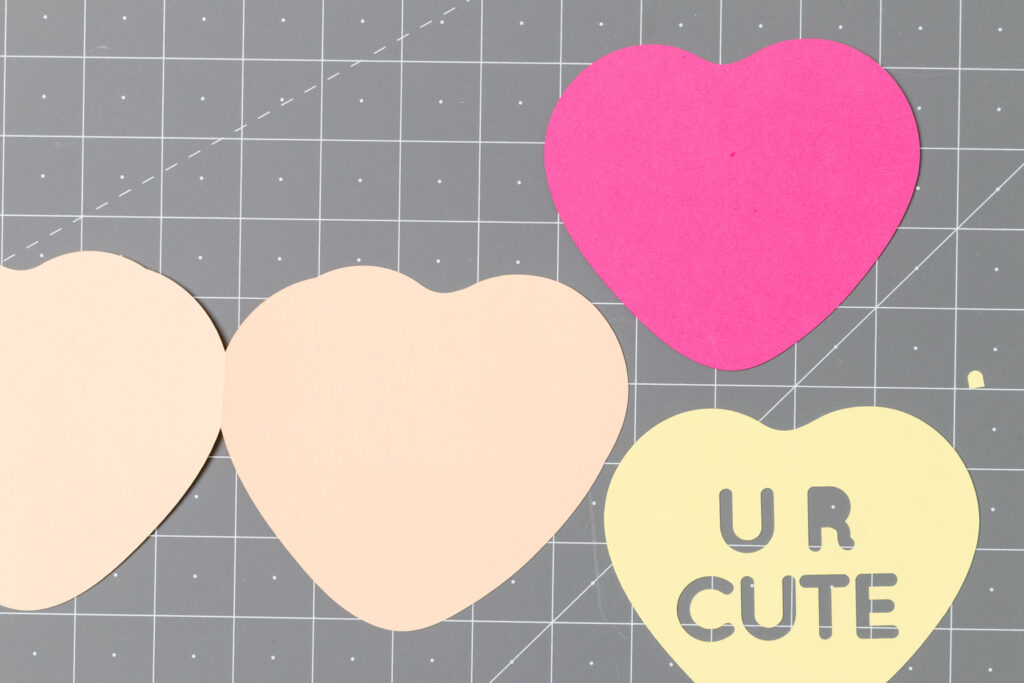
First, pick out cardstock in two shades of a color for the conversation heart and a different color for the words.
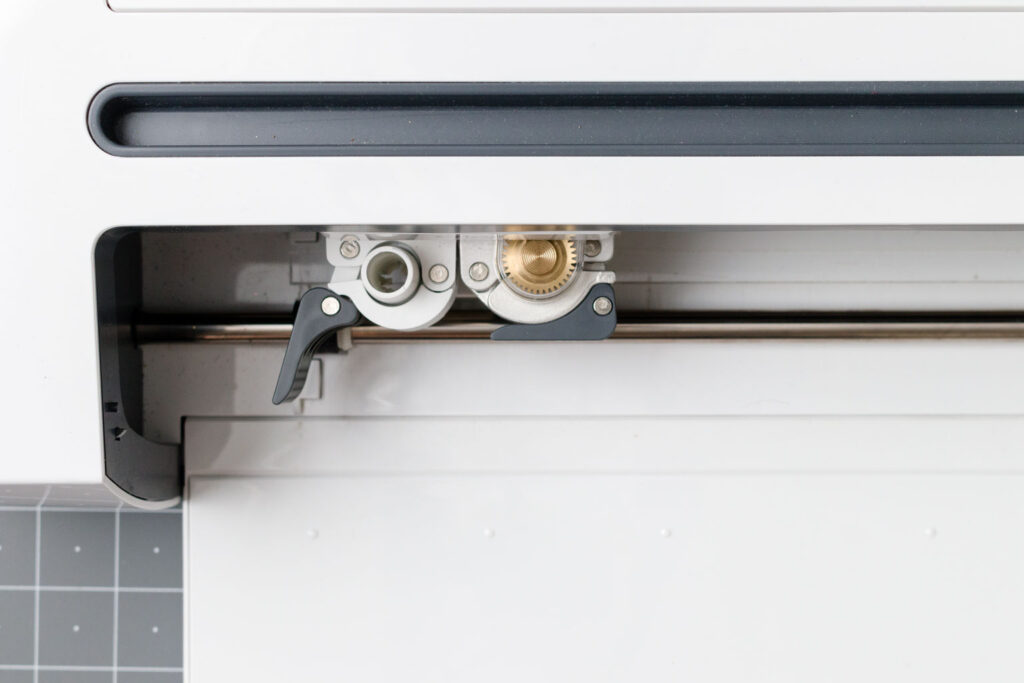
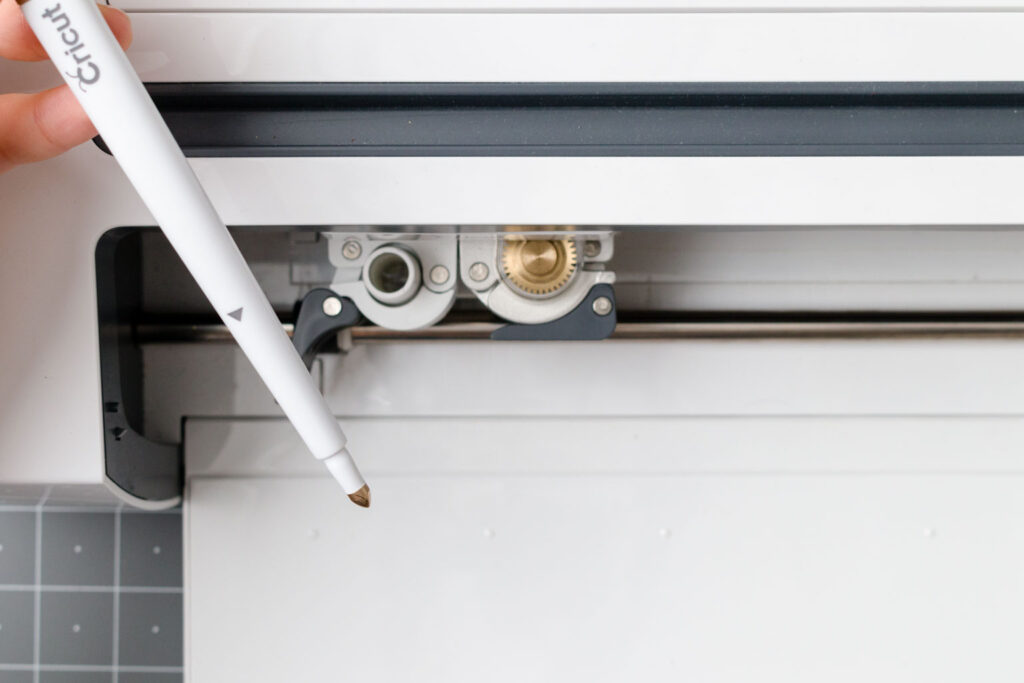
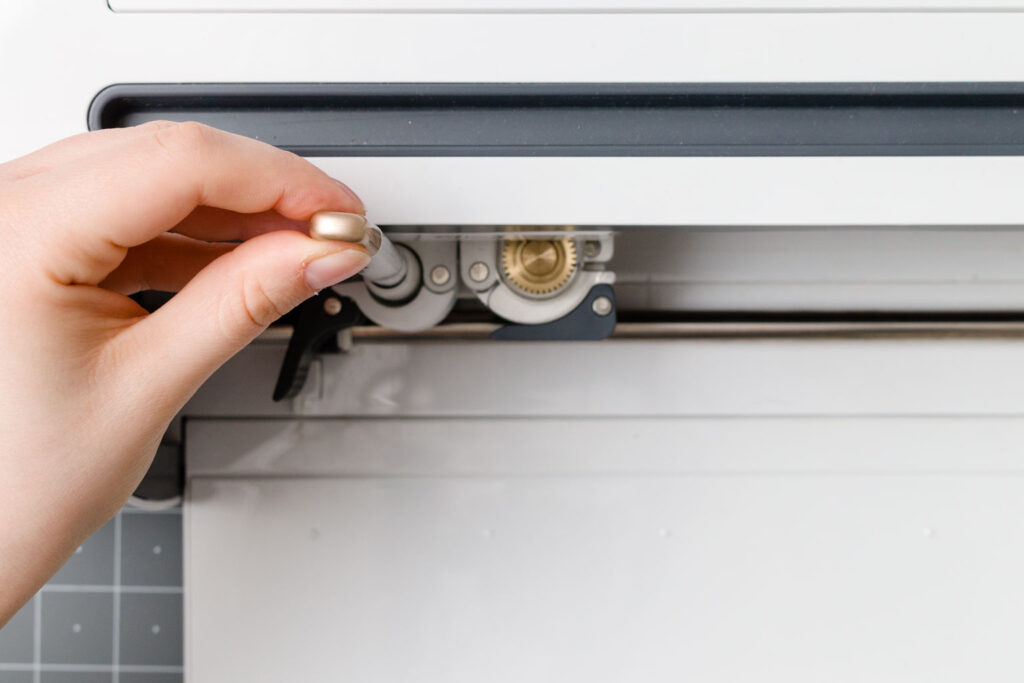
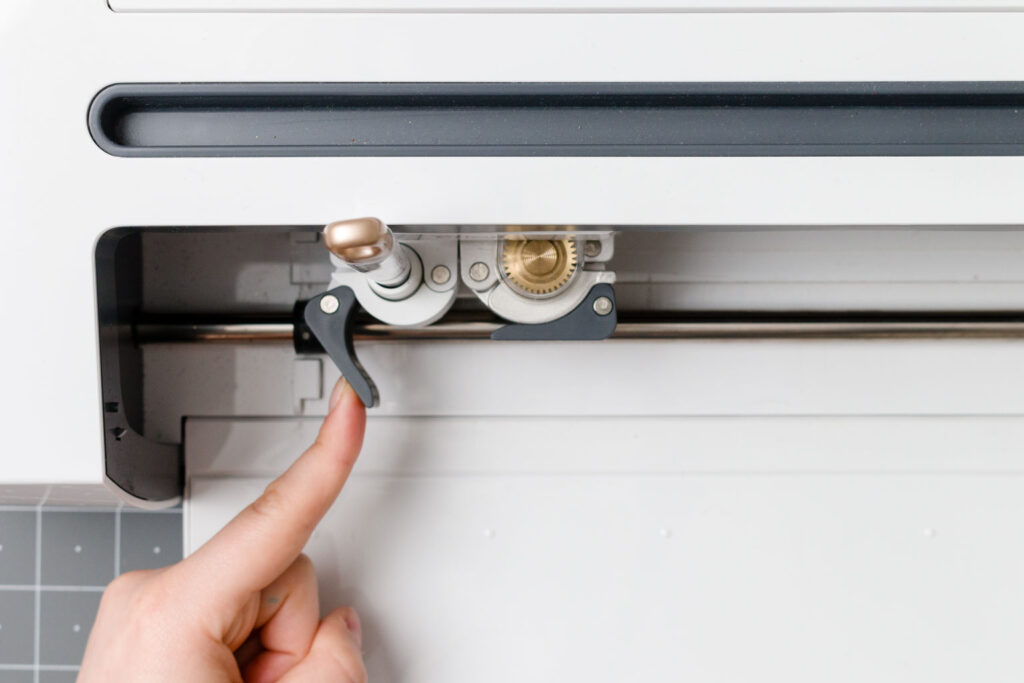
For this card I used the scoring stylus to get a crisp fold on the card. Since my machine has dual spots I preload the scoring stylus into the “A” spot. First make sure the lock is open, then push the stylus straight down into place. Then, flip the lock back into place.
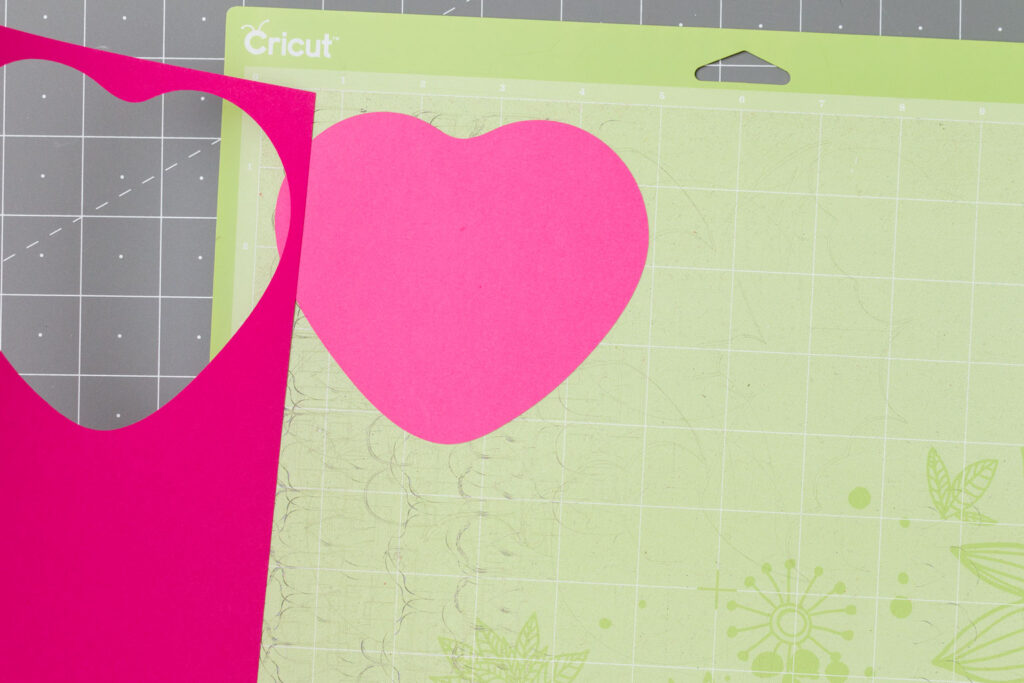
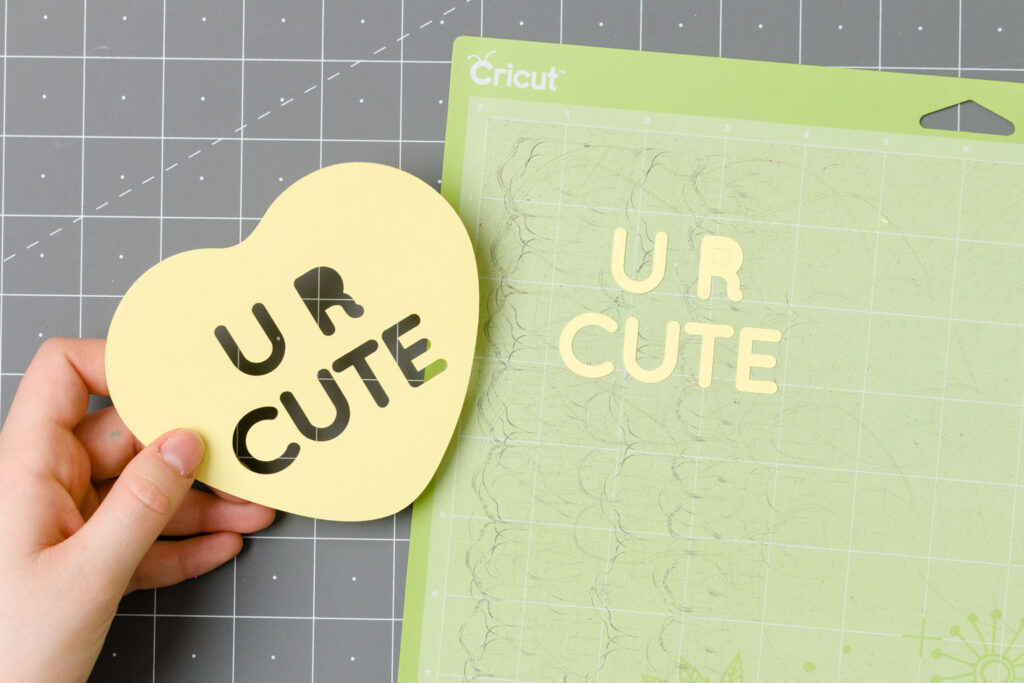
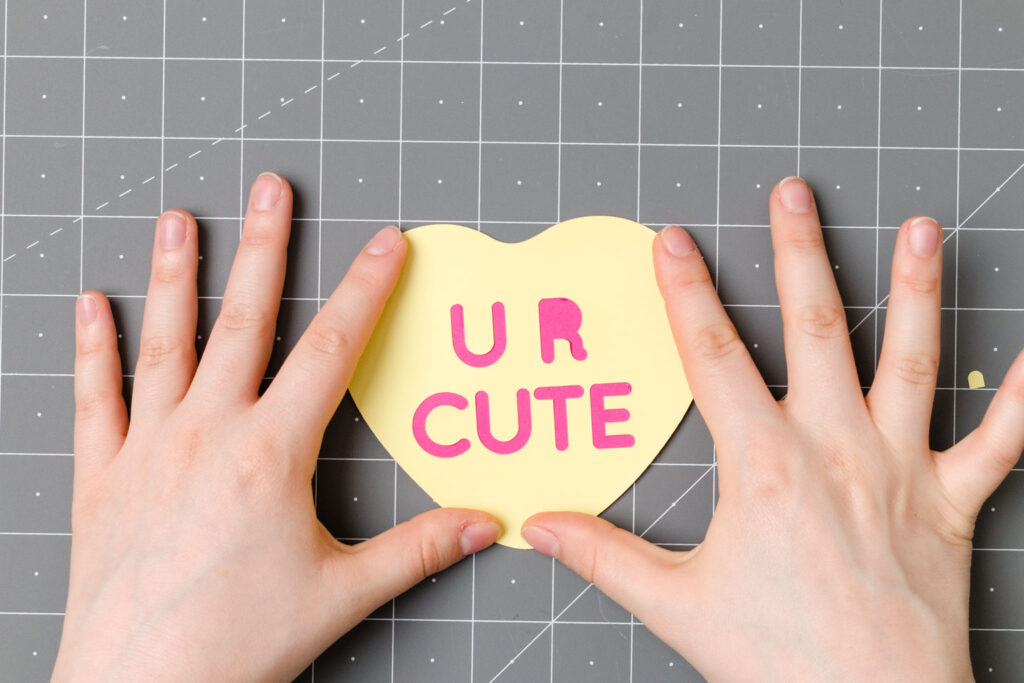
The darker of the two heart colors will be the base of the card. The word colored piece will be a solid heart and then the lighter of the heart colors will go on the very top.
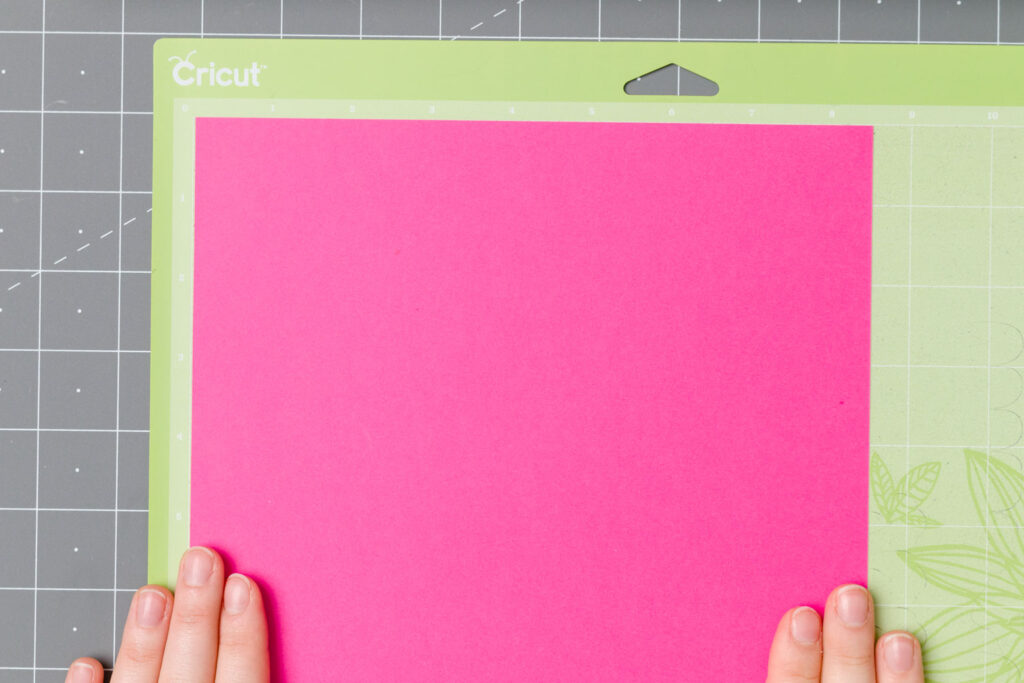
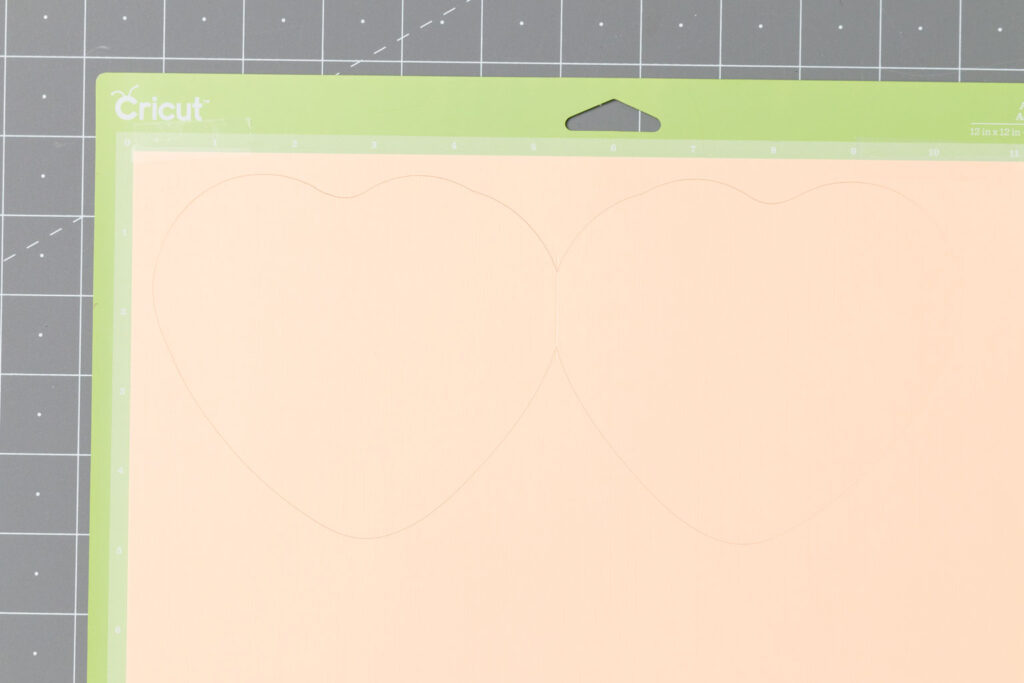
I used the StandardGrip mat for these. The base of the card will cut out and score.
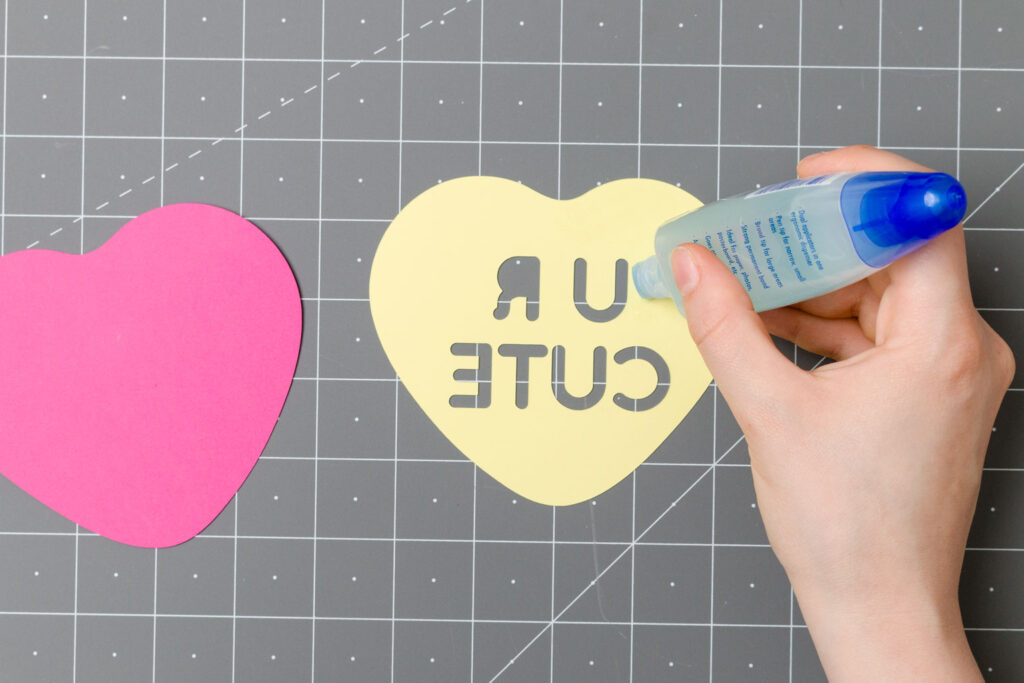
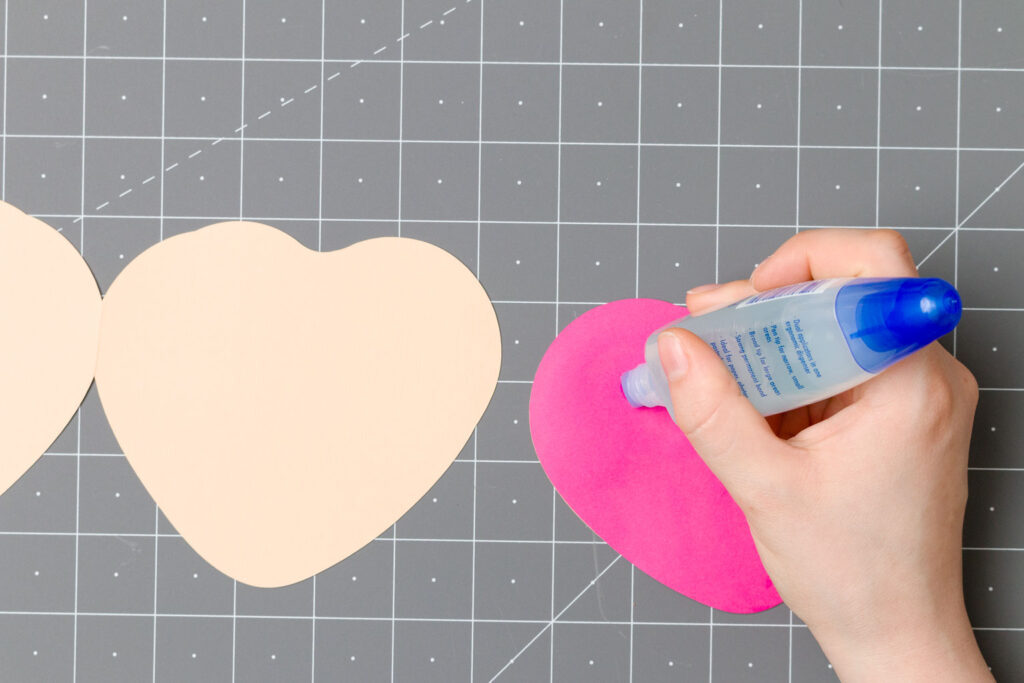
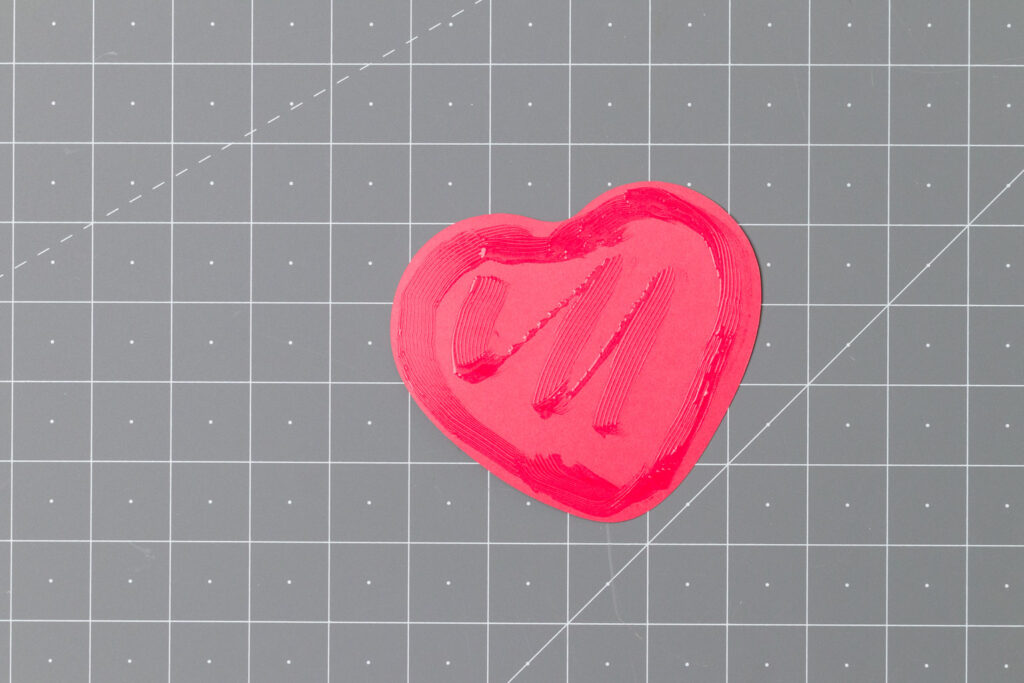
I glued the top heart onto the solid heart and then glued the center of the “R” on. I like to use the broad tip on the Tombow Mono Aqua Liquid Glue so I can easily spread it around in a thin layer.
Then I glued the whole heart onto the base of the card.
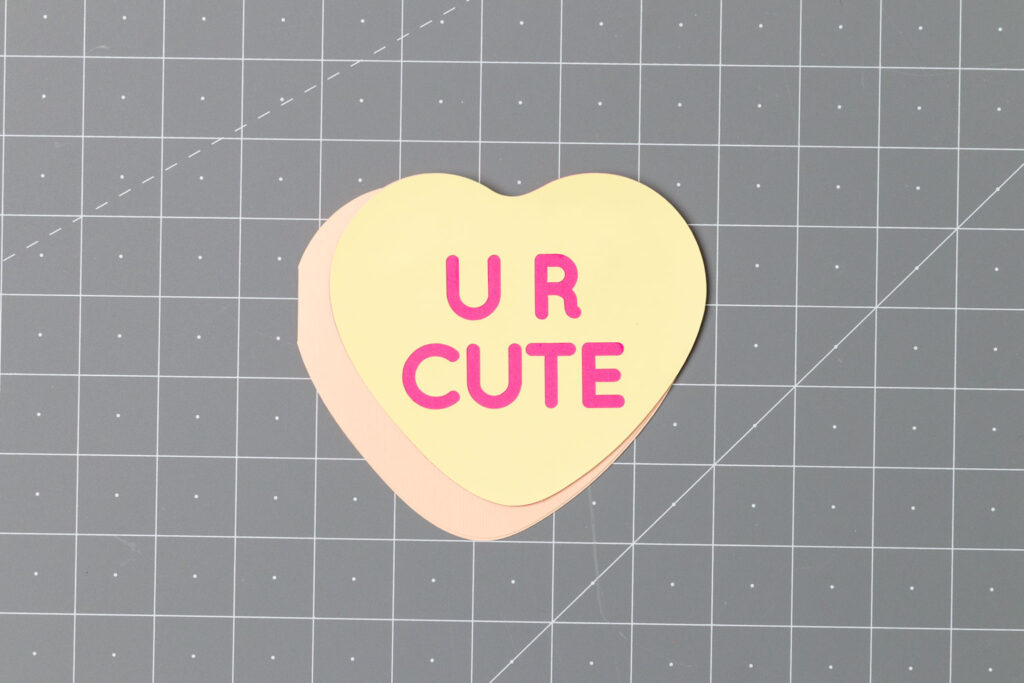
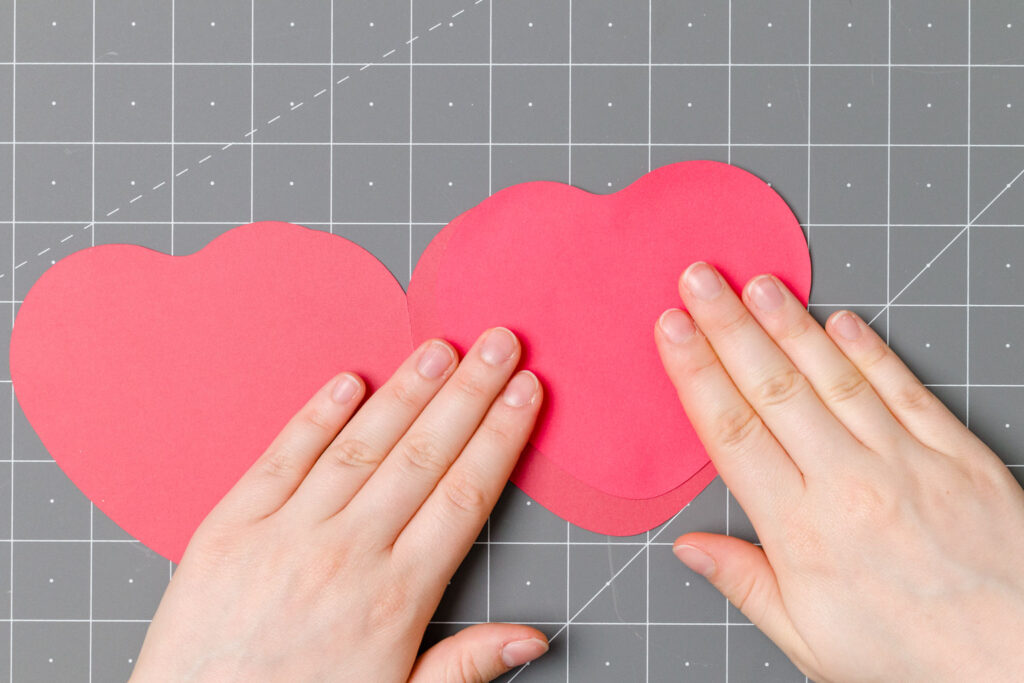
I recommend placing the card under something to keep it flat while drying.
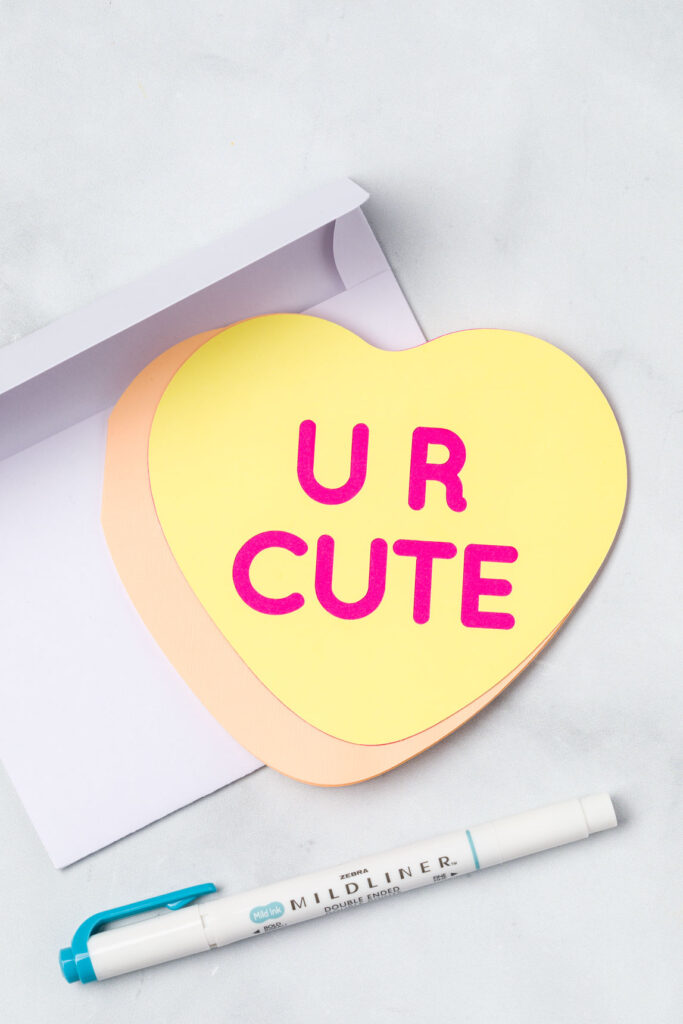
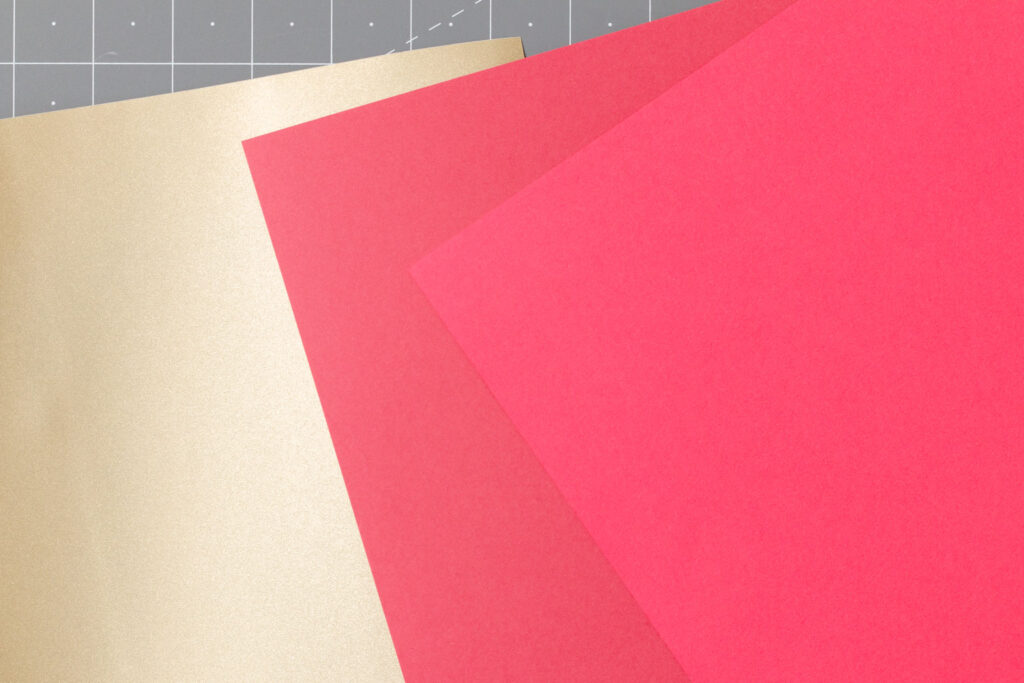
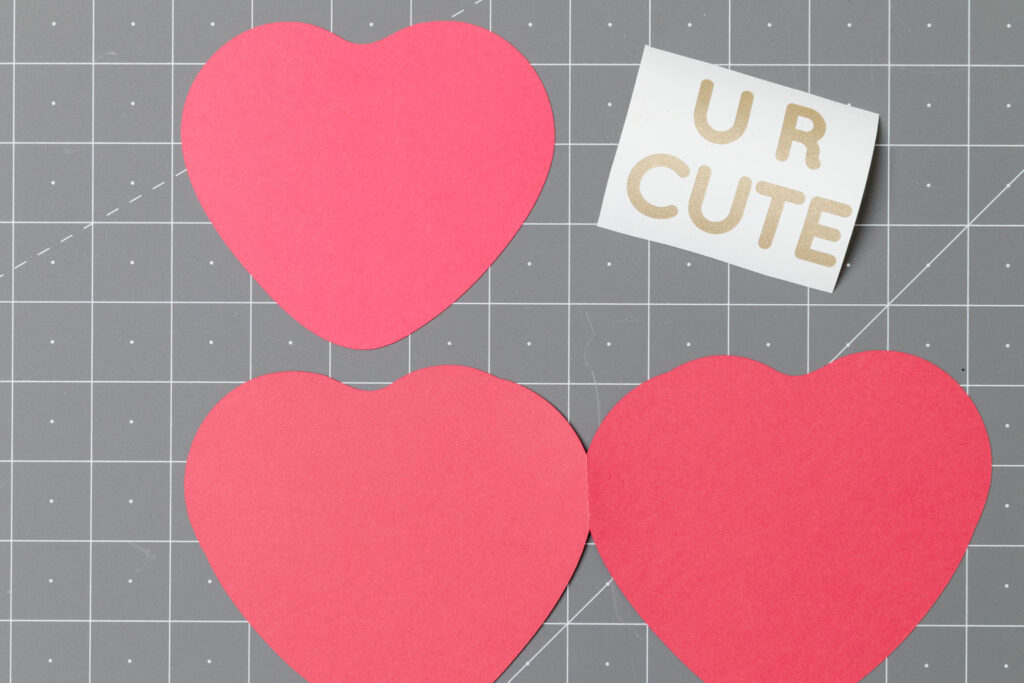
First, pick out cardstock in two shades of a color for the conversation heart and vinyl for the words.
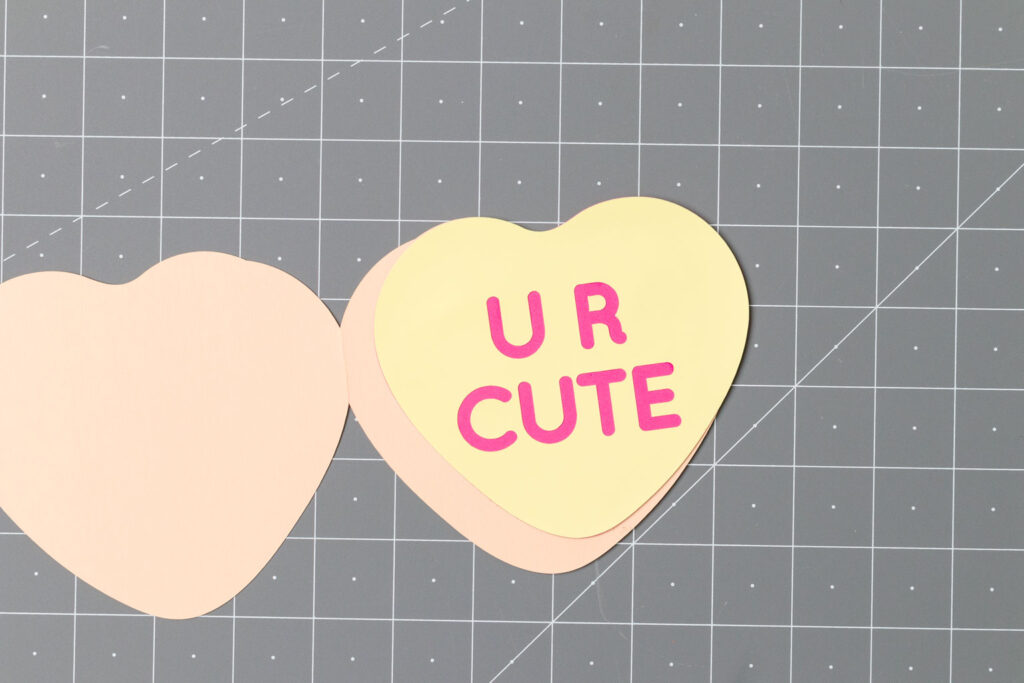
The darker of the two heart colors will be the base of the card. The lighter of the heart colors will be a solid heart.
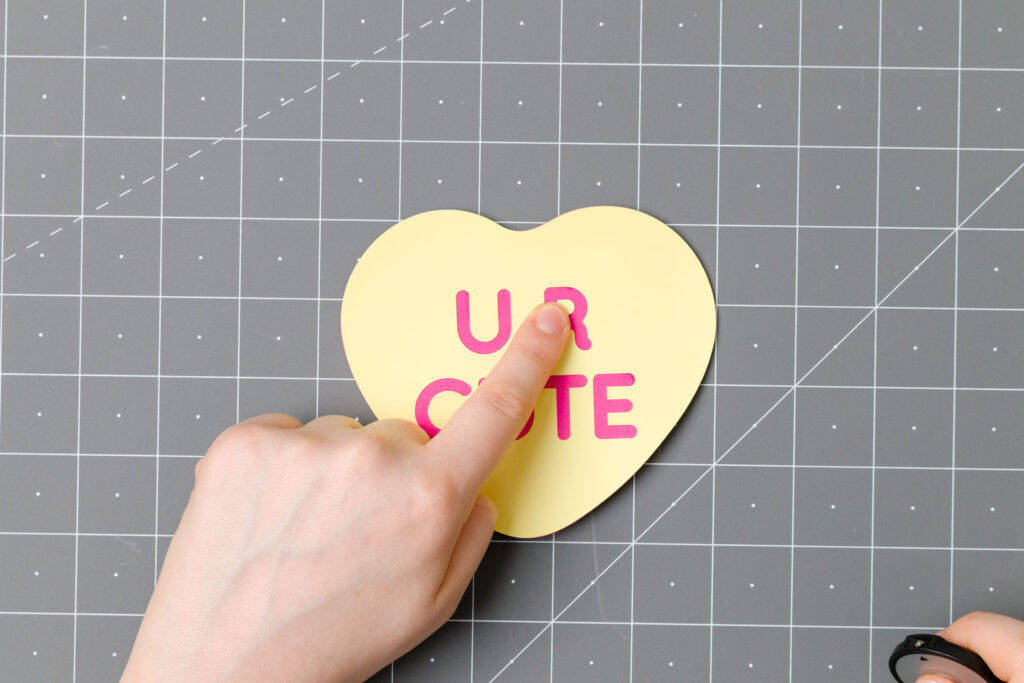
Cut out the solid heart and card base the same as before, but this time the words will be cut out of vinyl and placed on top. Don’t forget to weed!
Glue the heart onto the card base.
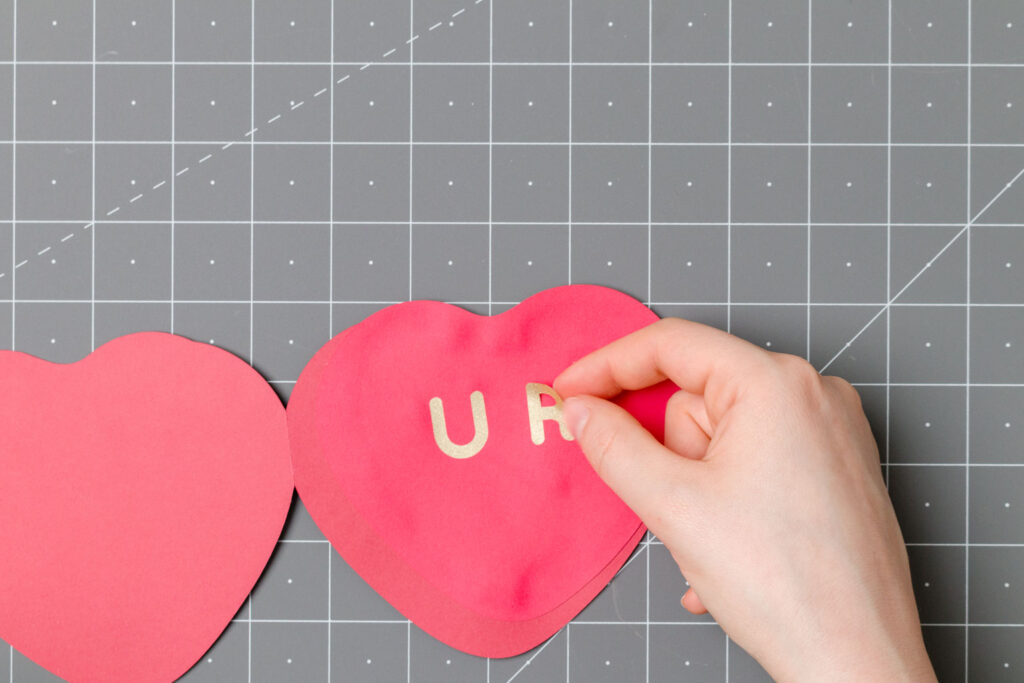
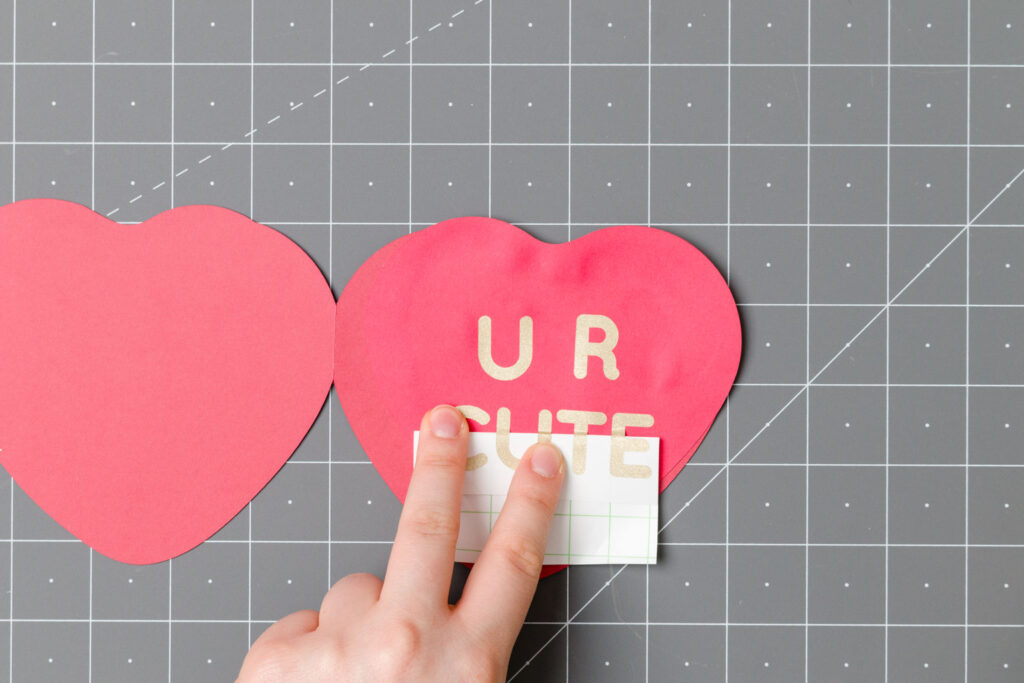
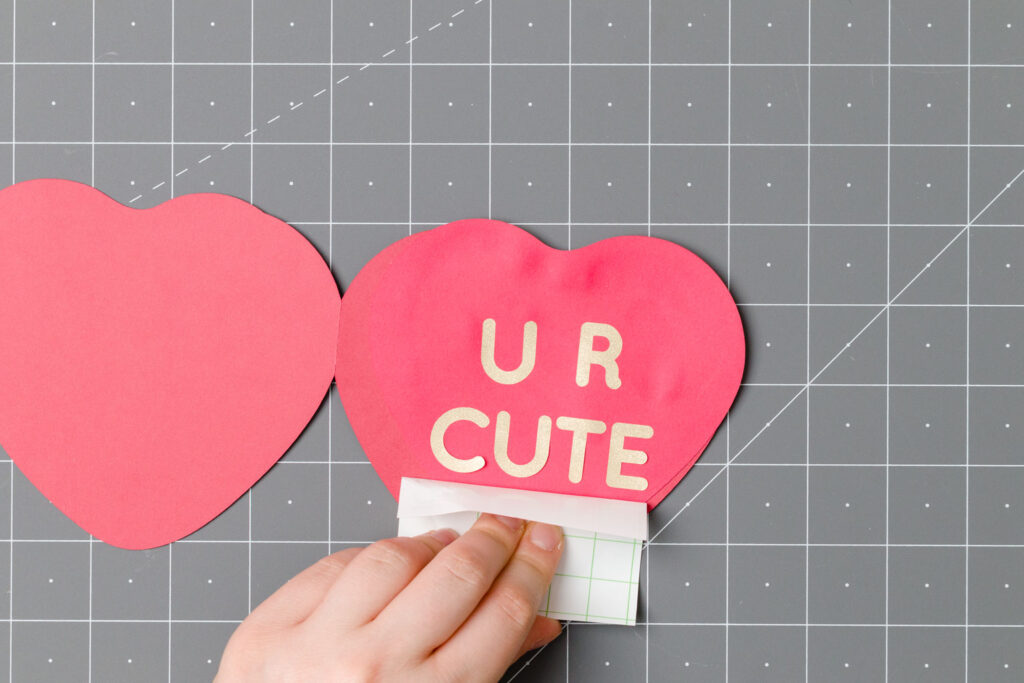
Then you can stick the vinyl letters onto the card!
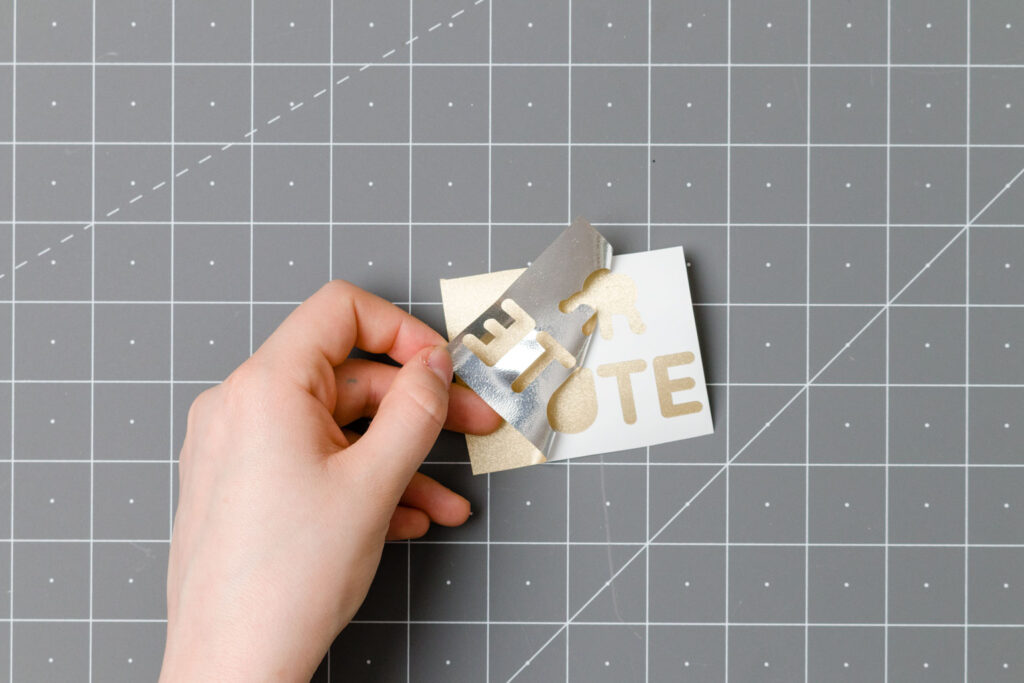
I found a good way to keep a line of letters straight without using transfer tape. Fold the backing so the tops of the letters are free. Press them down and then pull the backing off the rest of the way and firmly press down the letters.
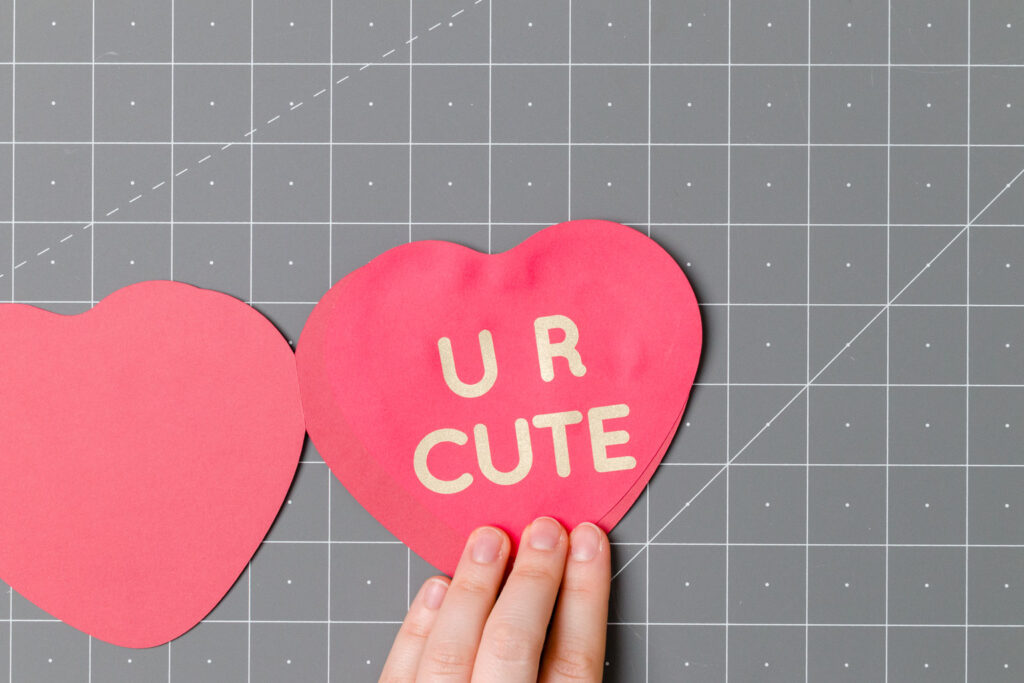
Again, I would suggest placing the card under something to keep it flat while it dries.
Next on the tour is my friend, Terrie from Decorating and More with Tip. I love her craft room! Be sure to check it out along with all the other amazing bloggers below!
I have gathered some favorite bloggers (yours and mine!) to bring you lots of Valentine’s Day Inspiration. With all these amazing ideas you are bound to walk away with tons of ideas!

Kippi at Home // Feet Under My Table // Tribe of Burton // Zucchini Sisters
♥ ♥ ♥ ♥ ♥ ♥ ♥ ♥ ♥ ♥ ♥ ♥

Olivia O’Hern // Decorate and More with Tip // The House on Silverado // My Family Thyme
♥ ♥ ♥ ♥ ♥ ♥ ♥ ♥ ♥ ♥ ♥ ♥
Chas’ Crazy Creations // From Farmhouse to Florida // Simple Nature Decor

Helen
Tuesday 9th of February 2021
These look adorable. I read the whole thing and I don't even have a cricut :) stay creative, Helen
Leslie Watkins
Friday 5th of February 2021
Love these! Getting ready to replace my Brother Scan and Cut with a new Cricut Maker!
Tribe of Burton
Wednesday 3rd of February 2021
What a creative idea. I never would have thought of that.
Lynne
Wednesday 3rd of February 2021
Olivia, you are so creative! Thank you for sharing this wonderful tutorial! My daughter and I enjoy crafting together with our Cricut. I can't wait to show her your post. It was so much fun to hop with you. Happy Valentine's Day!
Rebecca
Sunday 31st of January 2021
I love the vintage look of your cards, Olivia! I, too have a Cricut that I need to learn how to use. You really inspire me to finally figure it out! Thanks for sharing! It was fun hopping with you again :)