Before We Get Started
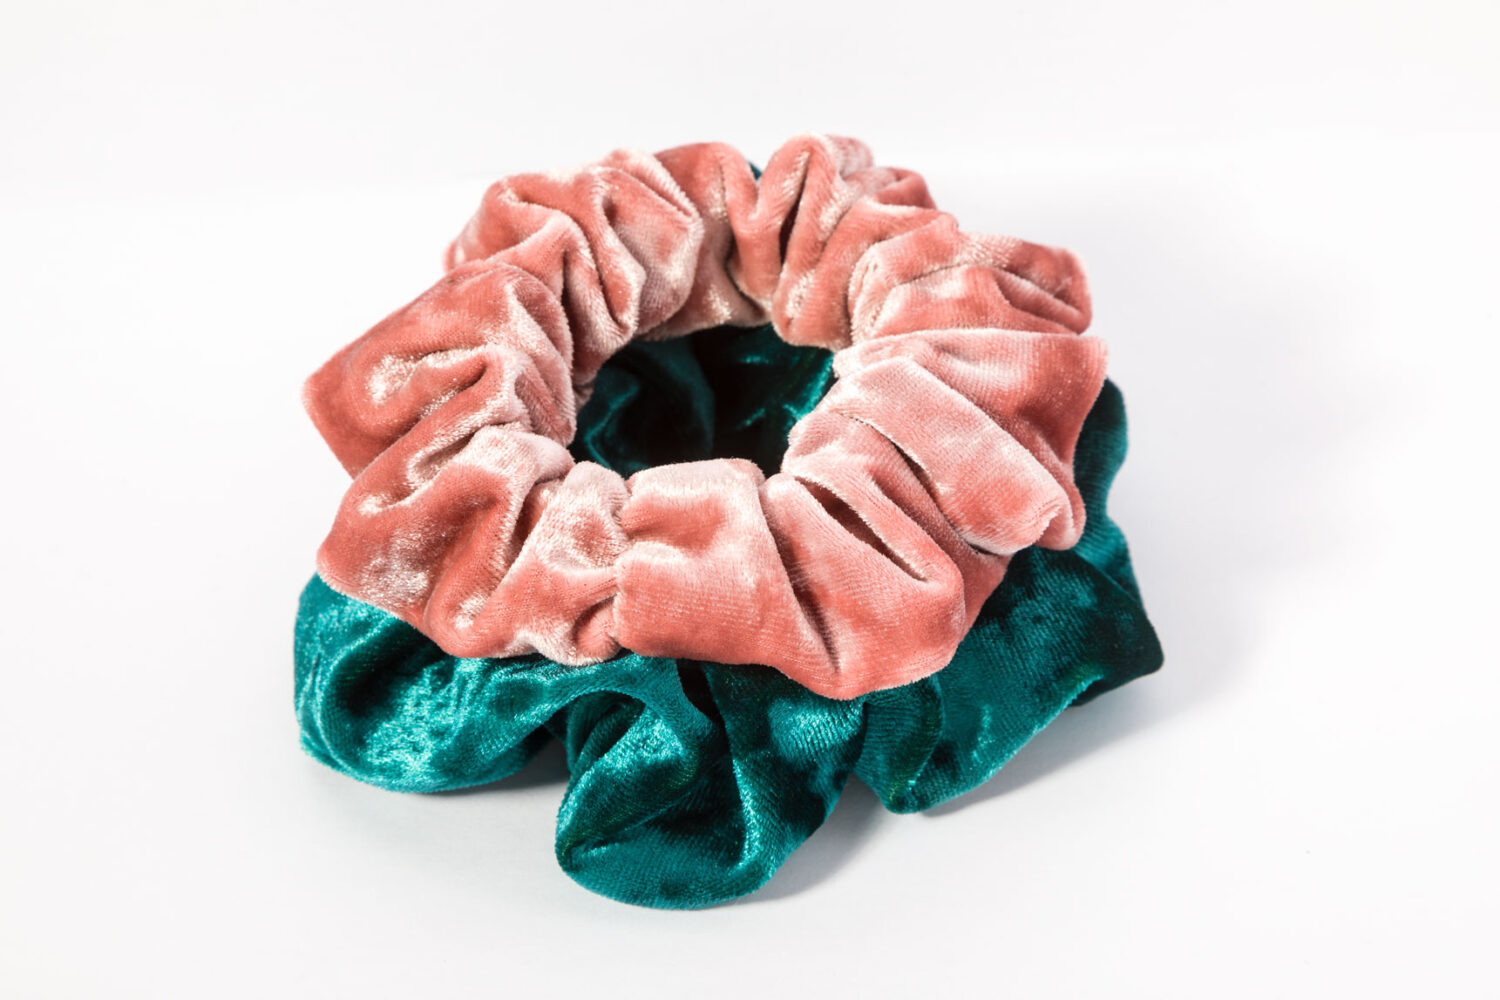
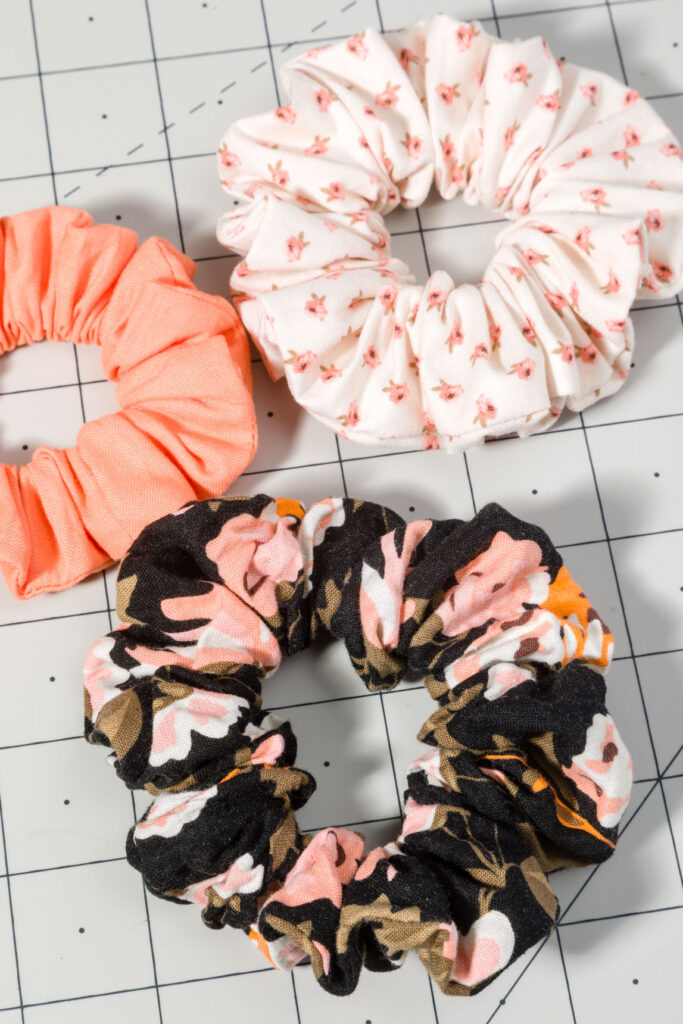
Today I am using some simple cotton fabric because it is easy to sew, inexpensive to buy, and available in a wide variation of colors and patterns. But you can use all different types of fabrics to make these. I would suggest staying away from thicker, less flexible fabrics though. My personal favorite material for scrunchies is stretch velvet, they come out so pretty!
I am going to be sewing these scrunchies on a sewing machine, but they can also be hand sewn easily with a backstitch.
Hair Tie Method
- Fabric
- Hair Ties
- Thread
- Sewing Needle
- Sewing Pins
- Scissors
- Sewing Machine (Optional)
- Iron (Optional)
- Paper pattern
- Tape
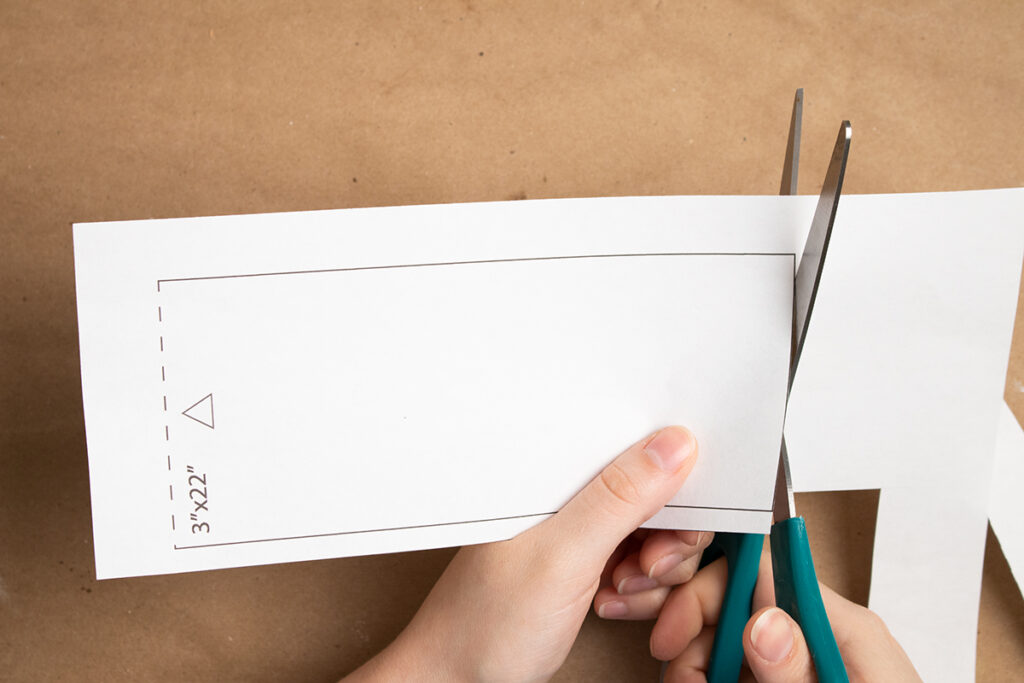
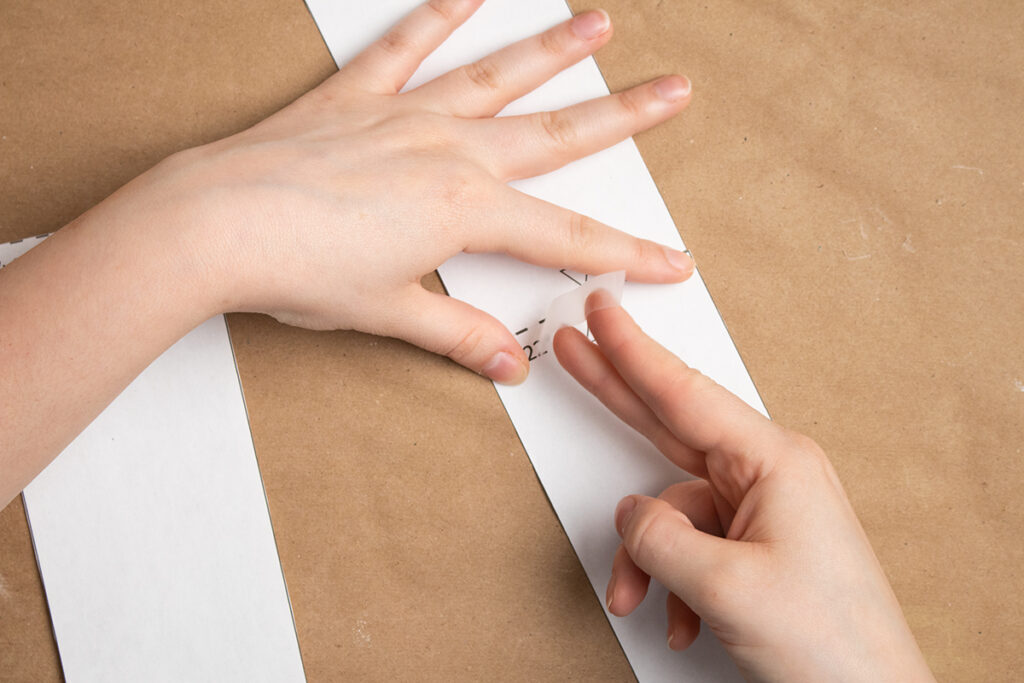
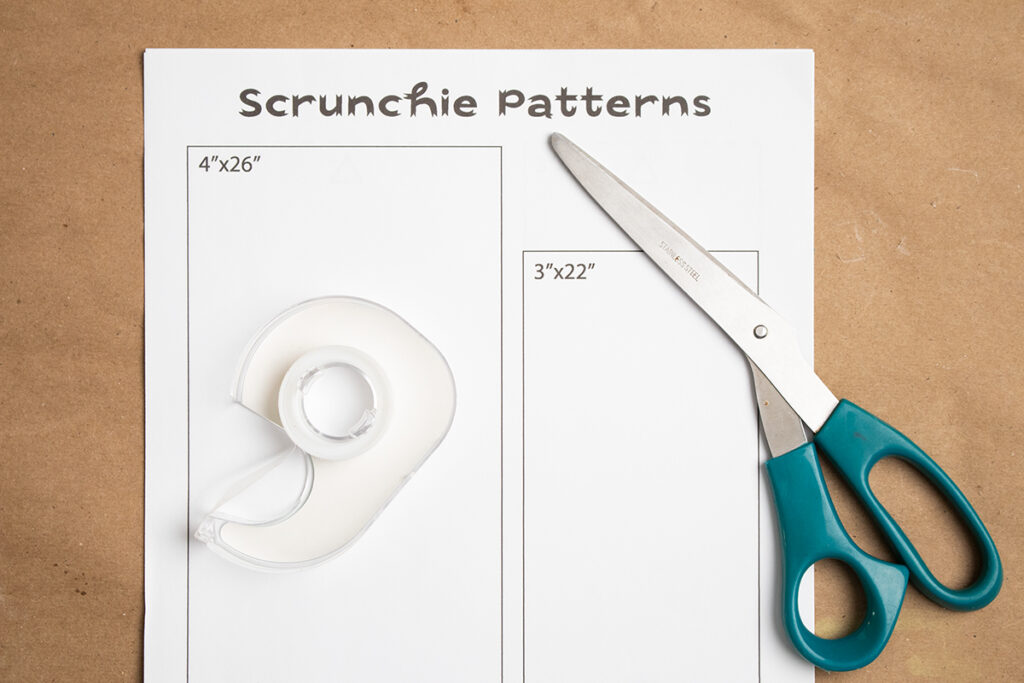
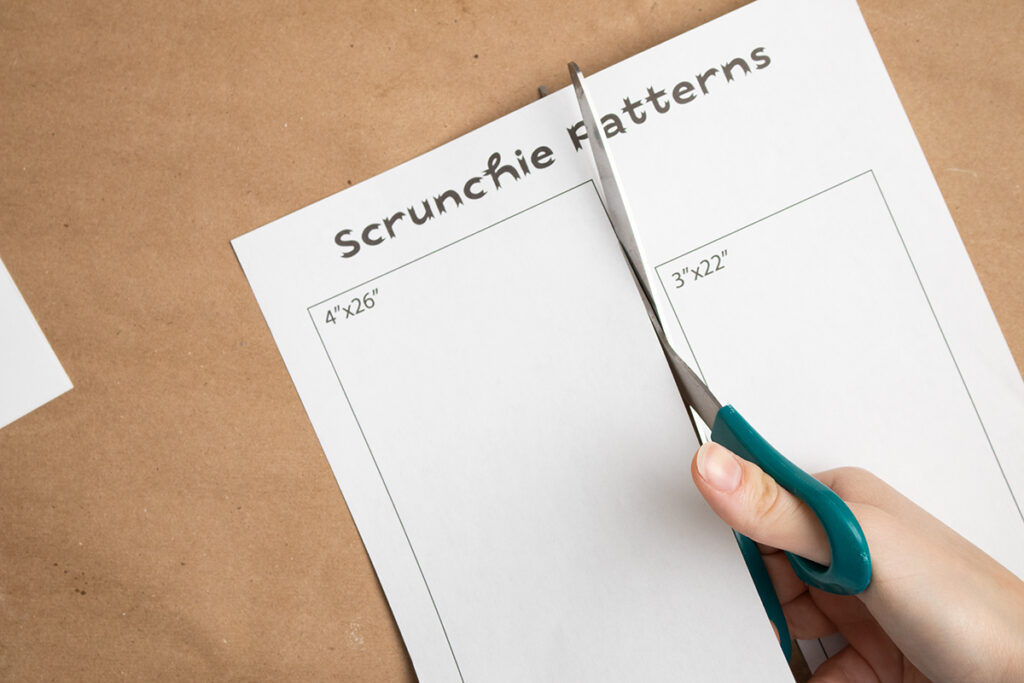
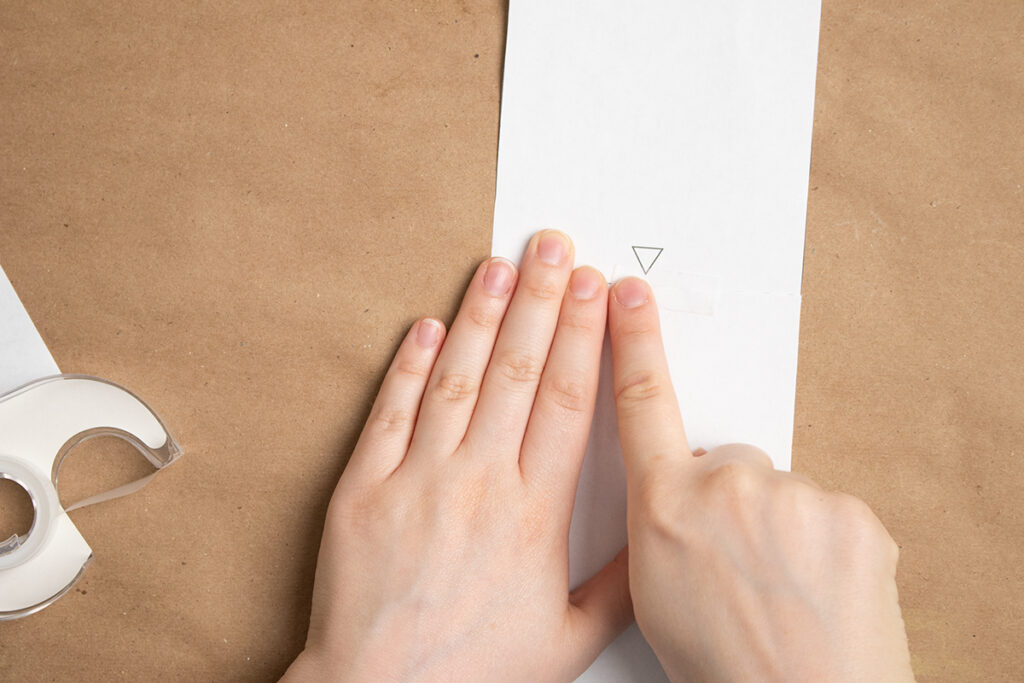
First, I print, cut, and tape together my pattern. I’ve included the two sizes that I prefer, but these can easily be adjusted by lengthening or shortening them or by adjusting the width.
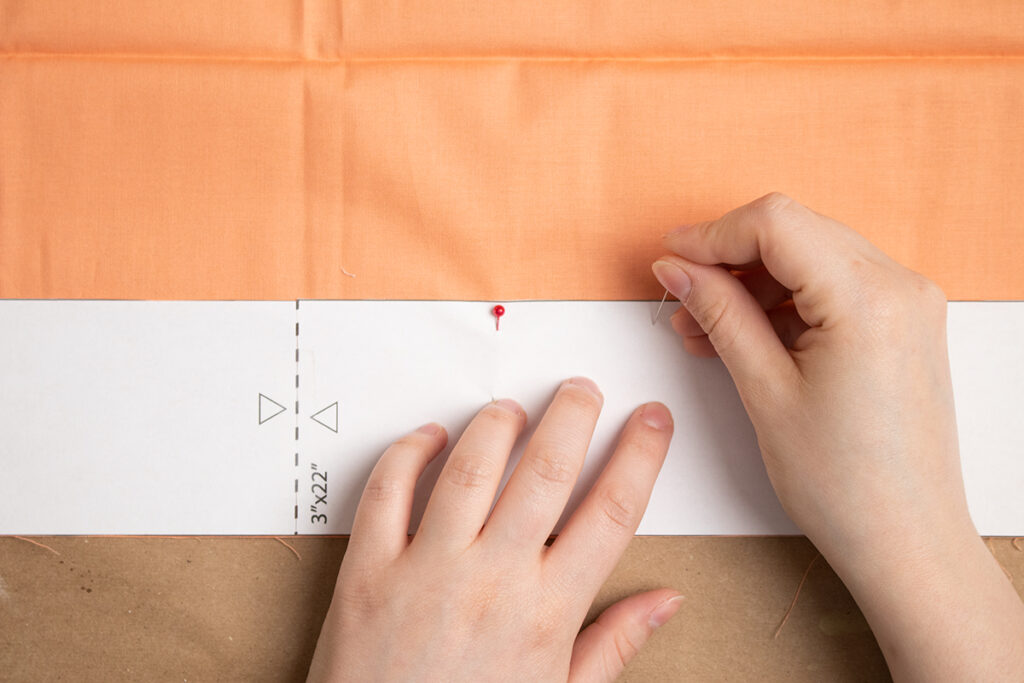
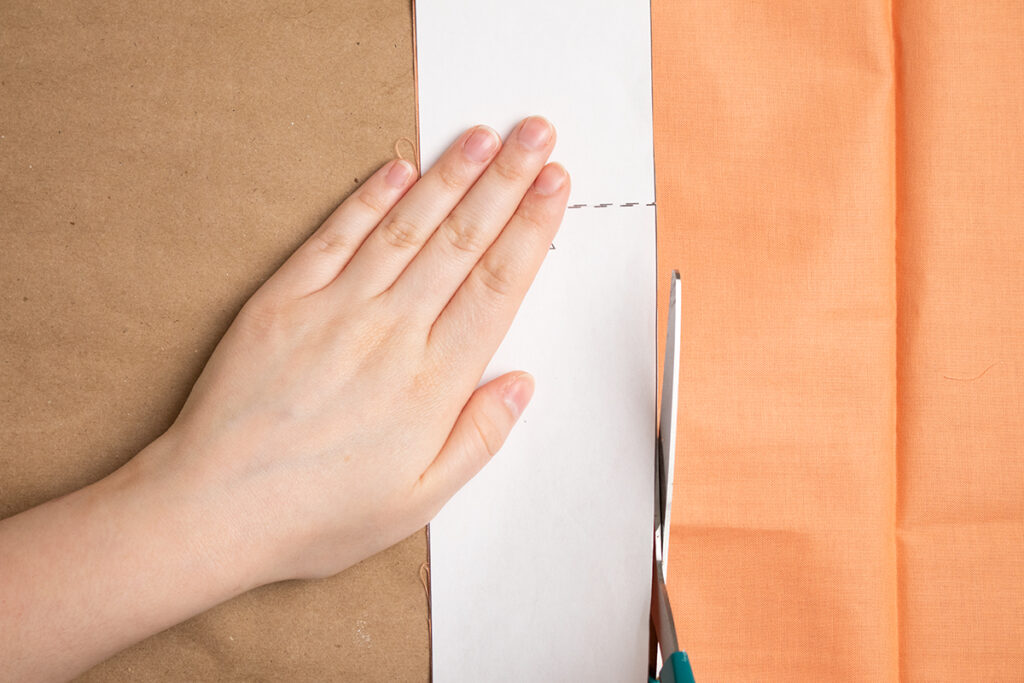
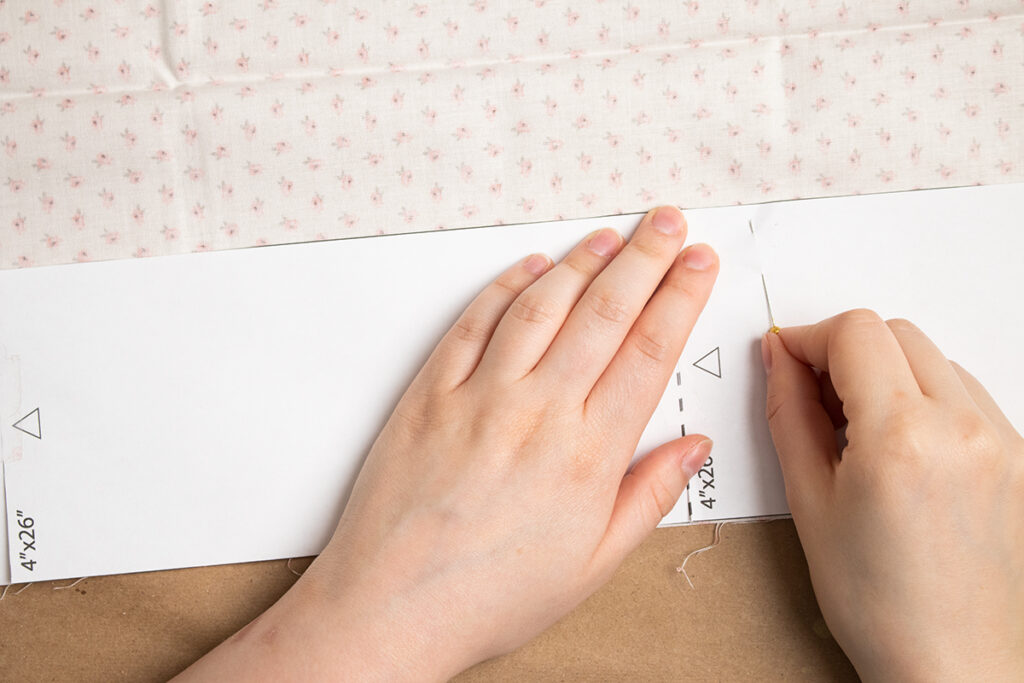
Now, I pin the pattern to the fabric and cut around it. Typically, I follow the grain of the fabric/the pattern on it, but scrunchies can also be cut on the bias.
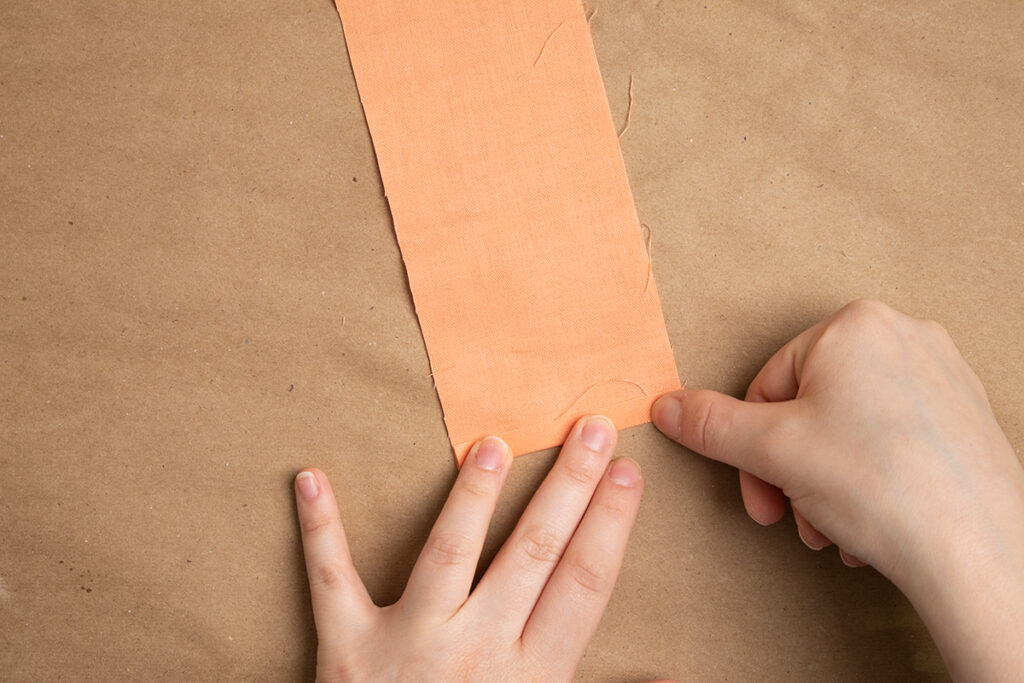
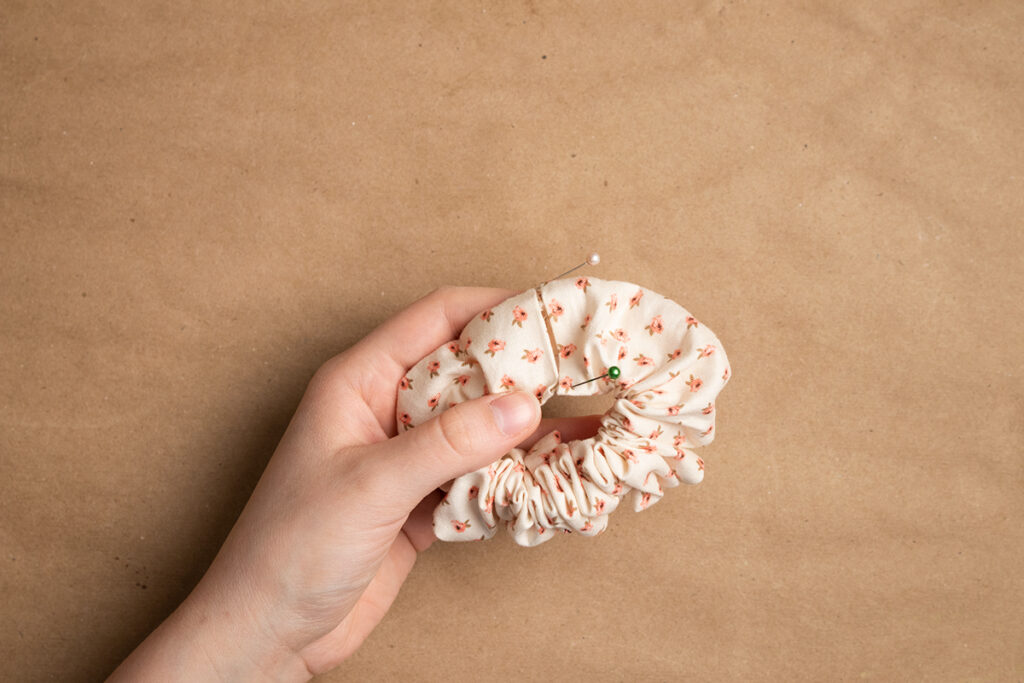
I usually fold over the ends before I start sewing to make it easier for me to sew it closed at the end, but it isn’t necessary.
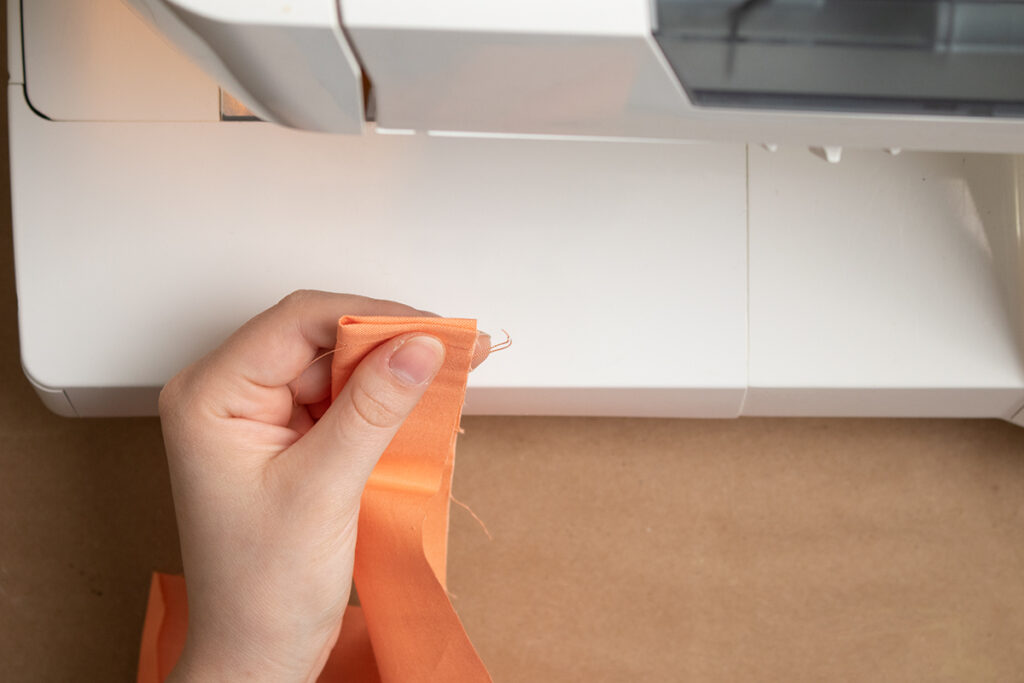
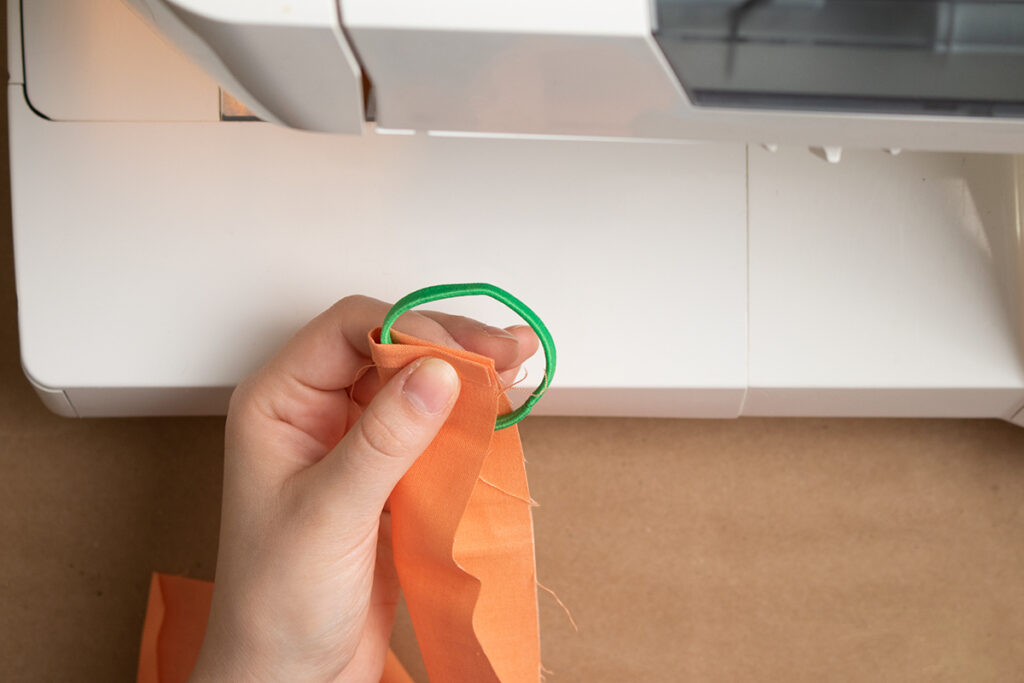
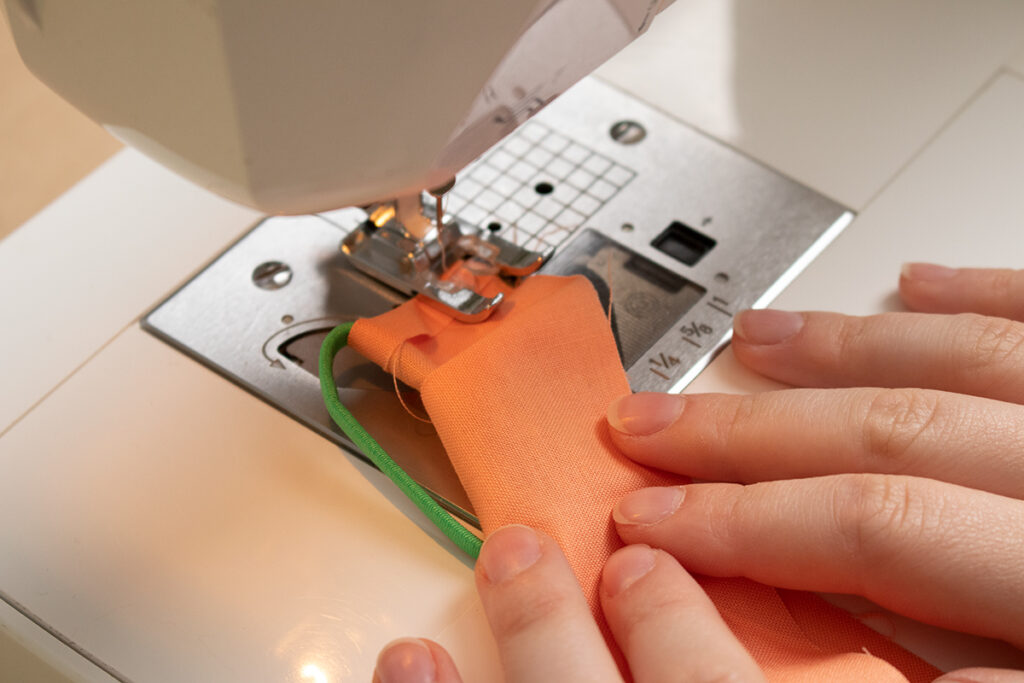
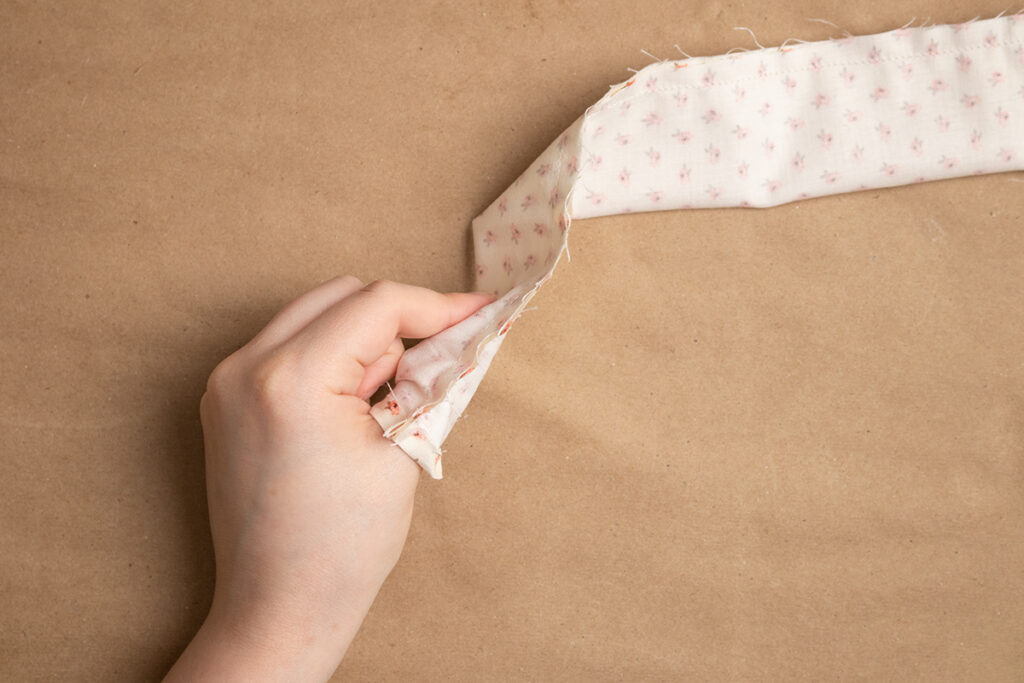
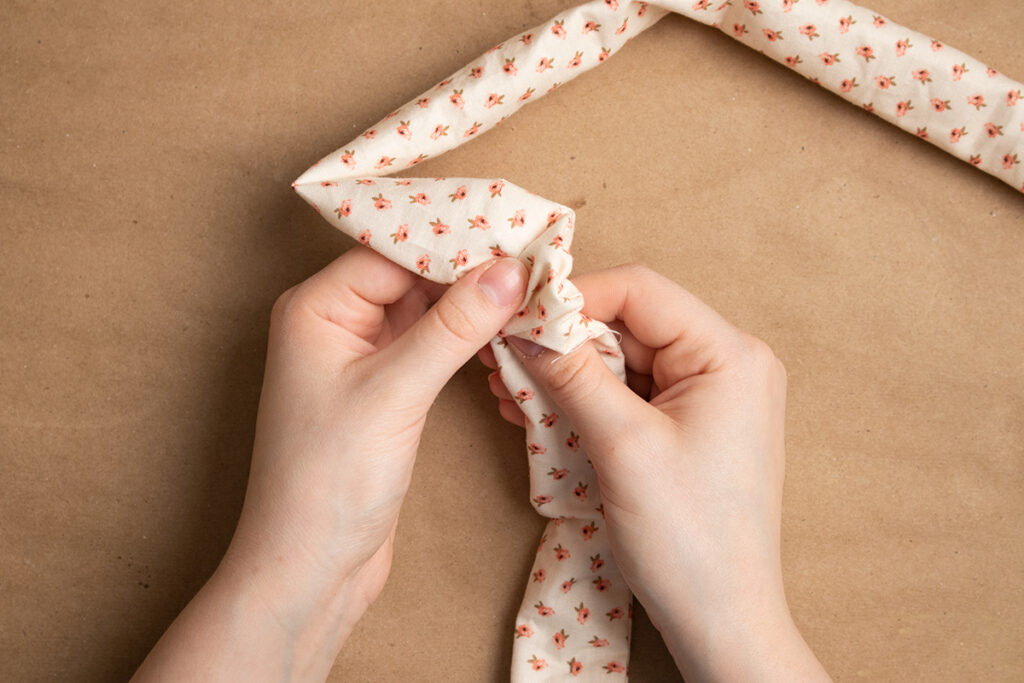
Now it gets a little tricky, but once you get the hang of it, it’s a pretty quick method. When sewing this, I want to end up with an inside out tube of fabric with the hair tie running through it. To do this, I am going to start by folding one end lengthwise with right sides together with the hair tie between the two layers. Then sew for a bit with a 1/4″ seam allowance. It requires a lot of stopping and adjusting the fabric, but I don’t mind.
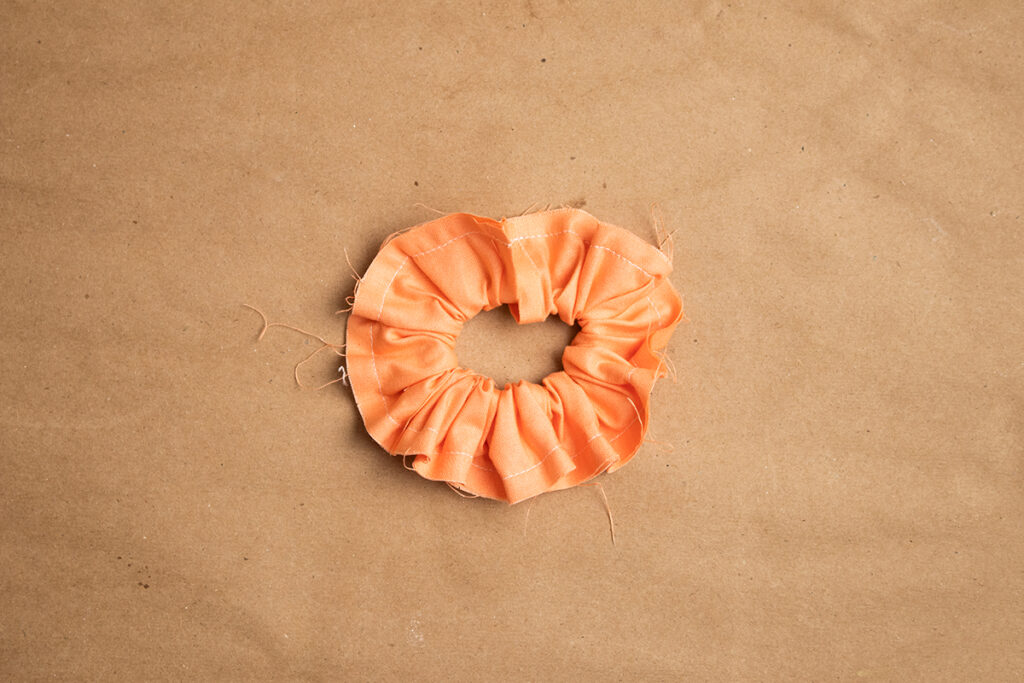
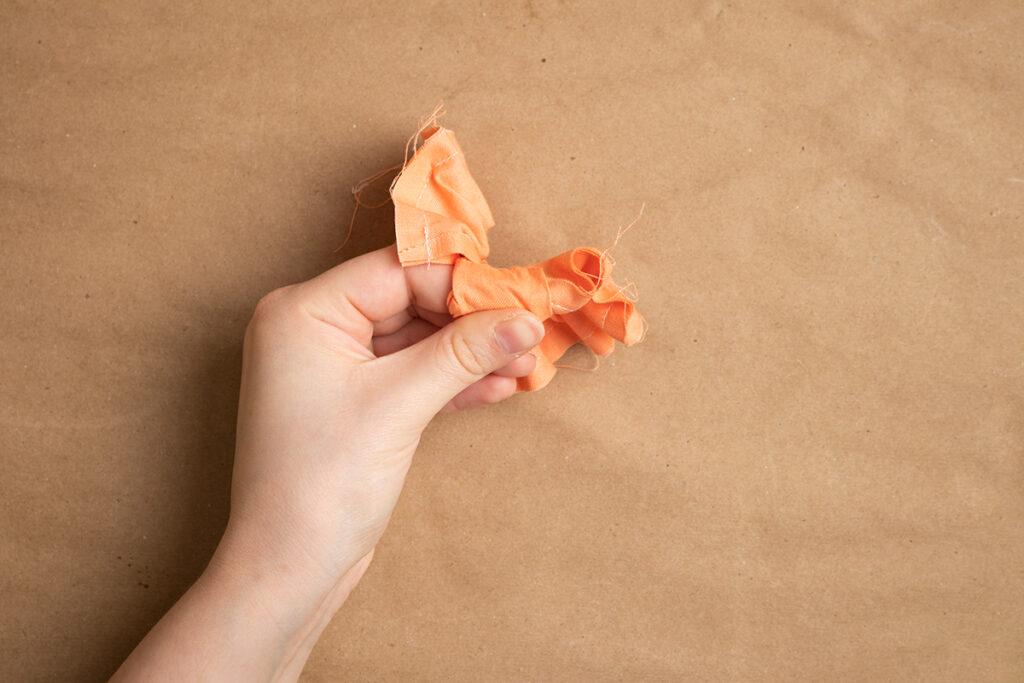
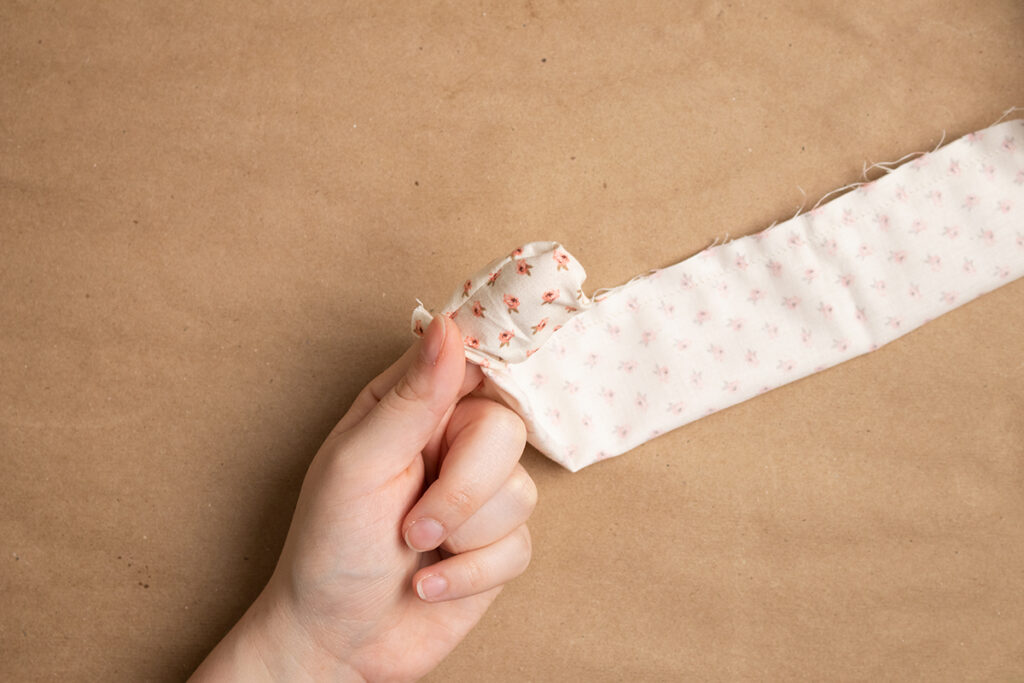
Now to turn it right side out. It’s honestly not any harder to turn than it would be if it were a straight tube.
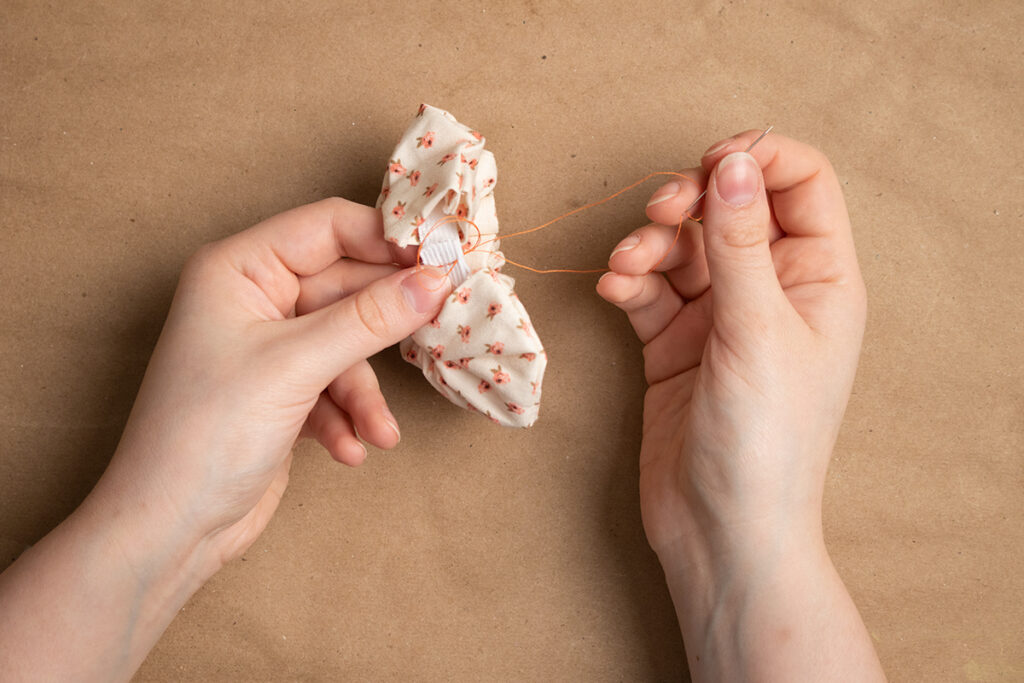
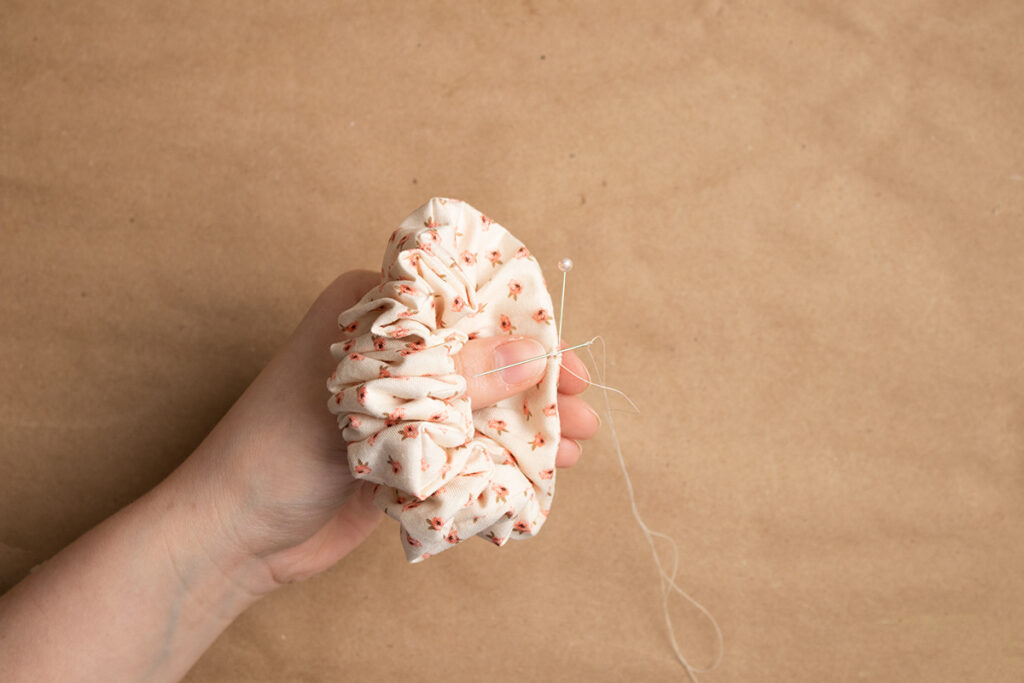
All that’s left now is to stitch it closed.
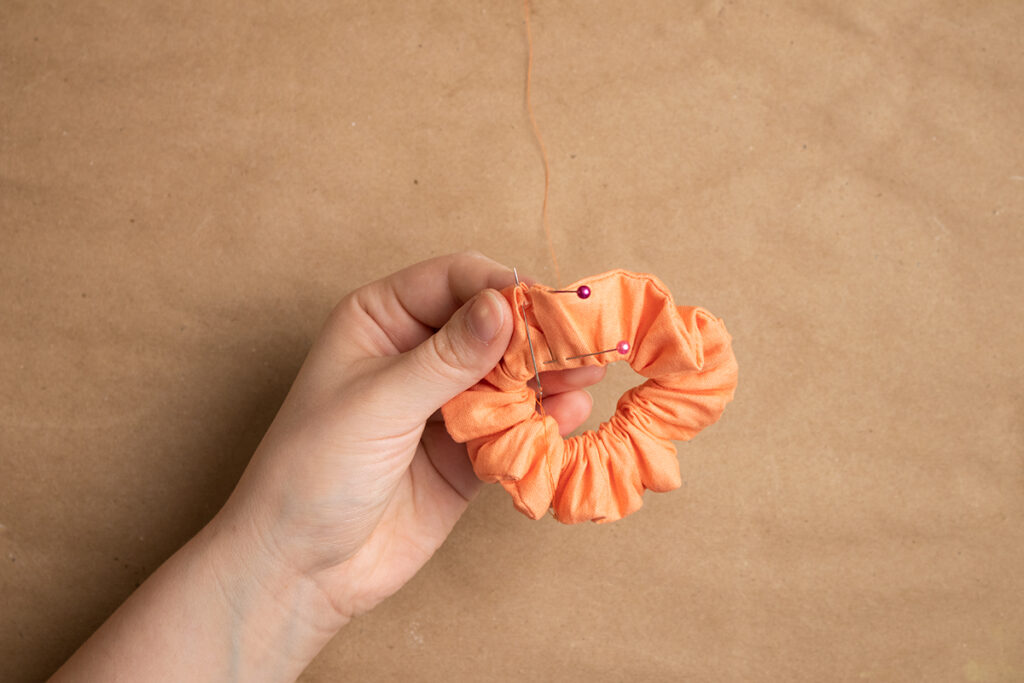
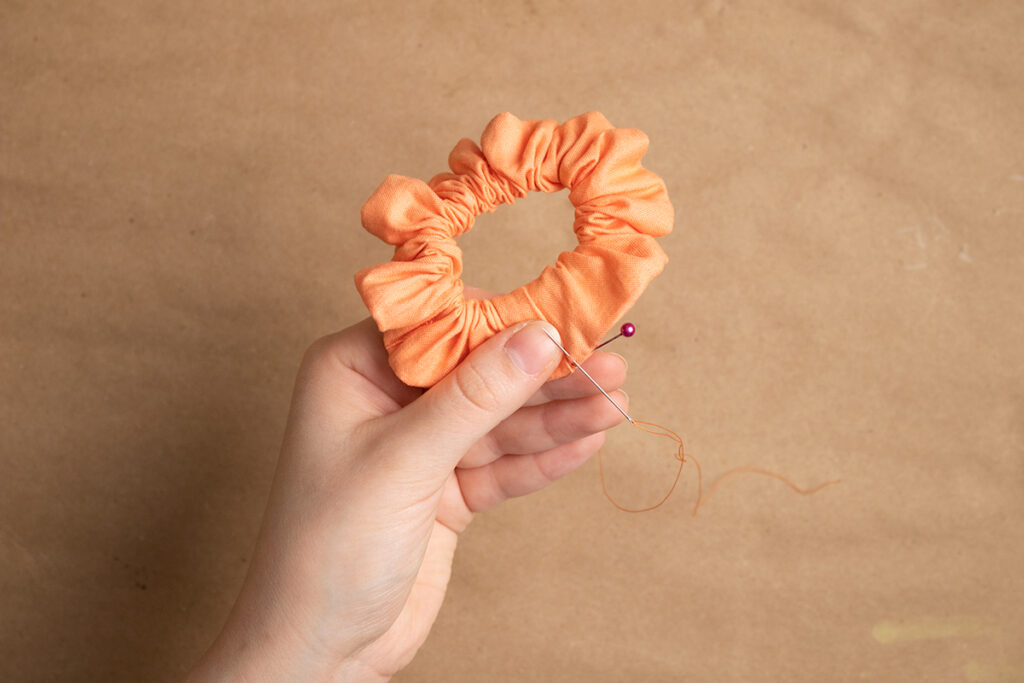
I use a ladder stitch to sew the ends of the tube together.
Elastic Method
- Fabric
- Elastic Cord or Flat
- Thread
- Sewing Needle
- Sewing Pins
- Scissors
- Safety Pin
- Sewing Machine (Optional)
- Iron (Optional)
- Paper pattern
- Tape
First, I print, cut, and tape together my pattern. I’ve included the two sizes that I prefer, but these can easily be adjusted by lengthening or shortening them or by adjusting the width.

Now, I pin the pattern to the fabric and cut around it. Typically, I follow the grain of the fabric/the pattern on it, but scrunchies can also be cut on the bias.
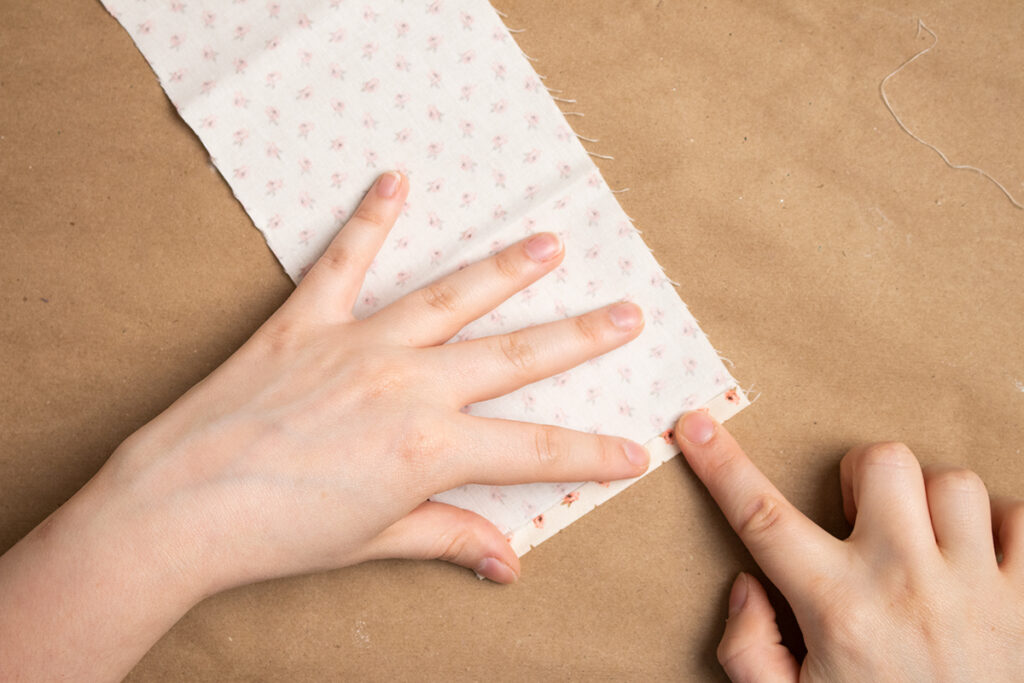
I usually fold over the ends before I start sewing to make it easier for me to sew it closed at the end, but it isn’t necessary.
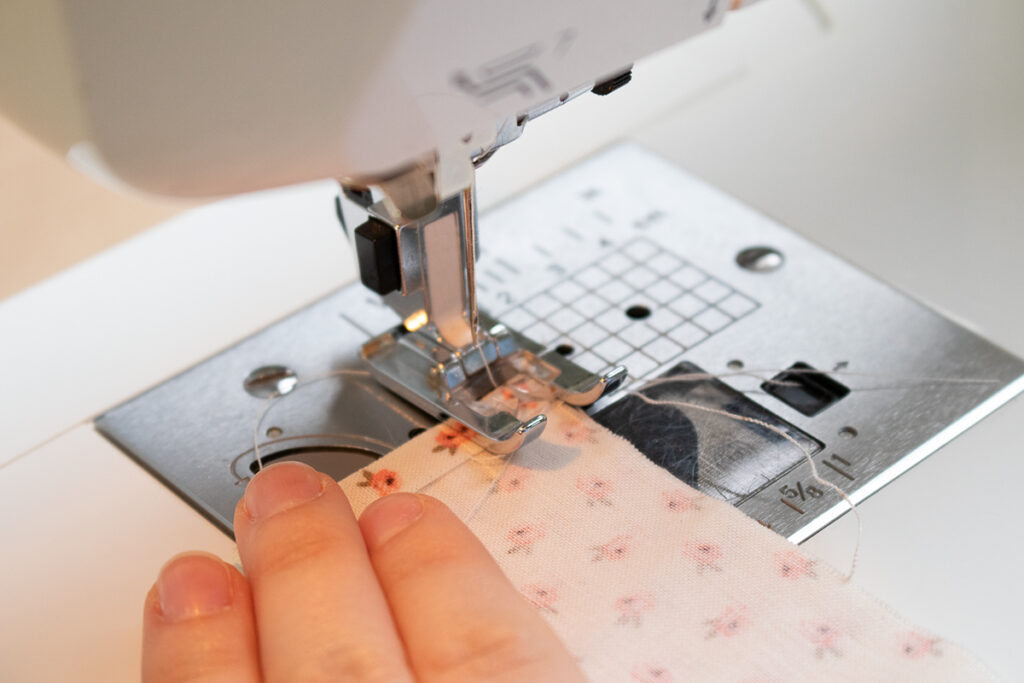
So I fold the whole rectangle in half lengthwise and pin it. Then I run through my sewing machine with a 1/4″ seam allowance.
Then turn the whole thing outside right.
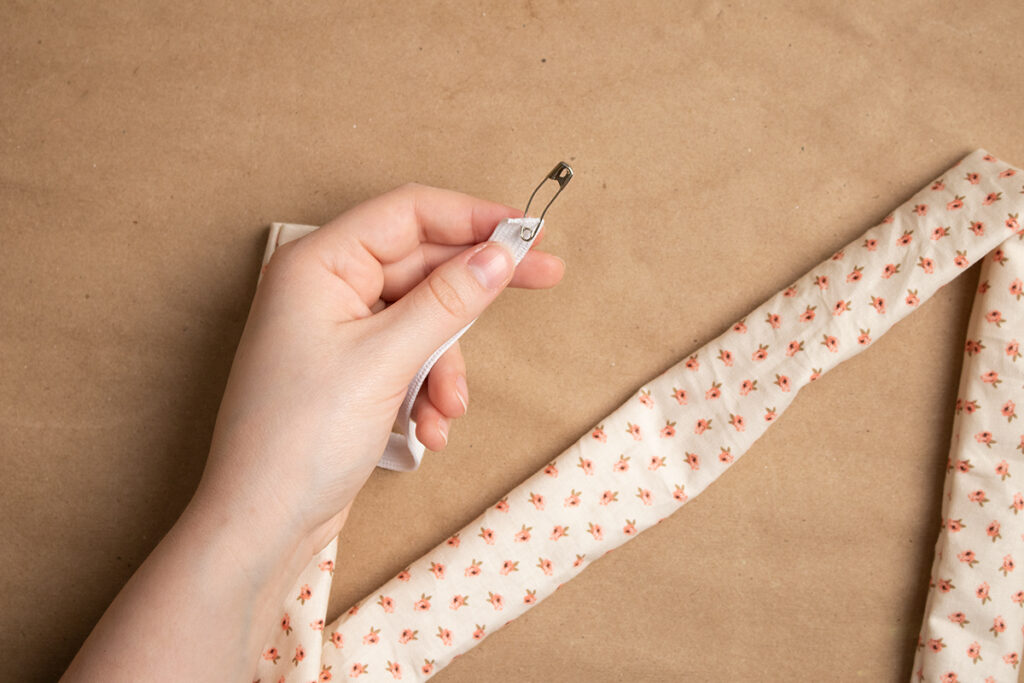
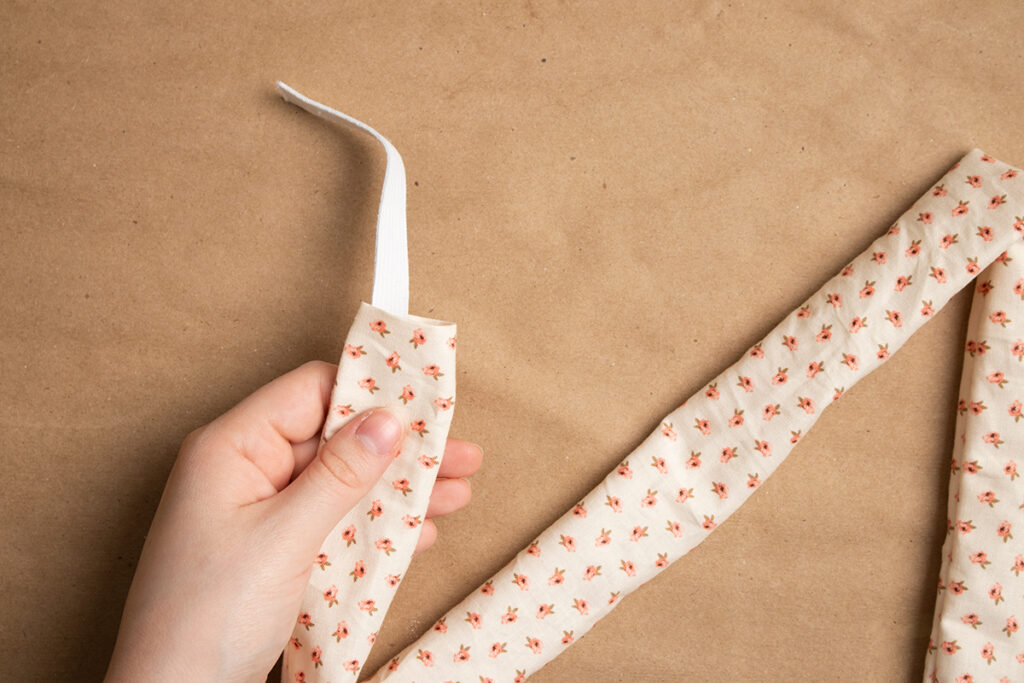

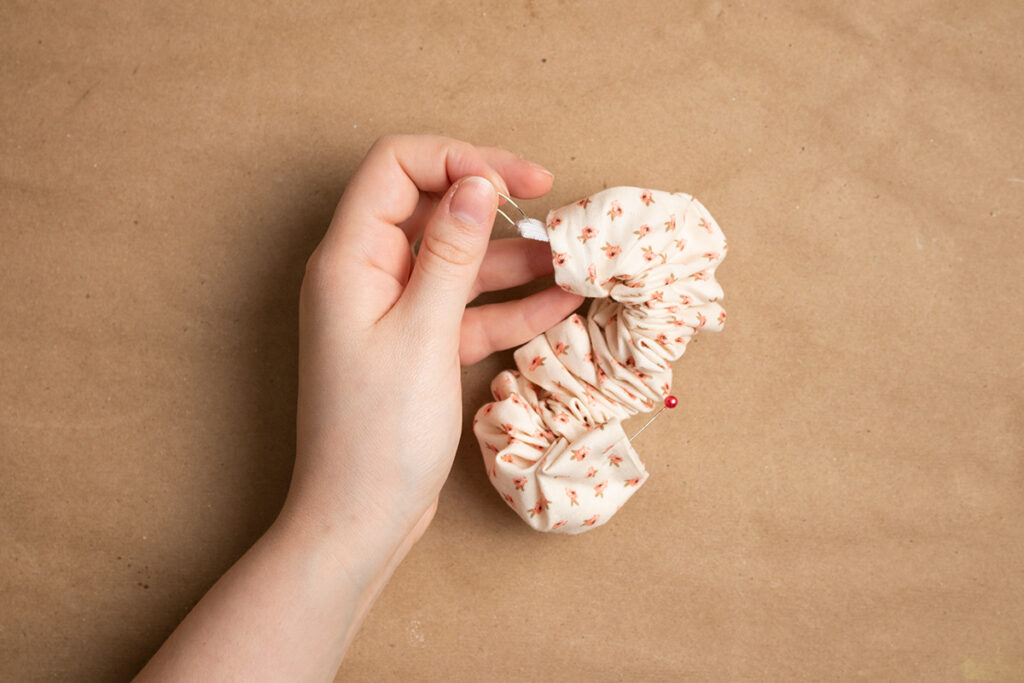
Now, it’s time to thread the the elastic through the tube. I suggest pinning one end to an end of the scrunchie and attaching a safety pin to the other to more easily feed the elastic through the tube without losing either end.
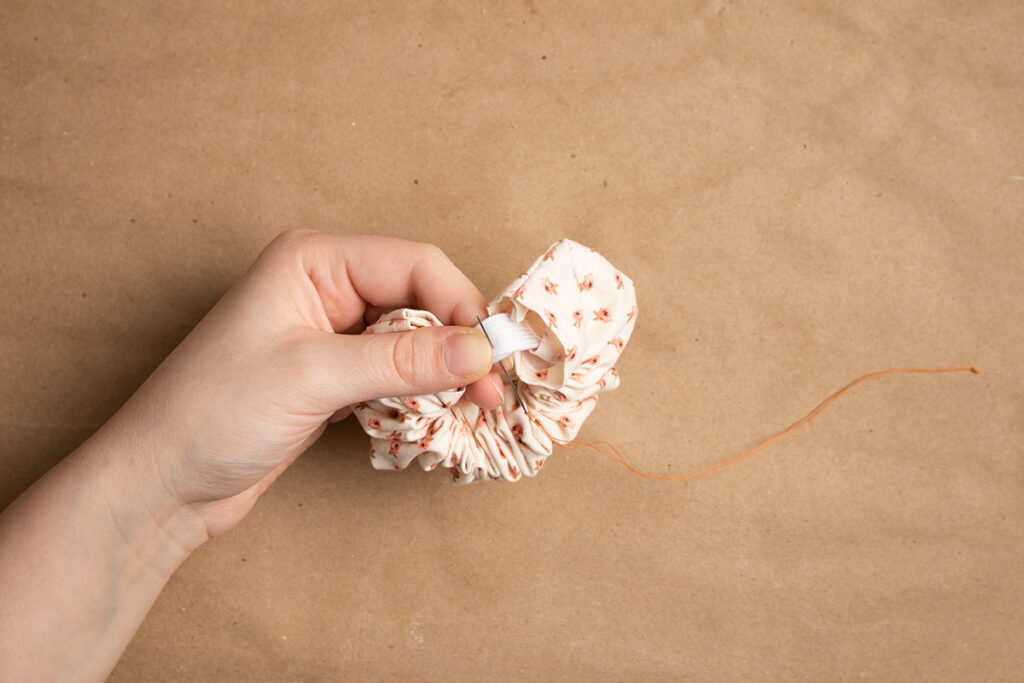
Once the elastic is through the fabric make sure it isn’t twisted inside. Then, either tie the ends together or overlap and stitch through them to make the elastic into a loop.
I use a ladder stitch to sew the ends of the tube together.

Terri
Thursday 25th of April 2024
What is the pattern length? Thank-you.
Kippi Ohern
Sunday 11th of April 2021
These are so cute! I want some to match my face masks. Happy sewing, Kippi