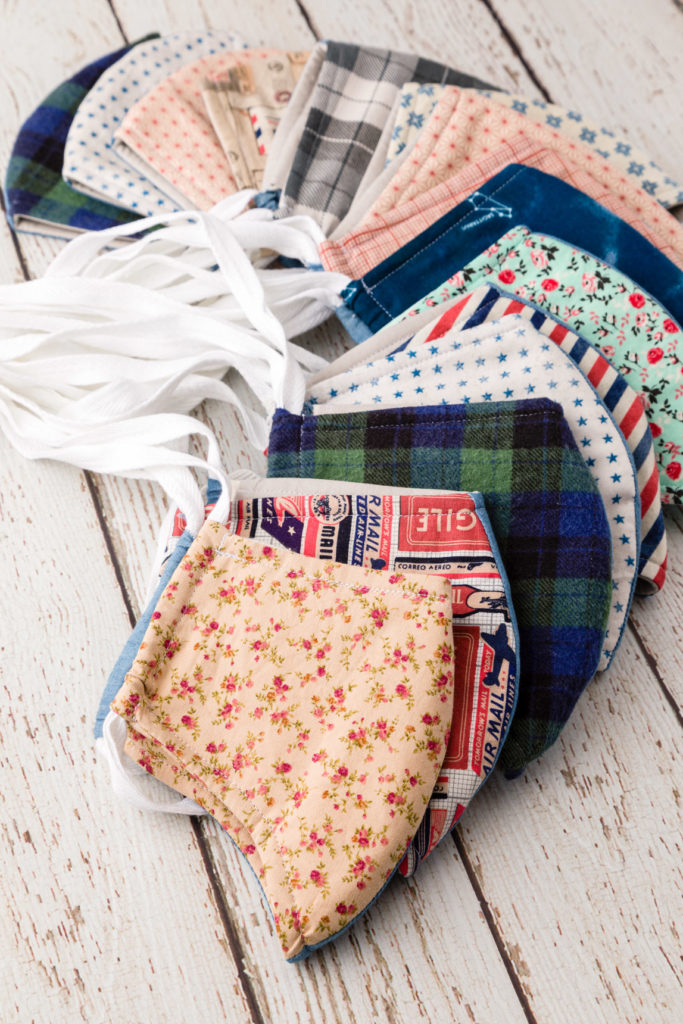
Cricut has come out with a free fabric mask cut project in 4 different sizes! They have instructions on sewing them together, but there are no pictures. So I decided to write them out with pictures and a few tweaks I made. So let’s make some DIY cloth masks with Cricut!
Cricut
It is best to use tightly woven cotton and/or cotton/poly blend fabrics for the masks:
- 8″x16″ Outside Fabric
- 7″x16″ Inside Fabric
- 7″x16″ Flannel
- Pellon Fusible Interfacing P44F
- Surge Protector
The very first thing you need to do is wash and dry all of your fabric. This will remove any sizing or chemicals and dyes on the fabric, it will also preshrink the cotton fabrics so the masks will not change sizes when washed after they are made.
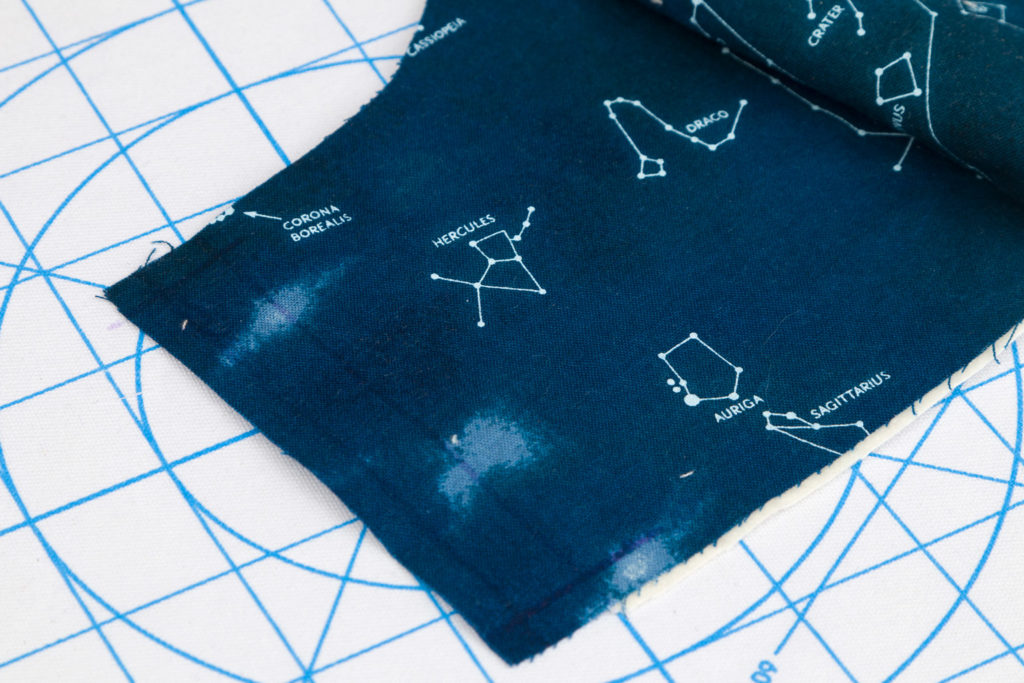
Many cottons that are solid in color do not necessarily have an official “front” or “back”.
Go ahead and iron the fusible interfacing onto the back of the lining fabric you will be using after the fabric has been washed.
You can find the pattern when you search in Cricut DesignSpace under Projects, it is completely free to use. You have the option to use a washable fabric pen draw out the seam allowance onto the fabric if you use this you’ll want to put your fabric face side down. If not, then it will not matter.
Use your Cricut Maker to cut out the fabric pieces.
Or, if you have part of the Cricut Explore Machine family, you can cut the pattern out of card stock and cut the fabric by hand.
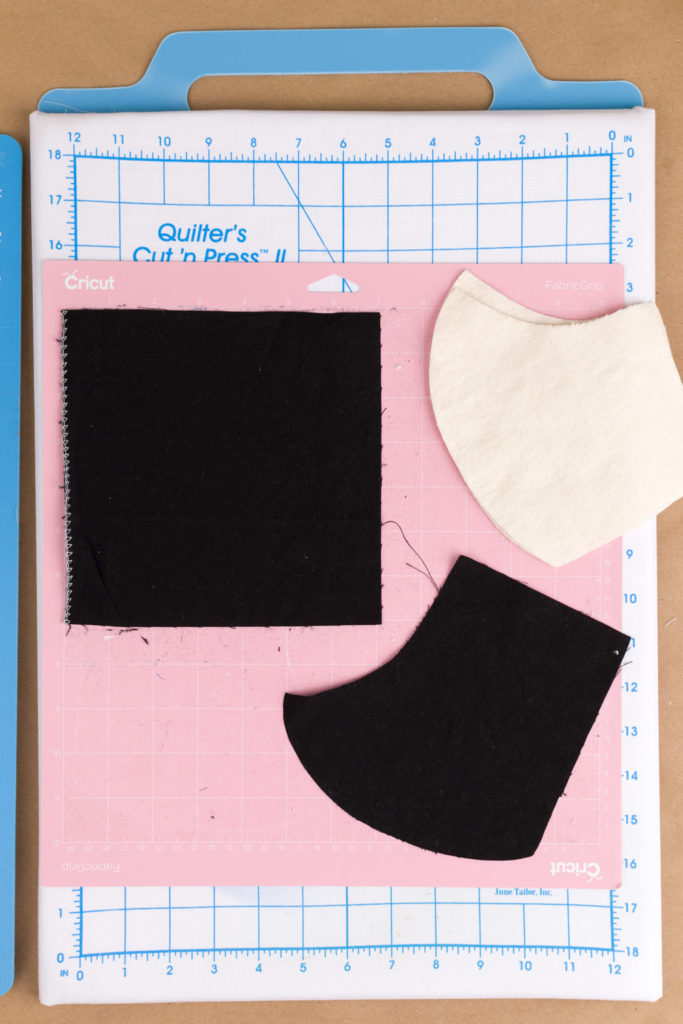
The optimal mat to use would be the FabricGrip 12″x24″. But if you only have a 12″x12″ you can still cut all of the pieces, just with a little more loading/unloading mats.
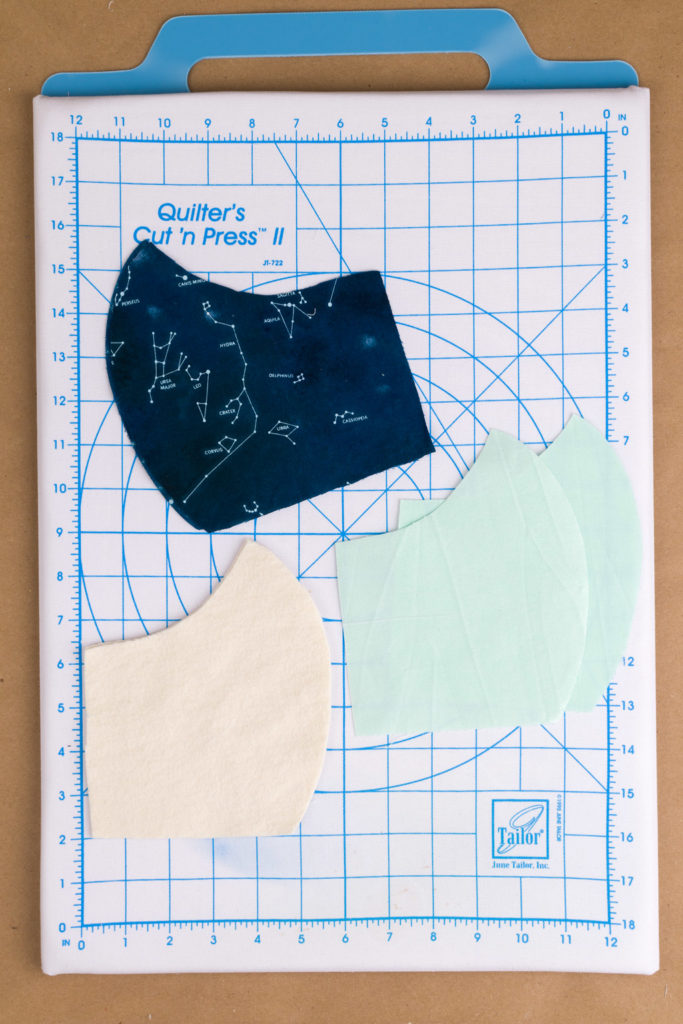
You will cut out the “light blue” mat twice, once with the lining fabric and once with the flannel.
For the first set of the “light blue mat” put your Lining Fabric, interfacing side down, onto the mat smooth and evenly. The brayer you can get in the Cricut fabric applicator set is an amazing tool for the job. Cut it on the “Bonded, Cotton” setting with the rotary blade. Then cut the “light blue mat” with the flannel applied. Set it to “Flannel” and use the Rotary Blade again. For the outside fabric use the “dark blue mat” set to whatever fabric you are using, such as “Cotton”. For some of my masks, I used a chambray material, so for that, I used the “Denim” setting. Again, using the rotary blade.
Honestly the rotary blade is what made us buy the Maker when we already had the Explore Air 2. Love it so much.
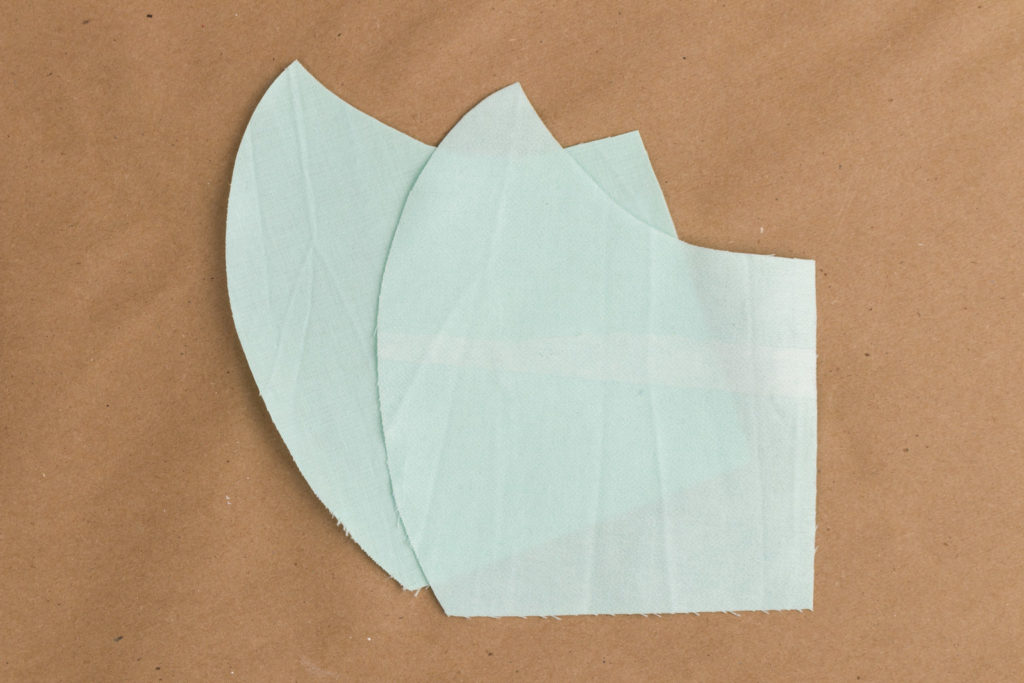
There should be 6 pieces of fabric per mask when you’re finished cutting.
Sandwiches?
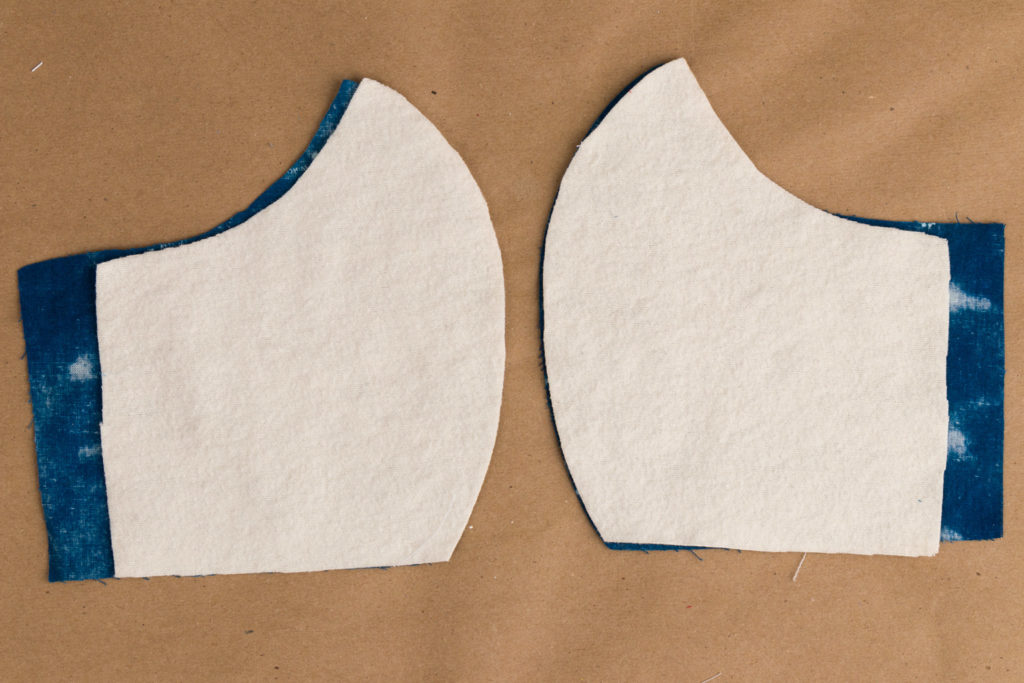
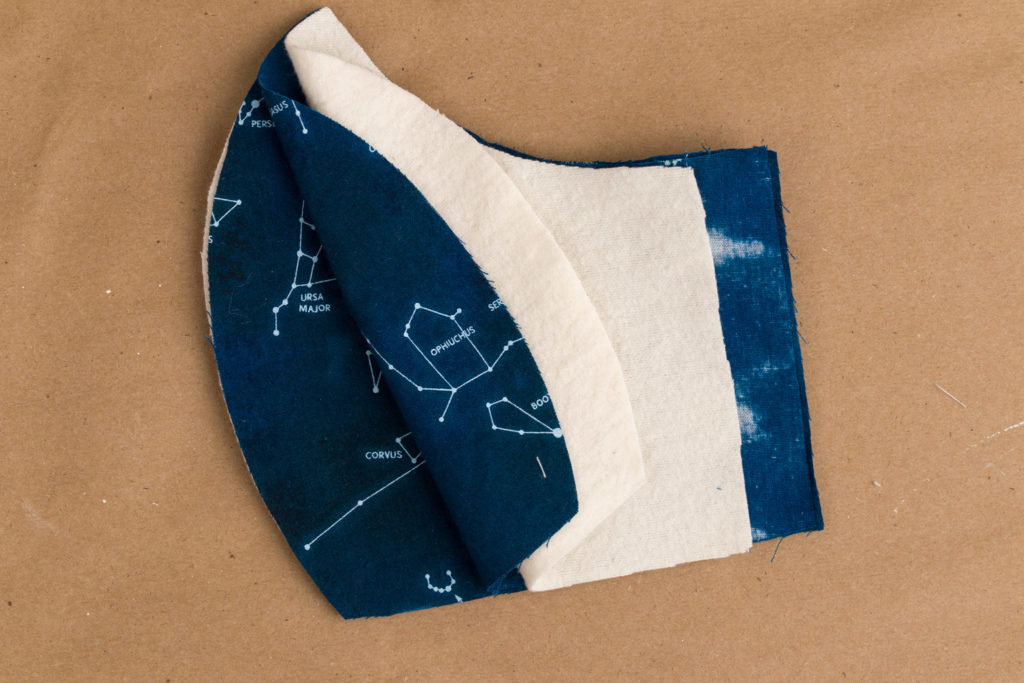
You are going to make some fabric sandwiches. The flannel will be the “bread” and the outside fabric the “filling”. So first, put down one piece of the flannel, then put the first piece of the outside fabric right side up. The next piece of outside fabric will be right side down. Then, put the final piece of flannel on top. Make sure all the pieces line up except where the outside pieces are longer than the flannel at the ends.
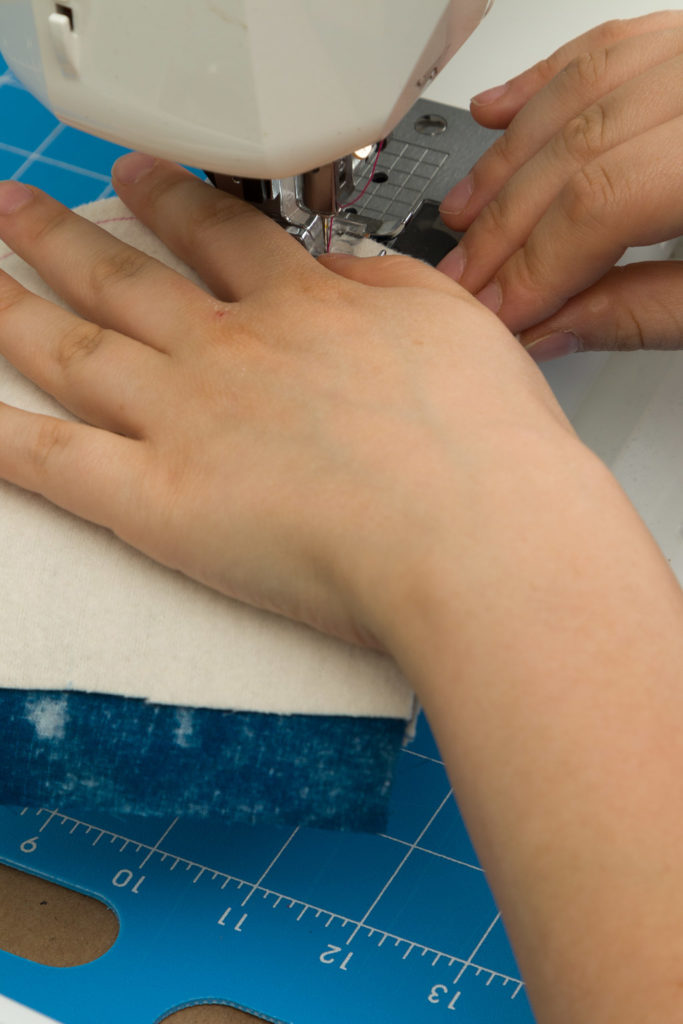
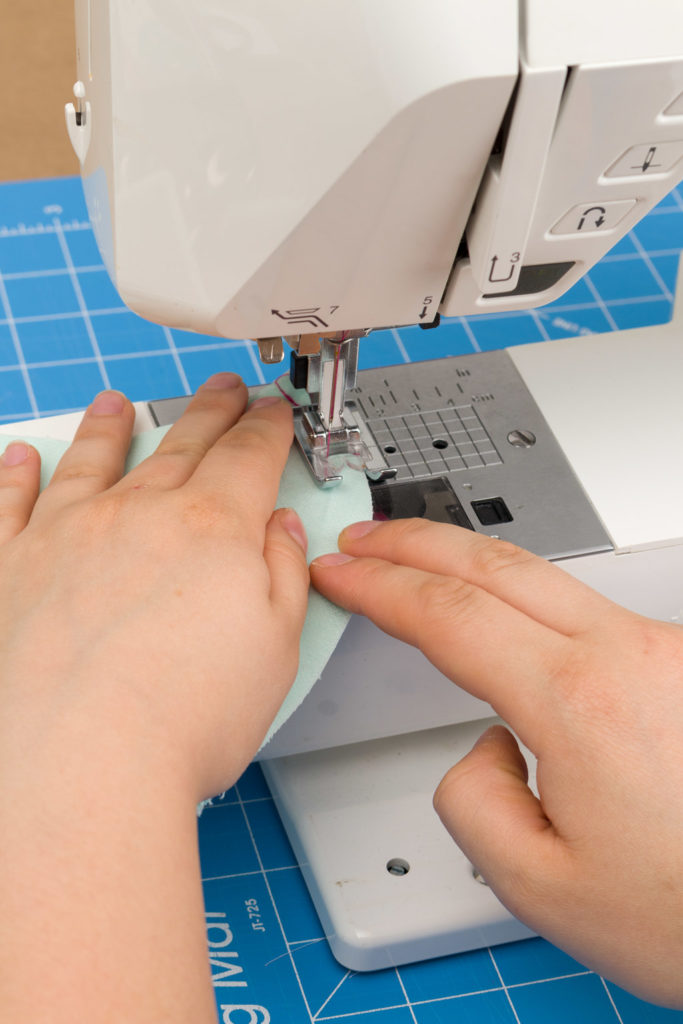
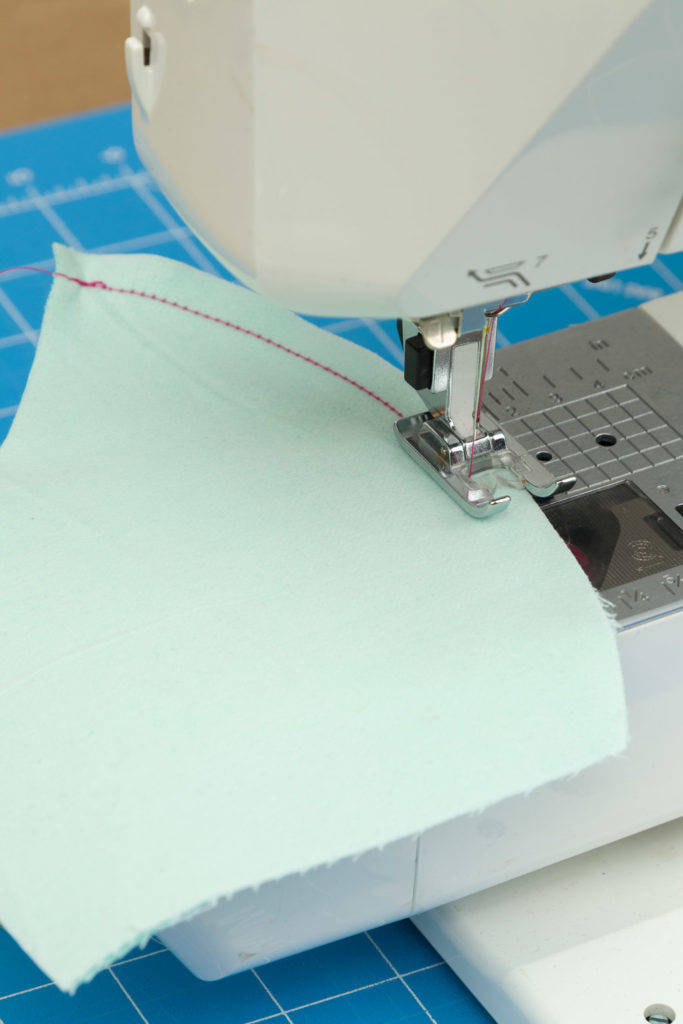
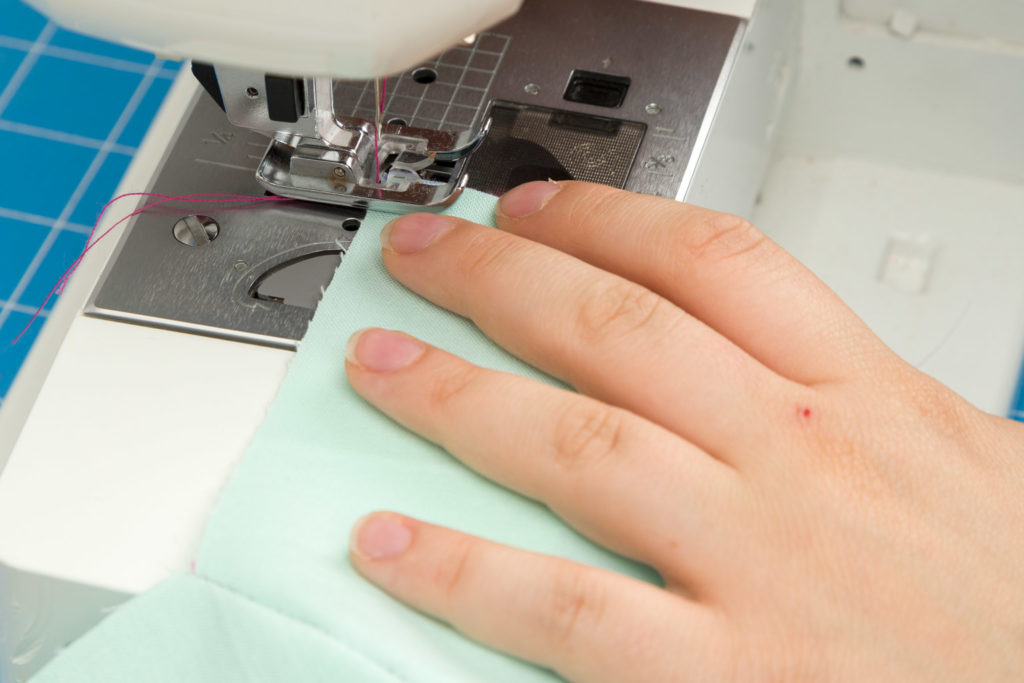
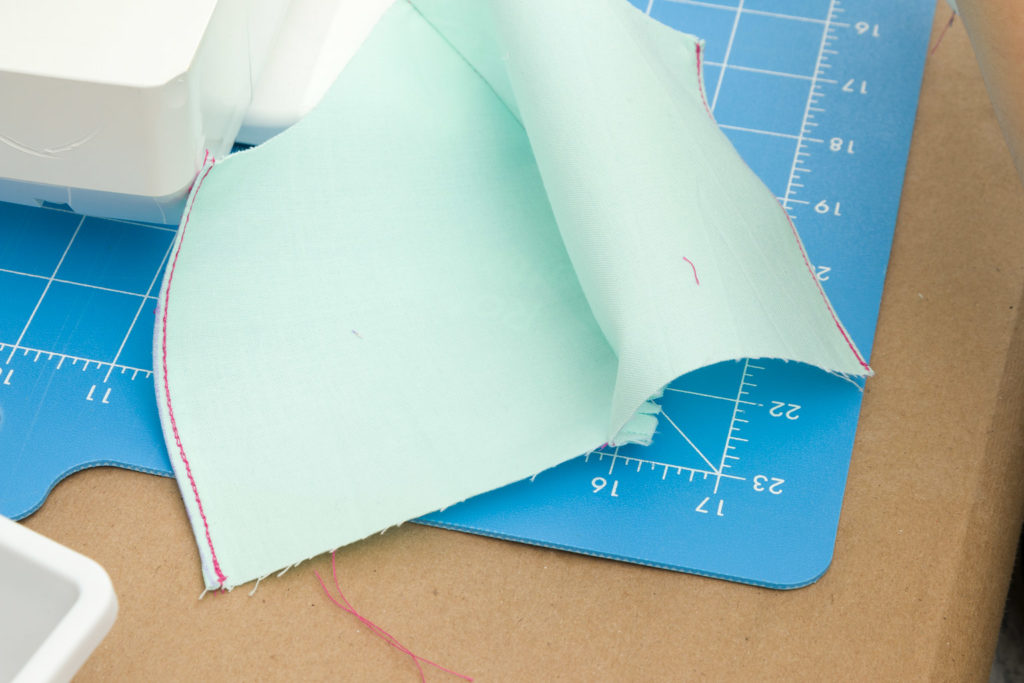
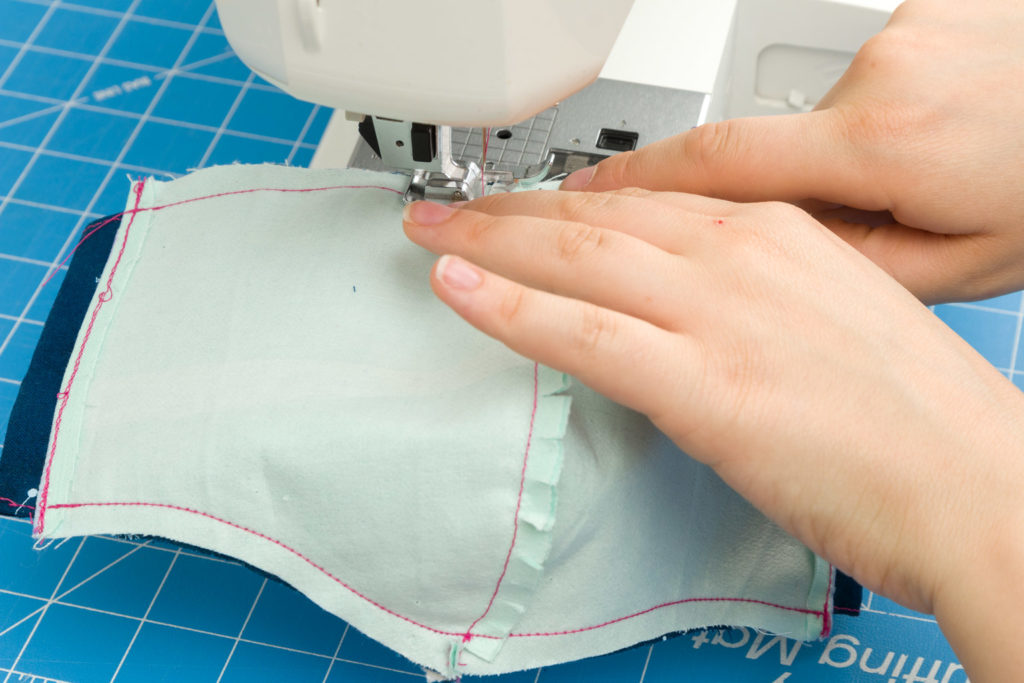
Use a straight stitch to sew along the curved side with a quarter inch seam allowance. Make sure to go forwards and backward at both ends to secure your line of stitching.
For the lining, you will put the right sides of the fabric together. When you go to sew the curve make sure the side with the interfacing is on the outside. Use a straight stitch to sew along the curved side with a quarter inch seam allowance. Make sure to go forwards and backward at both ends to secure your line of stitching.
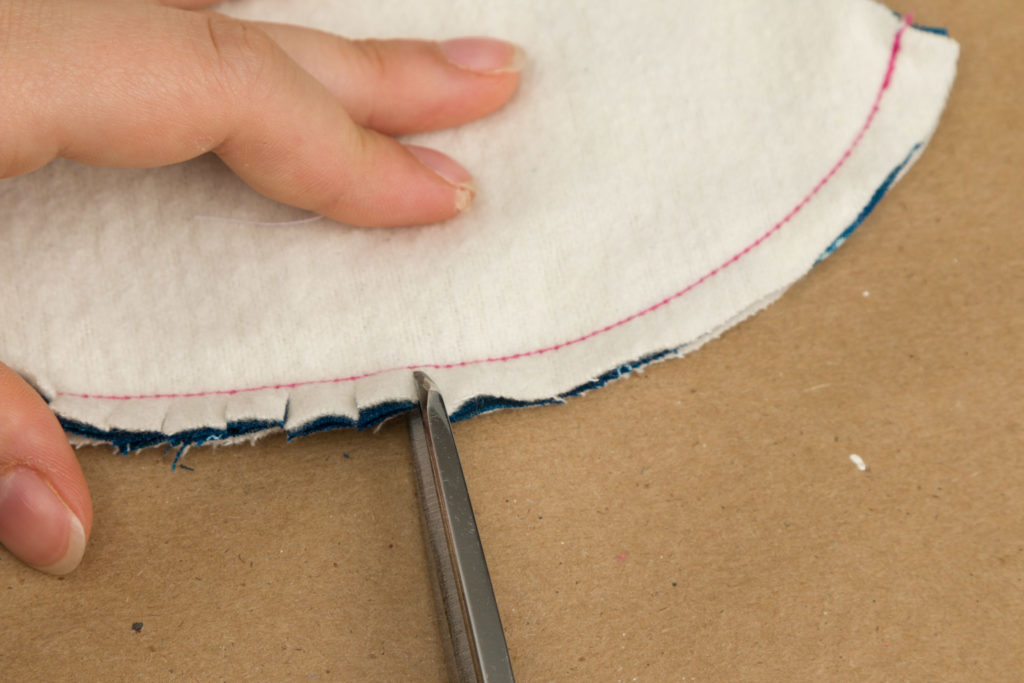
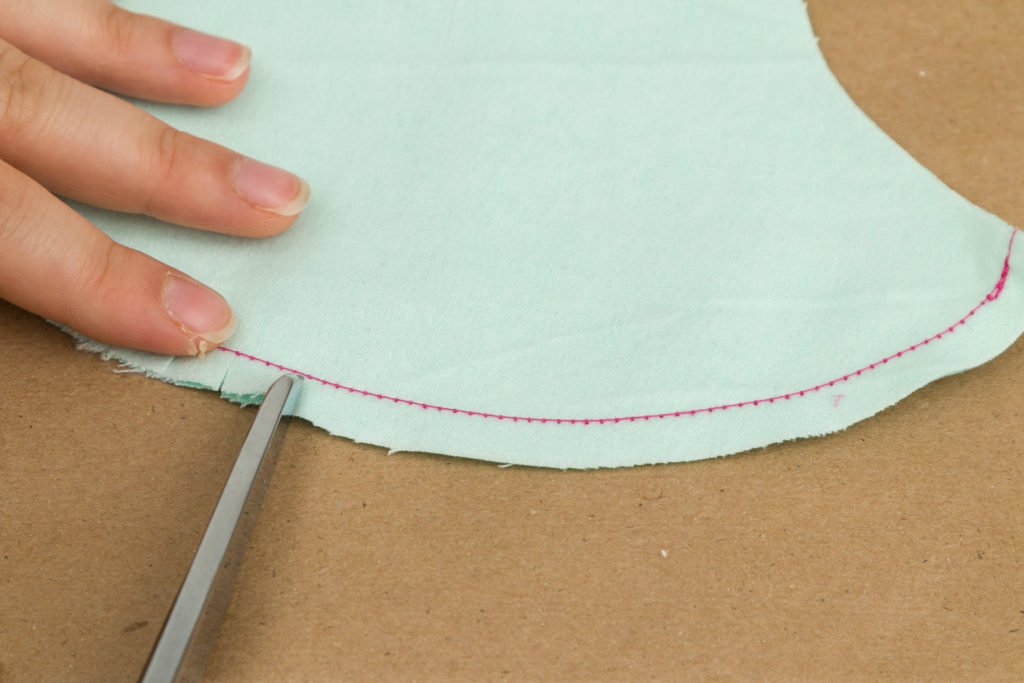
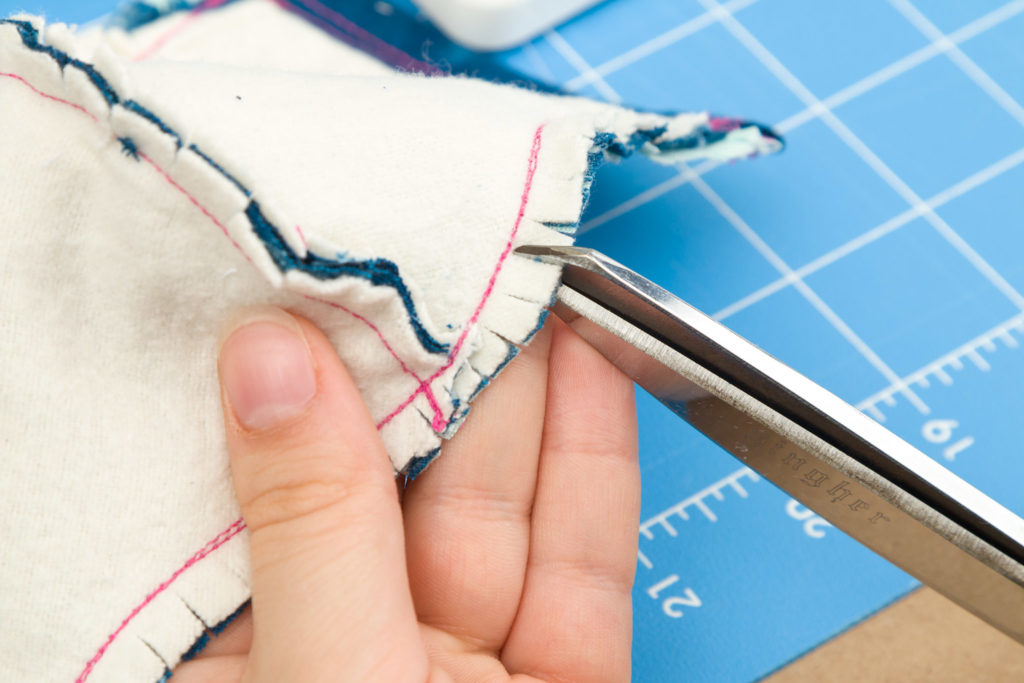
From there, make snips along the length of the seam allowance of both mask pieces. Get close, but don’t cut the stitches.
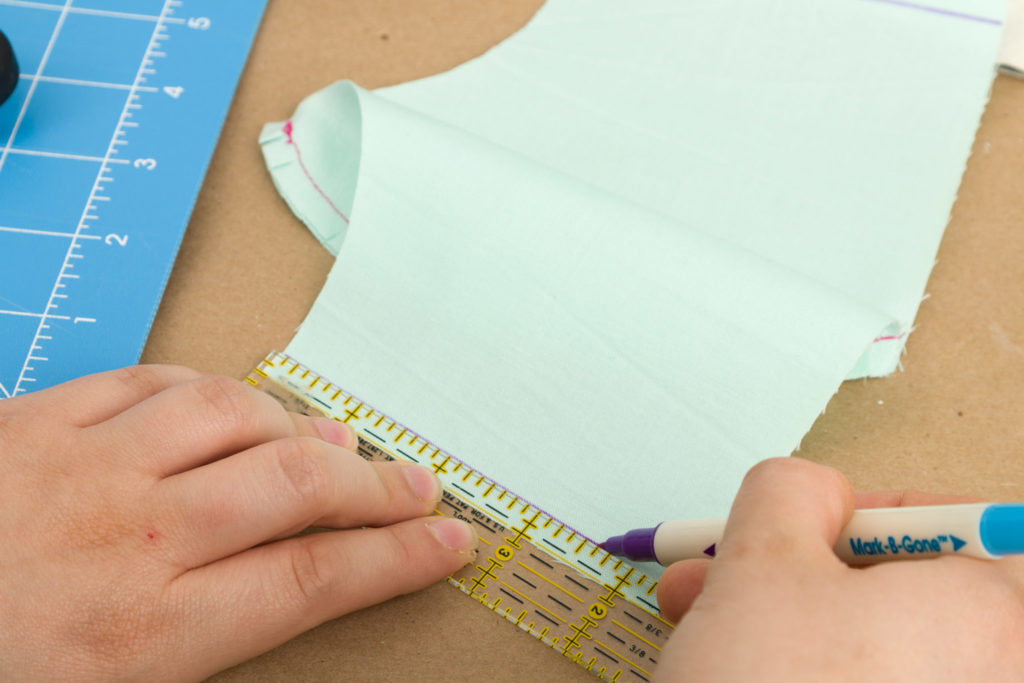
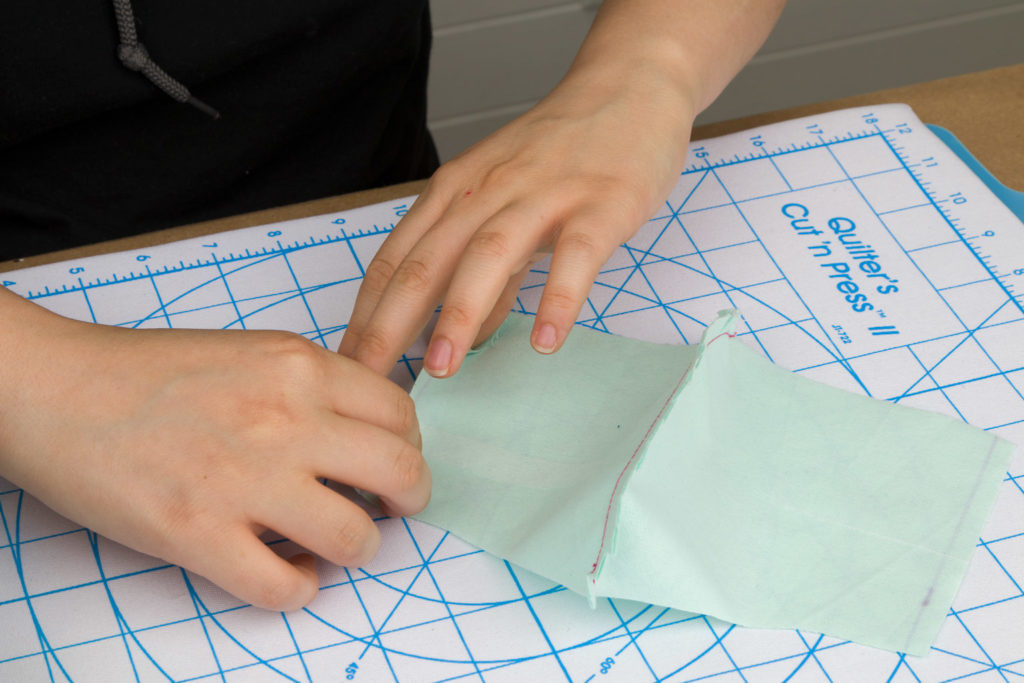
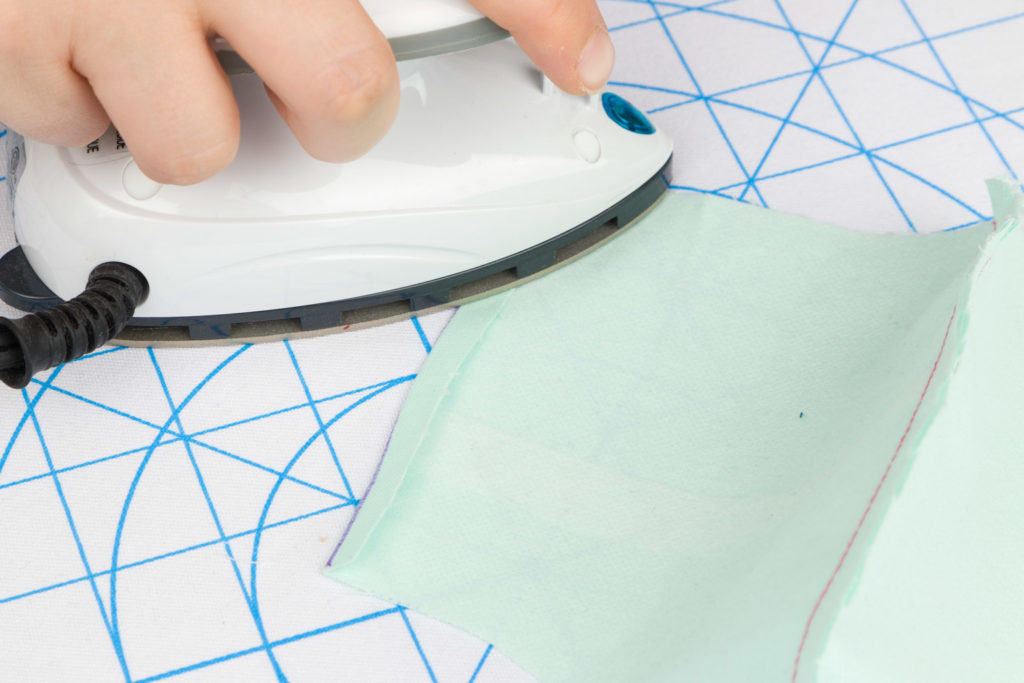
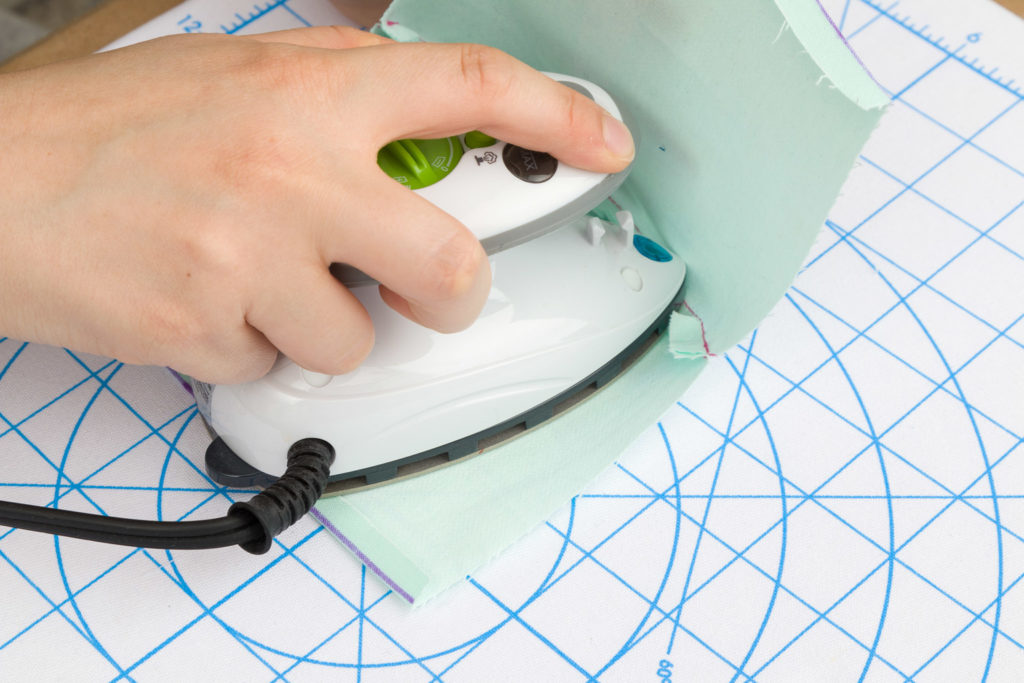
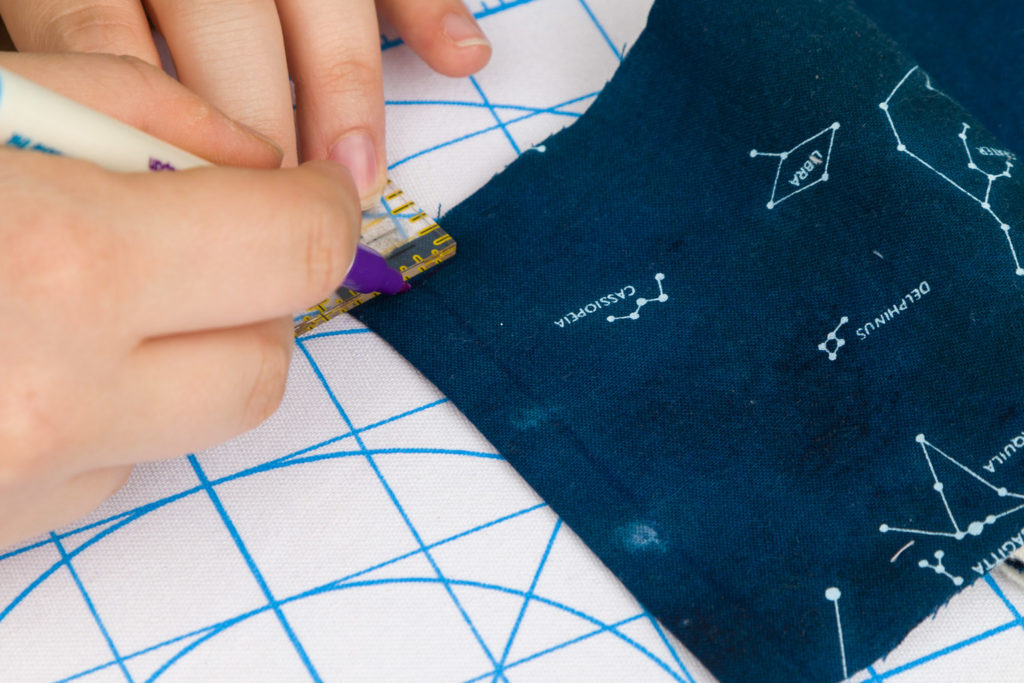
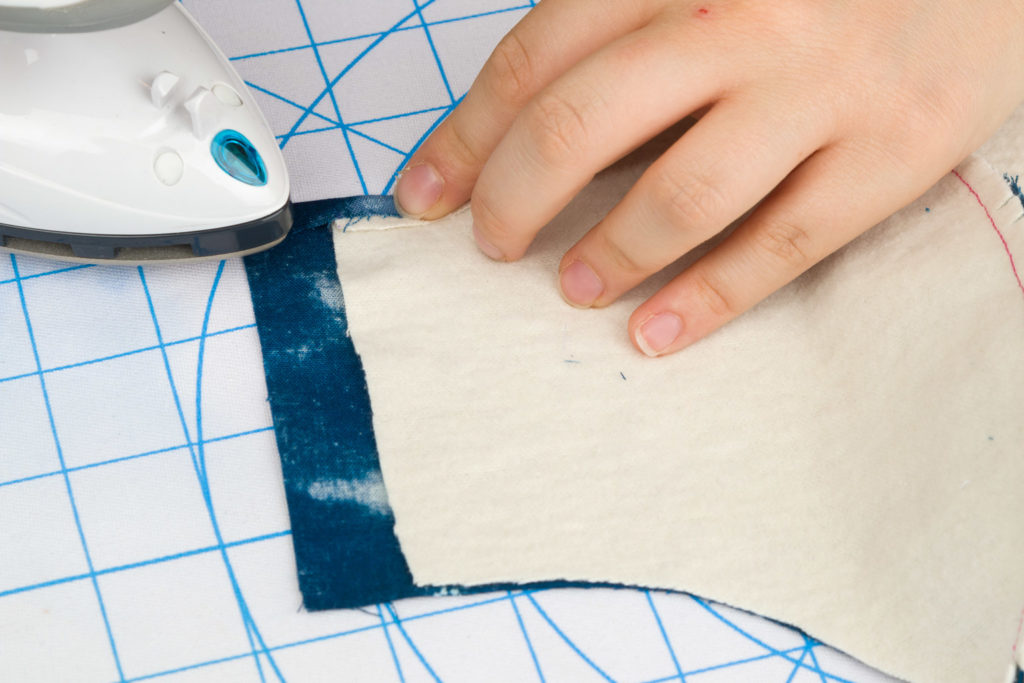
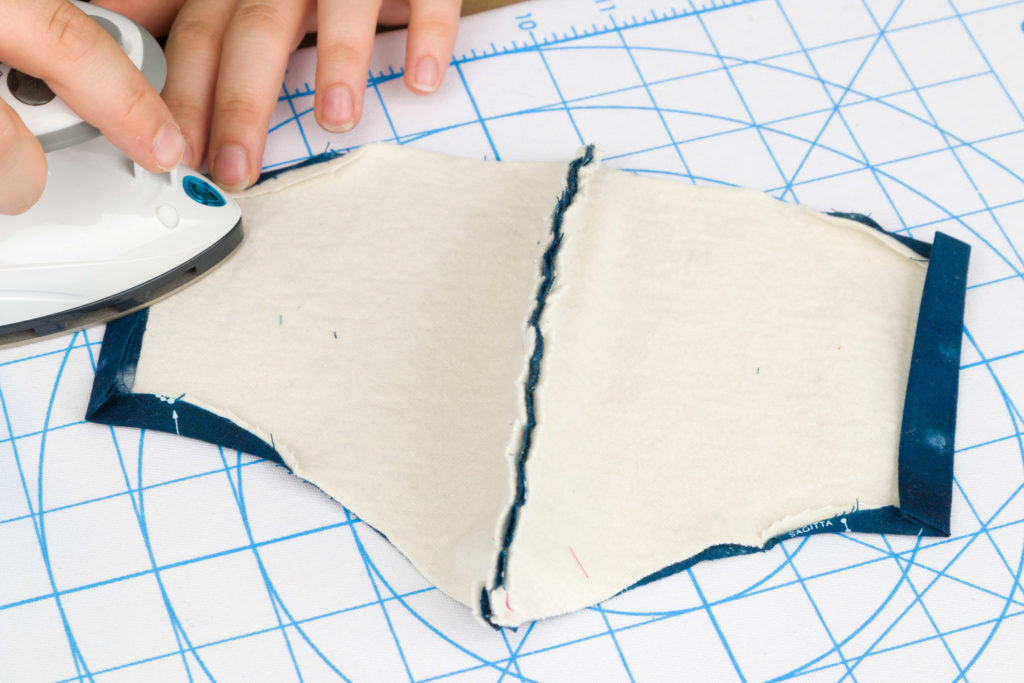
On the right side of your lining piece, you will mark 1/4 inch in from the ends. Then flip it over to the interfacing side and fold the fabric until hitting the line. Use the iron to press this fold. Also, use the iron to press the center seam allowance to one side.
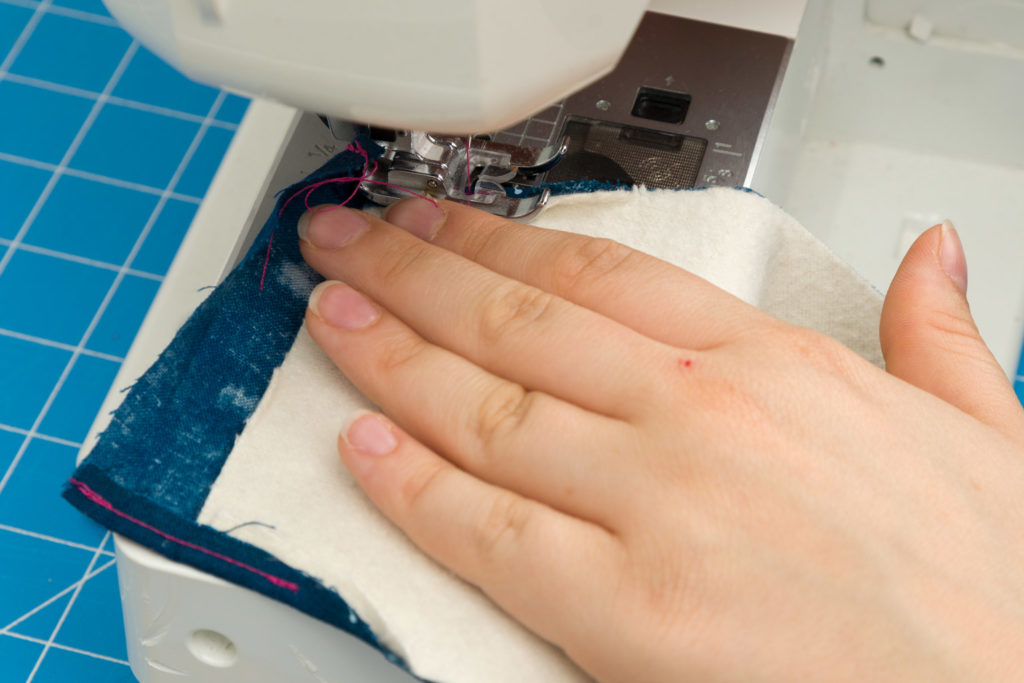
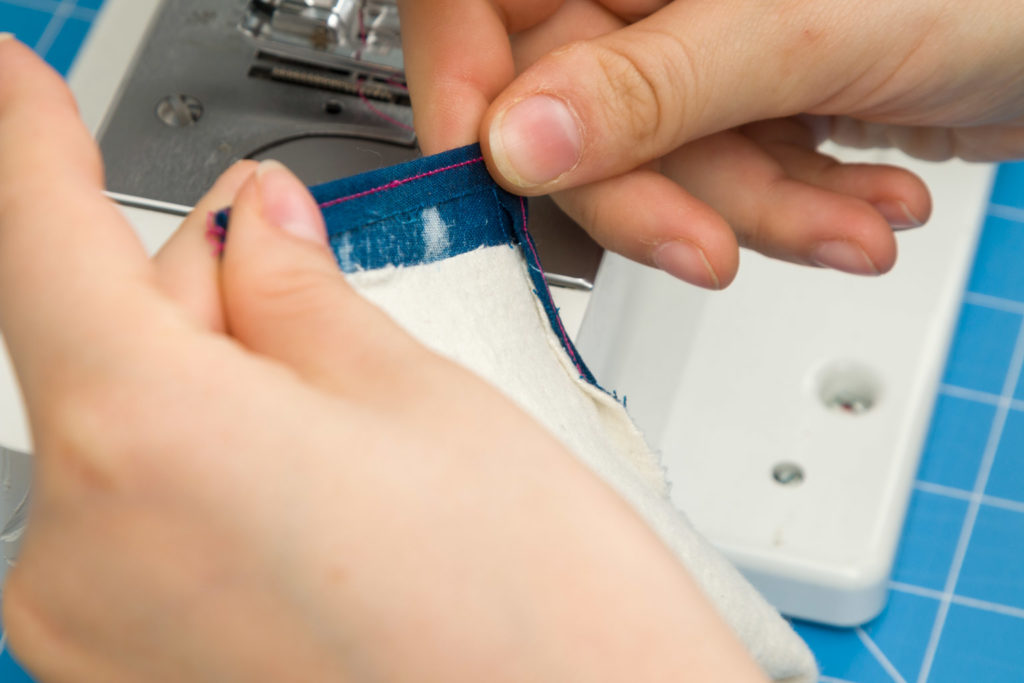
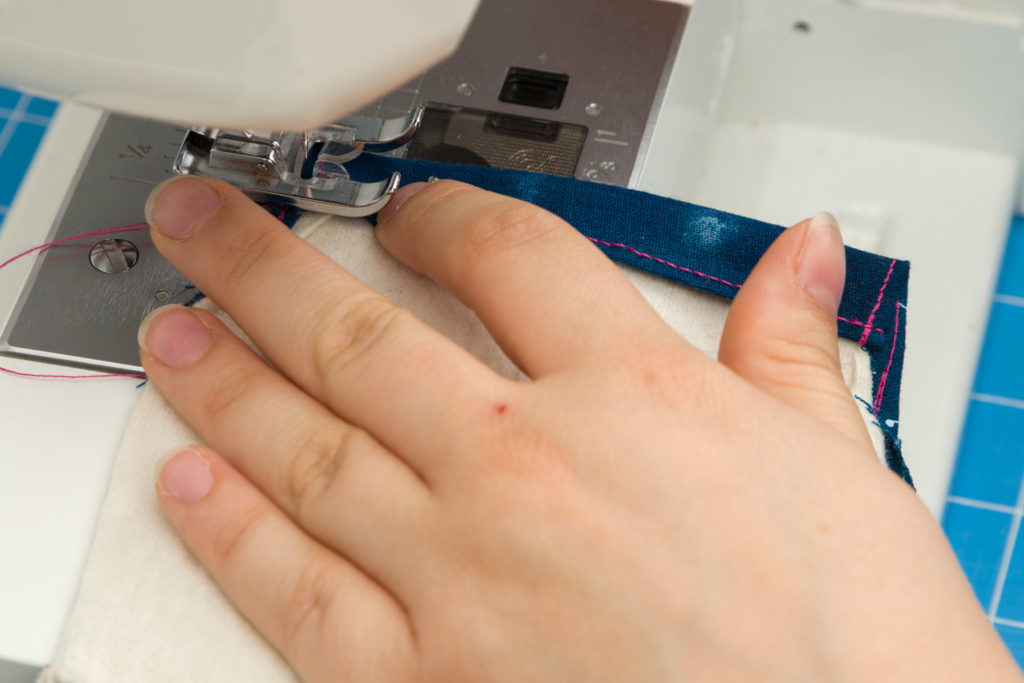
Stitch down the flap on both ends. I guess you could call it an eighth inch seam allowance.
On your outside fabric, you will mark a quarter inch in from the top and bottom of the ends. You will also mark a quarter inch in from the ends and three-quarters inch from the ends. You will iron the top and bottom ends first, creating a curve from the fold to where it is flat. Then iron the quarter-inch fold and the second mark’s fold as well. Have the seam allowance pressed so it is on the opposite side from the lining.
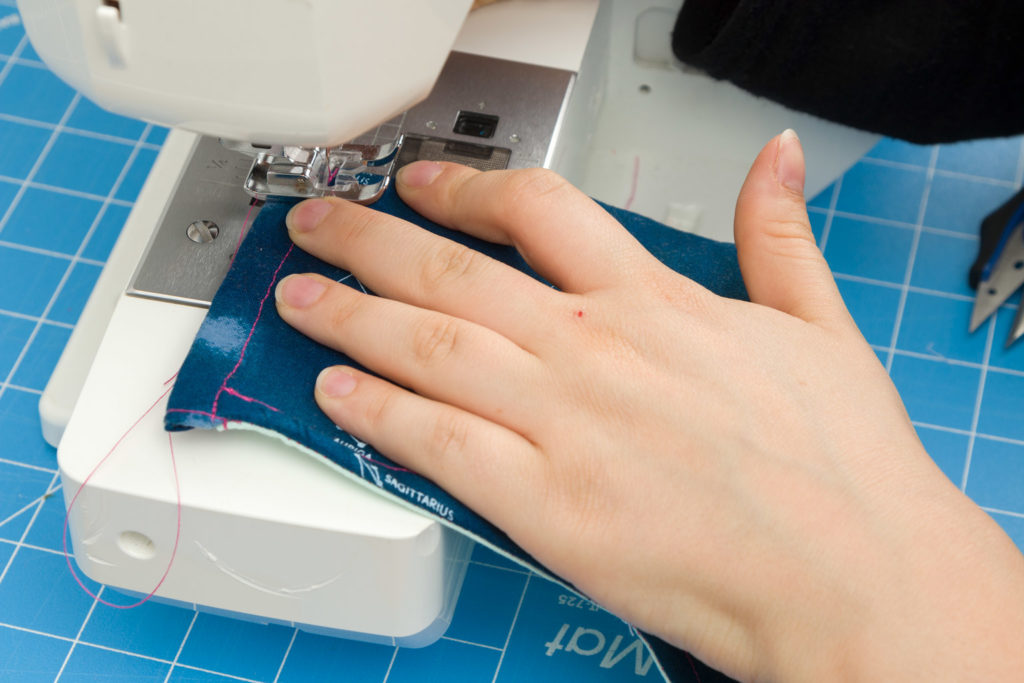
Stitch down the top and bottom edges on each end first. It will be a tiny seam allowance. Now stitch that quarter-inch fold down like was done for the lining. Then stitch the three-quarters-inch fold stitching with as tiny of a seam allowance as possible. Doing this will maximize the amount of room you will have for the elastic or ties inside of the casing you created.
Beginning to take shape
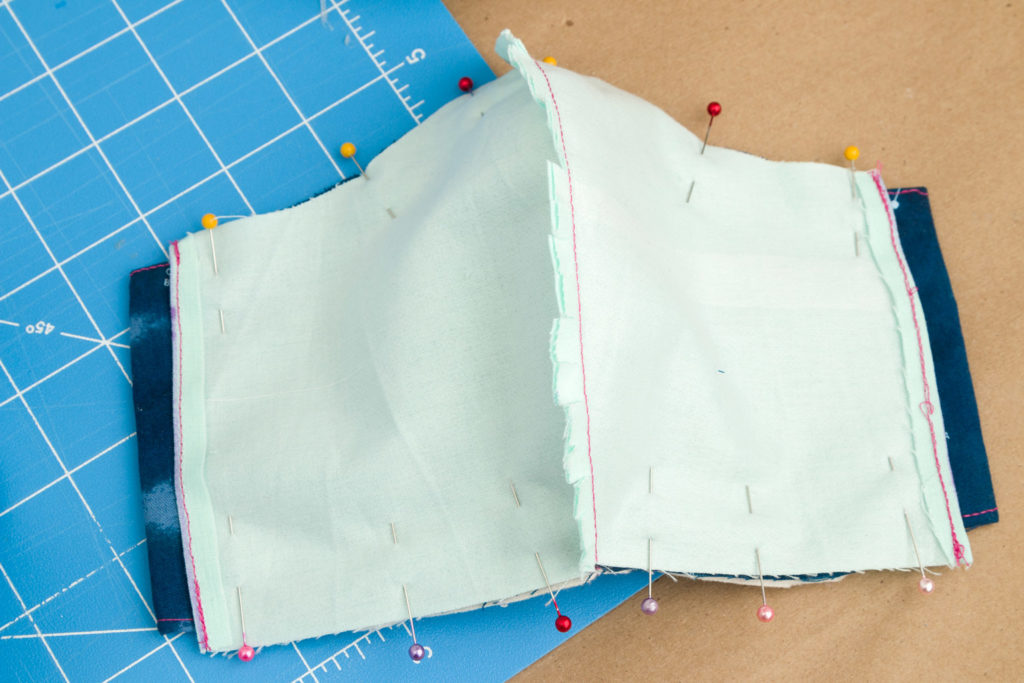
Take your two mask pieces and put the right sides together. You’ll want to line up the center seams so, in the end, they will match up. To pin them together I like to line up the top center and pin outward from that point and then do the same thing on the bottom edge. The left and right sides will be left open to form a pocket.
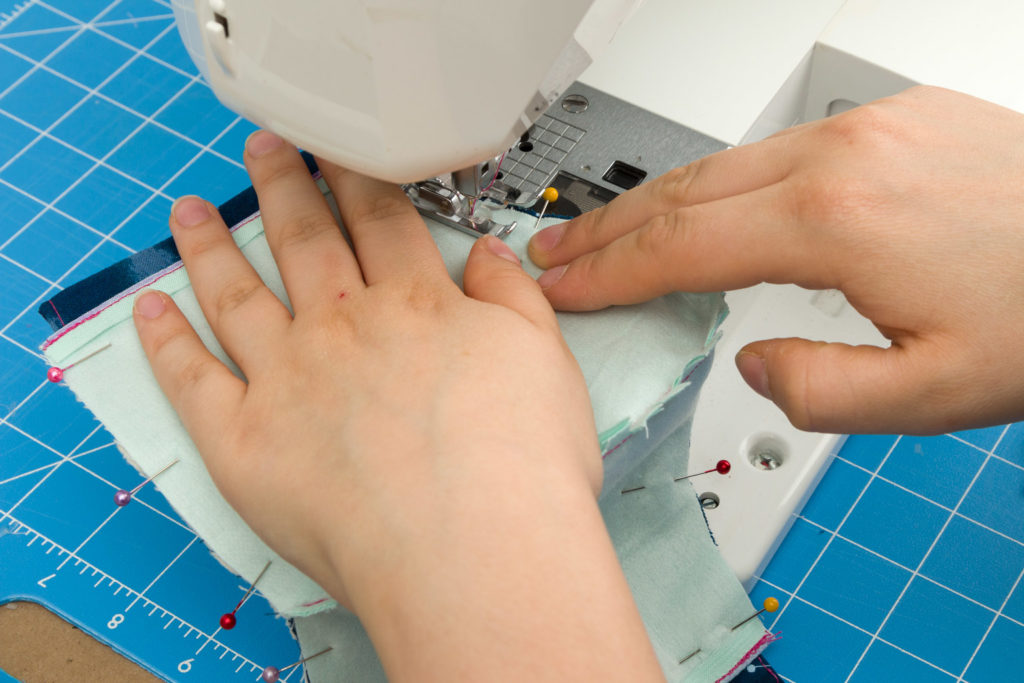
Start with your needle past the casing and end it before the other casing. Use a straight stitch to sew along the top and bottom with a quarter inch seam allowance. Make sure to go forwards and backward at both ends to secure your line of stitching.
Make snips down the seam allowances. Get close, but don’t cut the stitches.
Reach inside the pocket area and grab the other end of the mask. Pull it through the hole to bring the right side out. You’ll want to get the fabric straightened out so it is sitting properly.
Take an iron and press around the edges to get the seams pushed out and even.
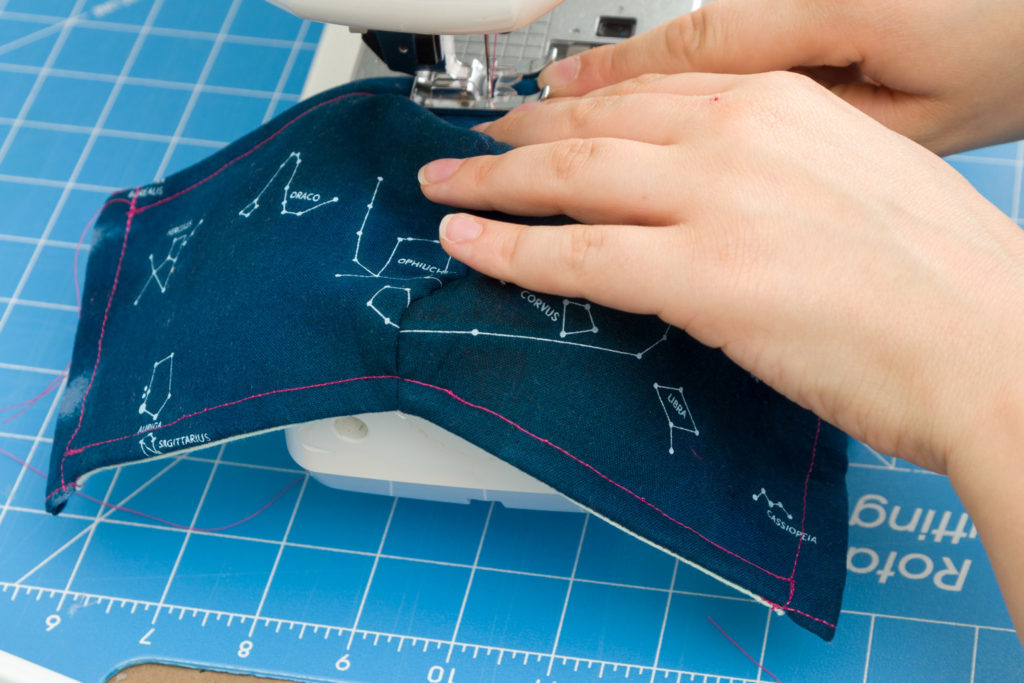
Start with your needle past the casing and end it before the other casing. Use a straight stitch to topstitch along the top and bottom edges with a quarter inch seam allowance. Make sure to go forwards and backward at both ends to secure your line of stitching.
Making ties
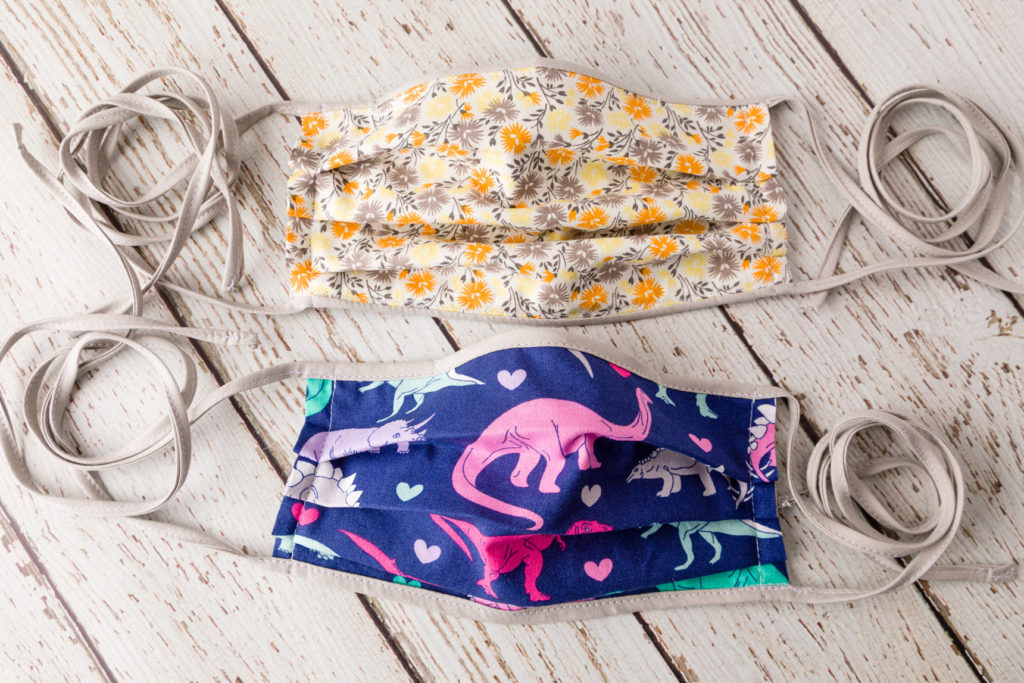
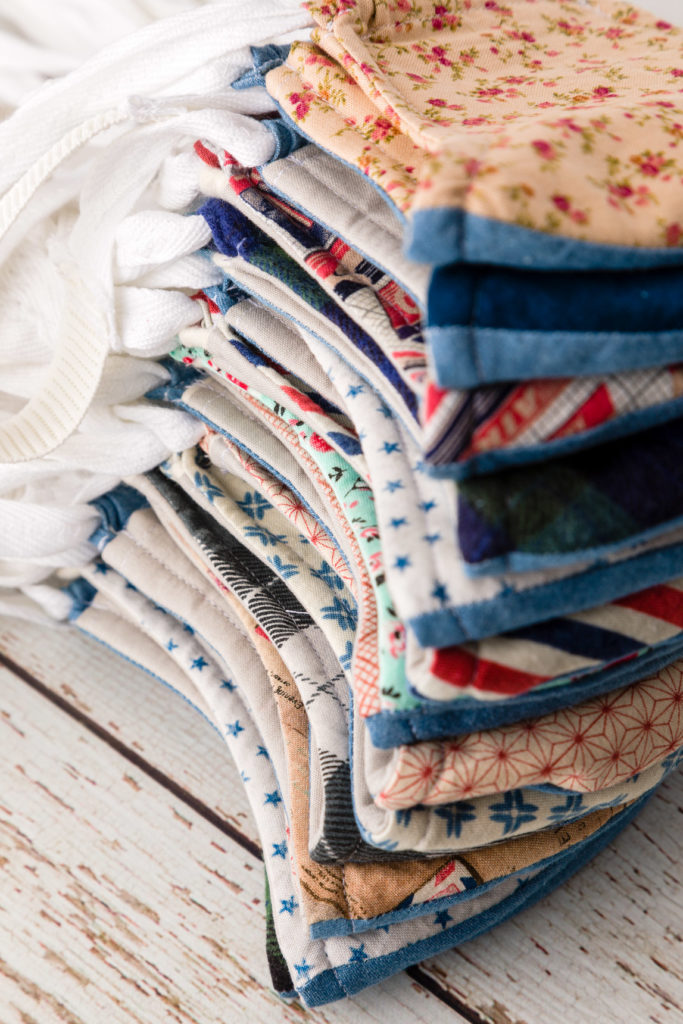
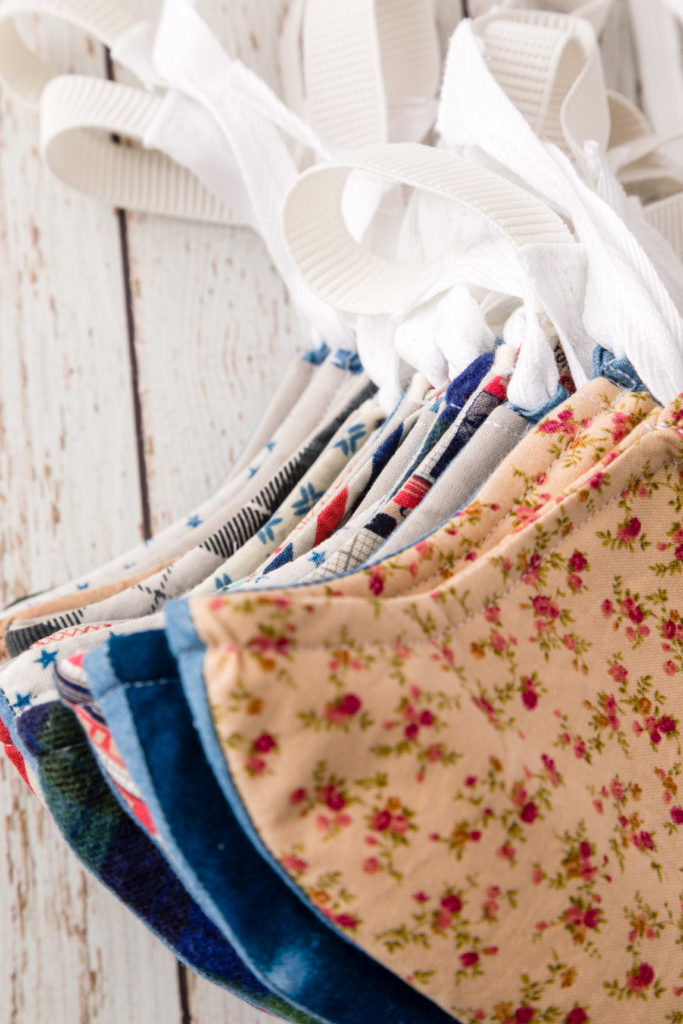
You have many options for the ties you can use. The original pattern calls for different lengths of 1/4 inch elastic, depending on the size, which is a little harder to find these days.
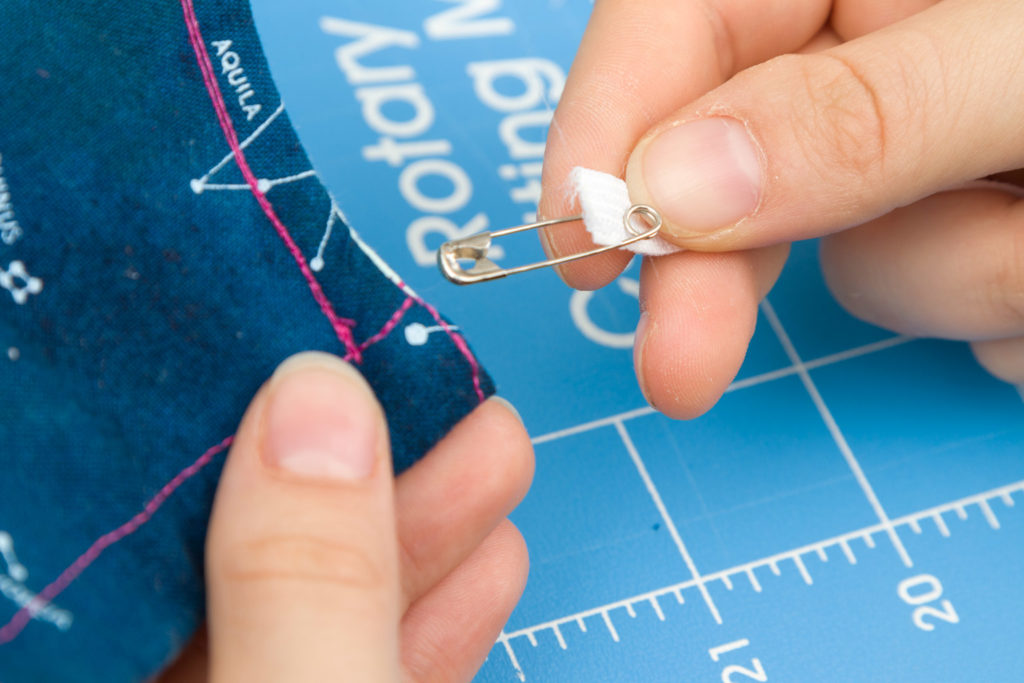
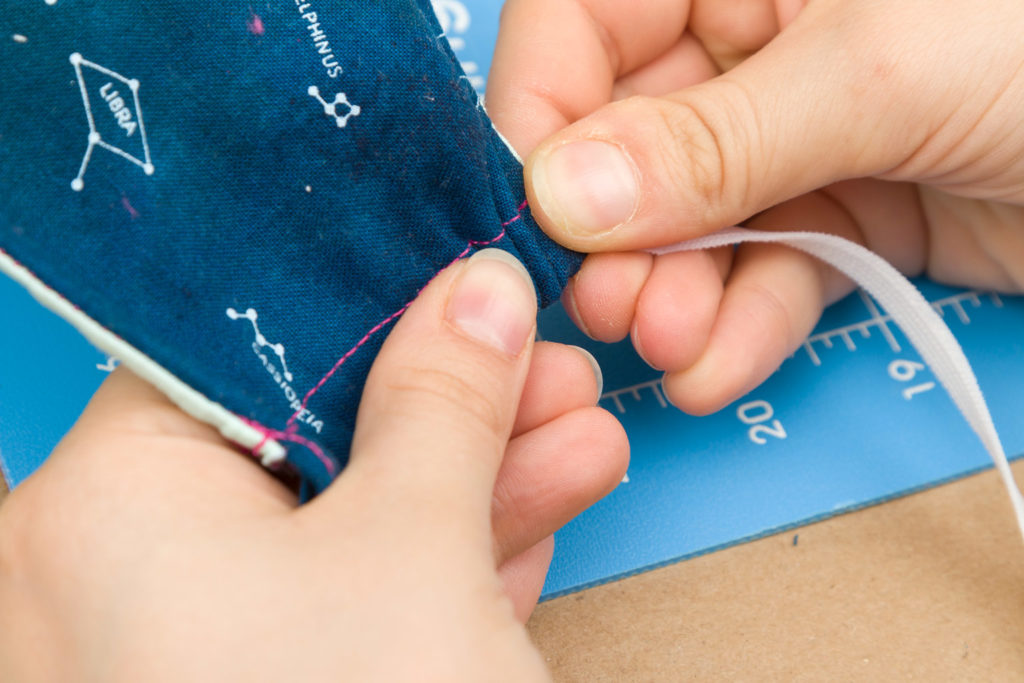
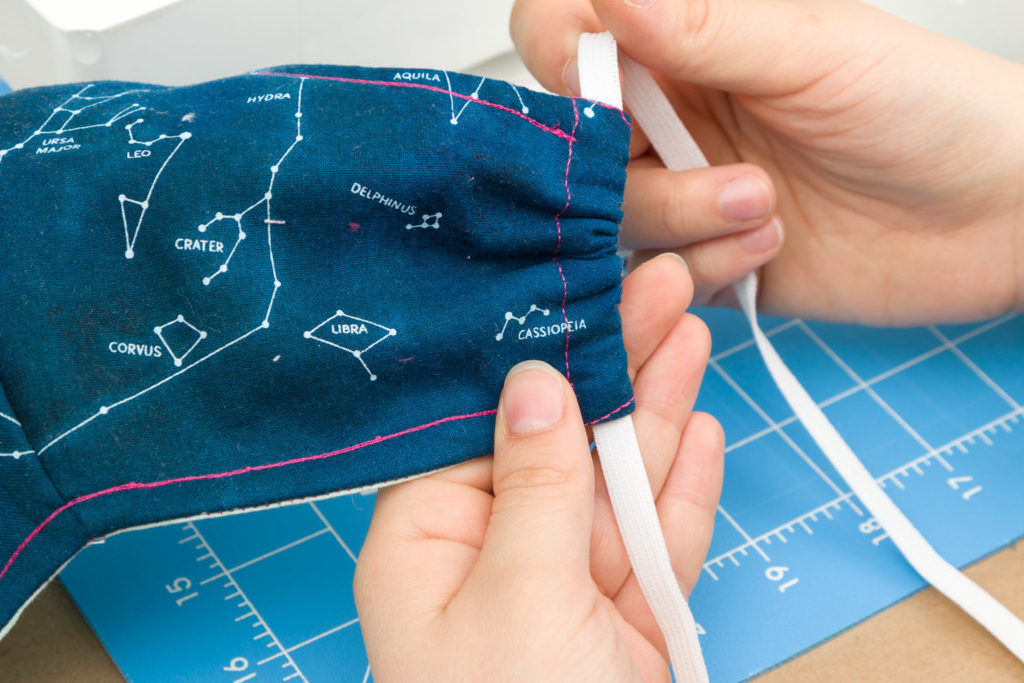
Regardless of what you end up using, the easiest way I have found to pull the material through is with a safety pin. First, you will open up the safety pin and pierce it about a quarter to half-an-inch from the end of the tie. Close it back up and push the head of the safety pin in one end of the casing. Holding it at the bottom with one hand, use the other to start pulling the fabric down, bunching it around the safety pin. When the safety pin is “full” hold the top end with the “bunching” hand and pull the fabric down onto the exposed tie until the casing is straight again. You will continue this pushing and pulling until the safety pin can be pulled out the other side.
Make sure to pay attention so your tie doesn’t get twisted up inside the casing.
How to Wear Your Masks
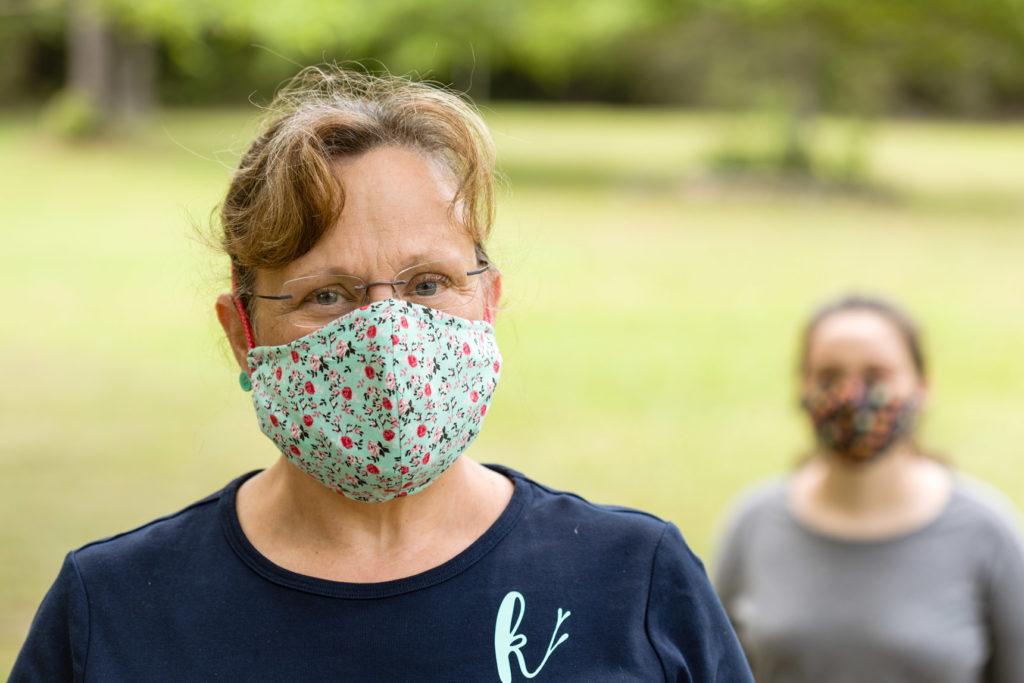
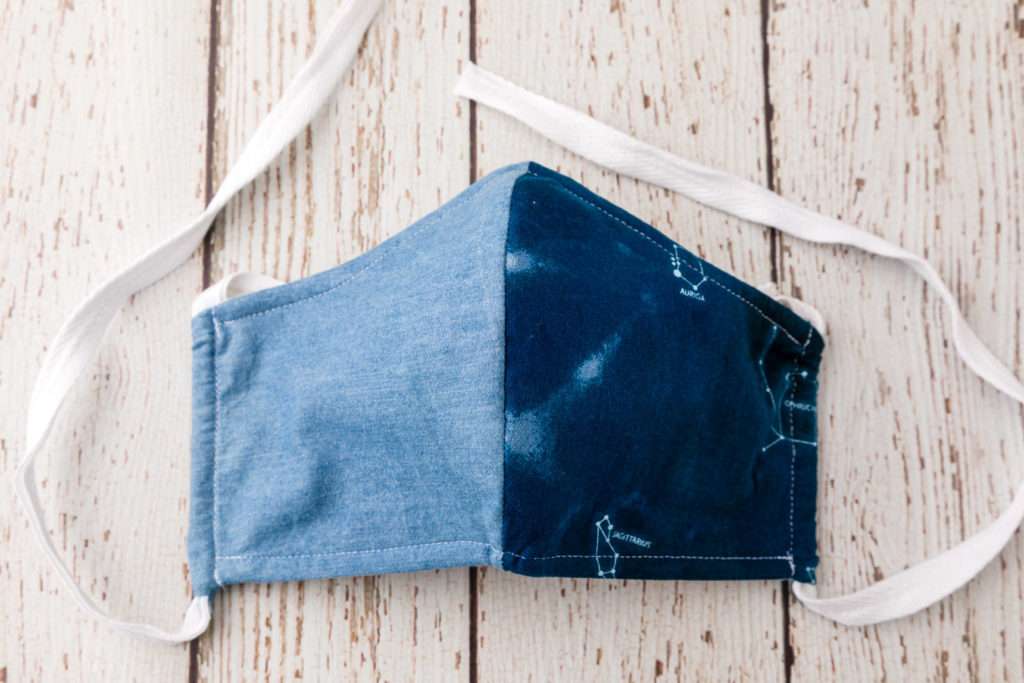
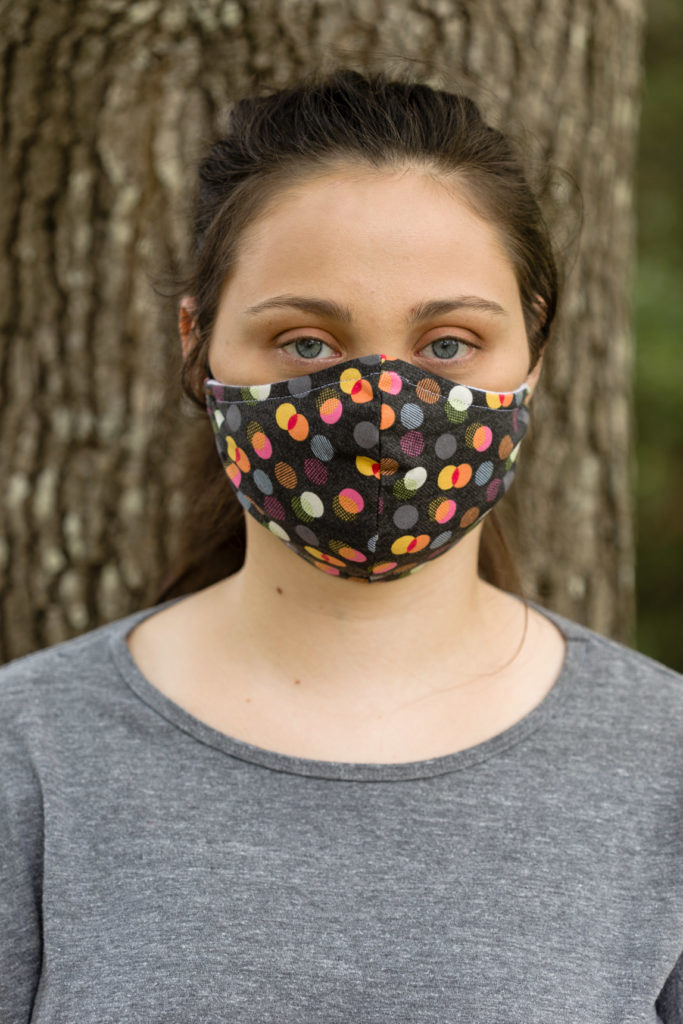
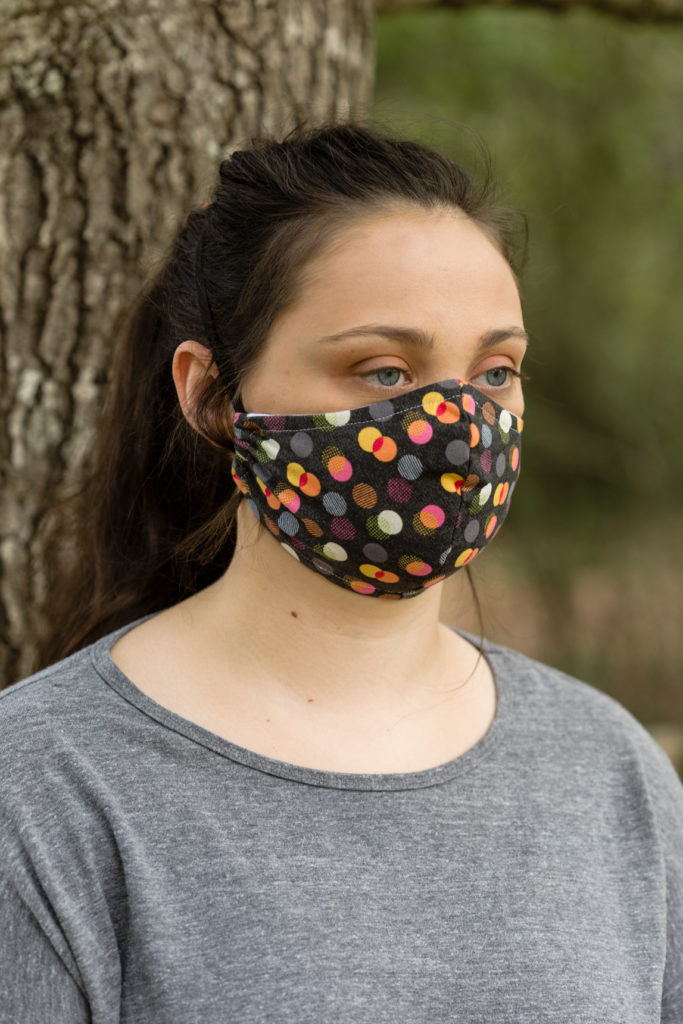
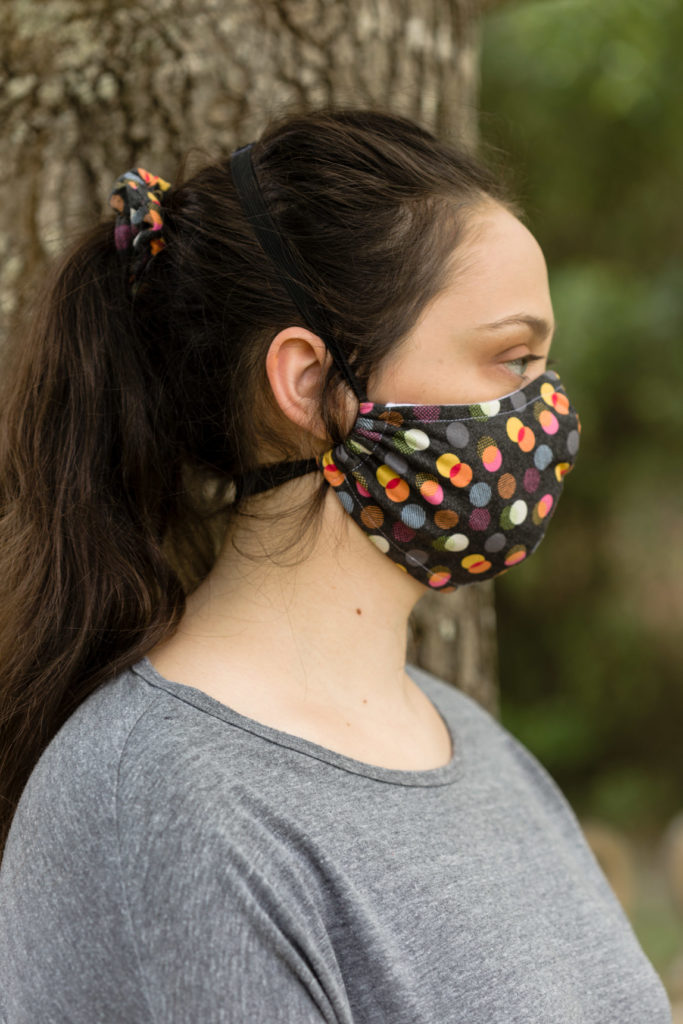
If you opt for the full elastic method, you will need up to 20 inches of elastic (or more depending on your head size). The one I am wearing is an Adult S/M with an 18 inch loop of elastic. It loops through both casings and the two ends are sewn together.
When you put this mask on you will want to make sure you have the curved portion over your nose, and the straight edge down over your chin. You’ll want to have the side casing bunched up for max sealing. The top strap of the elastic should sit on top of your head while the bottom portion will be at your neck. You might need to make adjustments to how much of the elastic is in the top and bottom portions simply by pulling more elastic through to that area.
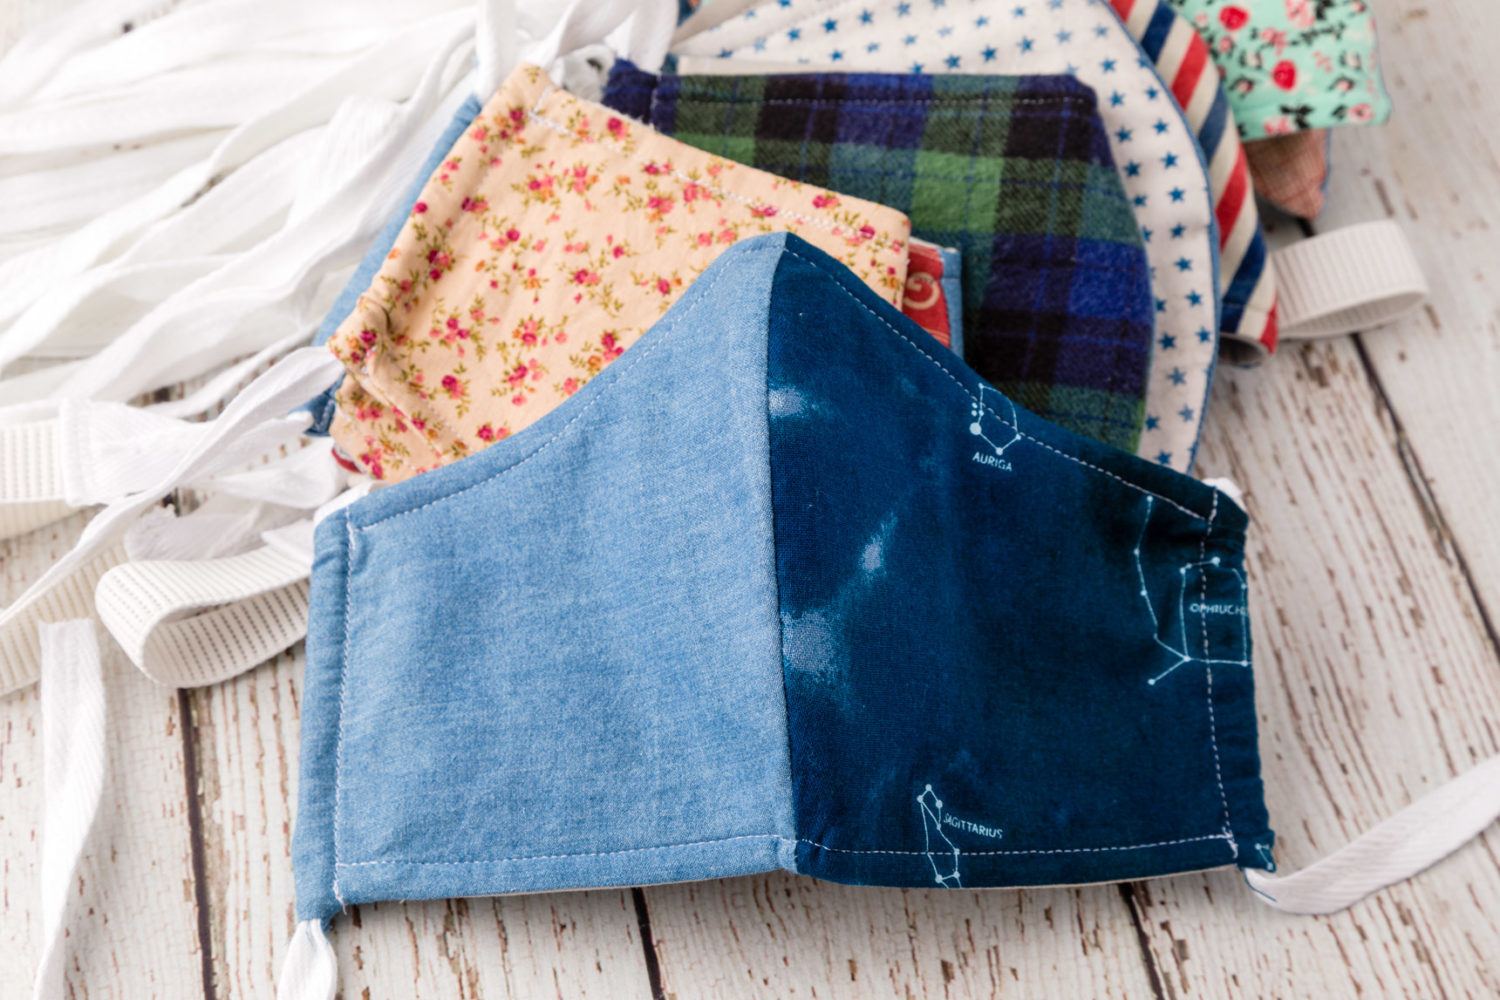
Some more face mask ideas
KippiAtHome

Kippi
Monday 13th of April 2020
These masks are the best I have seen. Keep up the great work!!! Stay safe, Kippi