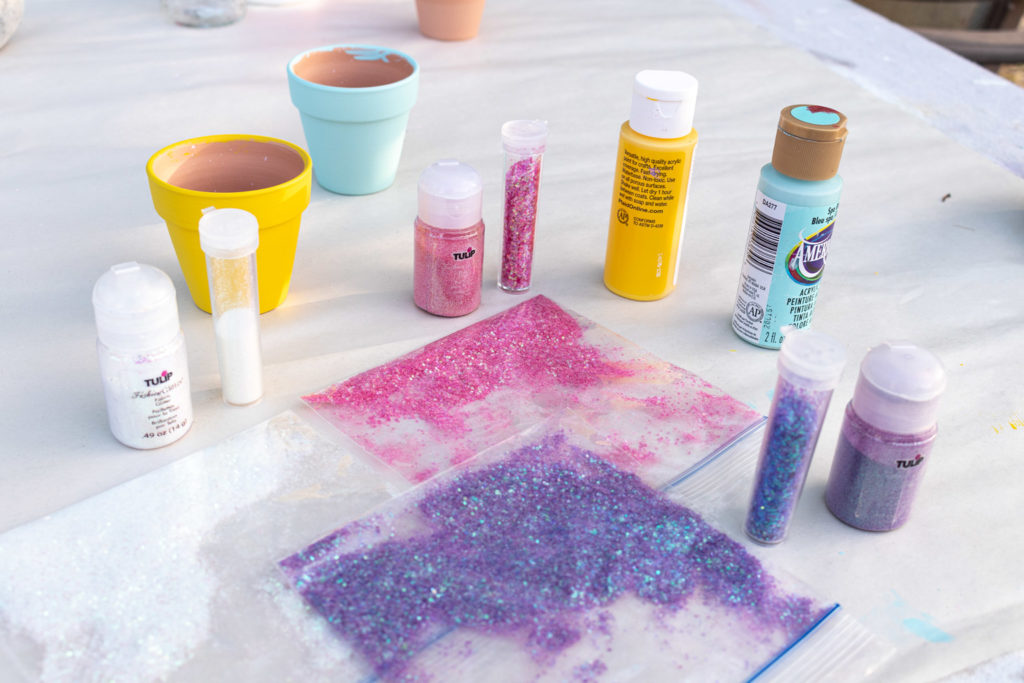
Supplies
- Spray Paint
- Glitter
- Spray Adhesive
- Cardstock
- Cricut Maker
- Surge Protector
- Ruler
- Scissors
- Paper plate
- Plastic Snack Bags
- Pencil
- Hot Glue Gun & Glue Sticks
- Artificial Flowers
- Glass Jars & Bottles
- Download File
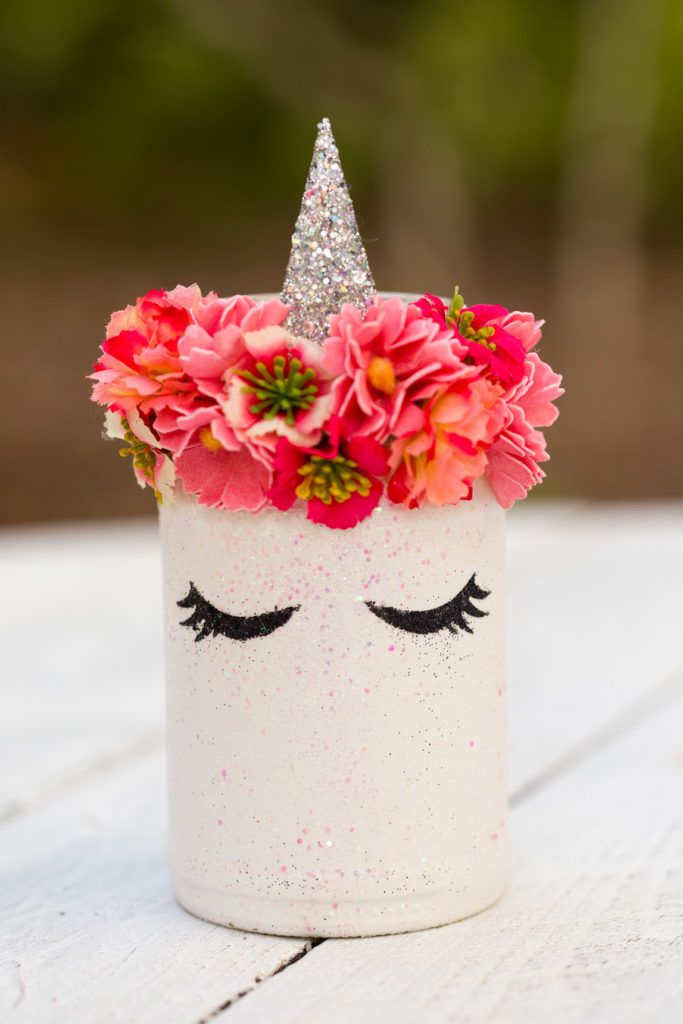
For the Unicorn used this file:
For the best paint application it is important to wash and dry your glass pieces first.
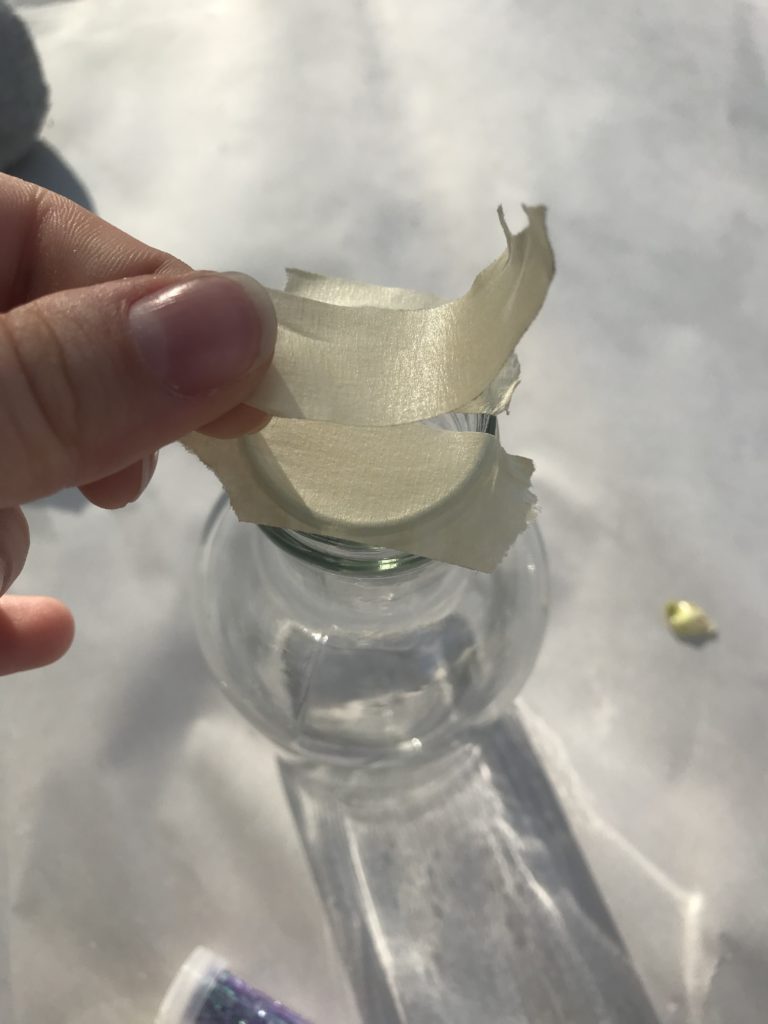
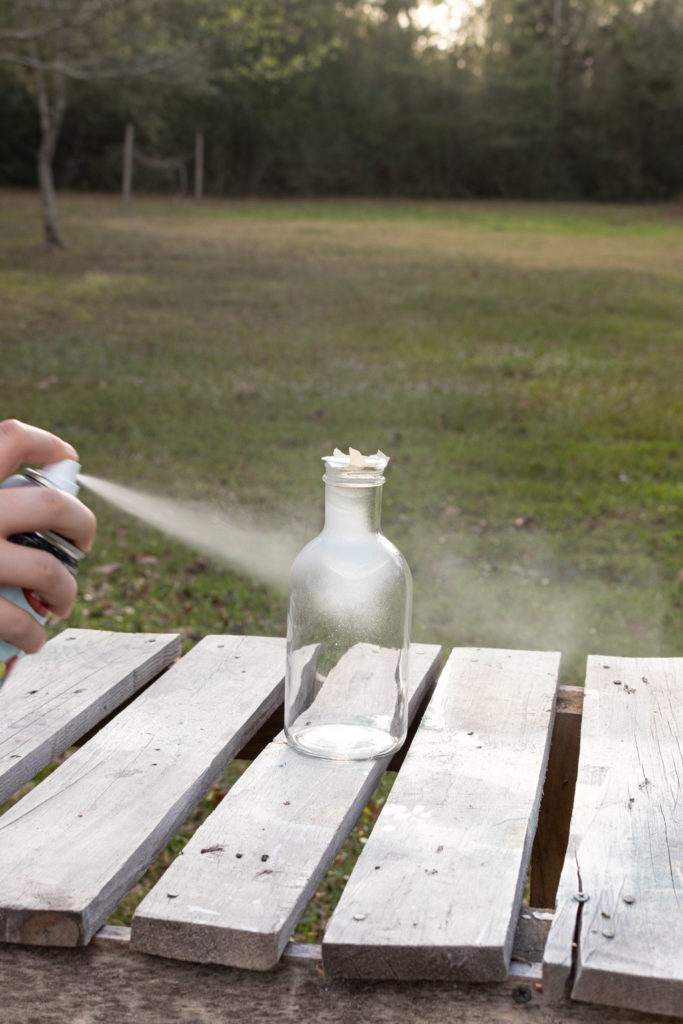
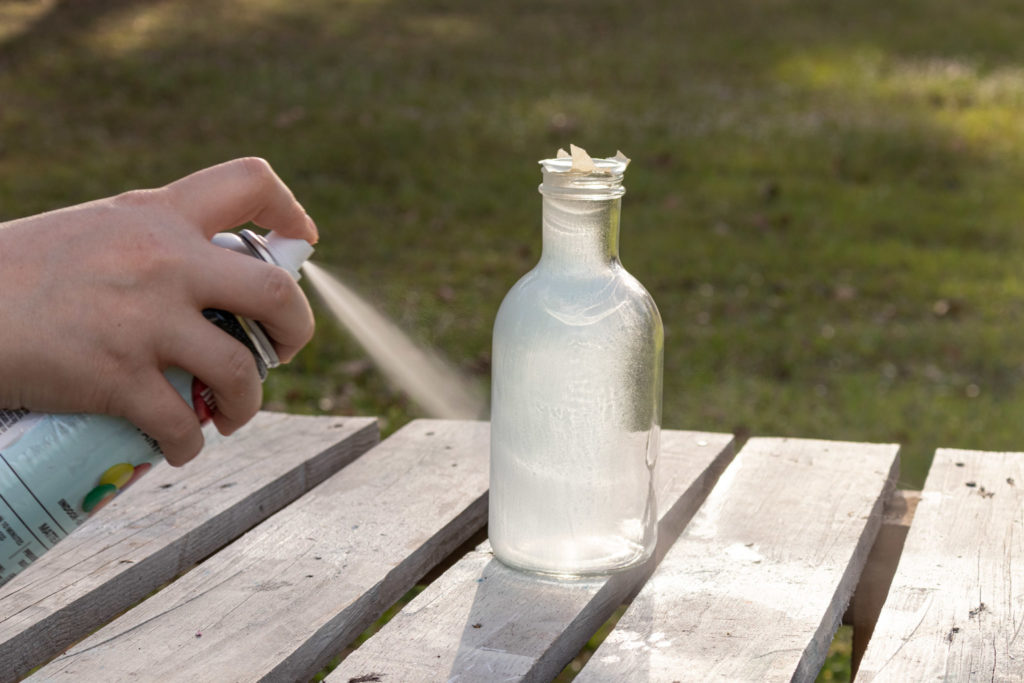
To begin with, I tried using masking tape to keep the paint from going inside of the bottle. It did not work out. Oops.
So then I thought “what if I flip them over”, which worked out way better. As usual, a few thin coats will get you where you need to be. Definitely flip it right side up some point to hit those spots the spray paint missed. Then let that sit for at least an hour.
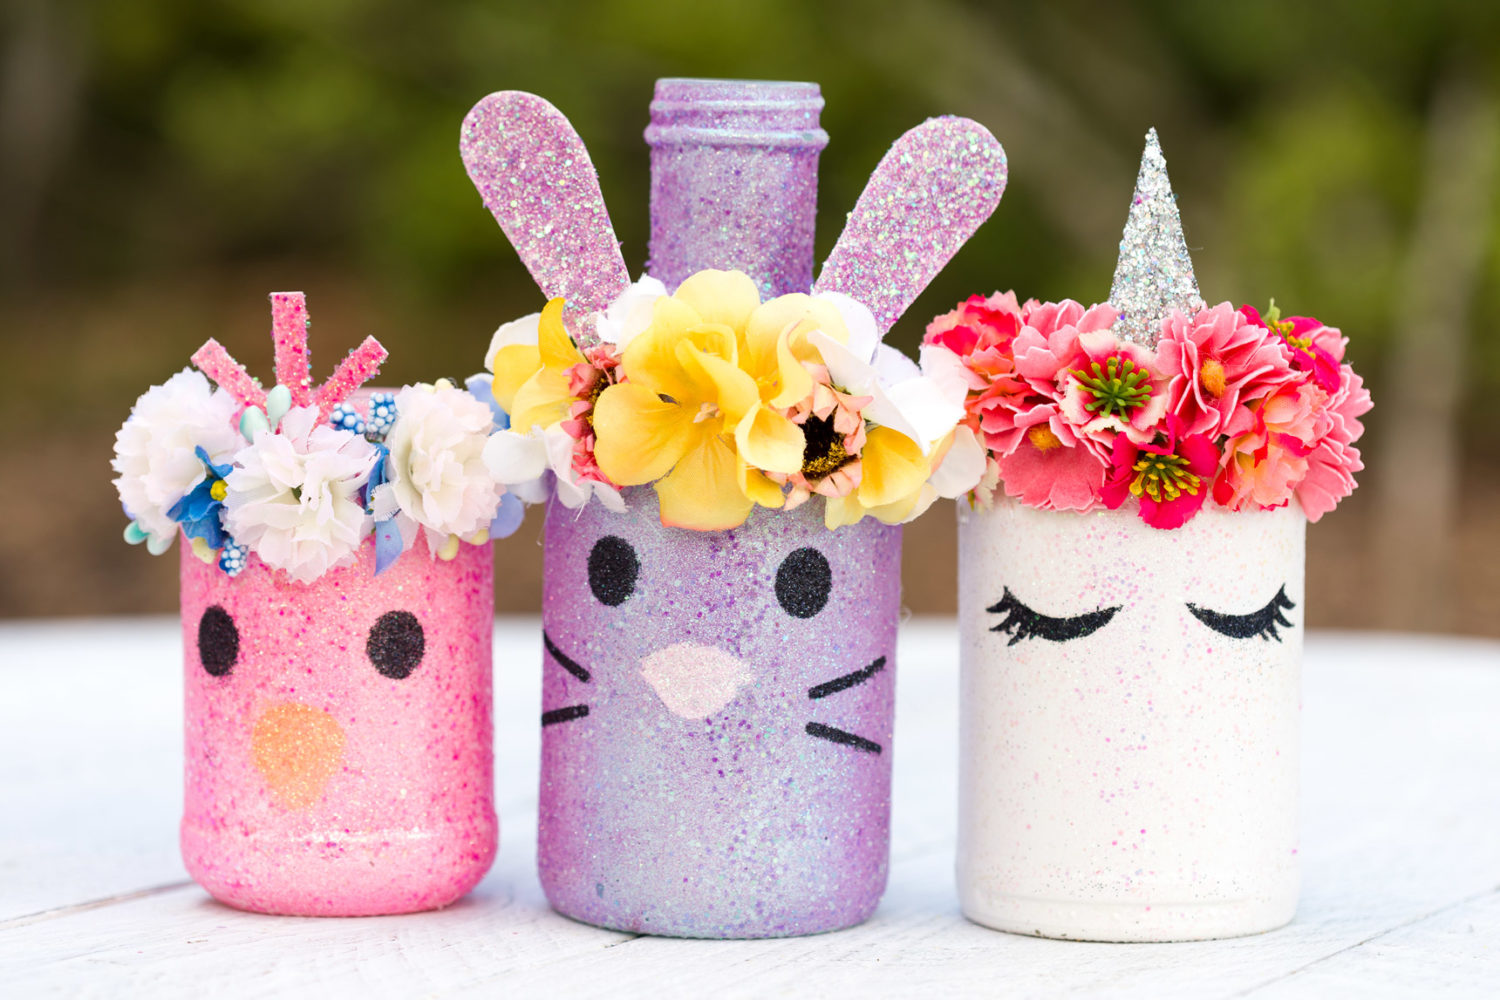
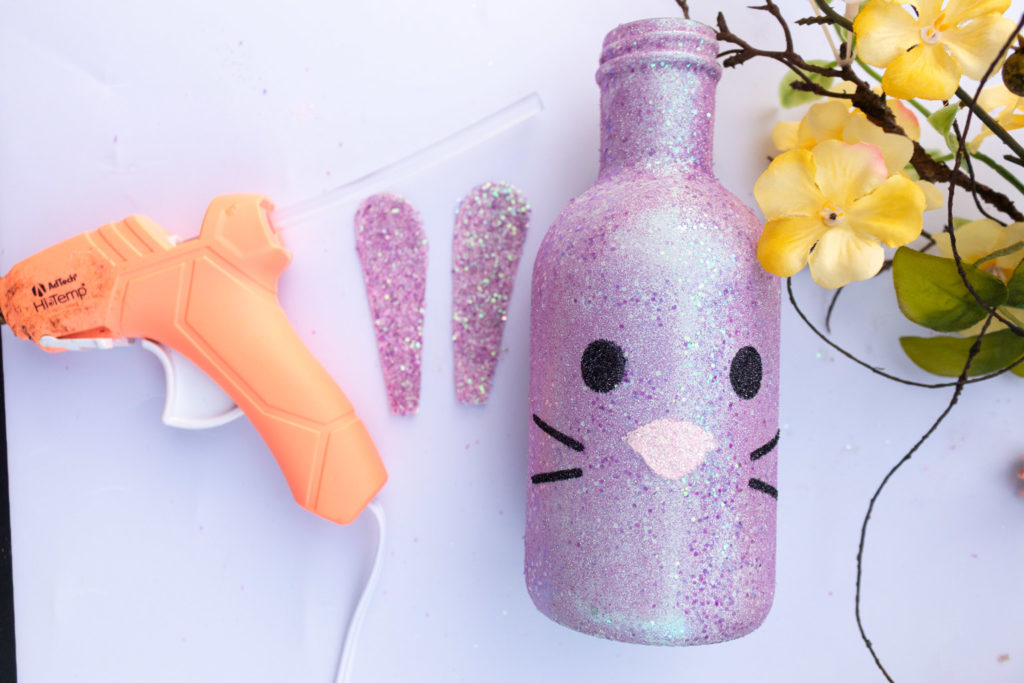
Getting Glittery
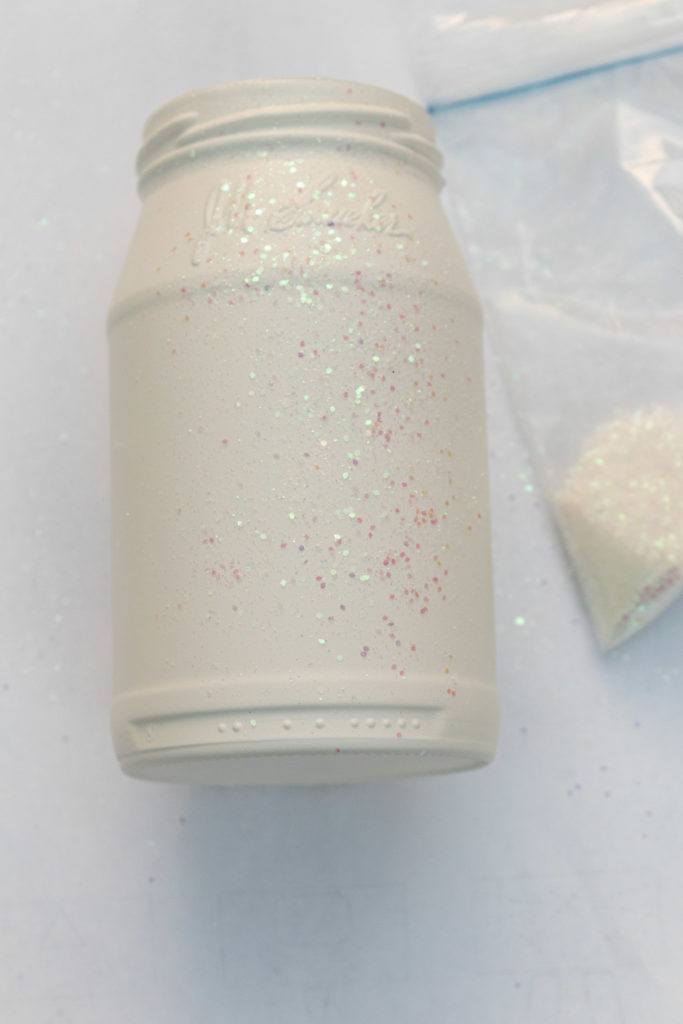
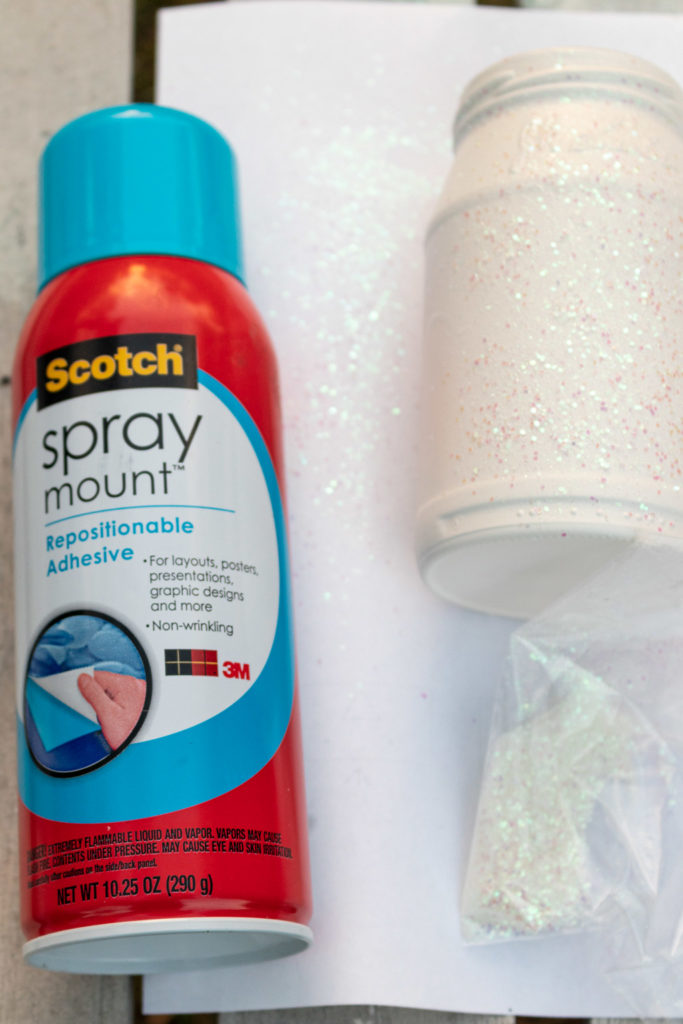
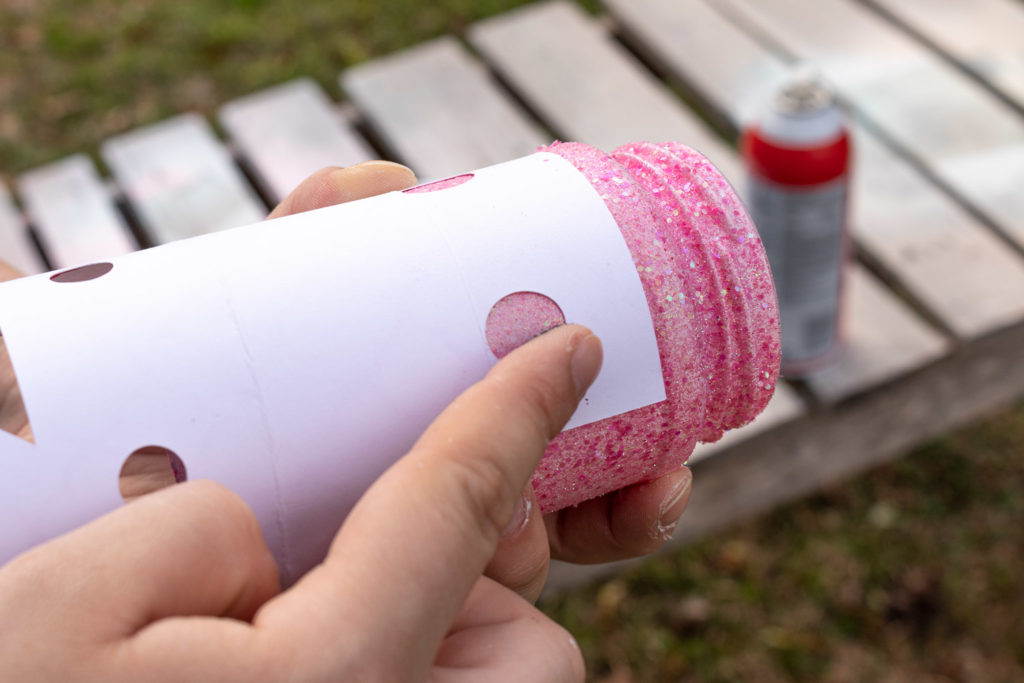
Here’s where it starts to get really fun! For some dramatic flair, I took two sizes of the same colored glitter and combined together in snack baggies.
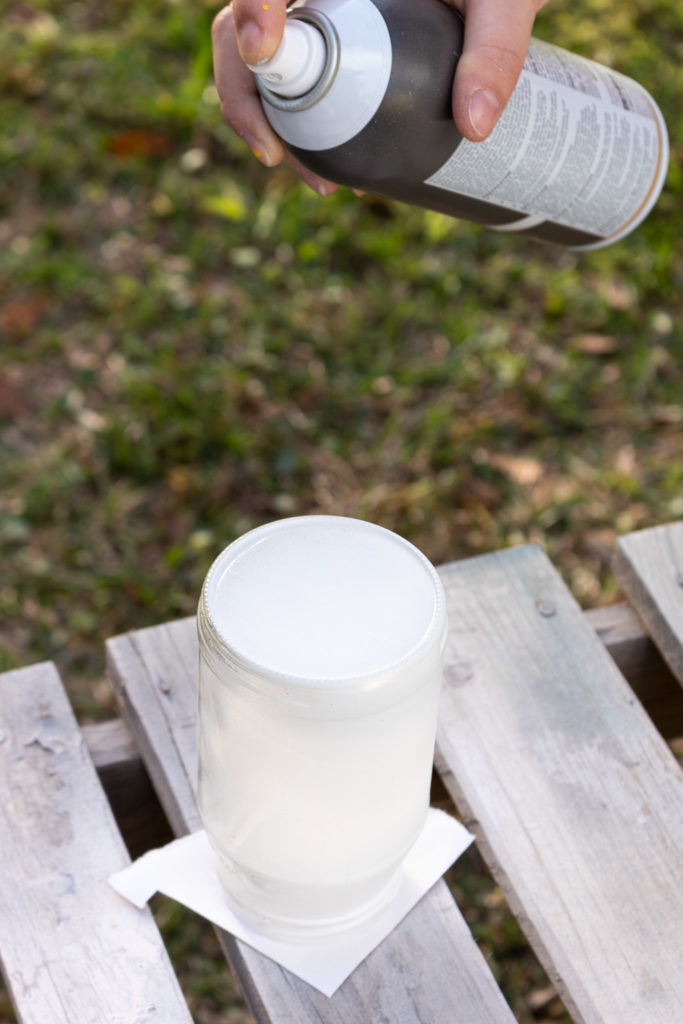
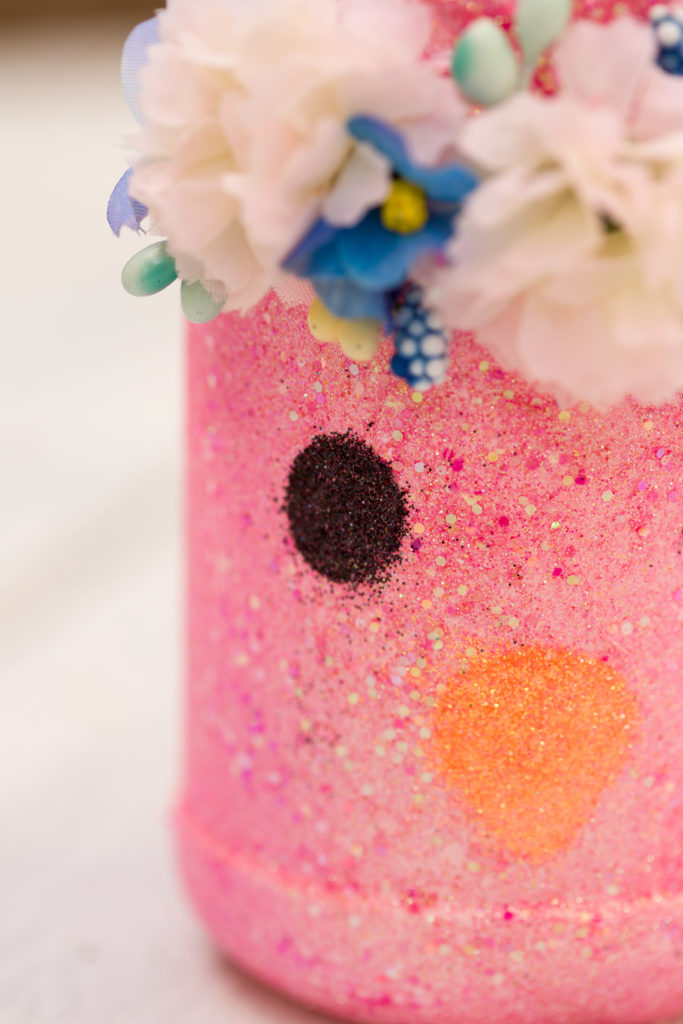
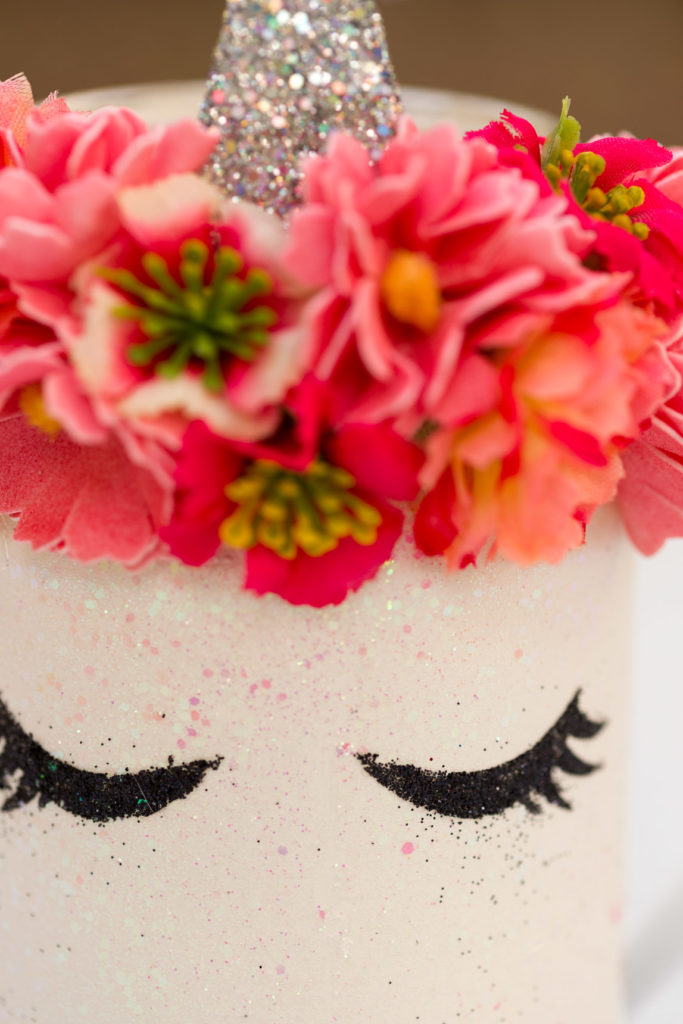
I sat each jar on a piece of paper to catch the excess glitter and overspray. Working i sections, I would spray the adhesive, then sprinkle the glitter mixture over the area. Then, using a finger, distributed the glitter over the sticky surface. When coated, rotate your jar and start on the next section until the jar is completely covered. Now sit it up and let it dry completely.
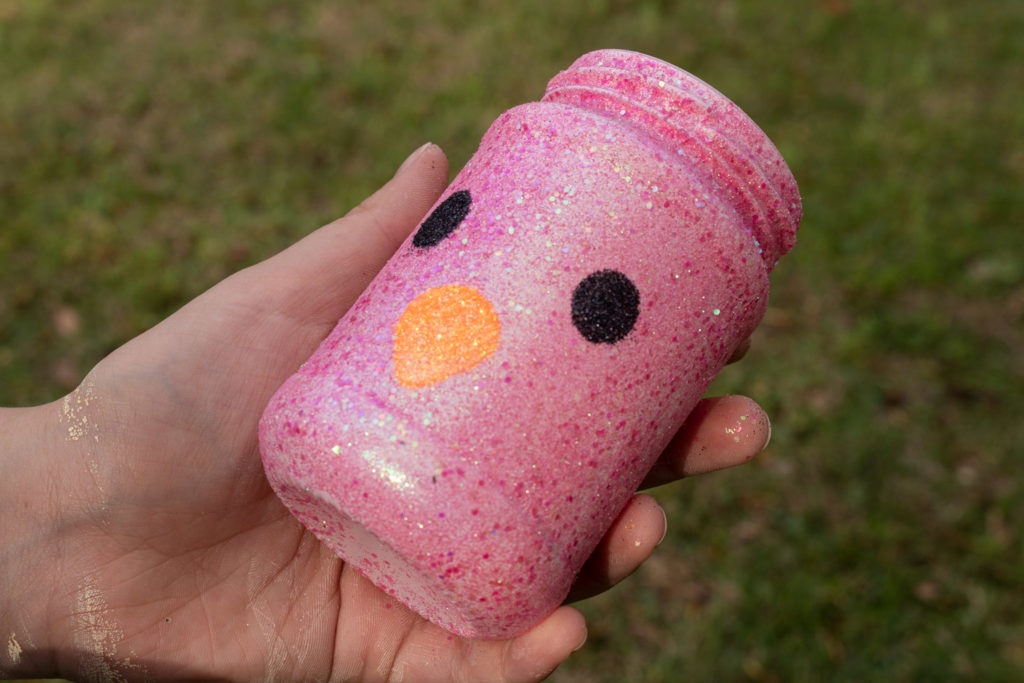
Coming to Life
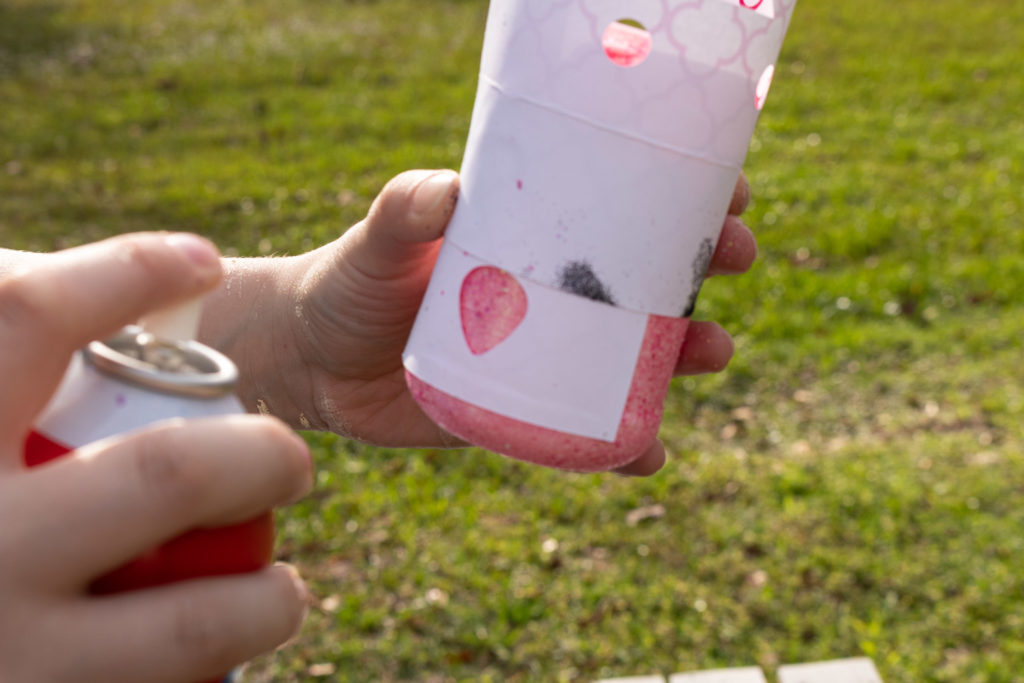
I used my Cricut Maker to cut stencils out of card stock for the faces.
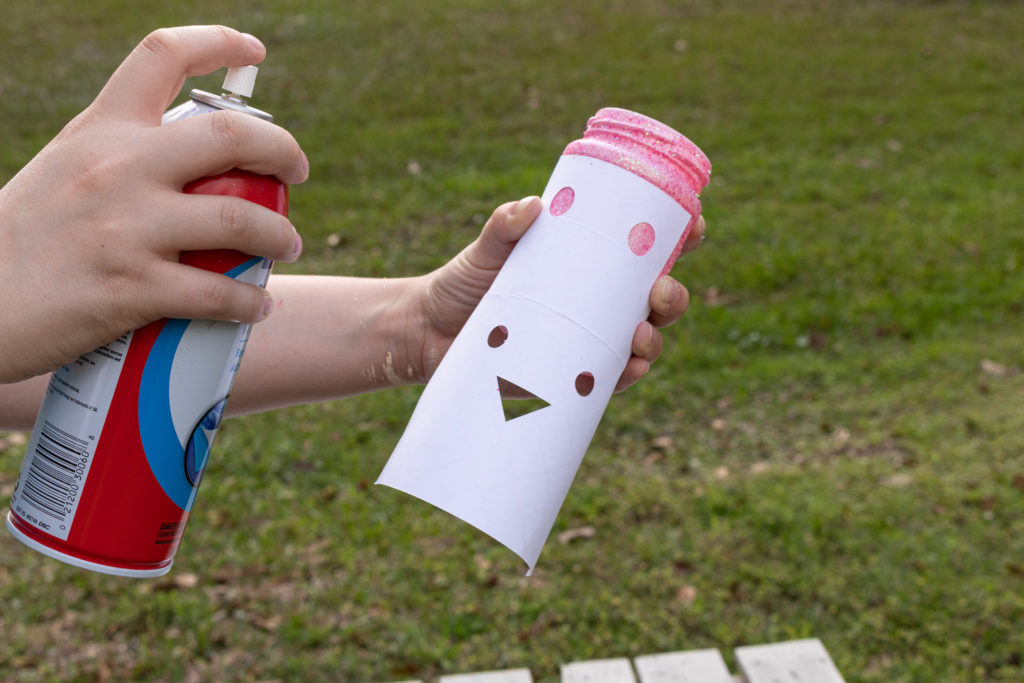
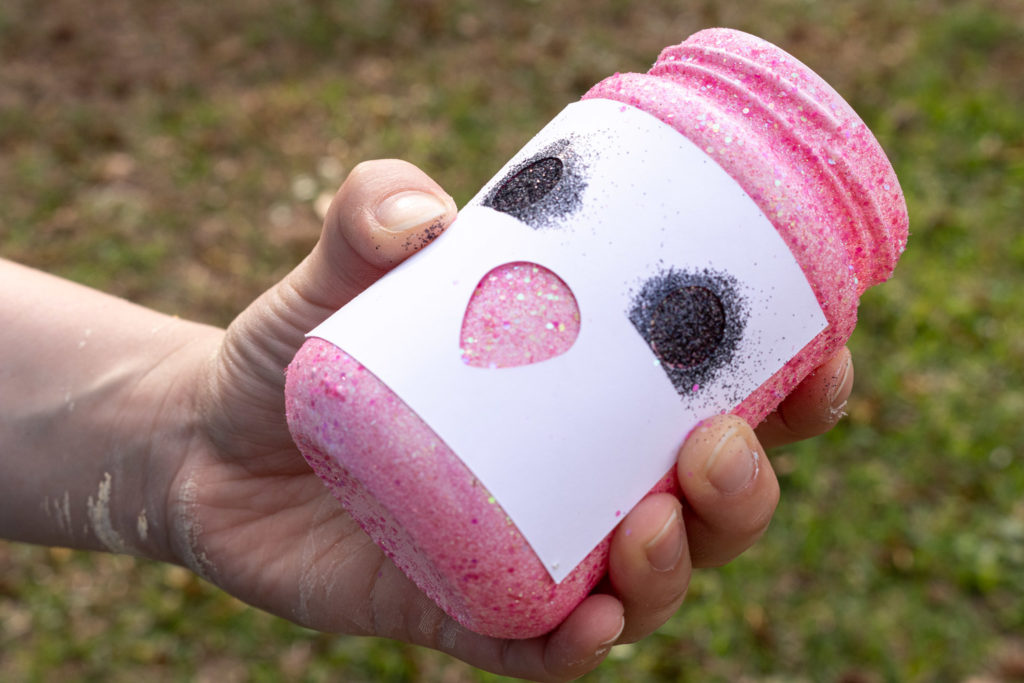
So I line up the stencil straight on the side of the jar. I found it easiest to hold the stencil down on both sides by cradling it in my hand. It is best to do this one color at a time, covering the other portions with paper.
Spray one area at a time tapping a coating of glitter into the exposed areas. This method works especially well on smaller, more complex portions such as the unicorn’s eyelashes.
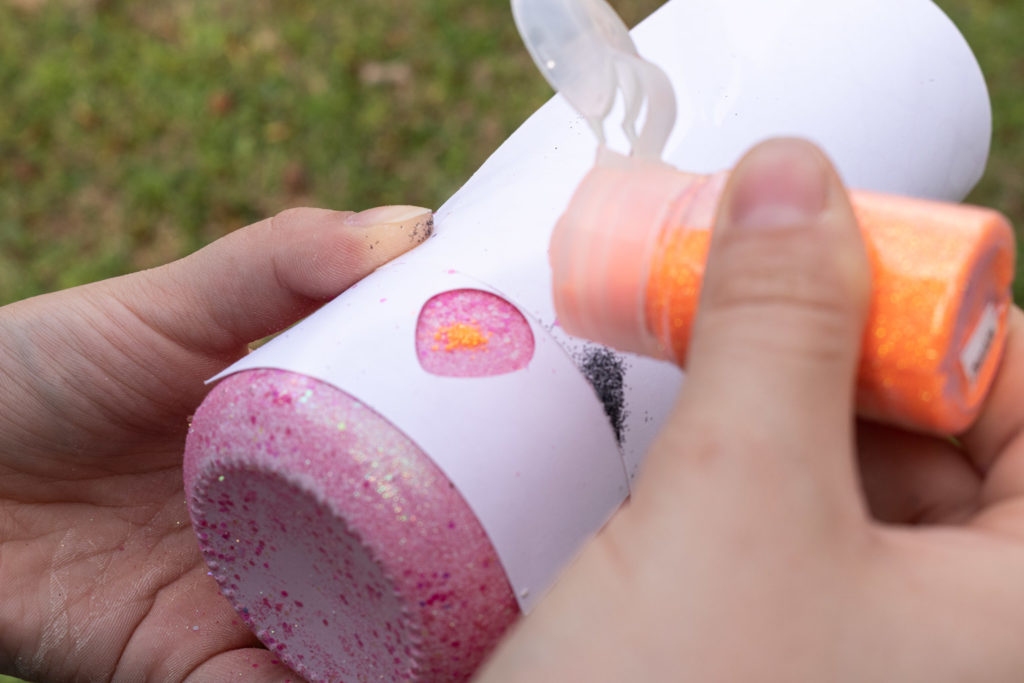
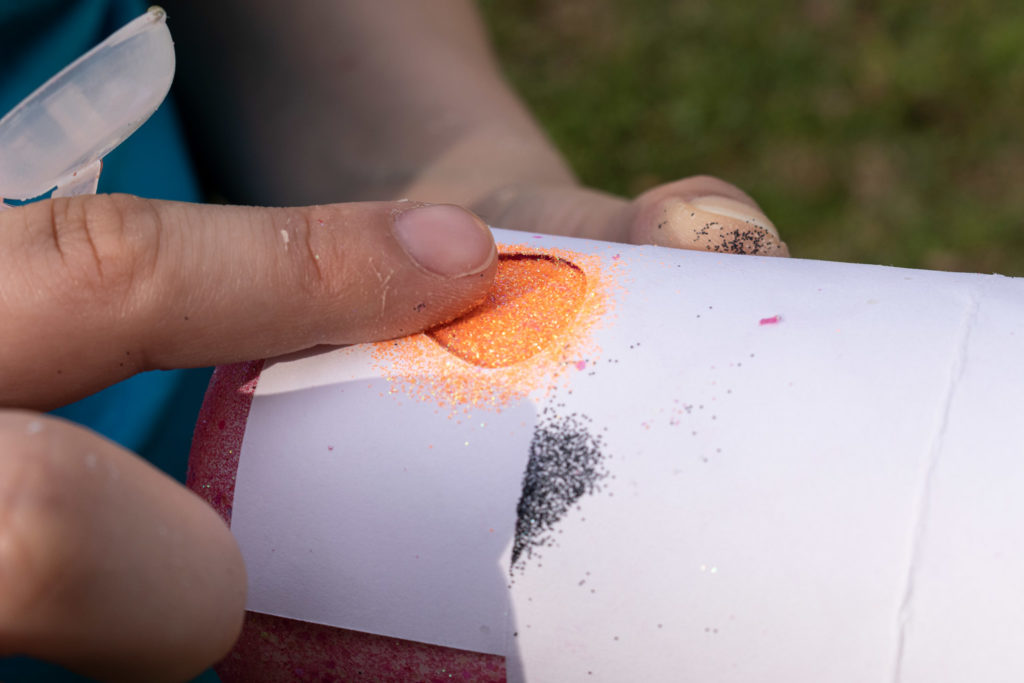
For the lighter colors, such as the orange and light pink, it will take more than one layer of glitter and glue.
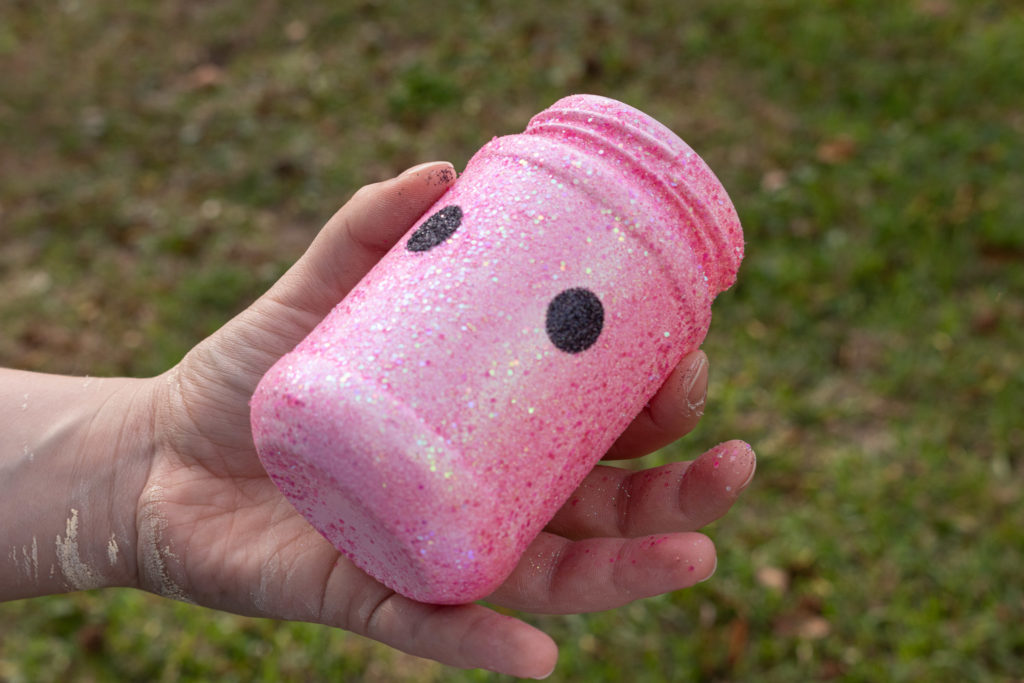
When you’re finished with the glitter you can pull up your stencil.
Let these dry a little while.
Accessorizing
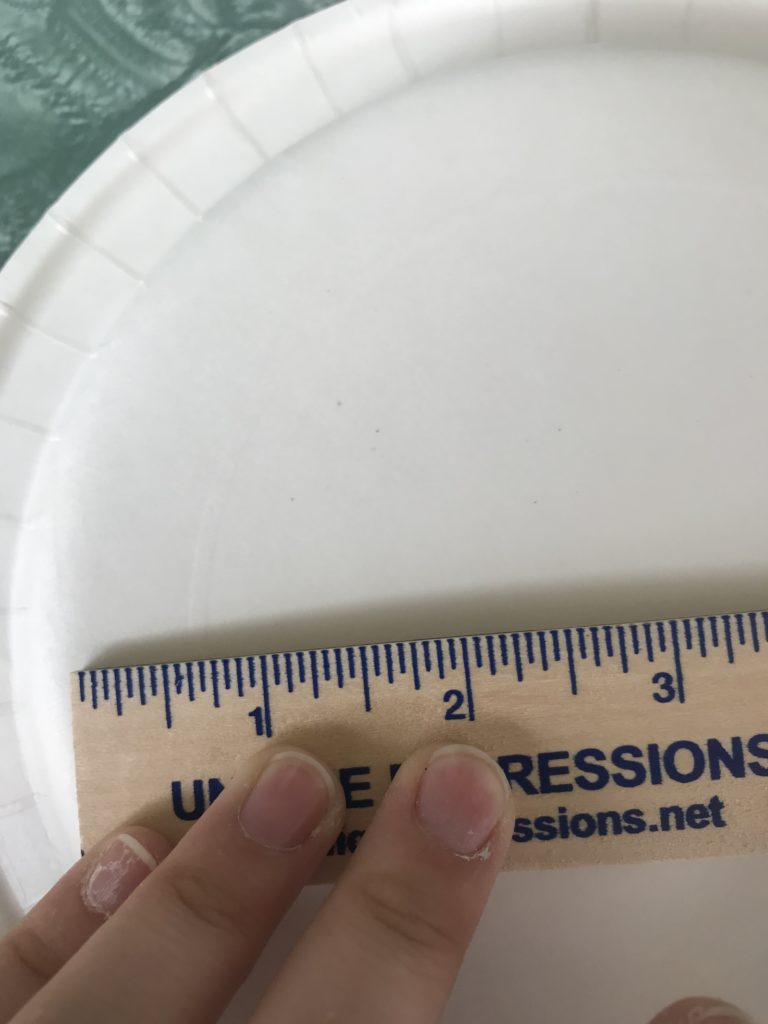
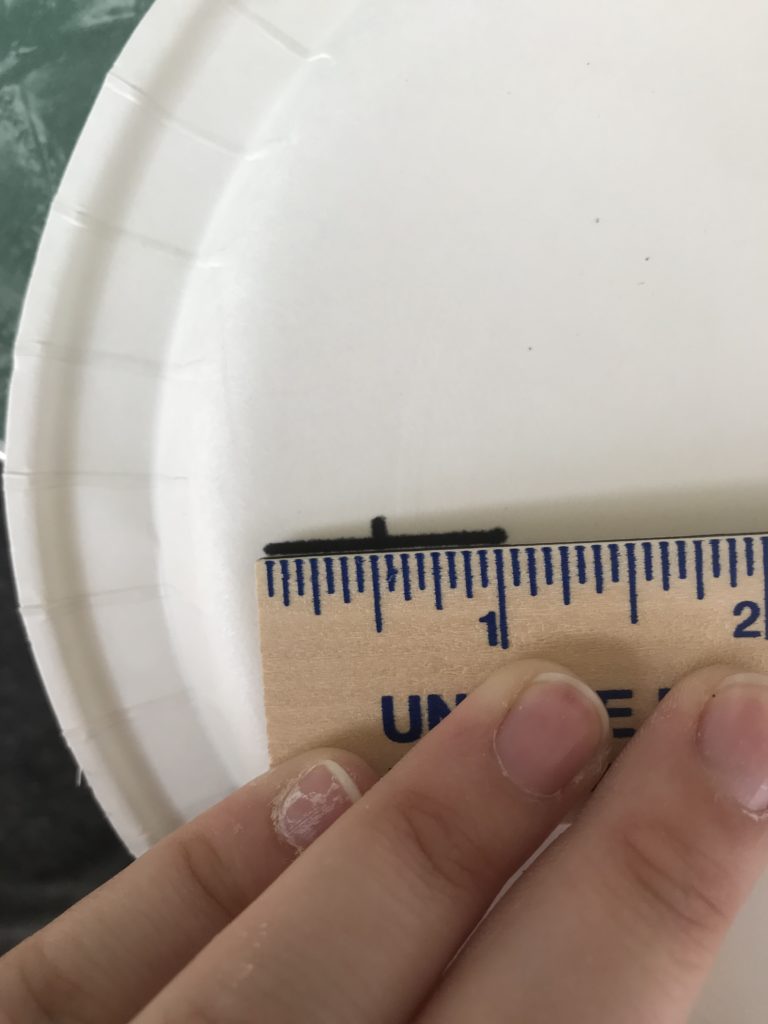
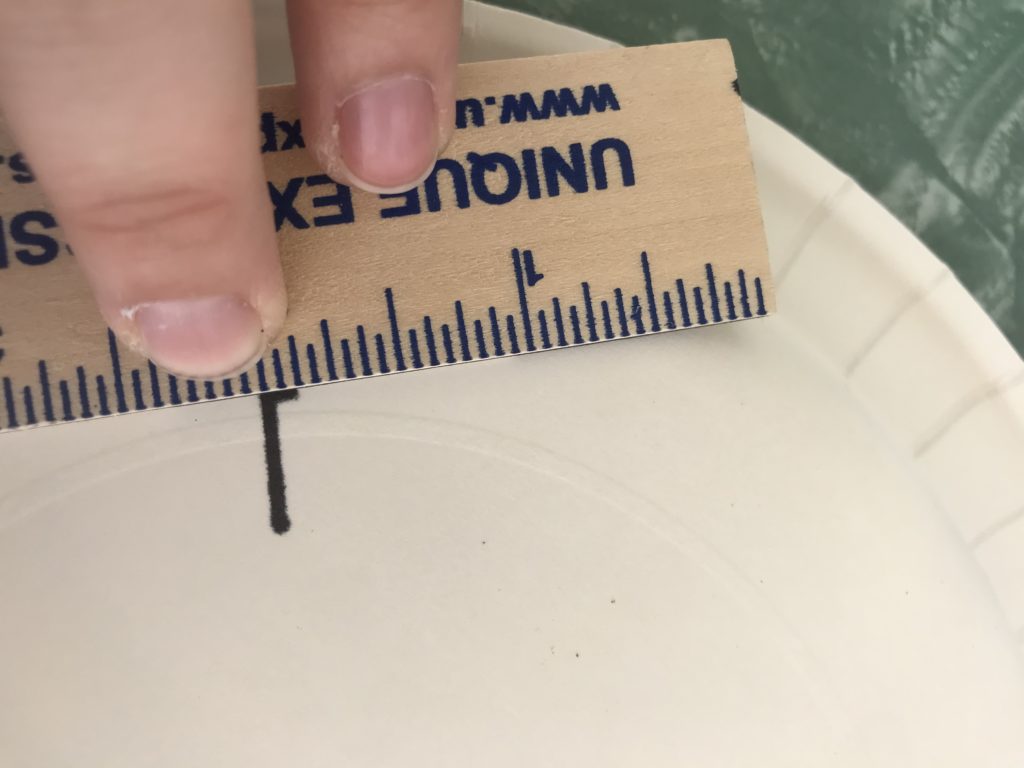
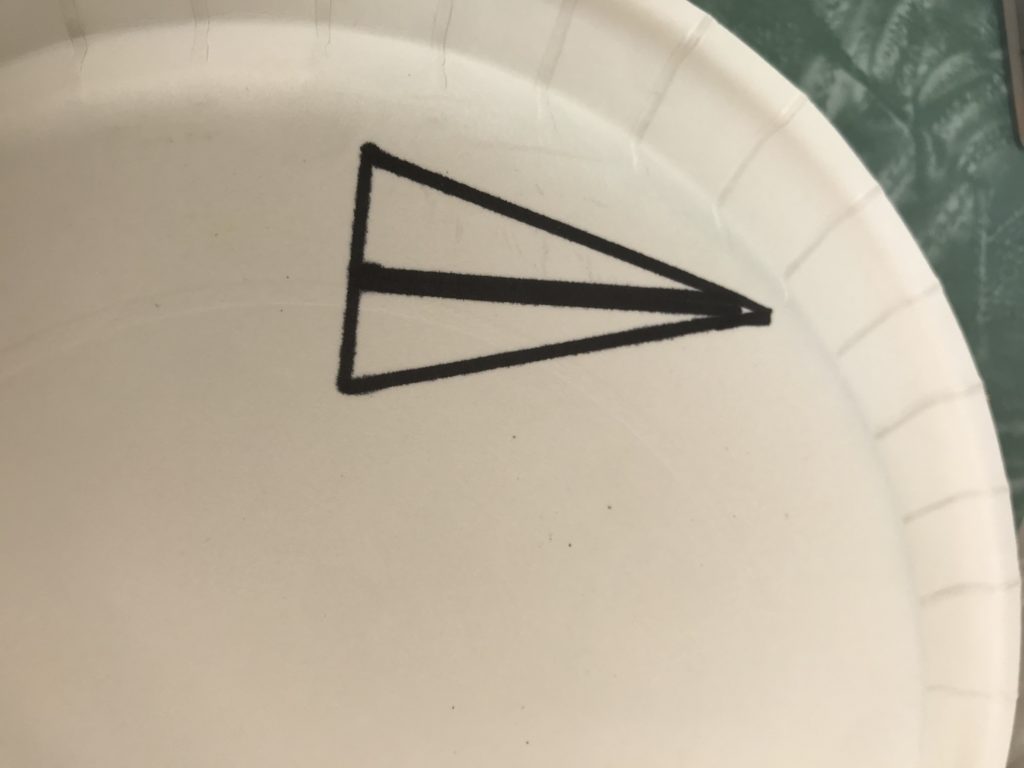

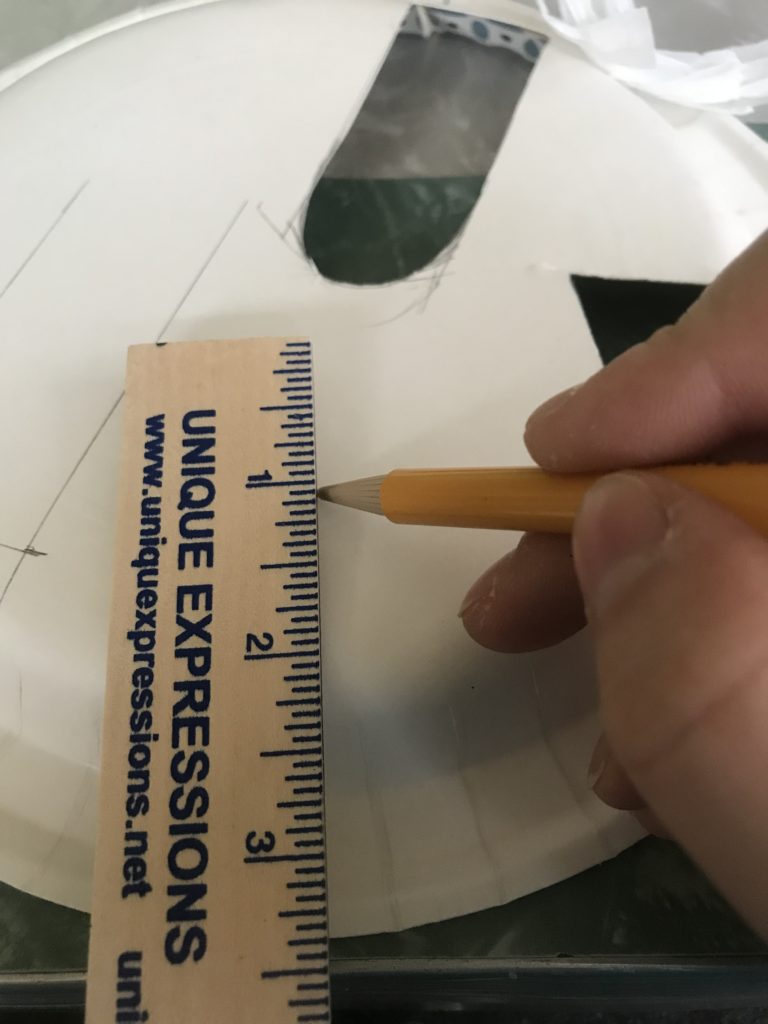
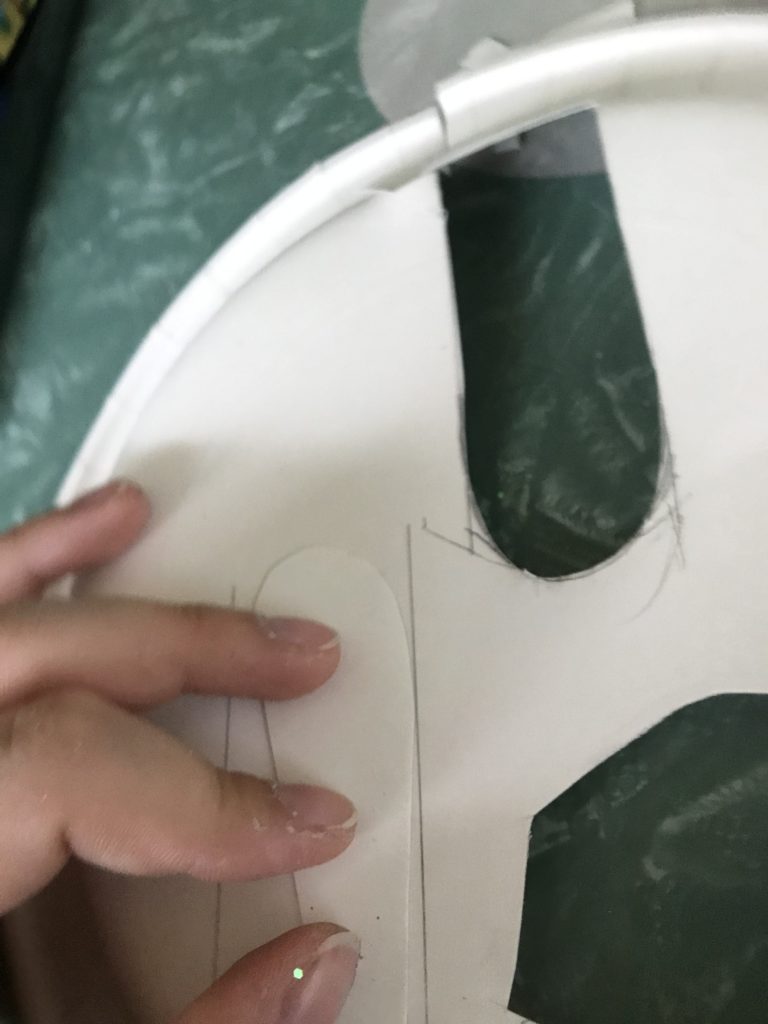
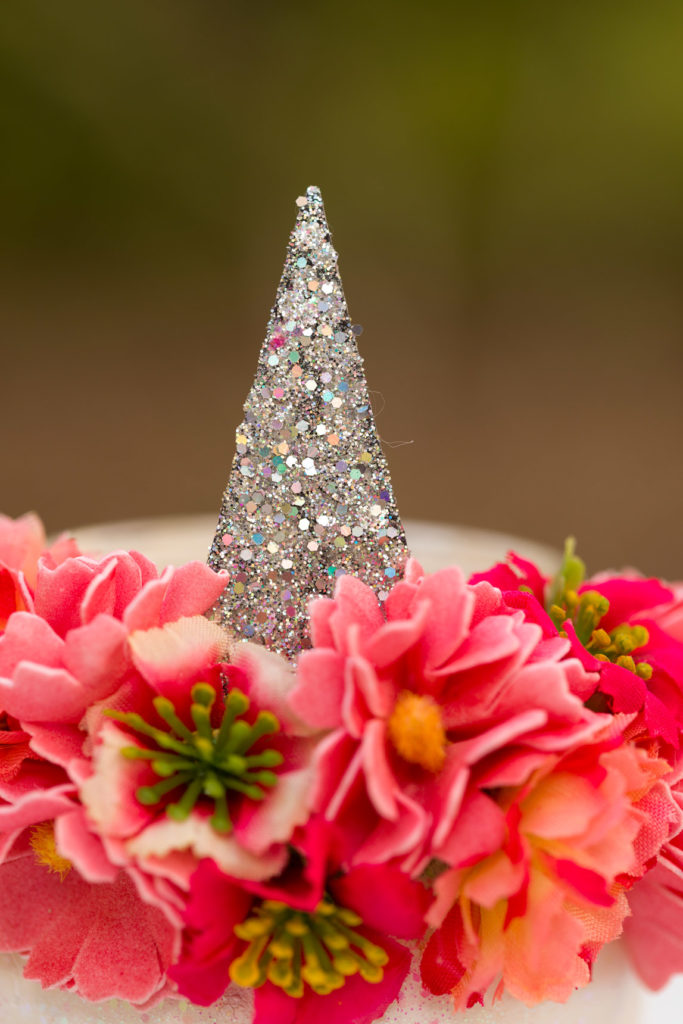
For the horn, I drew two lines at the measurement I wanted, then I connected them with straight lines to make the triangle. I cut the paper plate pieces out with scissors.
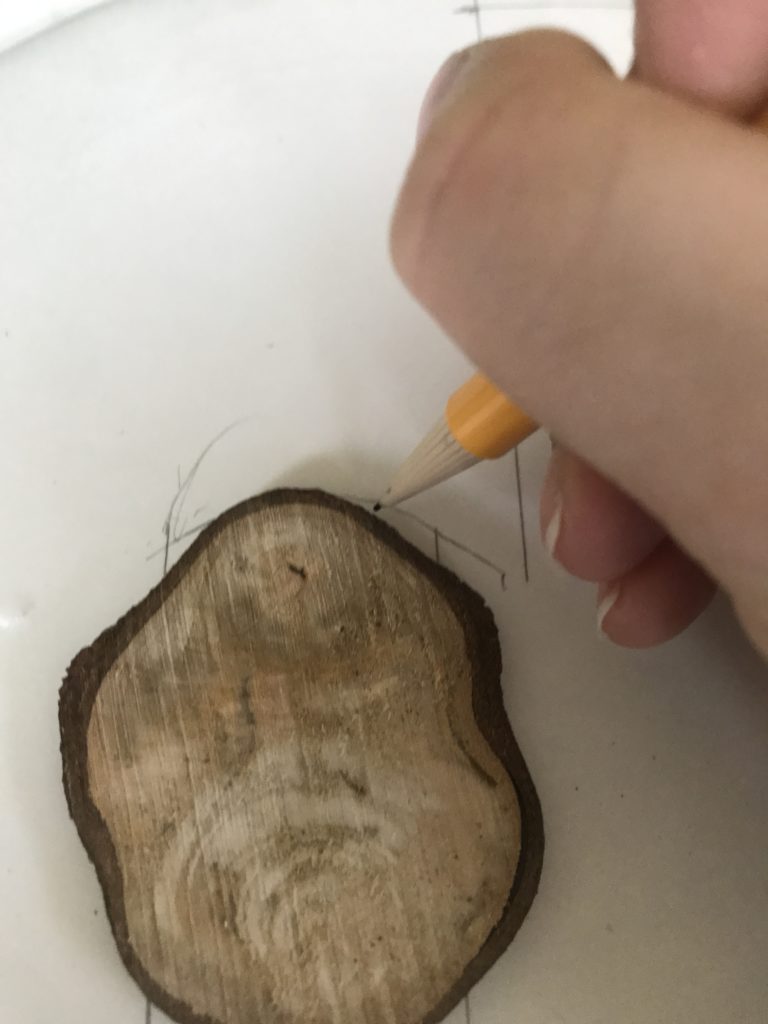
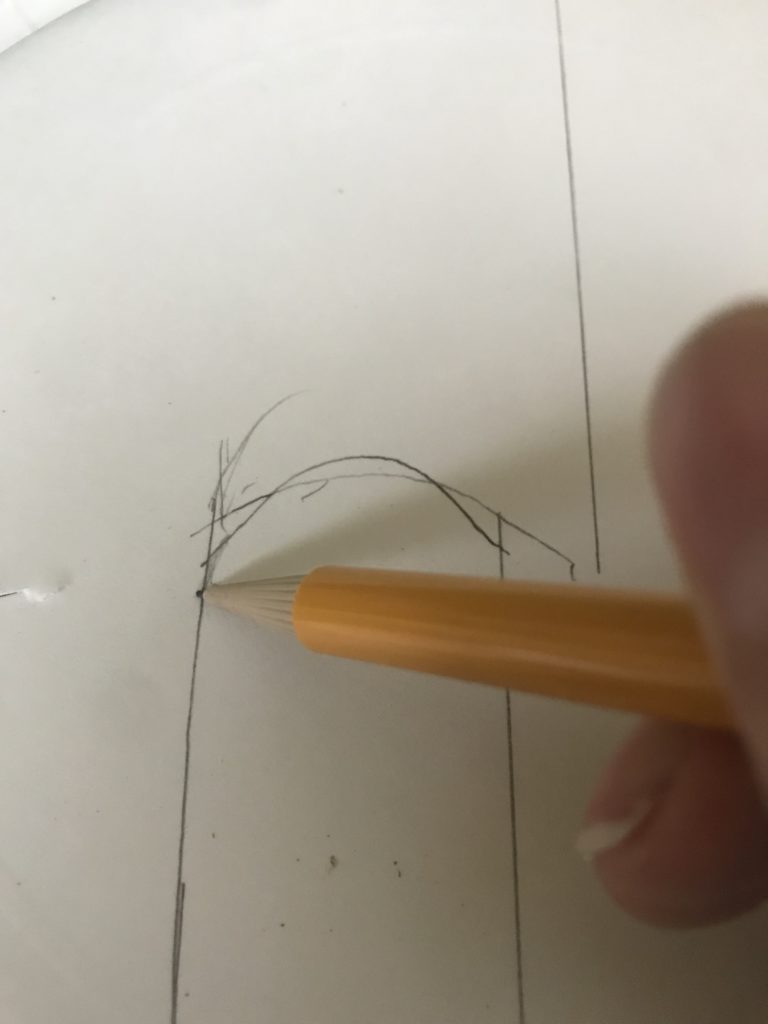
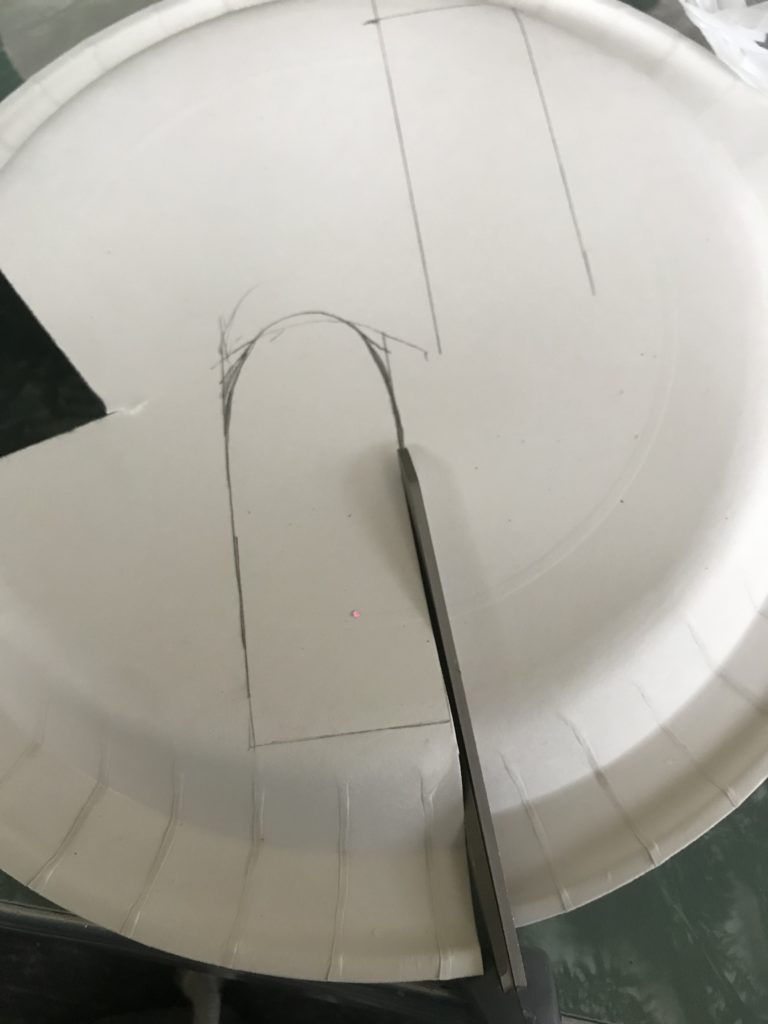
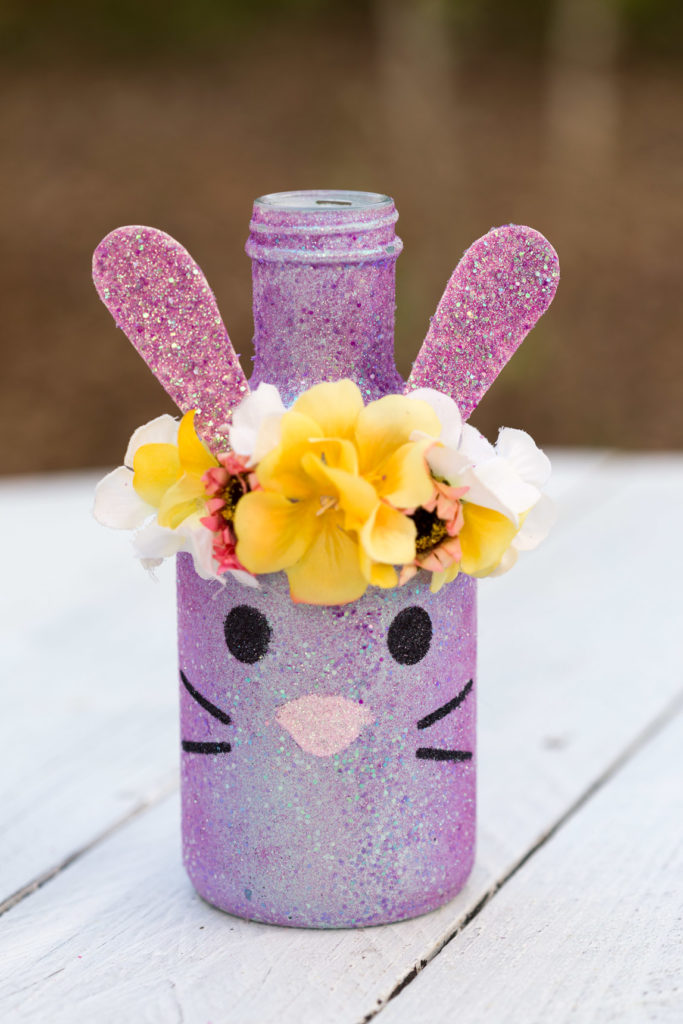
For the ears I made rectangles the maximum width I’d want. Then, using a little piece of wood I had, I made a curve for the top of the bunny ear. I made some modifications and cut it out and cut another one out.
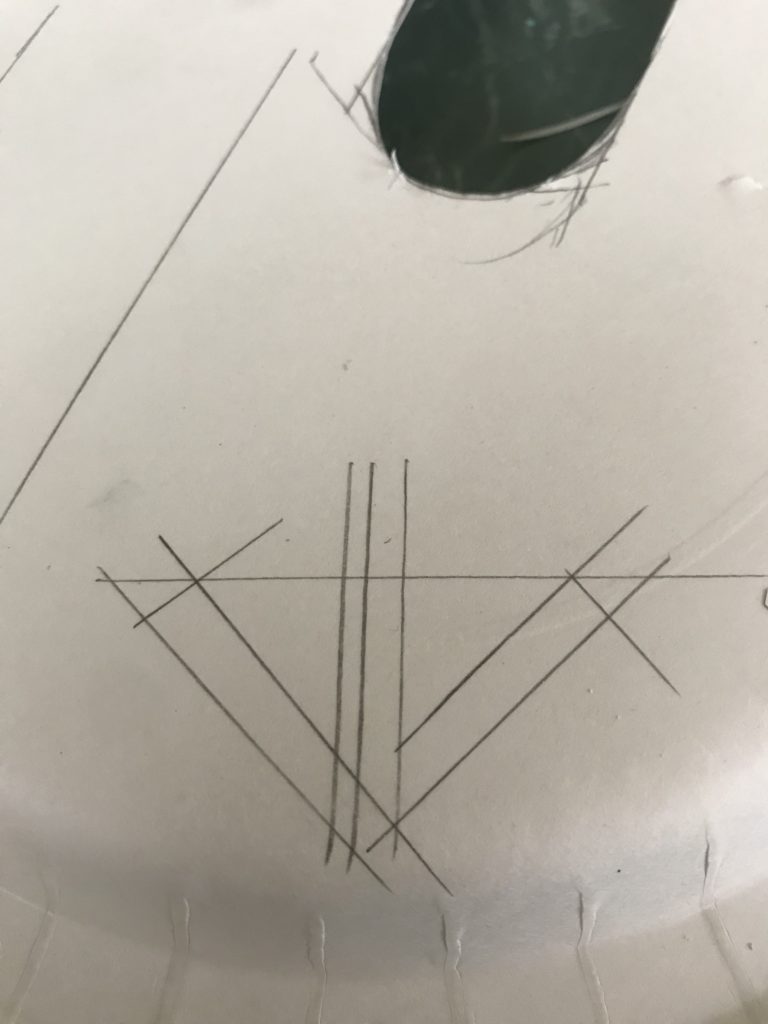
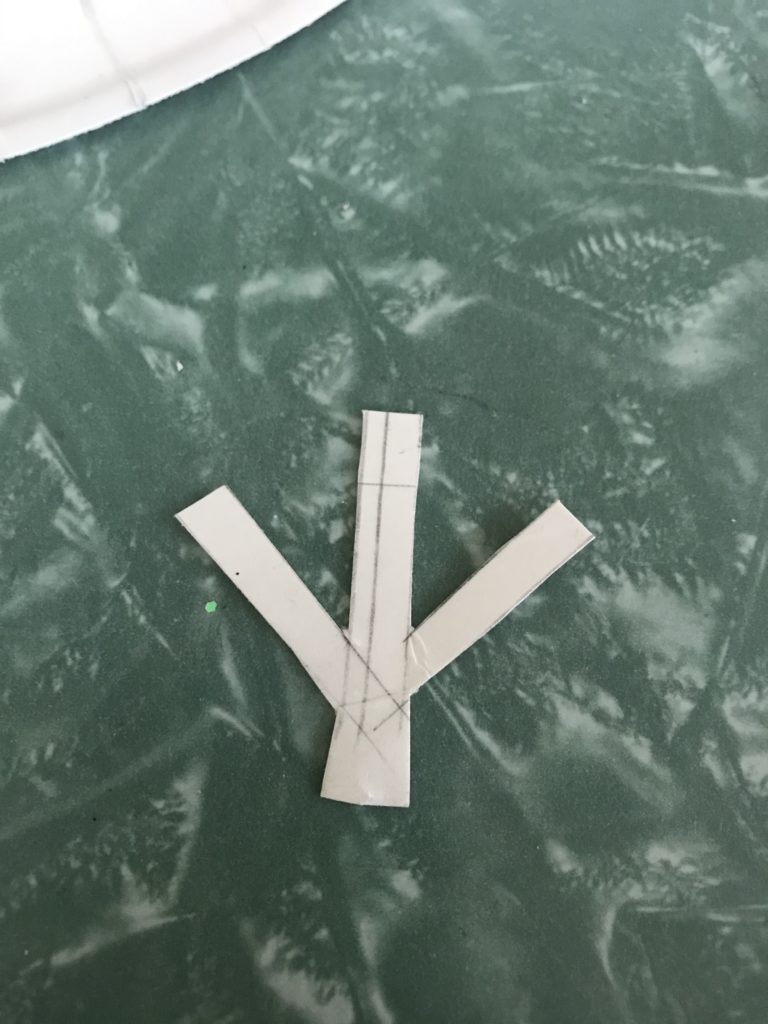
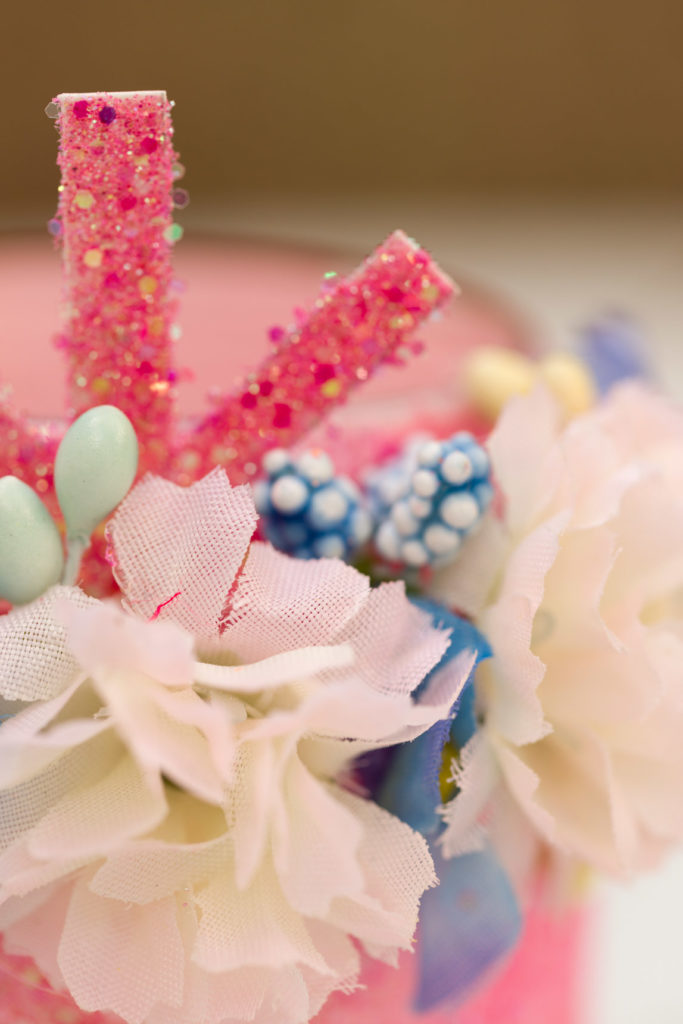
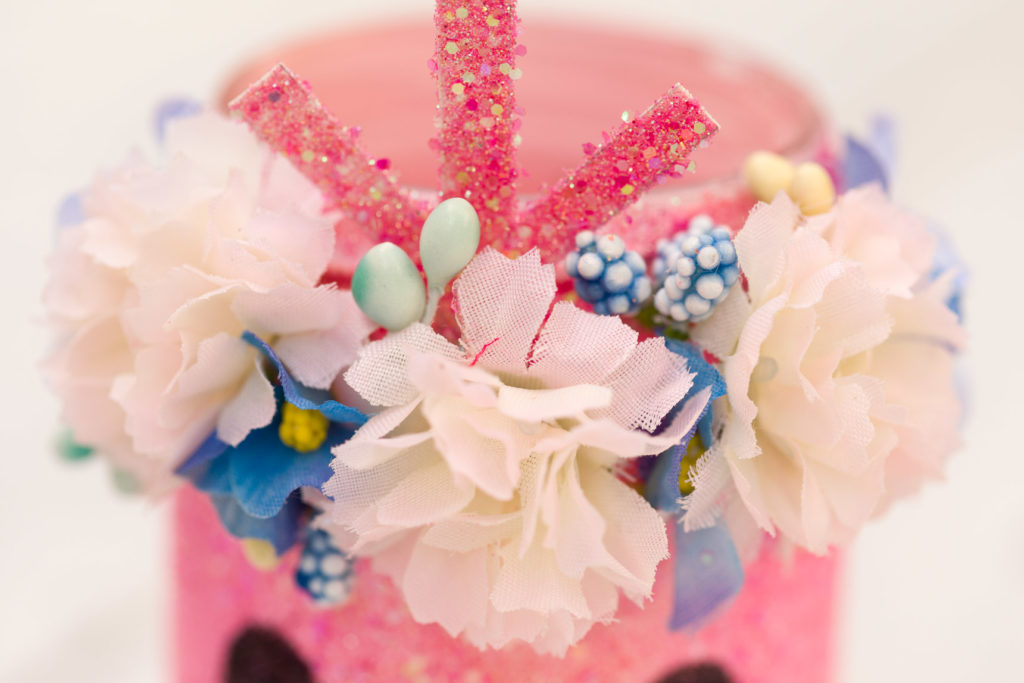
For the chick’s little feather tuft I made an arrow out of skinny rectangles.
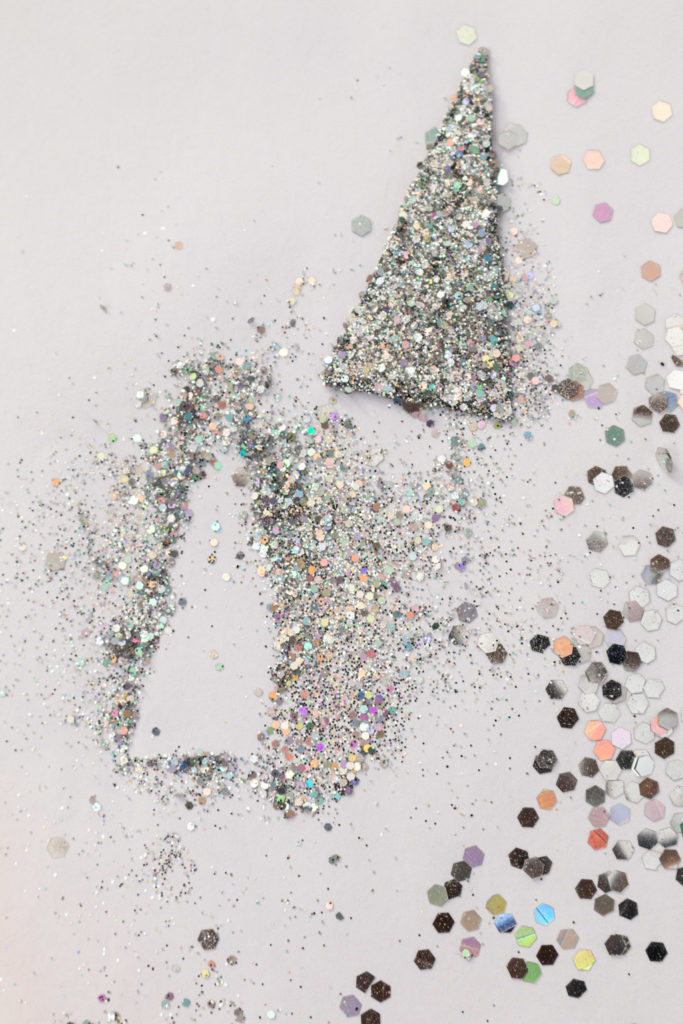
These pieces were very straightforward. Cut, spray, sprinkle with glitter, dry.
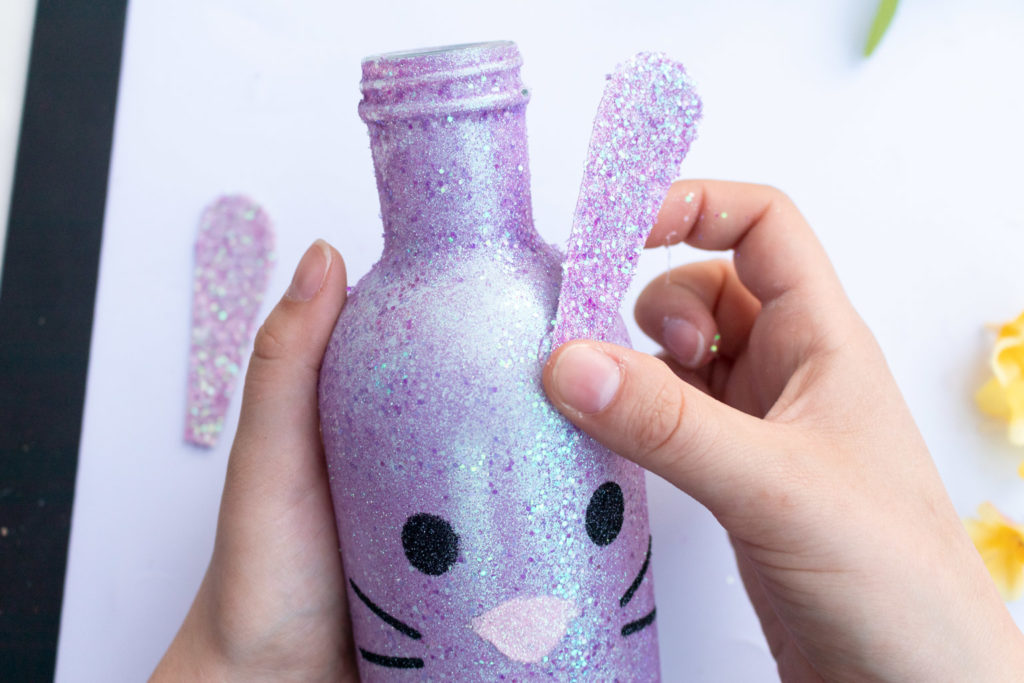
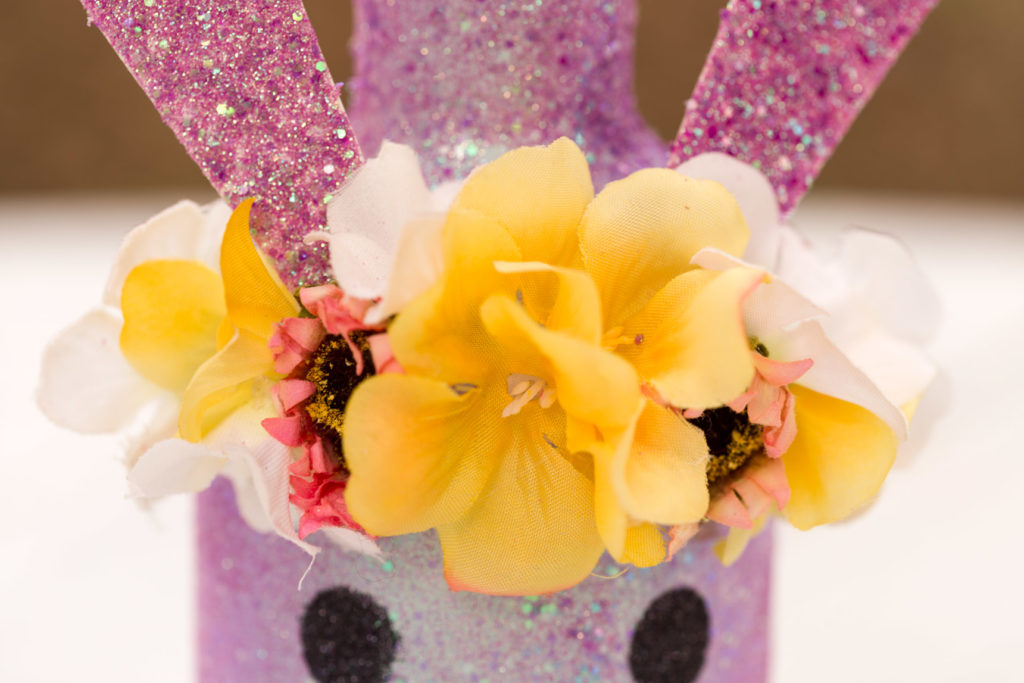
Here I’ve covered the ear cut outs with the same mix of glitter as the jar. Simply hot glue them to the front of your jar and then glue some flowers on top of that to hide the seam.
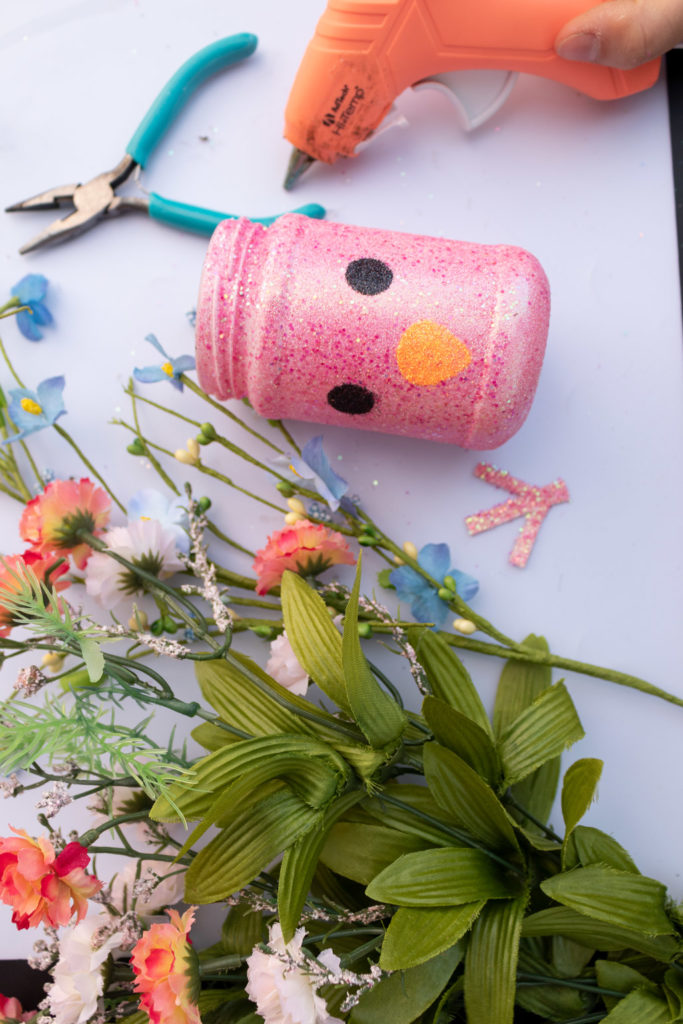
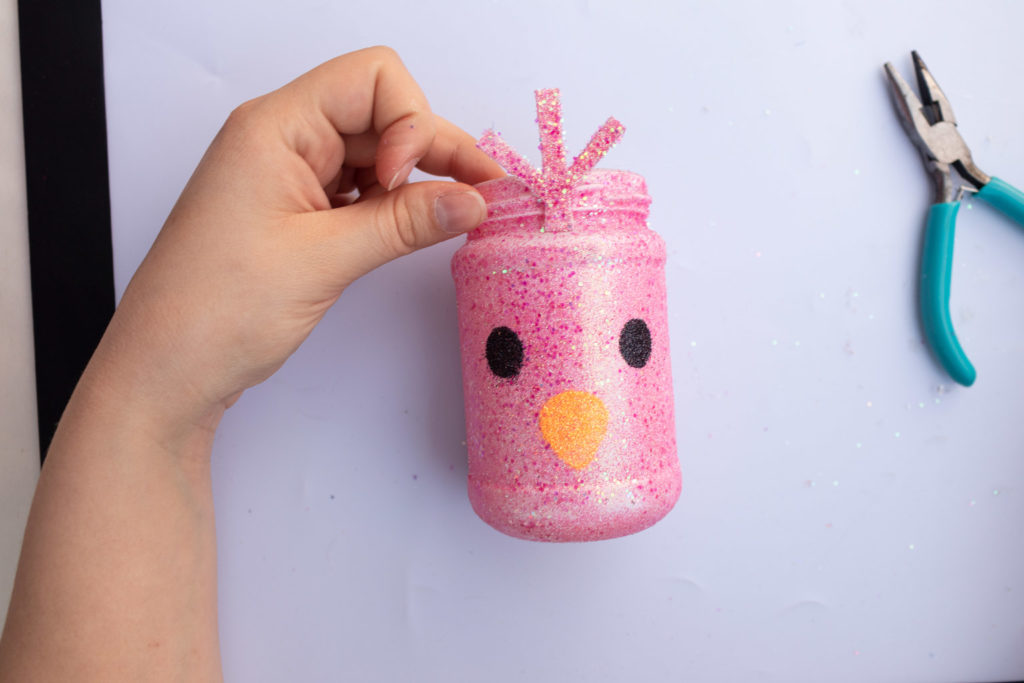
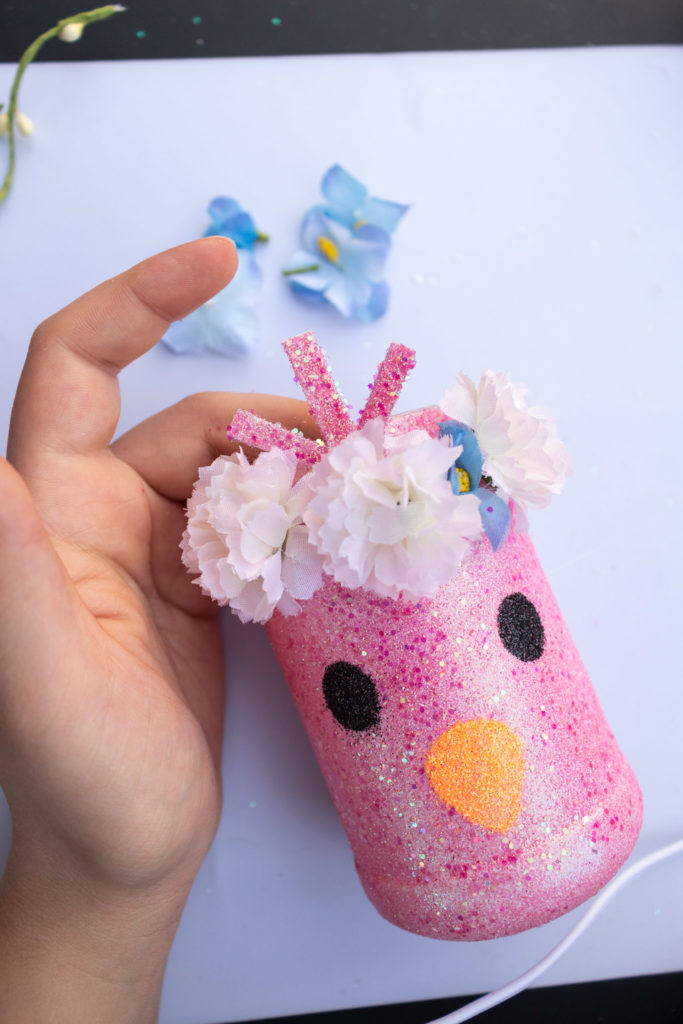
Here I’ve covered the tuft cut out with the same mix of glitter as the jar. Simply hot glue it to the front of your jar and then glue some flowers on top of that to hide the seam.
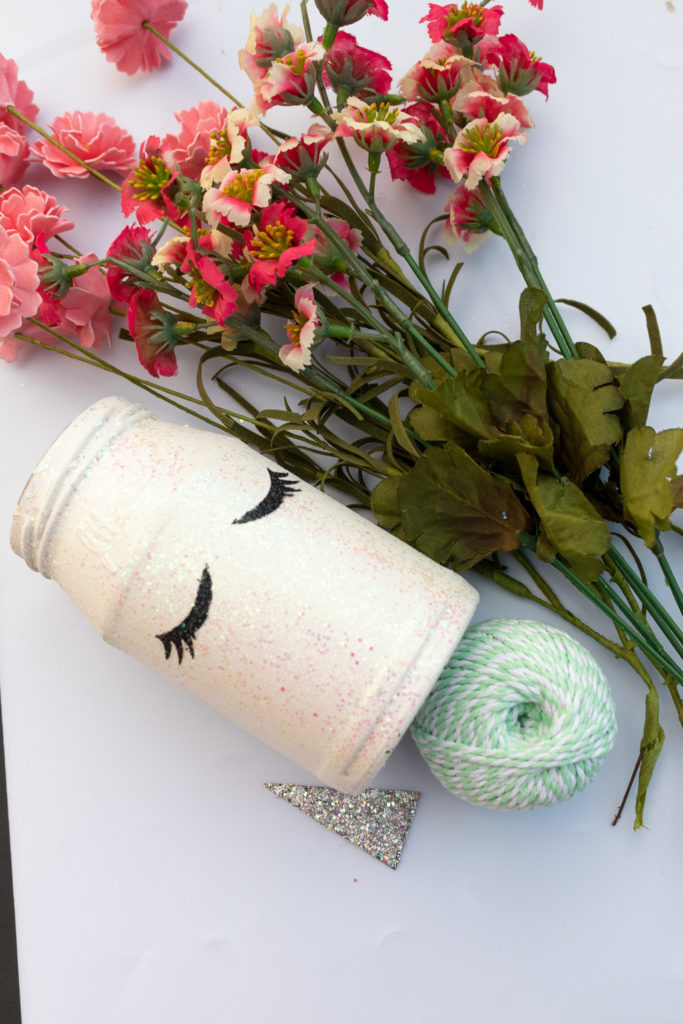
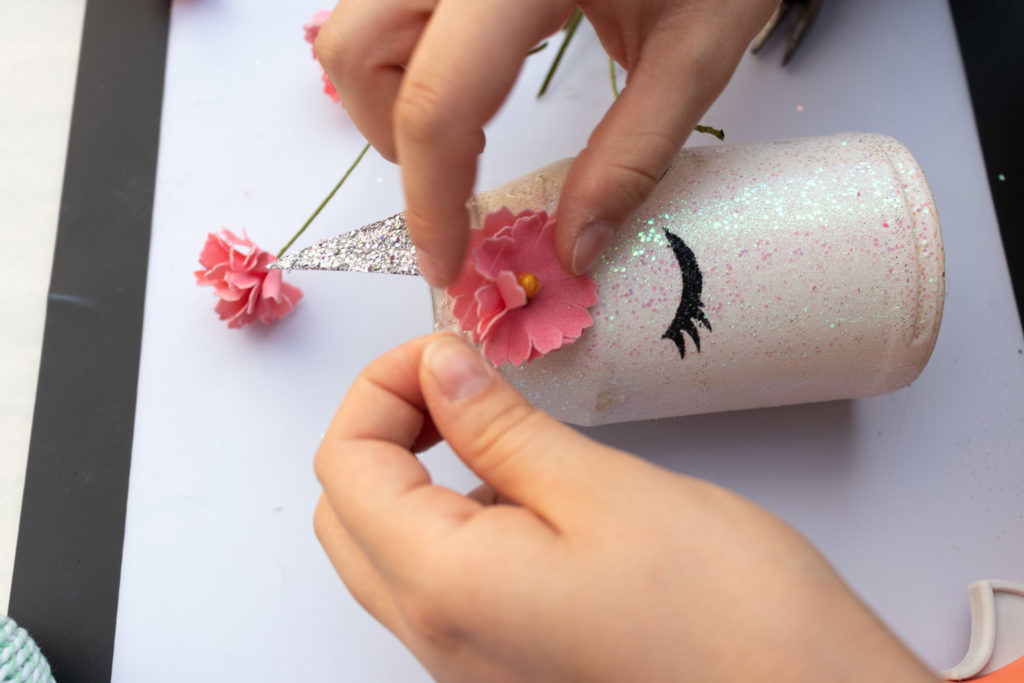
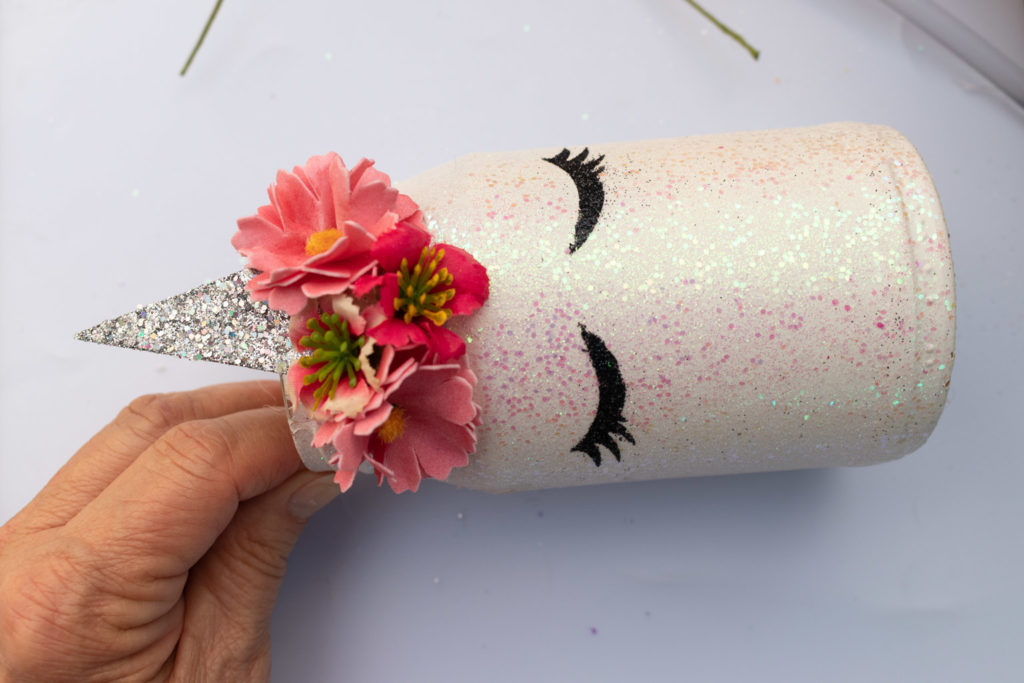
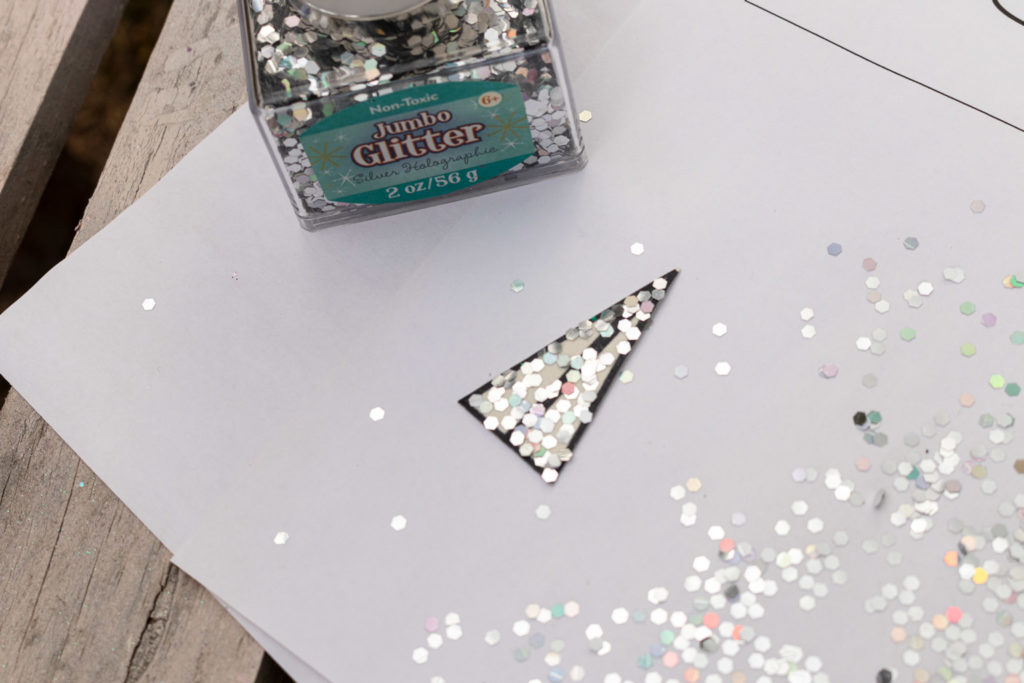
Here I’ve covered the horn cut out with a silver holographic mix of glitter. Simply hot glue it to the front of your jar and then glue some flowers on top of that to hide the seam.


Rachelle
Wednesday 16th of March 2022
These are so stinking cute! I love the look of each one. What a fun table decoration these would be for Easter or spring. Thanks for sharing at the FWF link party. Rachelle
Easy Unicorn Glitter Epoxy Resin Coaster How To | Olivia OHern
Sunday 13th of June 2021
[…] I used the leftover glitter mixtures from this Easter Jar Project! […]