This post may contain affiliate links. This means that if you purchase from one of these links I will make a small commission, but rest assured you will not pay more for any products.
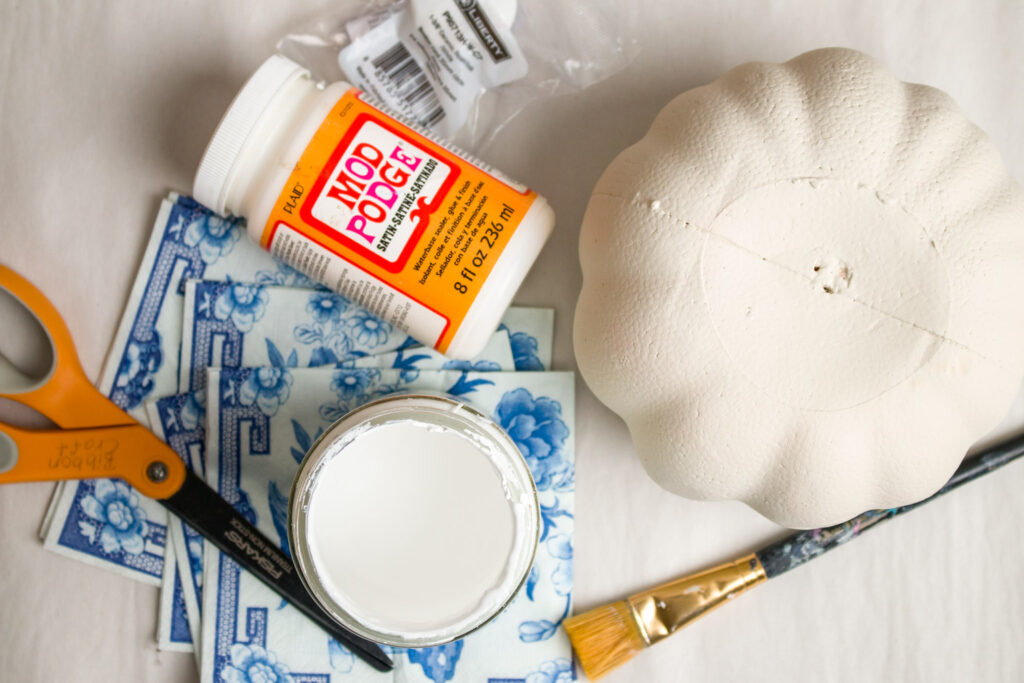
- Pumpkin
- Mini Pumpkin
- Mod Podge (Satin)
- Chalk Paint (White)
- Gold Paint
- Scissors
- Paintbrush
- Napkins (Cocktail) or Napkins (Towel)
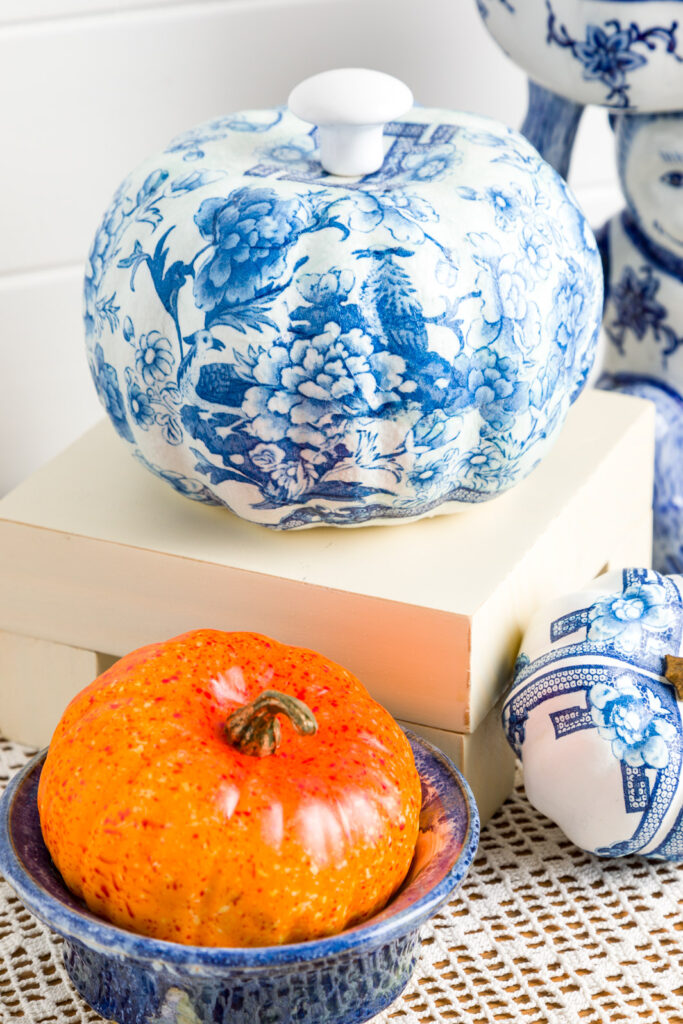
- Knob
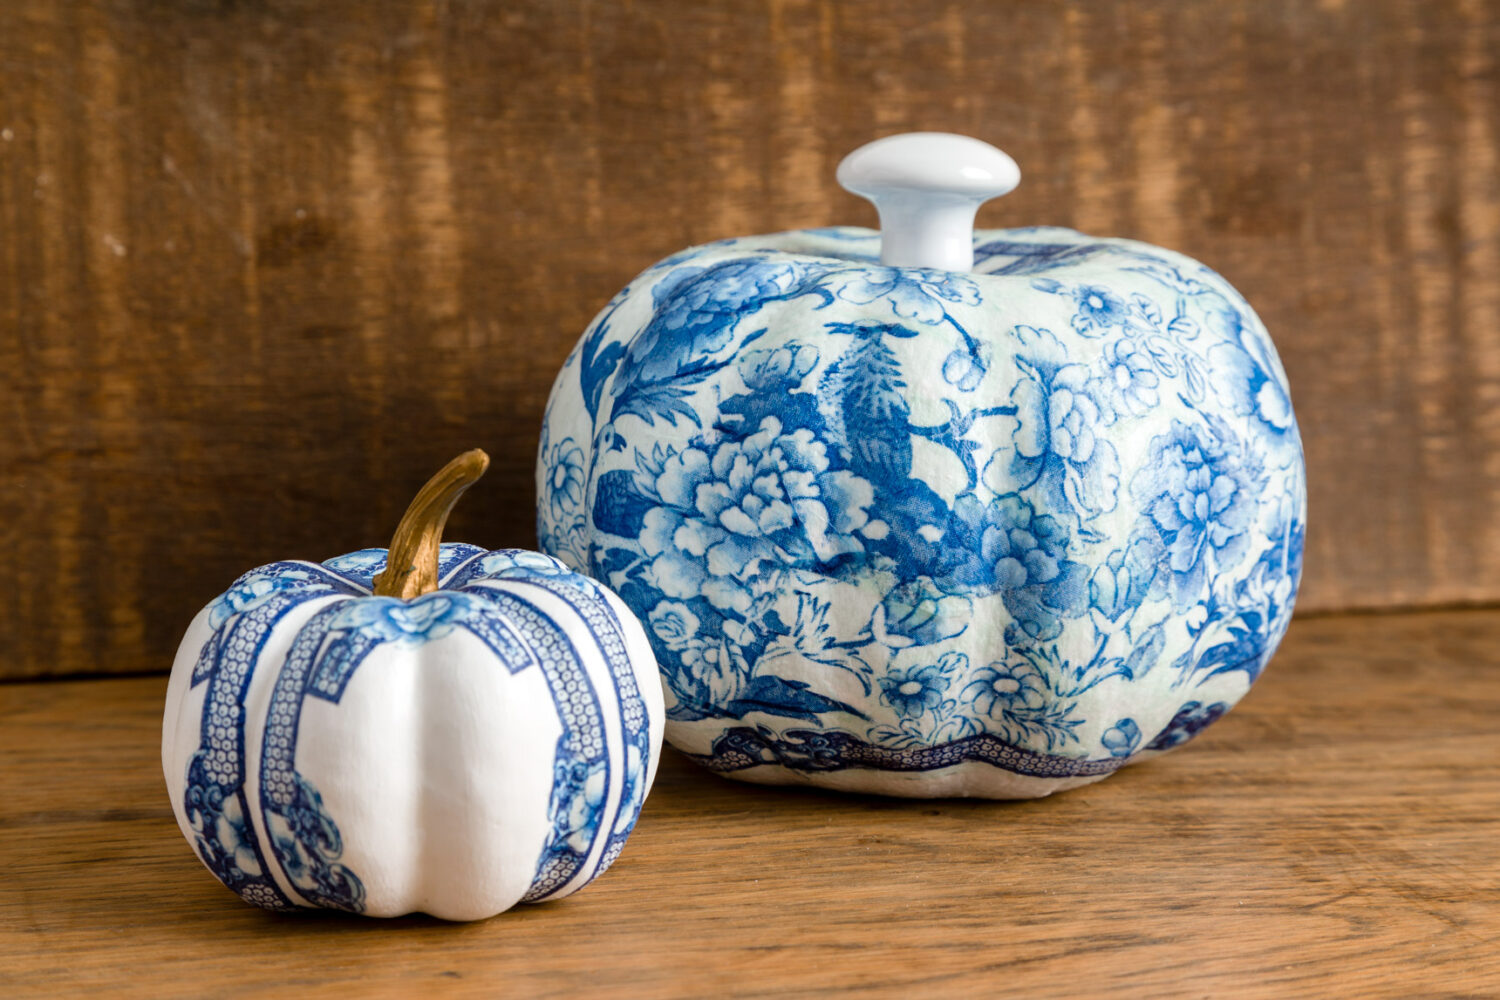
When it Comes to Decoupage, Patience is Key.
For these particular pumpkins, I was able to get the one big one and the smaller one covered out of two cocktail napkins. I could probably get a second small pumpkin decoupaged with what was leftover.
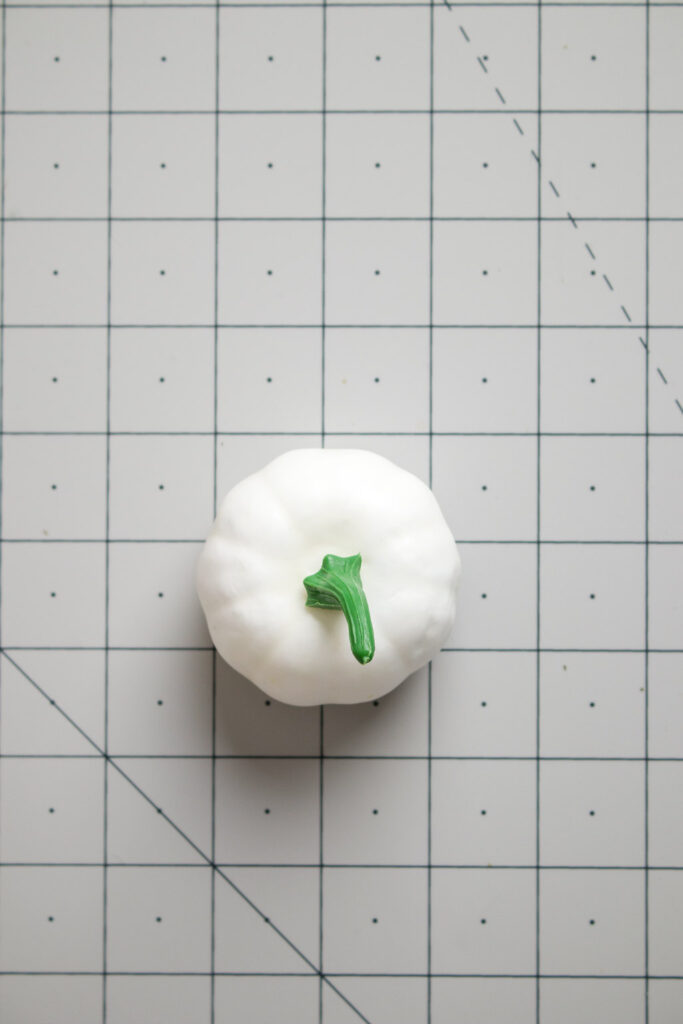
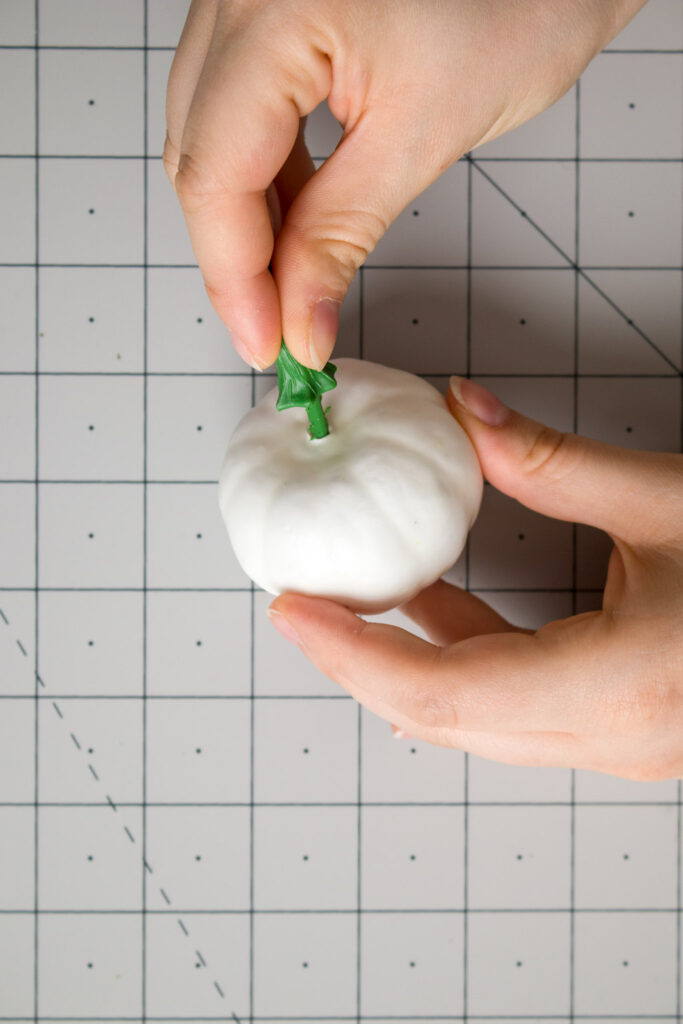
First, I need to prep the pumpkin for decoupage! I always get rid of the stem and any tags or stickers first.
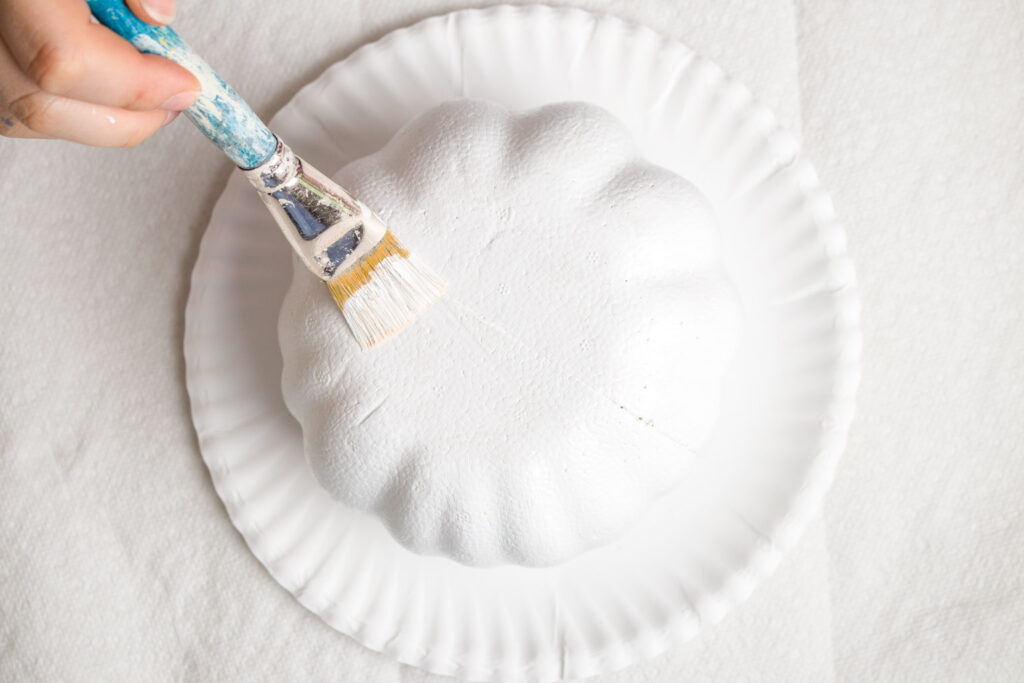
Since these napkins have a light background, I painted the pumpkin white. Before painting, I use a hobby knife to cut away any bumps that may have formed on the pumpkin. Chalk paint works really well when you want to paint a pumpkin. For best results, I suggest using two thin coats of paint.
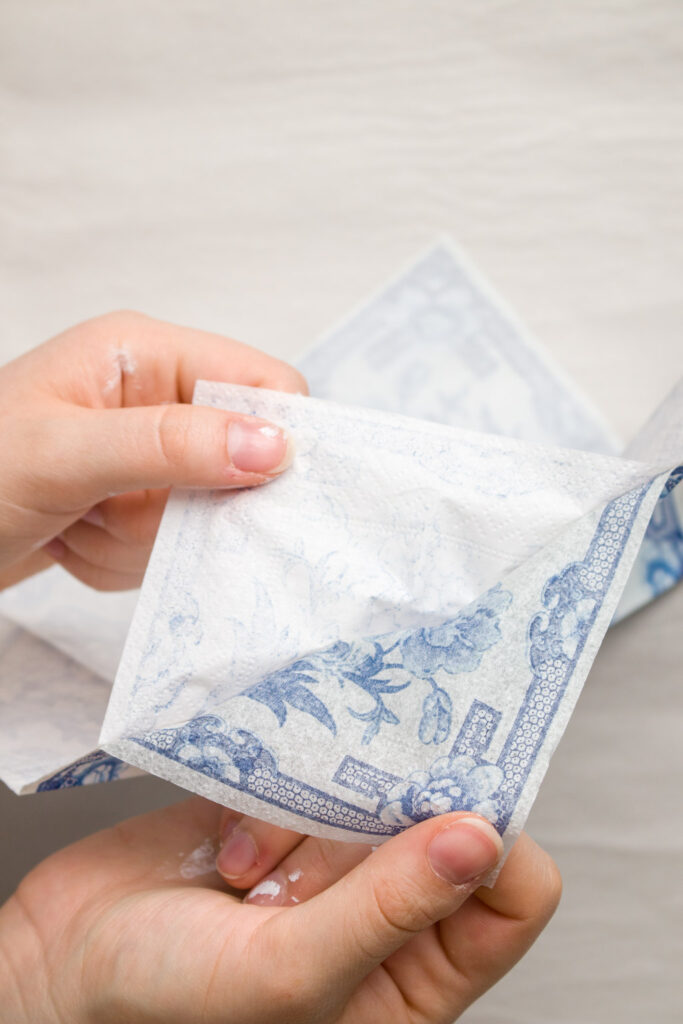
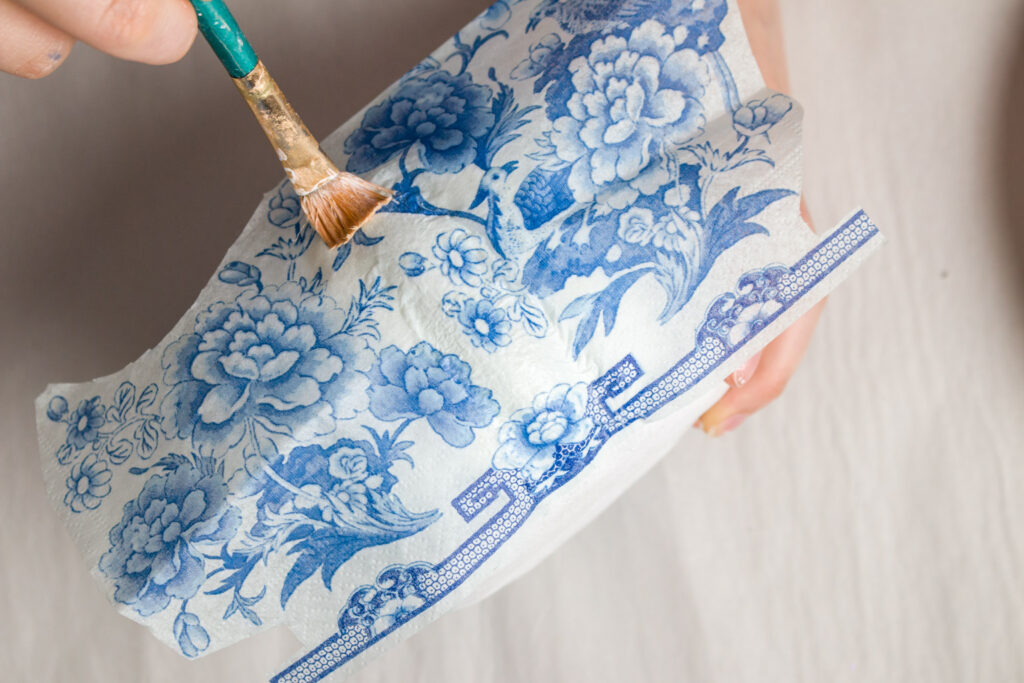
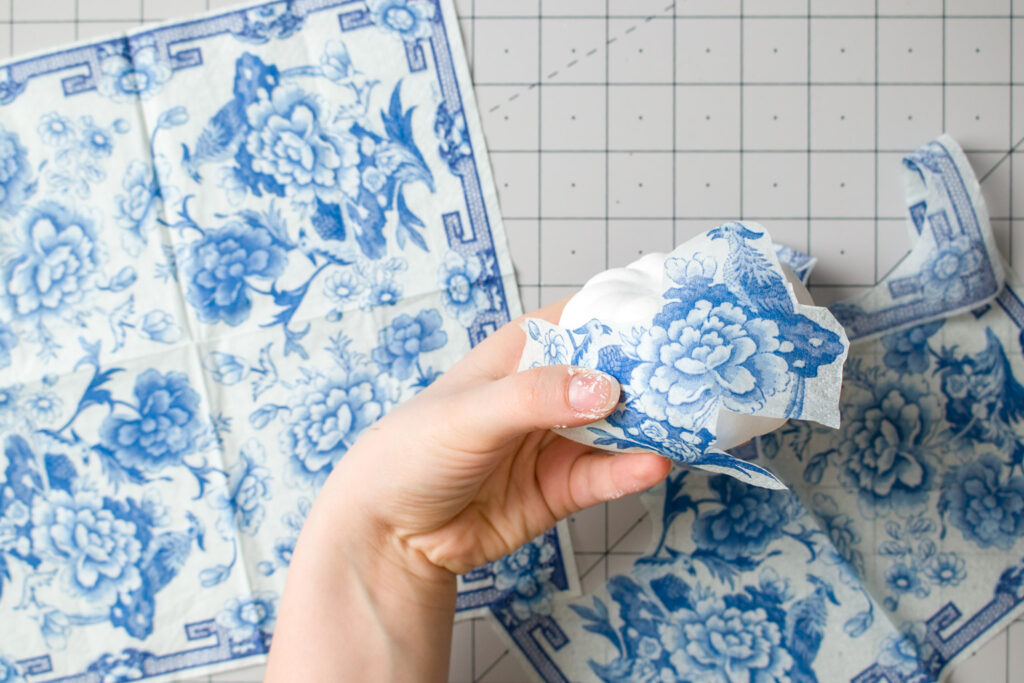
Then, while my painted pumpkin is drying, I separate the plies of the napkin I will be using. These napkins are 3-ply, meaning there are two blank layers beneath the design layer.
Separating the layers makes the napkin go onto the surface much more smoothly, takes less Mod Podge and less time to dry. Hold onto those extra layers, they are going to come in handy.
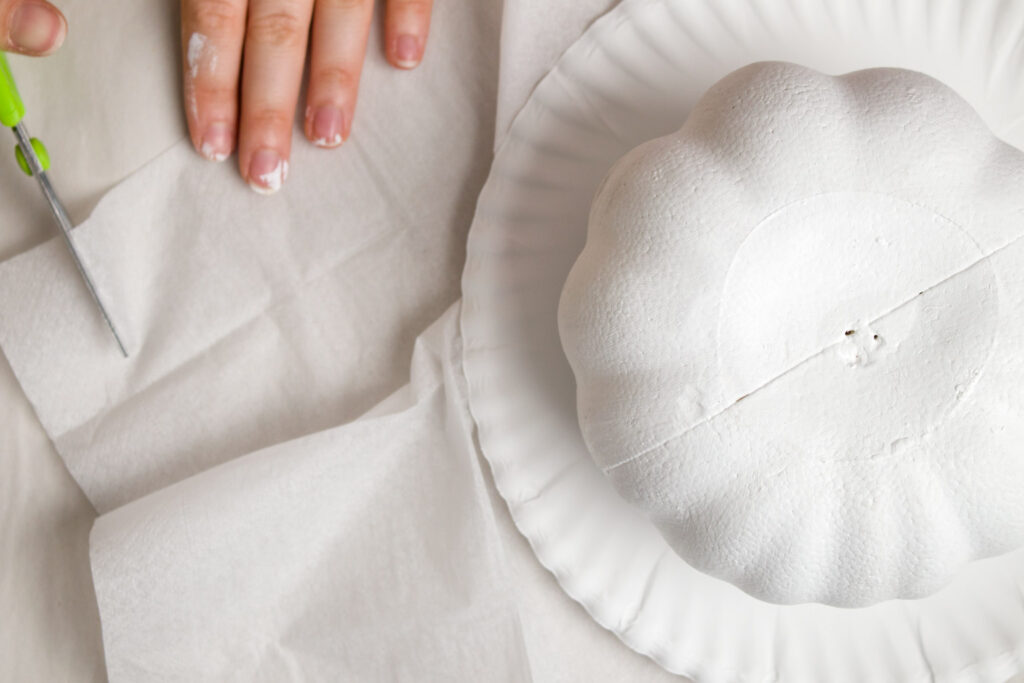
To get the pumpkin’s surface to smooth out on the seams I use strips of the white layer of the napkin. I find it easiest to work in smaller sections and allowing them time to dry to avoid tears.
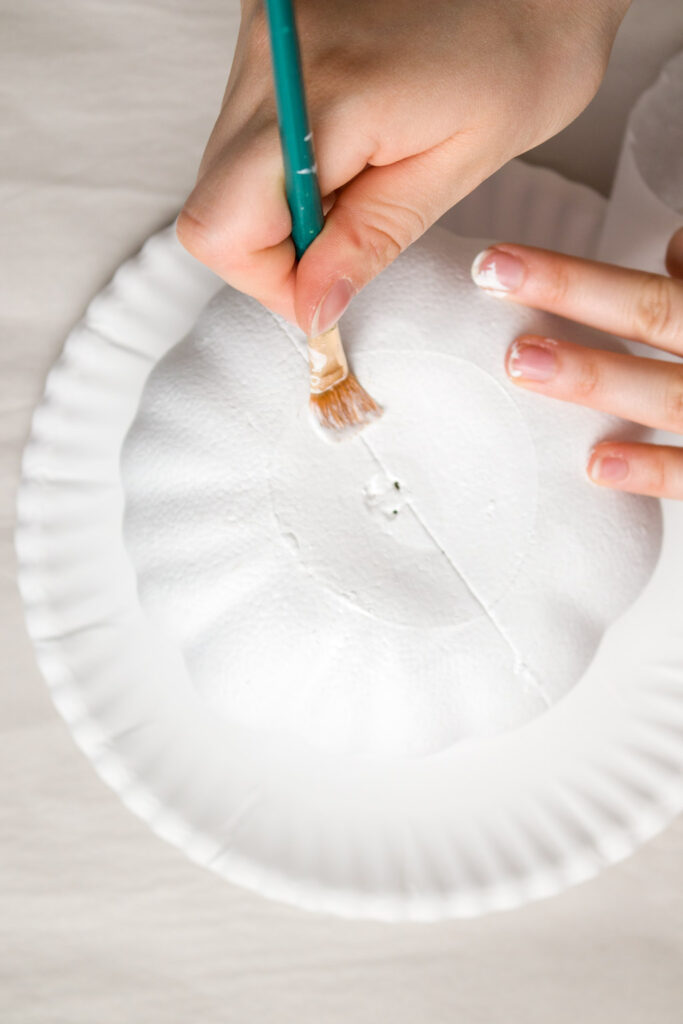
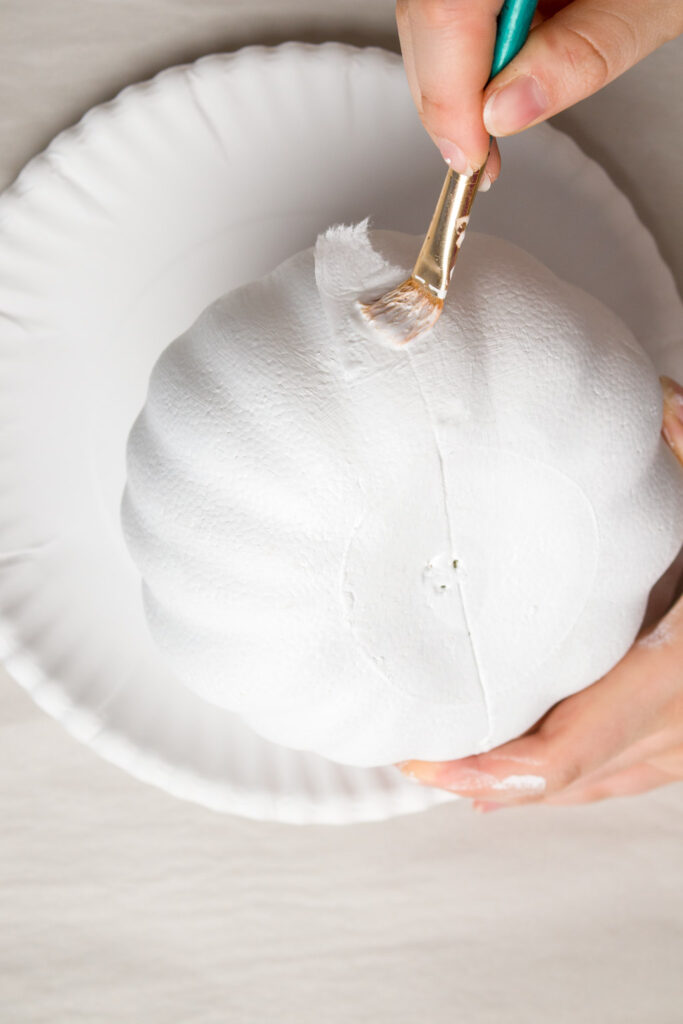
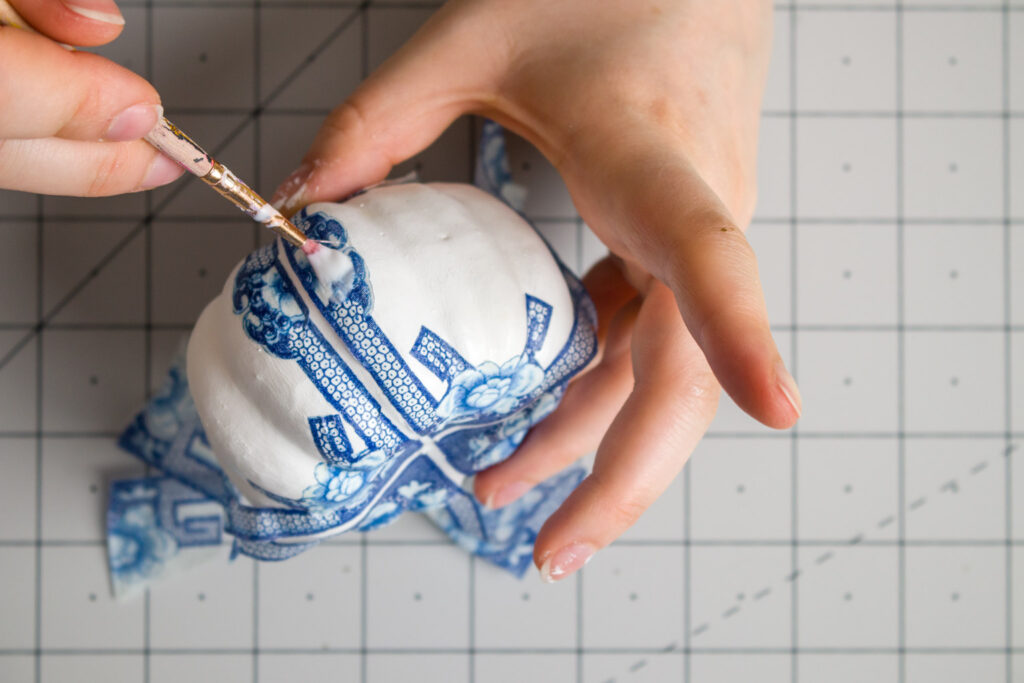
First, I paint on Mod Podge where I want the napkin to go. Then I lay the piece on top of that wet area. Finally, I use my paintbrush to apply more Mod Podge to the top. I suggest doing at least one layer of this around the pumpkins seam to create a smoother final product.
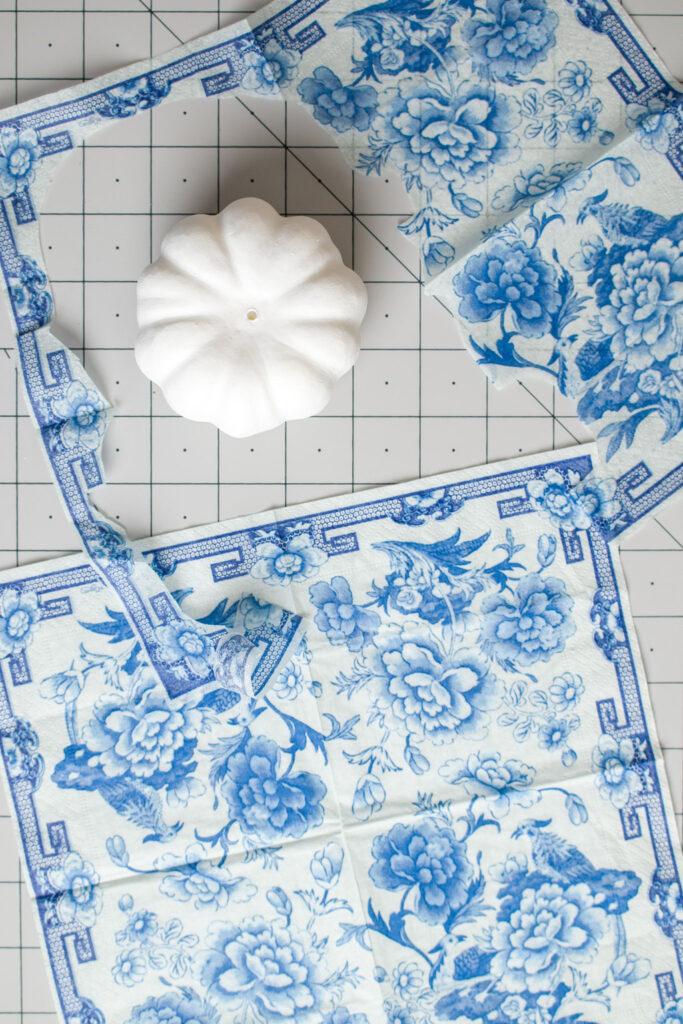
While the pumpkin is drying, I start planning out how I’m going to use the elements on the napkin to adorn it.
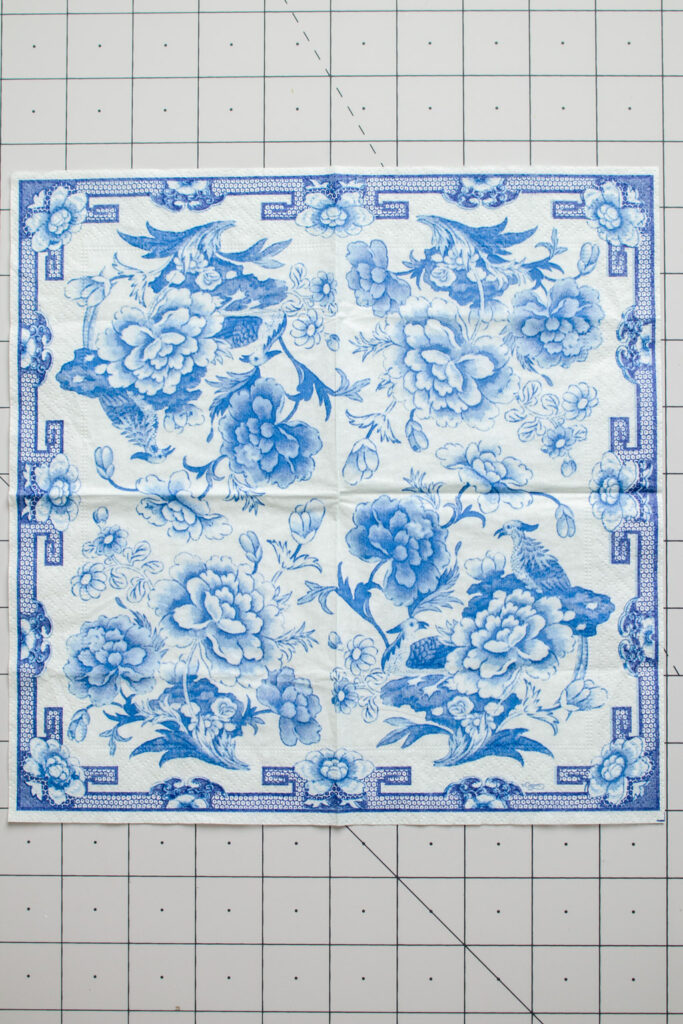
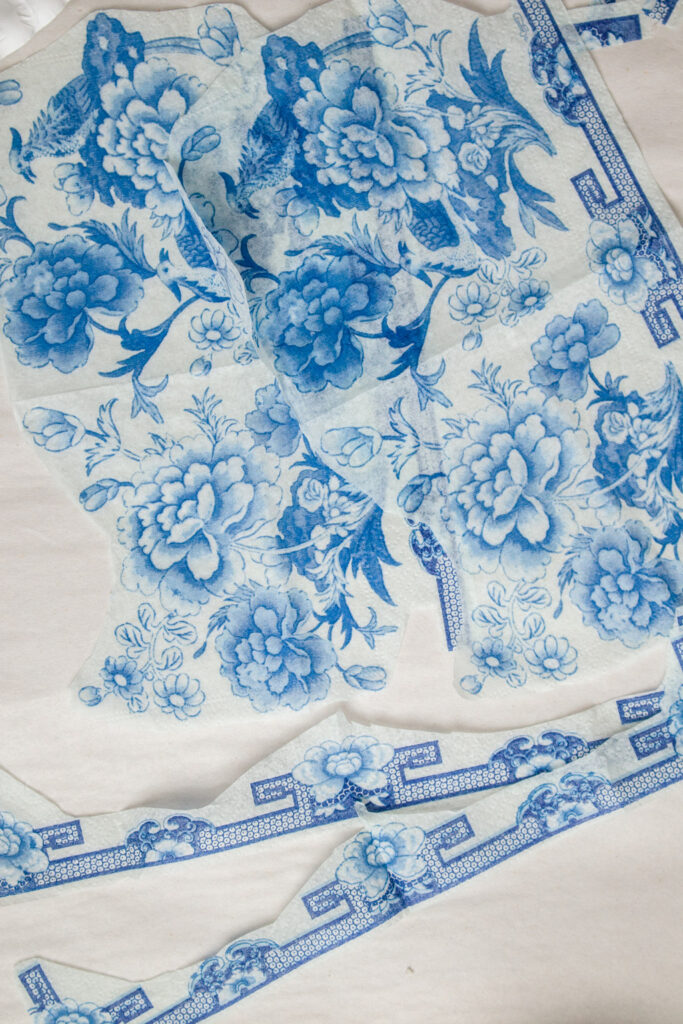
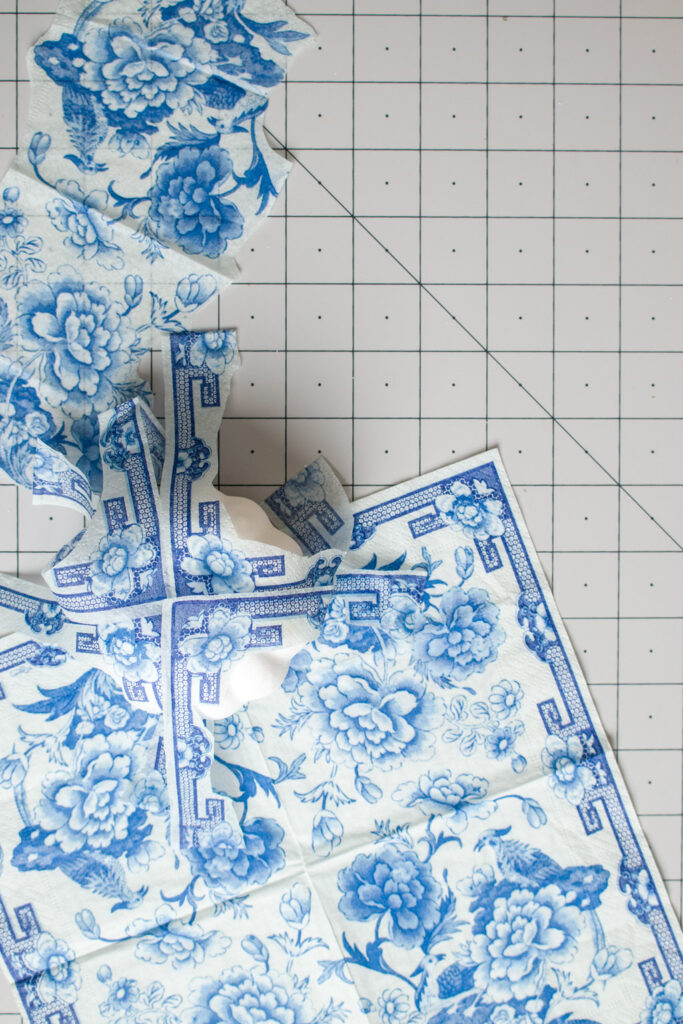
For this particular napkin, I see that there are two horizontal “scenes” happening as well as a more geometric border. So I cut the napkin in half, making sure to not cut into the florals happening in the center. I also removed the border from the left and right sides of the pieces so I could more easily blend the scenes together.
Laying out the pieces you want to use on the object itself before the Mod Podge comes out is very helpful.
The concept in itself is simple enough: apply the glue, lay the material on, and add more glue on top. Getting the technique down can present a challenge.
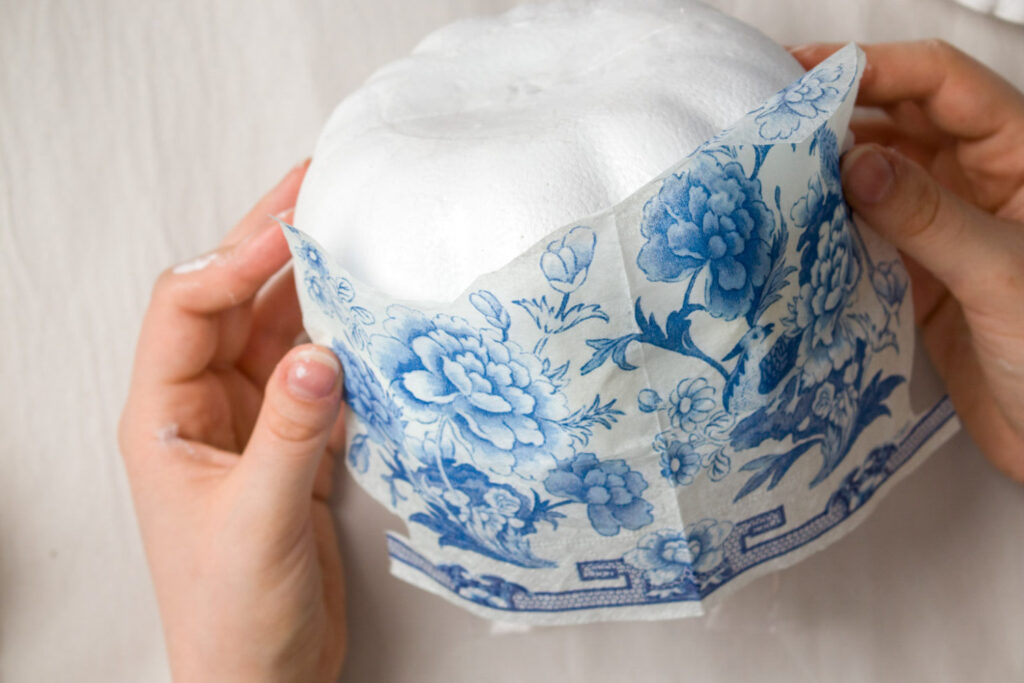
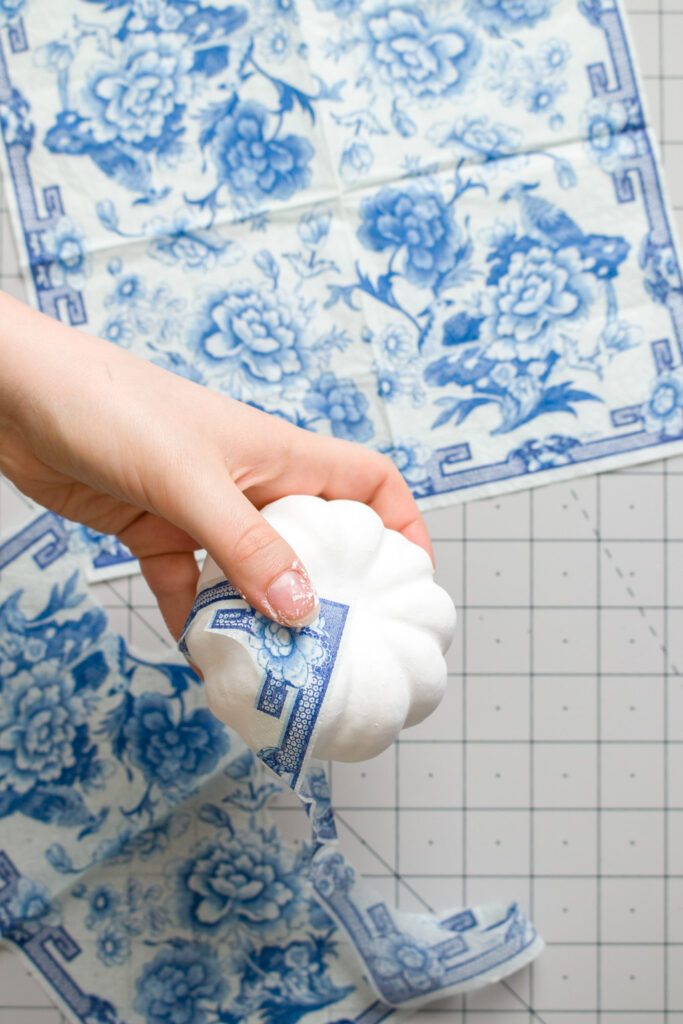
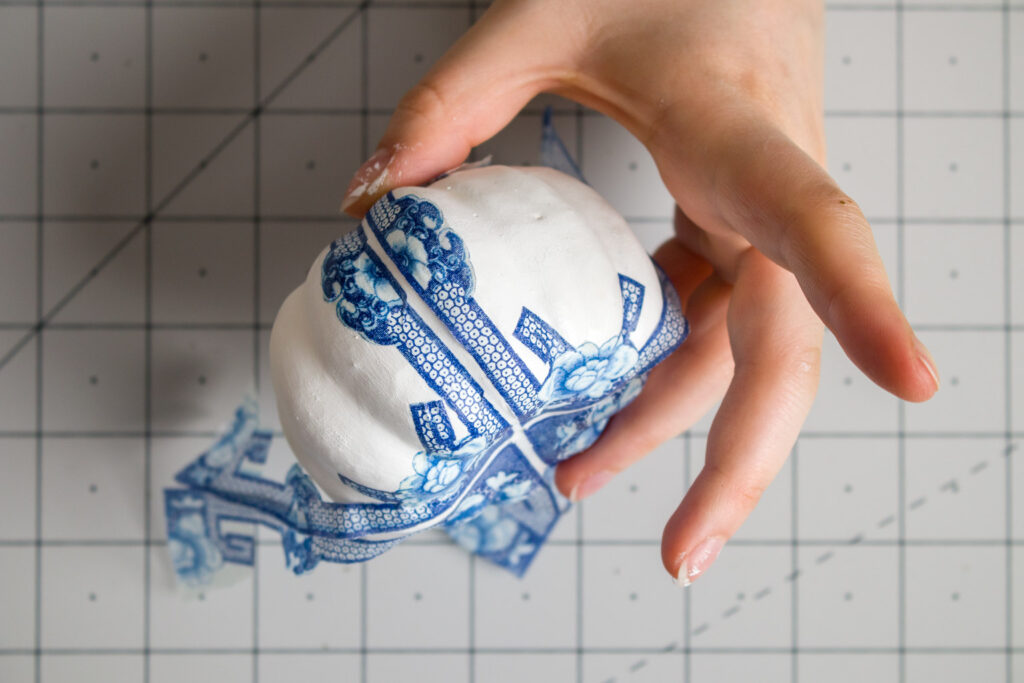
When working with bigger pieces like this, I like to start in the center and work my way out. First, I put glue on one rib of the pumpkin (yes, that’s what they’re called, I looked it up) and then lightly placed my napkin piece down making sure to get it lined up straight before letting the paper come in contact with the glue. Then I’ll grab my brush and apply more Mod Podge on top. You may need to make a few relief cuts to get the napkin onto this round surface or put in a few folds. I try to put mine
I repeat this until the whole piece is on, then I allow it to dry before doing the other side.
Even with planning, there usually will come a time when trouble shooting comes into play.
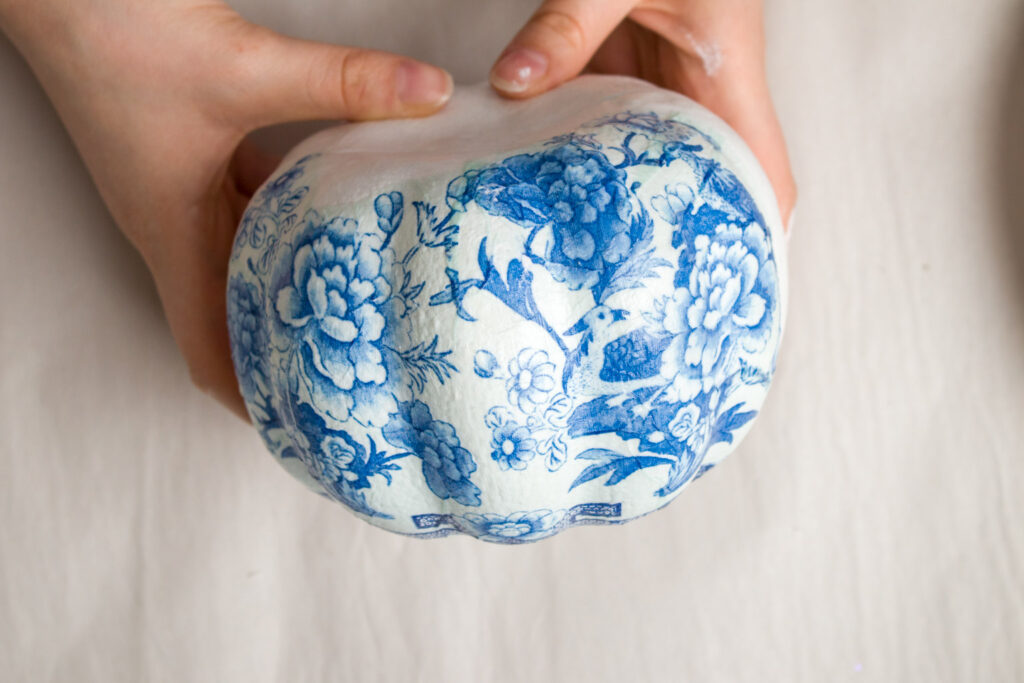
As you’ll notice, there’s a very light blue tint to this napkin. So the question became, how do I handle this? I could carefully paint around all the flowers and birds with white paint, scrap what I had already done and start over by cutting all the little pieces out, or trying to cover any open spots with the light blue.
Another thing to keep in mind when covering a pumpkin, is that the ridge will eat up some of the width of the napkin, so my two scenes were not going to meet on the sides like I had initially planned.
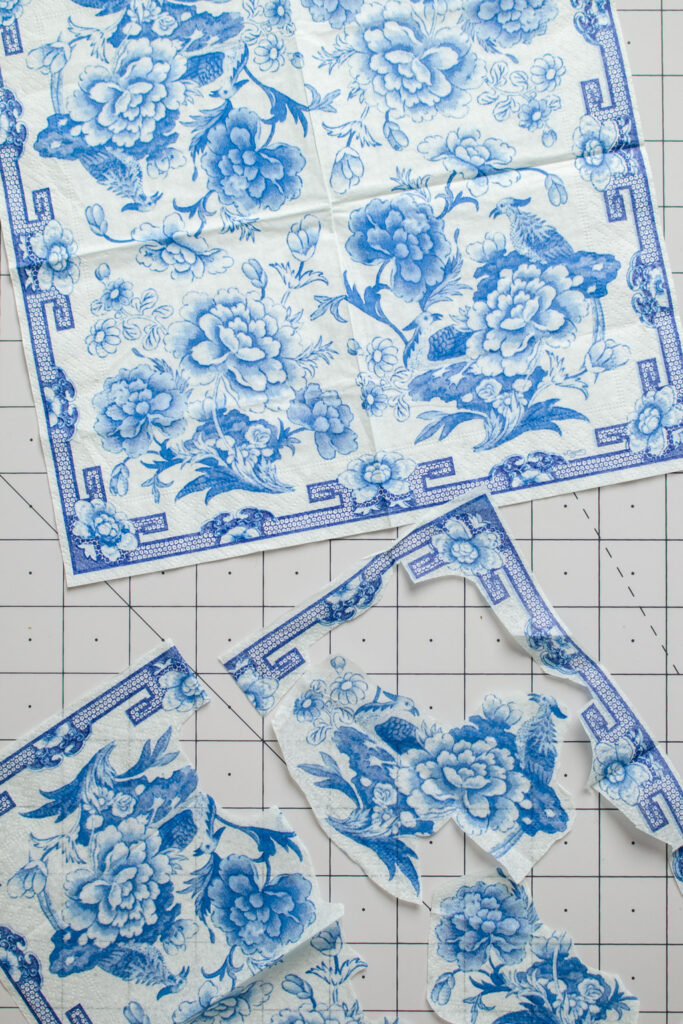
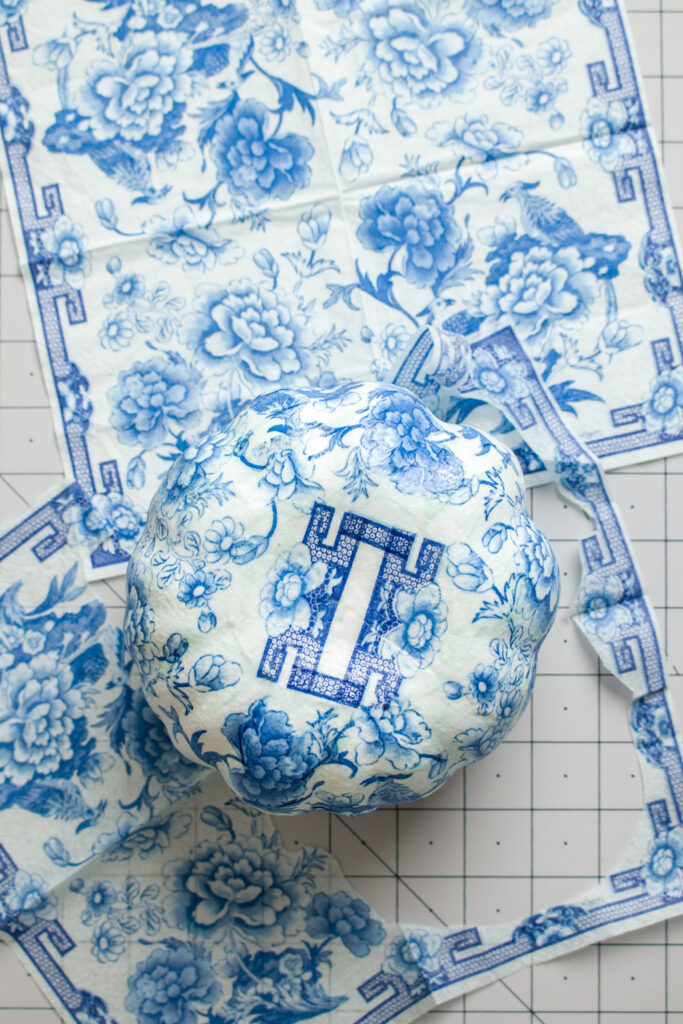
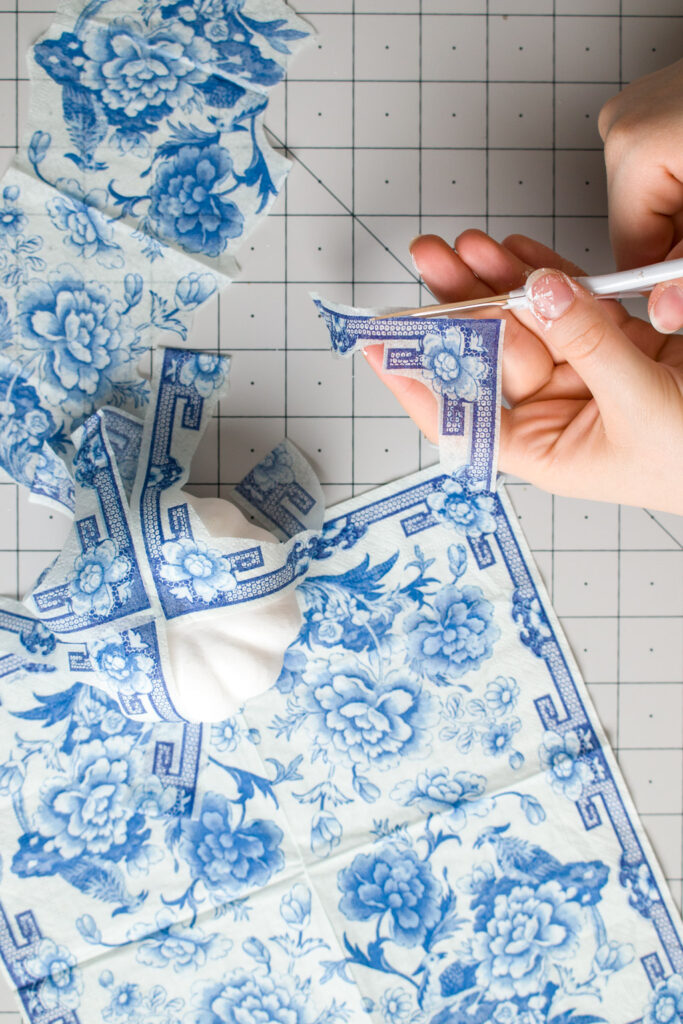
In the end, I had to cut into a second napkin to get it done. Cutting out some individual flowers to fill in the empty sections and harvesting that light blue wherever I could. I also cut out pieces of the border to connect the sections near the bottom of the pumpkin.
That left the extra space at the top. What to do? I could try filling in the whole spot with my light blue patch work, or try putting more flowers on the top, or incorporate the border at the top. So I ended up cutting up more of the border pieces to make this rectangle design at the top of the pumpkin.
But Olivia, you’re missing pictures for some of the steps! I did them on a live, so don’t worry here’s the video:
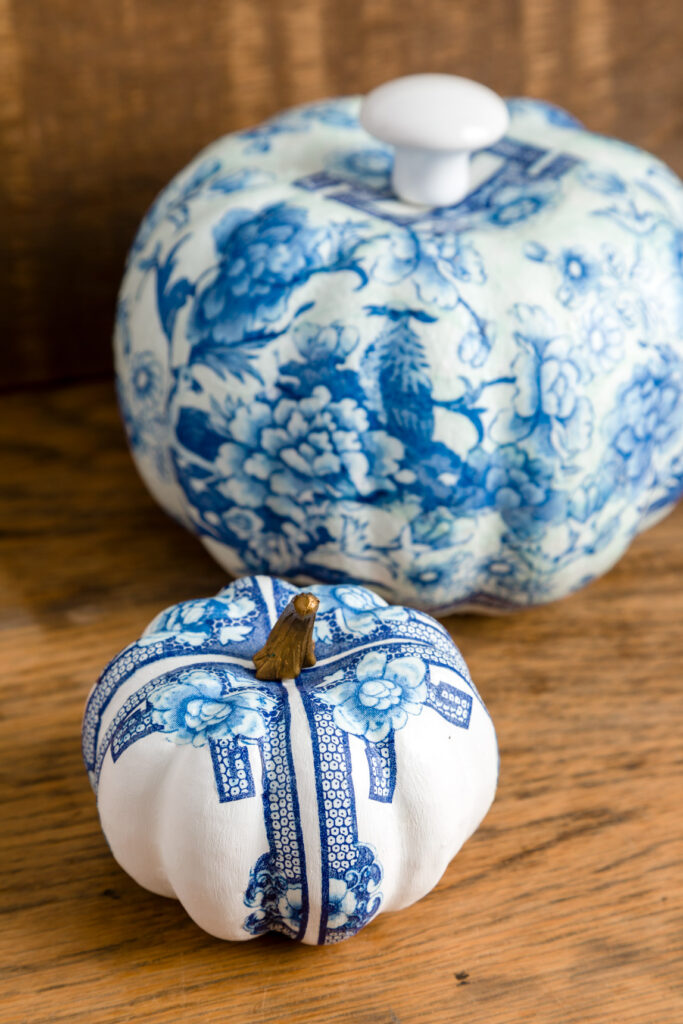
At this point I had about half of the second napkin left, and it’s so pretty, so I didn’t want it to go to waste! So here comes pumpkin number 2. A lot smaller of course.
The same basic first steps: remove the stem and paint it white, but I didn’t need to smooth anything out this time around.
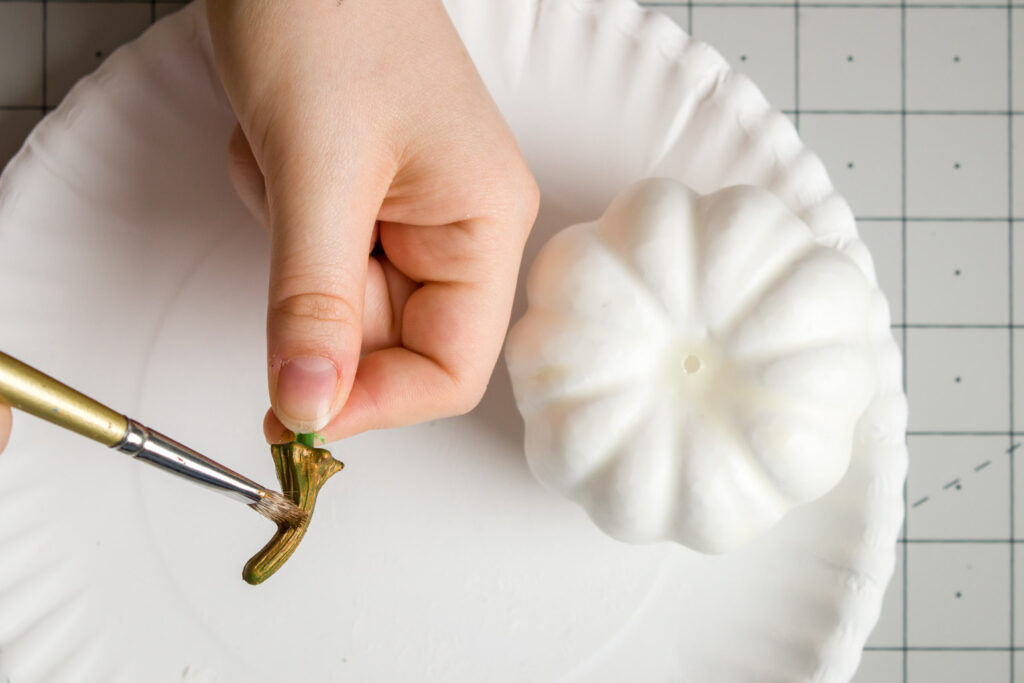
For this little pumpkin, I decided to use its plastic stem, but I painted it gold. I used two coats of gold acrylic paint on it, and then set it aside.
Again, planning is important. Decisions must be made! I could either make a mini version of the first pumpkin or do something completely different. When looking at how the flowers would lay on the pumpkin, I could see the design was clearly too big to work on such a little pumpkin, so onto something new!
I had lots of border left over, so I figured I could use some of that to make stripes. But when I was cutting it apart, I kept thinking about the corners and how cool they were. So, I ended up putting the four corners at the top with the border going down the sides.
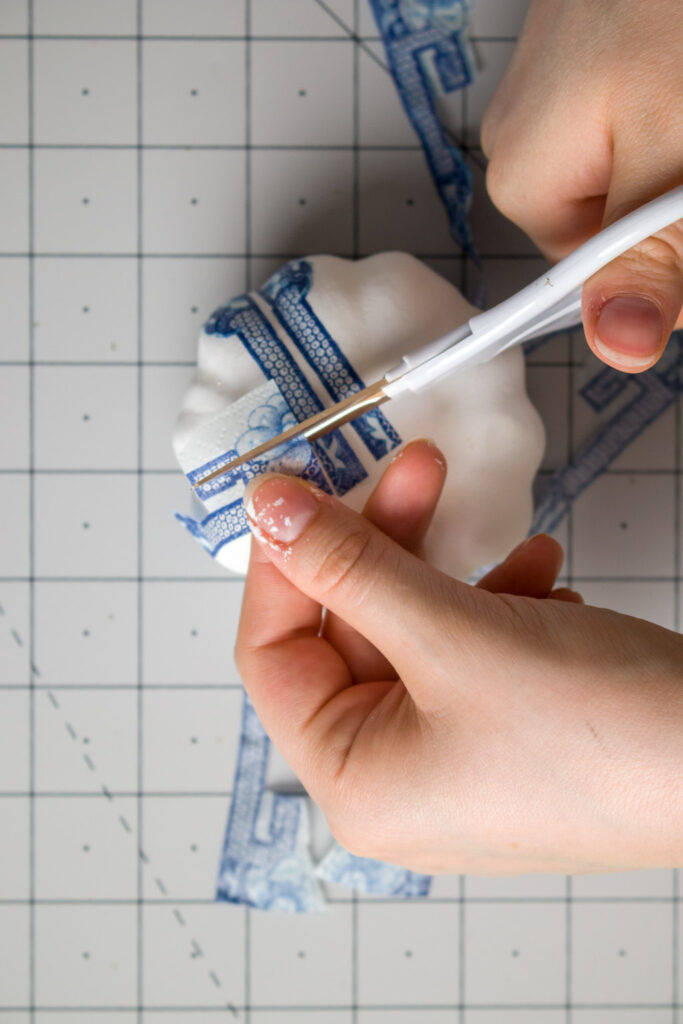
What about the background color? There was no feasible way to fill it all in with blue, and the flowers didn’t exactly fit into the “panes” I created. And what do I do? I take my little scissors and cut away all the extra napkin from around the design. It was tedious, but worth the end result.
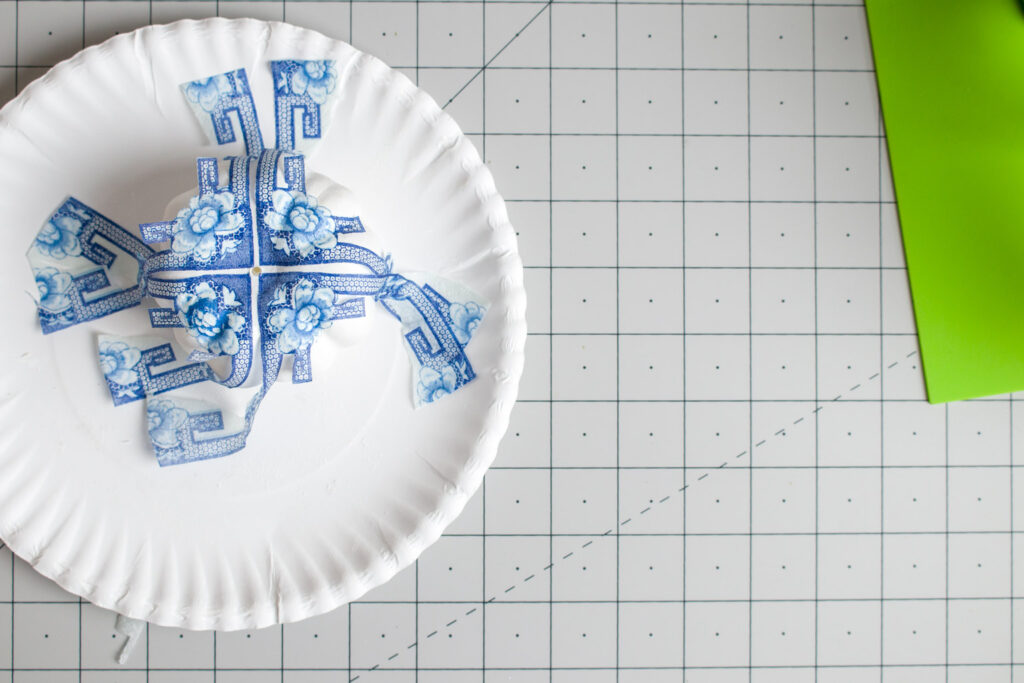
To attach my napkin pieces I first brushed Mod Podge onto the top of the pumpkin, like a radius around the stem hole. Then I carefully laid them down onto the top one at a time trying my best to get them lined up evenly. I brushed a bit more Mod Podge on the top for good measure. Essentially you’ll have a tea set octopus.
Next, I moved onto the flowers and the ornate bits gluing them down one at a time and allowing it some dry time so it wouldn’t move around while I worked on the long border pieces.
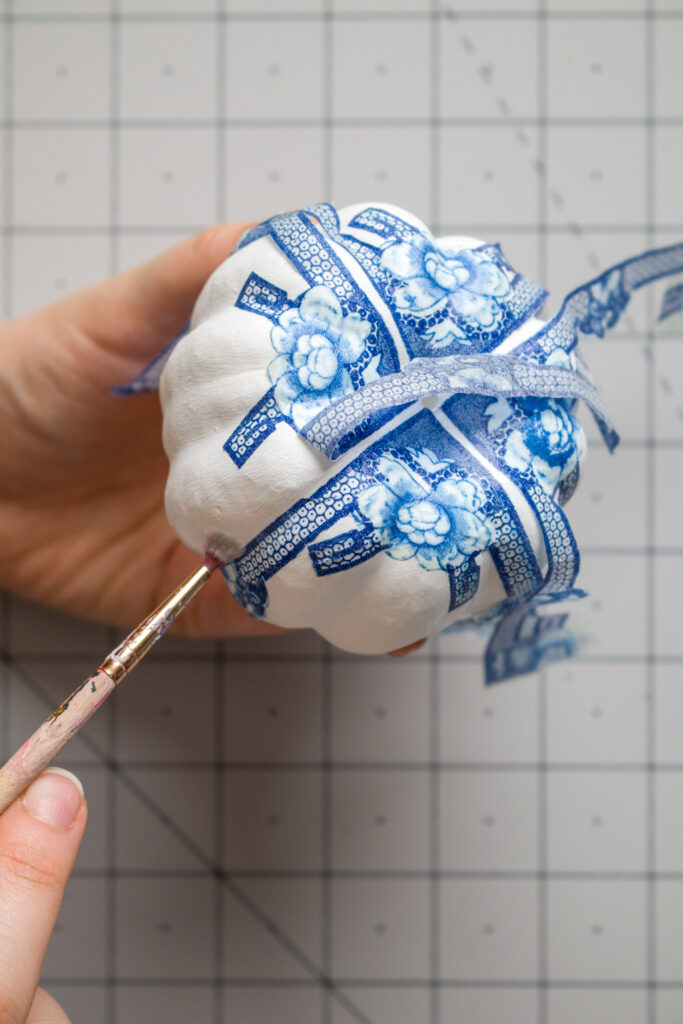
Once again, one at a time, brush on Mod Podge, lay down the napkin piece, trying your best to get it to go straight down and also follow the curve, and then cement it down with more Mod Podge.
On the very bottom I continued the strip, cutting off some of the excess napkin and gluing it down to make sure nothing could come loose.
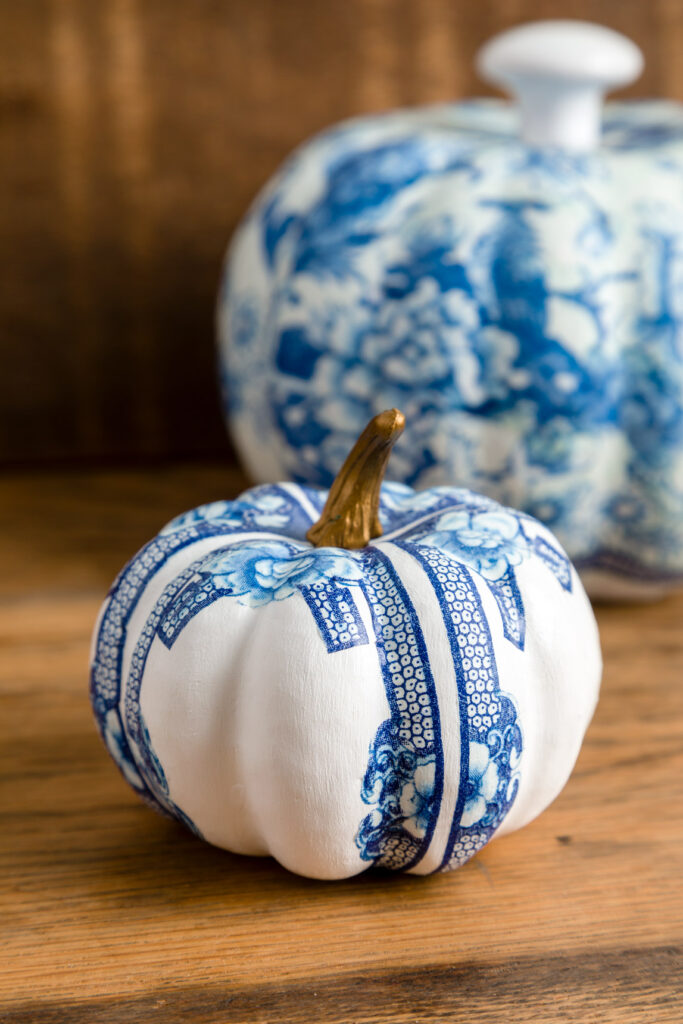
Then you just need to pop the stem back in, and it’s done!
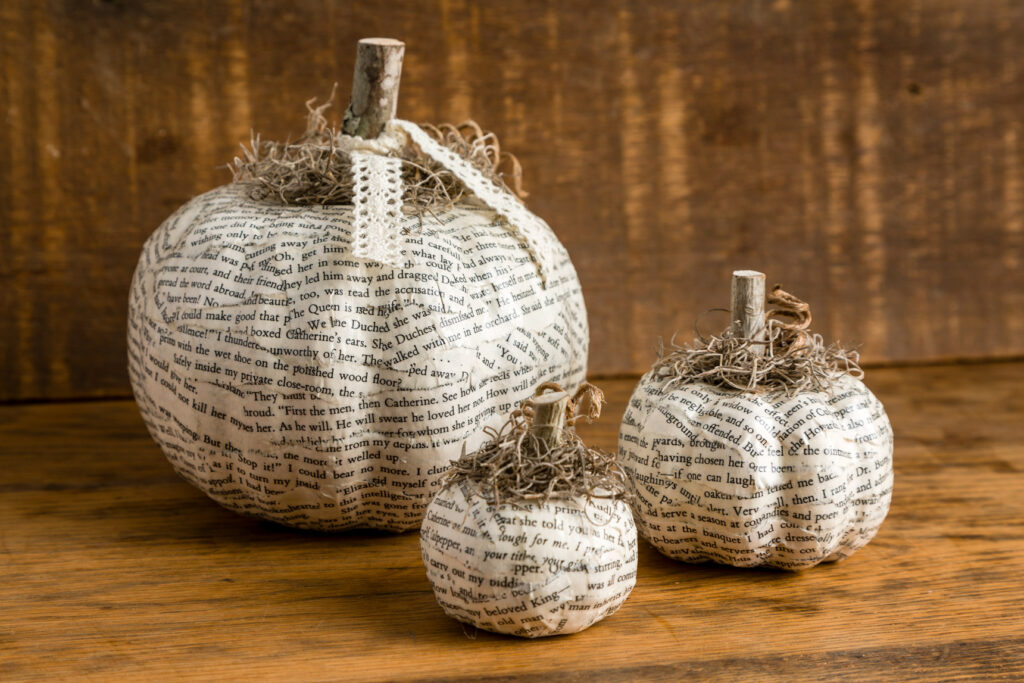
Book Page Pumpkins by Kippi At Home

Cindy@CountyRoad407
Friday 6th of September 2024
Those turned out beautifully! Love the napkins you chose. When I tried this technique, our pumpkins were sticky even after a week. We ended up having to throw them away. It was so sad! Did you have this problem? Thank you for linking up at Farmhouse Friday! Hope you link up again soon.
Rachelle
Friday 27th of August 2021
Olivia, I love the look up these diy pumpkins. They look like high end decor! Thanks for sharing at the FWF party. RR
20+ DIY Pumpkin Ideas | Olivia OHern
Saturday 7th of August 2021
[…] Can you believe these were made with napkins? Blue & White Decoupage Pumpkins […]
Dominique
Monday 21st of September 2020
They look fabulous but how long do they keep ?
Debbie
Sunday 20th of September 2020
OMG they are beautiful! I love them so pretty, great job, as always!!!