
This post may contain affiliate links. This means that if you purchase from one of these links I will make a small commission, but rest assured you will not pay more for any products.
Supplies
- Paperback Book
- Terracotta Pot
- Floral Foam
- Spanish Moss
- Hot glue gun and sticks
- White Chalk Paint
- Paintbrush
- Brown Glaze
- Rock
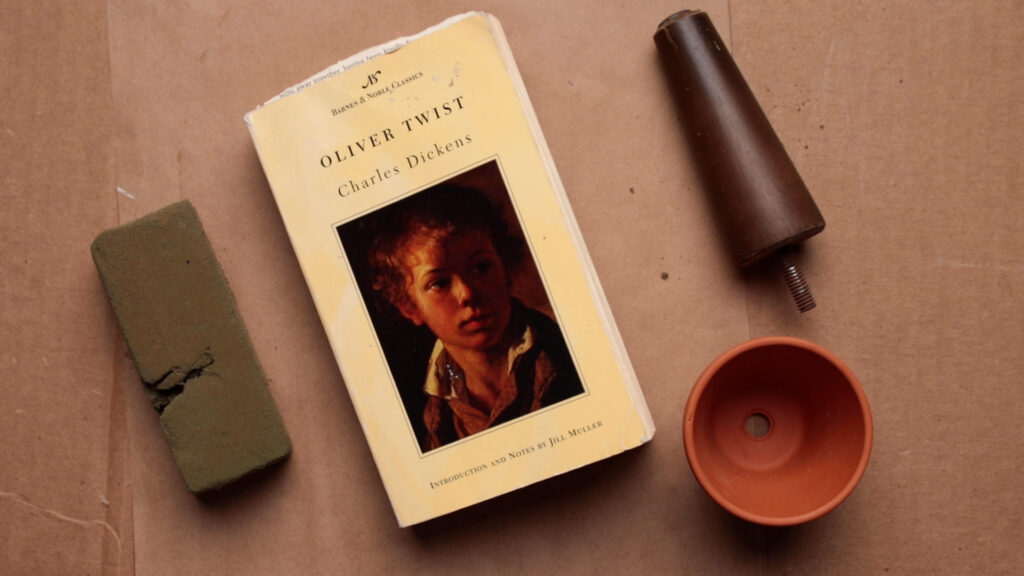
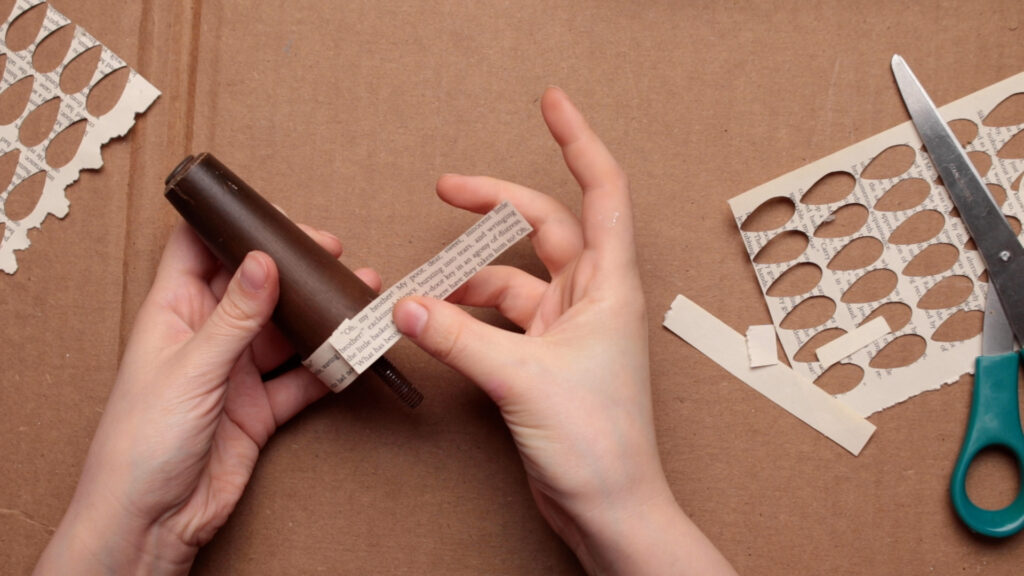
For one tree I used 4 4×6 book pages so approximately 120 leaves I cut out with my Cricut Maker.
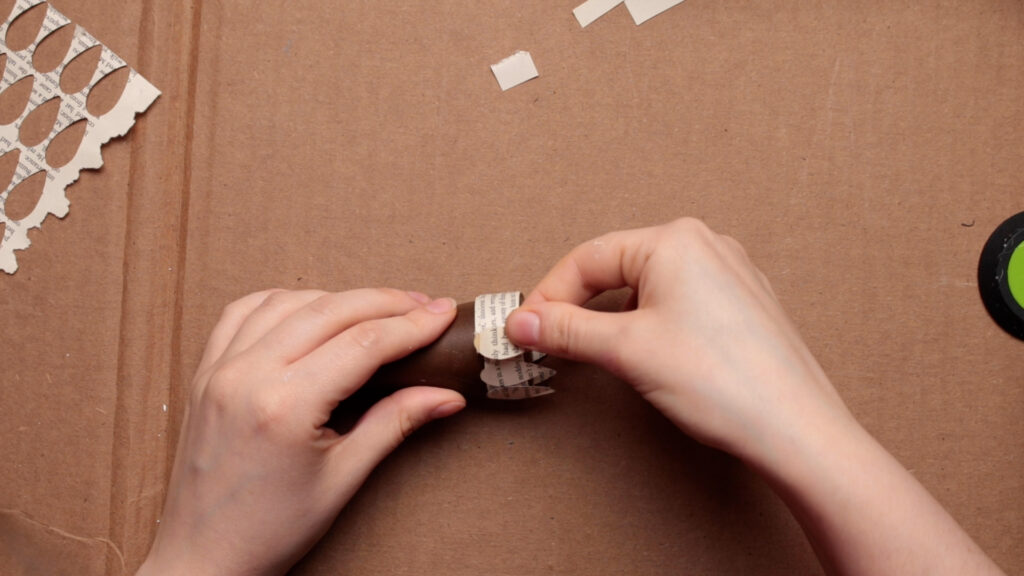
The extra bottom portion of the page I used to cover the the bottom of the tree base before beginning to apply the leaves.
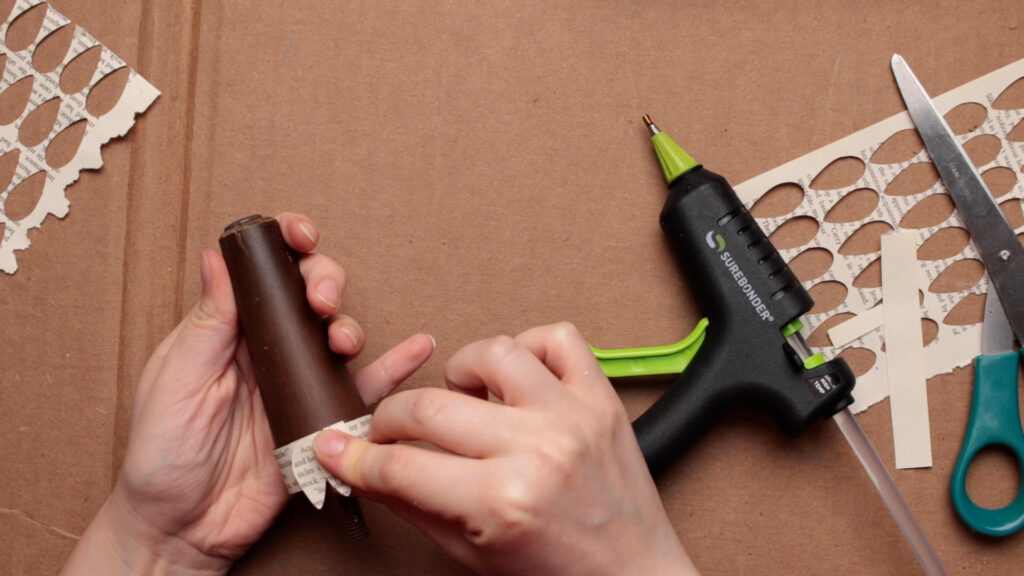
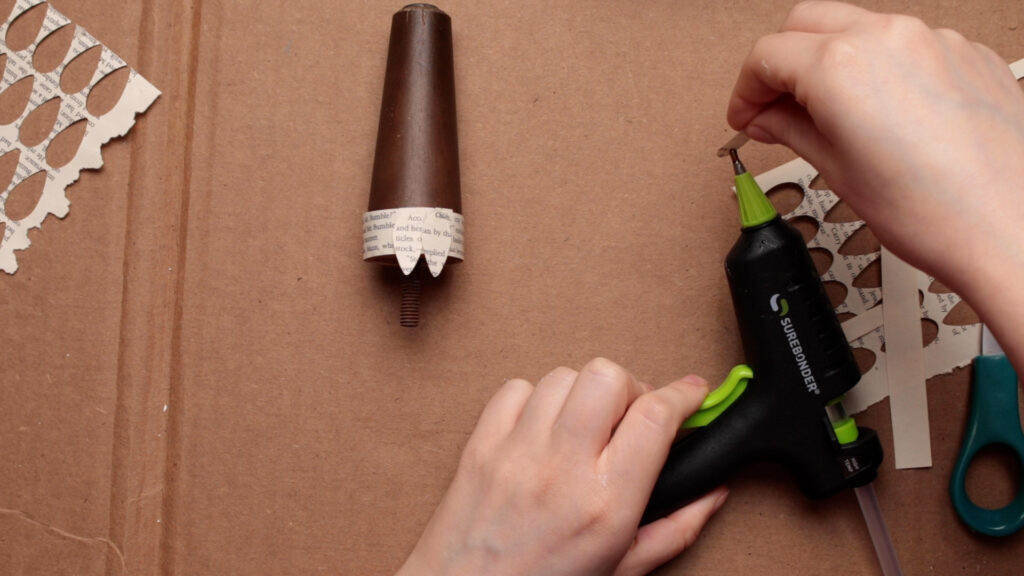
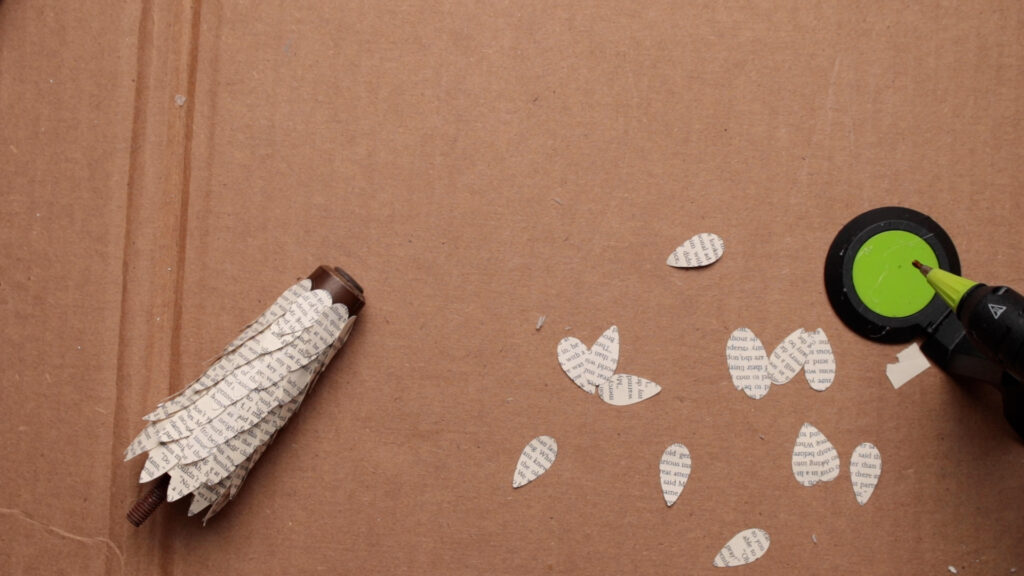
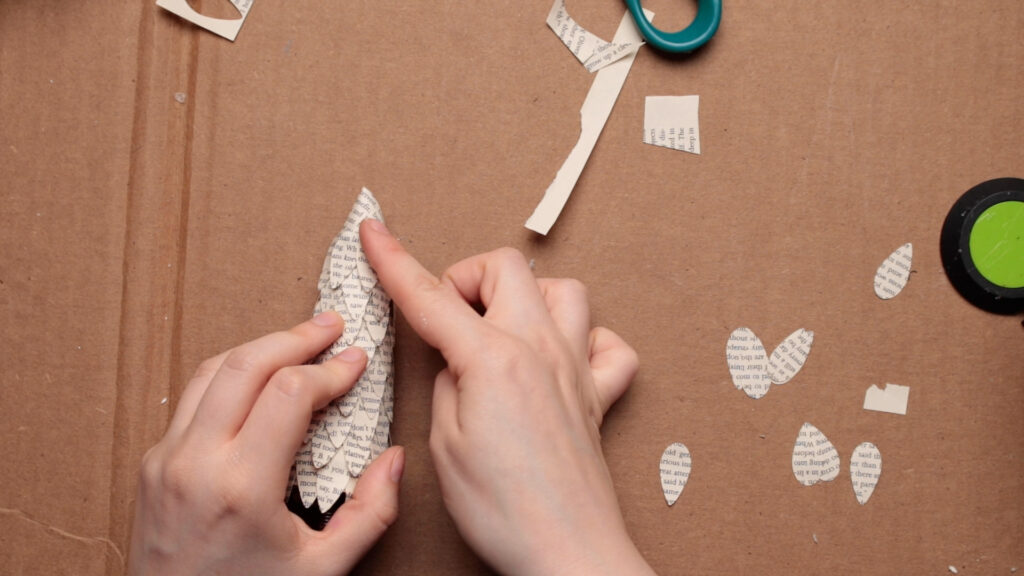
Simply adding a dot of hot glue at the top of each leaf and then pressing it to the base works wonders. I start at the bottom and work my way up in rows overlapping each leaf for complete coverage.
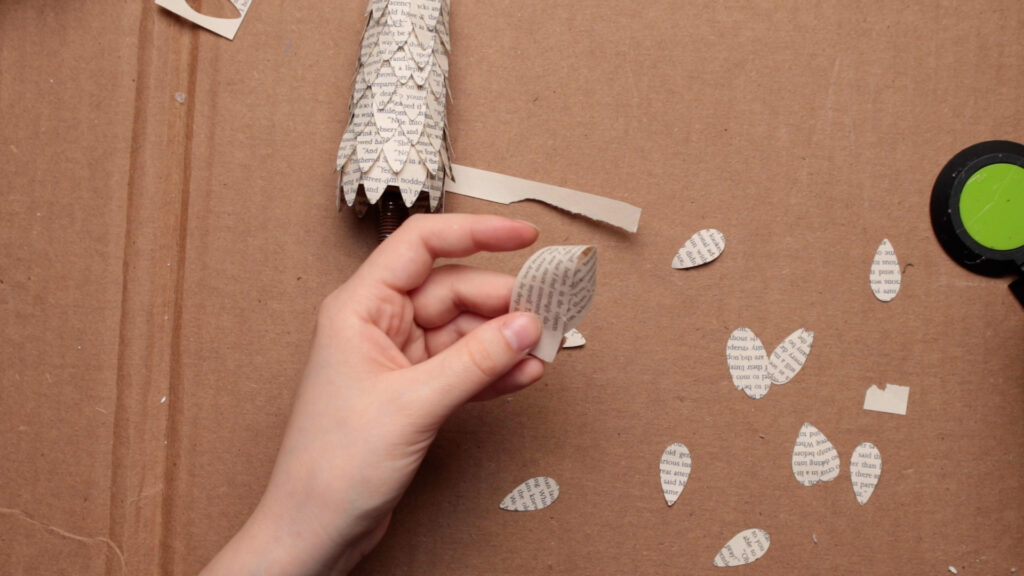
When I got to this point I had to deal with the top of the tree. Now, as you can see the furniture leg does not come anywhere near a point so I needed to make my own if I didn’t want a blunt Christmas tree.
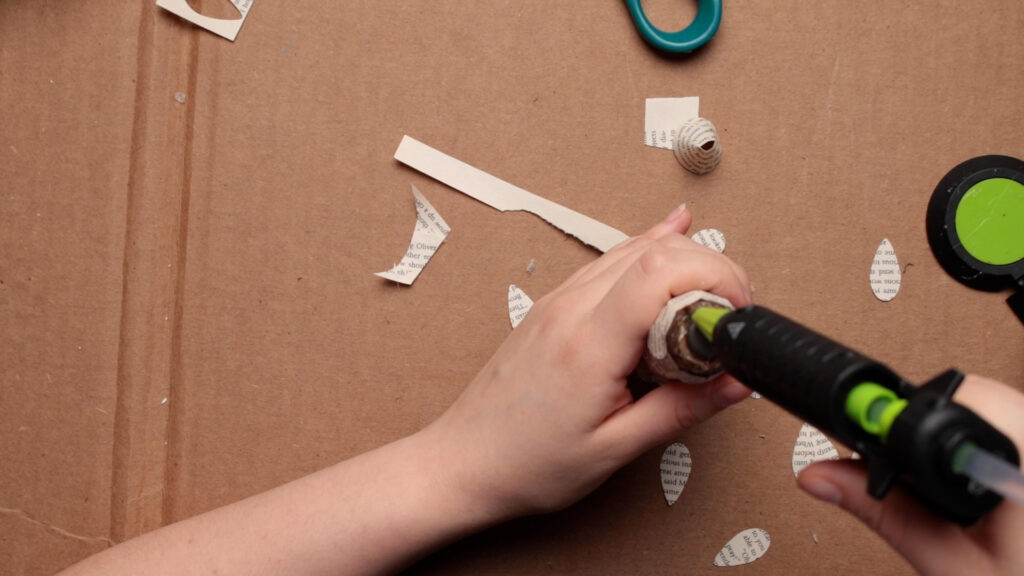
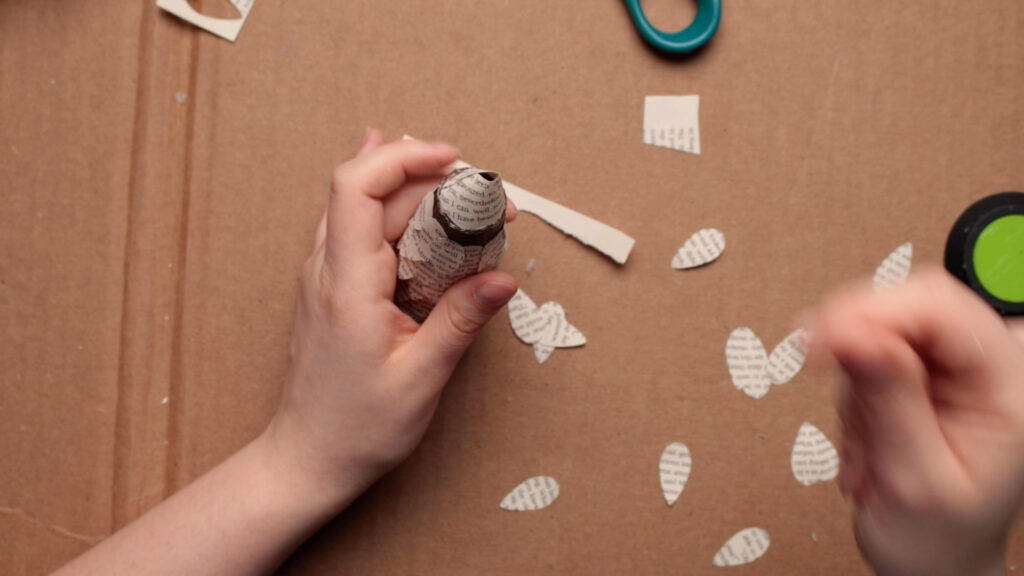
I decided to take the bottom strip off of one of the book pages and fold it over into a cone shape which I glued to the top of the leg.
From there I continue adding leaves which will hide where the wood to paper transition is.
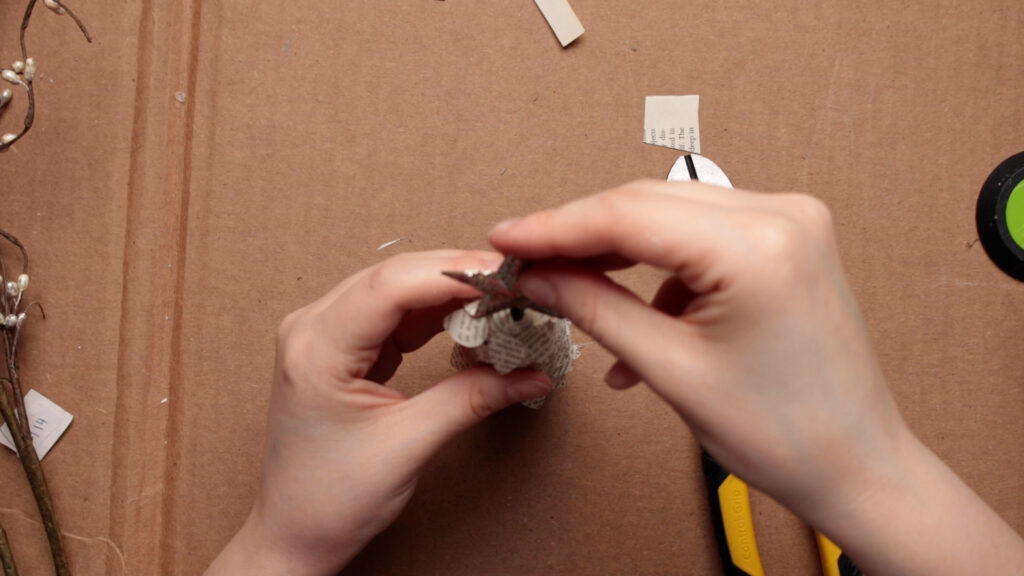
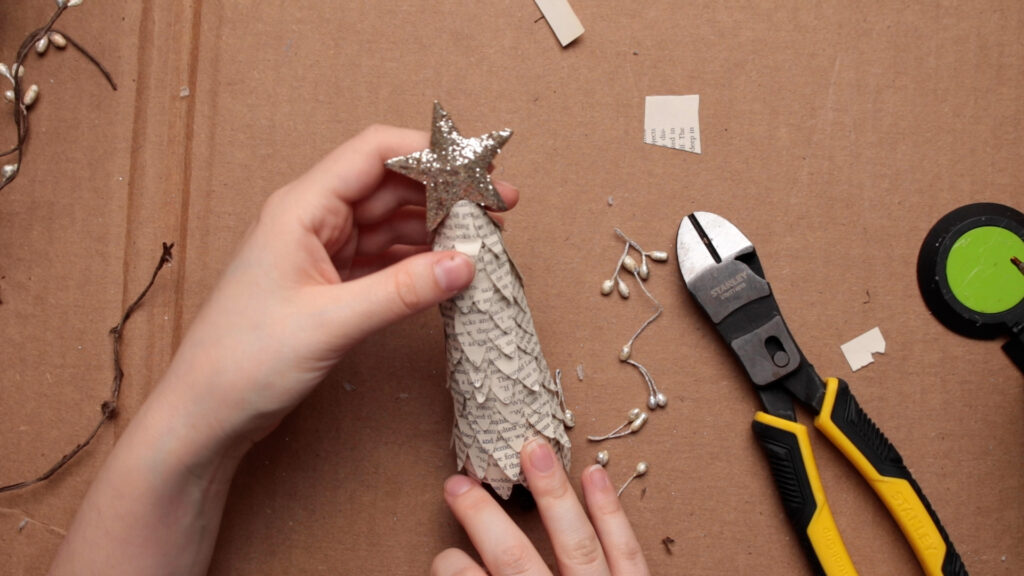
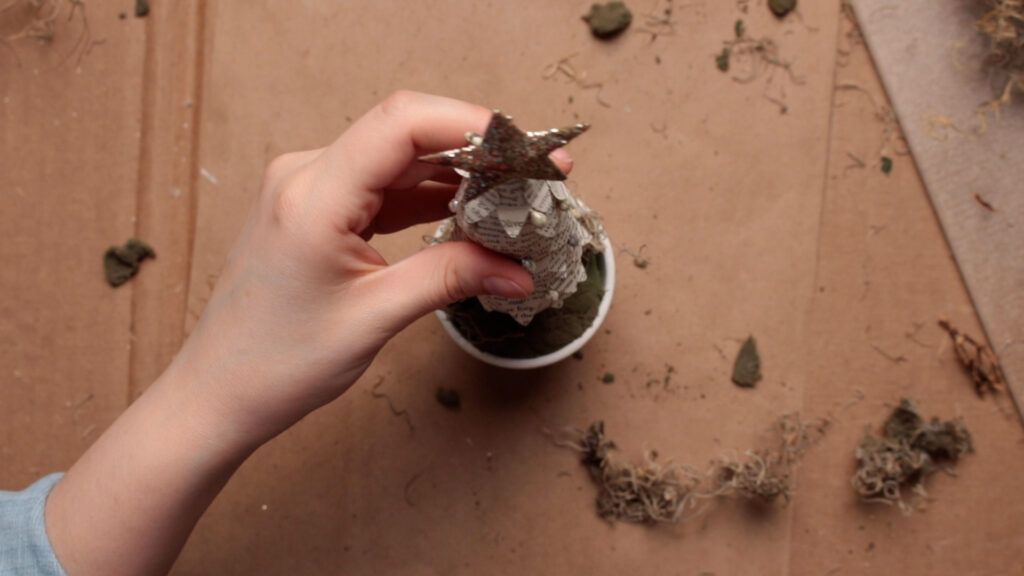
I left a bit of a hole in the top to hot glue the star in place.
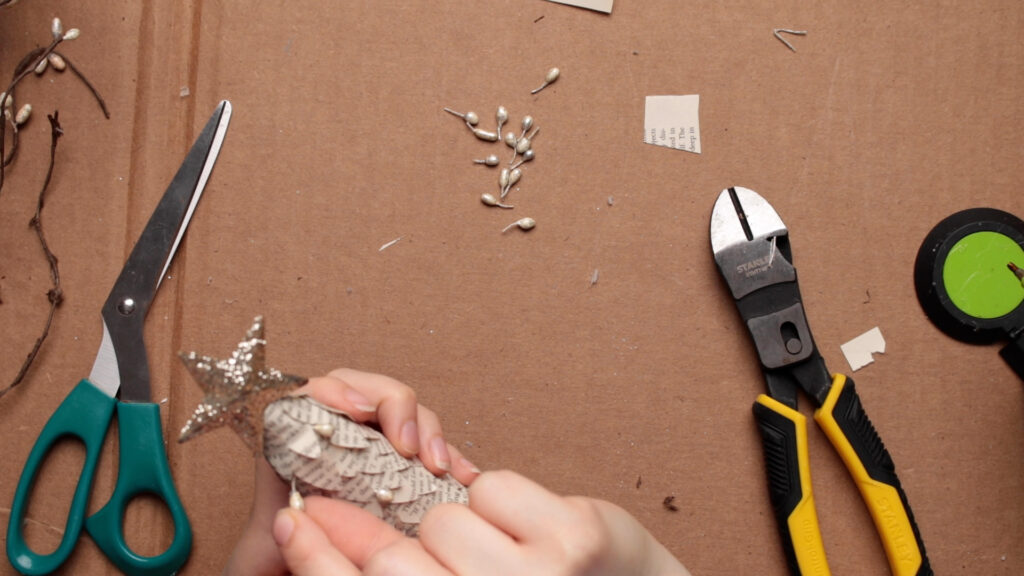
Then I cut some of the little pips off of the floral bush I got the star from. I hot glued them around the tree, spacing them out.
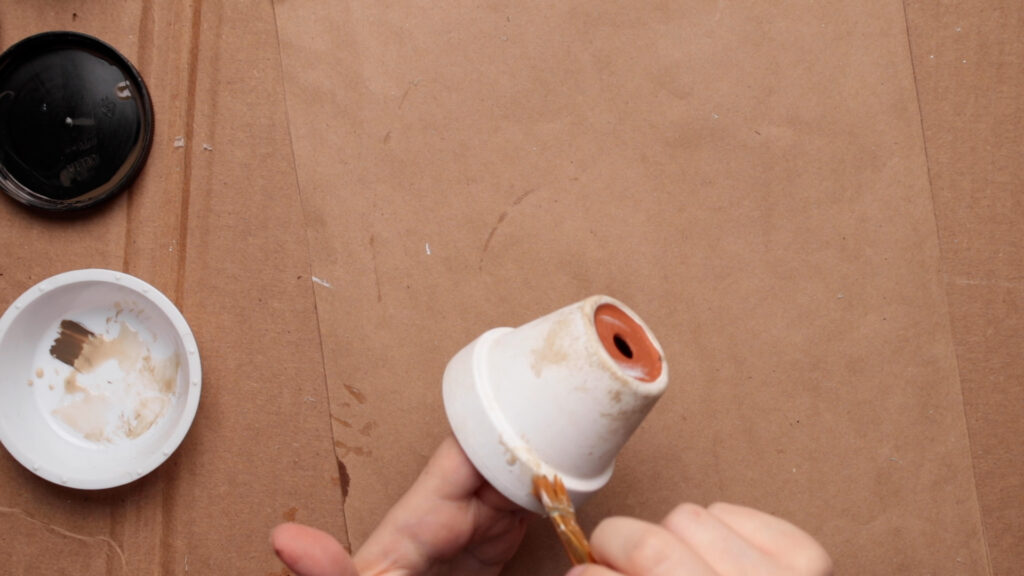
The terracotta pot I painted with two coats of white chalk paint. Once that was dry I used a watered down brown glaze to give it a more aged look.
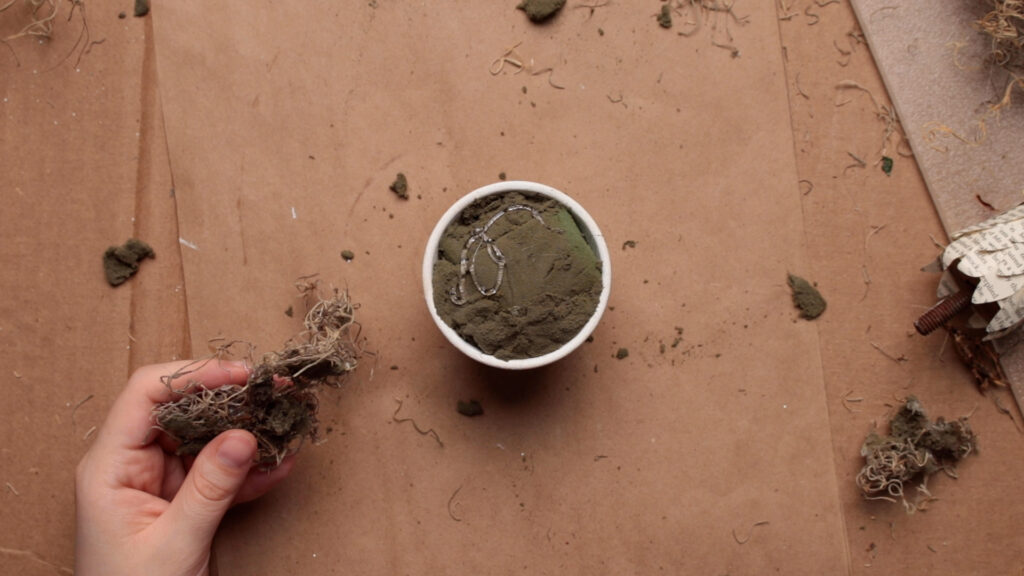
A rock in the bottom of the pot helps to balance out the weight of the tree so it won’t tip over.
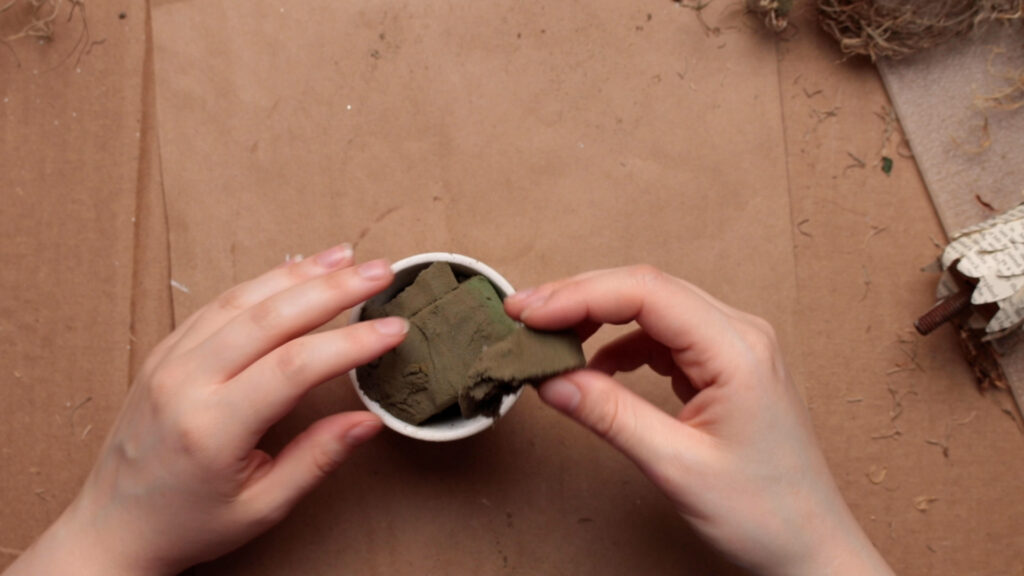
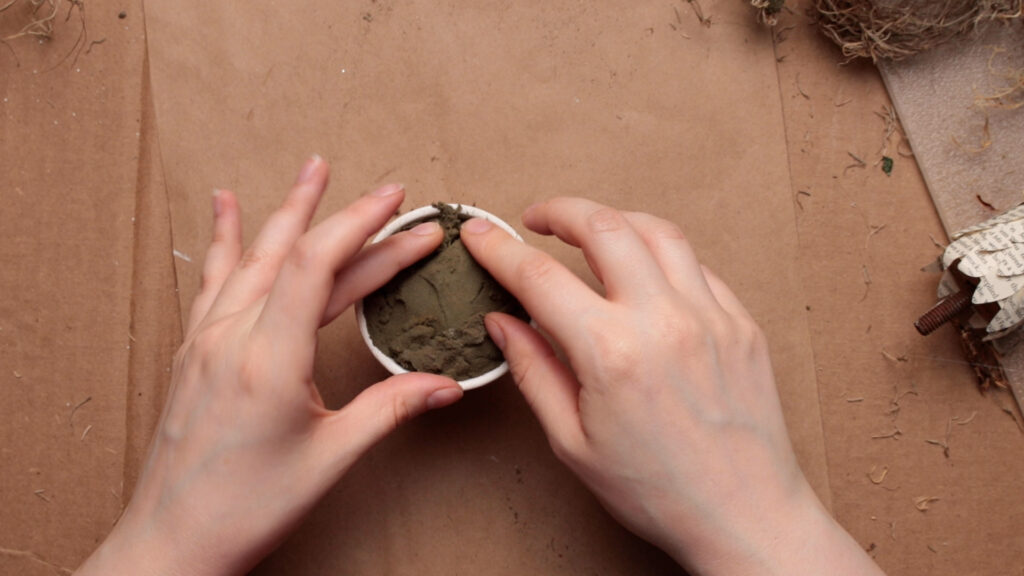
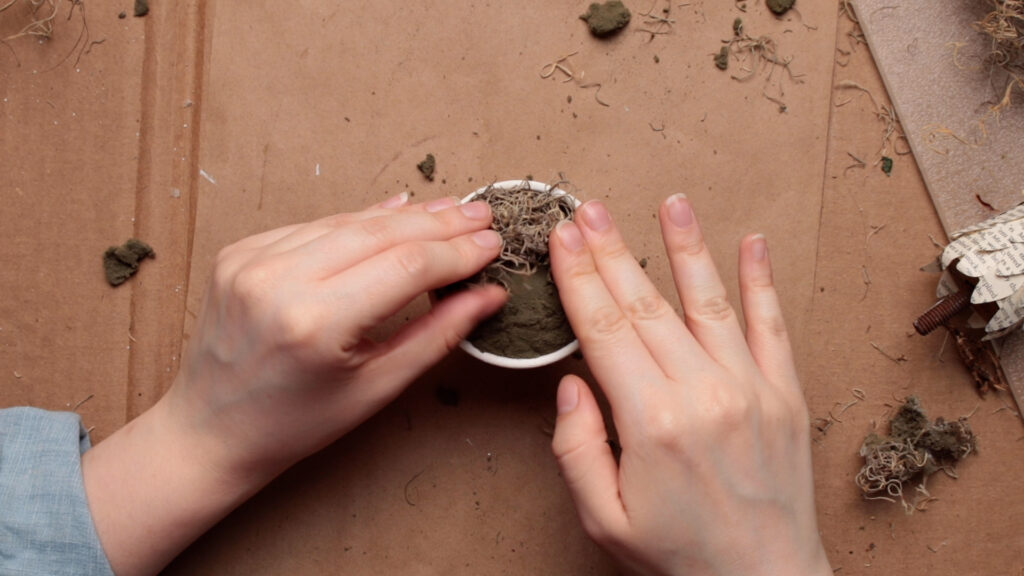
On top of the rock I add in several small pieces of floral foam which I shape into a hill with my fingers.
Then I hot glue pieces of spanish moss onto the foam.
I push the screw down into the center of the foam, making a hole for the tree. The hole is filled with hot glue, and then I press the screw back into the hole.
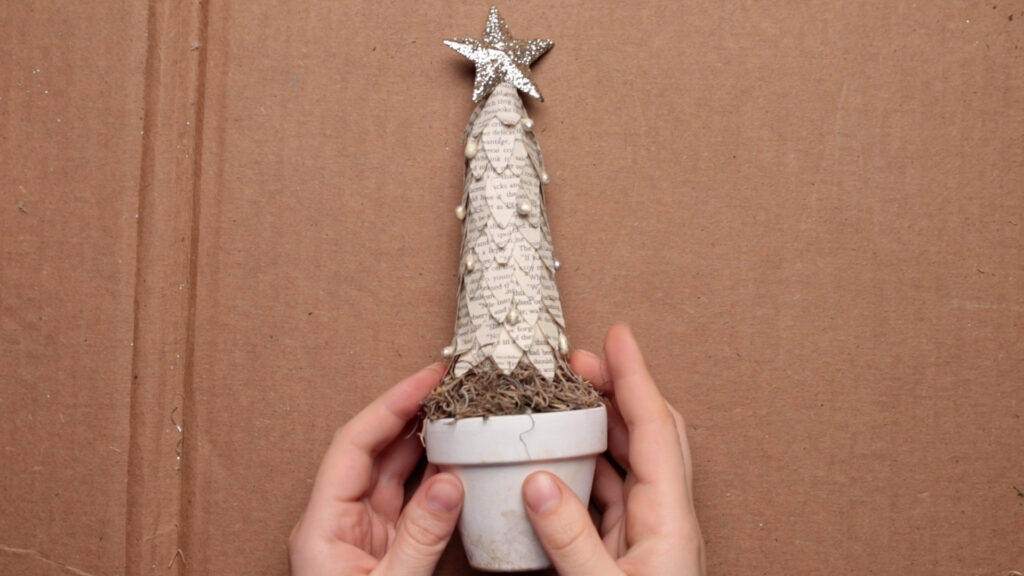
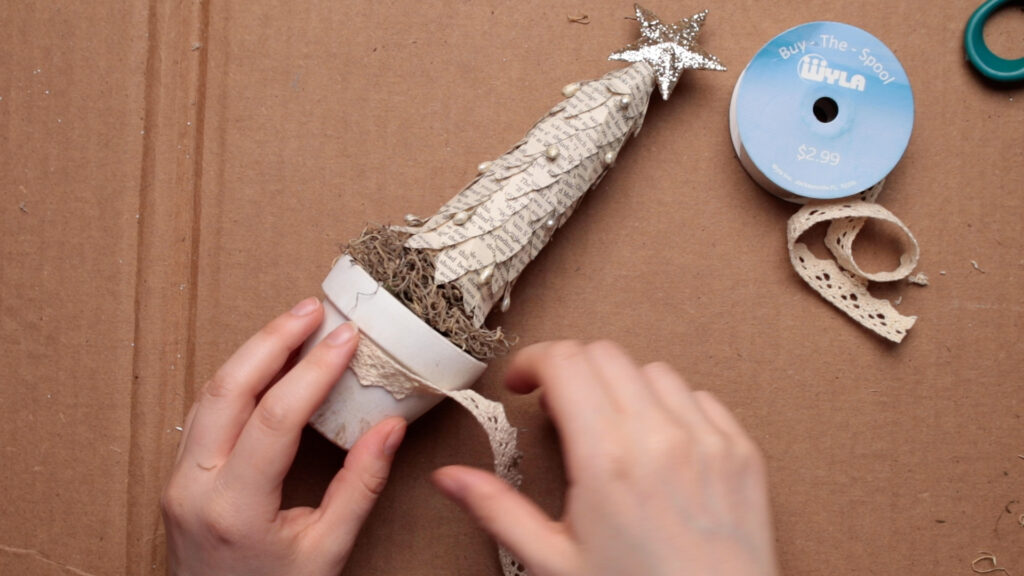
I decided the pot seemed too plain, so I added some embellishments.
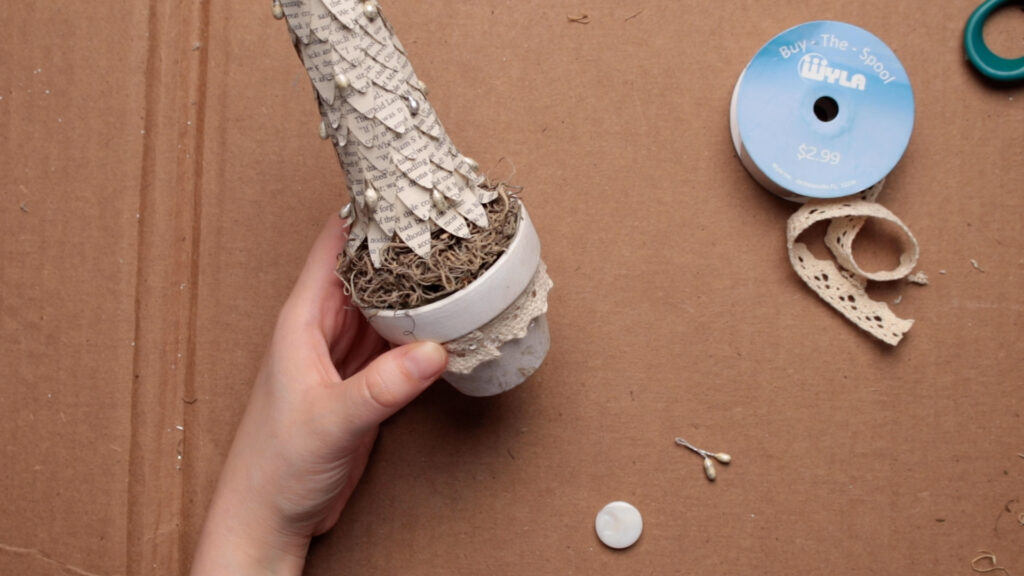
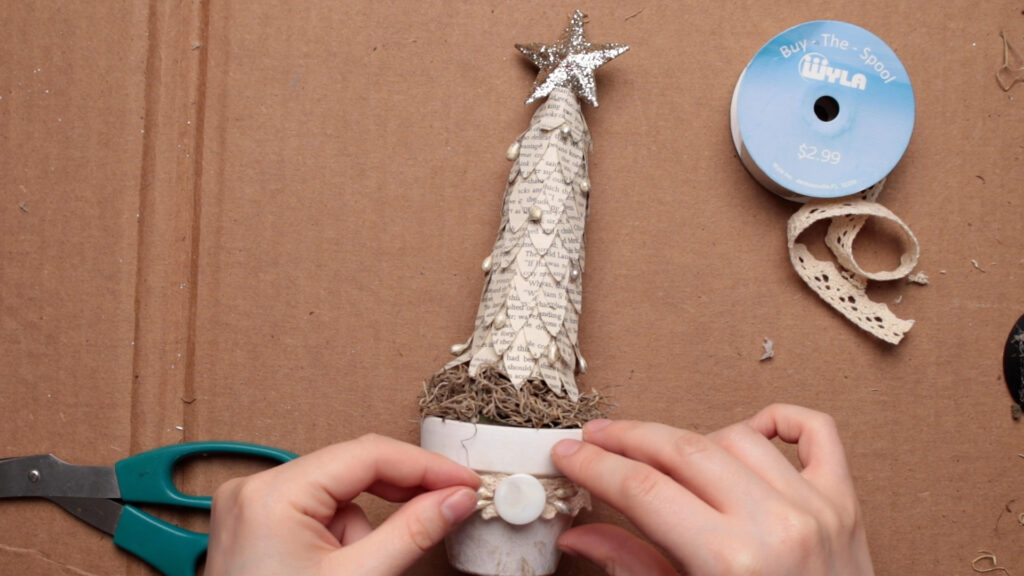
First, some cotton trim around the pot.
Then I found a cute button to add over the seam, and some more of the little pips as well.
Creating handmade holiday decor is a tradition in our family, and this year, we will be using found objects as part of our decor.
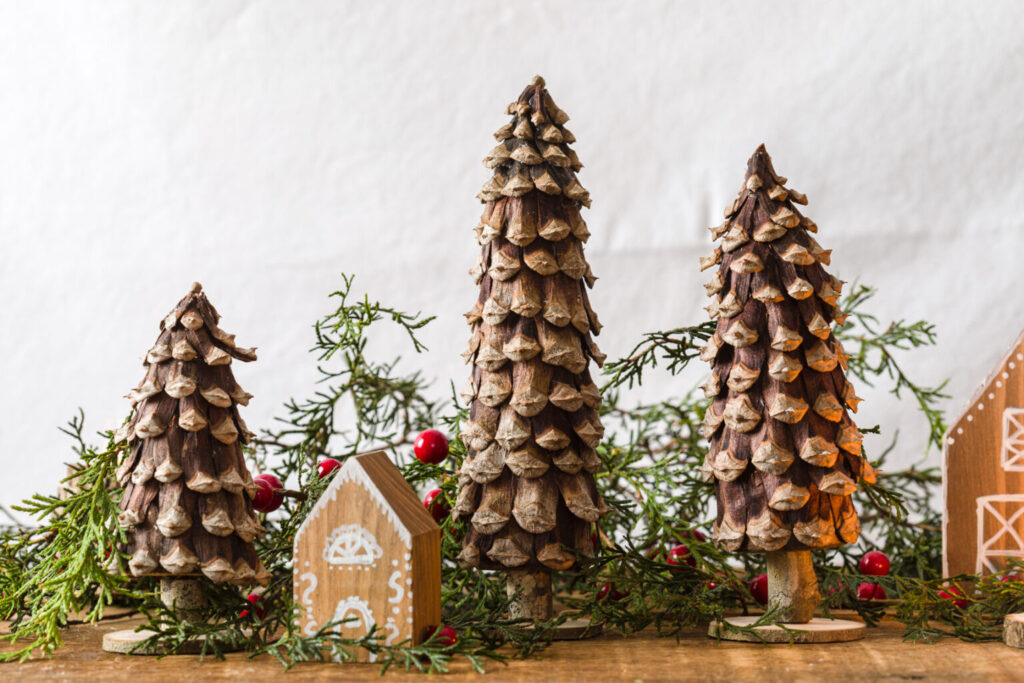
Kippi made this amazing pinecone Christmas tree with her furniture leg.
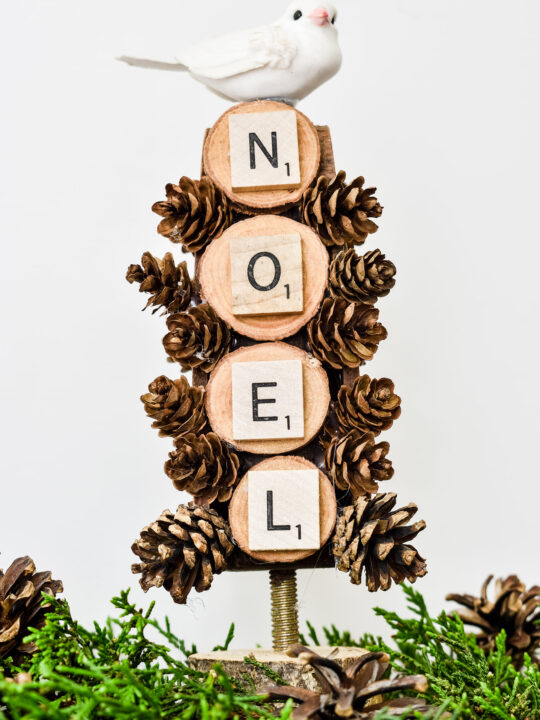
If you like rustic decor, you will enjoy Rebecca from Zucchini Sisters’ rustic DIY Christmas trees.

Cindy from Cloches and Lavender’s upcycle furniture leg makeover is borderline genius. She made a “real” working candle from a wooden furniture leg that is complete with wax drippings.
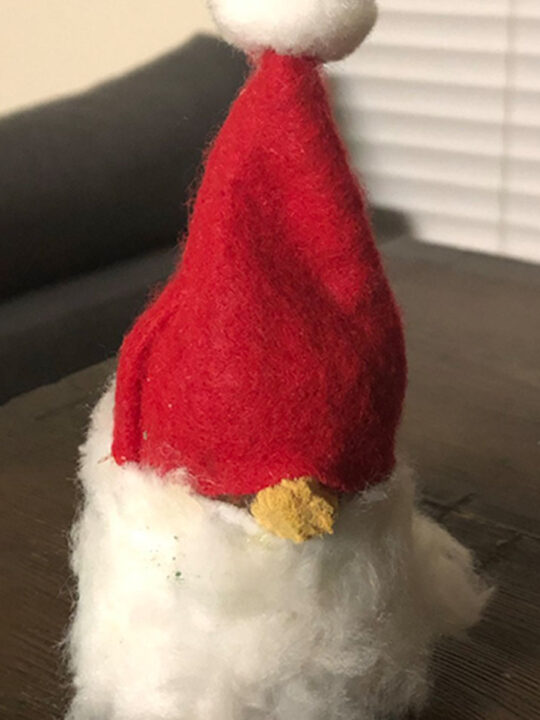
My friend Janet from A Balanced Life shares how she created a gnome and Christmas tree with the furniture legs.





Gnome Ornament from a Recycled Furniture Leg - A Life of Balance
Thursday 17th of February 2022
[…] Olivia O’Hern created a vintage-inspired paper book page shabby chic Christmas tree […]
Helen Fern
Friday 3rd of September 2021
Great post. I'd be so honored if you shared it on the Share the Wealth Party at My Big Fat Menopausal life. http://bigfatmenopausallife.blogspot.com/2021/09/share-wealth-ii-second-installment-of.html
Wooden Christmas Tree DIY Holiday Decoration - Zucchini Sisters
Thursday 2nd of September 2021
[…] Kippi from Kippi at Home made these stunning rustic Pine Cone Christmas Trees. Janet from A Life of balance made this adorable Gnome Ornament. Cindy from Cloches and Lavender made this cool Rustic Flameless Candle. Olivia from Olivia Ohern made this amazing Book Page Christmas Tree. […]
Janet
Wednesday 1st of September 2021
I always love a craft that uses old books. These are adorable. Pinned!
Cindy
Wednesday 1st of September 2021
I think I may be the only crafter that doesn't have a circuit. This is adorable and very clever.
Pinned!