- Pink Cardstock
- Yellow Cardstock
- Blue Cardstock
- White Cardstock
- Pumpkin
- Black Vinyl
- Shimmer Vinyl
- Dragonfly Glaze – Full Spectrum
- Hot glue gun
- Gluestick
- Spray Paint White
- Paintbrush
- SVG File
I start by laying down a base coat of white spray paint on the pumpkin. It’s best to use multiple light coats for full coverage. The paint needs to be thoroughly dry before decorating.
First, I cut out all of my pieces on my Cricut Maker. For the horn, the shape is cut out and scored where the flap folds.
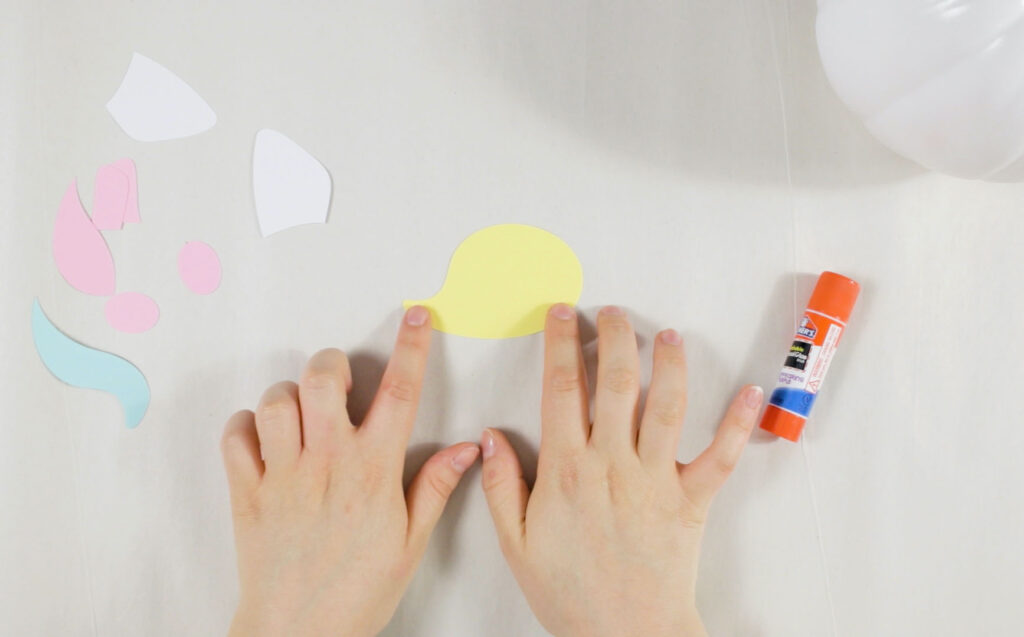
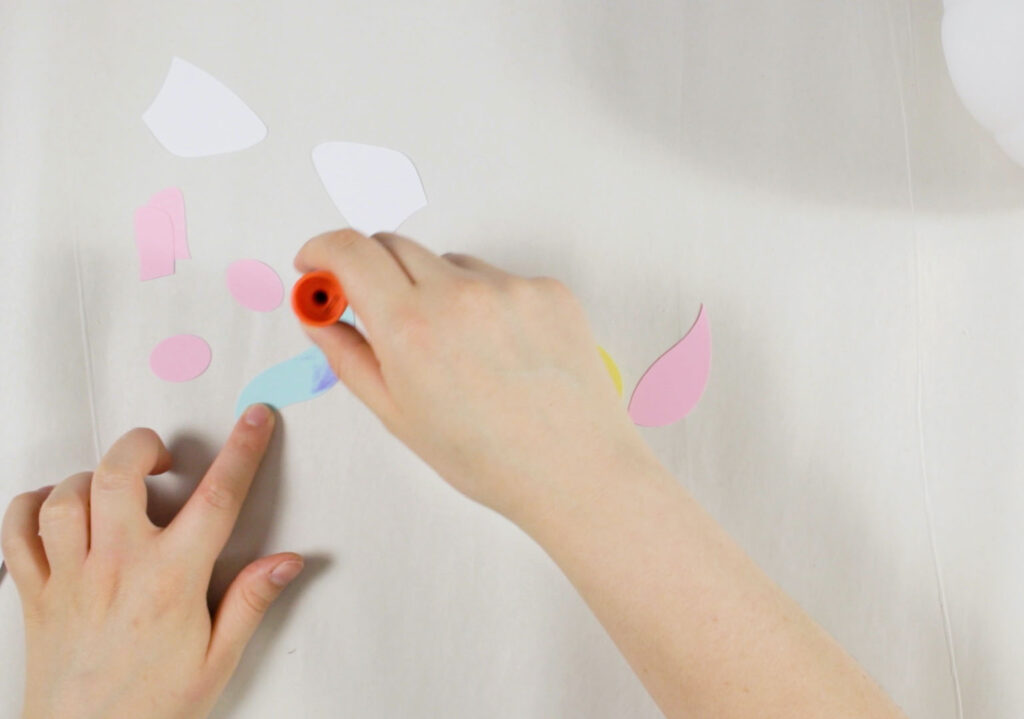
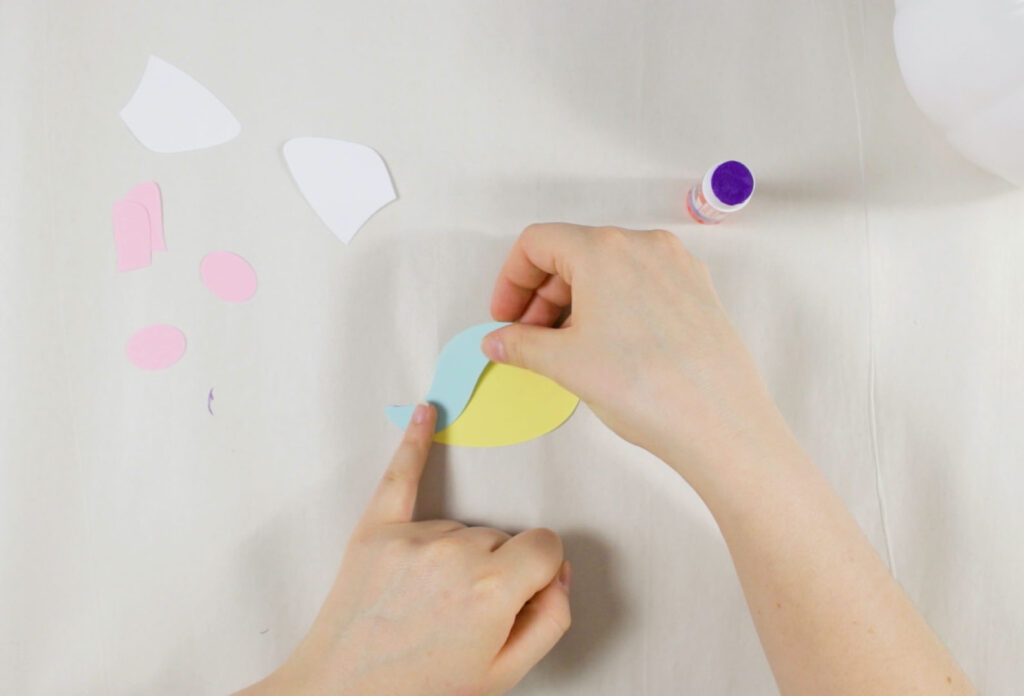
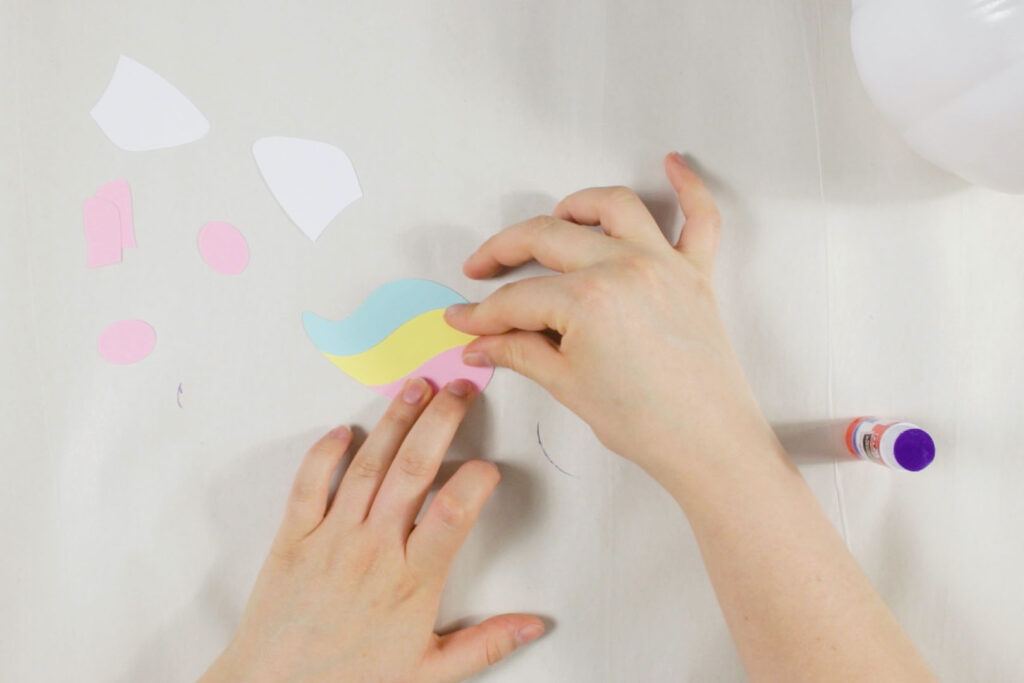
Then, I assemble the unicorn’s mane. Simply glue the blue and pink pieces onto the yellow piece.
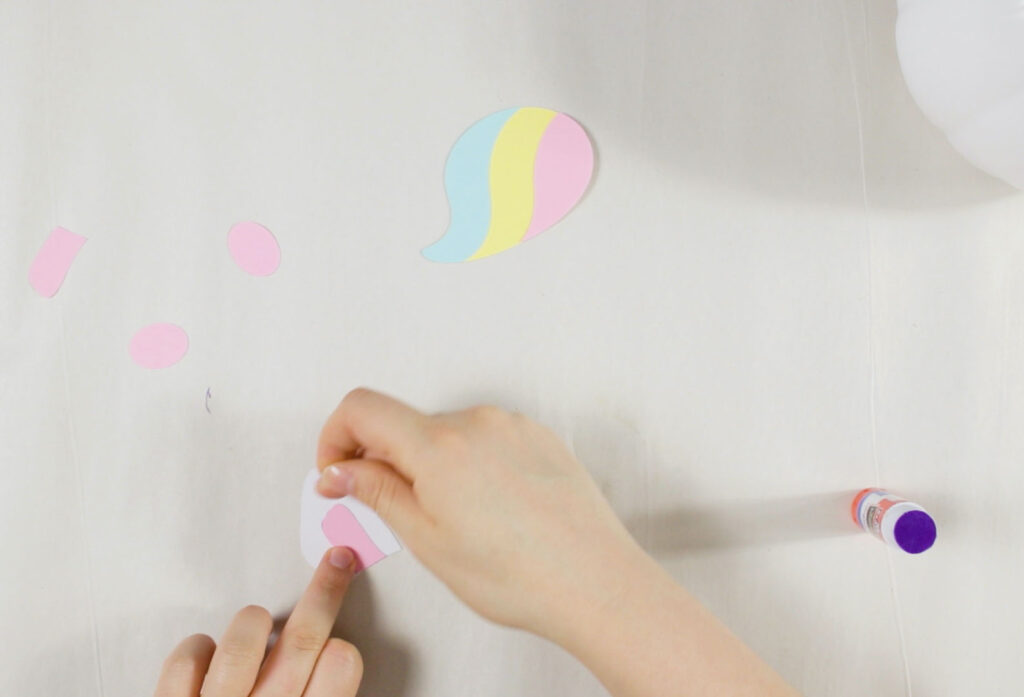
For the ears, I glue the pink inner ear to the white ear.
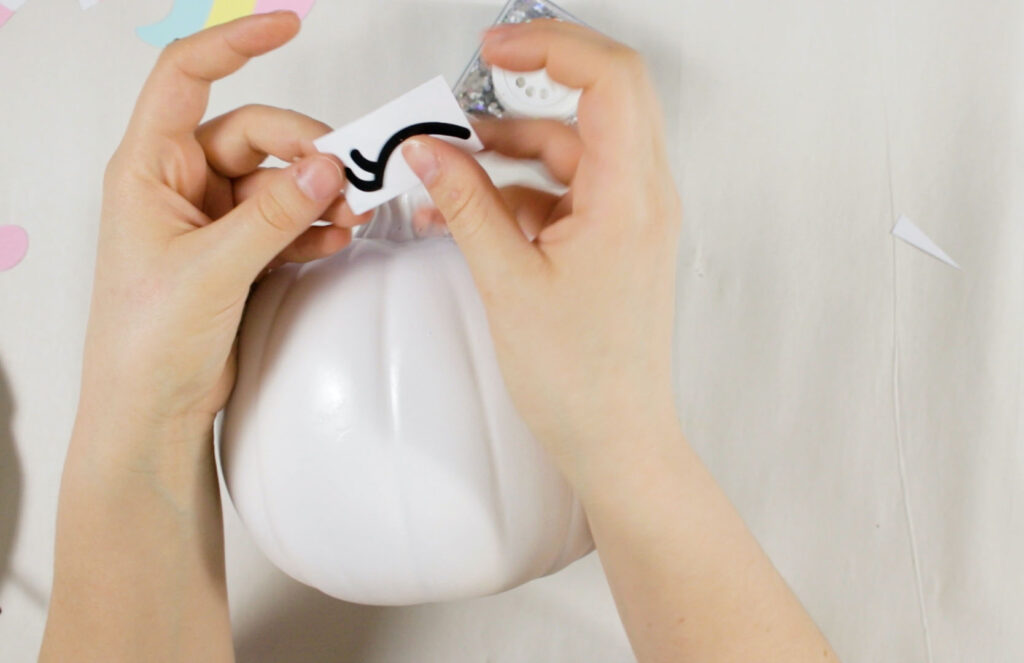
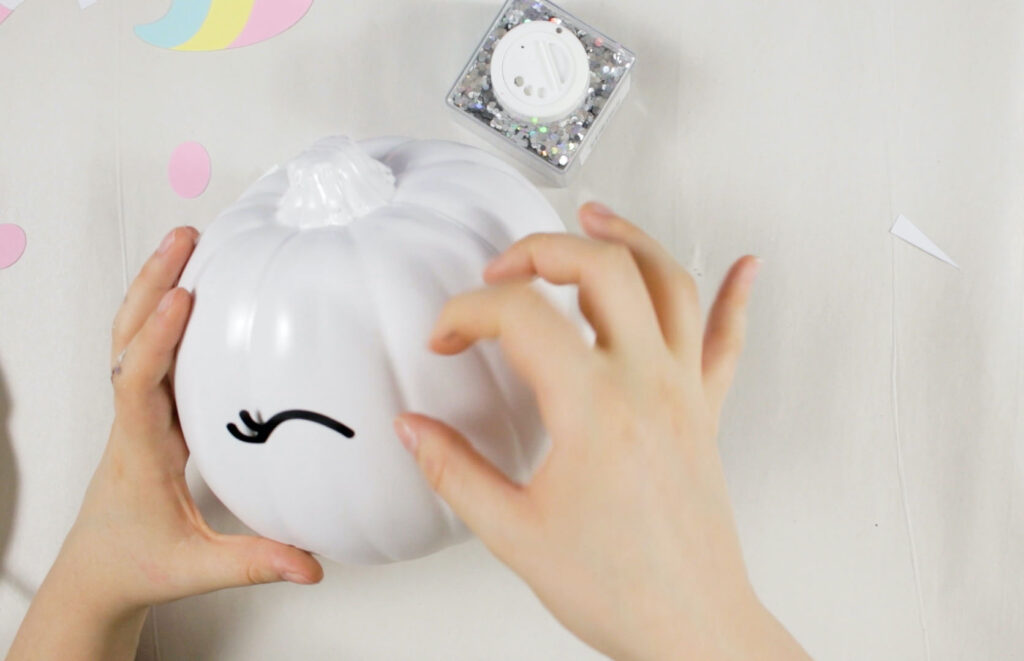
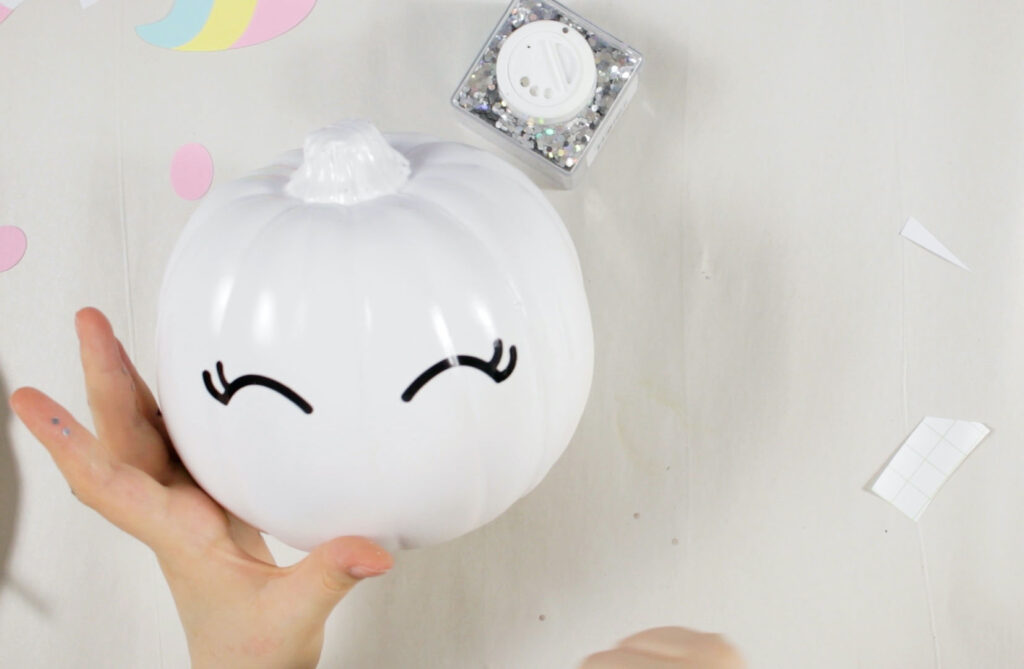
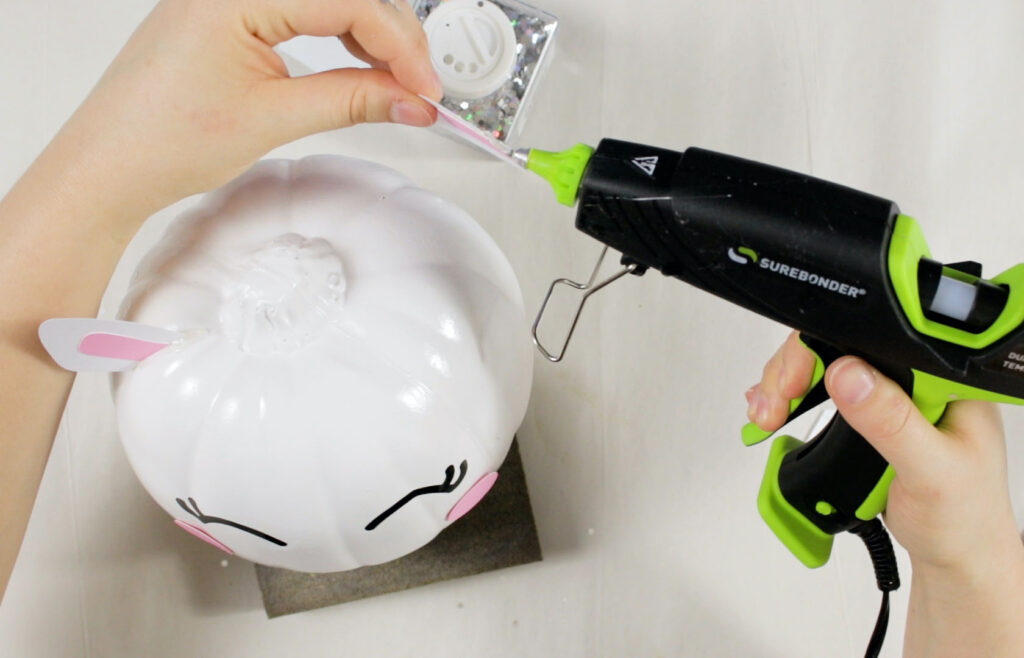
Next, I apply the black vinyl eye decals on to the unicorn pumpkin. I found it’s best to peel the pieces off the backing and apply them like a sticker. The transfer tape I usually use could possibly pull away the white paint.
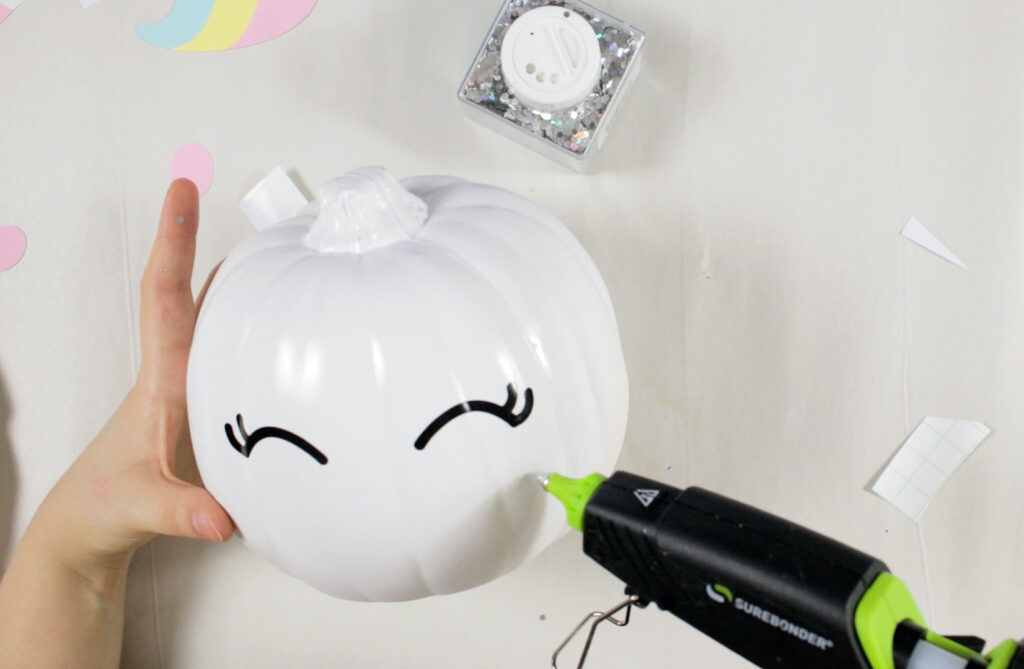
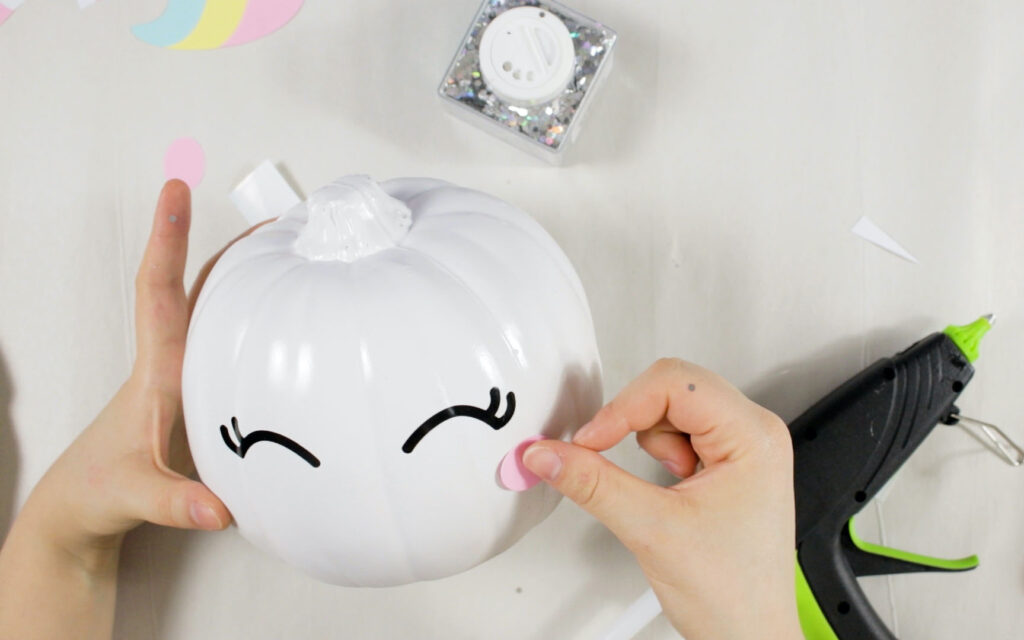
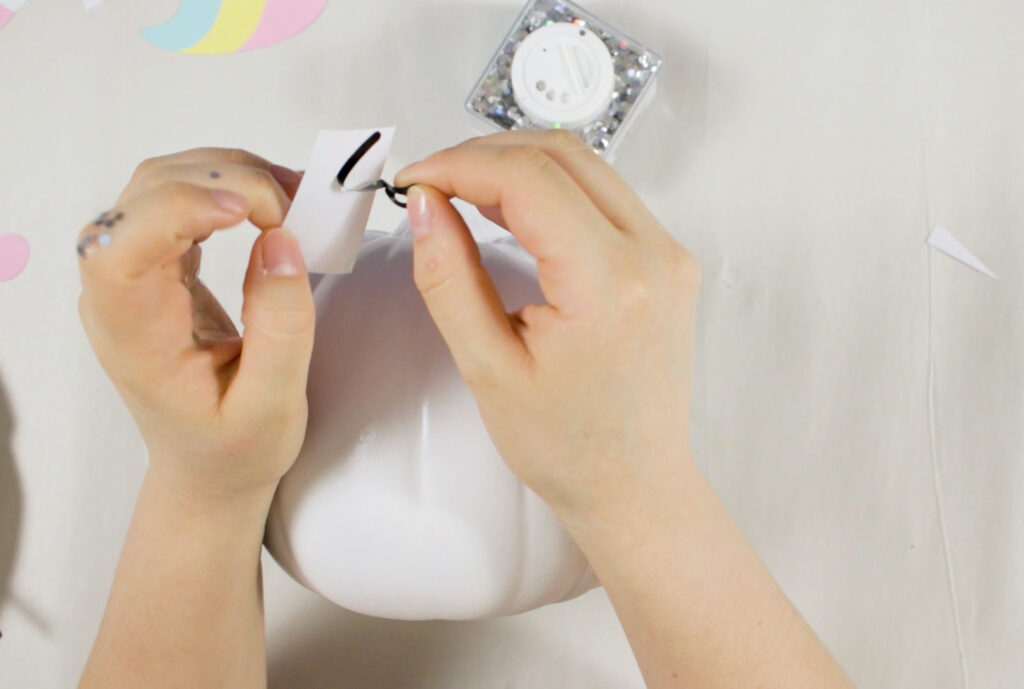
After the eyes are on, placing the rest of the pieces is way easier! So I dabbed a little hot glue under the outer corners of the eyes where I want my little unicorn cheeks to go.
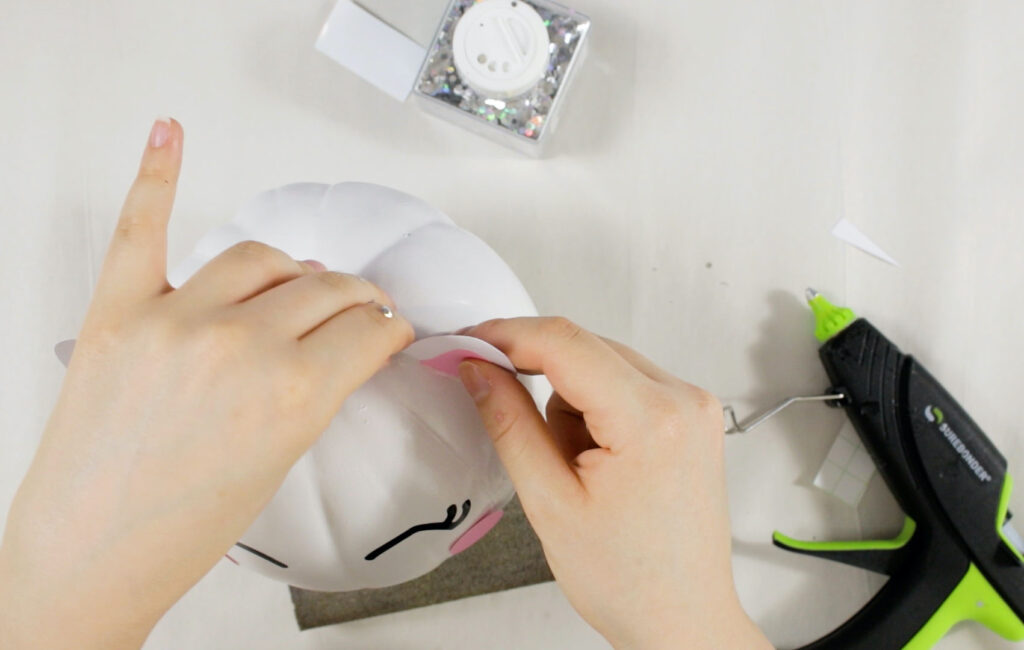

There are a couple ways to attach the ears. I found the easiest way was to put a string of hot glue along the bottom edge of the ear. Then placing the ear in position and allowing a moment for the glue to cool before letting go.
Now the horn turned out a little more tricky than I had initially thought, so I’m going to give my final, and most successful, attempt.
If you have worked with glitter vinyls before, especially extra fine glitter vinyls, then you know a lot of things do not stick to it.
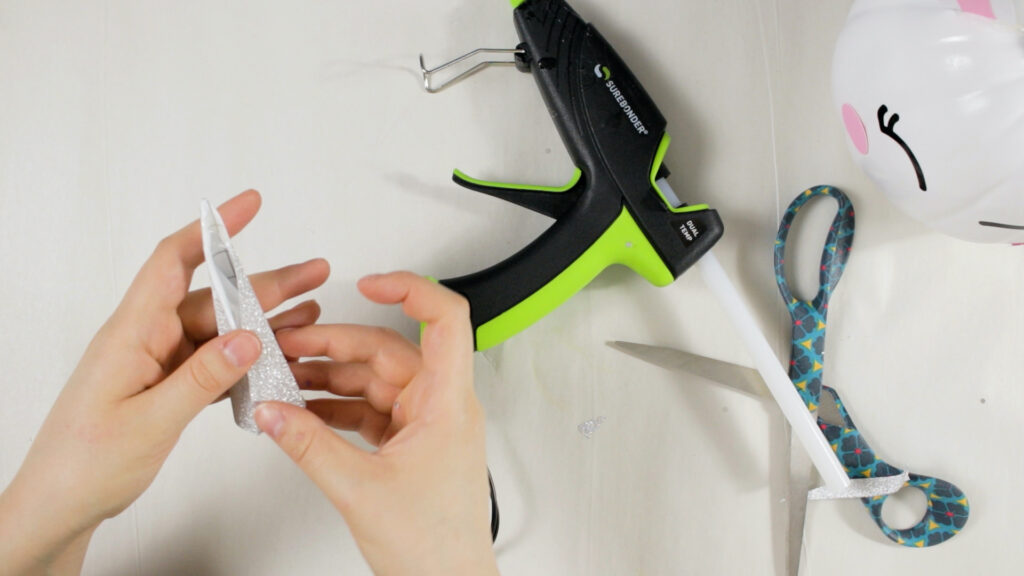
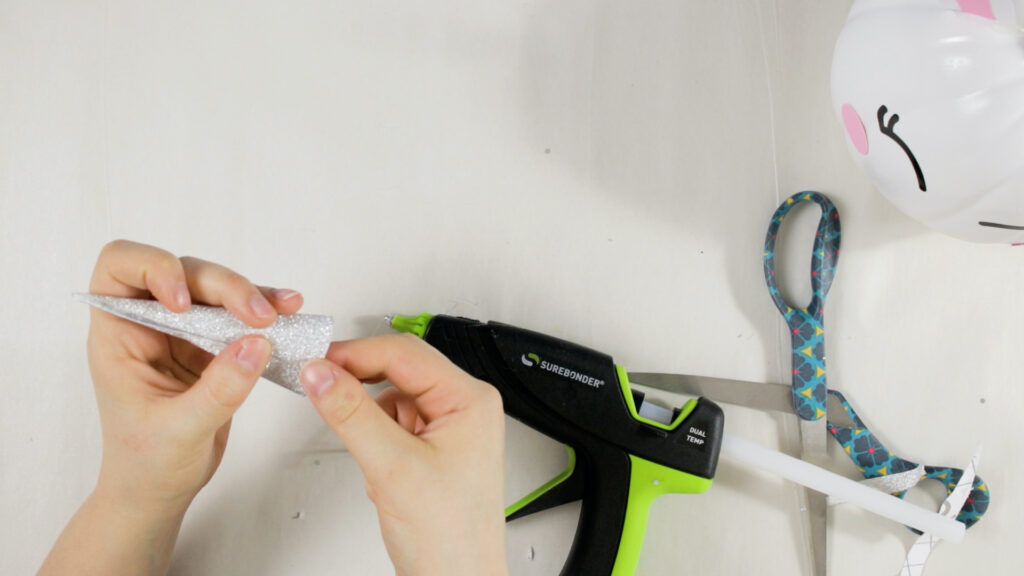
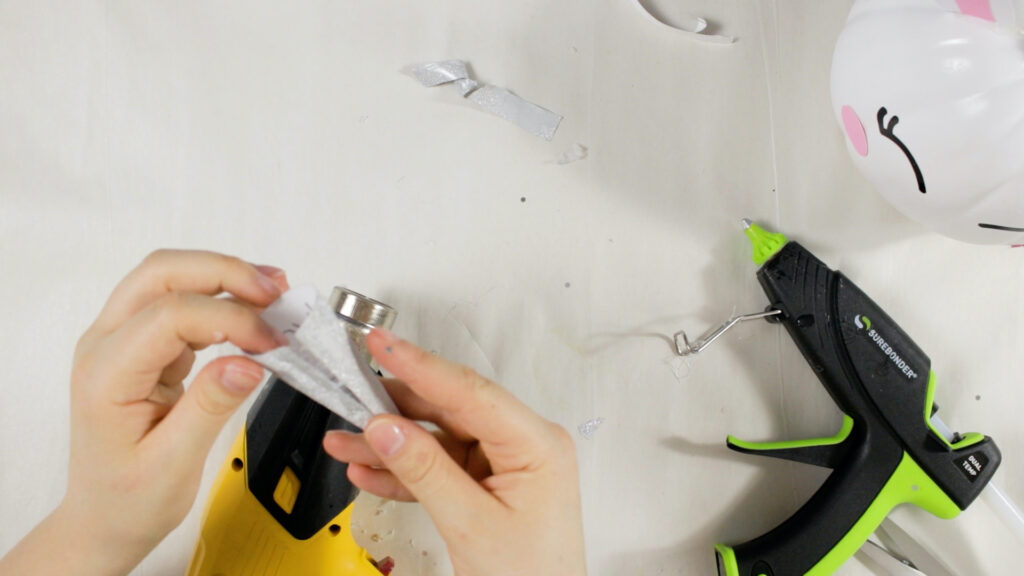
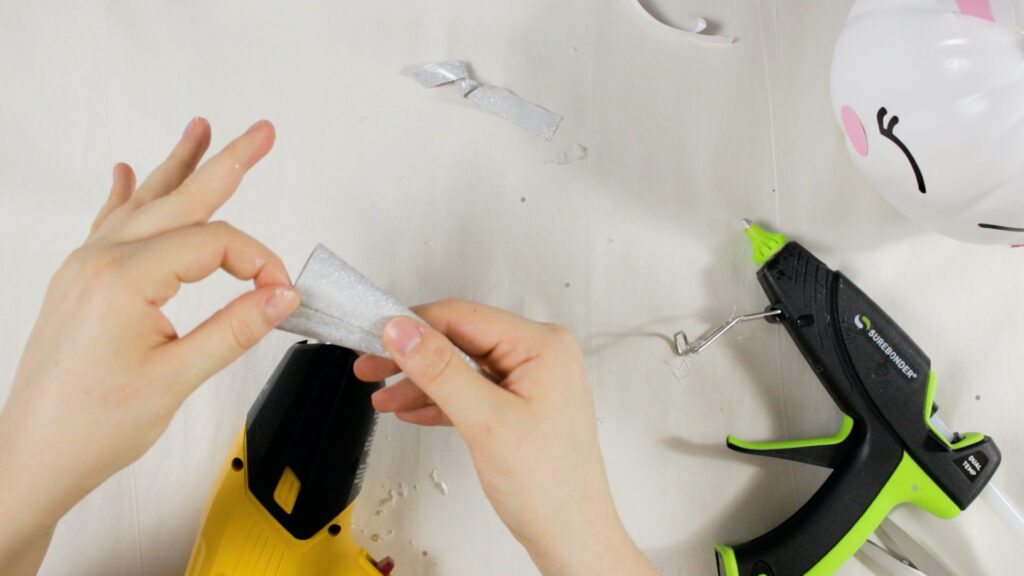
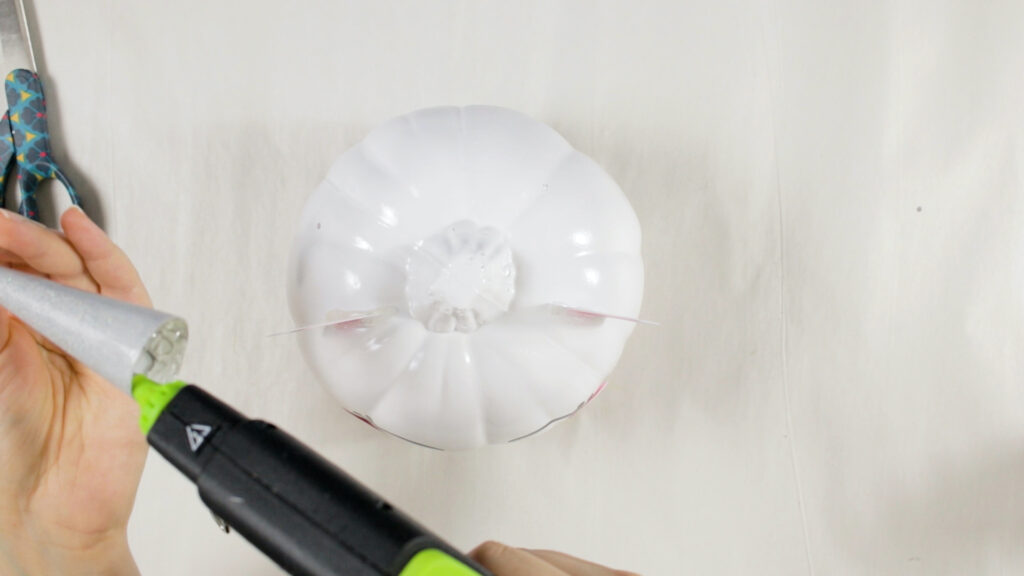
First, I removed the tab/flap from the piece of vinyl. Make sure not to remove the vinyl from its backing! So I put a line of hot glue right on the edge of one of the long sides of the horn and pushed them together holding it so the seam is as flat as possible. When It was cool enough I held it with my thumb at the base.
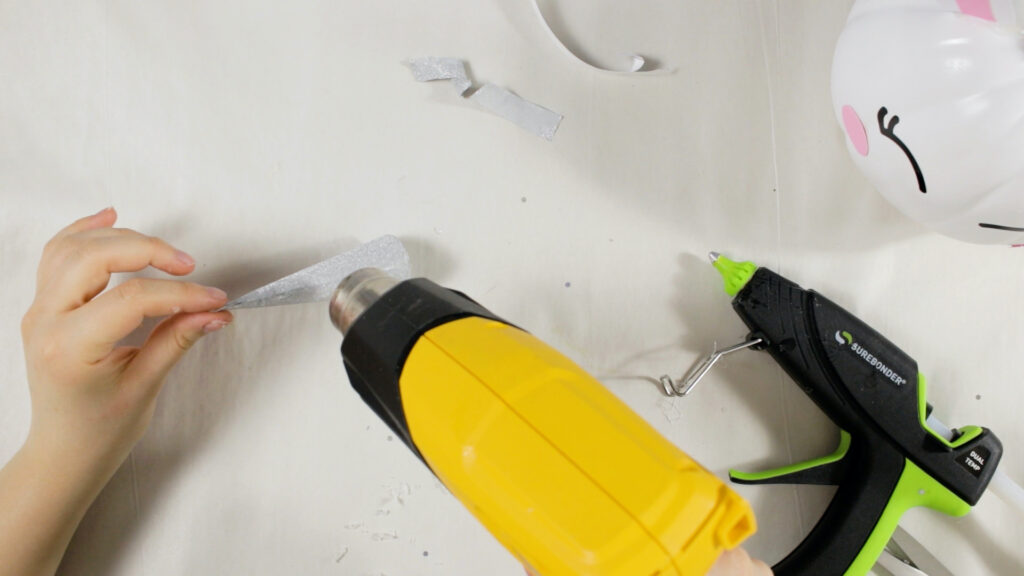
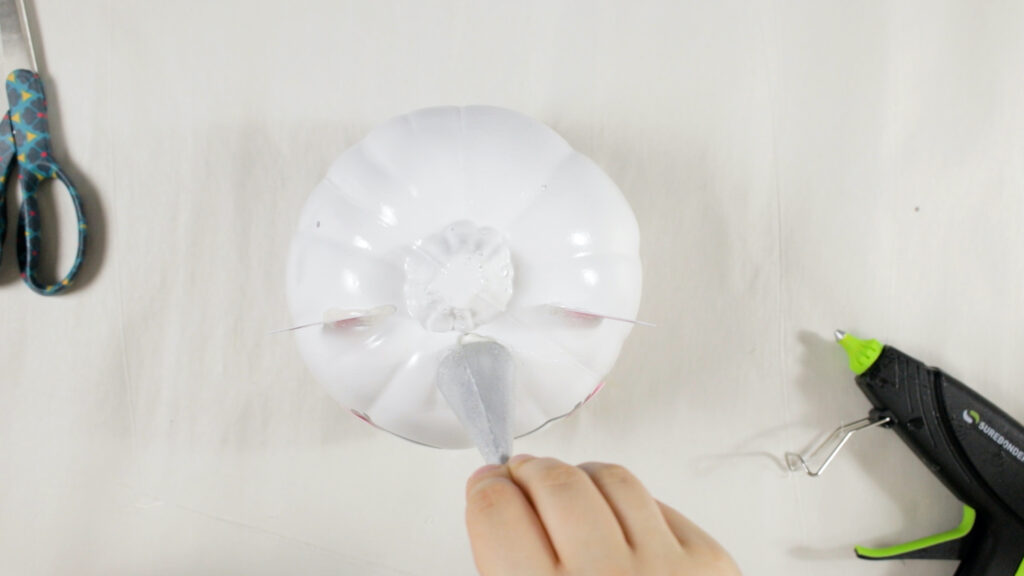
To get it extra smooth, I heated the glue back up with my heat gun and smoothed it on the inside.
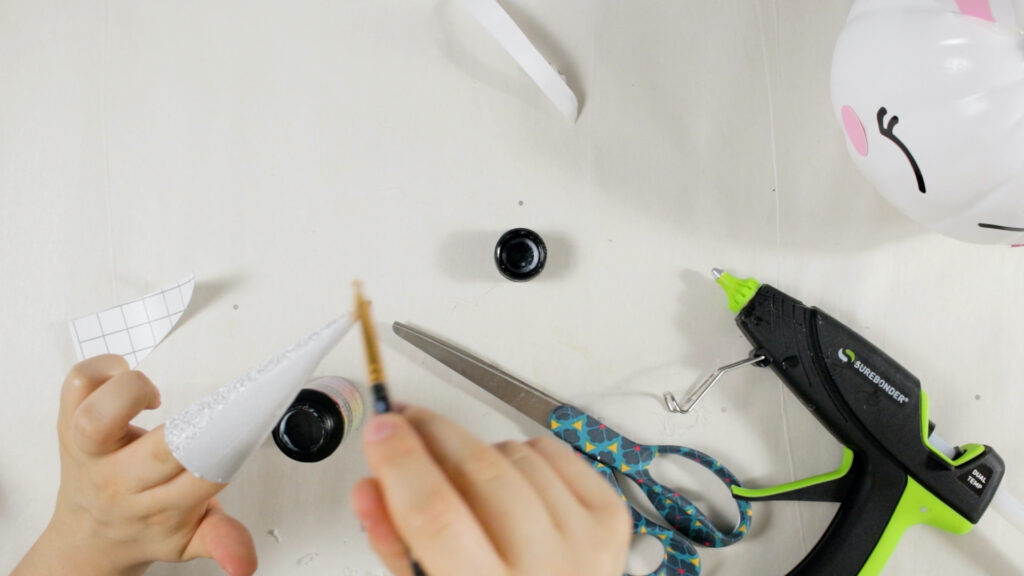
Then, I applied the Dragonfly Glaze with a paint brush. I love this stuff, It’s a glaze with little holographic glitters to give that extra little magic rainbow touch. I used my heat gun to get it dry up nice and quick, but be careful it doesn’t get too hot or the vinyl might melt.
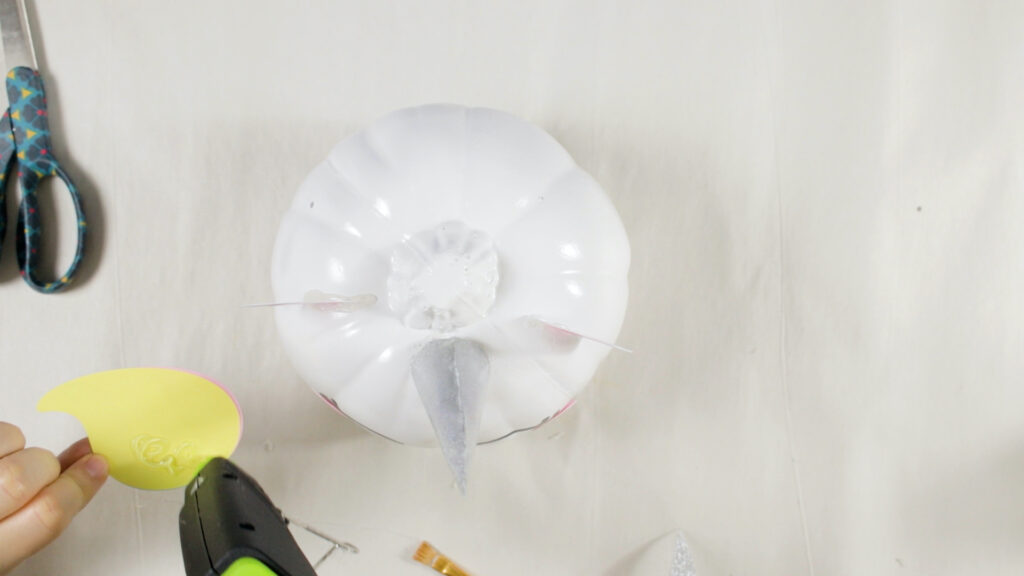
From there, I’m almost done. I put a ring of hot glue on the inside of the horn and held it in place. Make sure to put the seam to the back.

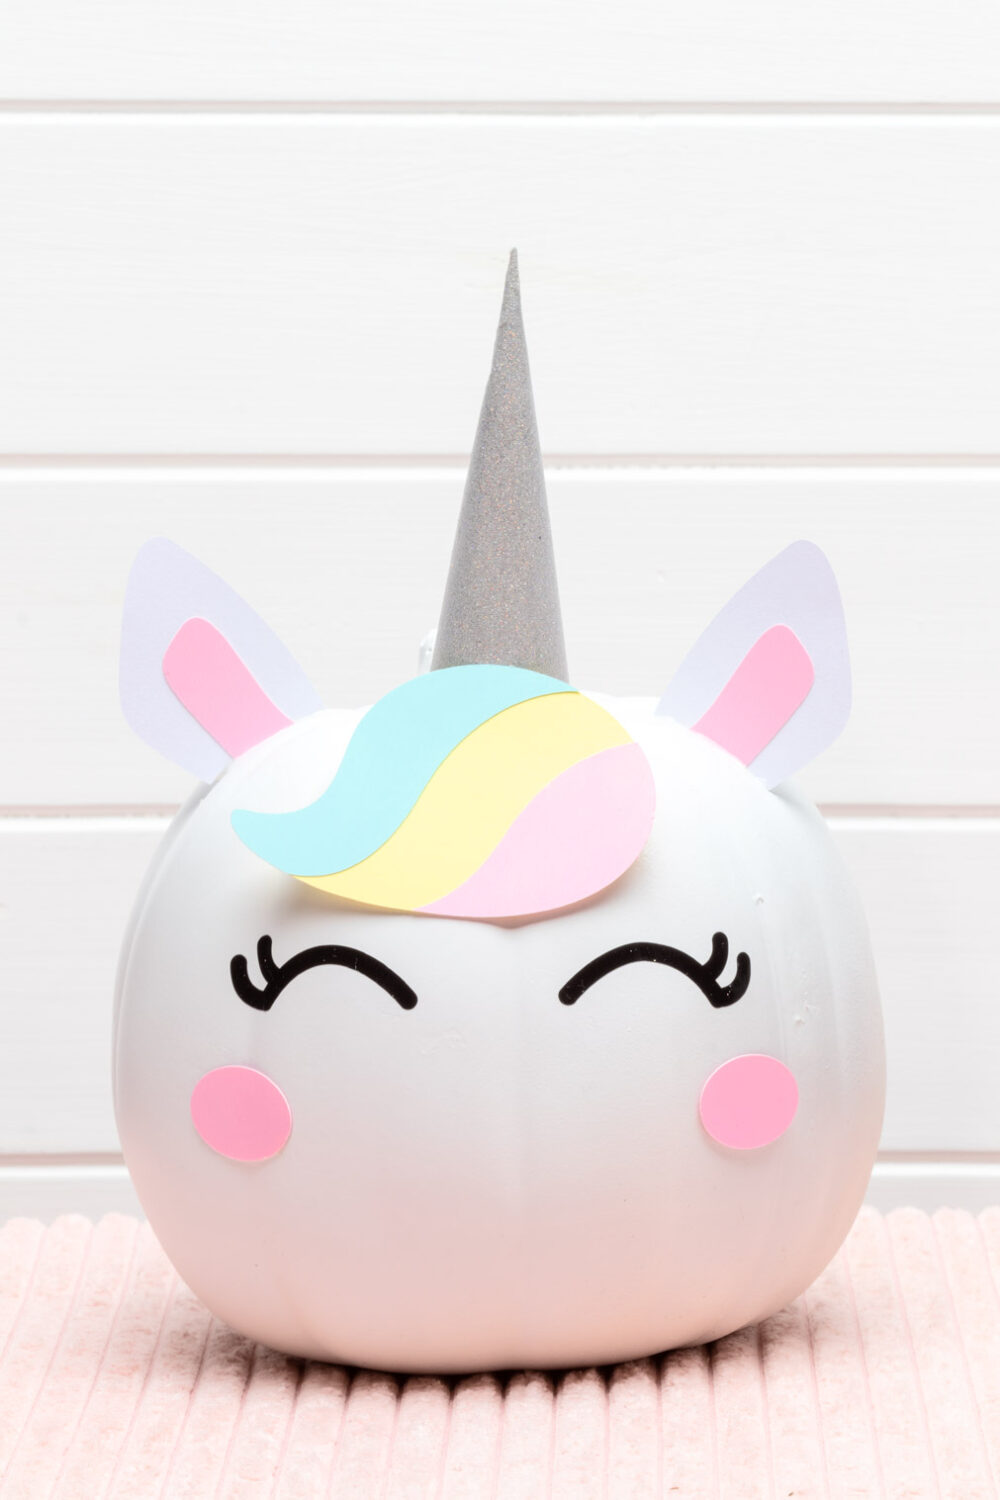
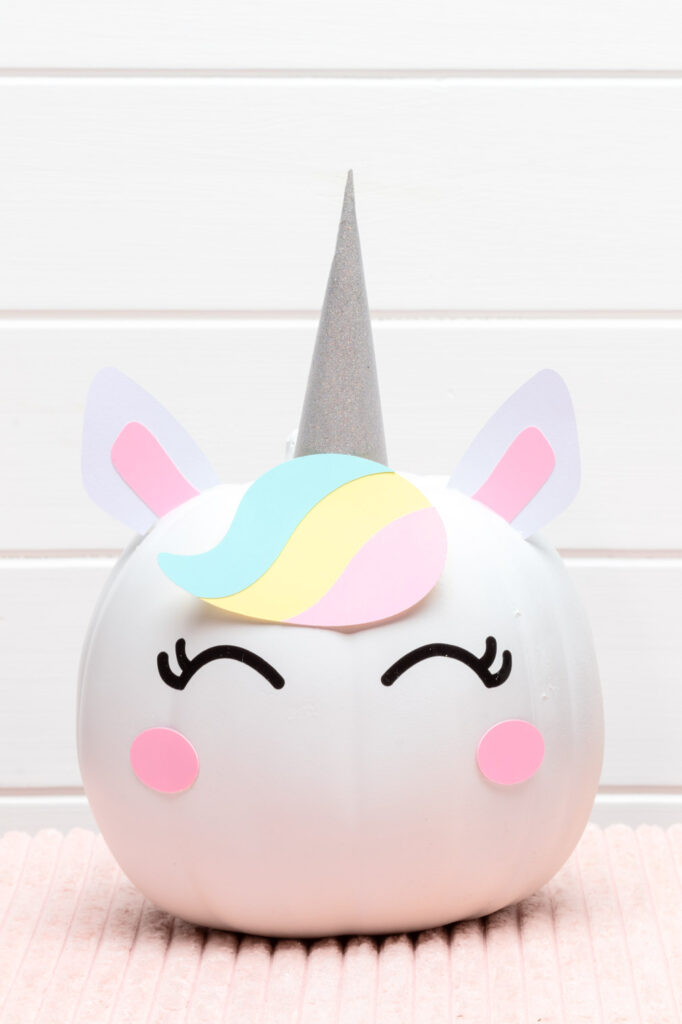
As a final touch, I hot glued the mane in front of the horn. It’s super cute and also hides anything messy that may have happened at the base of the horn.
And there you have it, a cute, simple unicorn pumpkin!

Marie - Interior Frugalista
Tuesday 17th of August 2021
My granddaughter would be all over this pumpkin. She's obsessed with all things unicorns. Very cute pumpkin idea, Olivia!
20+ DIY Pumpkin Ideas | Olivia OHern
Thursday 5th of August 2021
[…] No Carve Unicorn Pumpkin […]
Easy to Make DIY Decorations and Costumes for Halloween | Olivia OHern
Saturday 29th of August 2020
[…] Unicorn Pumpkin from Olivia O’Hern […]