An Easter basket they can use all year long.
Easily customizable, change colors add a name
Supplies:
- Adhesive Vinyl
- Transfer Tape
- Cricut Maker
- Surge Protector
- Weeding Tool
- Scissors
- Bucket
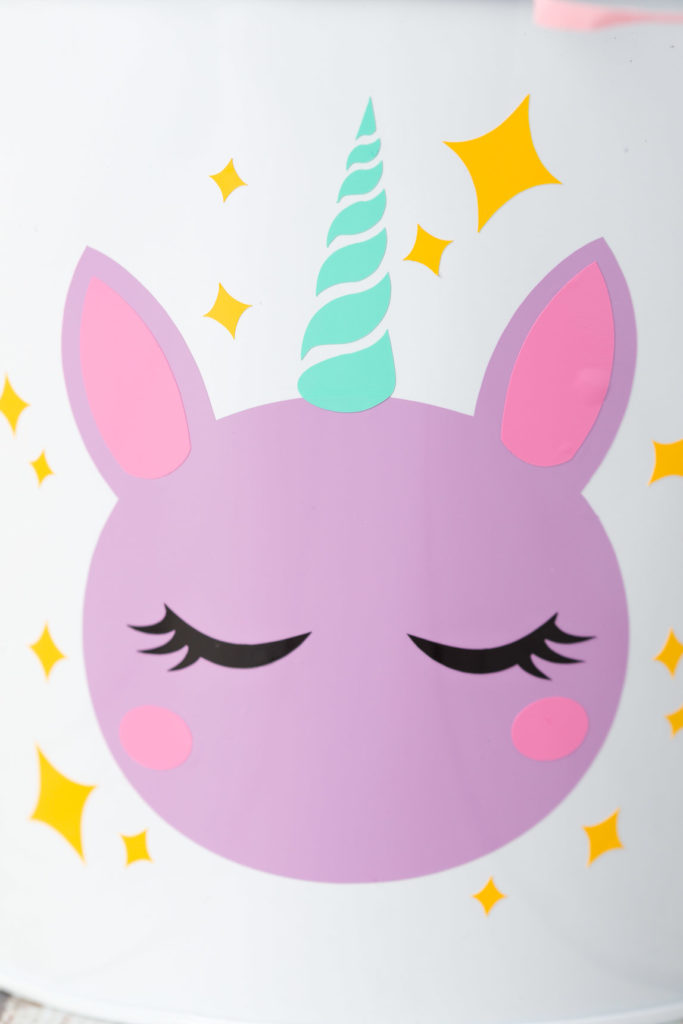
Vinyl for Unicorn:
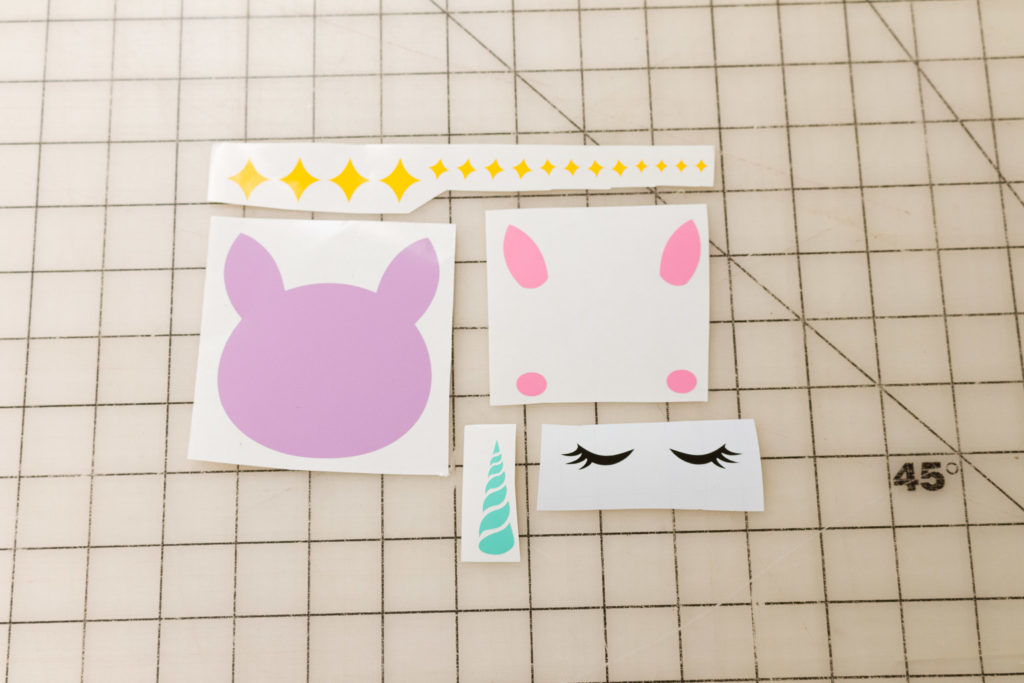
Lilac, Medium Pink, Aqua, Yellow, Black
Vinyl for Sloth:
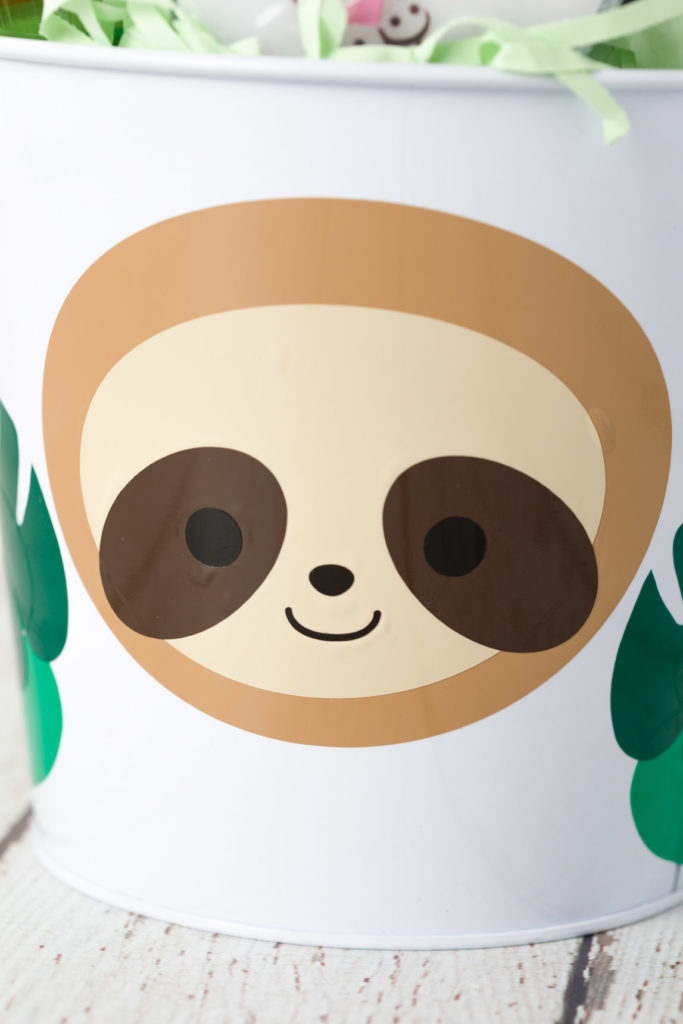
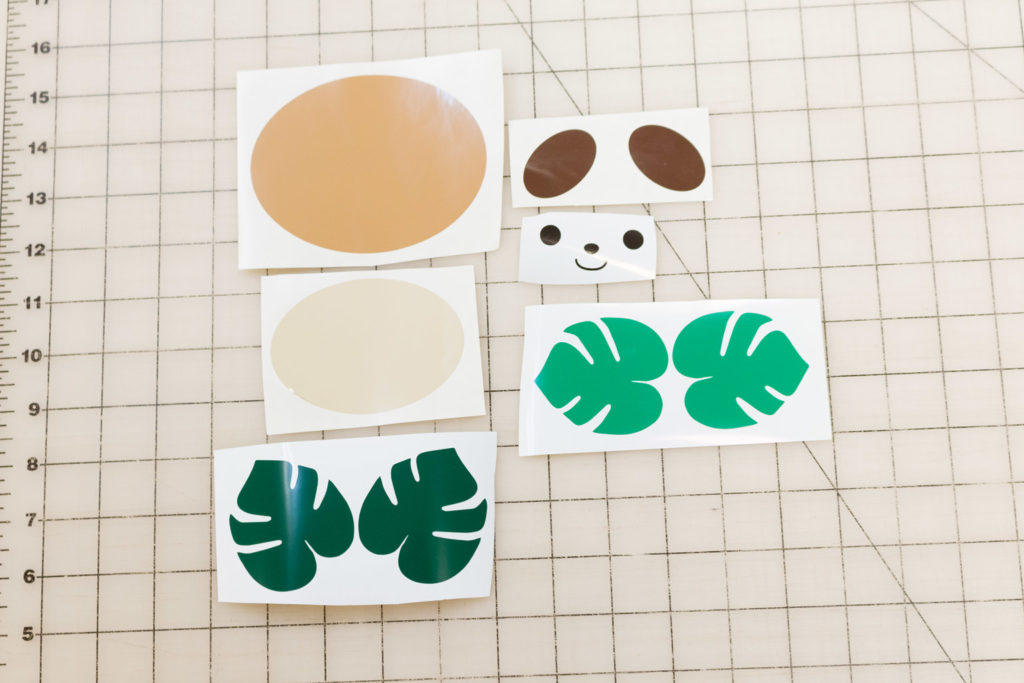
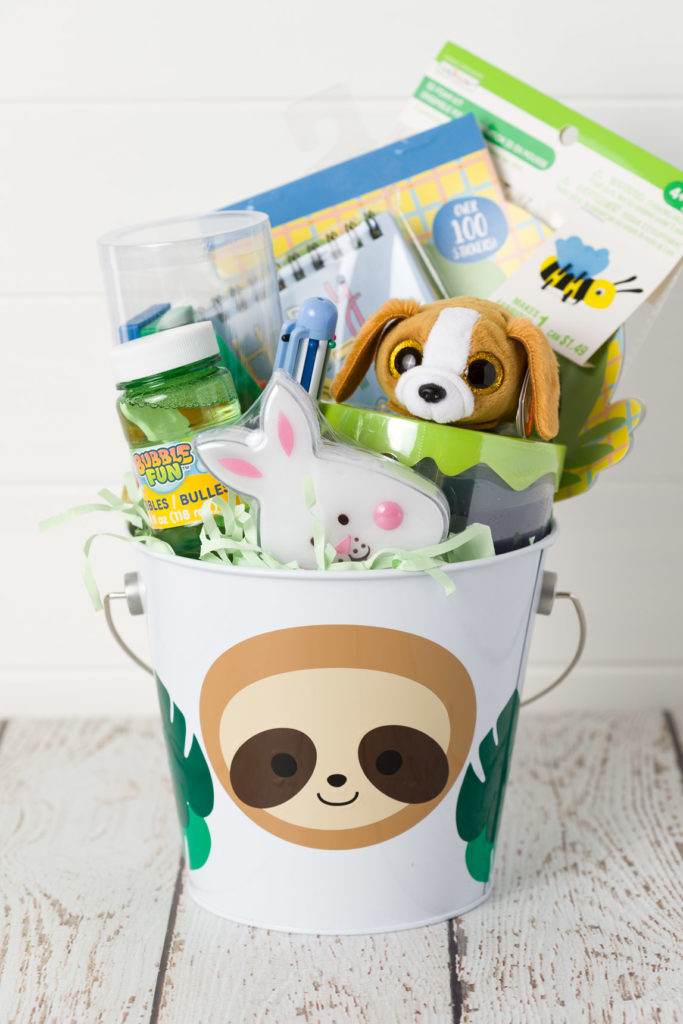
Tan, Light Beige, Dark Brown, Black, Forest Green, Kelly Green
Vinyl for Triceratops:
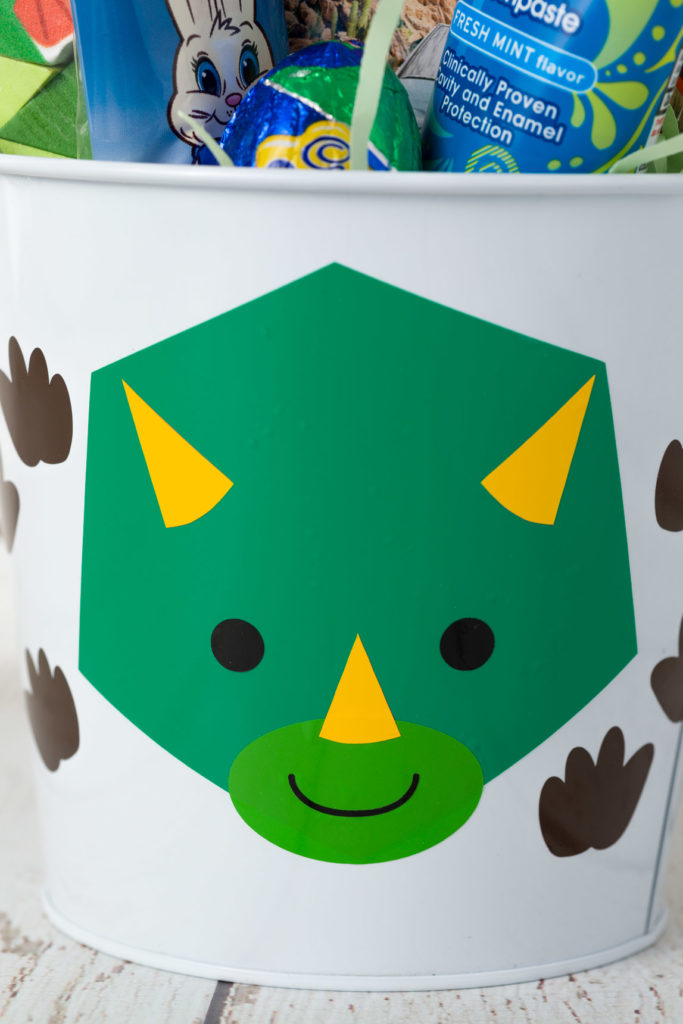
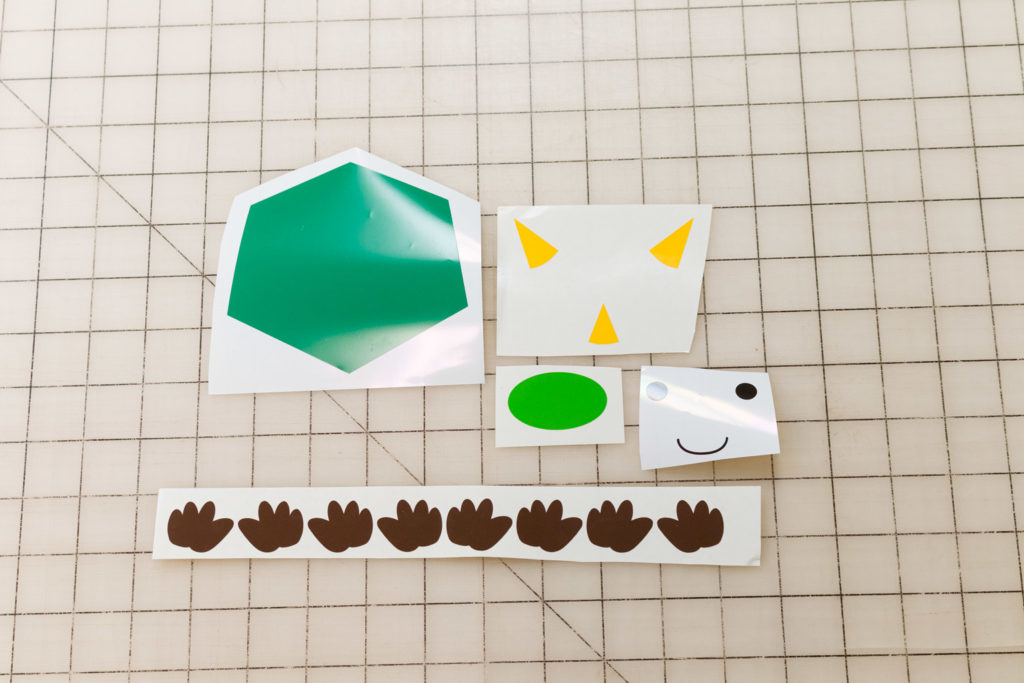
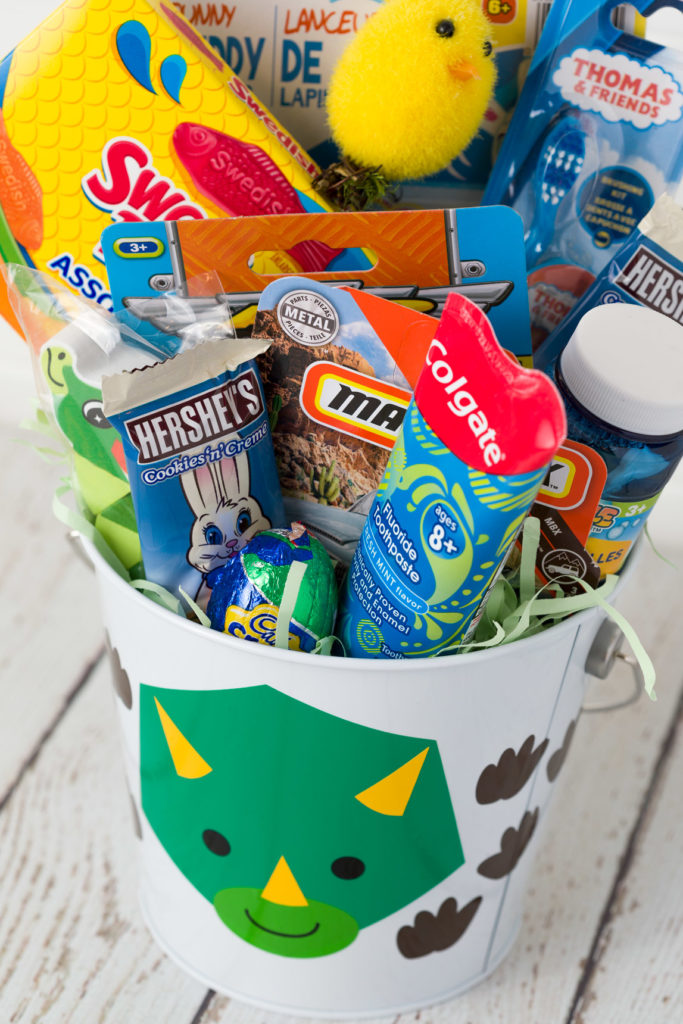
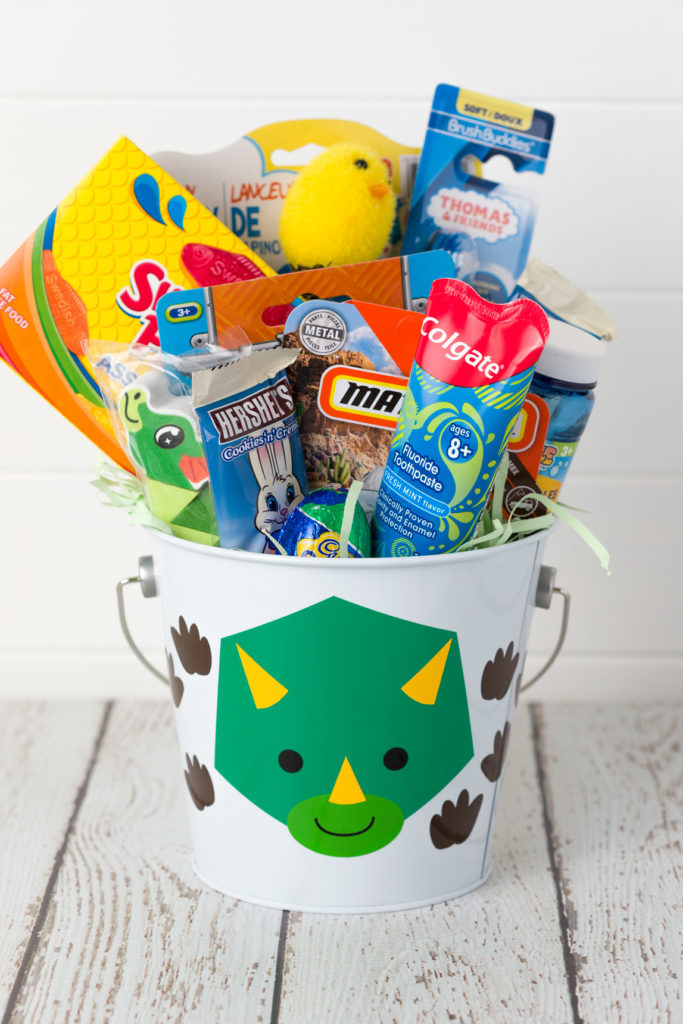
Kelly Green, Lime Green, Yellow, Black, Dark Brown
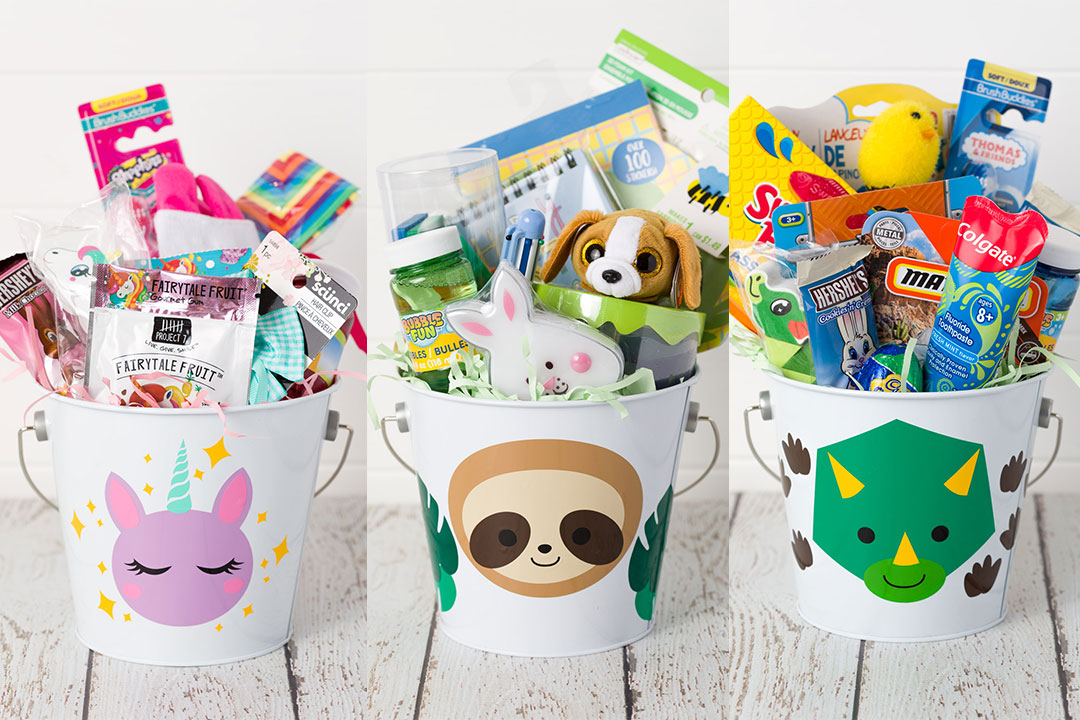
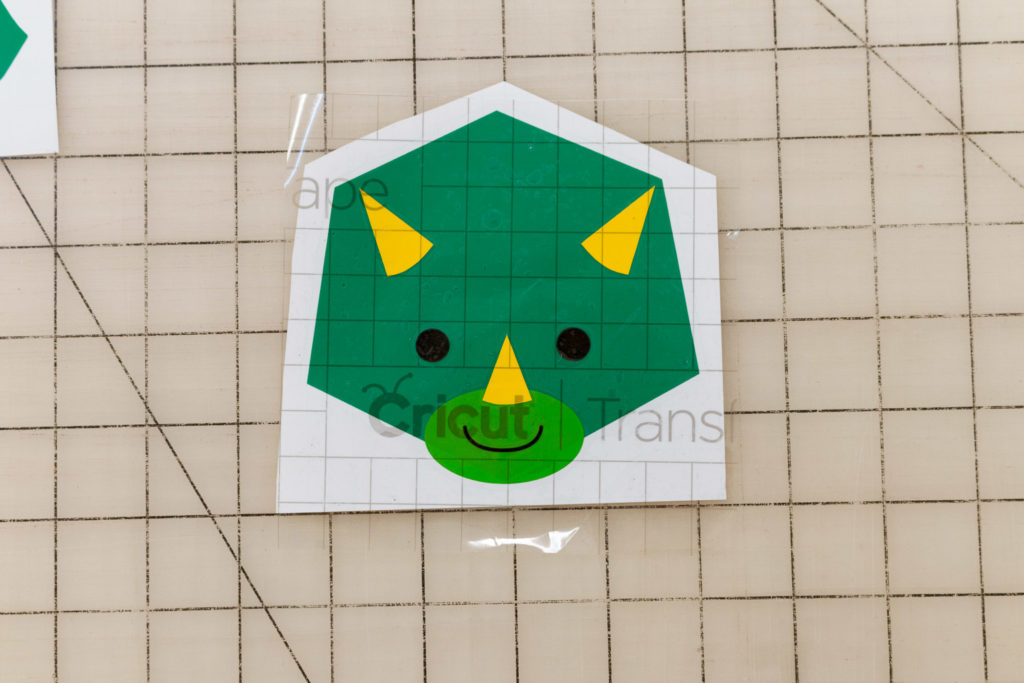
First, cut all of the vinyl pieces out with your Cricut. Weed the extra vinyl away. Using a scraper and transfer tape apply your decal pieces onto the front center of the buckets.
Here’s the Order:
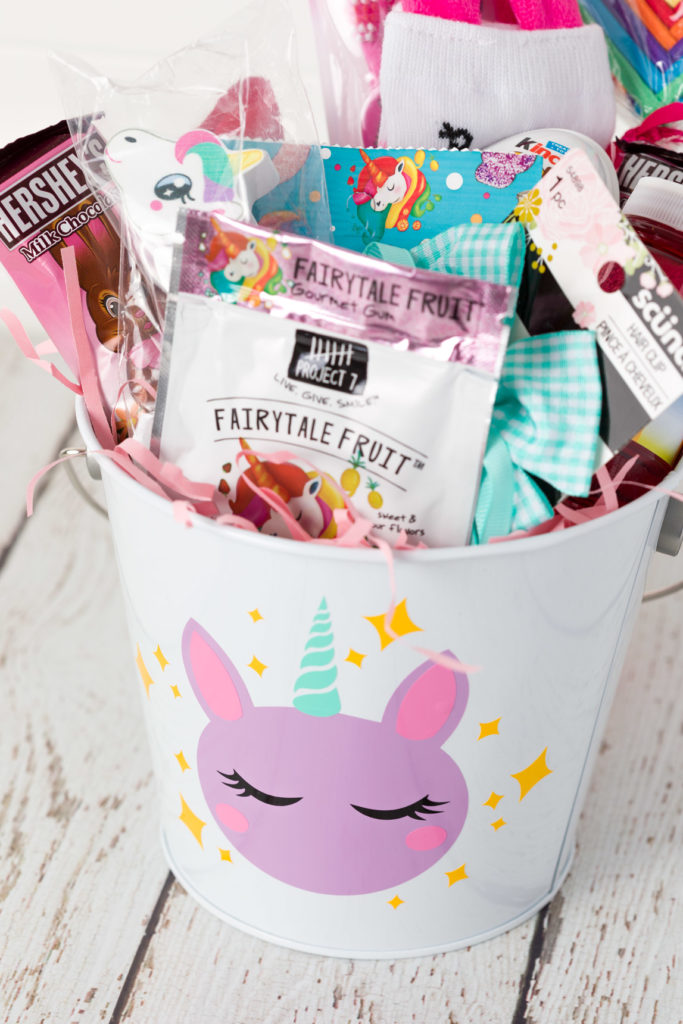
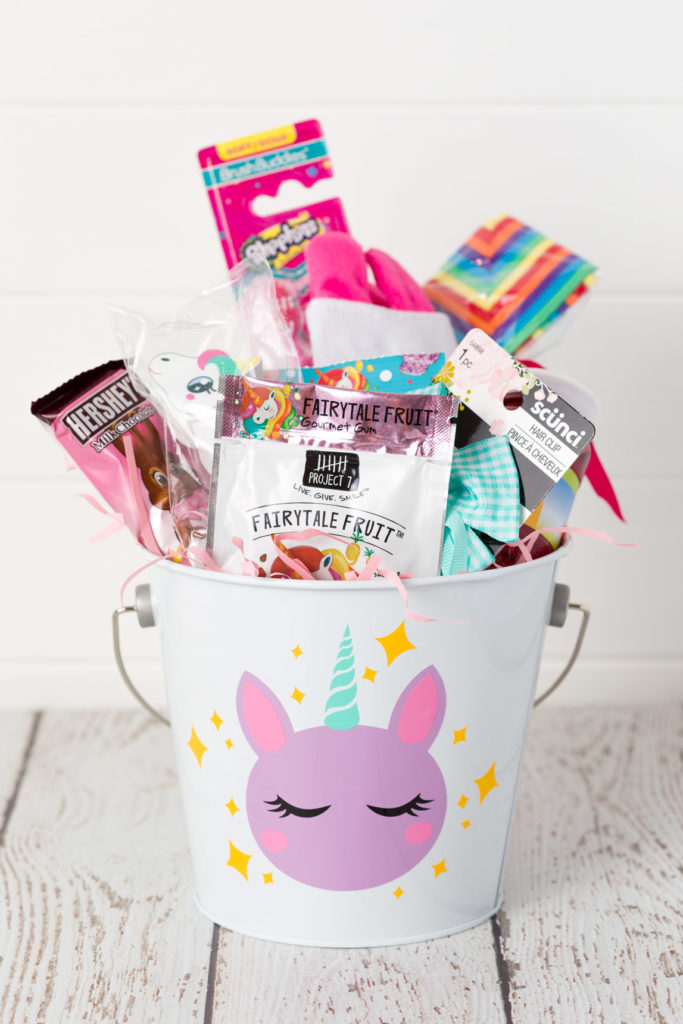
Unicorn:
Head > Ears & Cheeks > Eyes > Horn > Stars
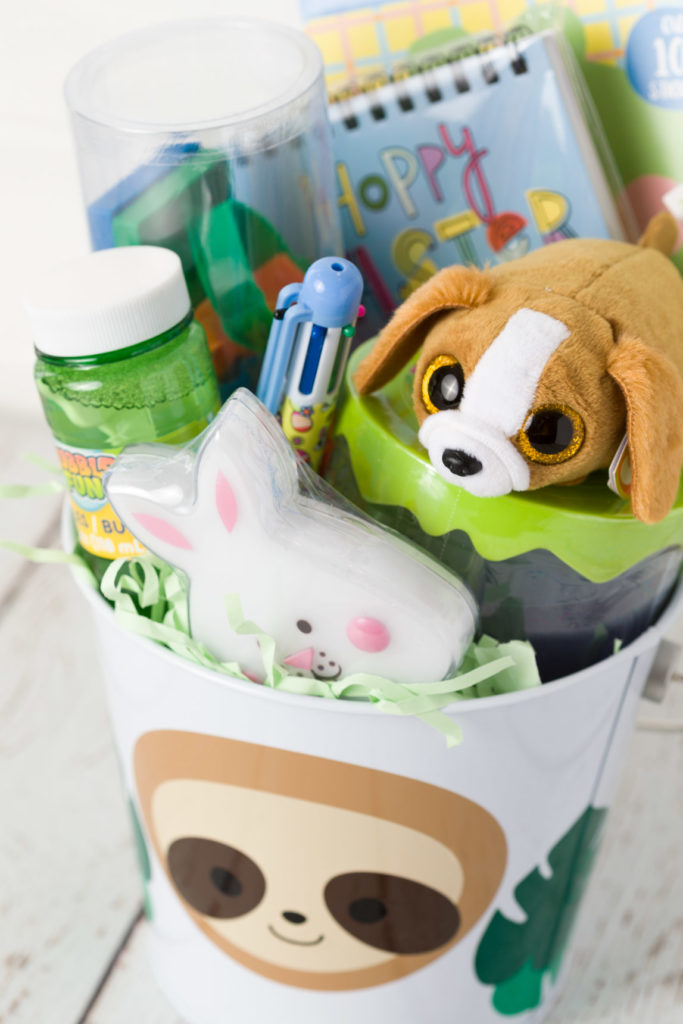
Sloth:
Head > Face Shape > Eye Ovals > Face > Leaves
Triceratops:
Head > Mouth > Face > Horns > Footprints
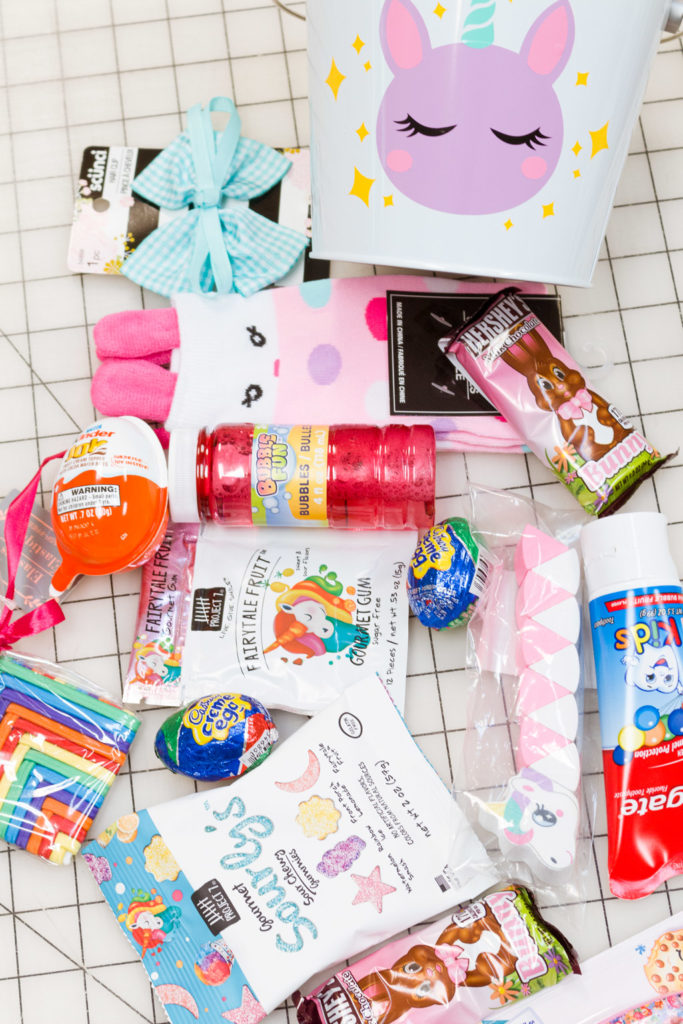
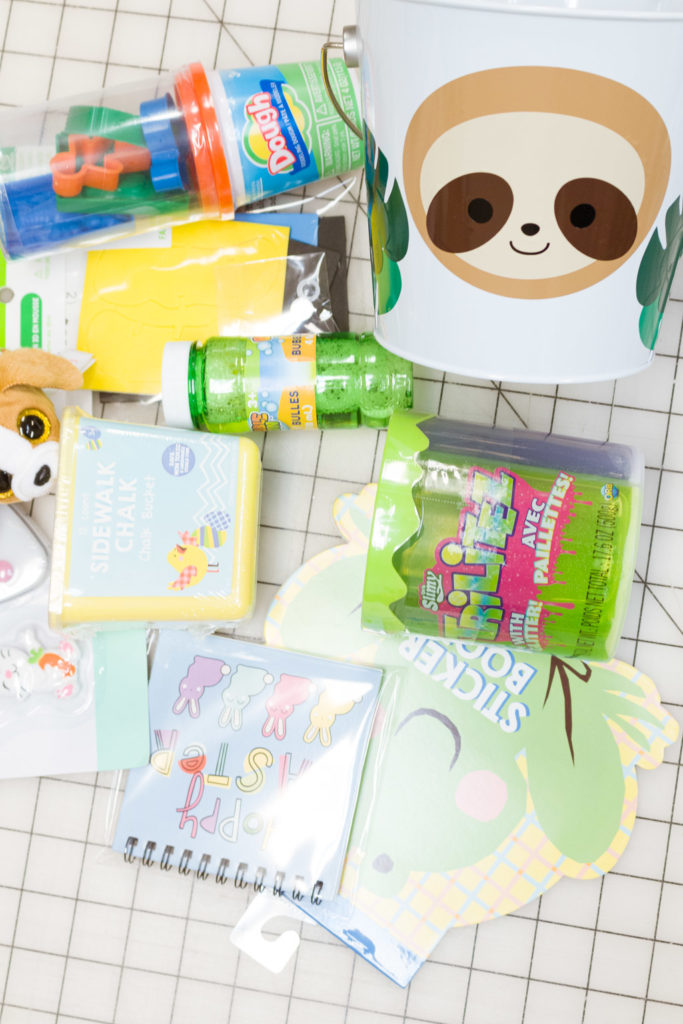
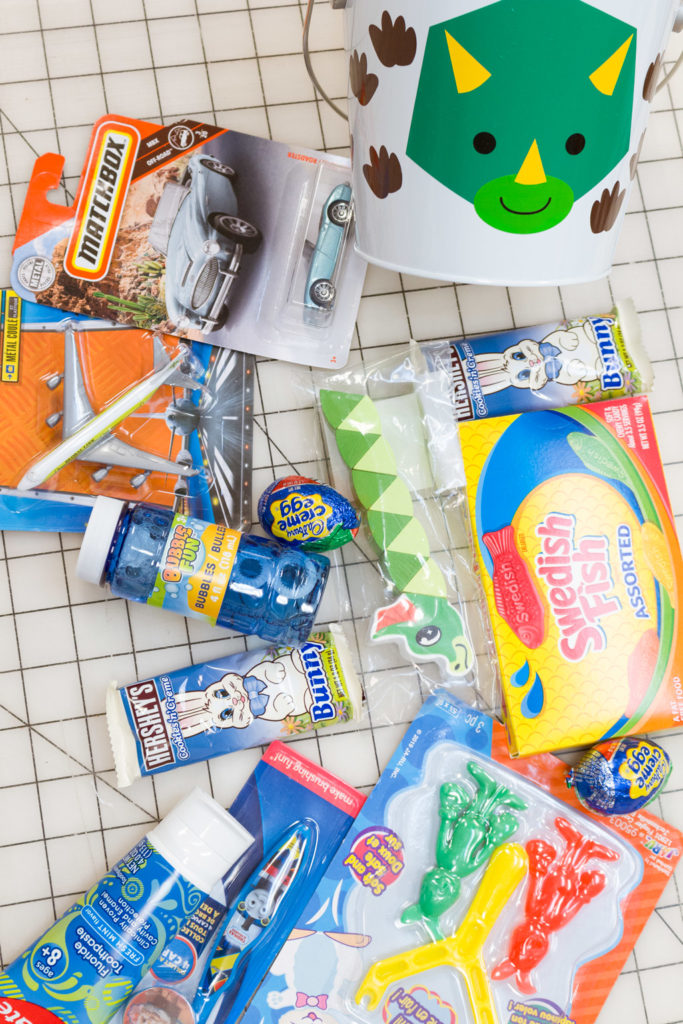
Now what to put in the basket?
I automatically think of candy and eggs for Easter
The Easter Bunny doesn’t have a bank account, and you shouldn’t feel like you have to empty yours for an Easter basket.
More Easter Basket Projects!
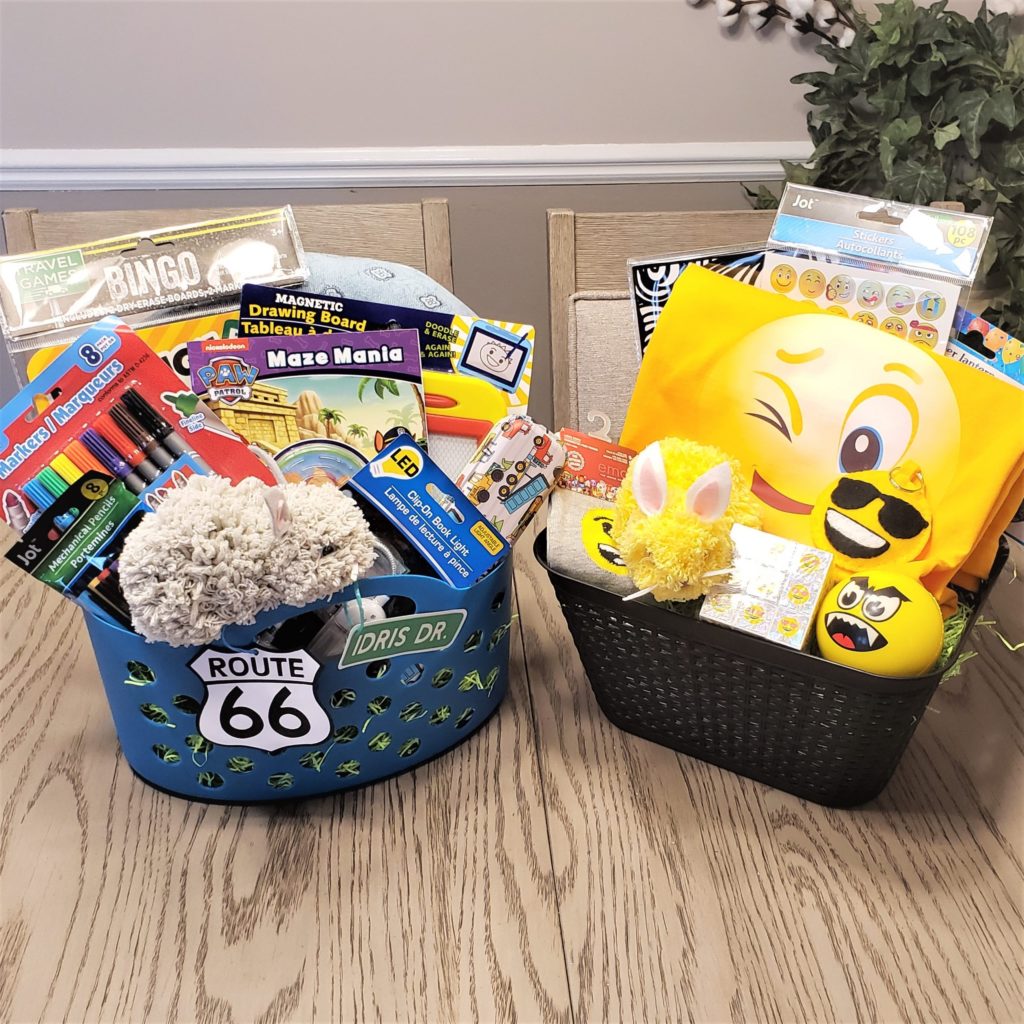
Check out some fun projects Salmonde has made for her non-food Easter baskets!
Some More Easter DIYs
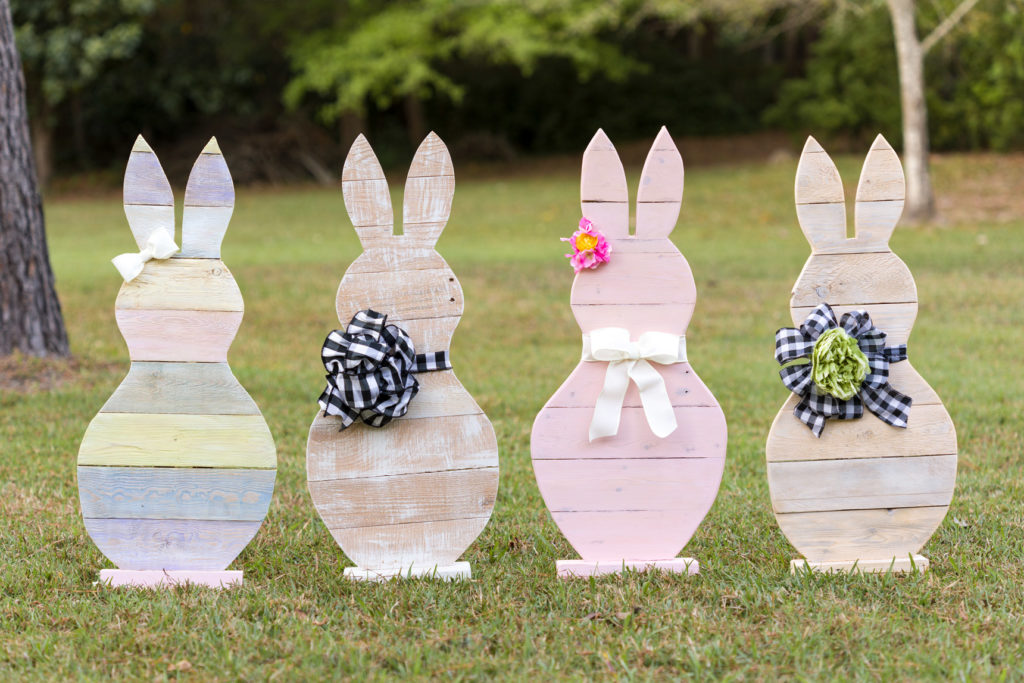

Trendy Easter Projects With Adhesive Vinyl - Kayla Makes
Thursday 16th of February 2023
[…] Layered Animal Face Decals […]
Easy Unicorn Glitter Epoxy Resin Coaster How To - Olivia OHern
Friday 15th of October 2021
[…] How to Make Cute Unicorn Decorations Adorable Vinyl “Feeling Magical” Unicorn T-Shirt Quick & Easy Easter Basket Vinyl Decals […]
Pamela
Tuesday 17th of March 2020
Oh my goodness...these are ADORABLE!!! I absolutely love all of these Easter baskets!
Rebecca
Tuesday 10th of March 2020
Your Easter Basket vinyl decals are adorable, Olivia! My daughter would go crazy for the unicorn. You've inspired me to learn how to use my new Cricut. Congrats! You've been featured this week at Celebrate Your Story!
Kippi
Tuesday 10th of March 2020
Wow! I love these Easter basket ideas! My favorite is the unicorn:) Happy Spring, Kippi