This post may contain affiliate links. This means that if you purchase from one of these links I will make a small commission, but rest assured you will not pay more for any products.
- Cricut Maker
- Cricut Rotary Blade
- Cricut Applicator and Remover Set
- Cricut FabricGrip Machine Mat
- Cricut Brightpad
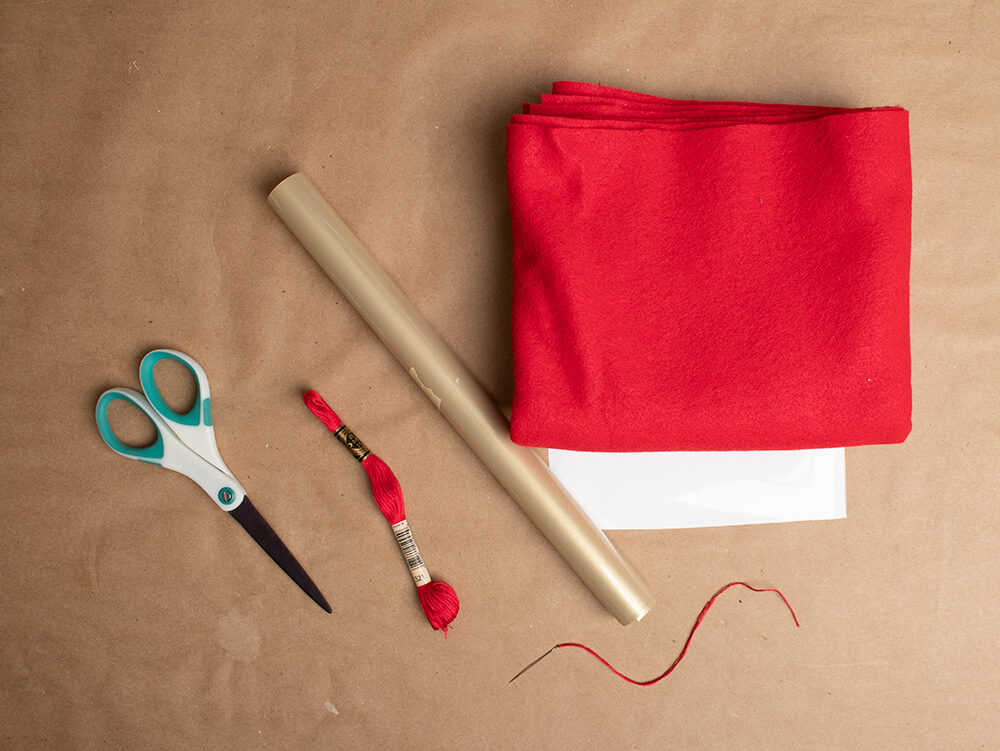
- Red Felt
- Red Embroidery Floss
- Crewel Needle
- Scissors
- Pins
- Iron-on Vinyl
- Cricut StandardGrip Machine Mat
- Cricut Weeding Tool
- Cricut EasyPress Mini
- Cricut EasyPress Mat
- Teflon Pressing Sheet
First you’ll want to download the available pattern. I have a cut file and printable version of the cozy available. Please note: the printable pdf does not include the “Sweater Weather” design.
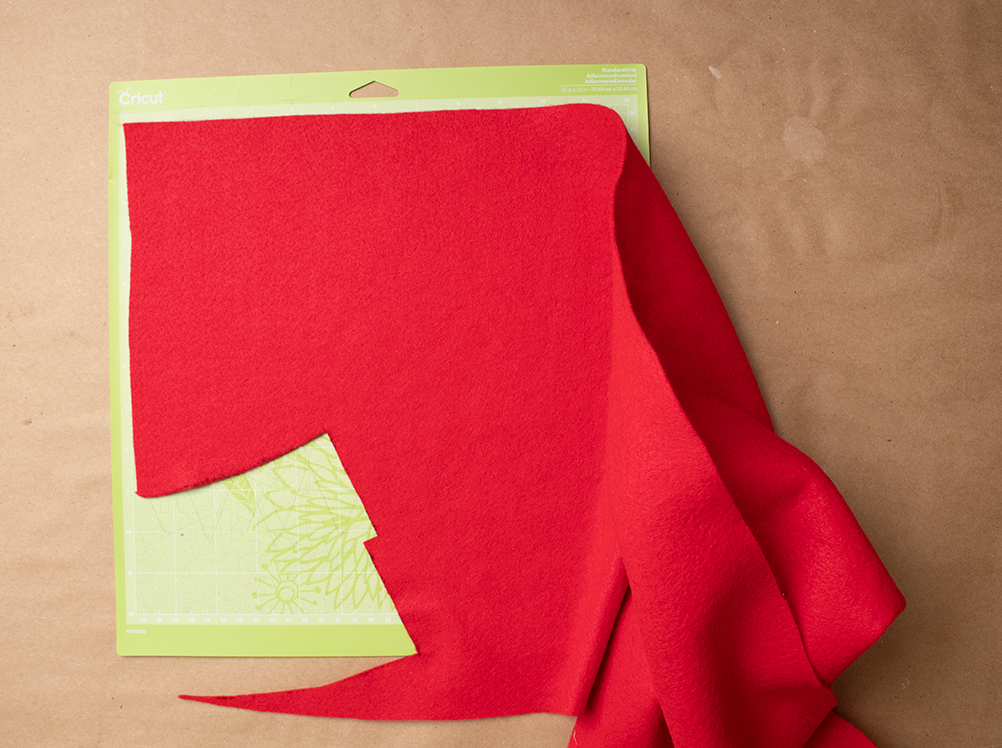
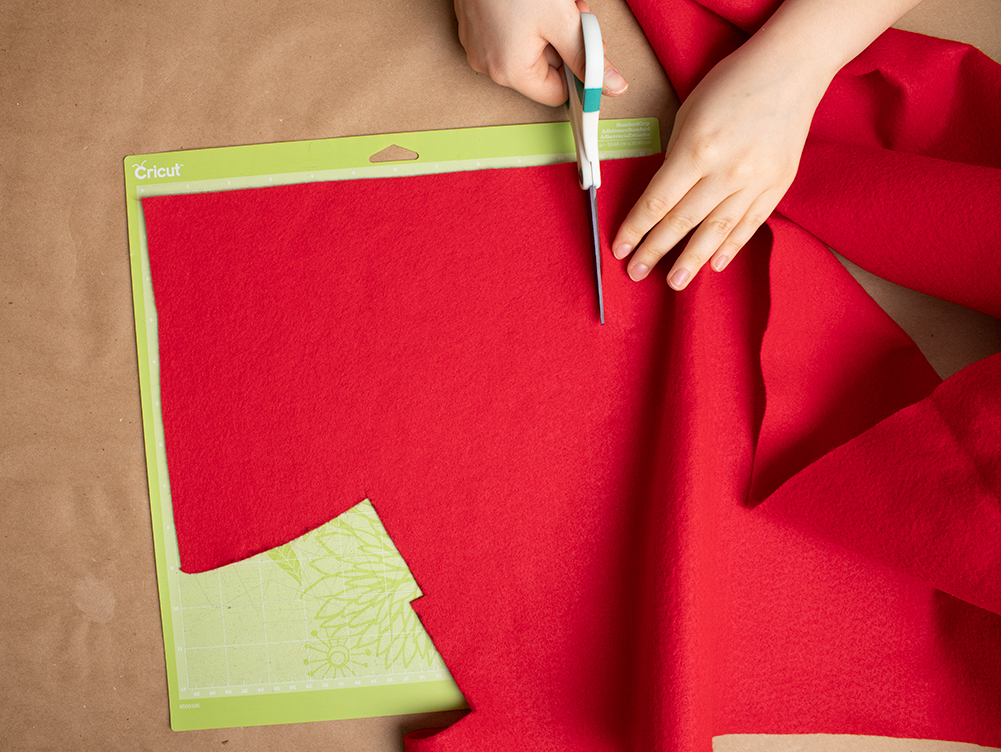
You will need a piece of felt approximately 10.5″ x 8″ to cut out the inside and outside pieces of your coaster, meaning cutting two of the pattern piece.
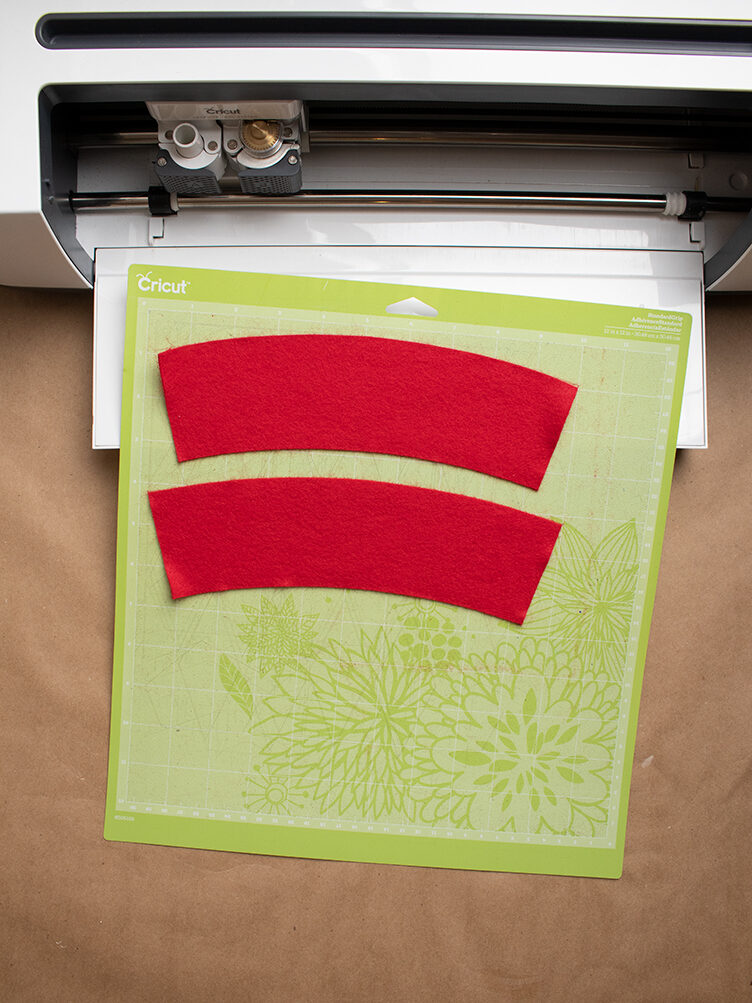
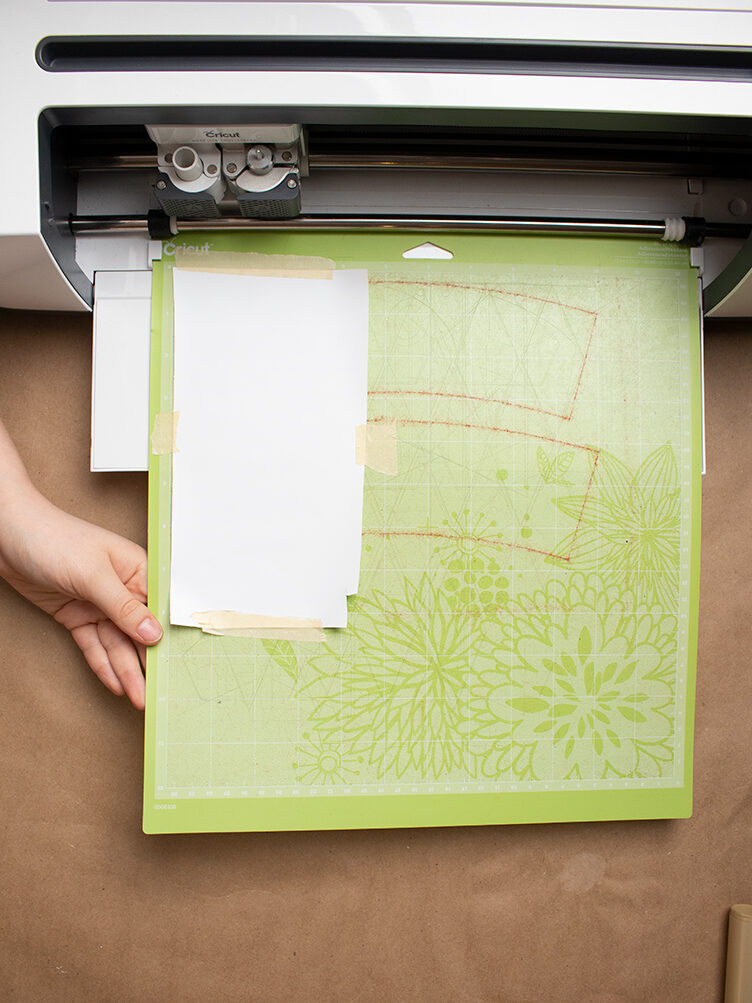
For the felt, I like to use the Felt setting with my rotary blade. I always get a nice precise edge. Then, for the iron-on vinyl, I switched to my standard blade. Remember when cutting iron-on to mirror the design and cut with the shiny plastic side down!
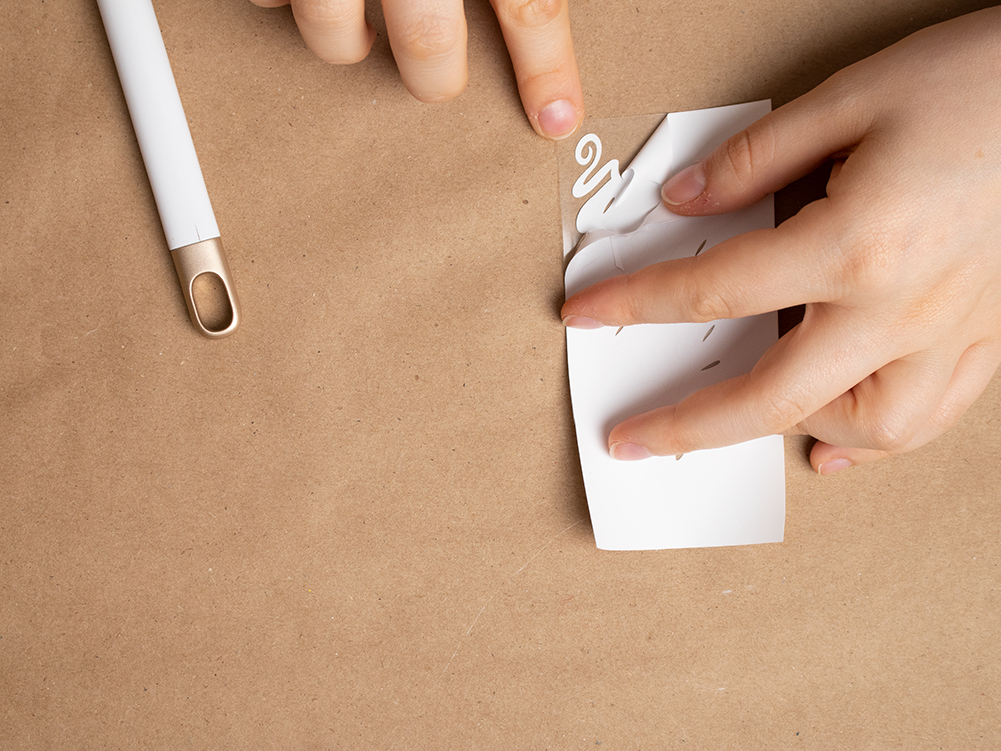
So one trick I like is to use my Cricut BrightPad to weed my vinyl decals. I used to use my window during the day, but plugging in the BrightPad is way easier. Plus, the BrightPad has different brightness settings, which I have not seen in other lightboxes.
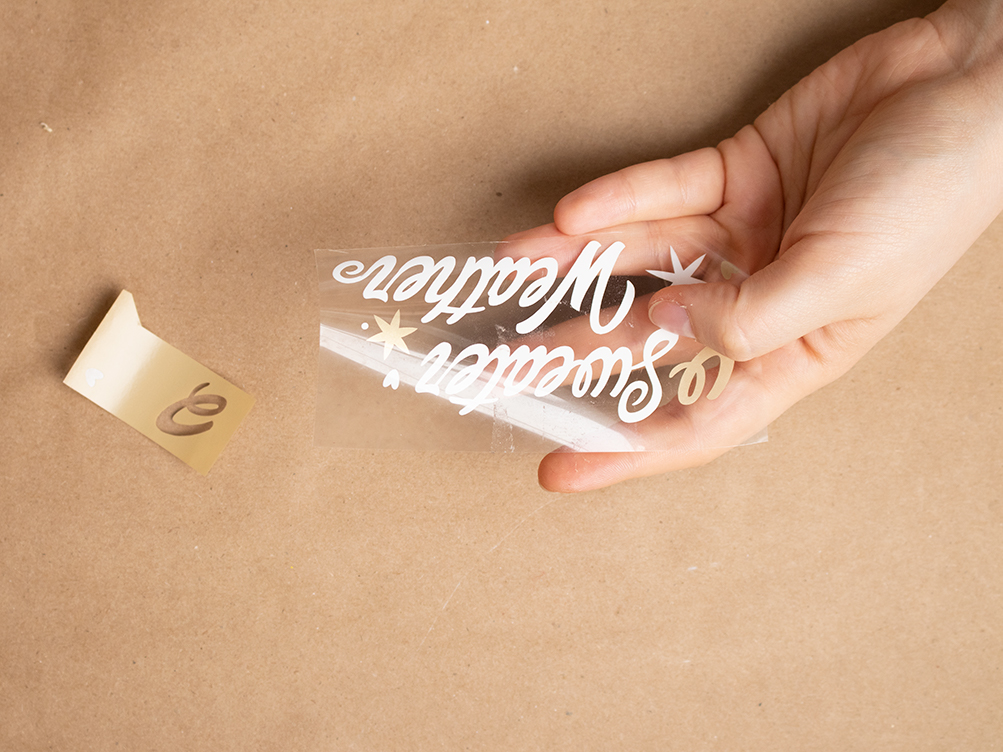
Since I only had three little gold pieces, I peeled them off the plastic carrier sheet and placed them onto the white one. This way I only had to iron one design instead of multiple layers.
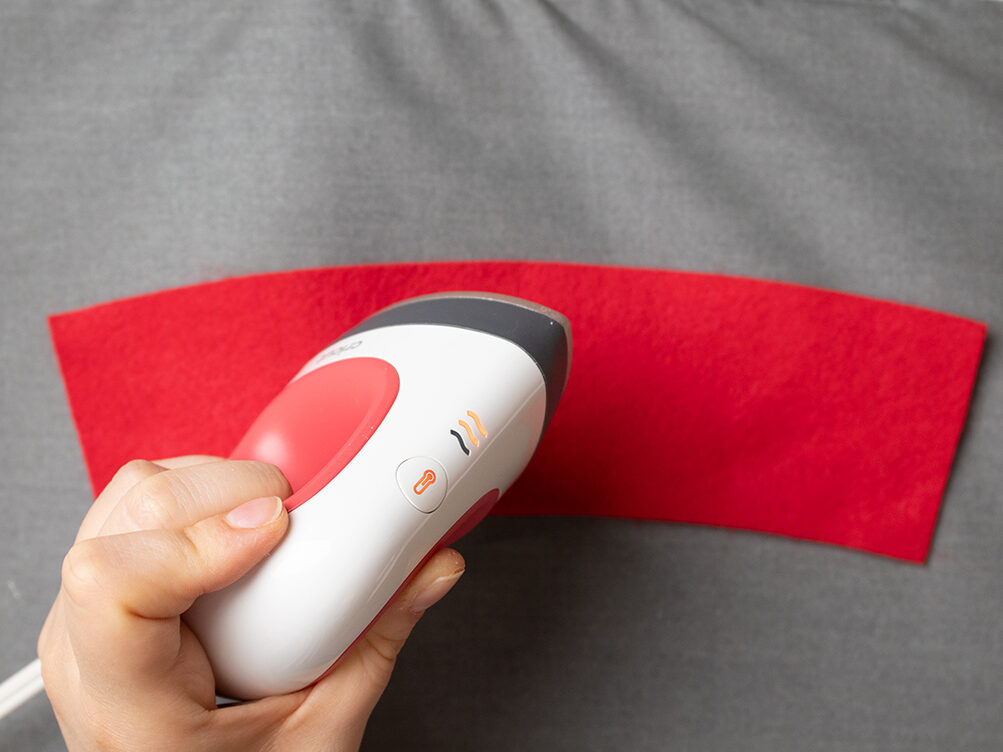
I always use my Cricut Pressing Mat to protect my work surface from the heat and potential moisture. Since this is a small design, I am using my Cricut EasyPress Mini.
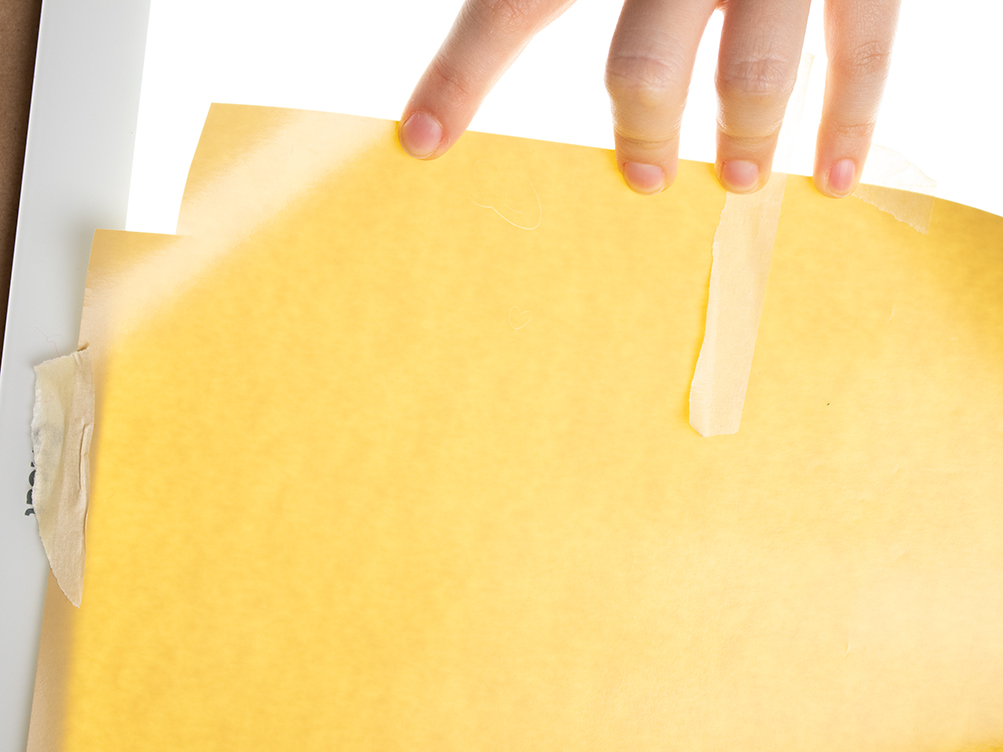
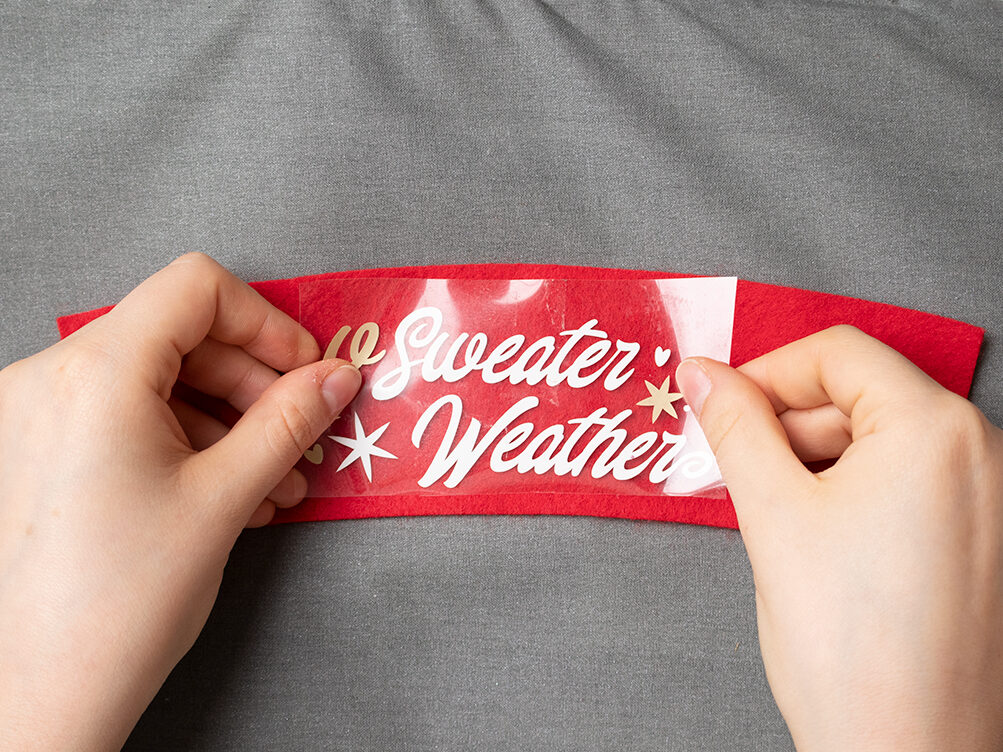
First heat up the felt for about 5-10 seconds. Then lay your design shiny side up (you should be able to read the words) on the felt where you want it to be. Cover it with a teflon sheet and press for 30 seconds, then flip the piece over and press it from the back for an additional 5 seconds. Depending on the which vinyl you use the point to pull the plastic off can be different. For mine, it works best to let the vinyl cool before pulling away the plastic carrier sheet.


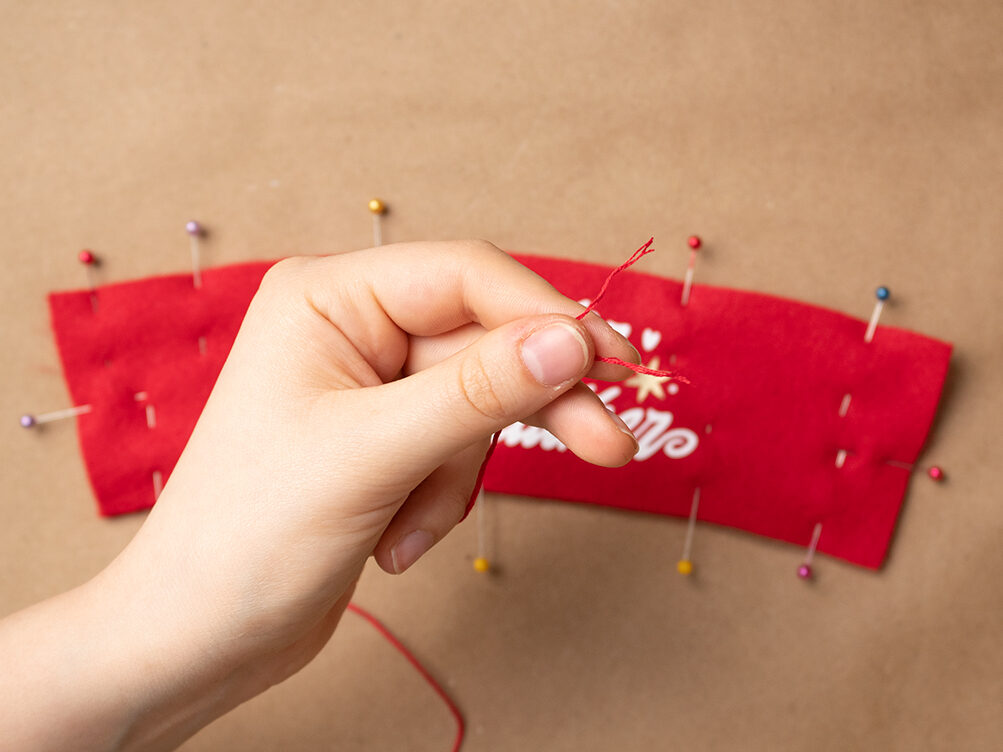
Lay the front piece on top of the other piece and pin them together. Separate 3 strands of embroidery floss to sew with.

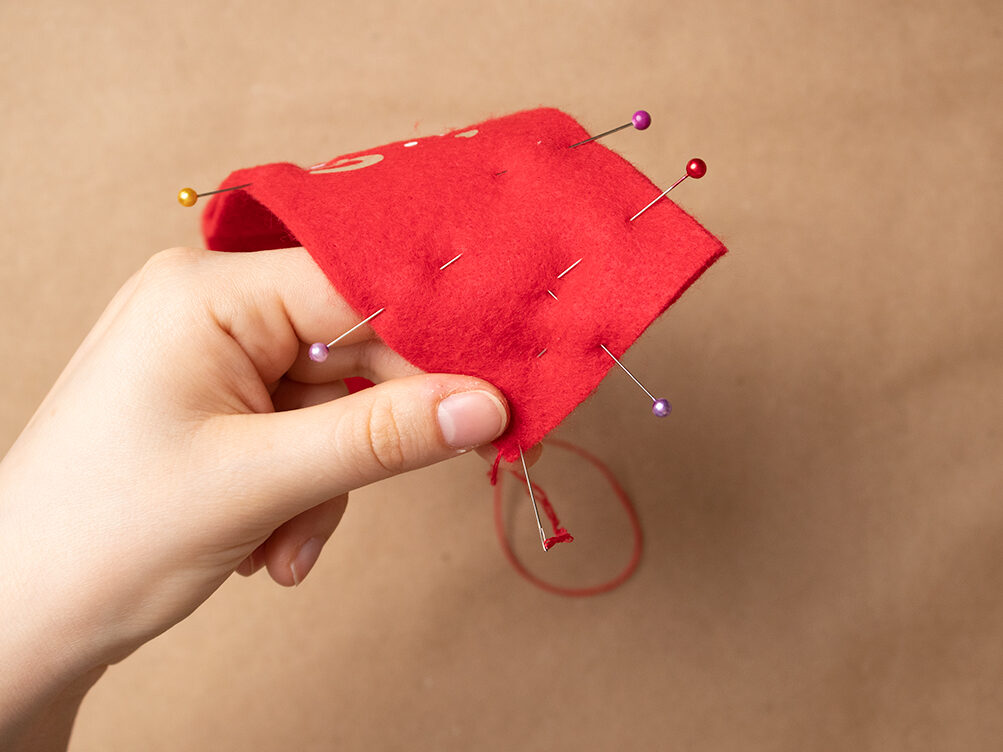
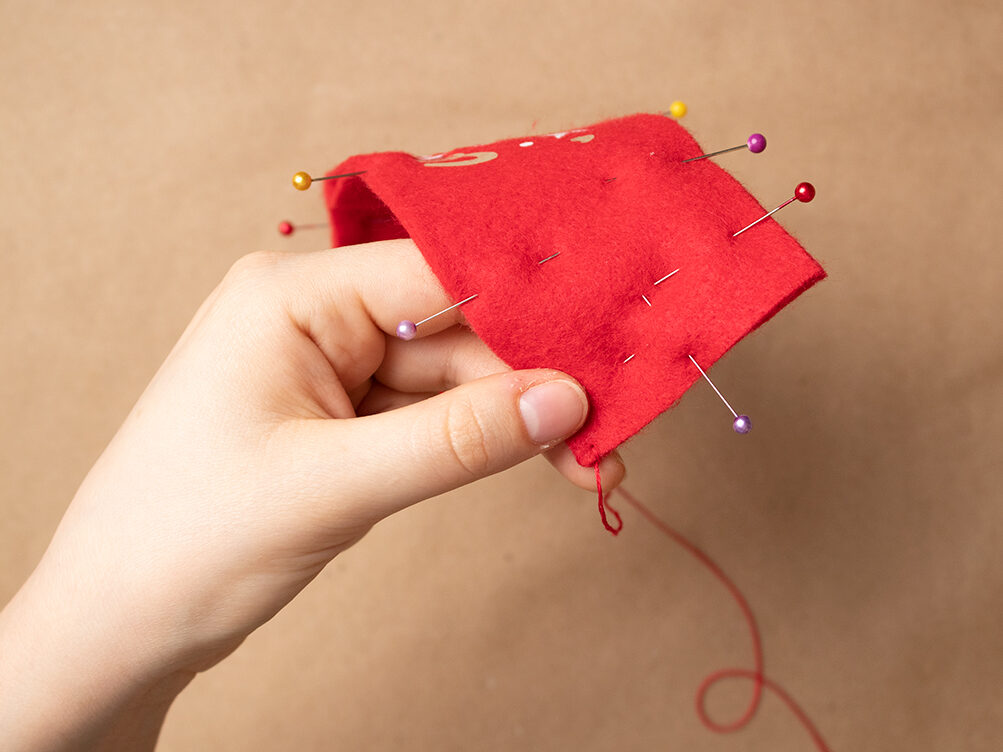

Thread your needle with the 3 strands of embroidery floss and knot the end. Start from the inside of the cozy to hide the knot. Blanket stitch around the perimeter of the cozy.

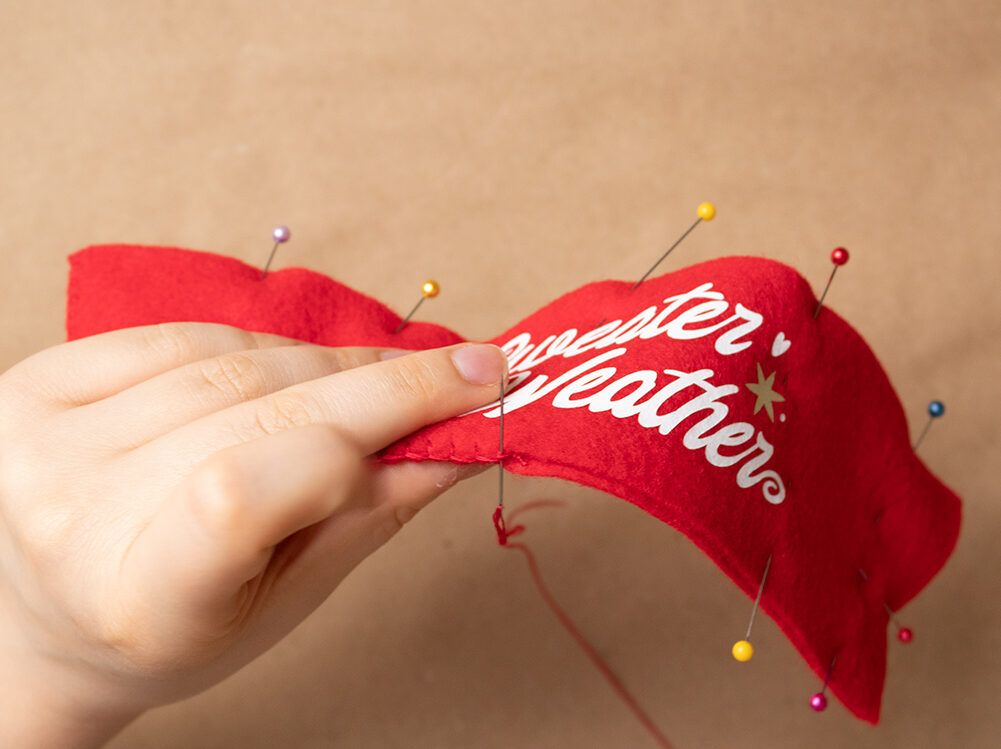
You will get better results by stitching with multiple shorter lengths of floss. I worked with about 20 inches at a time. When your thread gets almost too short for a stitch, knot it off. Then, start with a new piece and continue on.
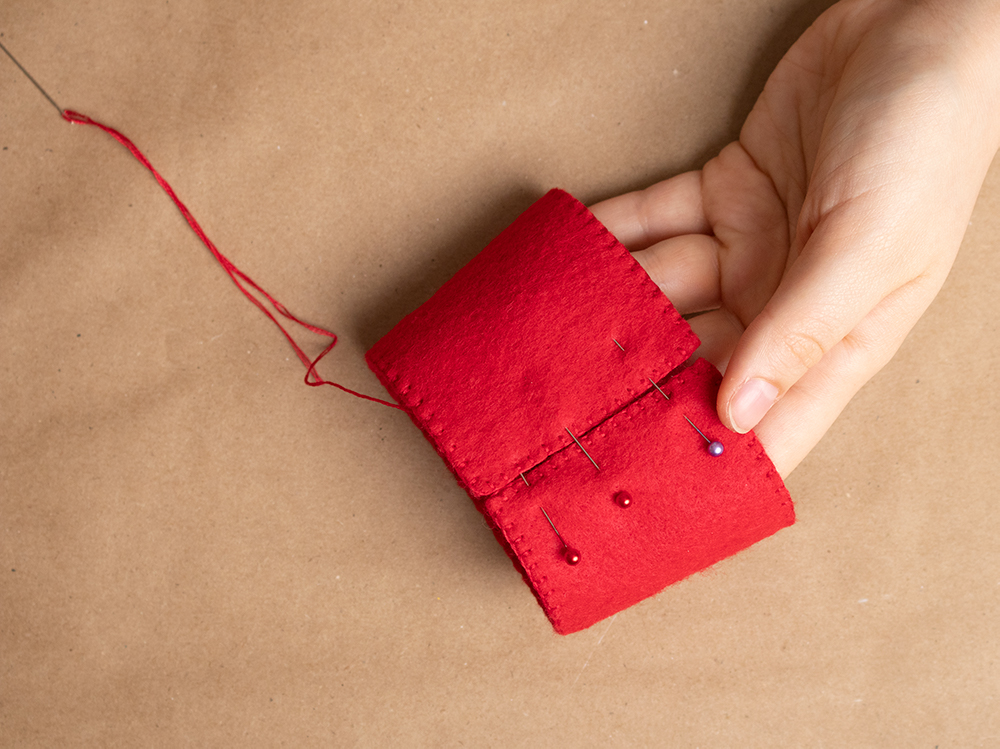
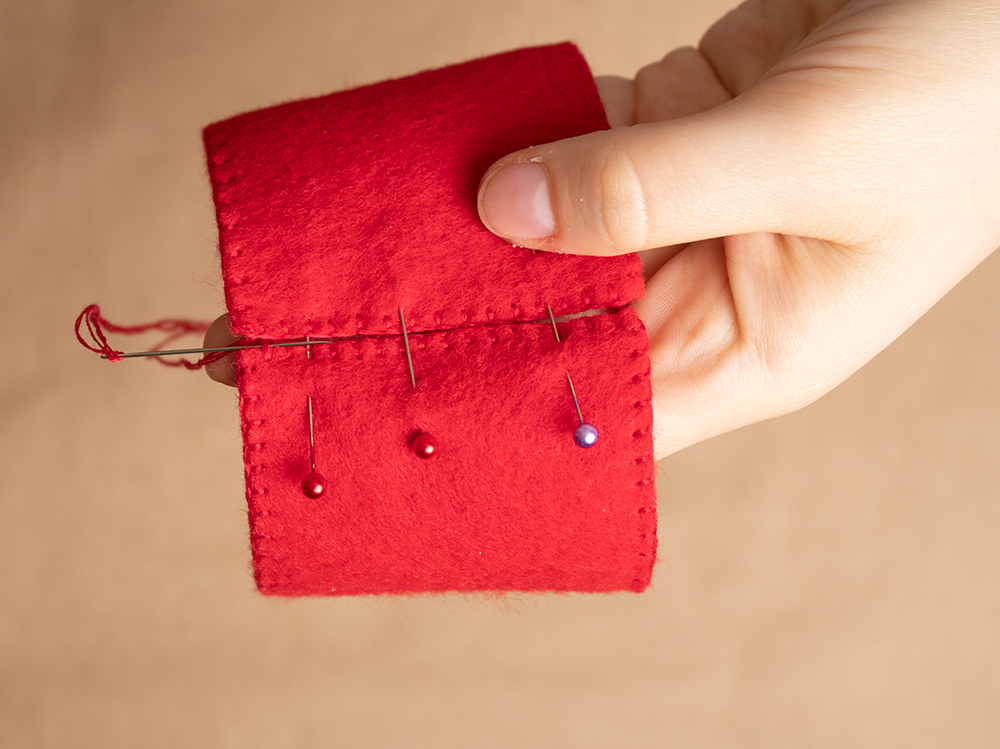
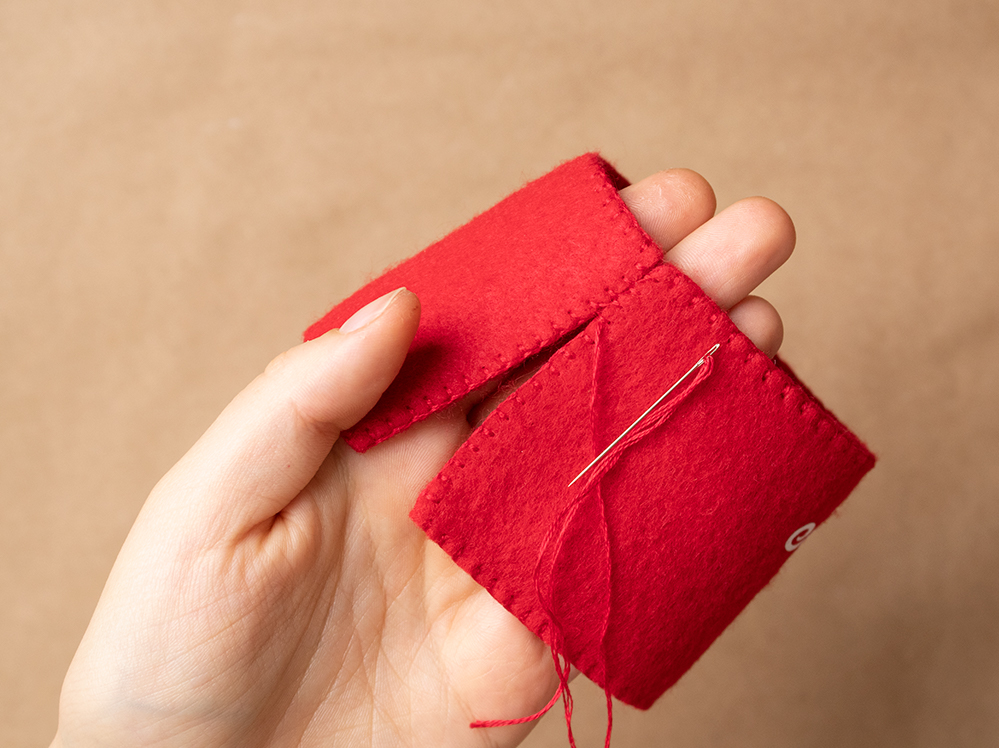
To close it in the back, I wove the floss through my previous stitches like I would a ladder stitch. Weaving back and forth and knotting at the top.


Cute Easy Felt Pumpkin Garland How To | Olivia OHern
Wednesday 30th of June 2021
[…] not fret! HERE I go into more info about cutting out felt on the Cricut and using the blanket […]
Hot Chocolate Bar Ideas | DIY Crafts & How to Set-up | Olivia OHern
Saturday 21st of November 2020
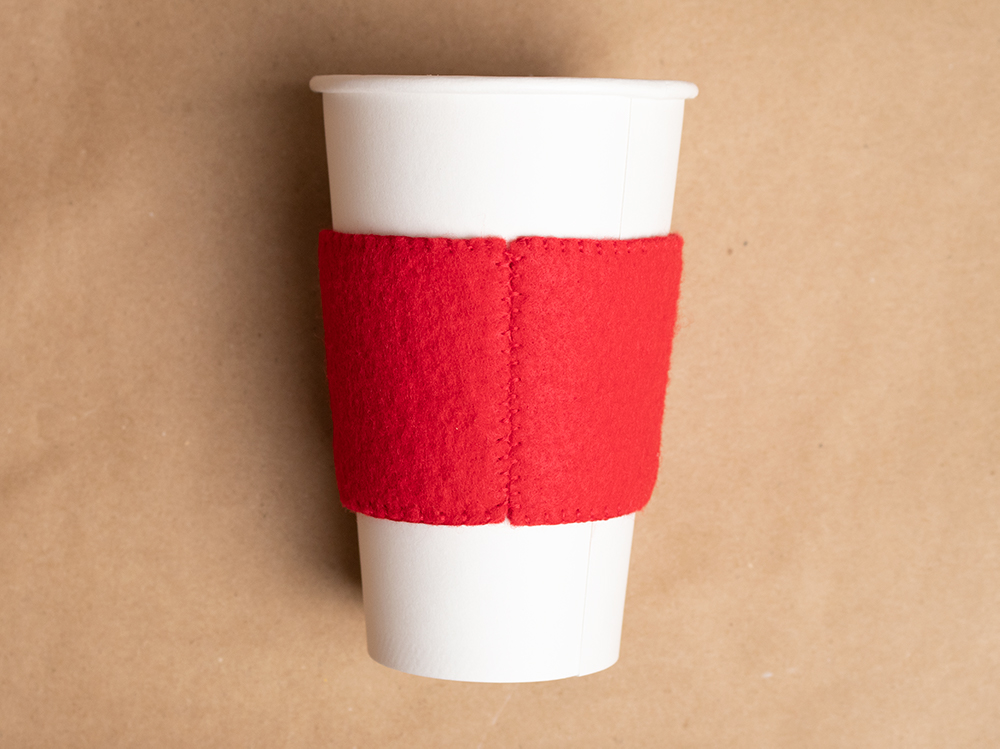
[…] Cup Sleeves […]