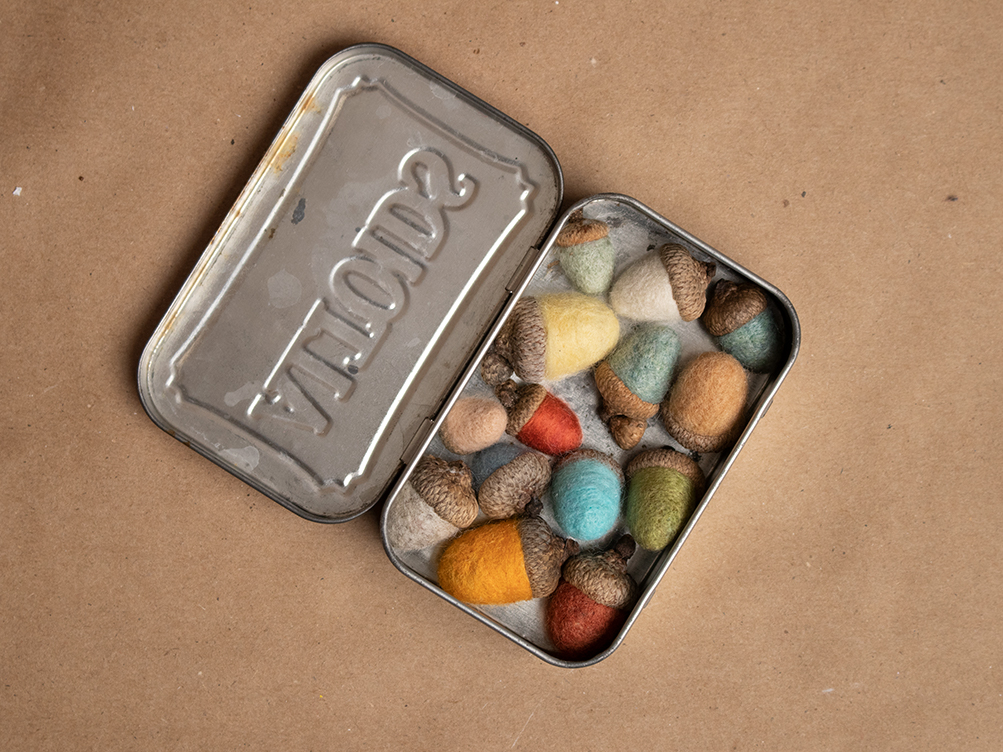
I absolutely love this project! These acorns make for a great introduction into needle felting and are made from some pretty common supplies.
This post may contain affiliate links. This means that if you purchase from one of these links I will make a small commission, but rest assured you will not pay more for any products.
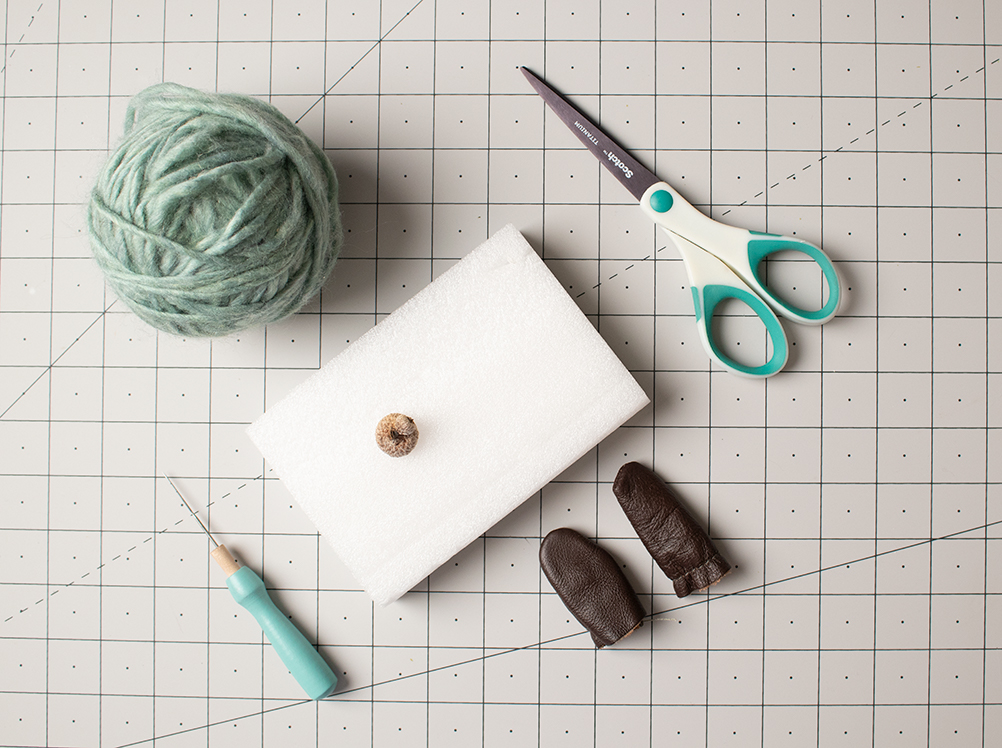
The Basic Supplies:
Recommended Extras:
There are so many kits and bundles you can find online, I would definitely suggest browsing around first and thinking about what types of projects you would like to make before buying anything expensive.
For me, personally, as a total beginner I liked having the kit to make a specific thing first, just to dip my toe in before jumping into more supplies.
At its core, needle felting is pretty simple, the hardest part is finesse. But like many skills, what it really takes to get good at it is practice.
Needle Felting Kits I Love


I saw this little guy on Amazon and immediately fell in love. It’s what finally got me to commit to trying needle felting as a new hobby. It’s a great little kit, came with most of the essentials and instructions with plenty of pictures. There’s enough materials to make two of them! The only things this kit didn’t include would be a lighter to heat up the hot glue stick and a pair of scissors to trim the little wispy fibers at the end. And it all comes in a nice little box that works great for storing your supplies.
THIS KIT is like an ultimate Beginner’s Kit if you want plenty of supplies and artistic freedom. It comes with about 150 grams of dyed roving, tools, findings and stencils! (I’ll do a post on using stencils soon)
Using Roving Yarn for Fibers
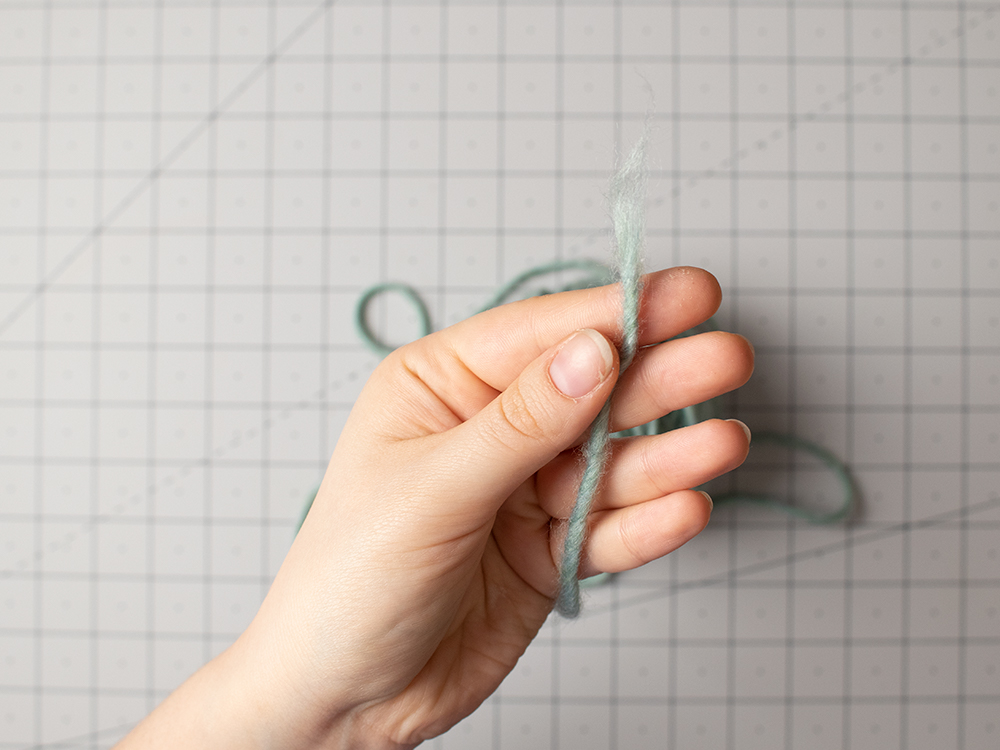

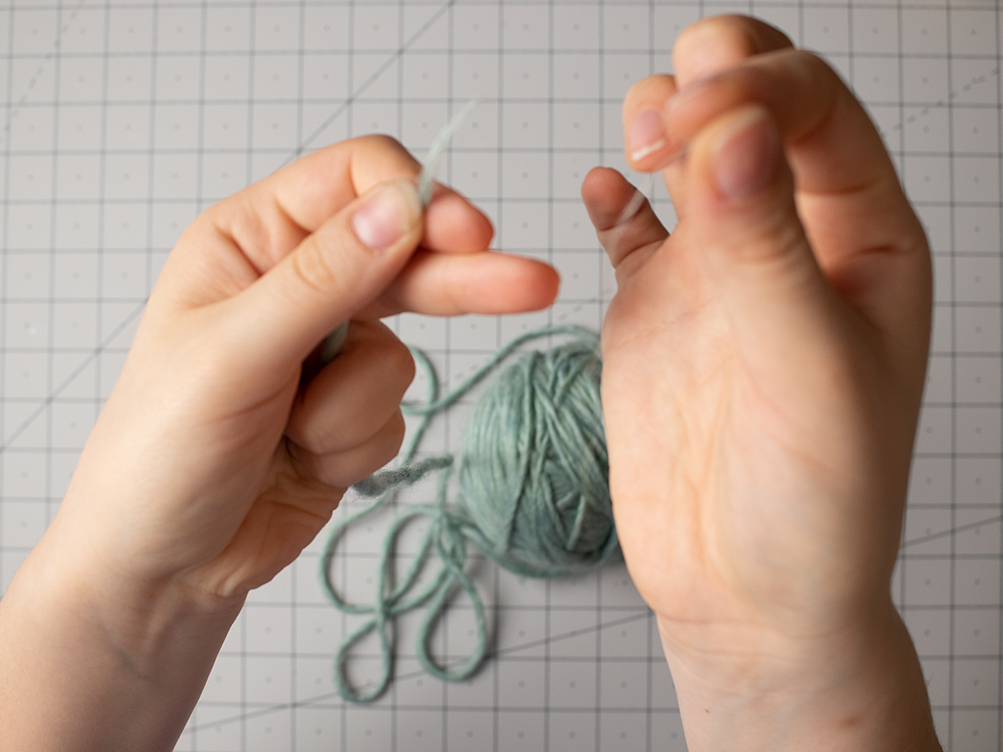
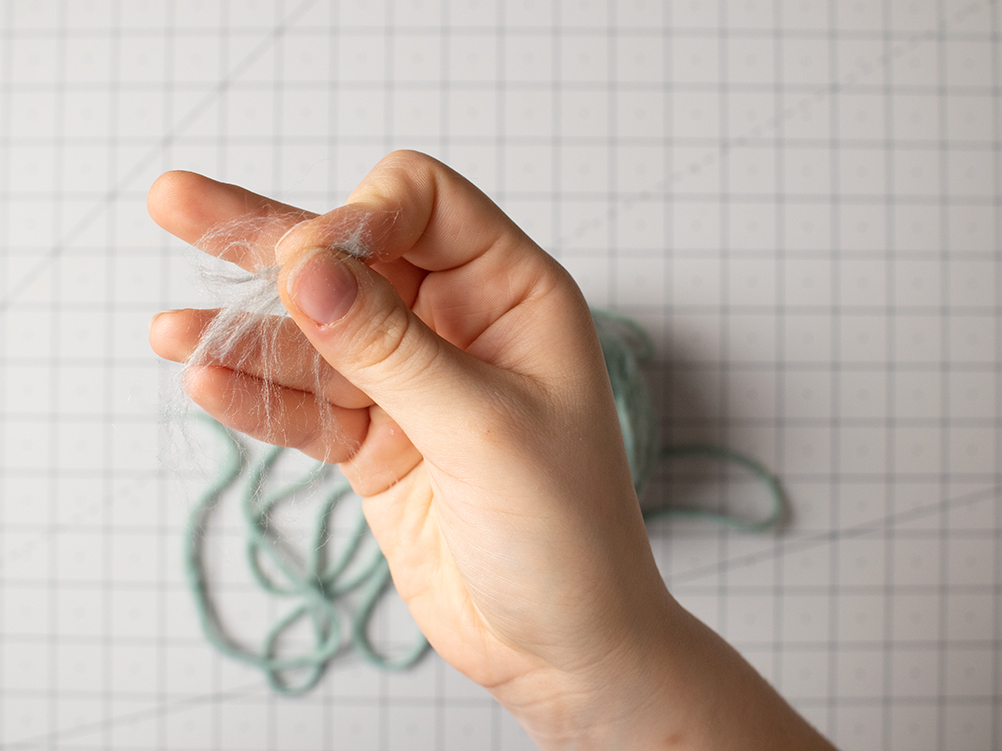
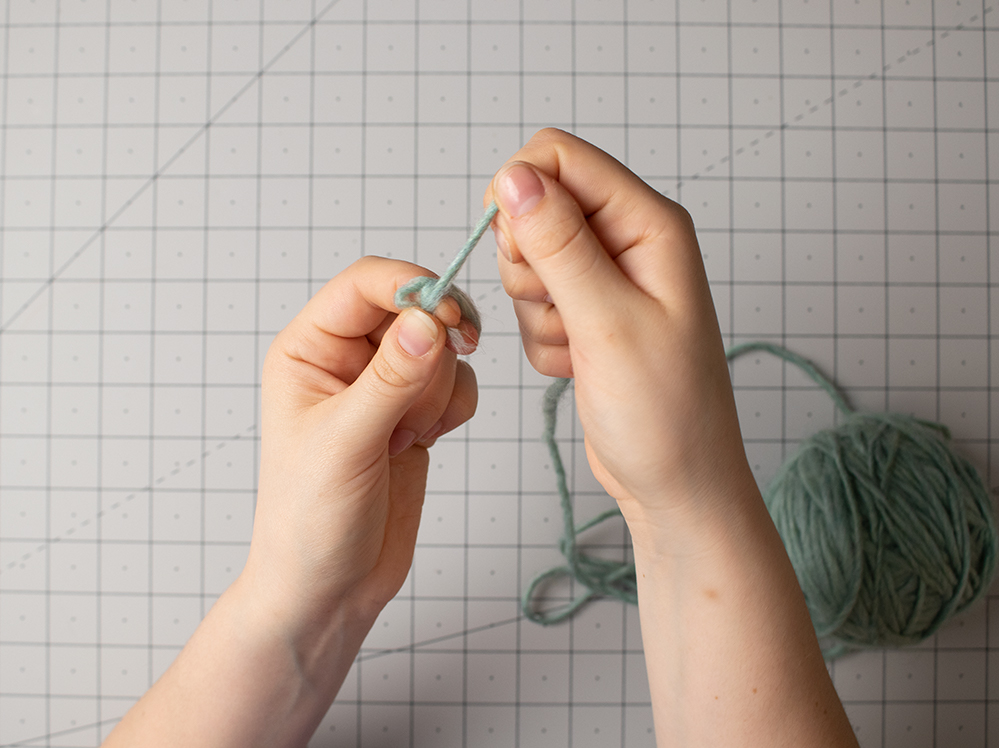
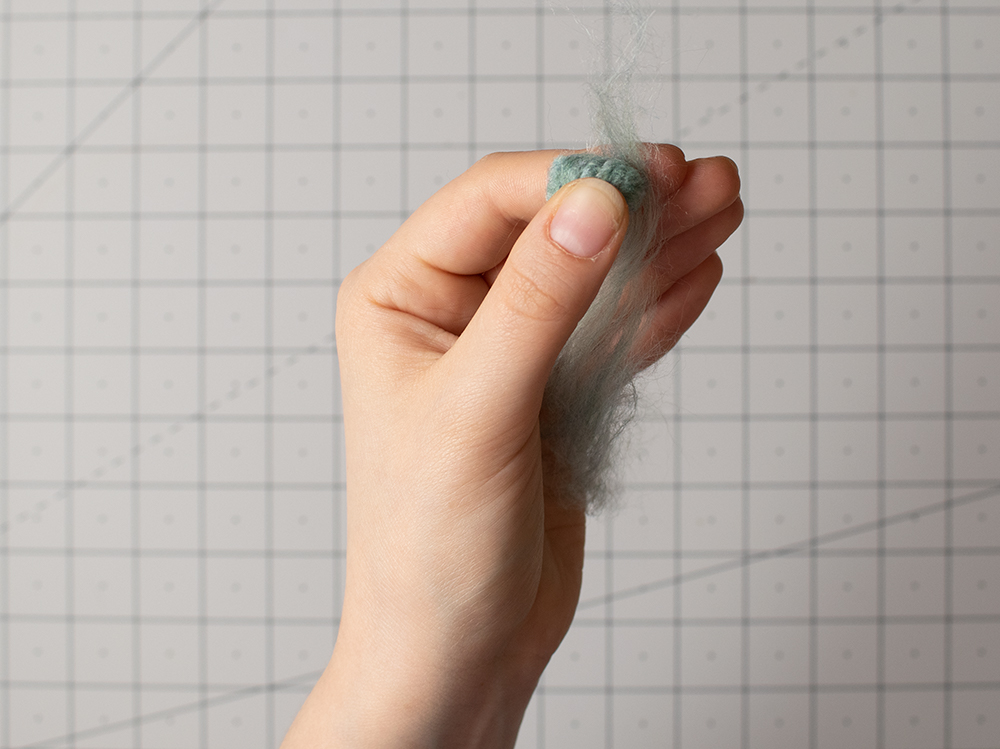
So, yes, full on, unspun roving wool is the best option, but sometimes you can’t find it locally. Since I just recently started, I don’t have much of a stash built up yet. But, as a knitter, I have plenty of Wool Roving Yarn (Here’s My Favorite Kind). I figured out that by pinching at an end you can pull out lengths of fiber. It does take a bit of time, but it is something you can easily do while watching a movie.
For yarns with more of a twist in them, you can straighten out and separate the fibers by brushing them with a wire brush like THIS ONE.
100% Wool definitely works the best, but Wool/Acrylic blends and Acrylic yarns can still be needle felted. The best way to keep your roving organized is by keeping your separate colors in their own resealable bag.
Recommended Needle Felting Supplies
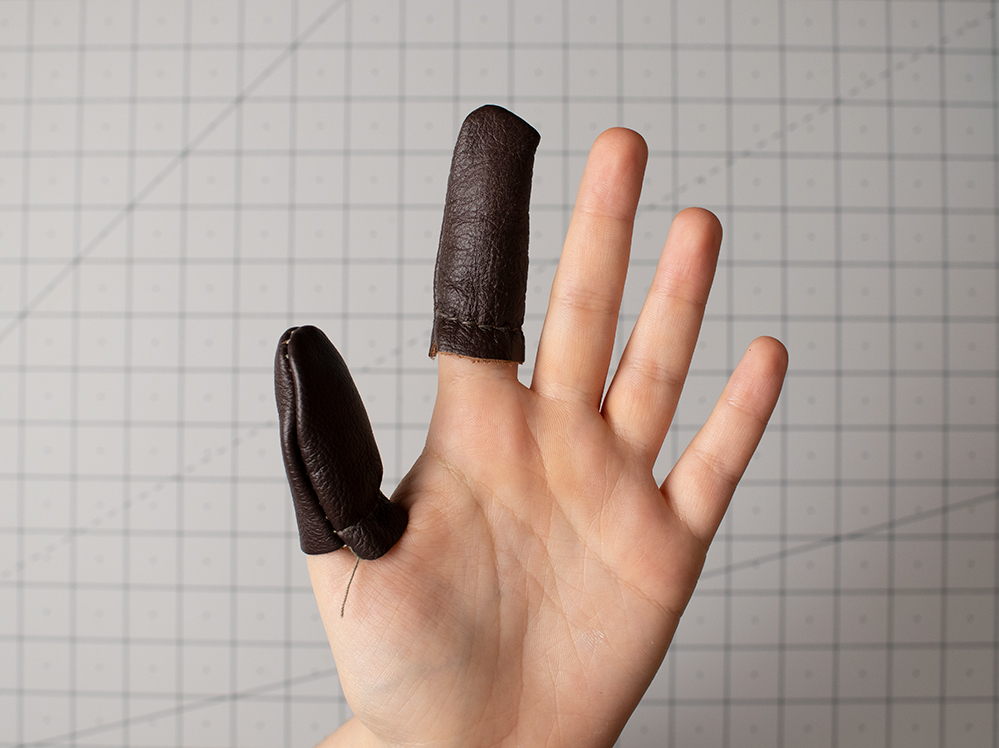
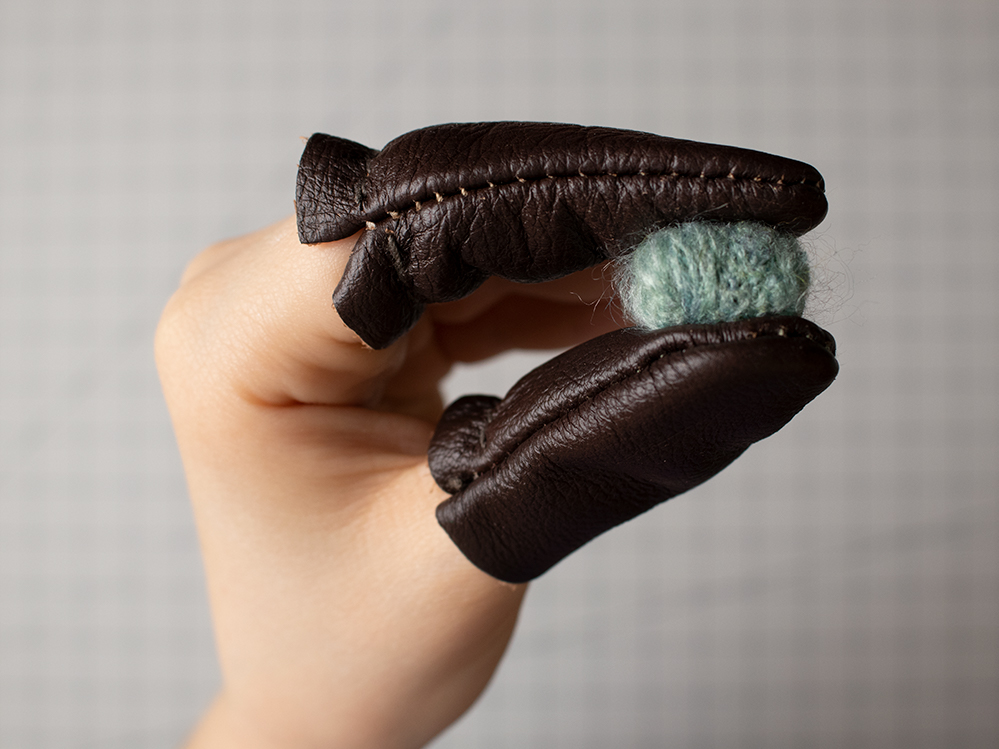
These are called leather cots, I definitely recommend getting a pair and using them. They are worn on the thumb and index finger of the hand that is holding the wool in place and protect your fingers from being stabbed. Believe me, there has been plenty of bloodshed in the past month.
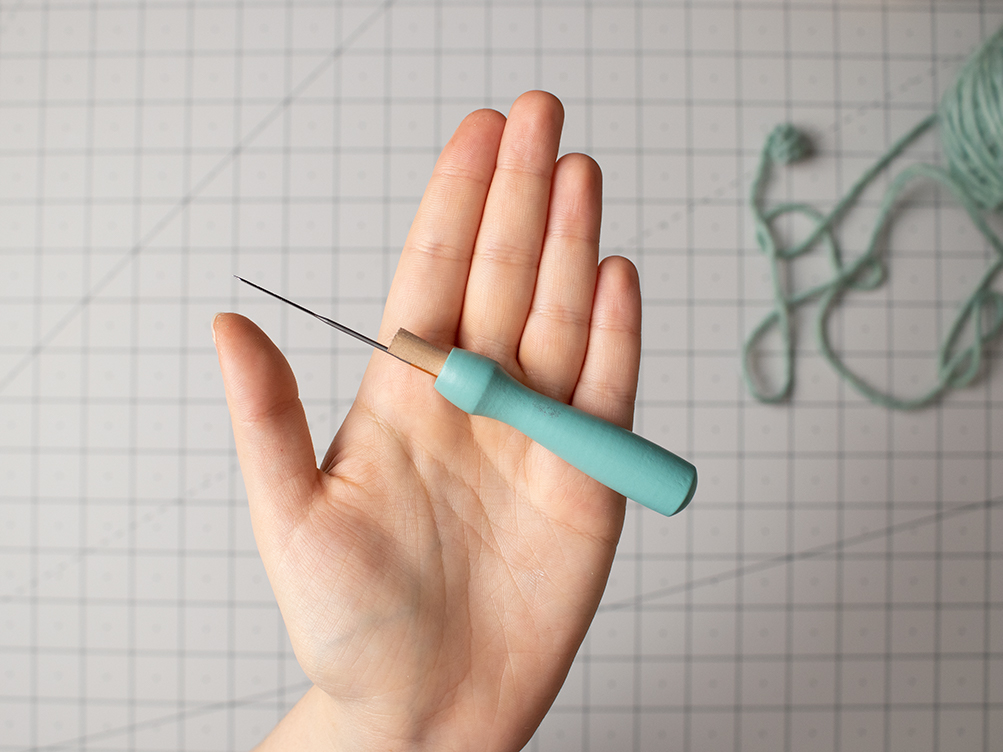
This is a felting needle inside of a wooden handle. If you are working with single needles you can easily use just the needle by itself, but the handle is nice to hold. I especially like to use it with the long needles that are used for preshaping.
A thick mat is important to have because it protects your work surface and keeps your needles from breaking. A thick piece of foam works great, though over time it will start to break down. A woolen pad is a great option, like THIS one.
Basic Needle Felted Acorn
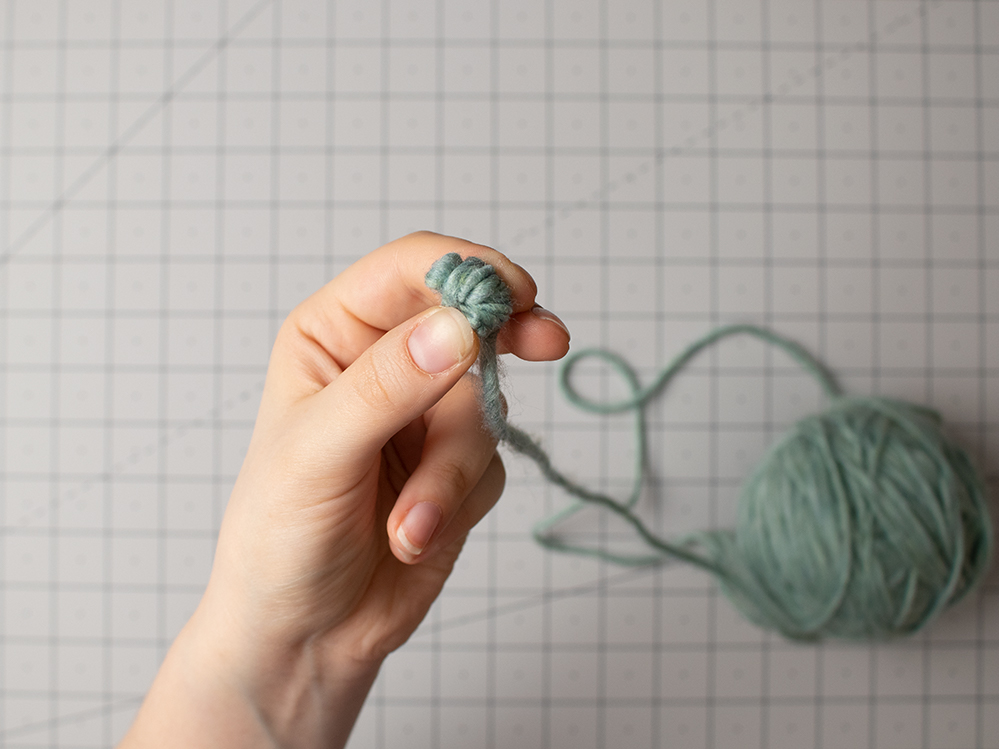
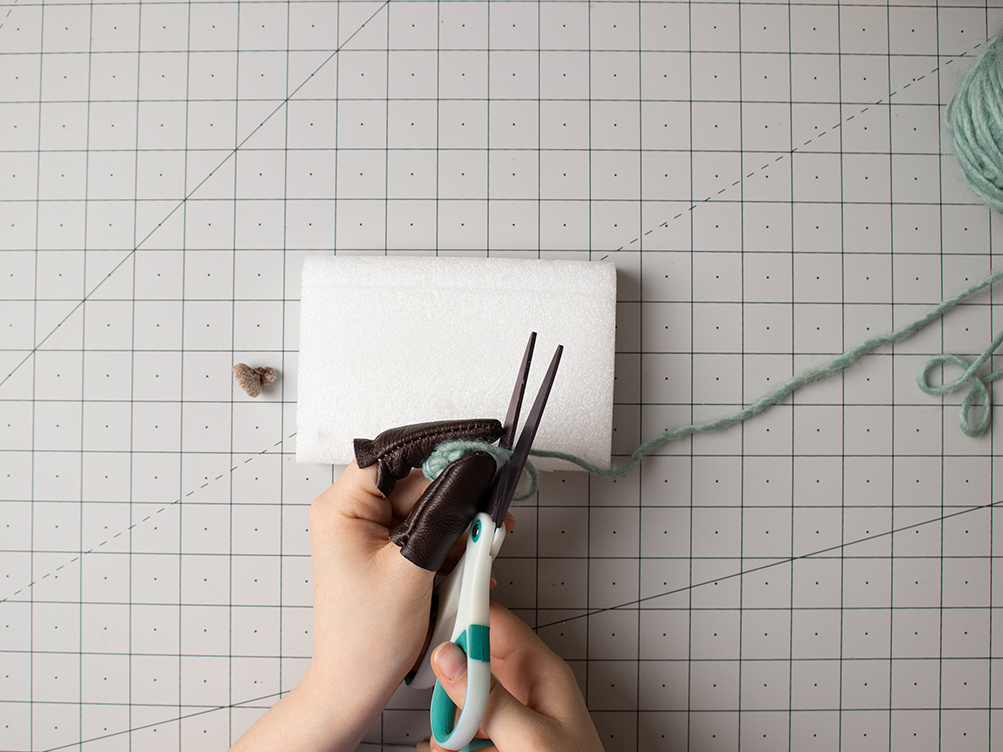
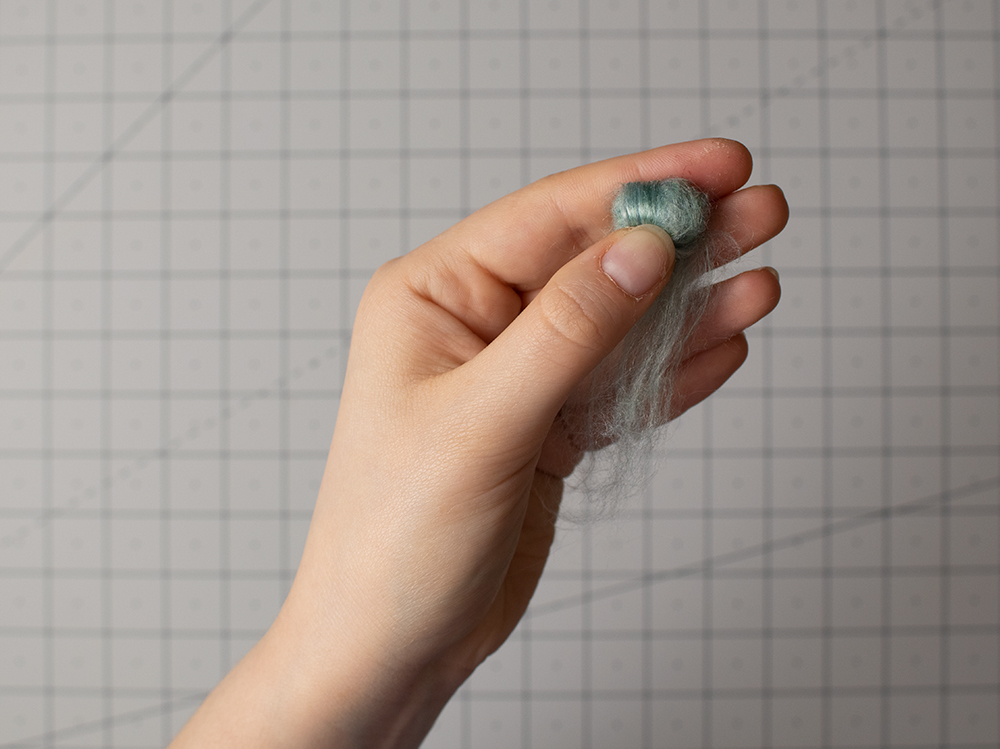
First I’m making a small ball out of yarn, this will be my acorn “core”. A core is used like filler on the inside of a project or as a base layer to save on the amount of dyed roving used. Generally, the core is made of wool that is undyed which makes buying it much less expensive, find some HERE.
When I use only roving I roll it in my hands to make it more of a ball shape before I start preshaping. Then I add small pieces of roving to create more of that acorn shape on the tip.
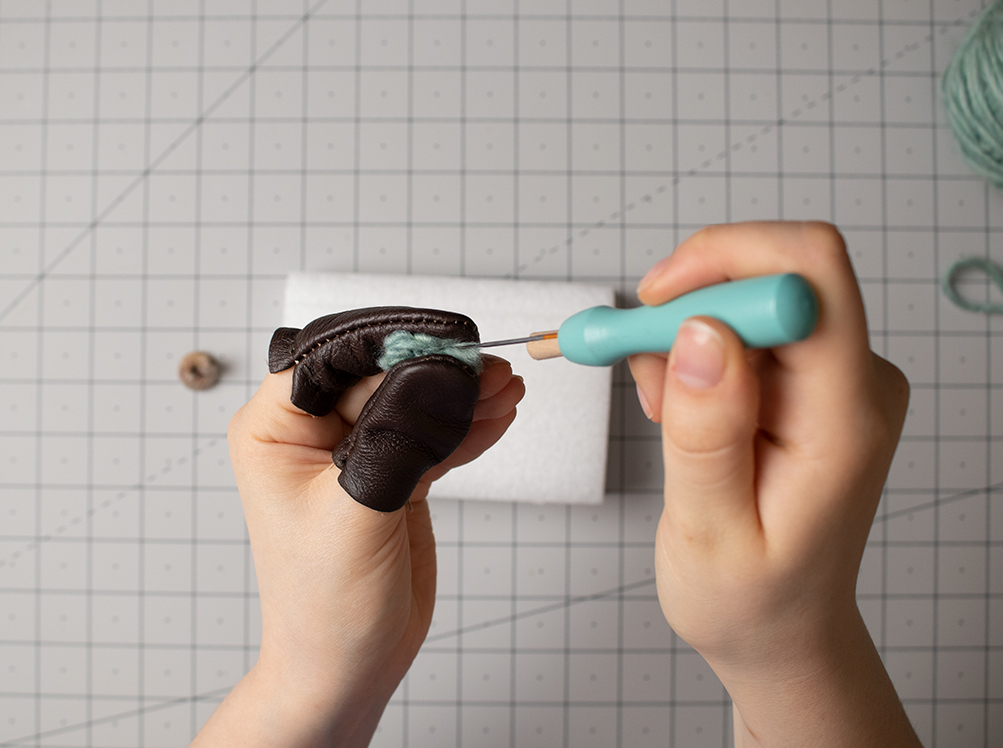
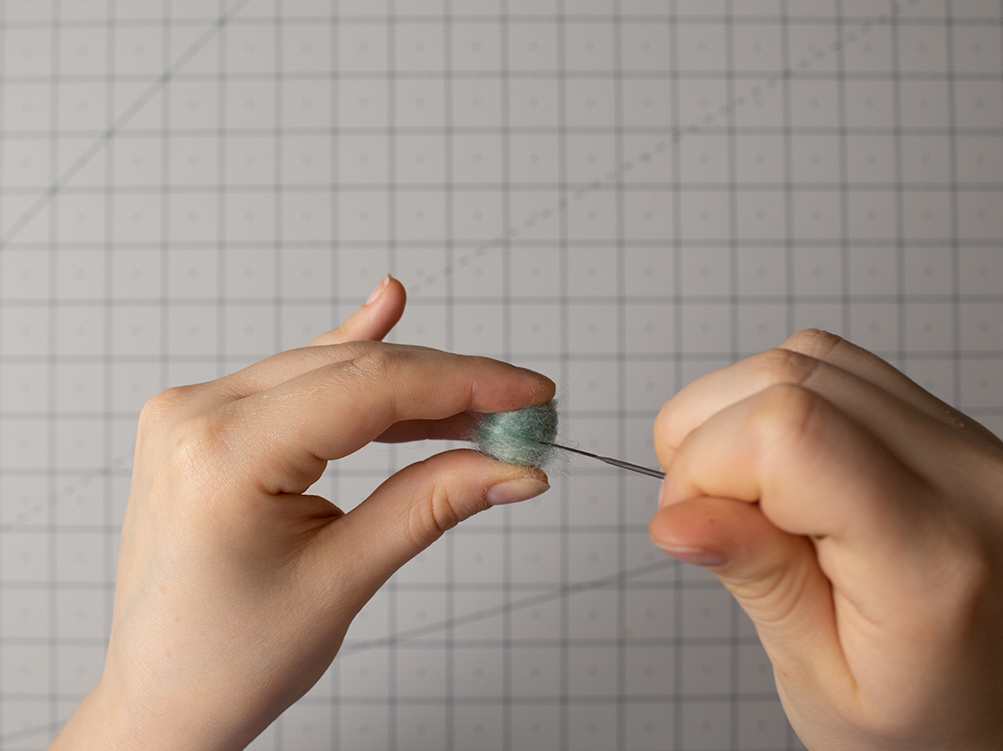
Next, I use my largest needle to preshape my piece. So I’m stabbing it directly up and down all over until it becomes more of a solid piece.
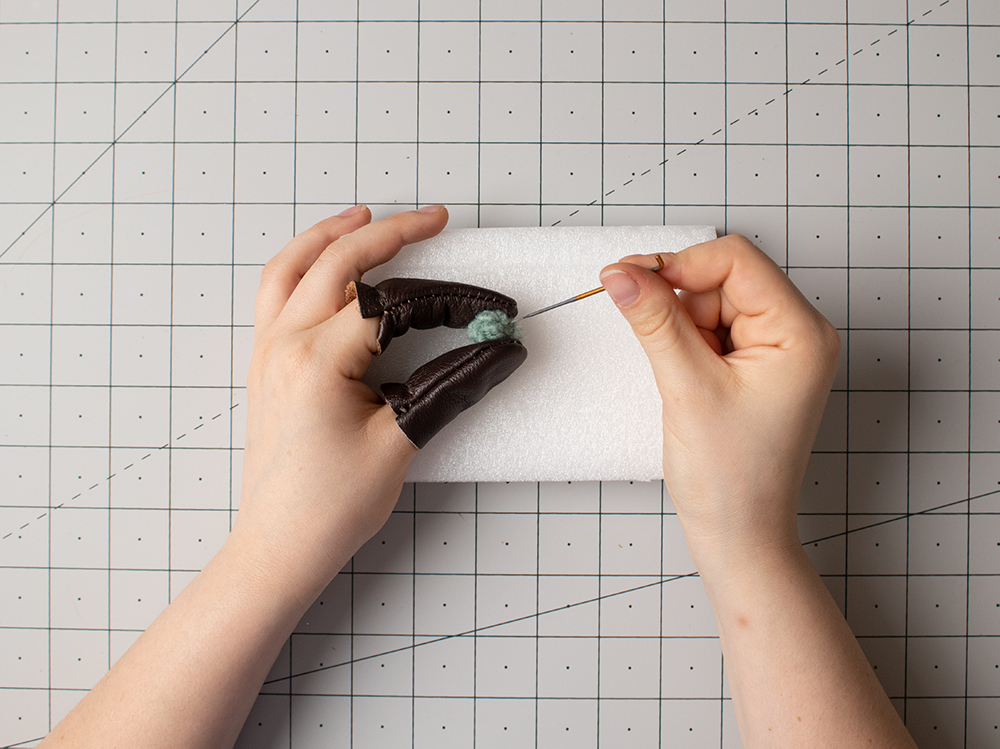
You can see why wearing the finger cots is important. So many opportunities for a poke. Here, I’m using the needle without the handle. For me, personally, I prefer using just the needle since I’m used to hand sewing.
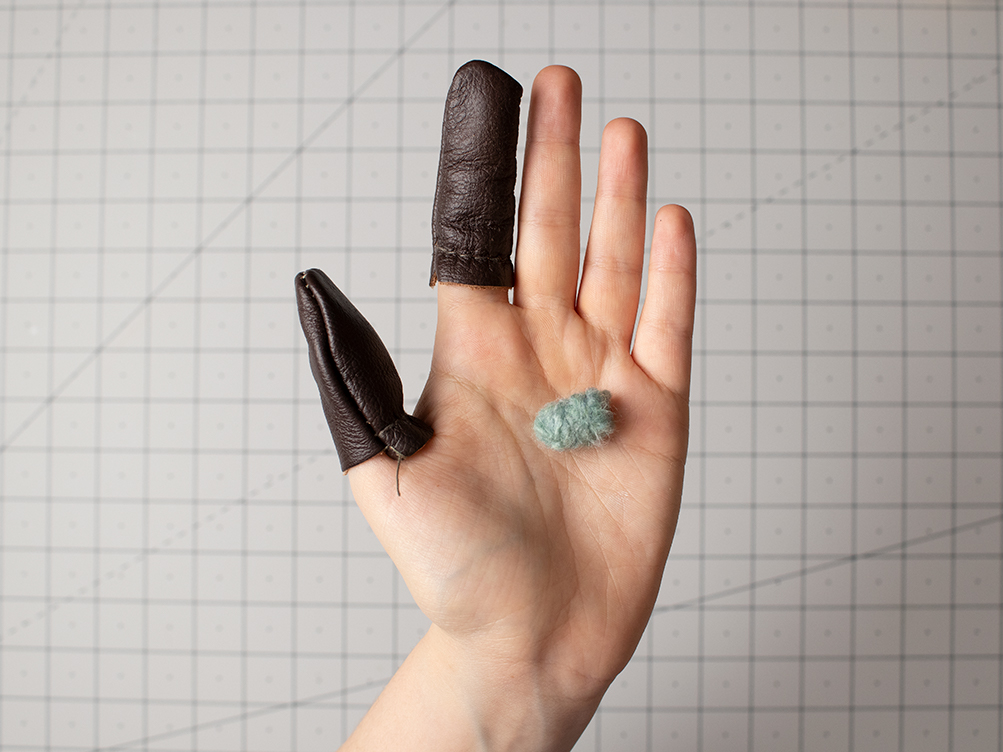
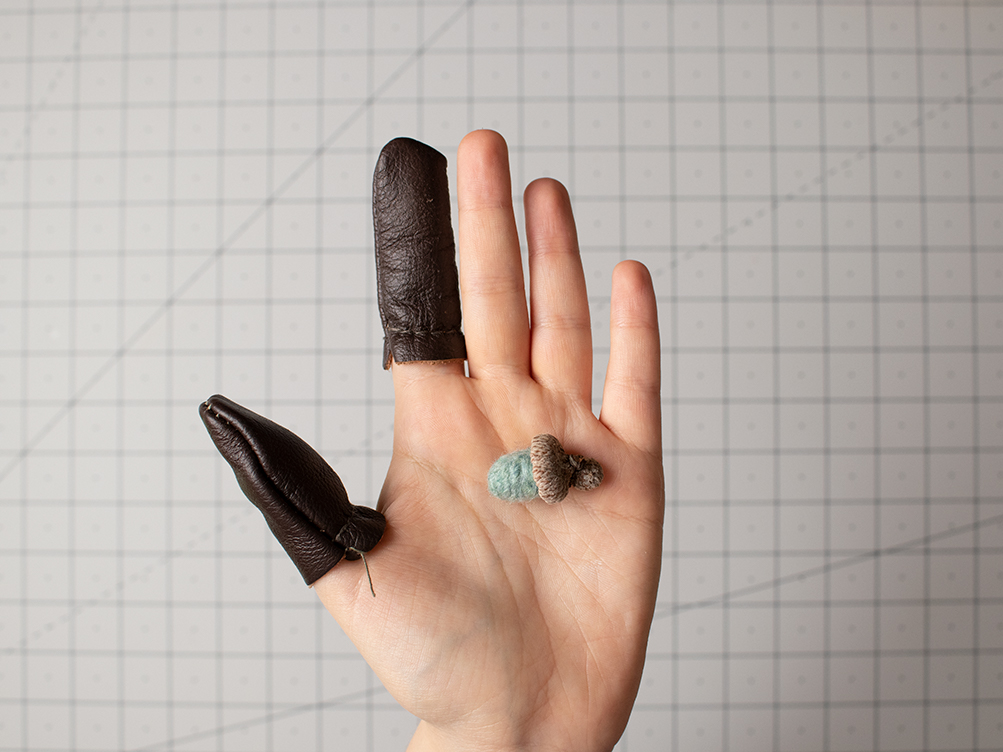
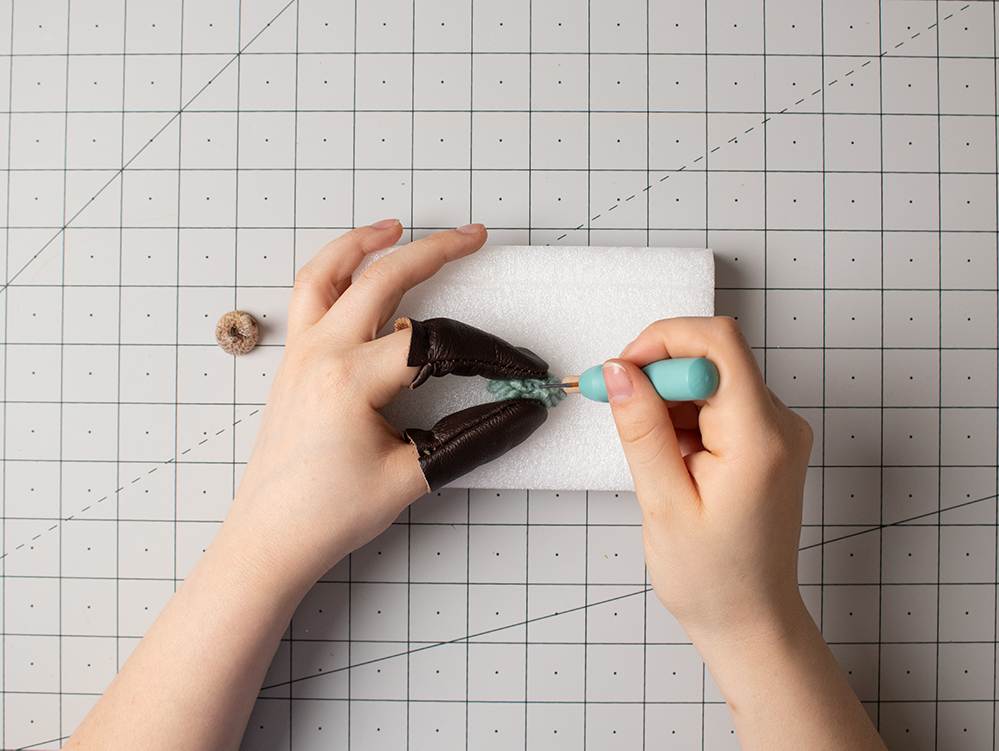
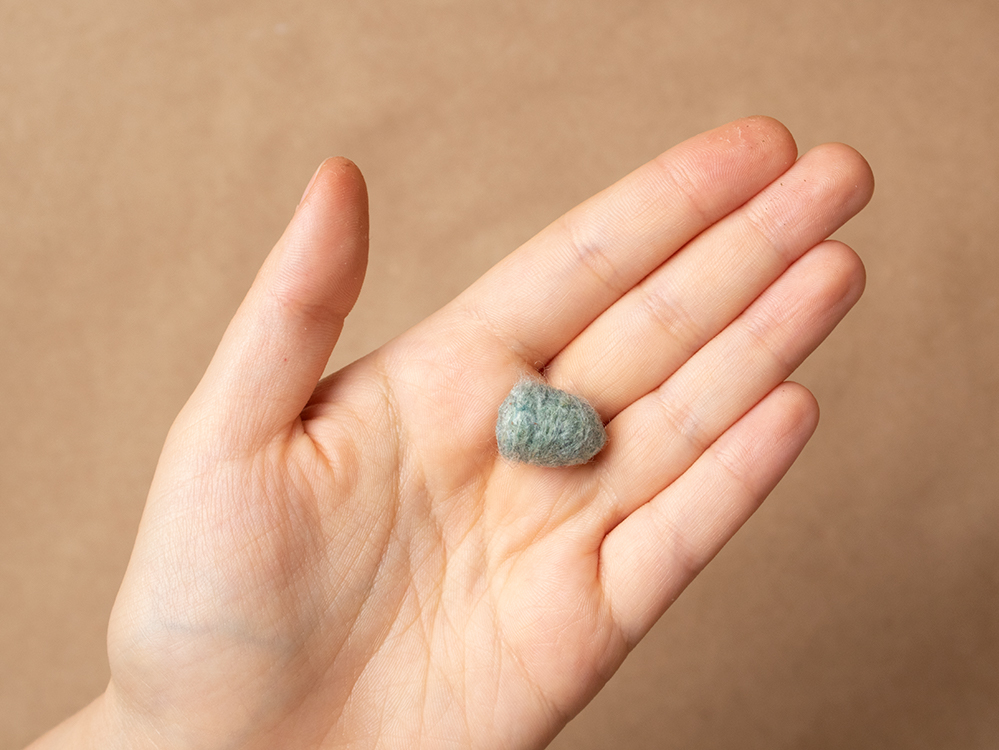
Here’s the acorn so far, I keep the acorn cap nearby so I can check the size. It should be a little skinnier than the cap at this point to leave room for the finer layers.
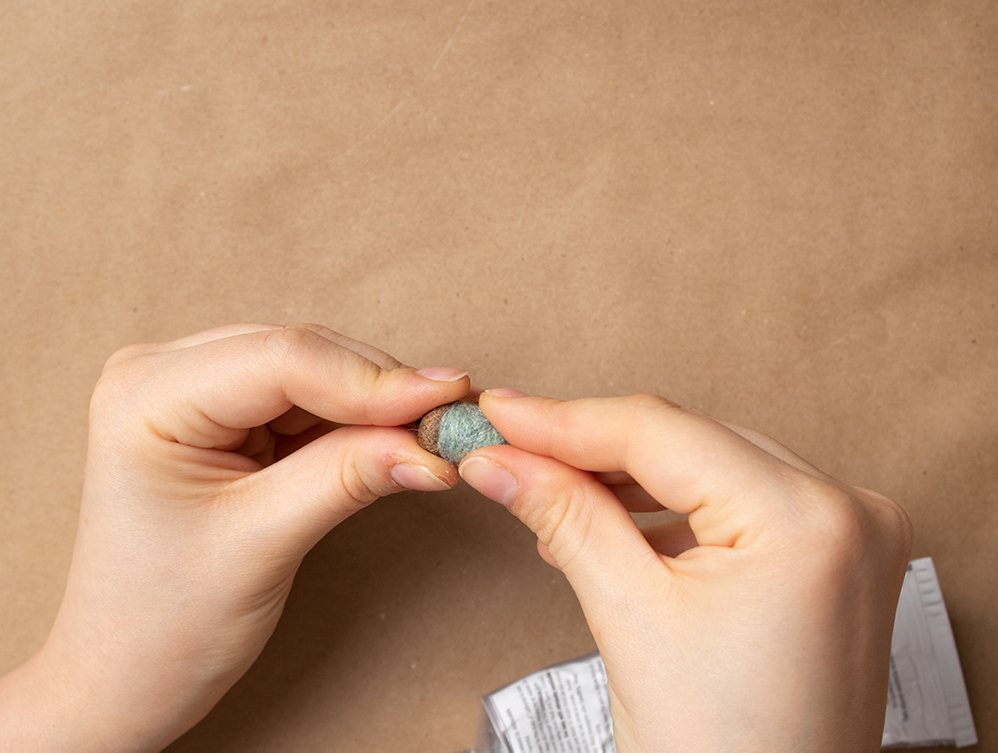
Finally, I’m taking a piece of the roving and wrapping it around my acorn and securing the ends with a few pokes from my needle.
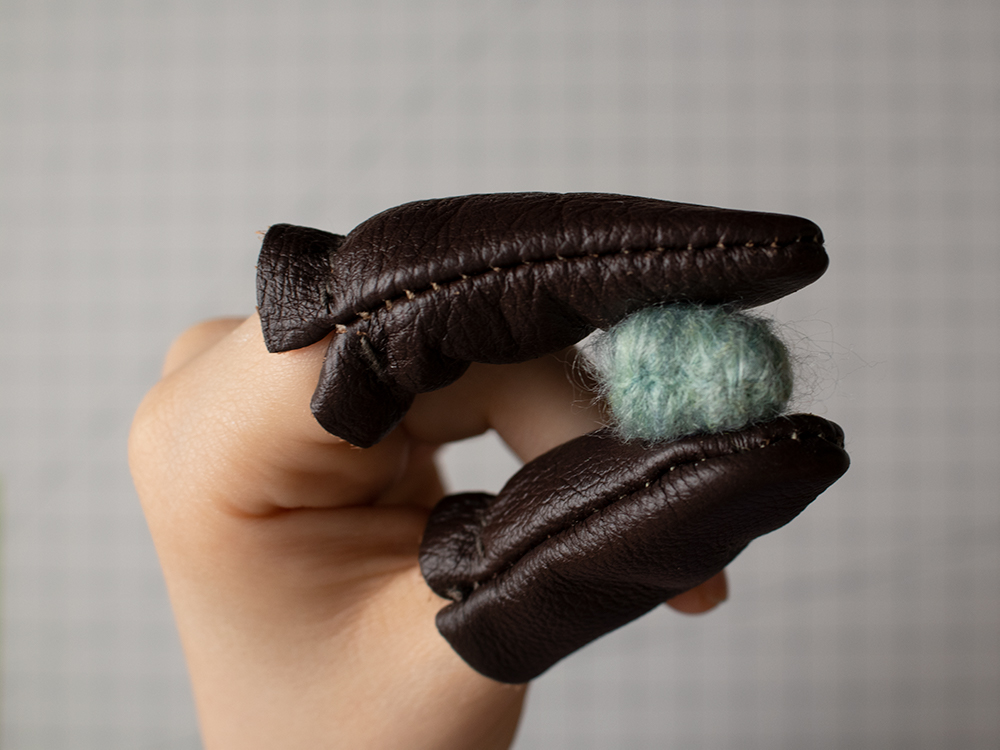
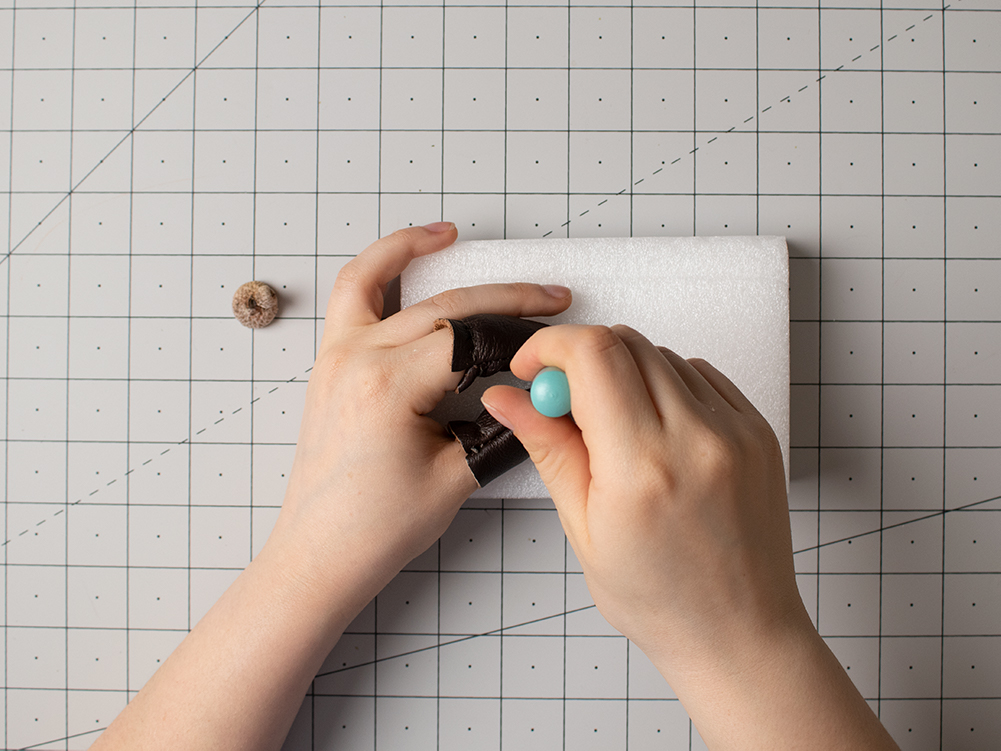
You can see it’s starting to look smoother already! Now is the time to switch to my small needle. A smaller tip means smaller holes for a more refined look. Though, it does take more poking. I wrap layers of roving around the acorn several more times until I’m happy with it. When it’s finished it should feel firm when squeezed. That’s from the fibers becoming compacted from the felting.
Keep poking until you reach a smooth texture all over.
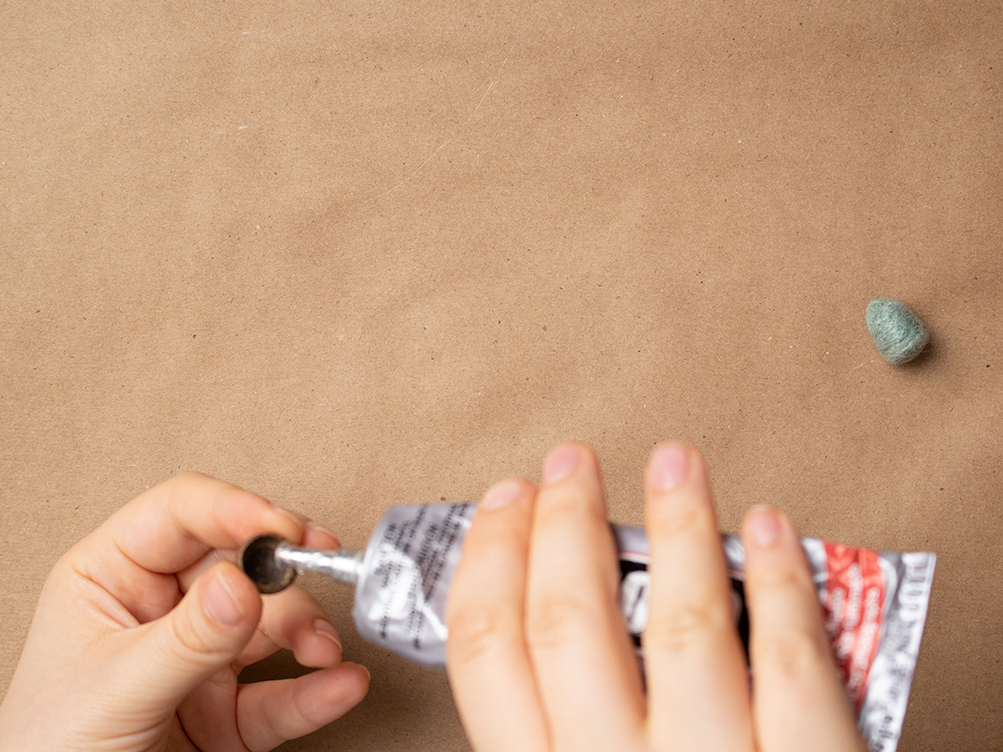
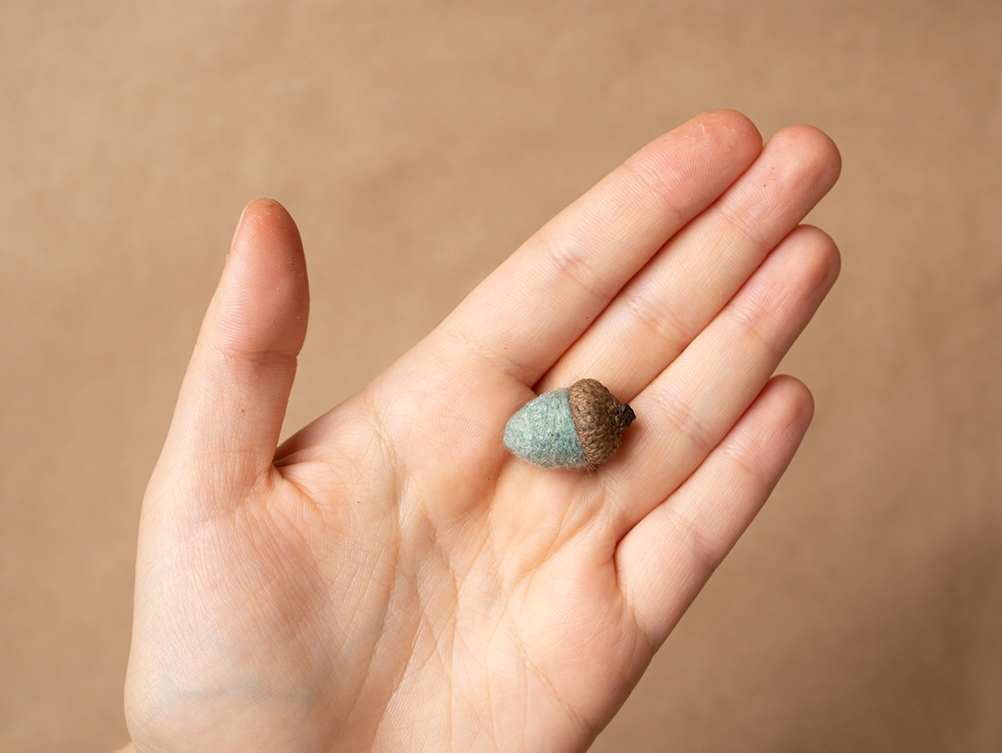
To permanently attach the acorn to it’s cap, I recommend using E6000 glue it’s very strong and won’t bleed into the fibers or make them hard.

LAURA LEE WALKER
Tuesday 7th of September 2021
I wish I had those leather cots when I was needle felting. Love the acorns. Laura
Rebecca - Glutarama
Friday 13th of August 2021
My daughter has started felting and is exceptionally talented at it I adore these little acorns and the colours are SO me as I love autumn. I'm going to give her the task to make these for me!
Julie
Monday 9th of August 2021
These acorns are adorable, I did try needle felting once and made a little bee, I must find the bit out to have another go.
Michele
Monday 9th of August 2021
These are so sweet! I just started looking into needle felting and I am so happy you shared the kits you found they are so sweet!
Kippi Ohern
Sunday 8th of August 2021
I adore these colorful acorns! Hugs, Kippi