Supplies:
- Sharpie Markers
- Glass Jars
- Chalk Paint
- Paintbrush
- Hot Glue Guns & Glue Sticks
- Scissors
- Burlap Ribbon
- Cotton Twine
- White Gel Pen
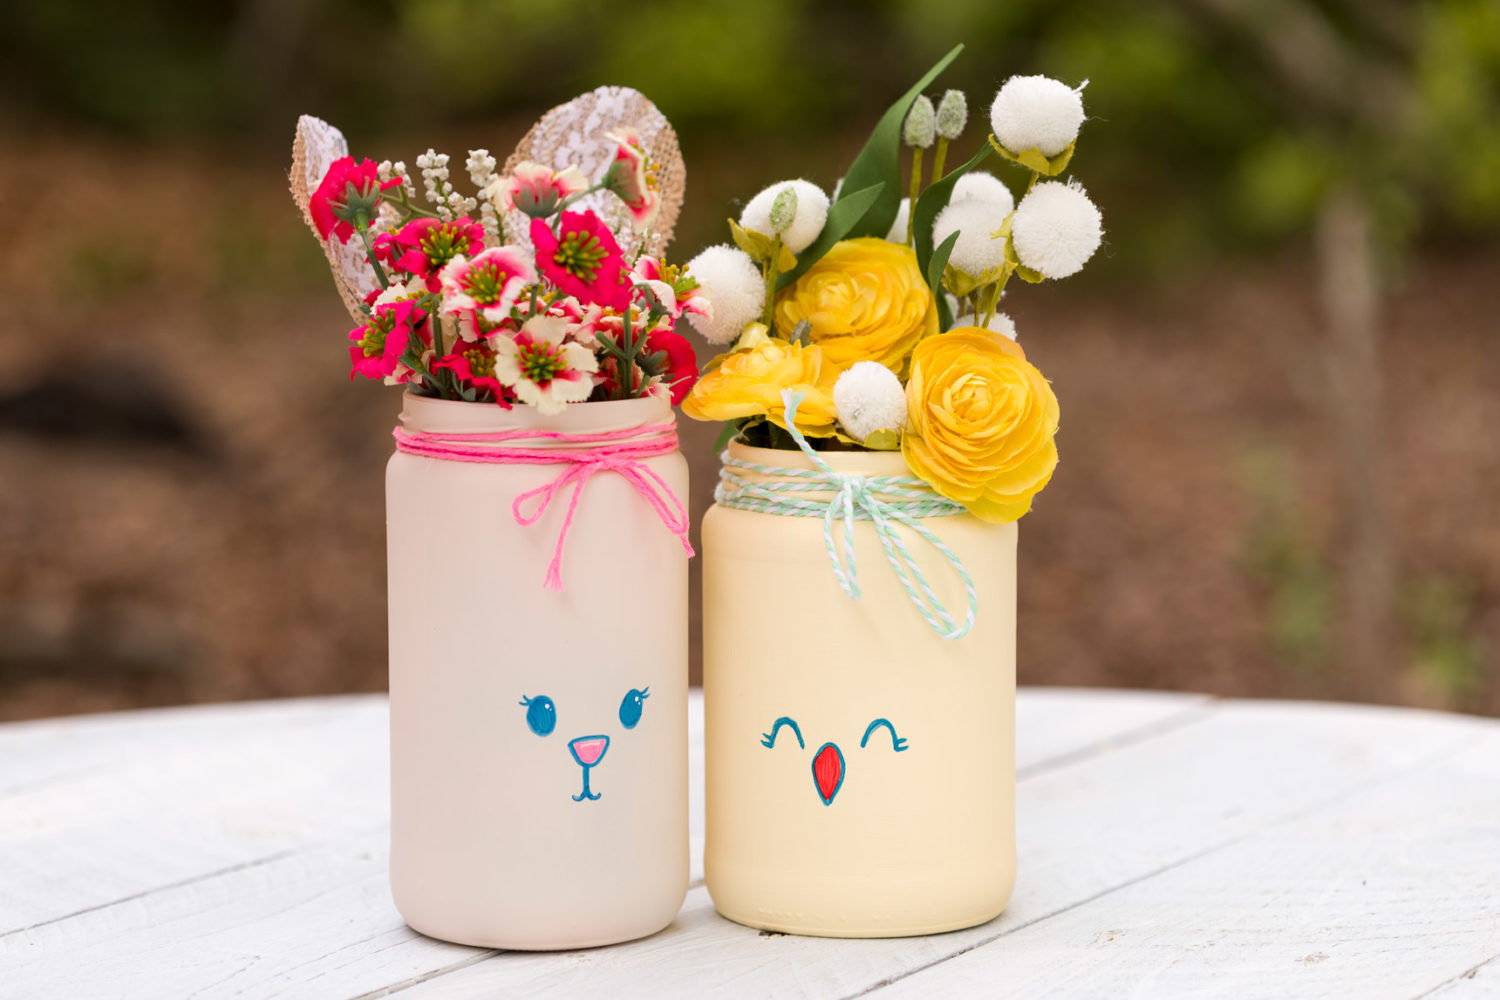
Painting on glass jars with chalk paint is super easy!
First thing you will want to do is wash and dry your jars for the best surface to paint on. It is best to paint in thin layers and leaving them to dry in between coats.
Sanding is optional.
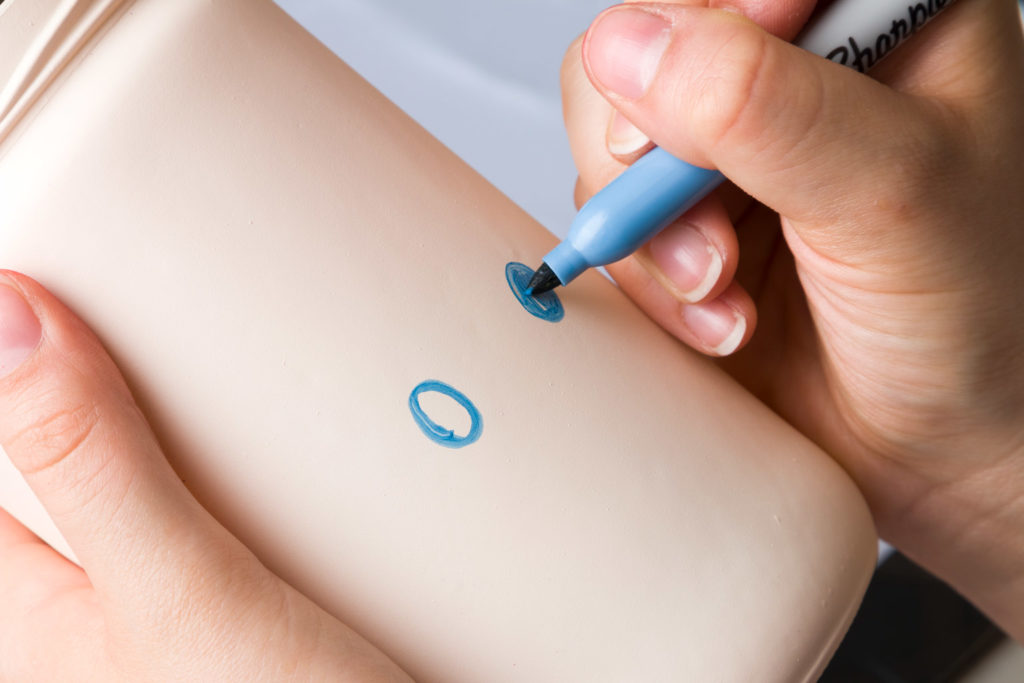
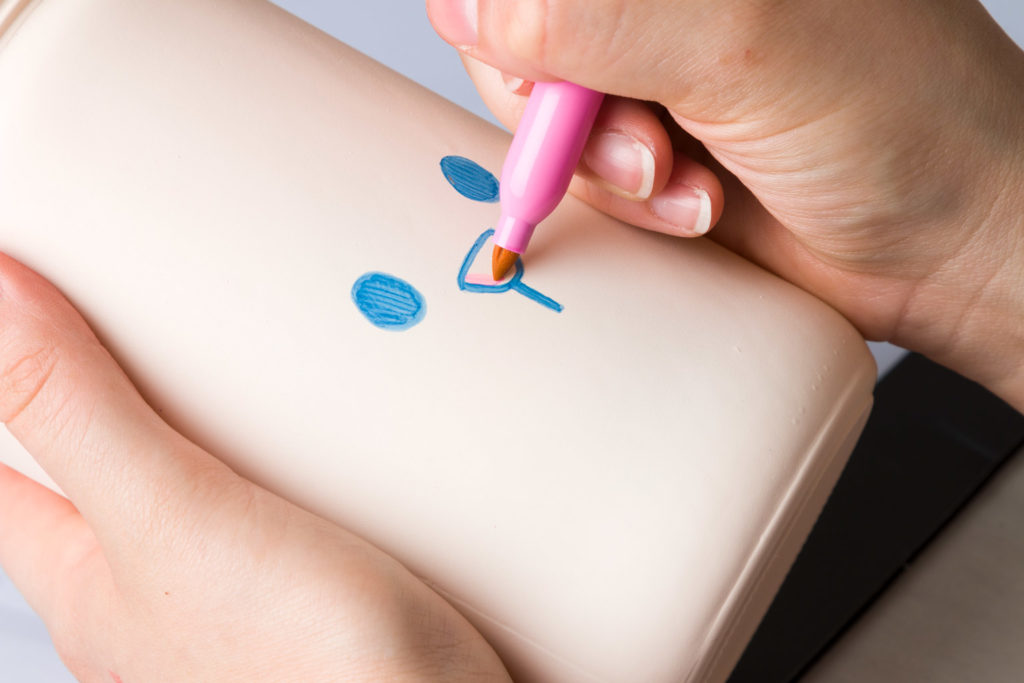
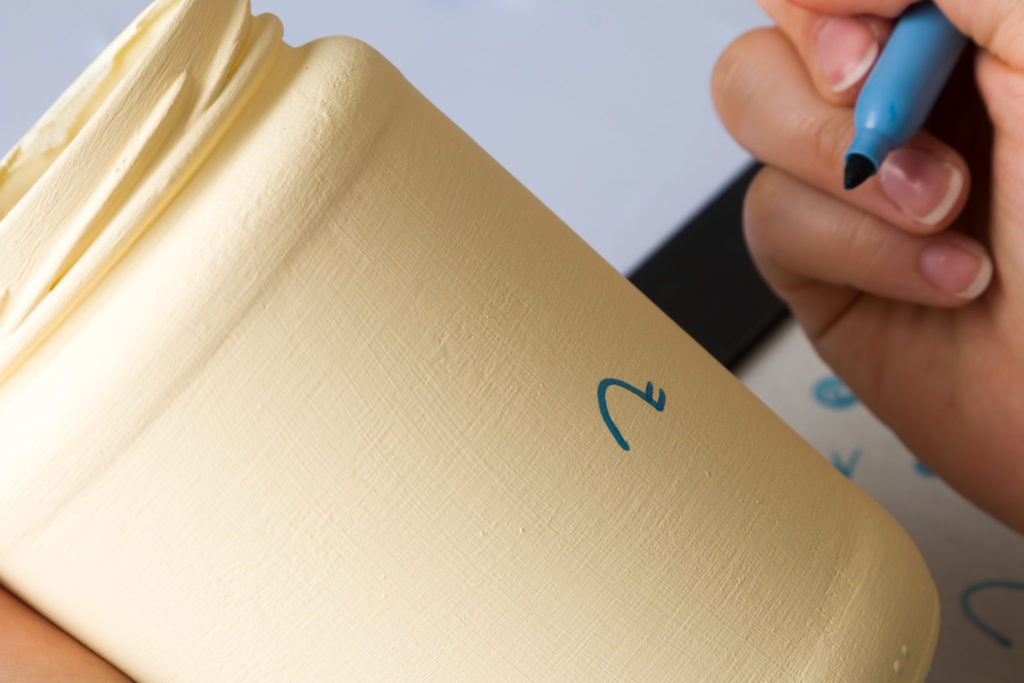
From there I took my blue sharpie and started by drawing and filling in two ovals for the eyes. I also drew a rounded triangle for the bunny’s nose with a line to represent where the mouth would be. I ended up creating little ‘u’s at the end for further clarification.
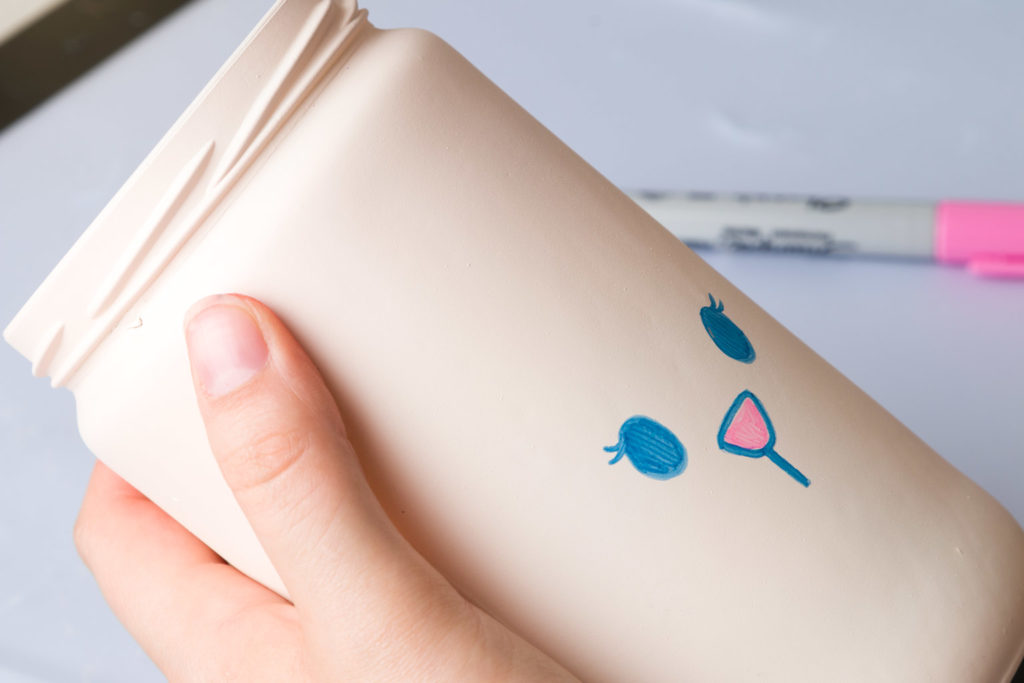
I filled in the nose outline with a pink sharpie, going over the area several times.
I also added eyelashes and darkened all of my lines.
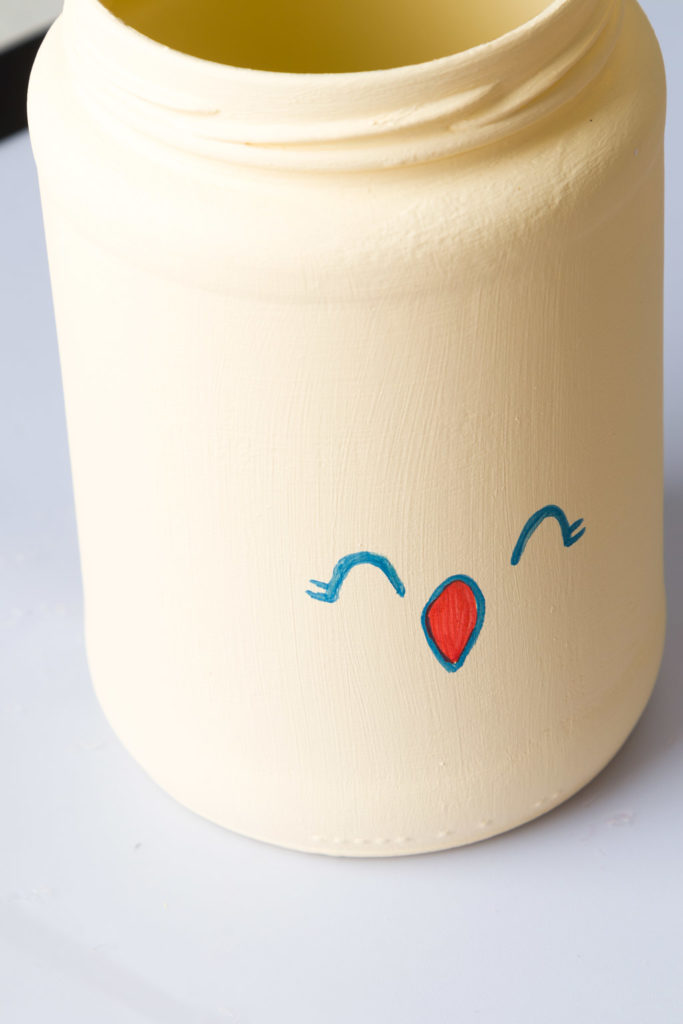
The chick is done in a similar fashion. Eyes first, this time an upside-down “U” with some lashes.
And then we added a little beak that we filled in with orange.
But wait, there’s more!
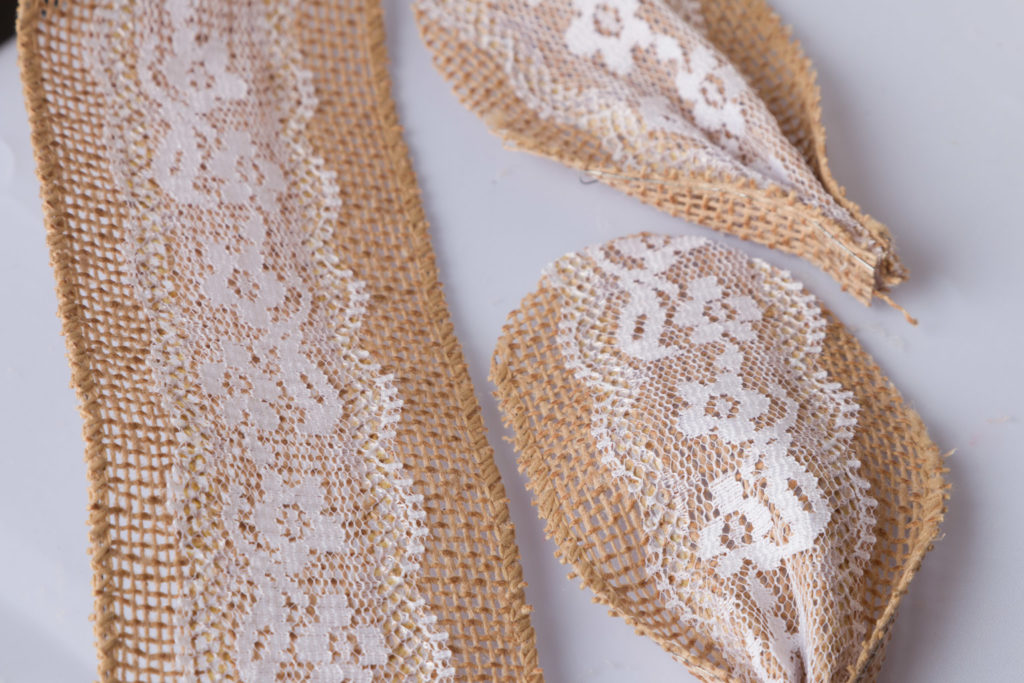
So the bunny needed some ears. I grabbed some burlap ribbon and cut two pieces. Using scissors, I rounded the tips of the bunny ears. I folded the ribbon at the bottom and secured it with some hot glue.
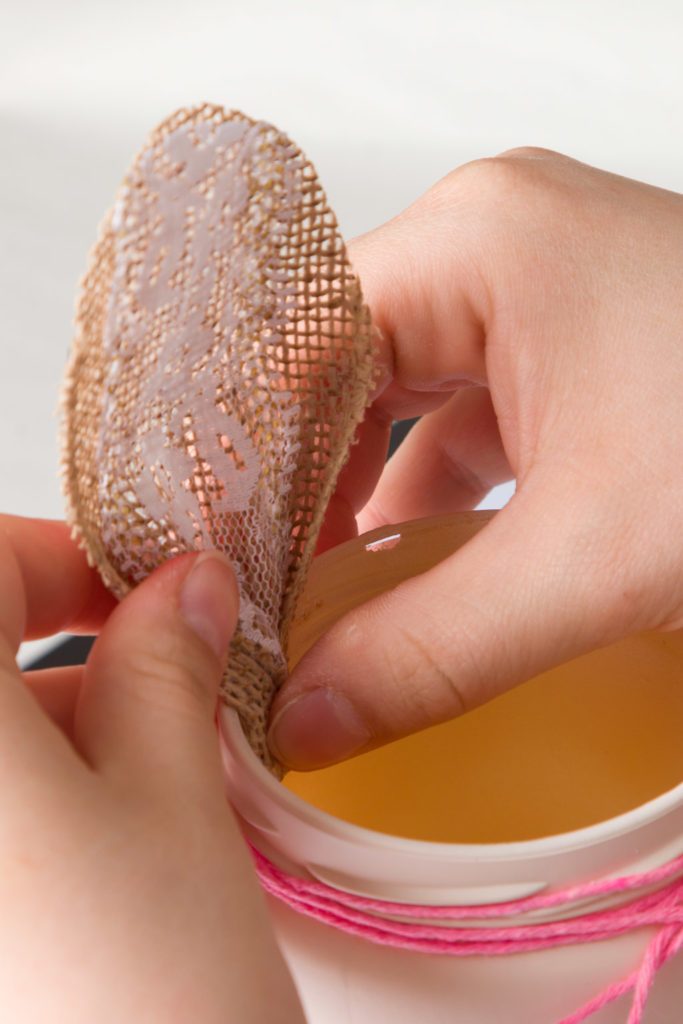
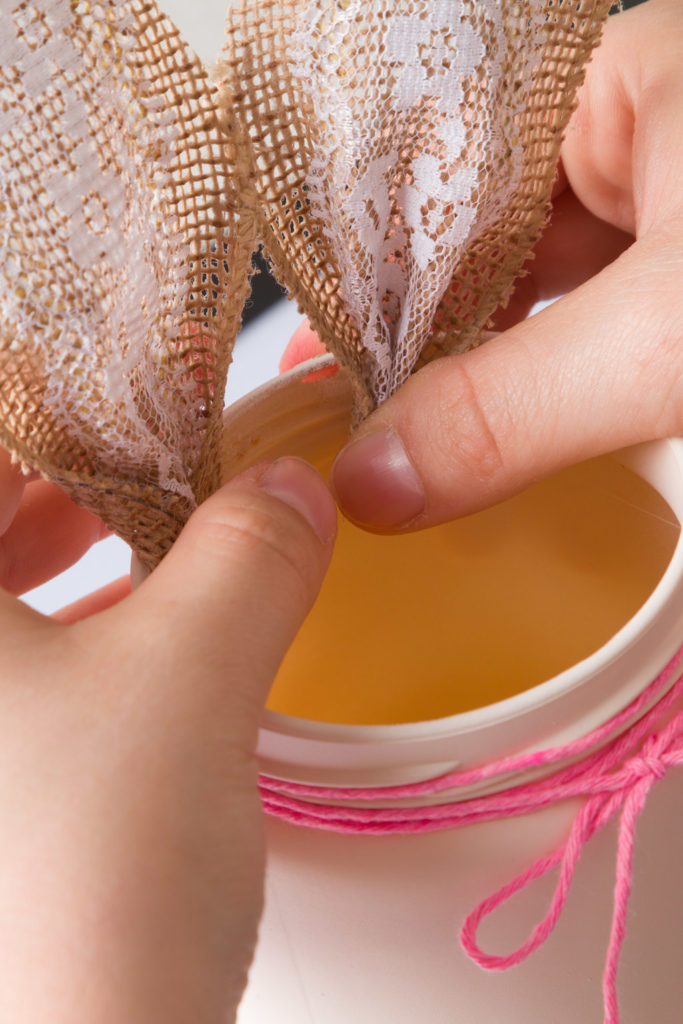
Then I glued the ears to the inside back of the jar. I tied some pink cotton string around the mouth of the jar and tied it in a bow. I also tied a string around the chick.
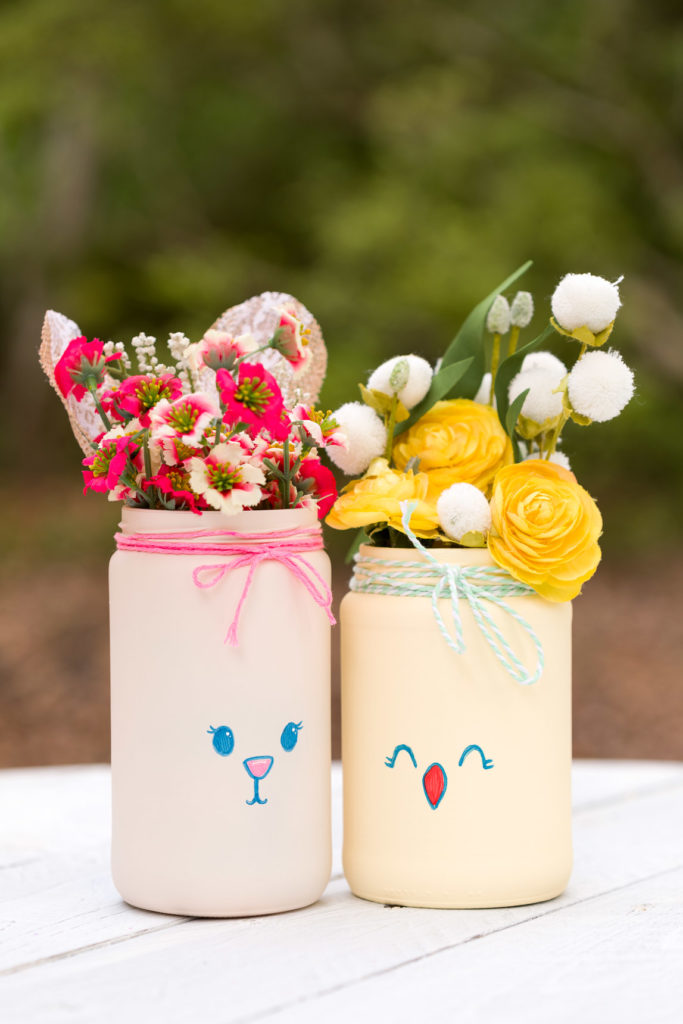
Look at how happy they are!
