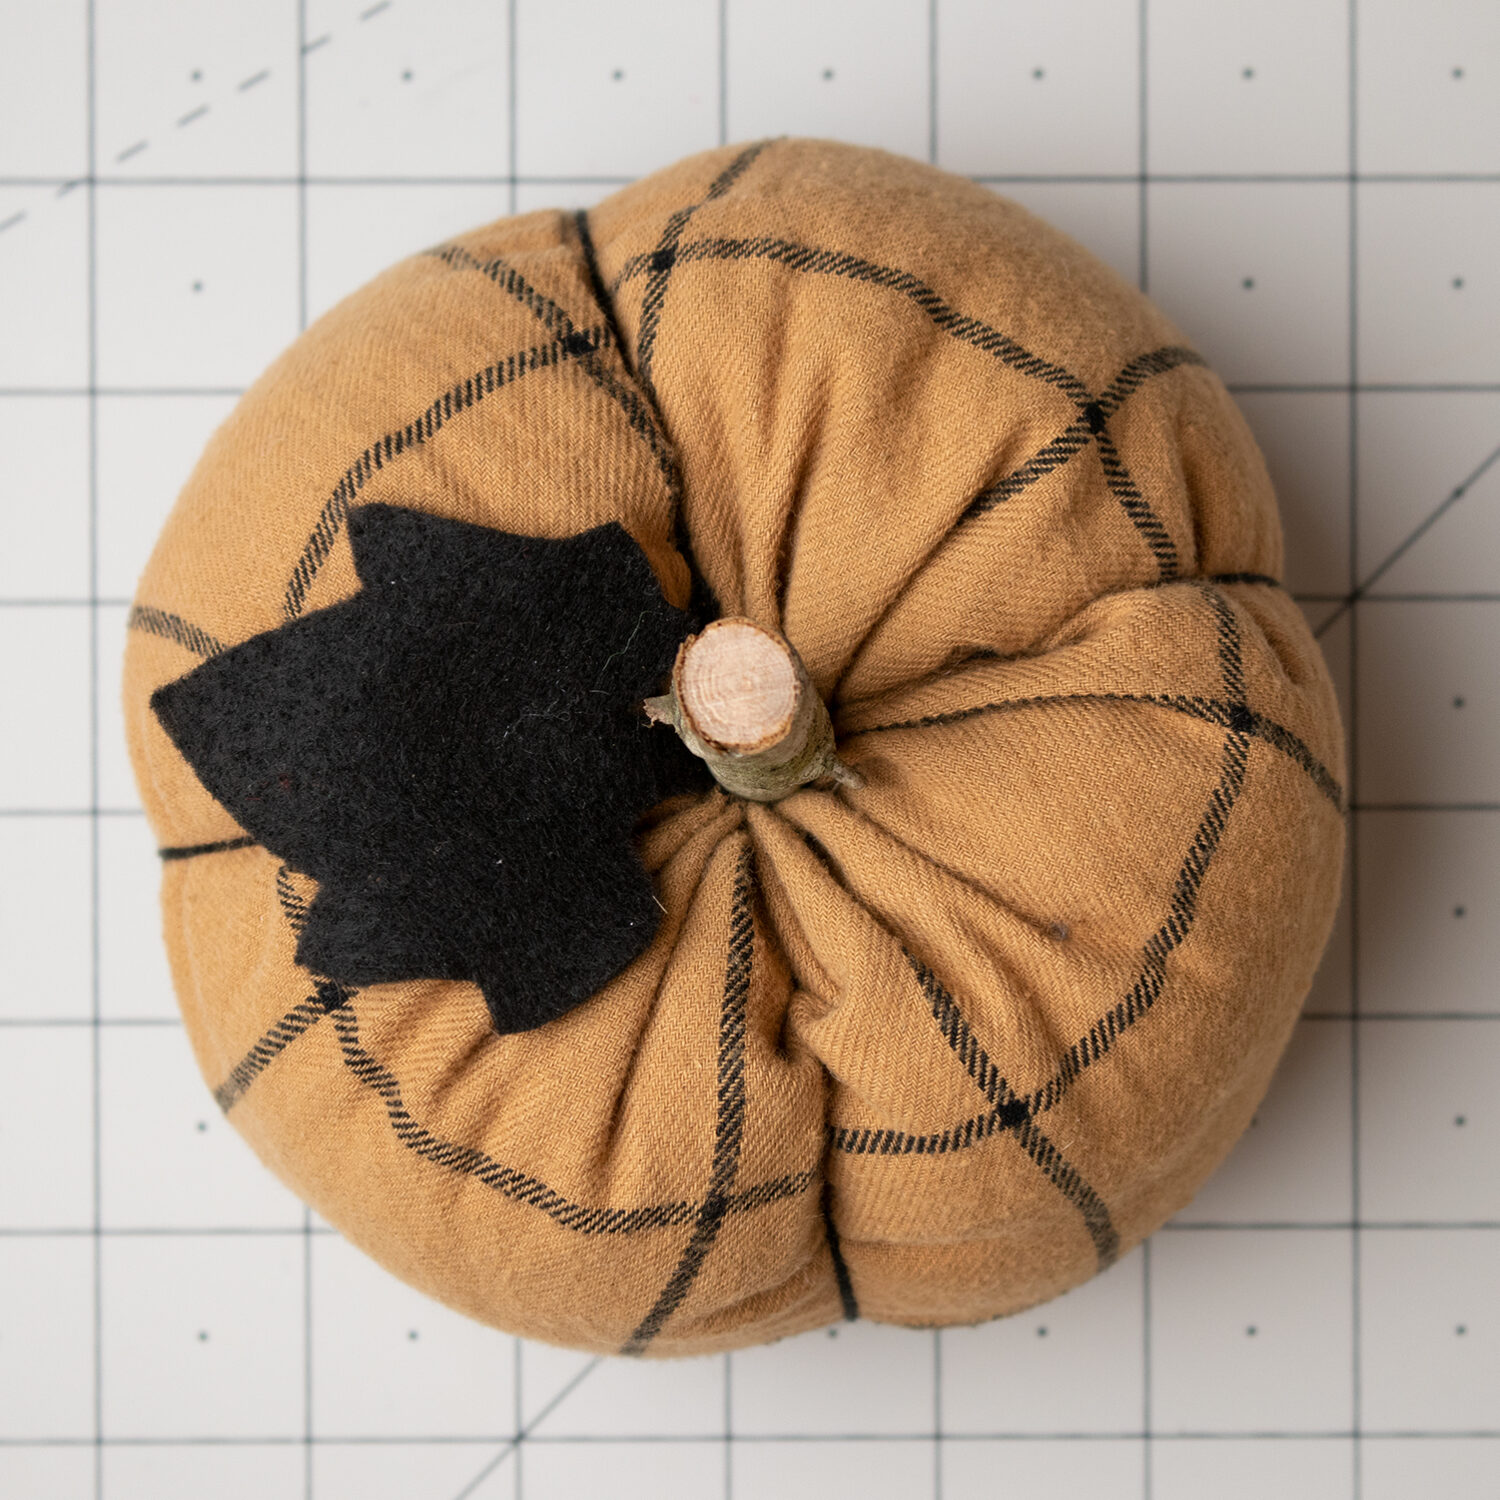
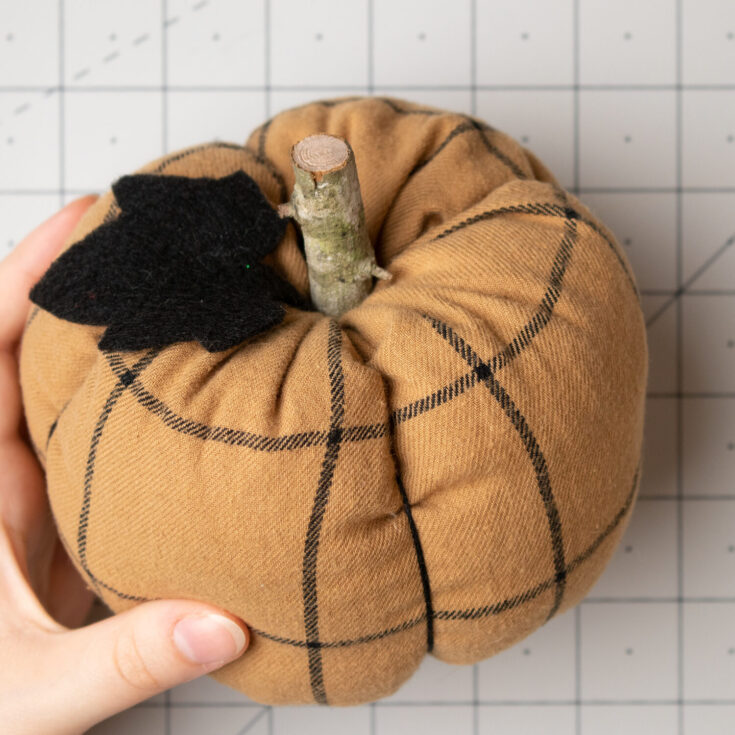
These pumpkins are super easy to make, and they turn out so cute!
You can cut out a rectangle and add a side seam to make a tube to begin. Or, shirt sleeves and pant legs work great! They also look super cute made out of sweaters, CHECK THESE OUT.
Supplies:
This post may contain affiliate links. This means that if you purchase from one of these links I will make a small commission, but rest assured you will not pay more for any products.
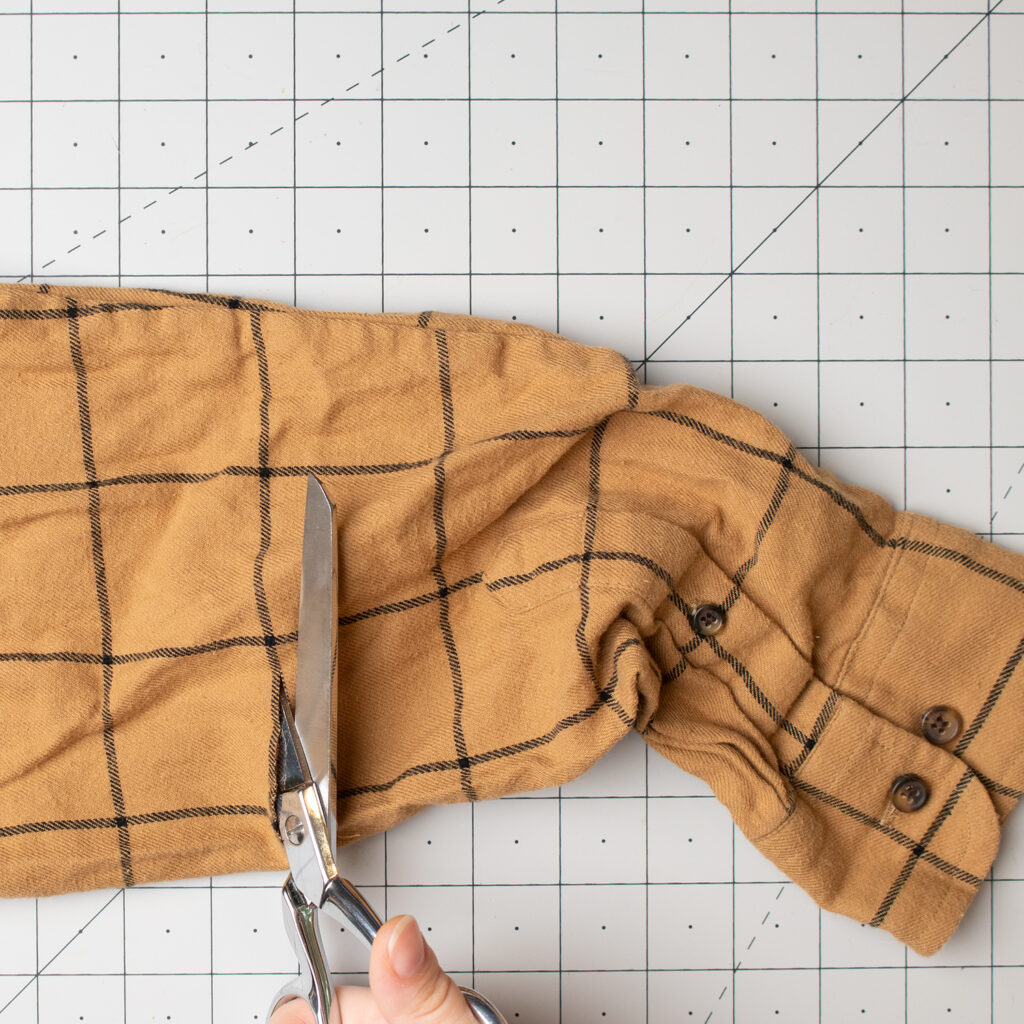
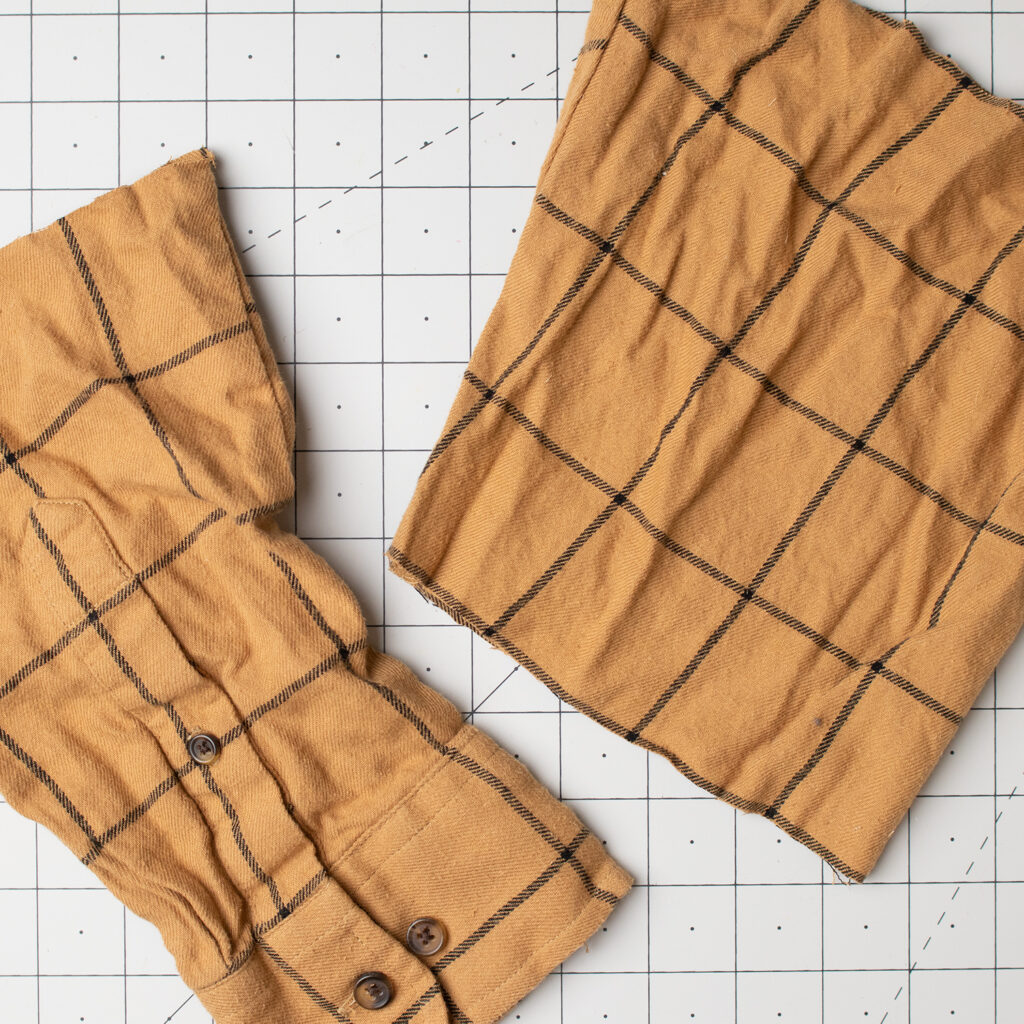
So I start these by cutting a section of the sleeve. Since this shirt was sewn together following the plaid, it was super easy to keep the cut straight just by following the existing lines. Honestly, you don’t need to worry much about the cuts being perfectly straight, they won’t be seen later on anyways.

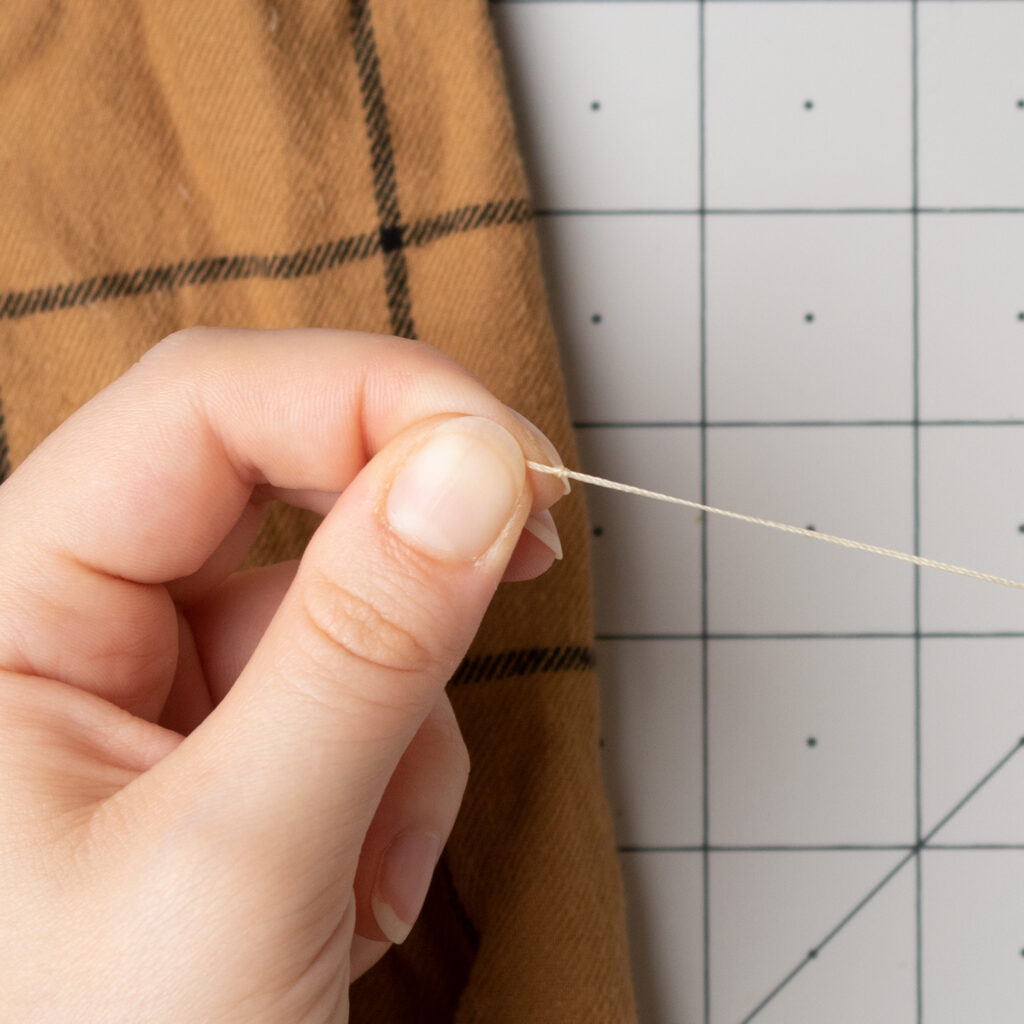
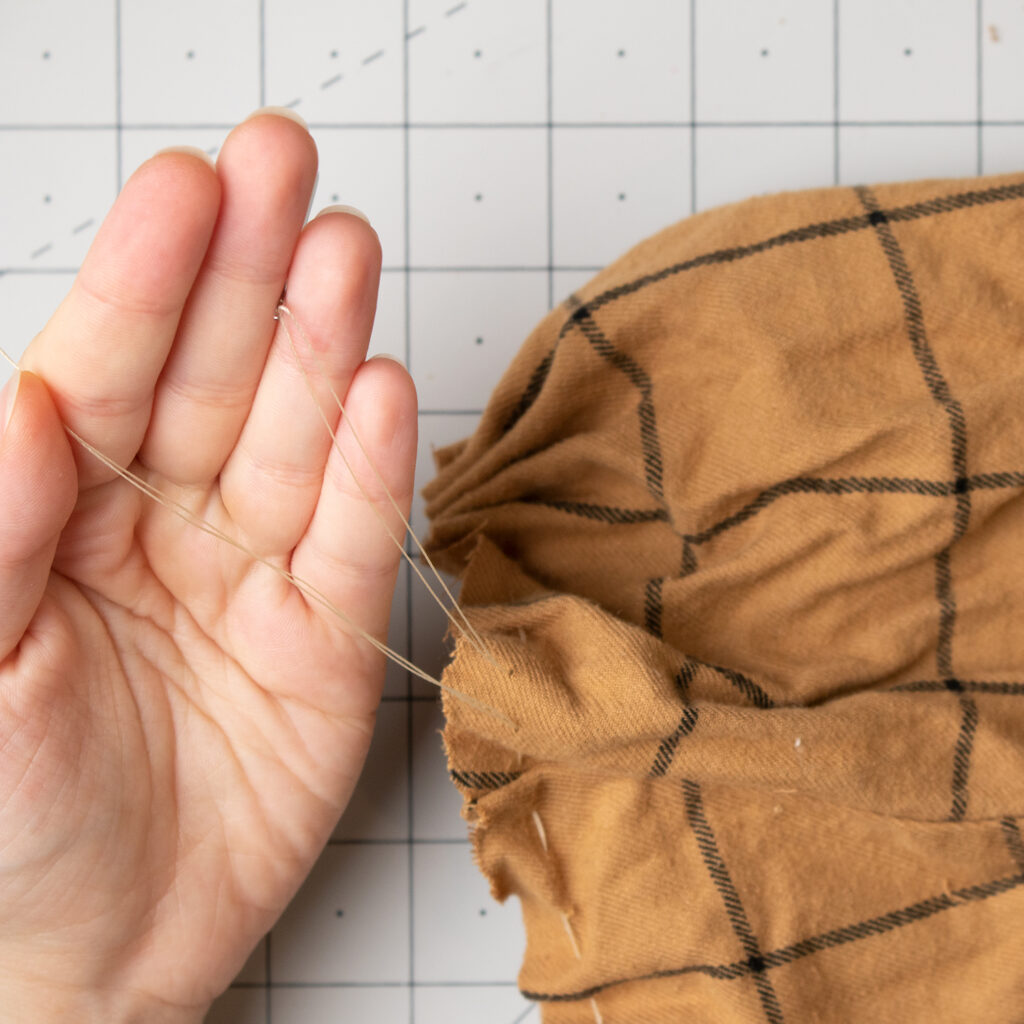
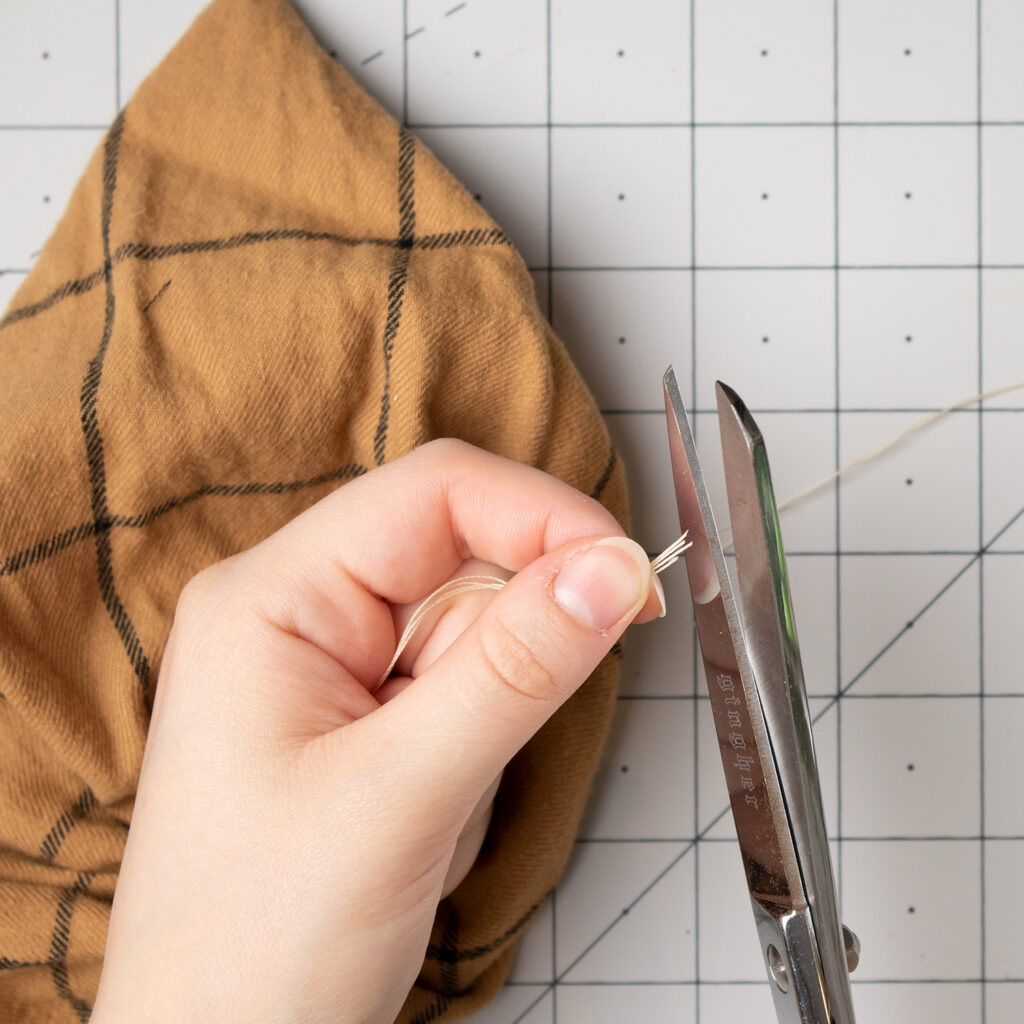
To cut down on the possibility of the thread snapping, not only am I using upholstery thread, but i’m also doubling it over for max strength.
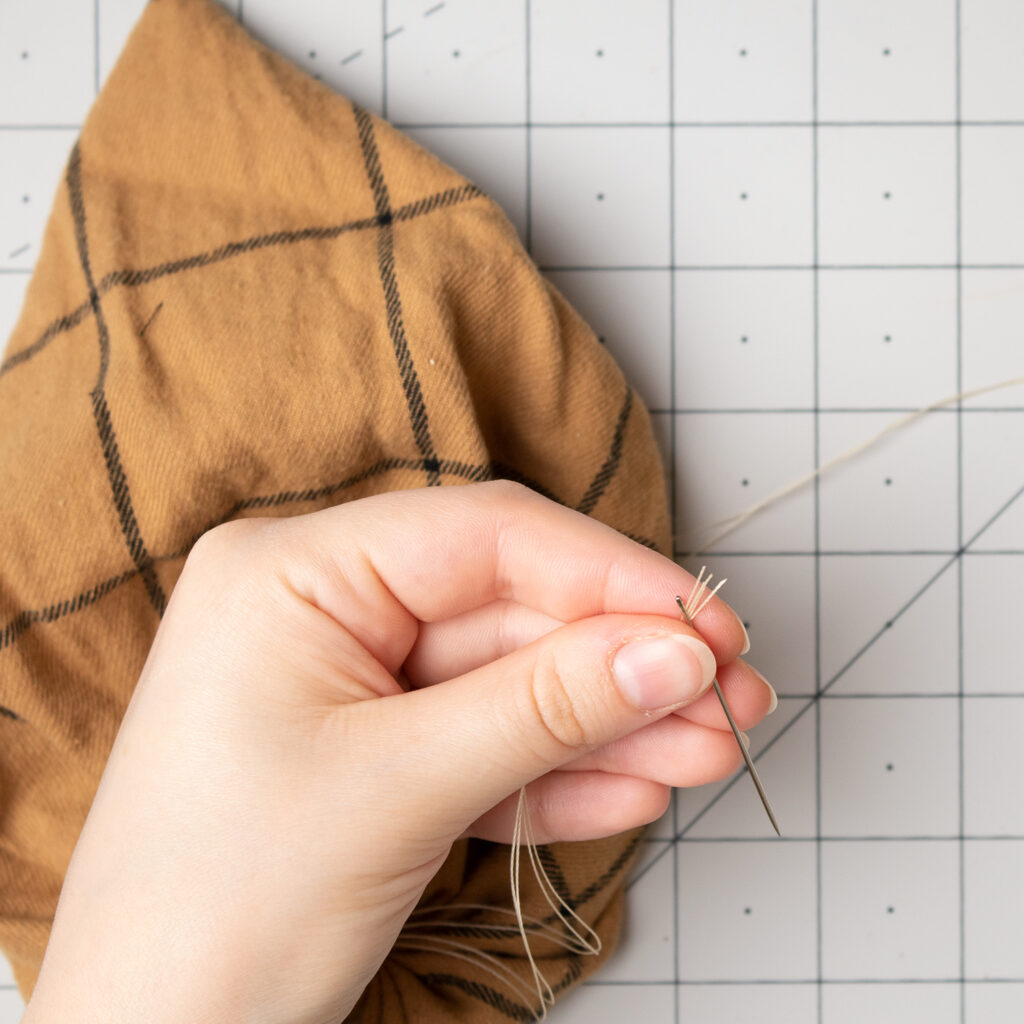
How to knot the end of the thread
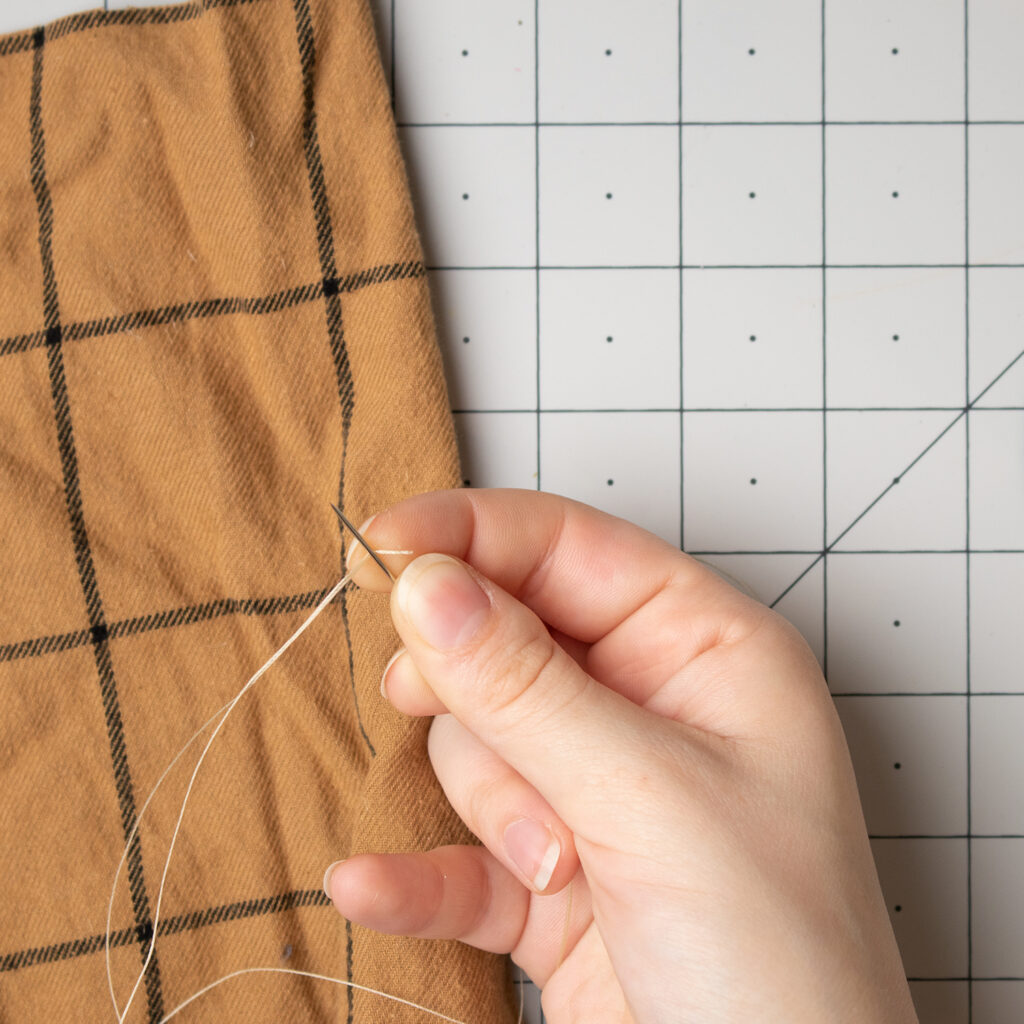
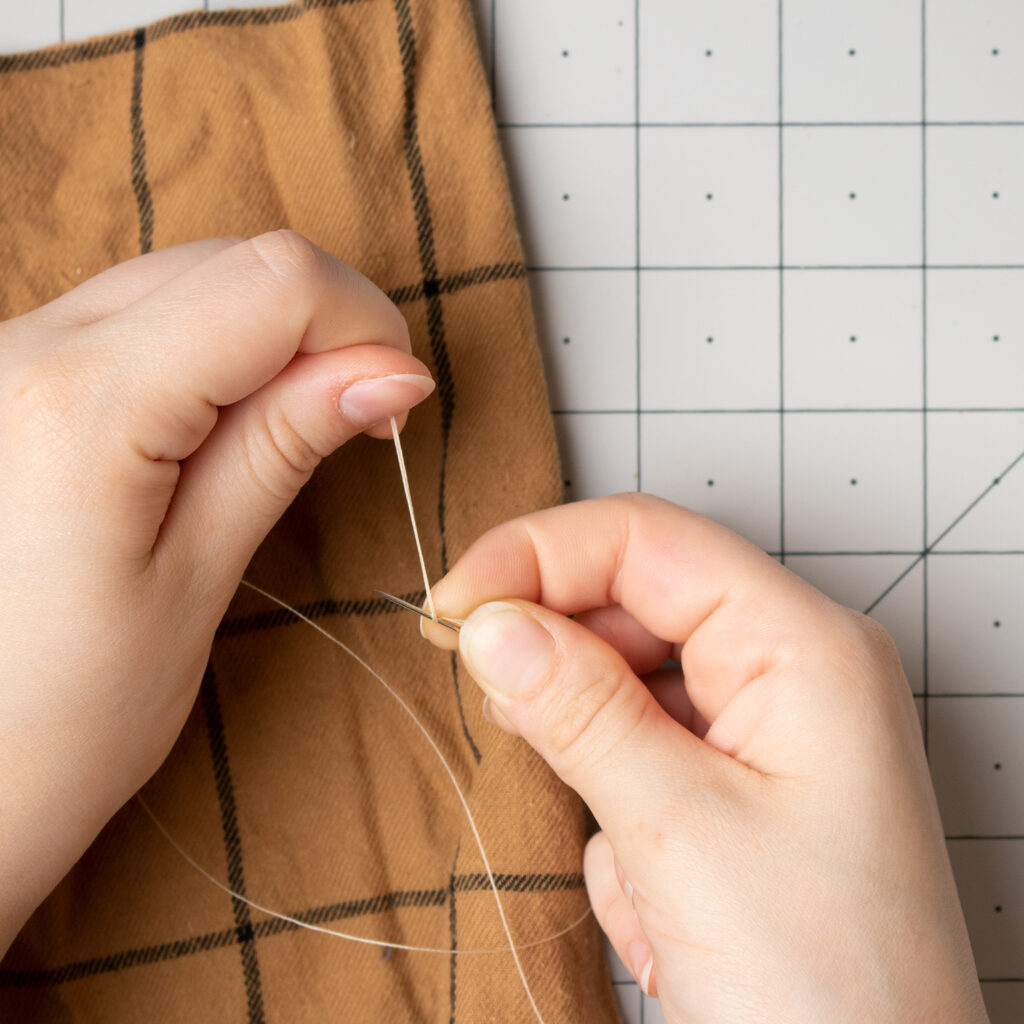
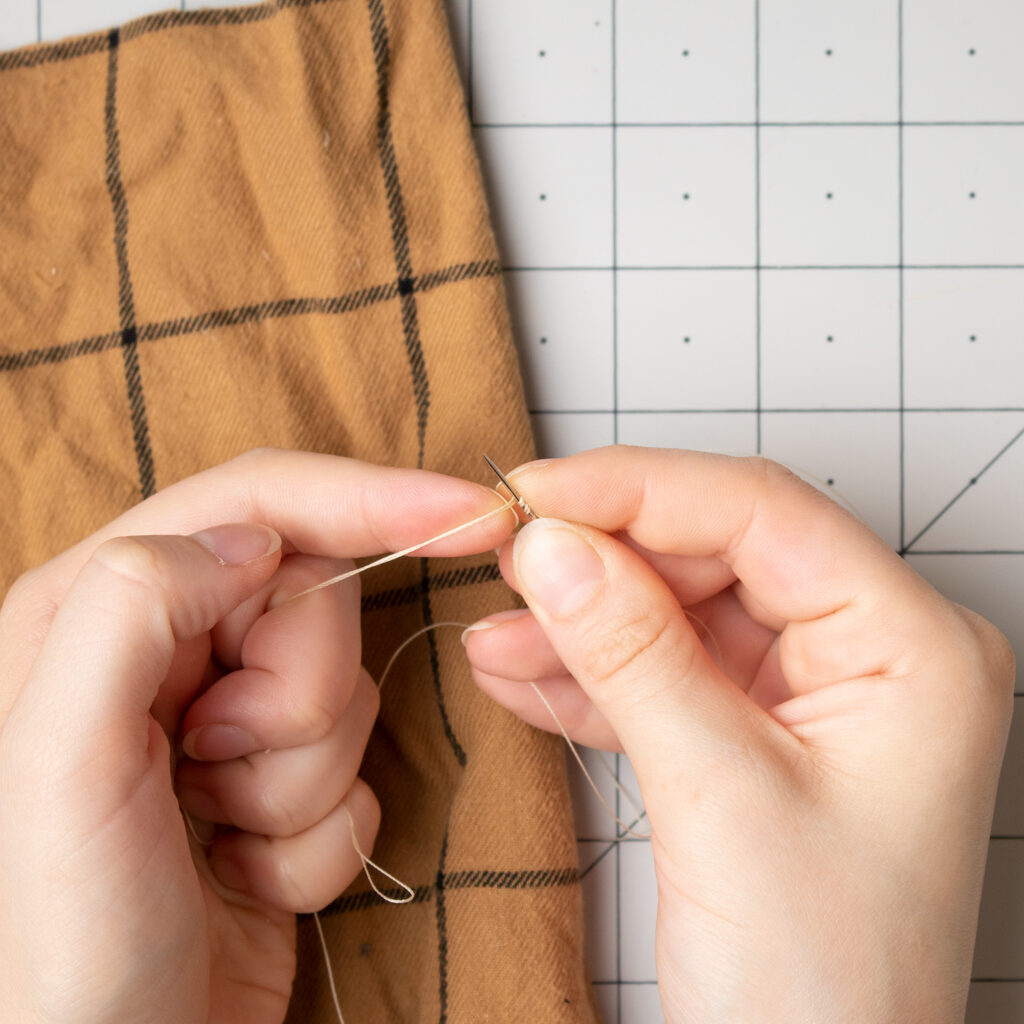
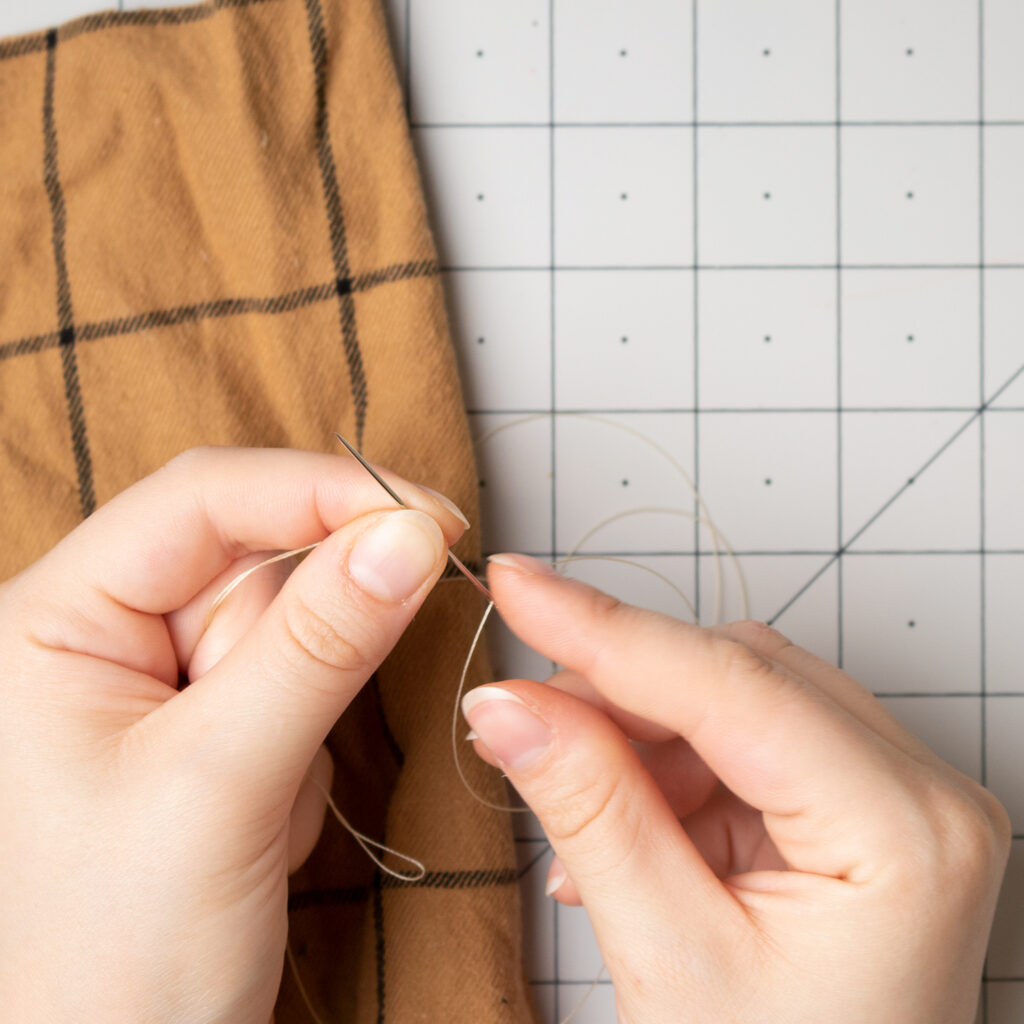
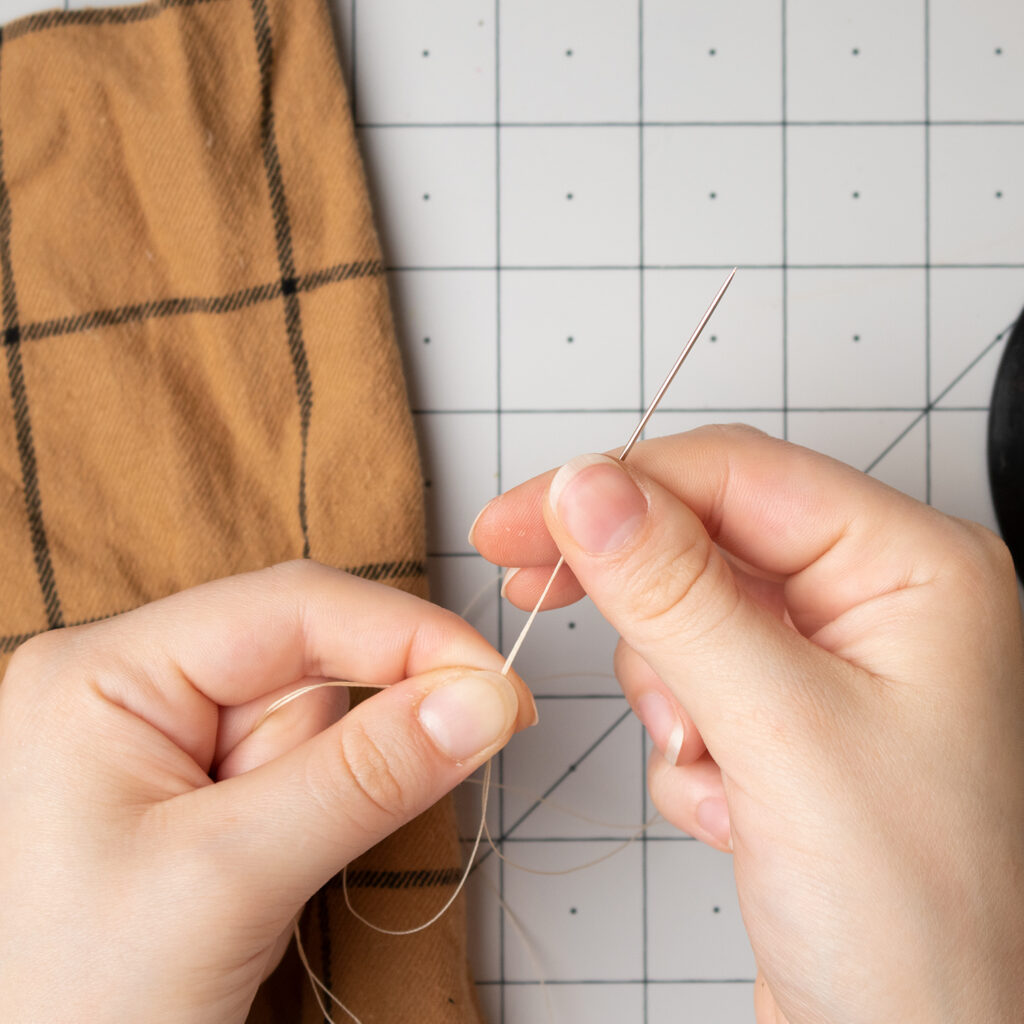
To knot the thread I start by holding the needle against my finger with the end of the thread under it. Then I tightly wrap the long tail around the needle, usually two or three times. I pinch the thread and pull the needle and thread through until I hit the end, leaving me with a knot.

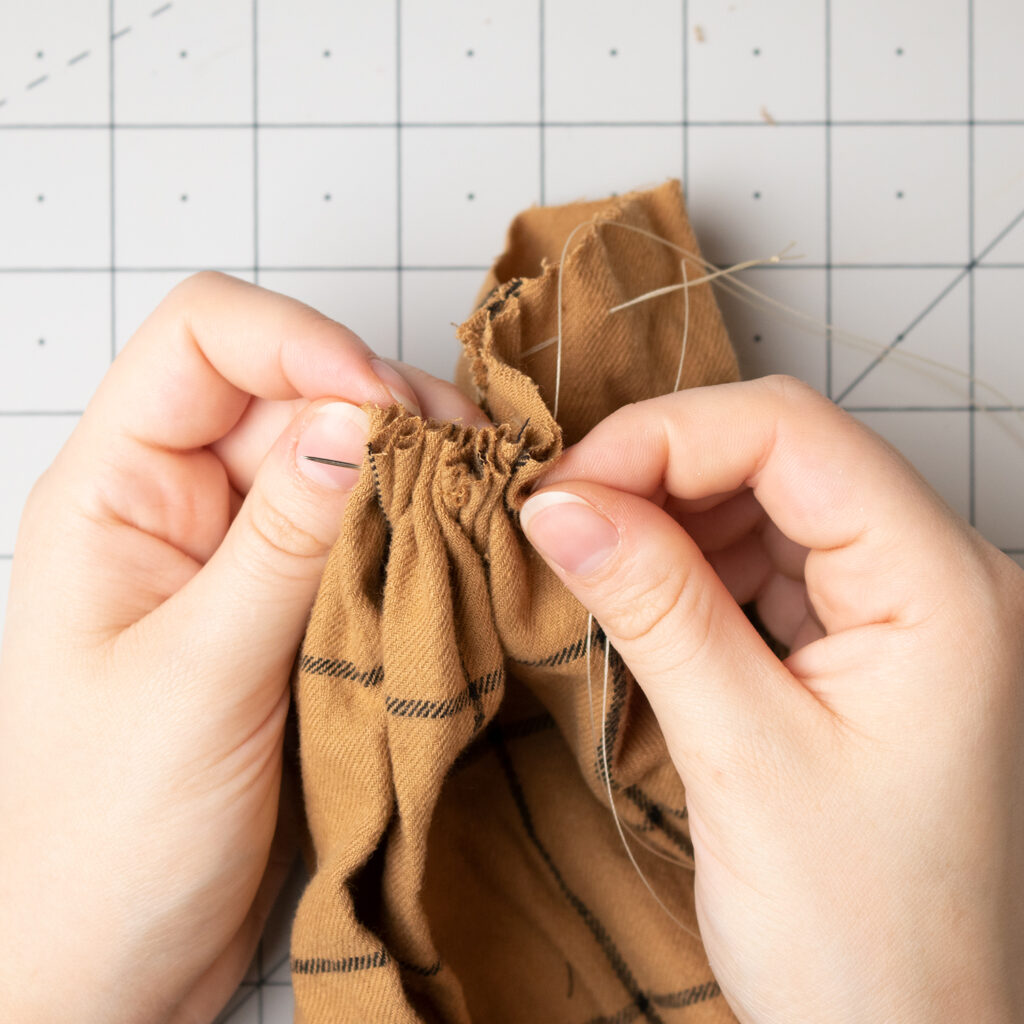
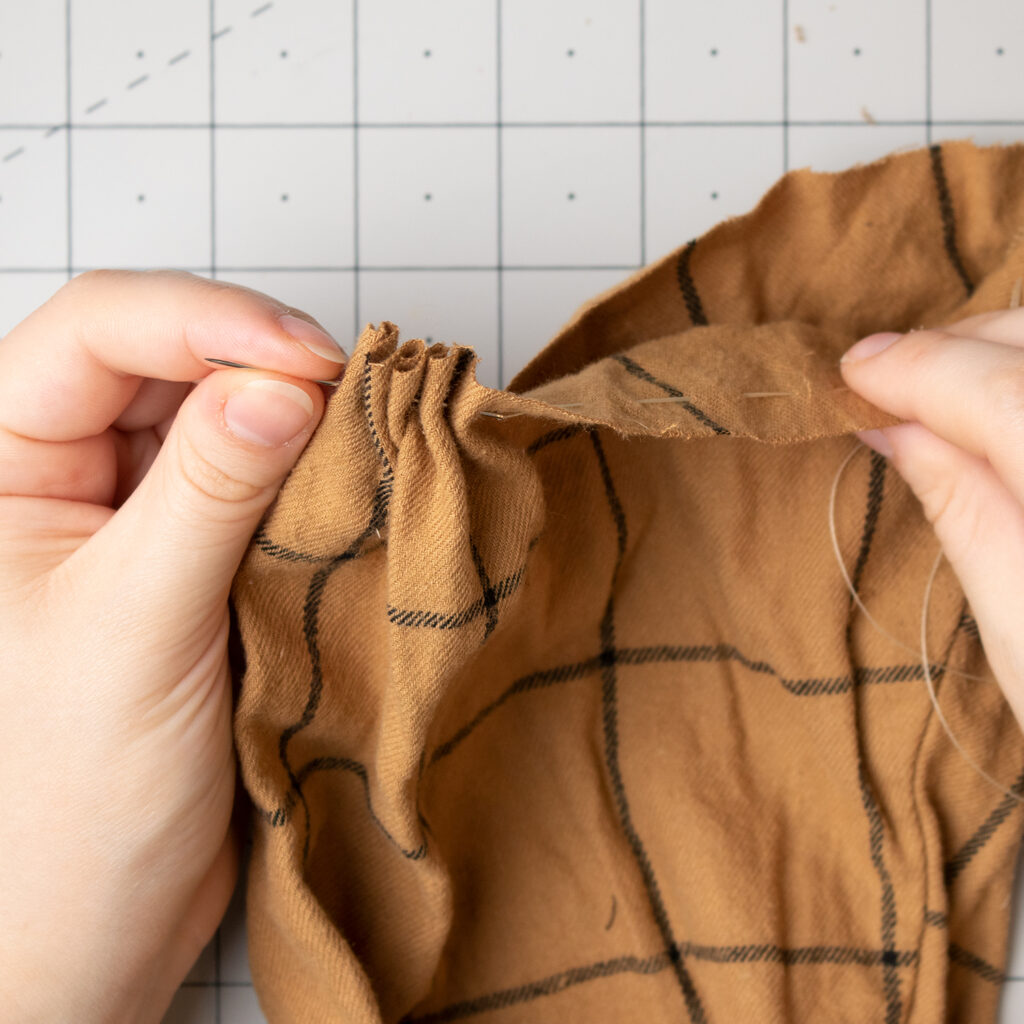
Start the thread on the outside of the fabric about an inch from the edge. Work around the whole perimeter with a running stitch. A running stitch is simply working the needle from one side of the fabric to the other. I made my stitches about half-an-inch apart so they’ll gather up nicely. To get it done faster I’ll weave the needle through without pulling it all the way through until I’ve worked up a good amount of folds on the needle, then I can just tug on the fabric behind the needle to pull the thread through it.
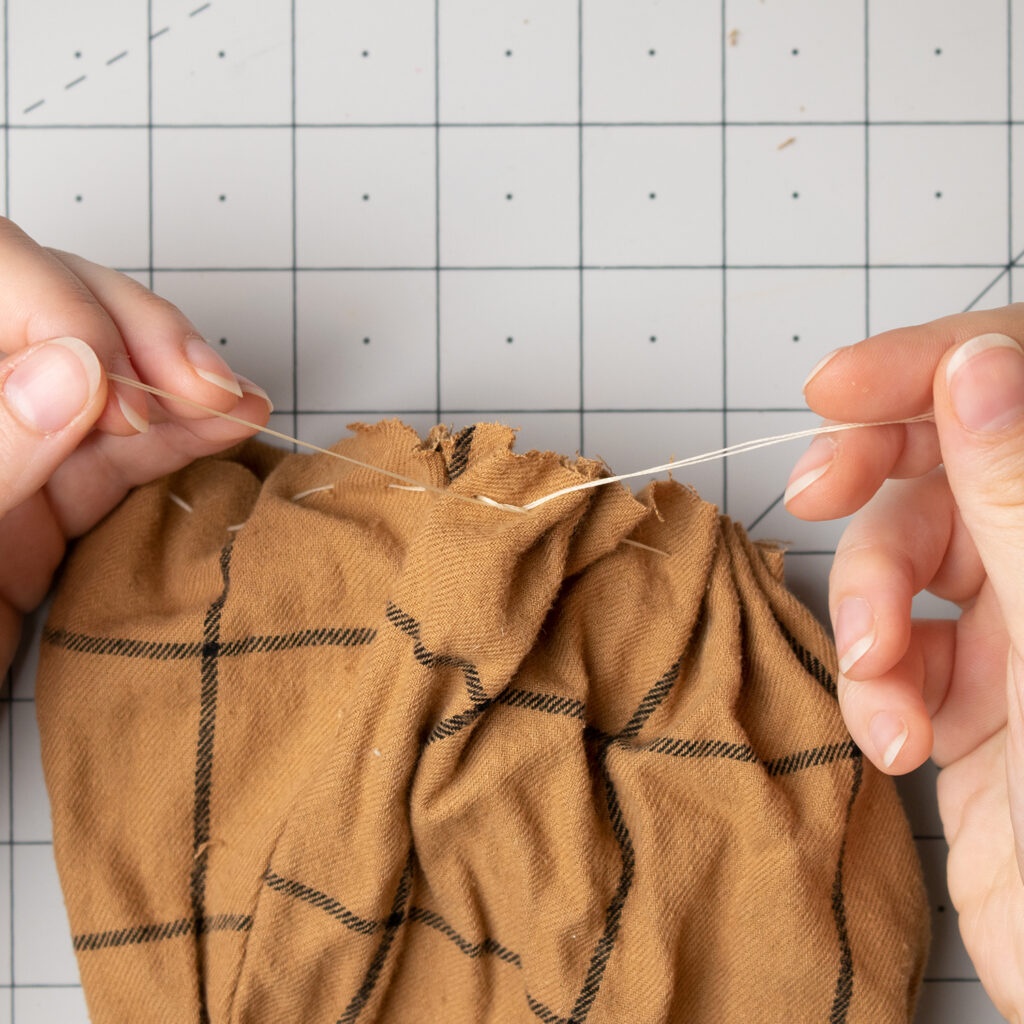
When you get to the end you will want to end with the thread on the outside of the fabric. Take the two ends and tie the first half of a square knot. Then start pulling them away from each other to tighten the thread.
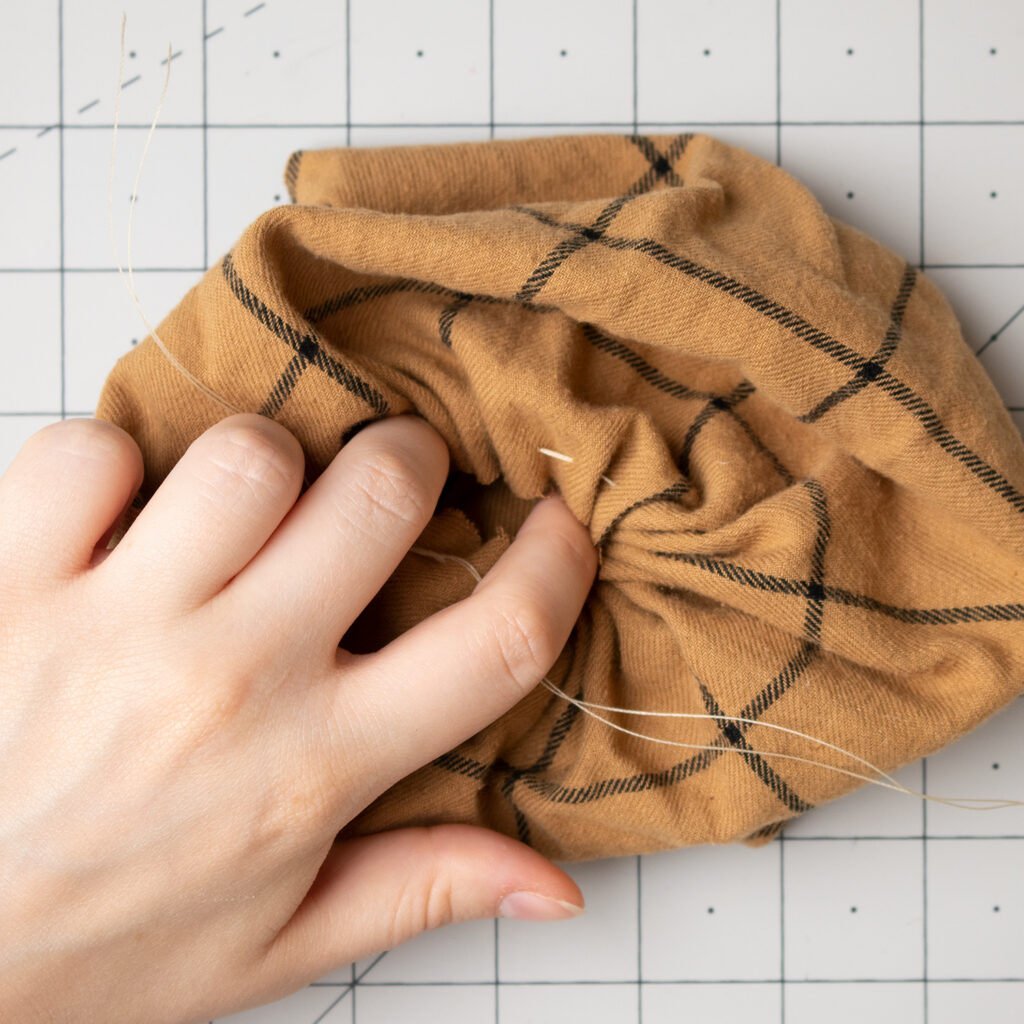
As you are tightening the thread, use your finger to push the extra fabric to the inside of what will be the pumpkin. Pull until it’s completely tightened.

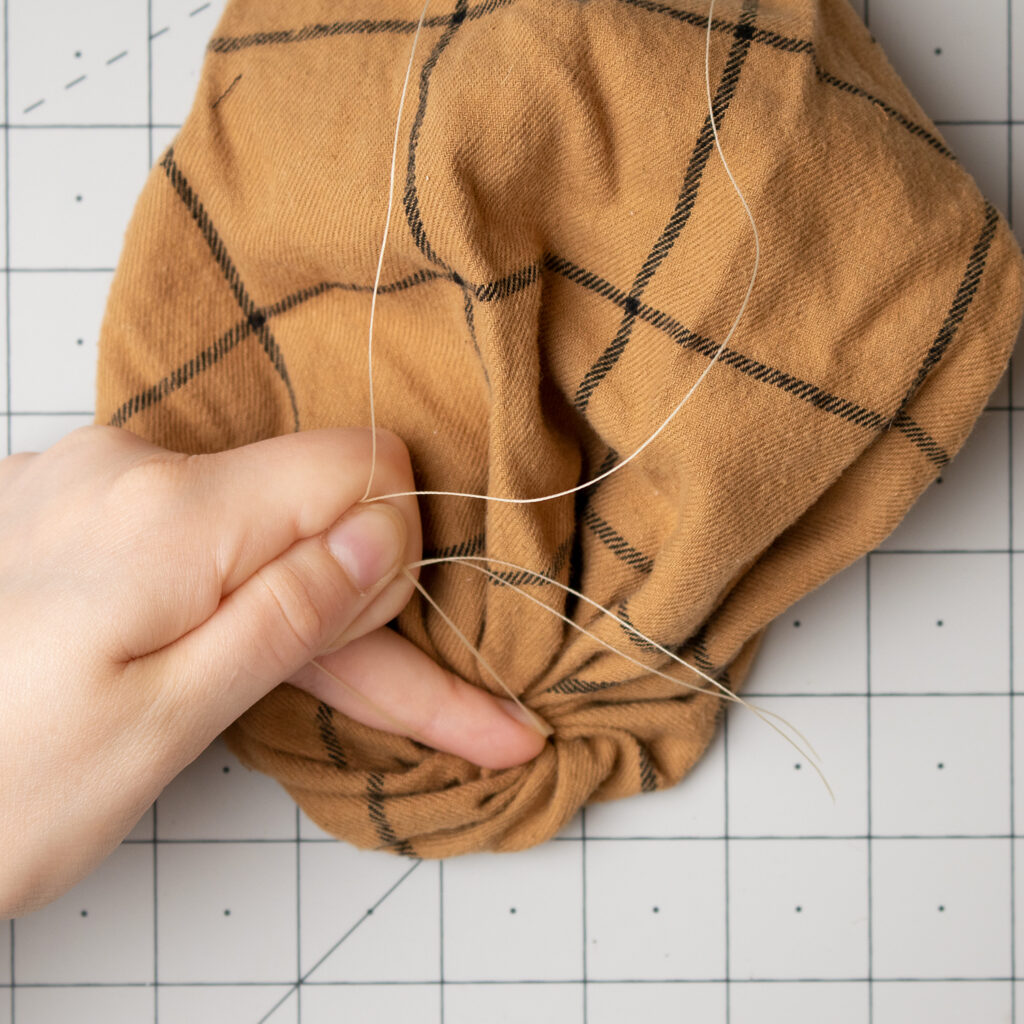
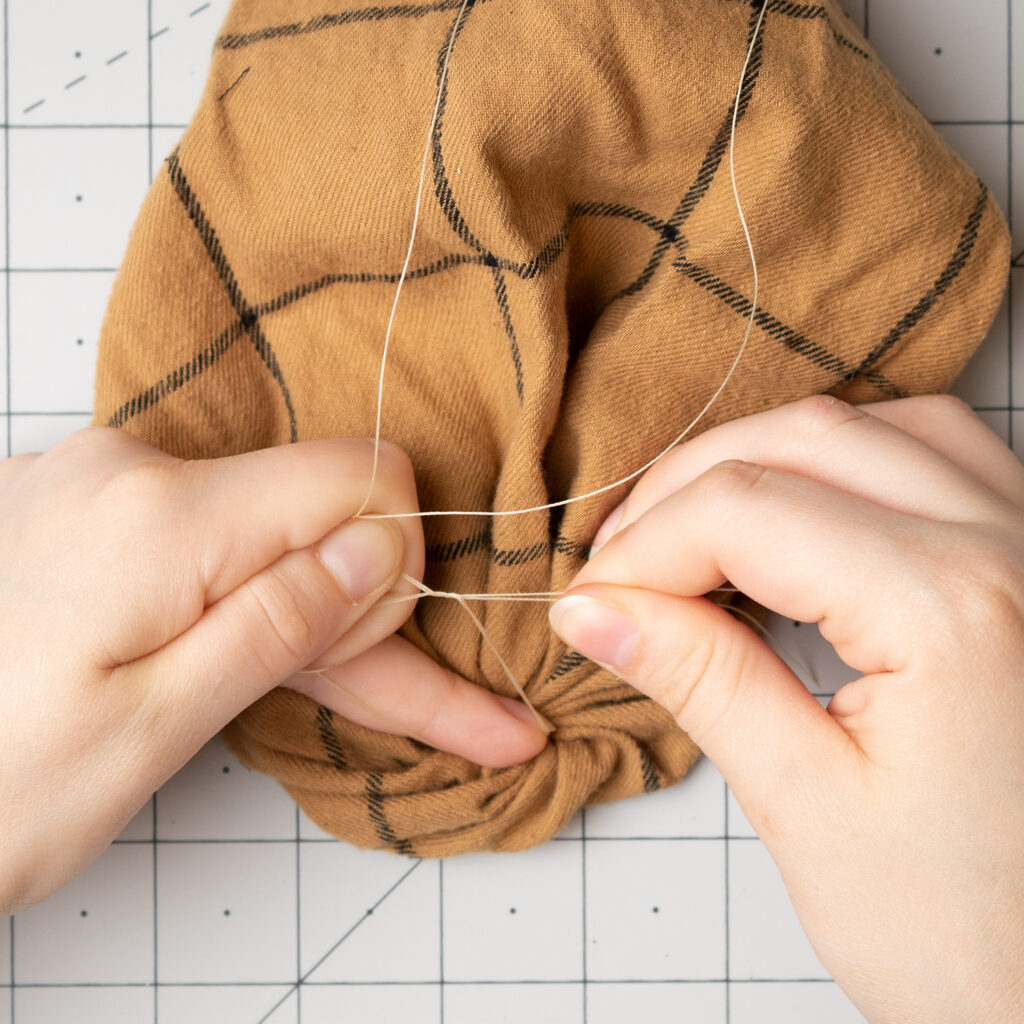

I found the best way to tie a knot and keep it tight by yourself is to first pull it tight holding the tail between your thumb and index finger and holding down the knot with your middle finger. With your other hand, loop the other thread through, and pull it taut.
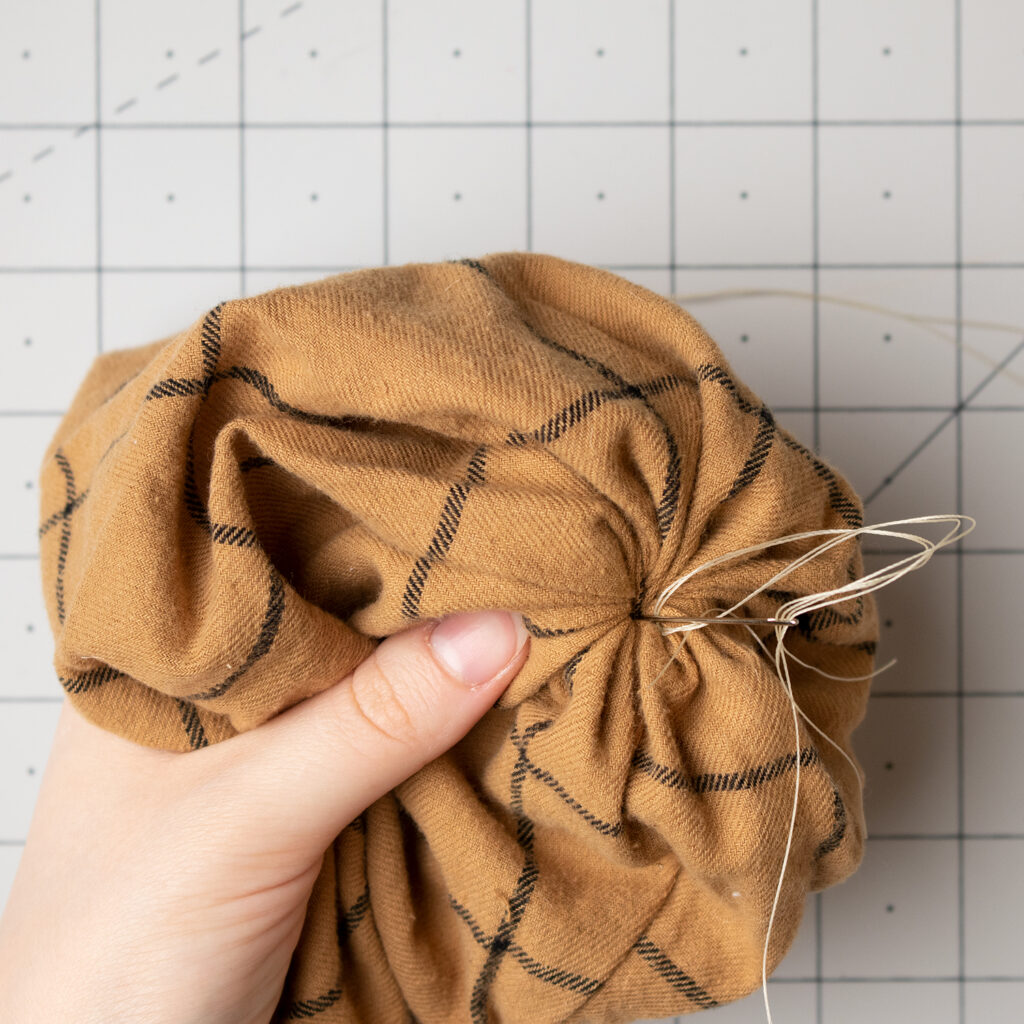
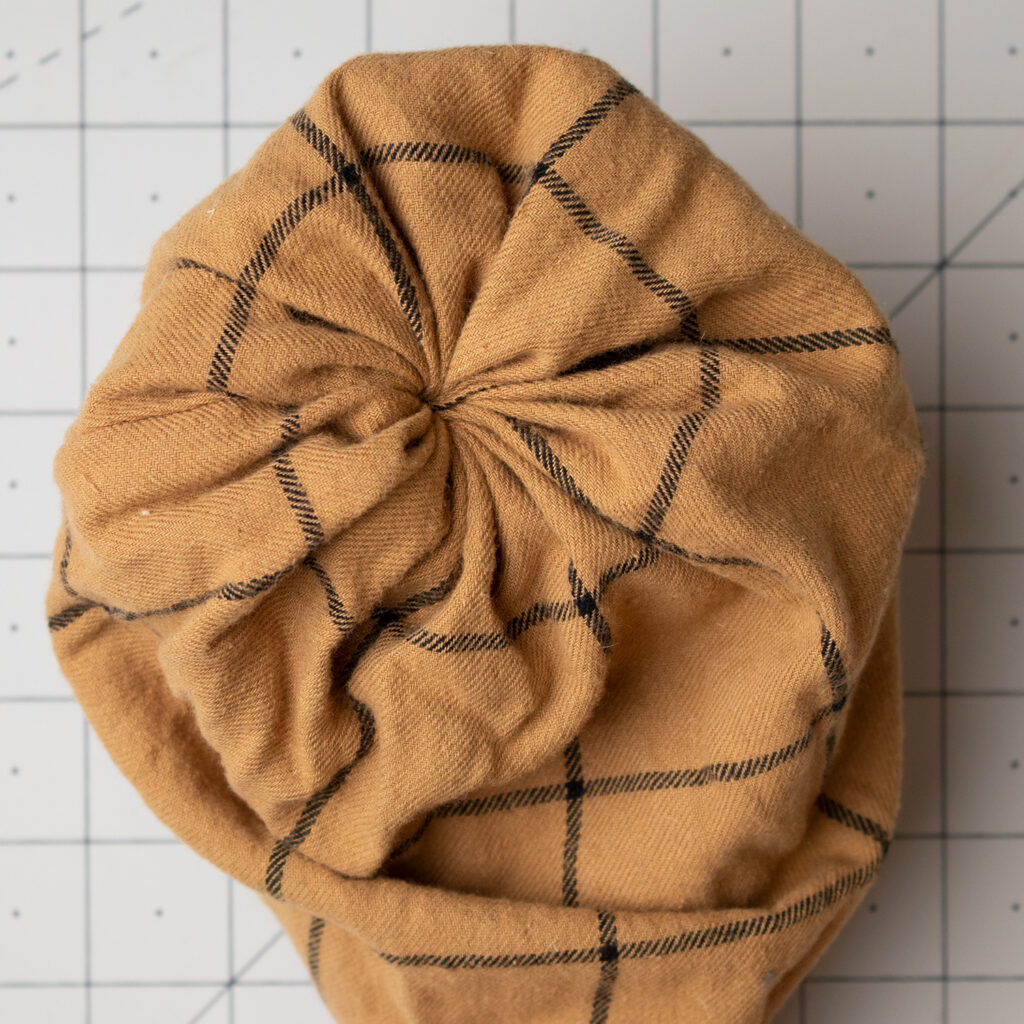
Here’s how it should look.
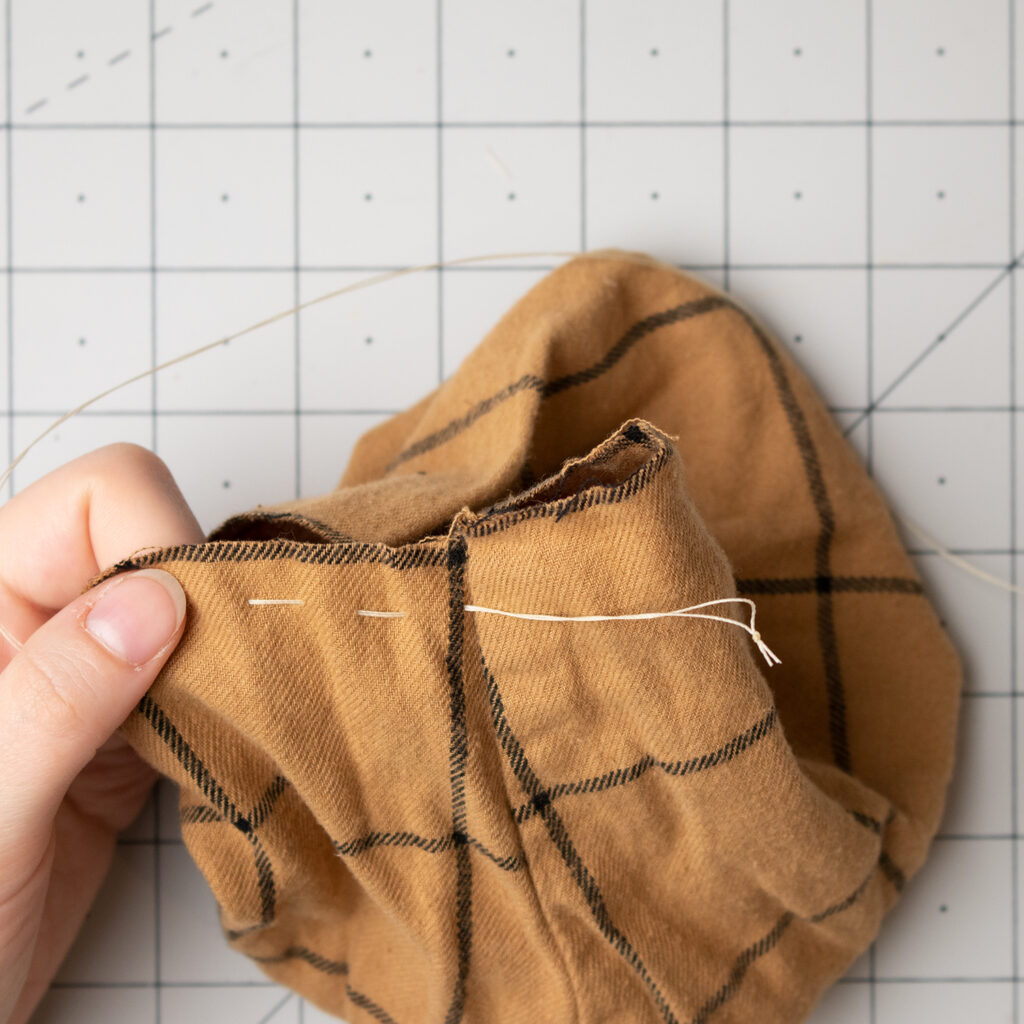
For the top edge, I just run a gathering stitch through it like I did for the bottom, except a bit closer to the edge. Once that’s finished it’s time to stuff it.
Stuffing
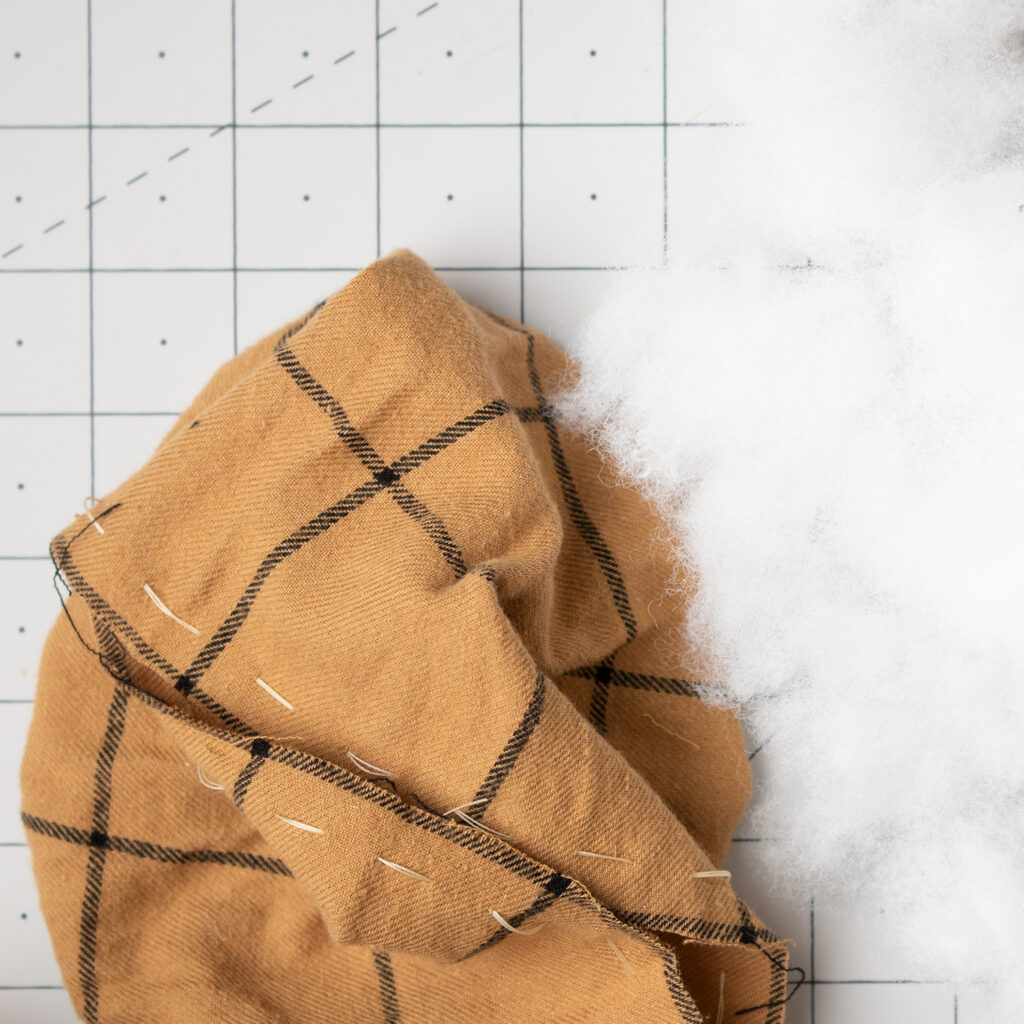
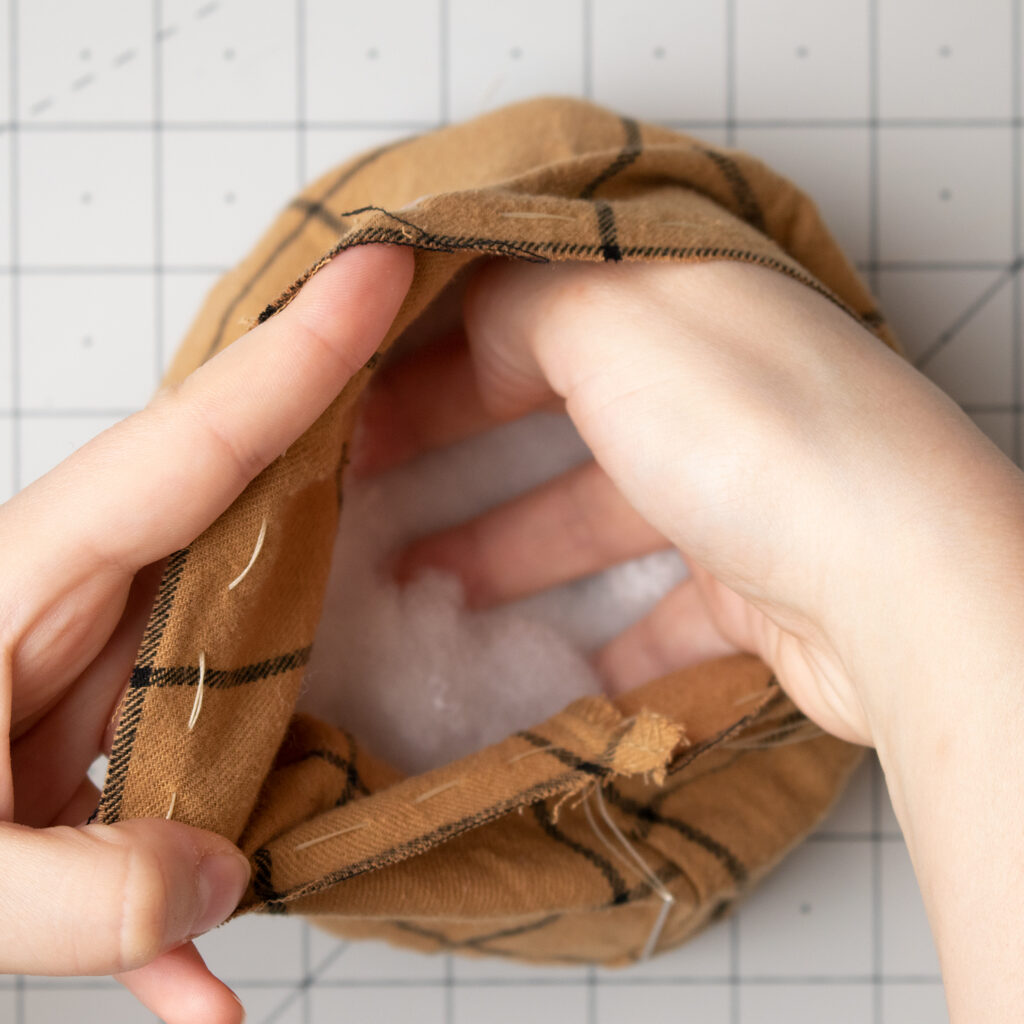
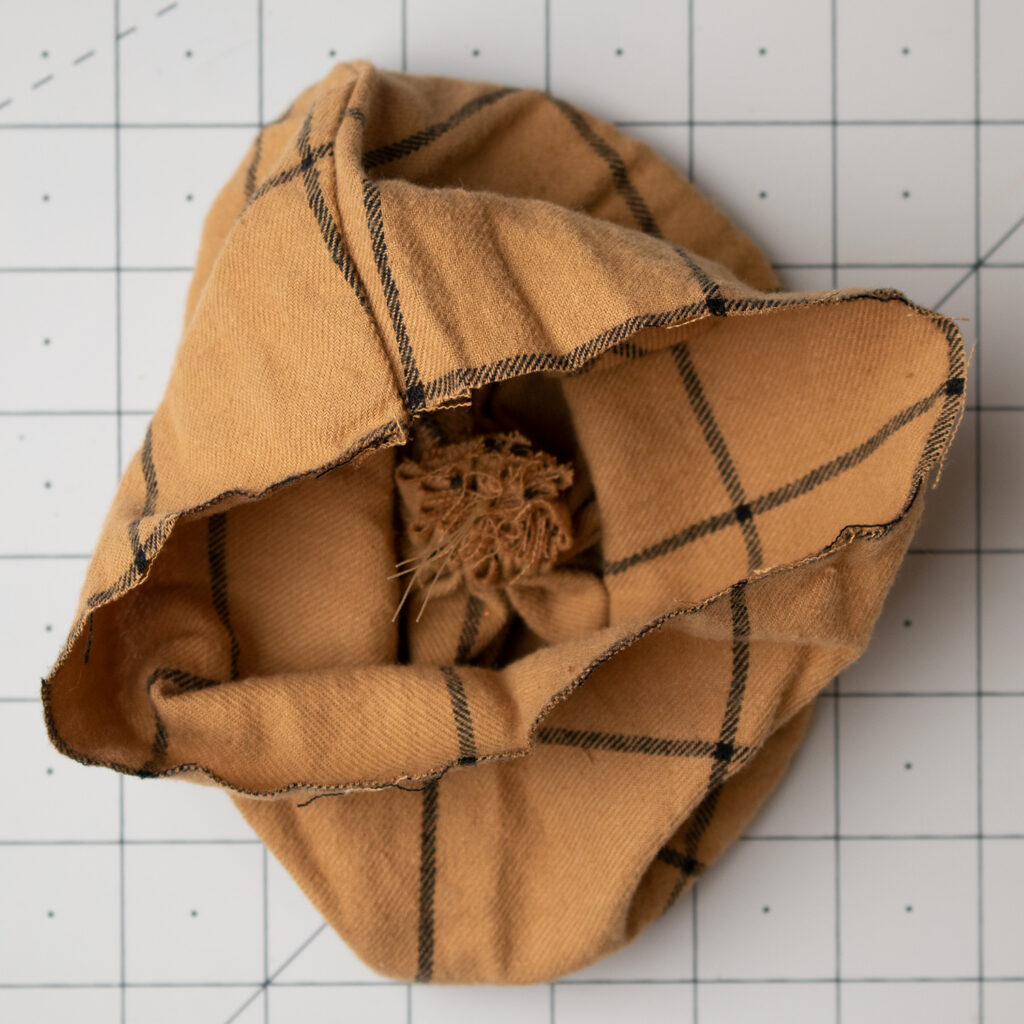
When using polyester stuffing I like to pull the fibers apart before putting them into the pumpkin. This helps cut down on lumps. I work in a handful at a time, pushing it around with my hand to get it evenly distributed and filling out the bottom completely. This continues until it’s full when you pull on the gathering string.
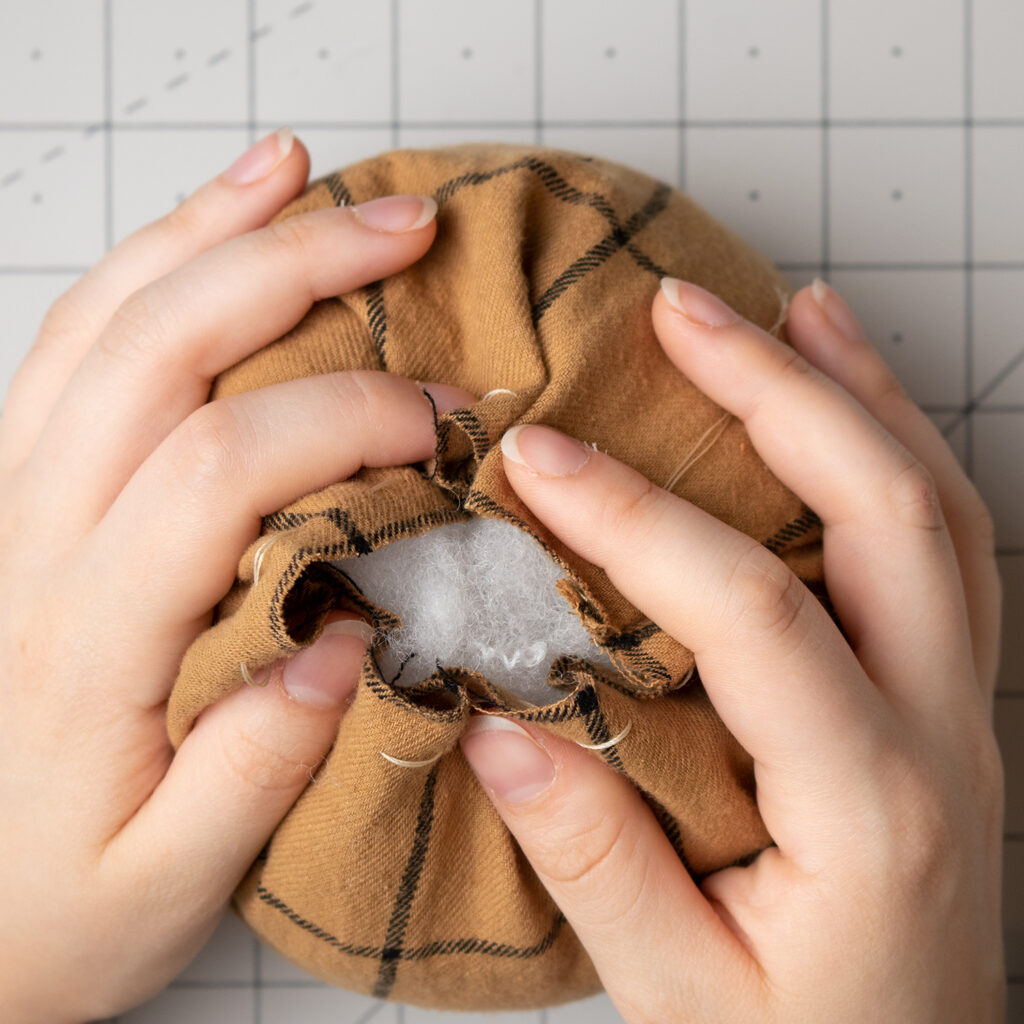
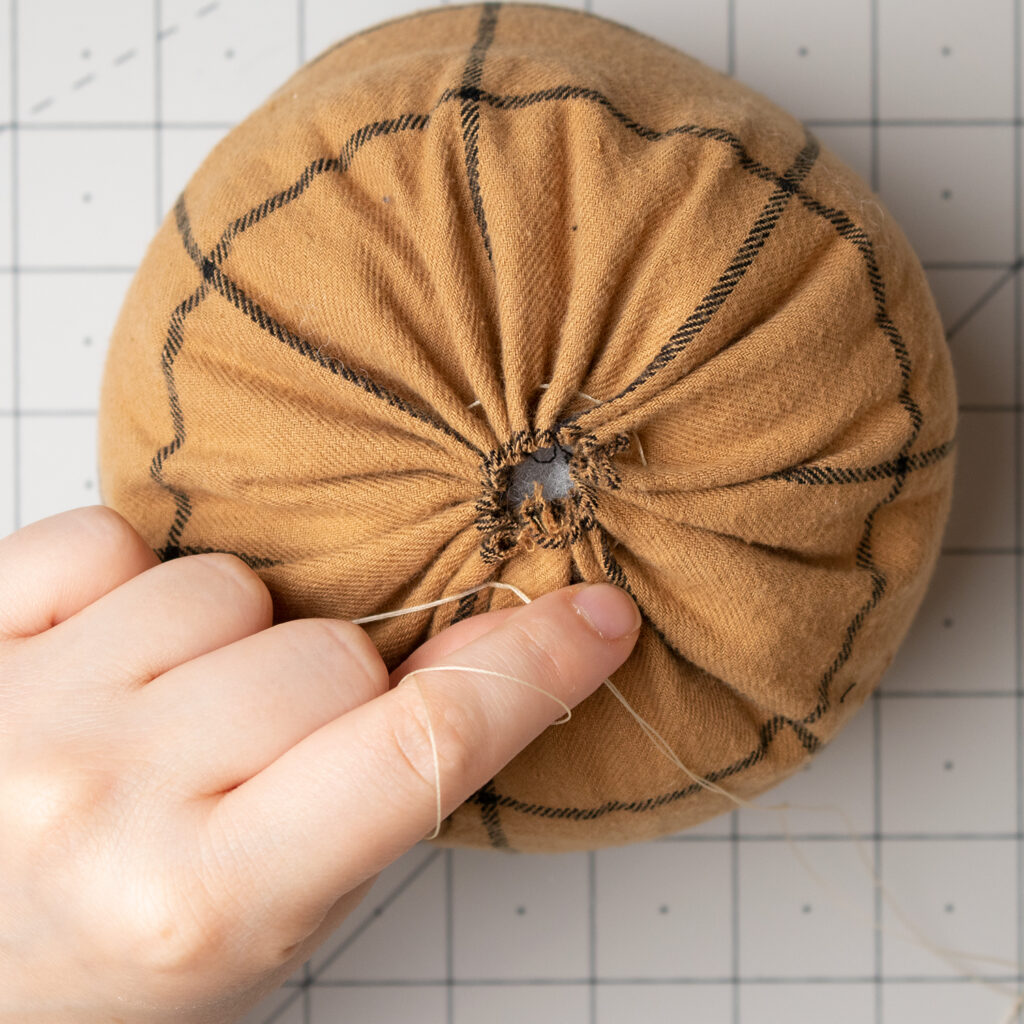
Once the pumpkin is full, pull on the gathering strings and tie it closed with a square knot. This end won’t be as tight as the bottom so there is space for the stick to fit into. Then I hide the threads to the inside of the pumpkin.
Creating the segments
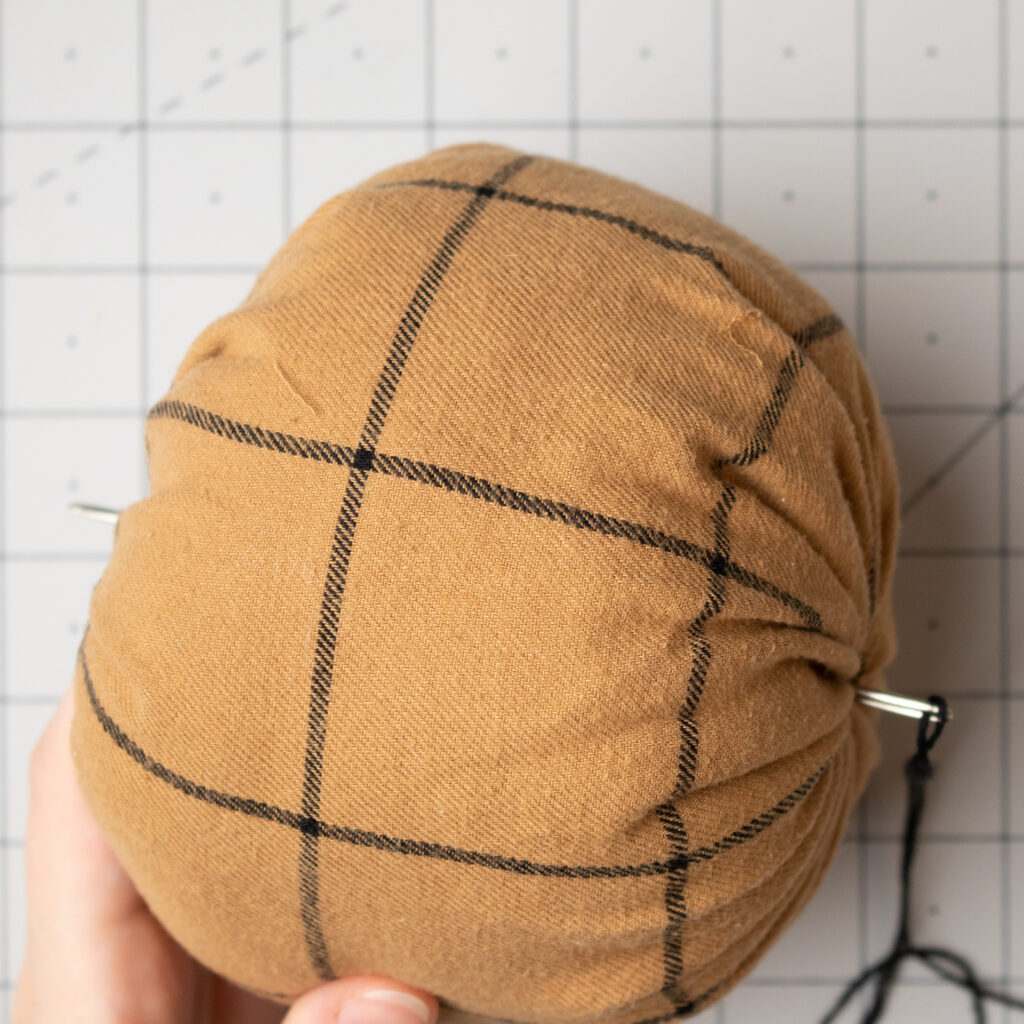
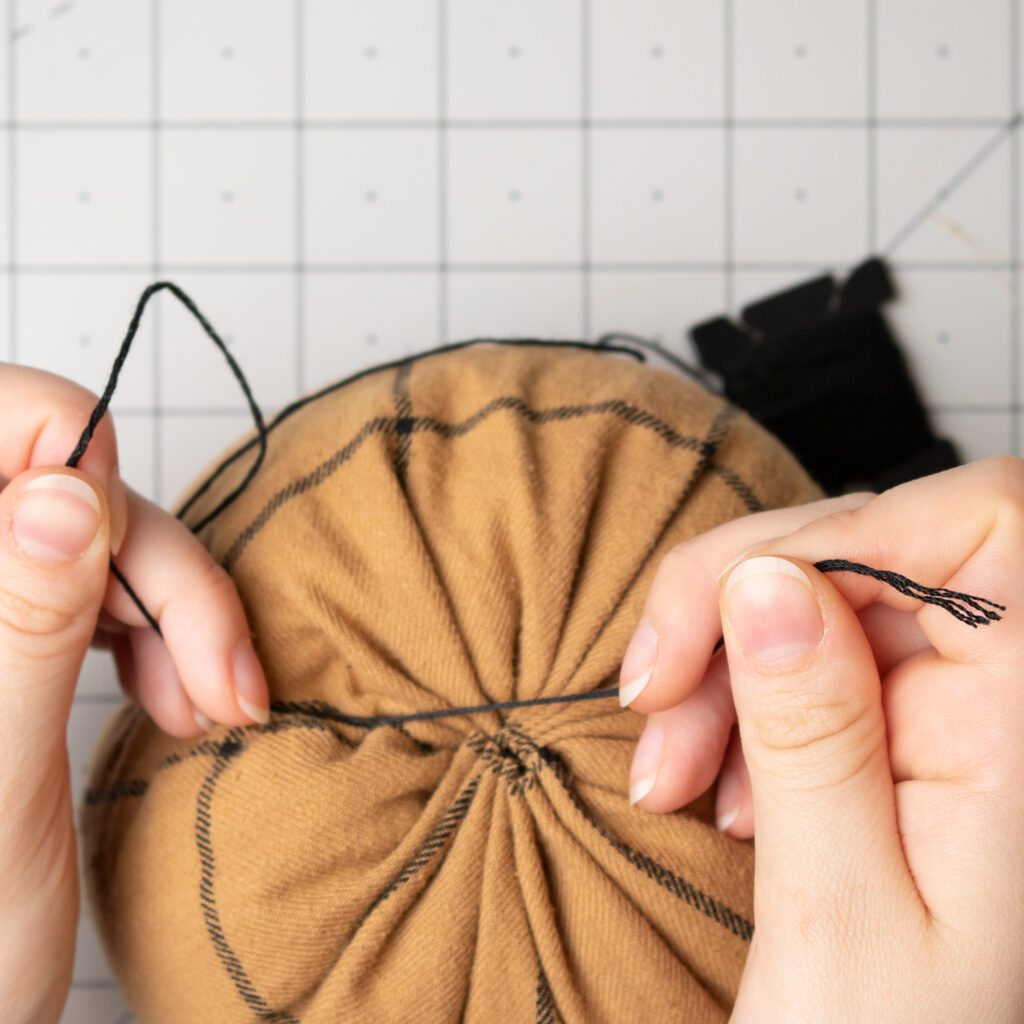
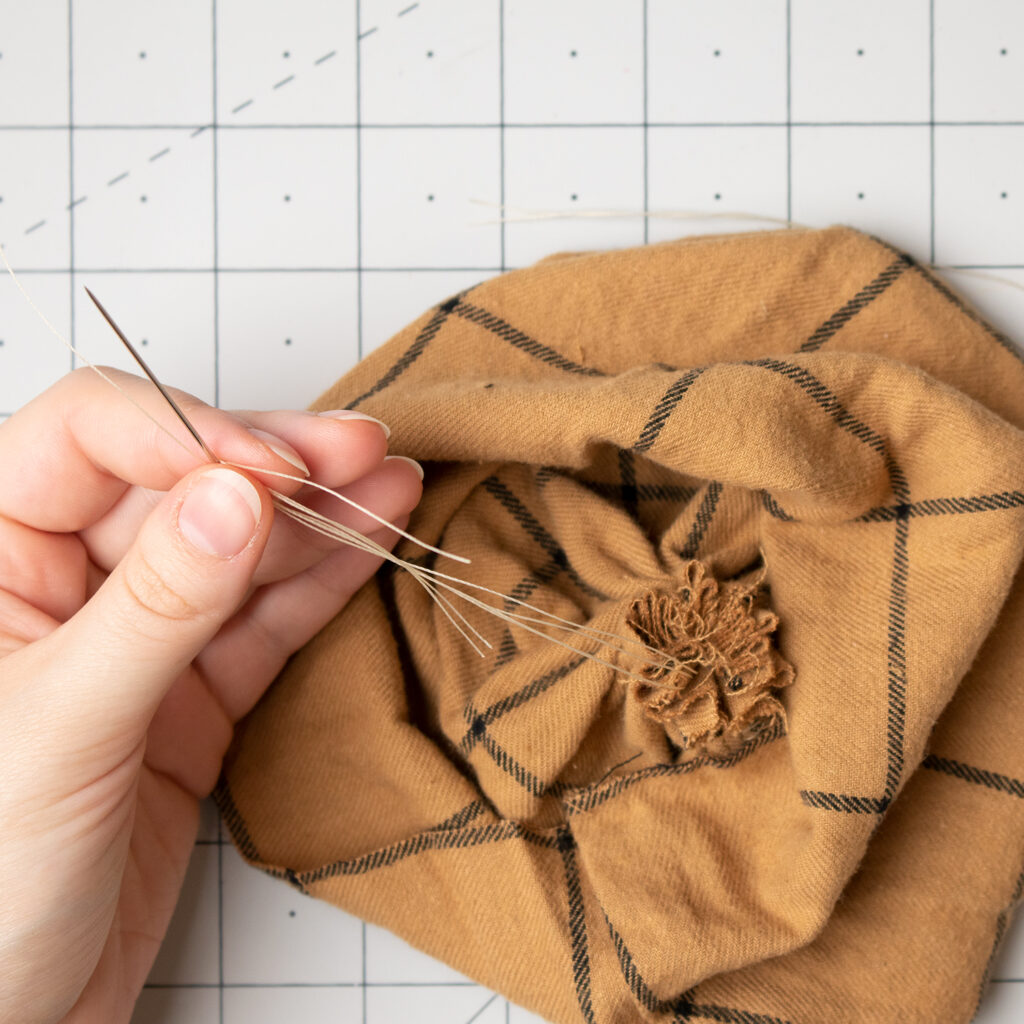
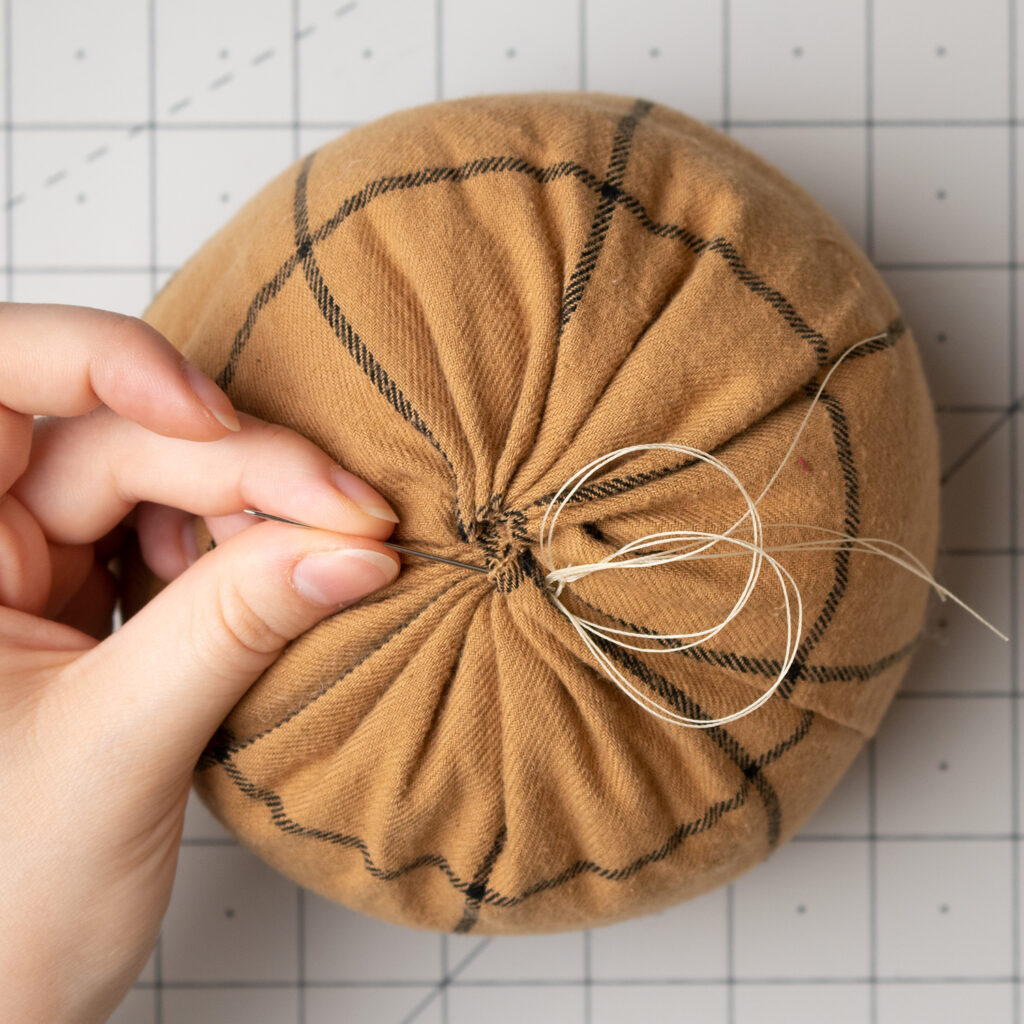
Use the long hand sewing needle to pull all six strands of embroidery floss through the center of the pumpkin. Tie the floss to your desired tightness.
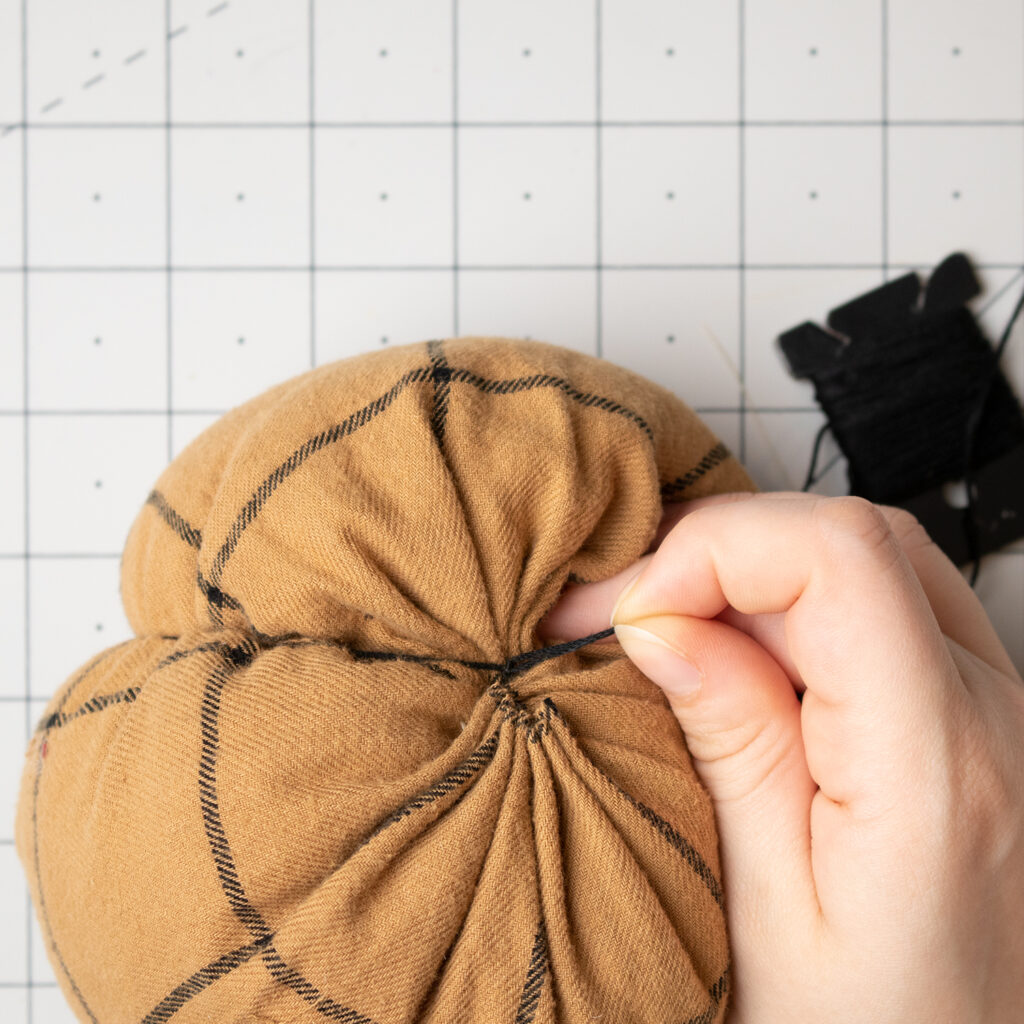
Double knot it and cut the thread. Then pull the floss until you can tuck it into the inside of the pumpkin.
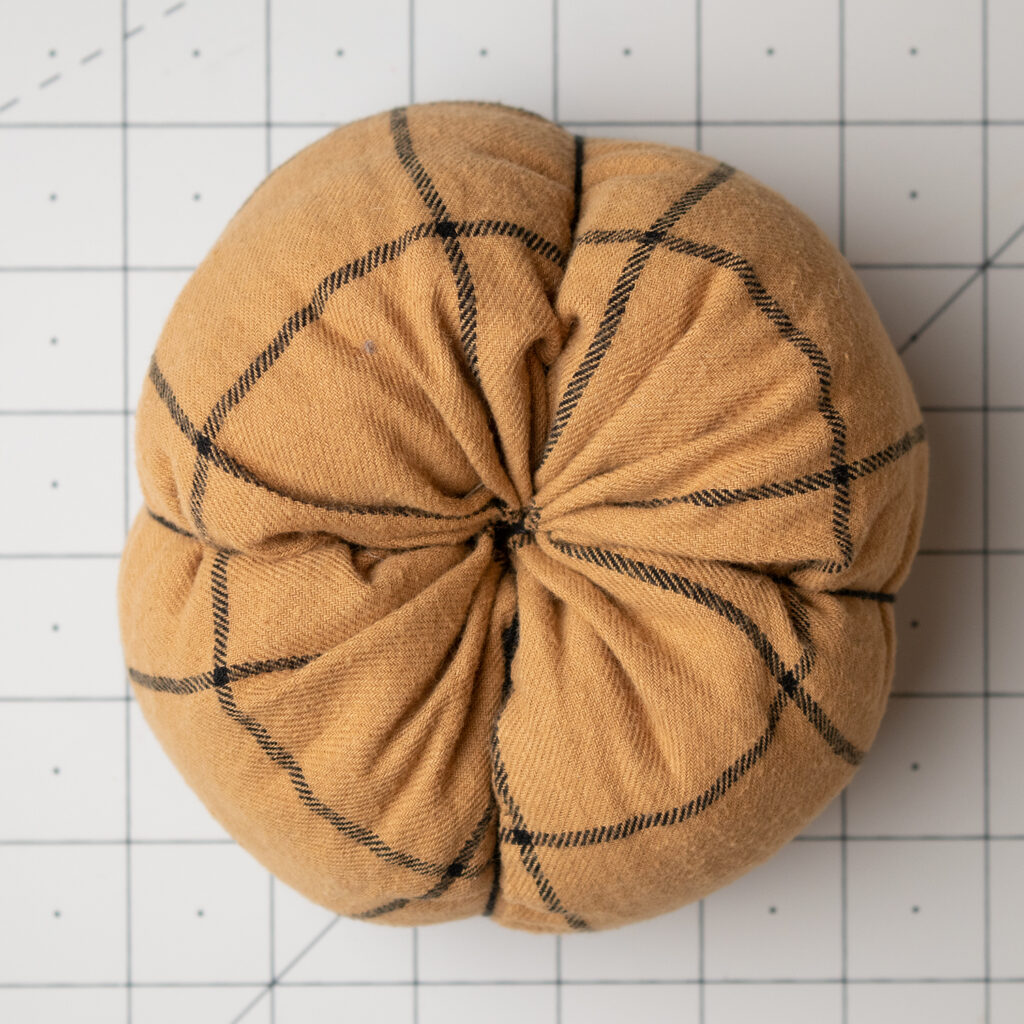
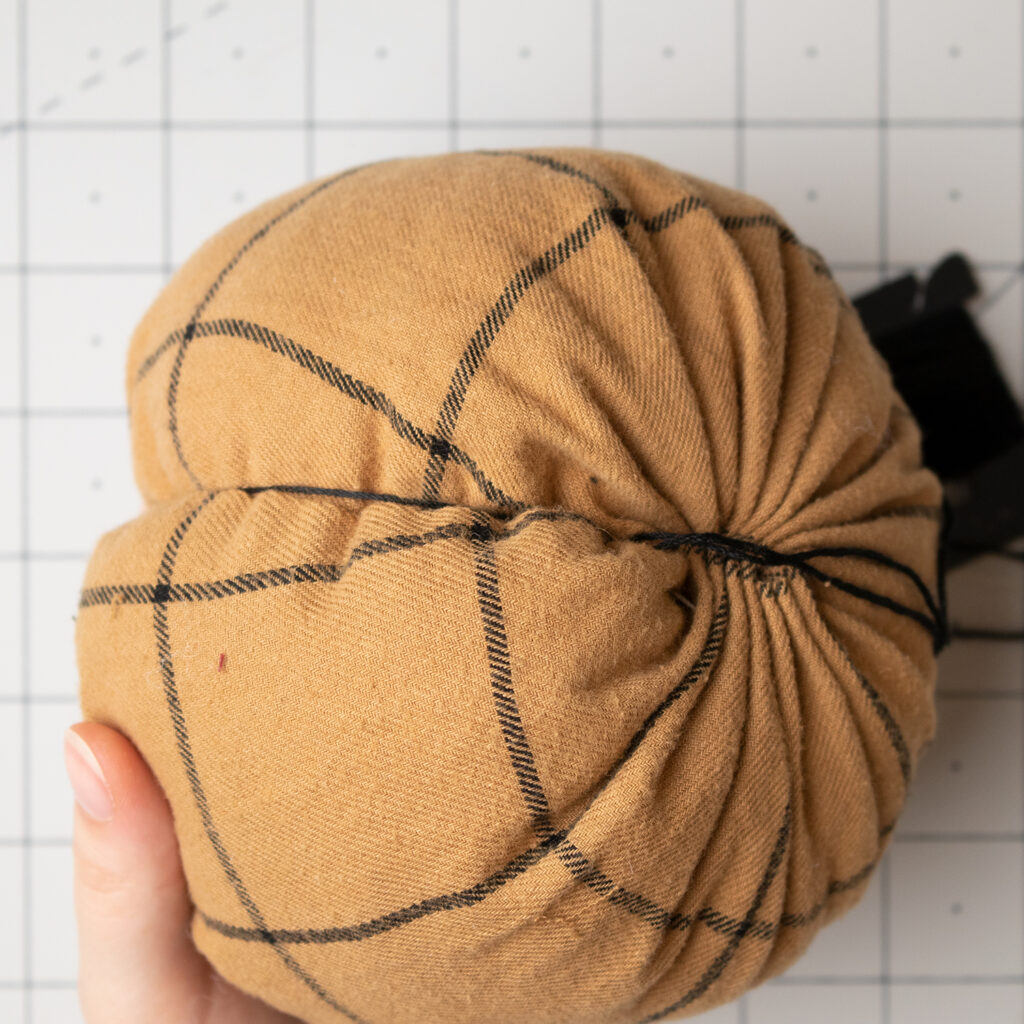
Create as many sections as you’d like.
Adding a Leaf
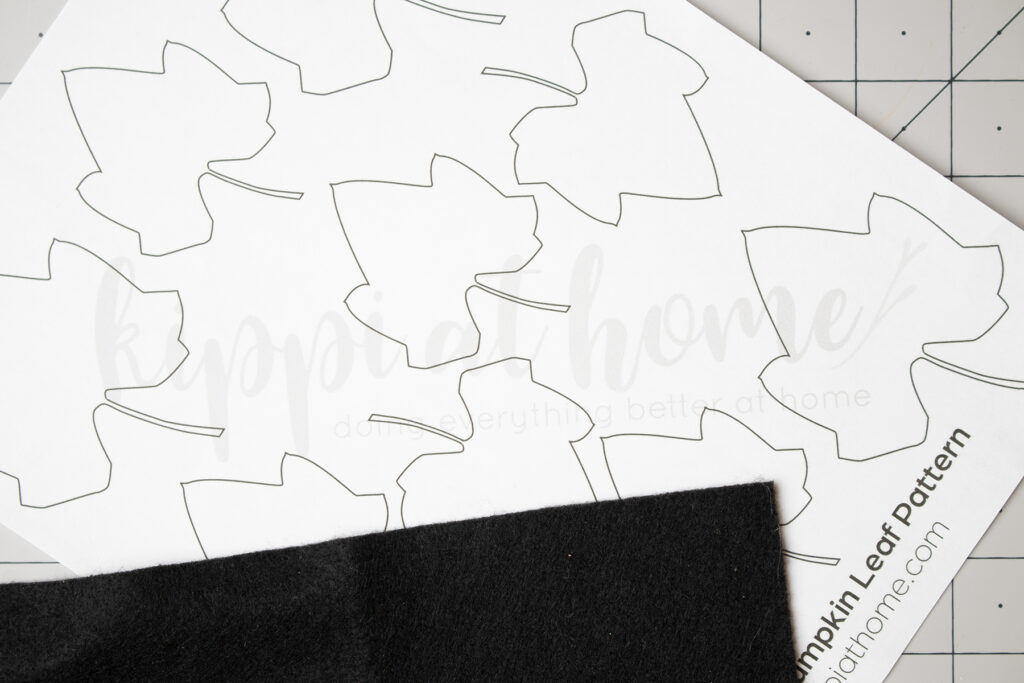
I used the leaf pattern available from Kippi At Home.
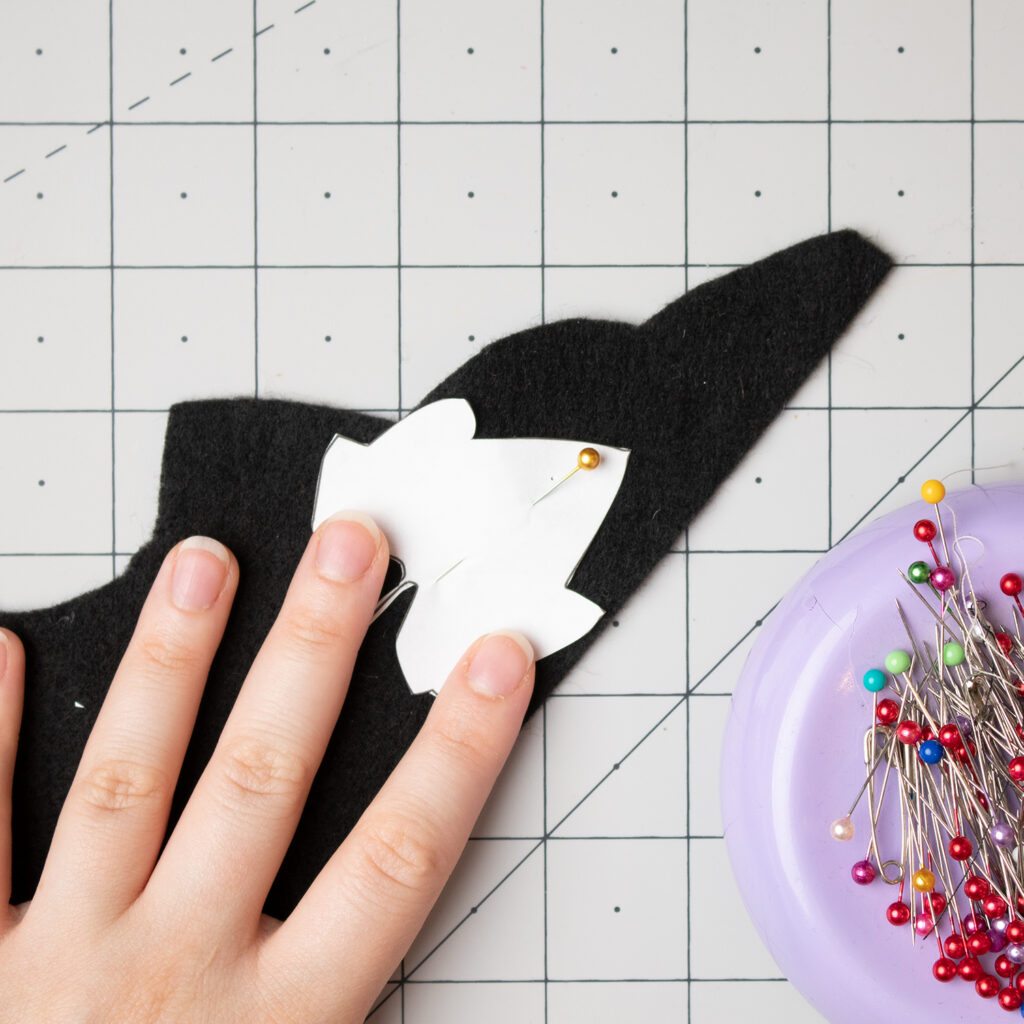
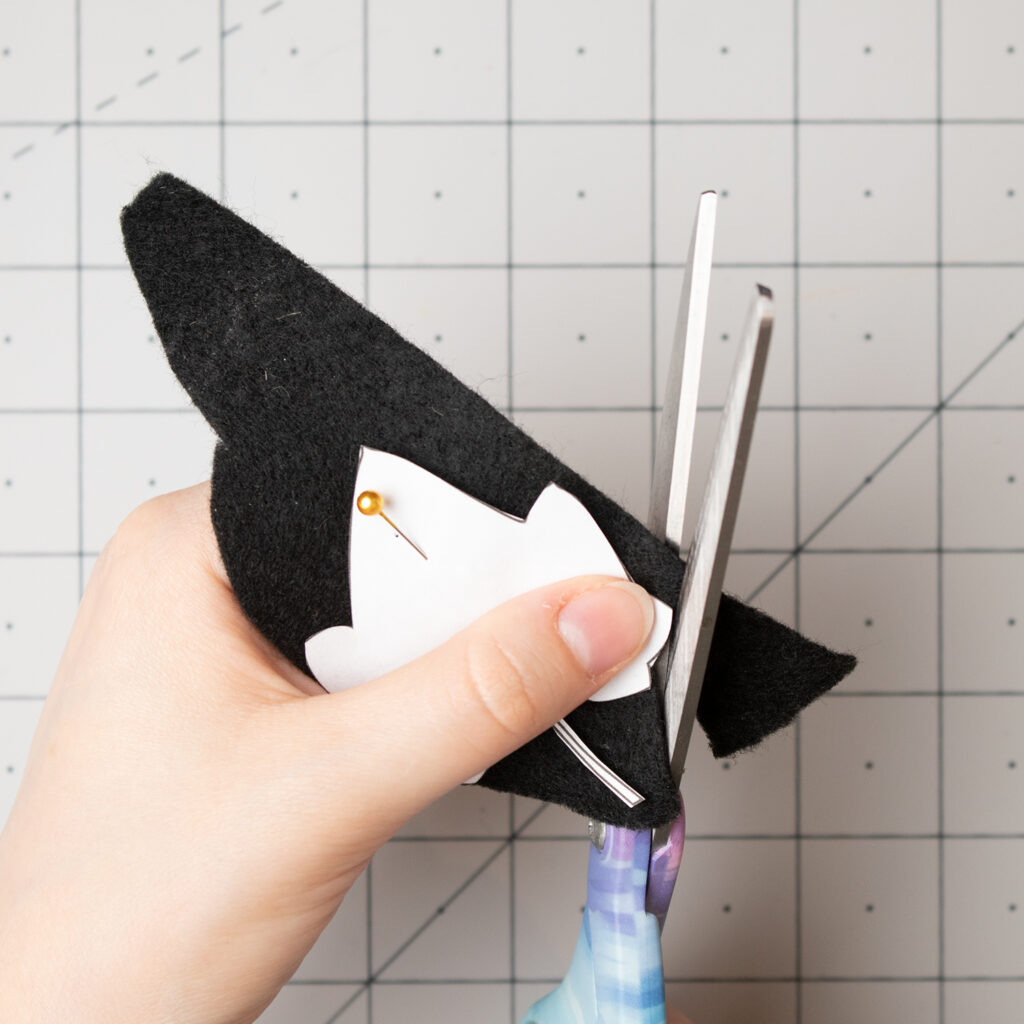
I cut the leaf out of black felt.
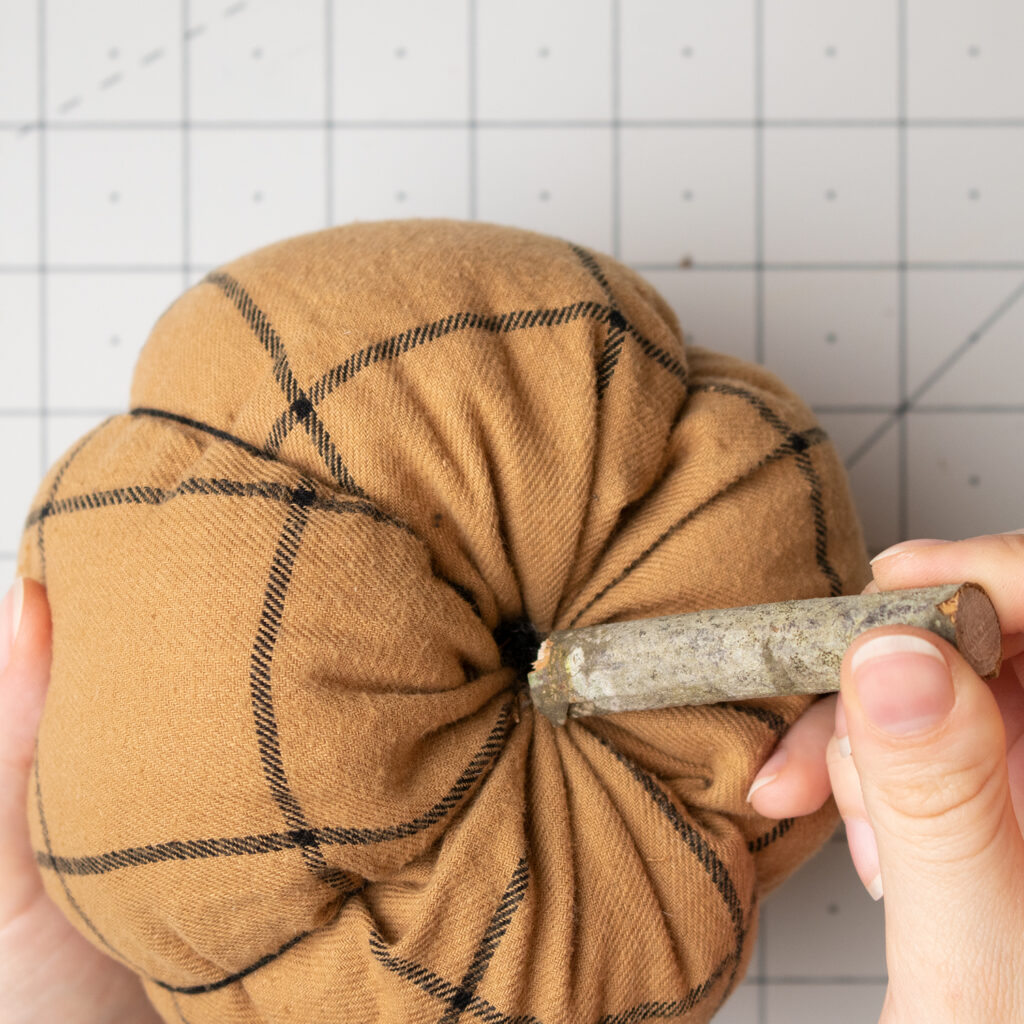
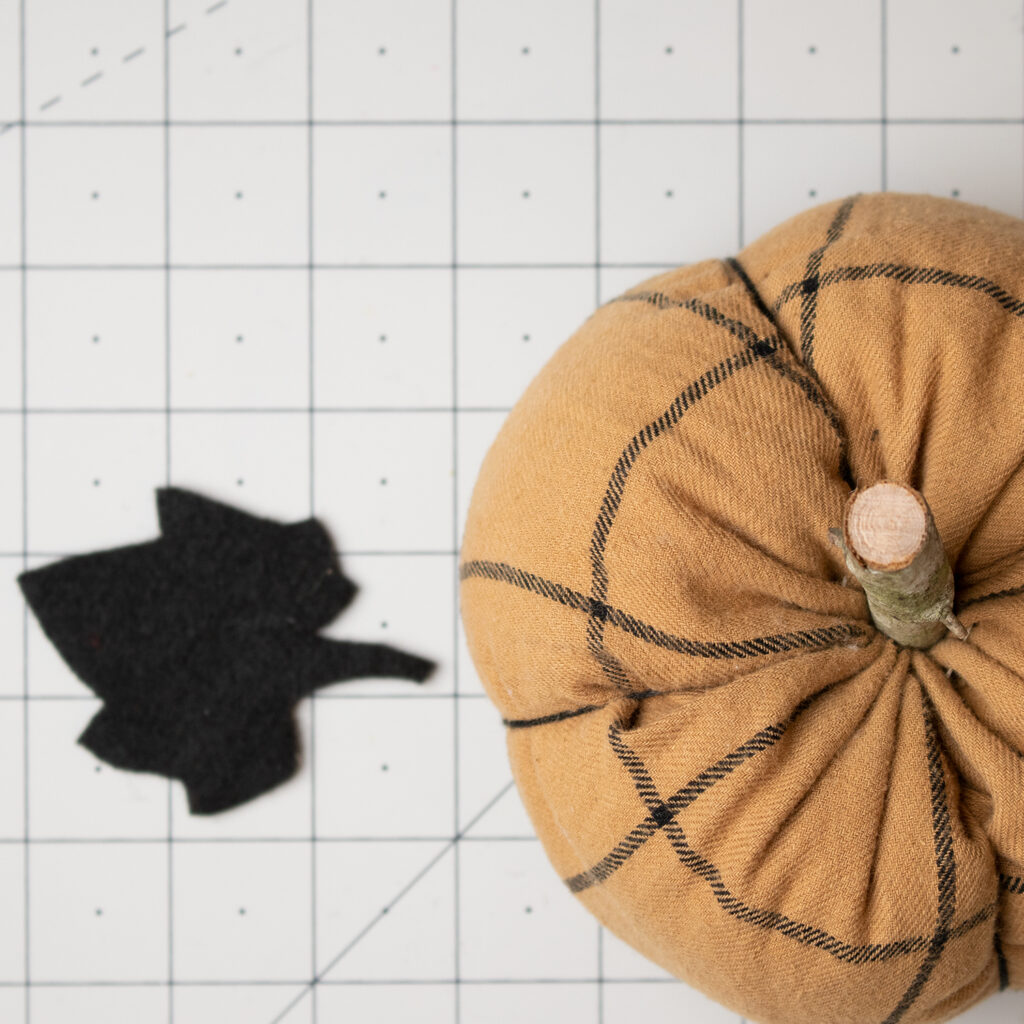
You can simply push the stem into the top of the pumpkin or you can hot glue it into place. I love how it looks with a natural stick, but I’ve also seen some great ideas online. For the stem you could also use felt, twine, or even cinnamon sticks!


Fabric Pumpkin DIY
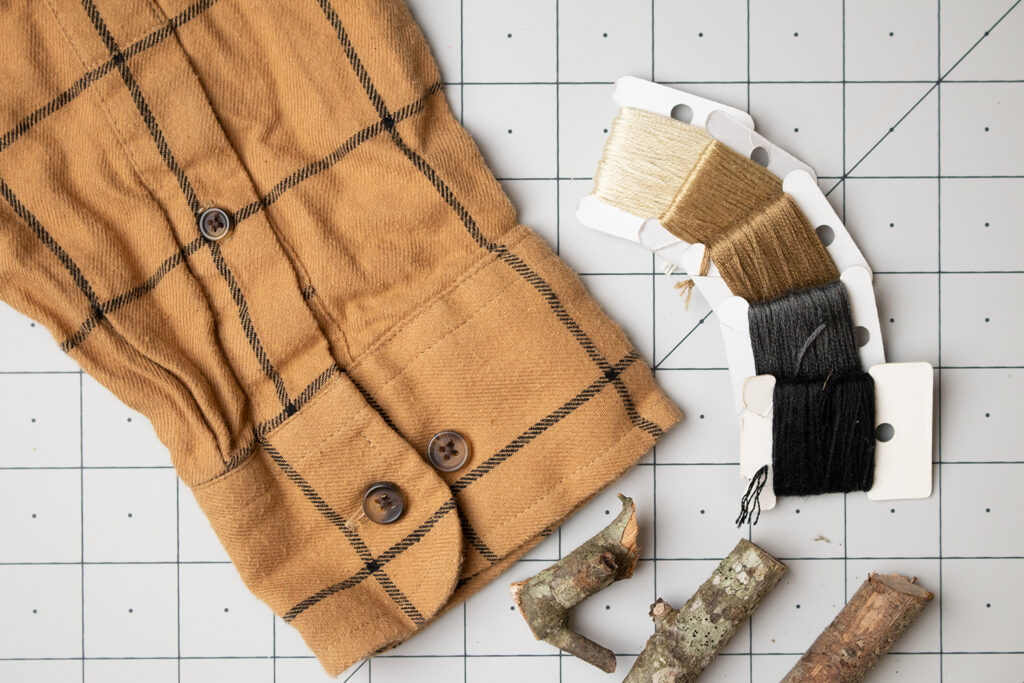
Materials
- Shirt
- Embroidery Floss
- Felt
- Thread
- Stuffing
Tools
- Hand sewing needle
- Long hand sewing needle
- Scissors
Instructions
- Cut the sleeve to create a tube.
- Use a running stitch along the bottom edge to gather the fabric up.
- Pull the threads taut and tie.
- Hide thread inside pumpkin.
- Running stitch around the top edge.
- Stuff the pumpkin.
- Gather and knot the top, pushing in the raw edges and tuck in the threads.
- Push the stick down into the pumpkin
More DIY Pumpkin Ideas

Beth
Saturday 30th of September 2023
You always create such wonderful crafts, Olivia! Don't forget to join us over at the Creative Crafts Linky Party every Wednesday through Sunday https://creativelybeth.com/creative-crafts-linky-party/ Followed and Pinned! Creatively, Beth
Rebecca Payne
Thursday 9th of September 2021
I love your pumpkins. You make it look so easy. Great job!
LAURA LEE WALKER
Tuesday 7th of September 2021
These are so cute and love that they are recycled. Laura
Annemarie
Monday 6th of September 2021
Very pretty!
Leslie Watkins
Thursday 26th of August 2021
How genius! I love these are made from a sleeve! Now I am imagining flannel pumpkins everywhere! Great tutorial and pumpkin, Olivia! I am in love with this. Pinning!