
How to Make a Paracord Survival Bracelet Out of 550 Paracord
This post may contain affiliate links. This means that if you purchase from one of these links I will make a small commission, but rest assured you will not pay more for any products.
You can also purchase a kit like THIS ONE.
What is a Survival Bracelet?
Survival bracelets are a survival tool used by survivalists, climbers and campers. They can be helpful in survival and emergency situations. I found this great article: 10 Ways a Survival Bracelet Can Save Your Life.
What Size Paracord for Bracelet
Paracord comes in a variety of sizes and colors. The most common one used for paracord crafts is called 550 because it has a minimum breaking strength of 550 pounds.
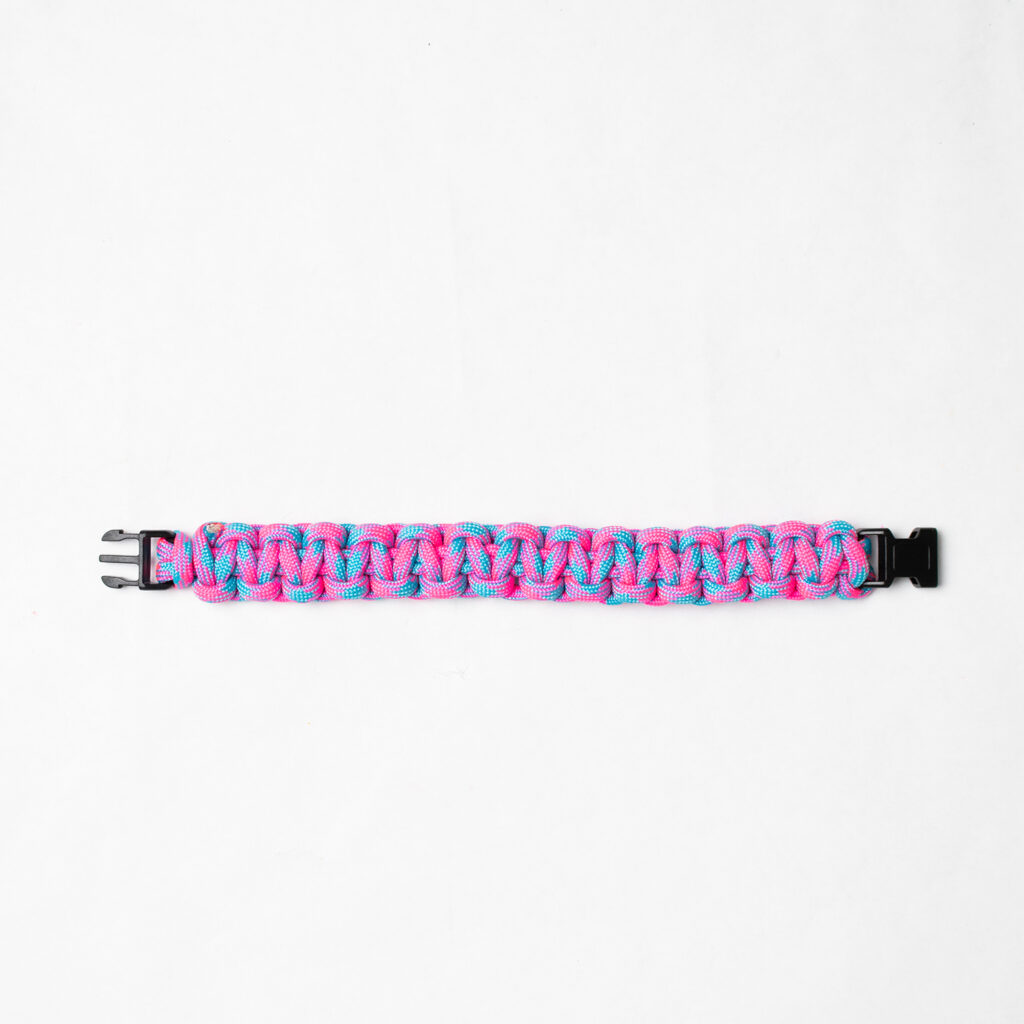
Paracord Bracelet Instruction
How Much Paracord Do I Need?
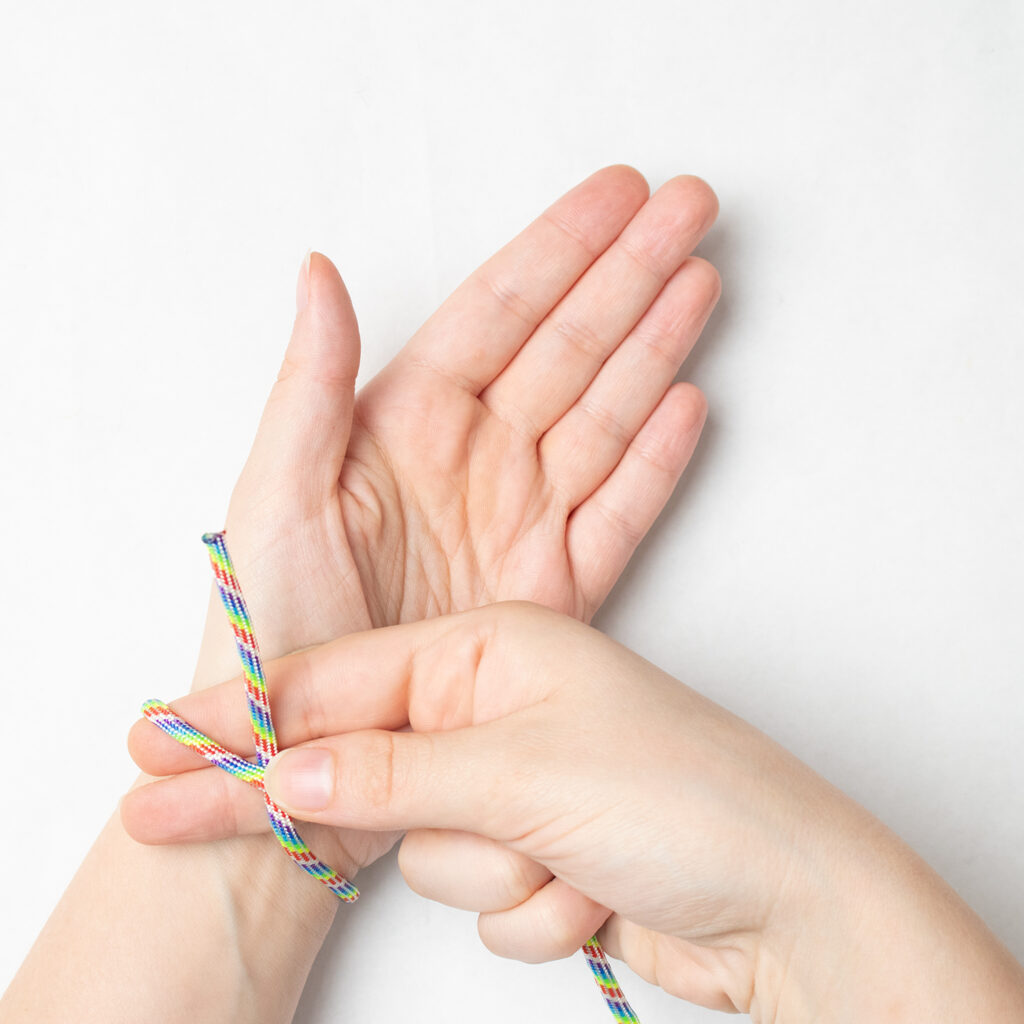
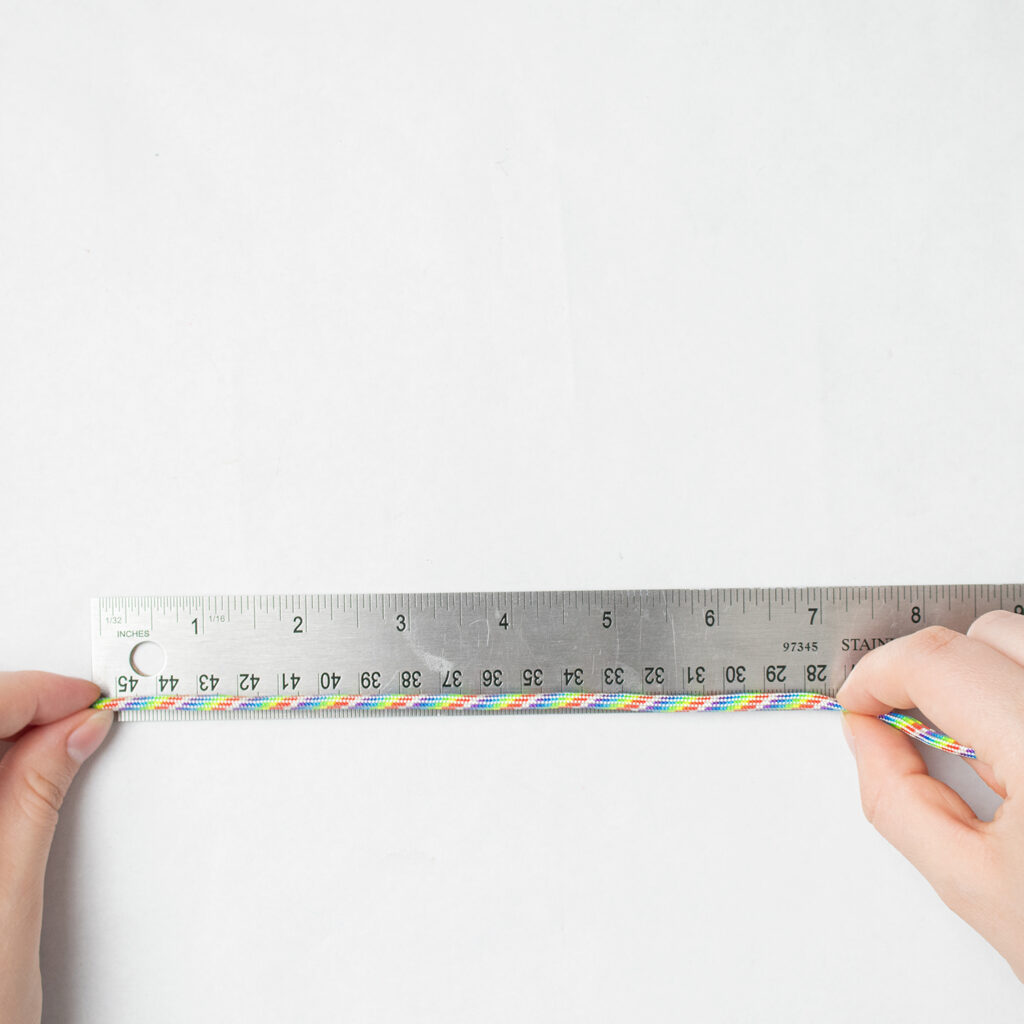
First measure the circumference of your wrist. I used one end of the cord and wrapped it once around my wrist allowing enough room for two fingers to fit underneath it. You’ll want that extra room since these bracelets are thick. Then I measured it out on a ruler. I ended up with 7 inches.
From there, I multiplied that number (7) by 12, and got 80 inches. That ended up being just enough, I’d maybe go with 87 inches in the future. I used a pair of fabric scissors to cut the paracord, but if you plan on making more paracord crafts, I would highly recommend getting a pair like THIS.
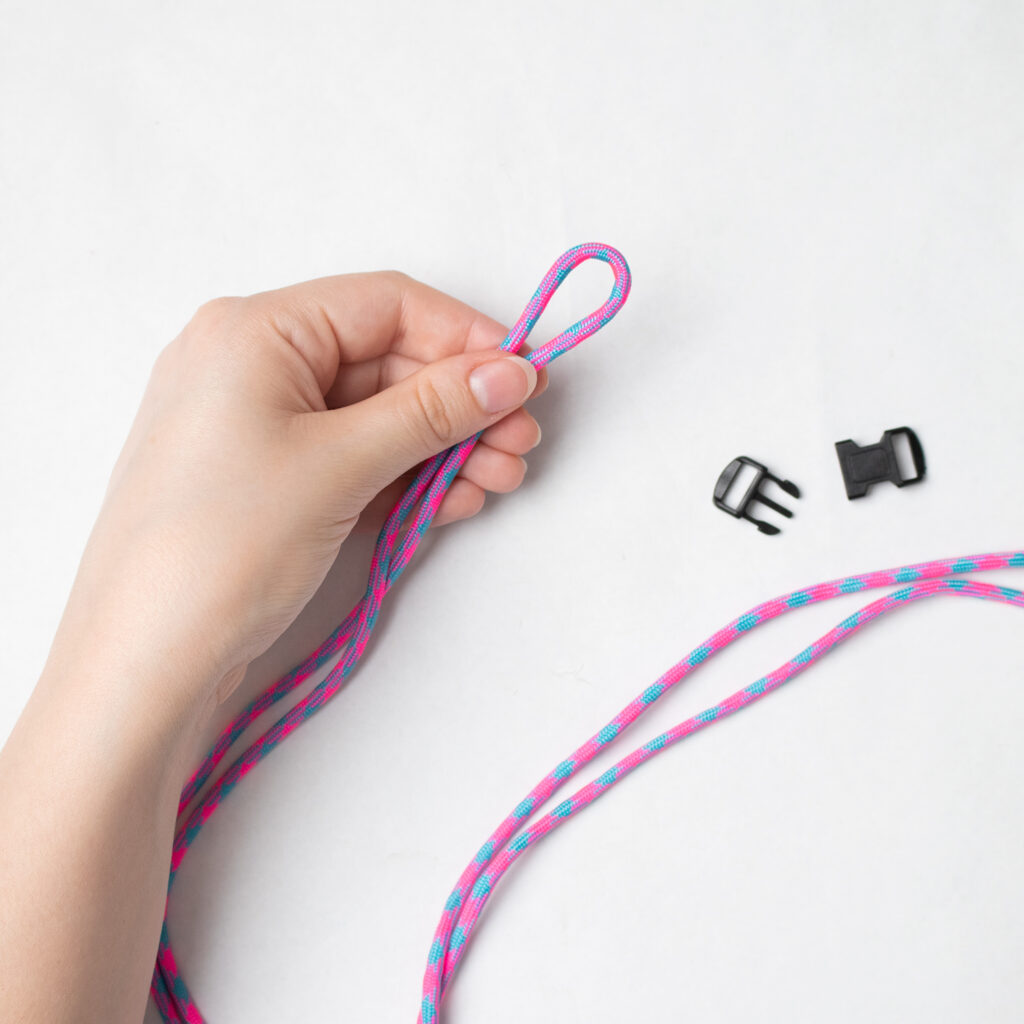
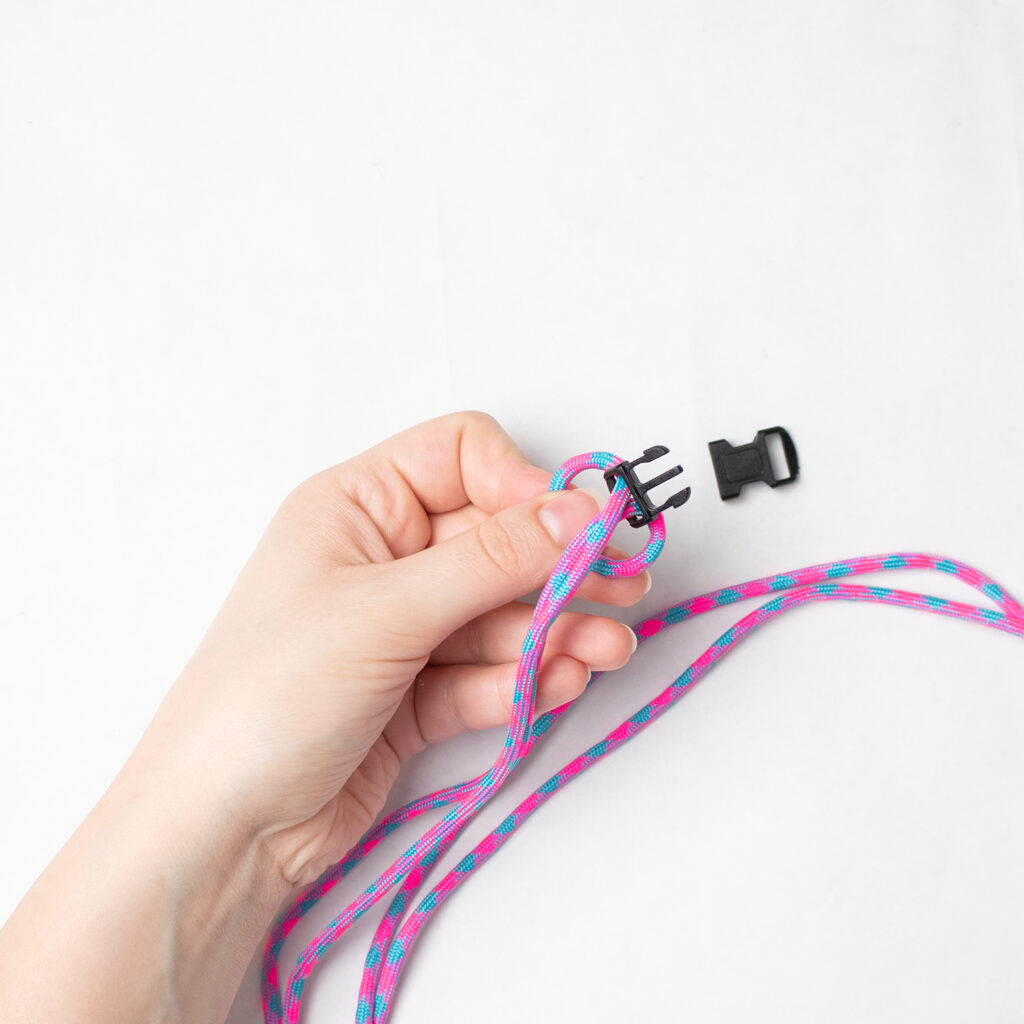
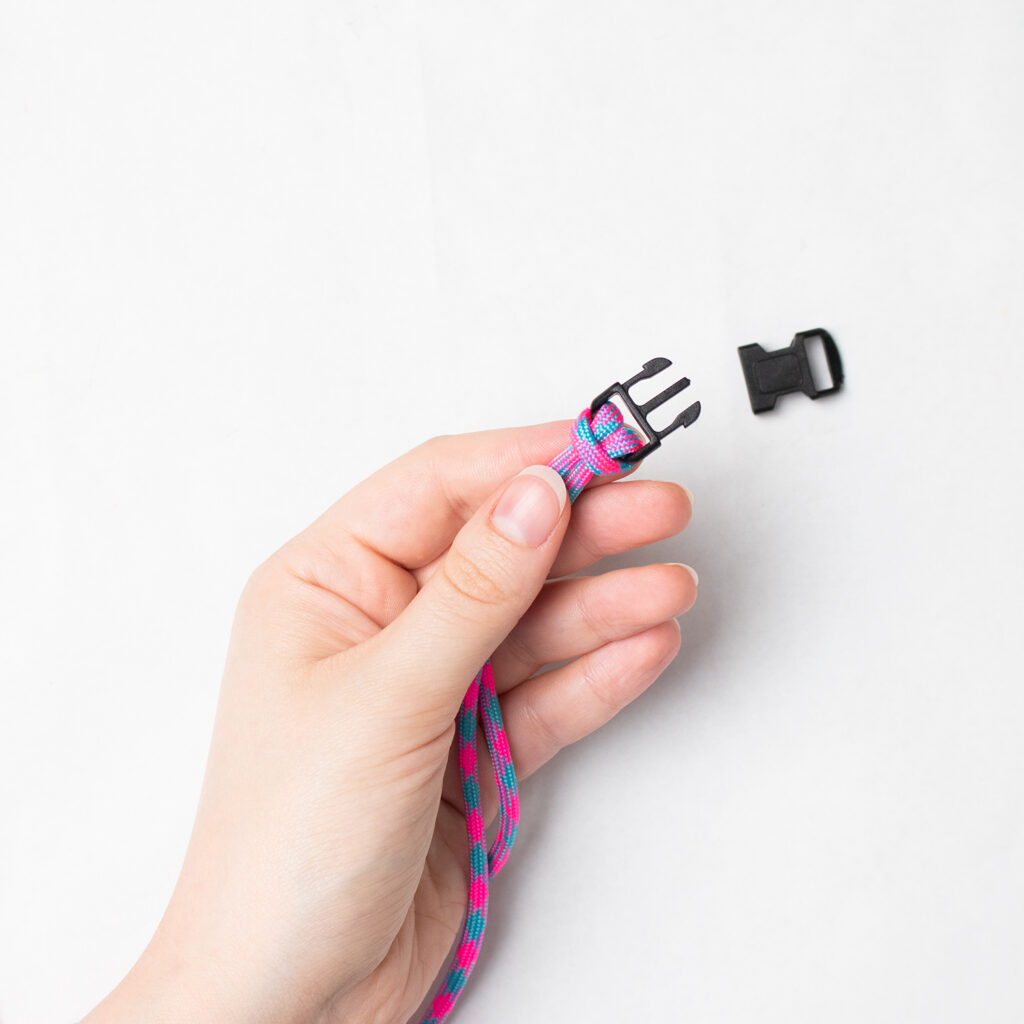
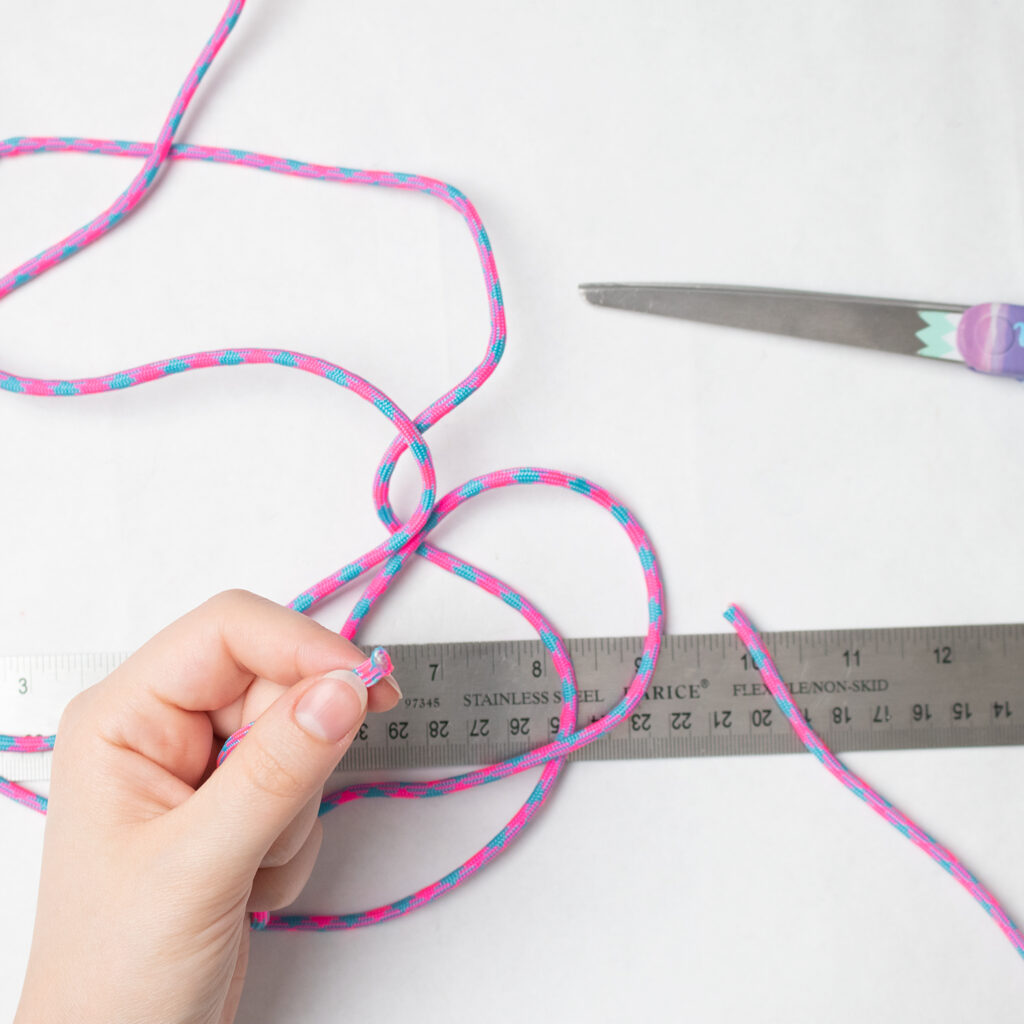
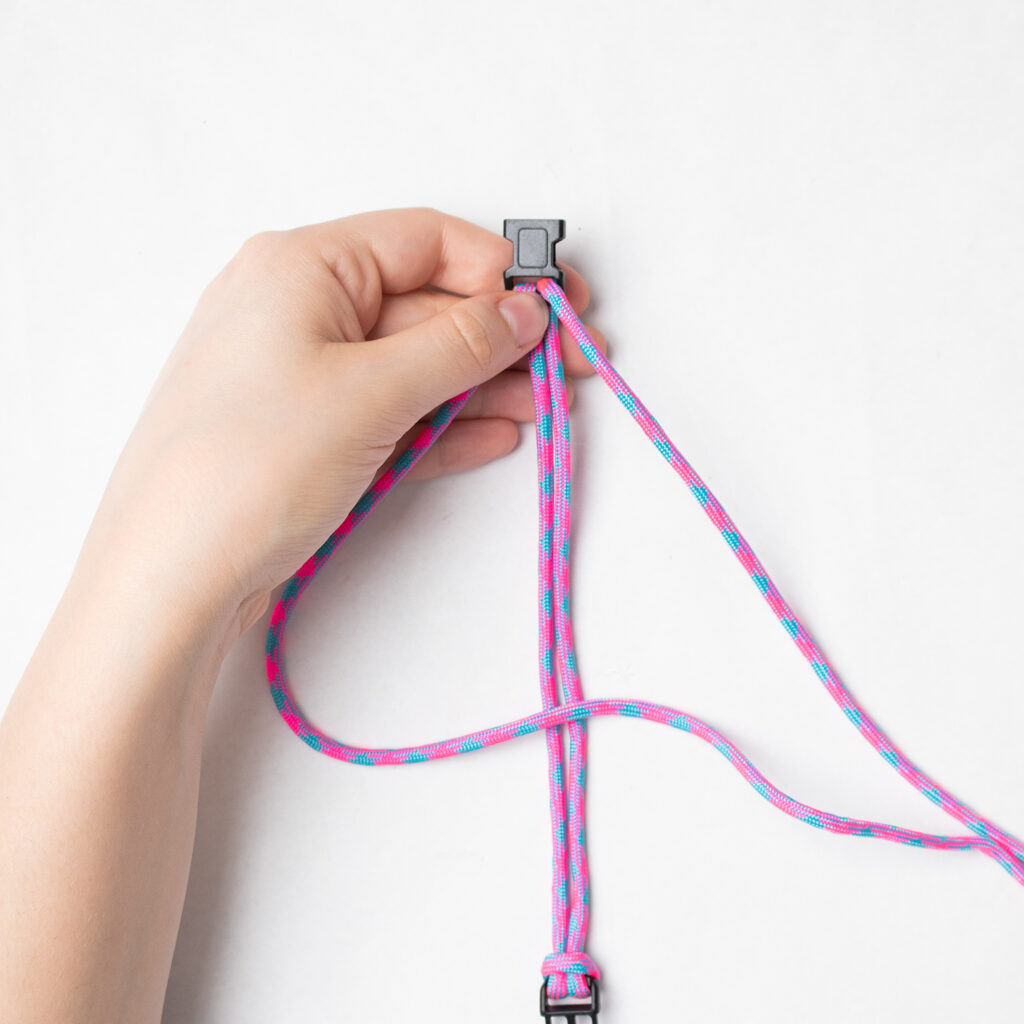
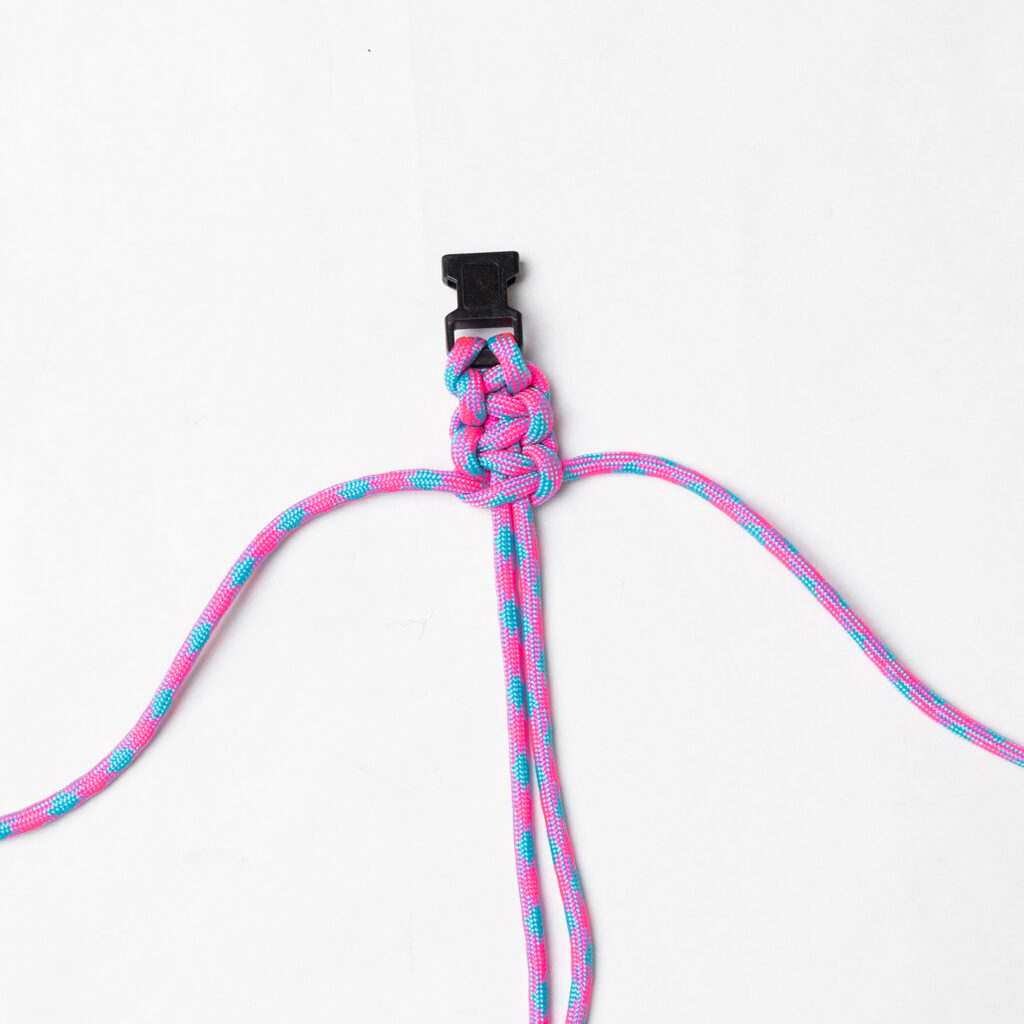
Fold the entire length in half and loop through the top of one of the buckle pieces. Then pull the strings down through the loop and tighten.
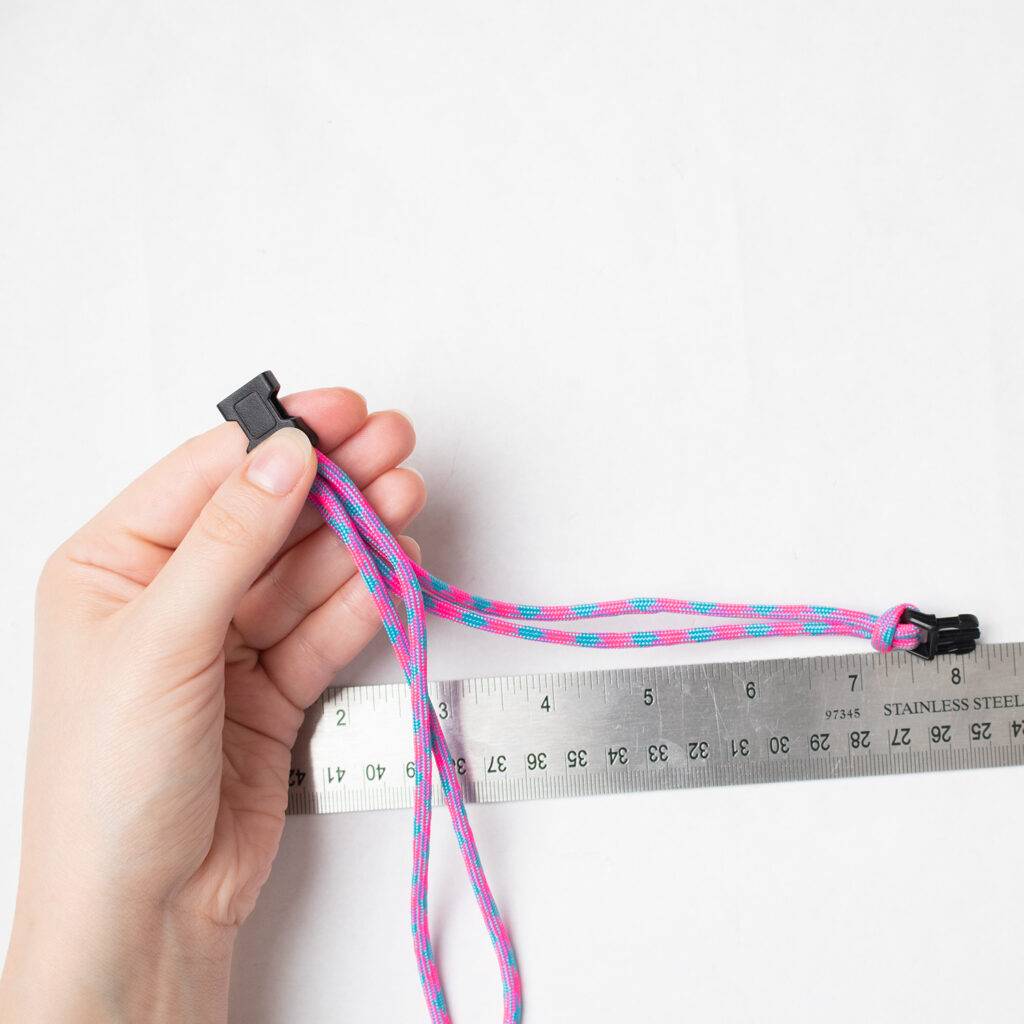
Push the ends through the top of the other buckle piece. Pull them through until one end of the buckle and the string reach the finished length (in this case, 7 inches). I held the paracord at the buckle to keep it from sliding before the initial knot of the bracelet, but a piece of masking tape would also be helpful. I’ve also seen people use these jigs HERE.
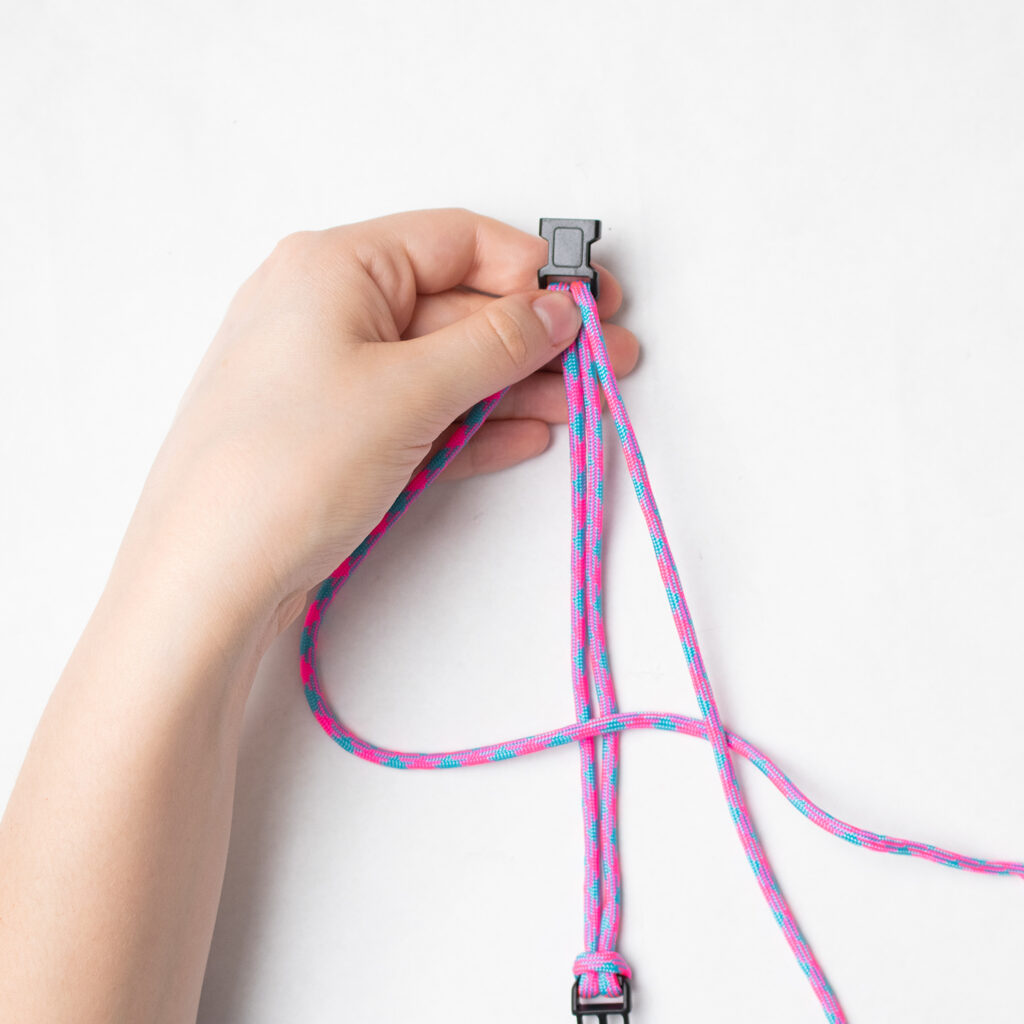
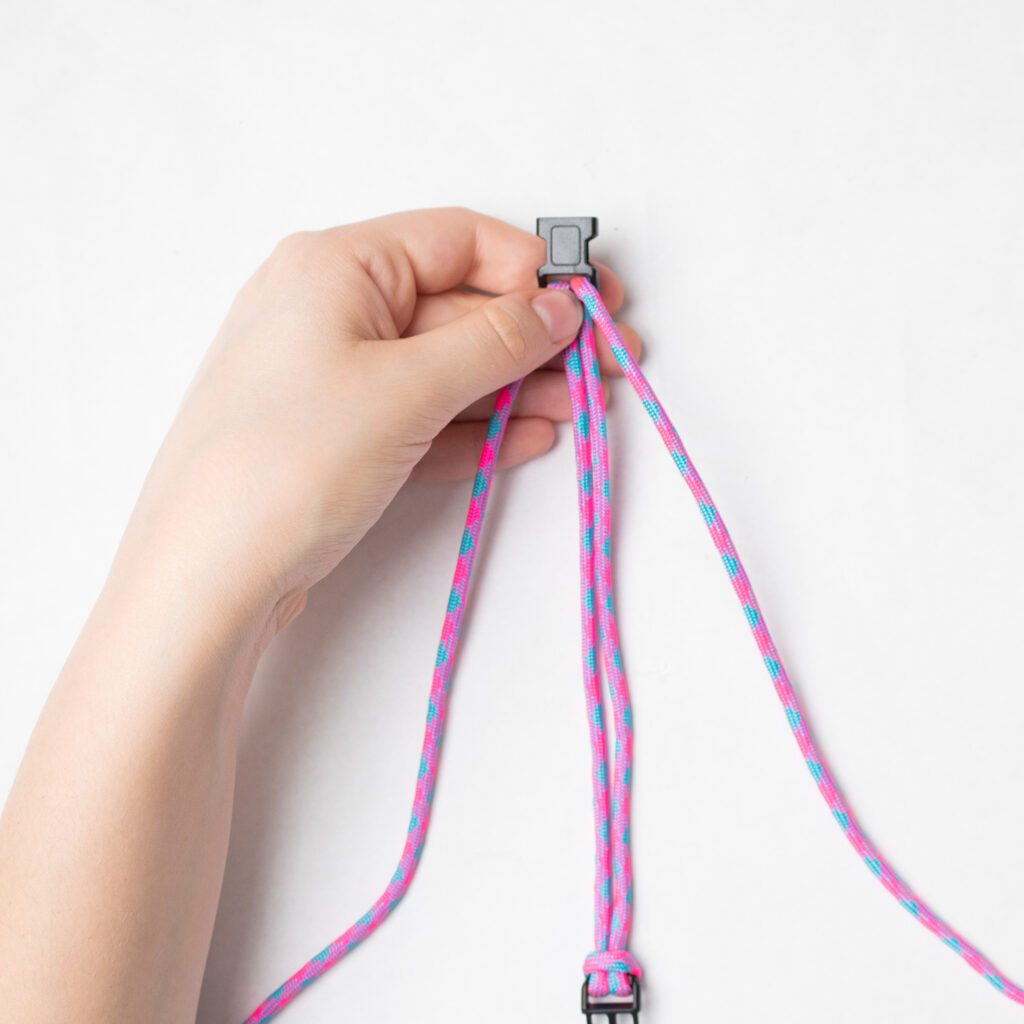
Now for the knots. This is actually easier to do than you think! The two center strings will stay in place, while the longer, outer strings will knot around them. So first I make a “4” by bringing the left string over the center. Then, I take the right string and lay it on top of the left one. I take the right string and put it underneath the center. Then, I pull the right string out over the left before pulling the strings tight.

To keep the bracelet flat, I do the same knot again, in the opposite direction. So now I need to create a backwards “4” with what is now the right string.
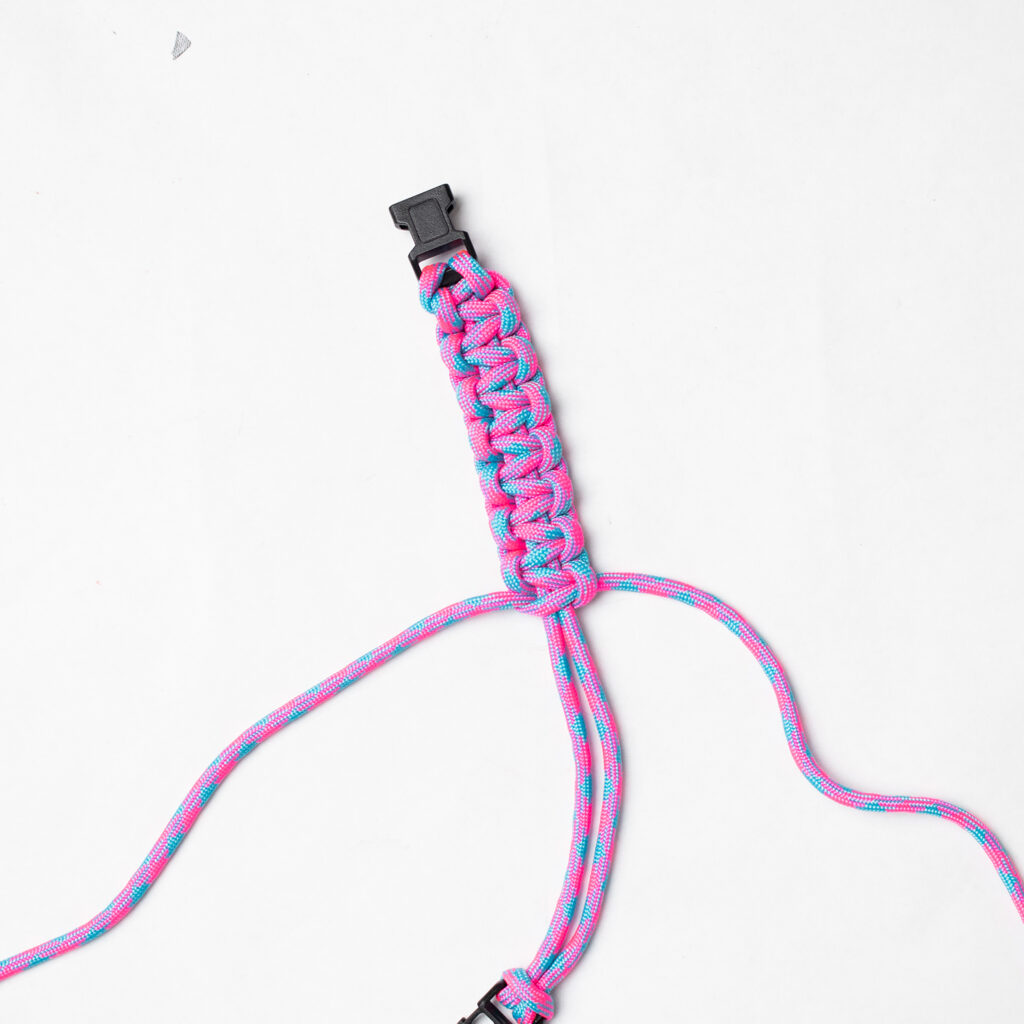
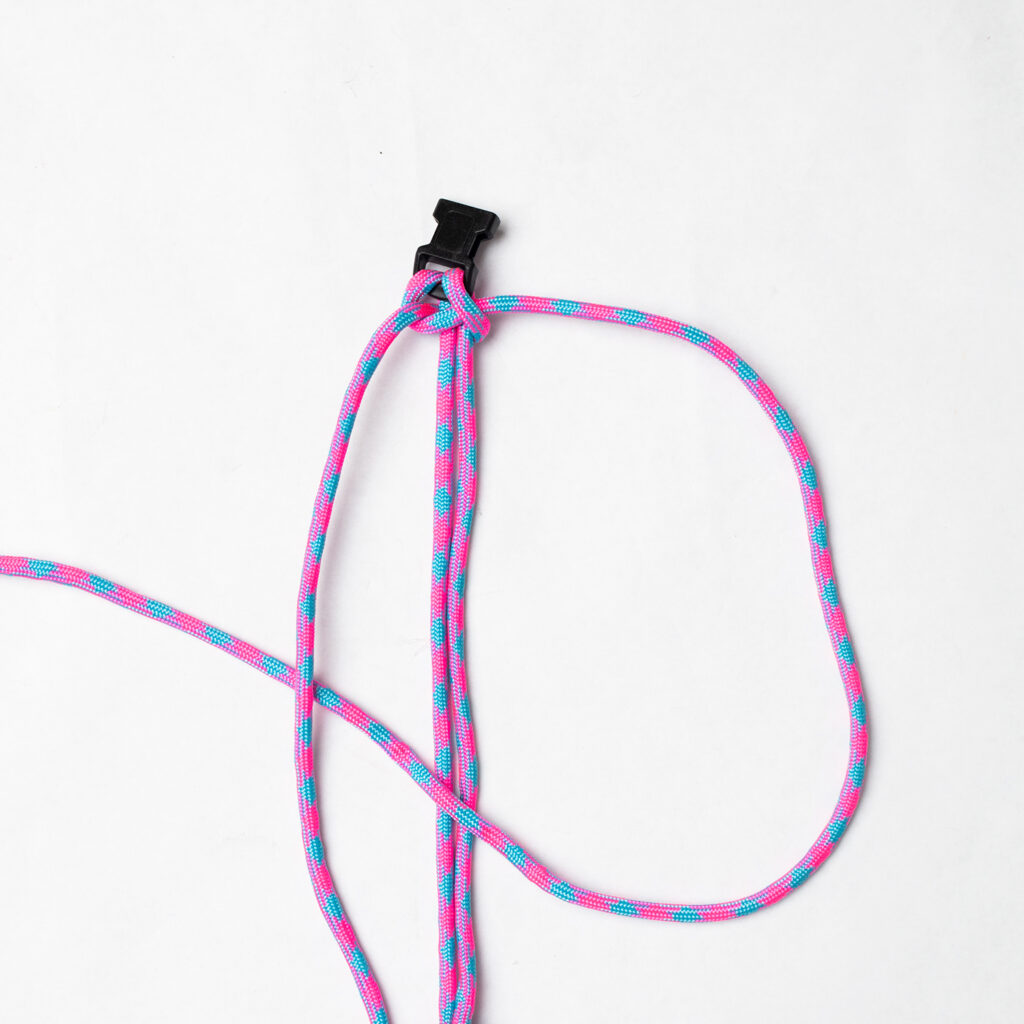
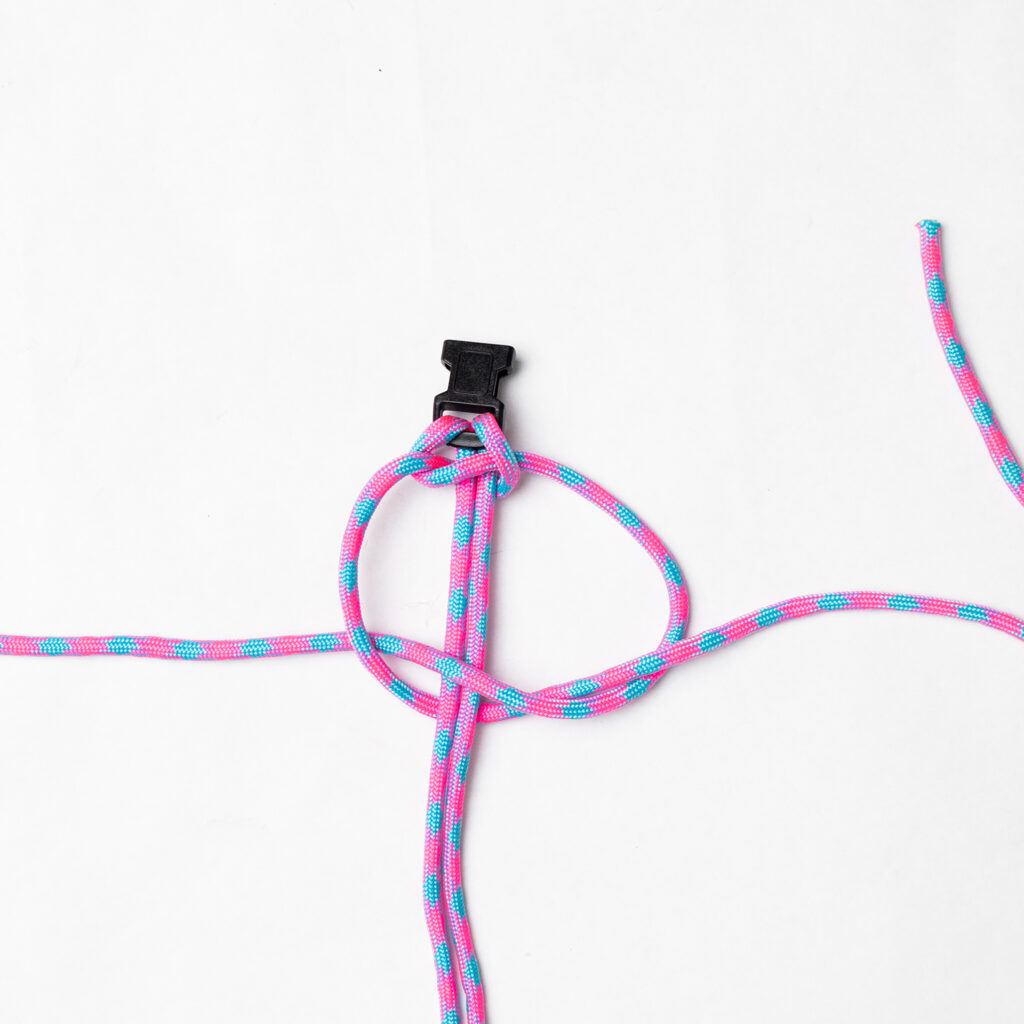
Continue working your way down the bracelet until the center is filled in.
How to Melt Paracord Ends
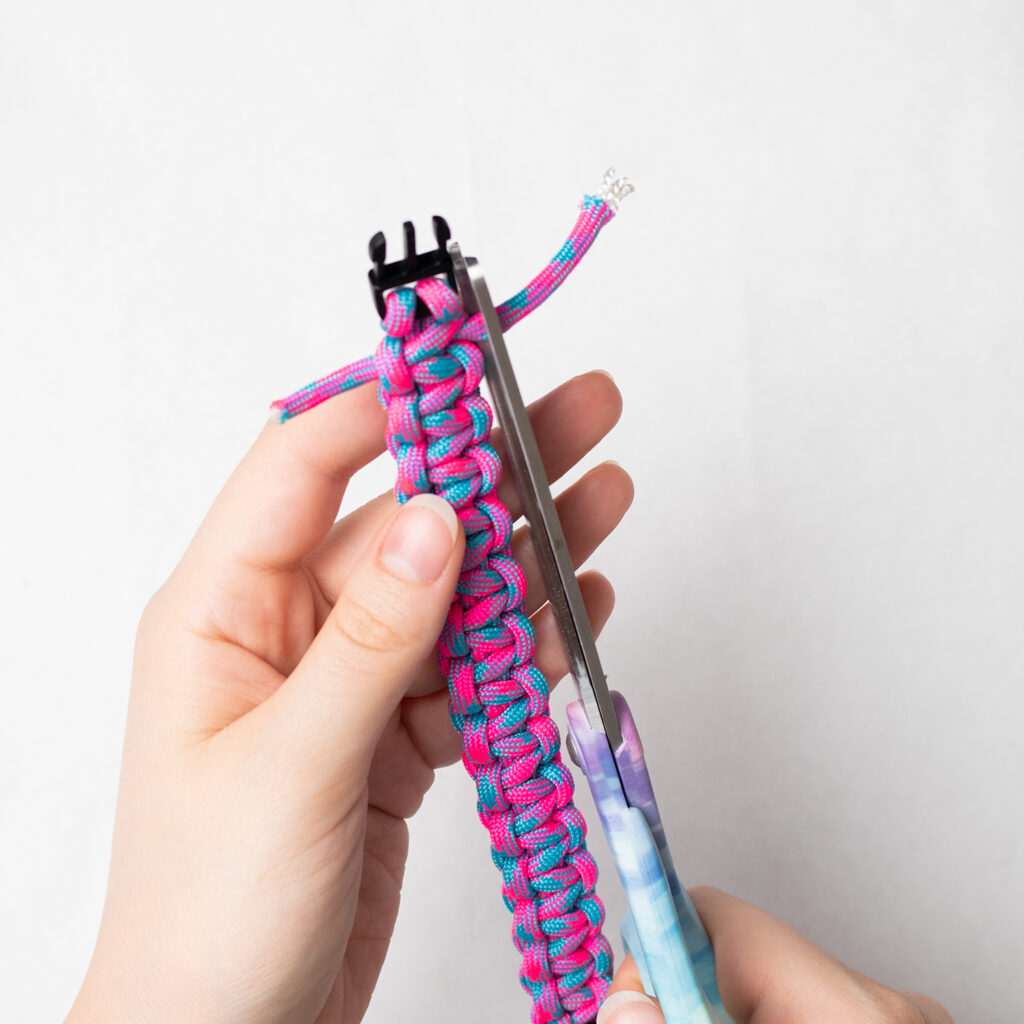
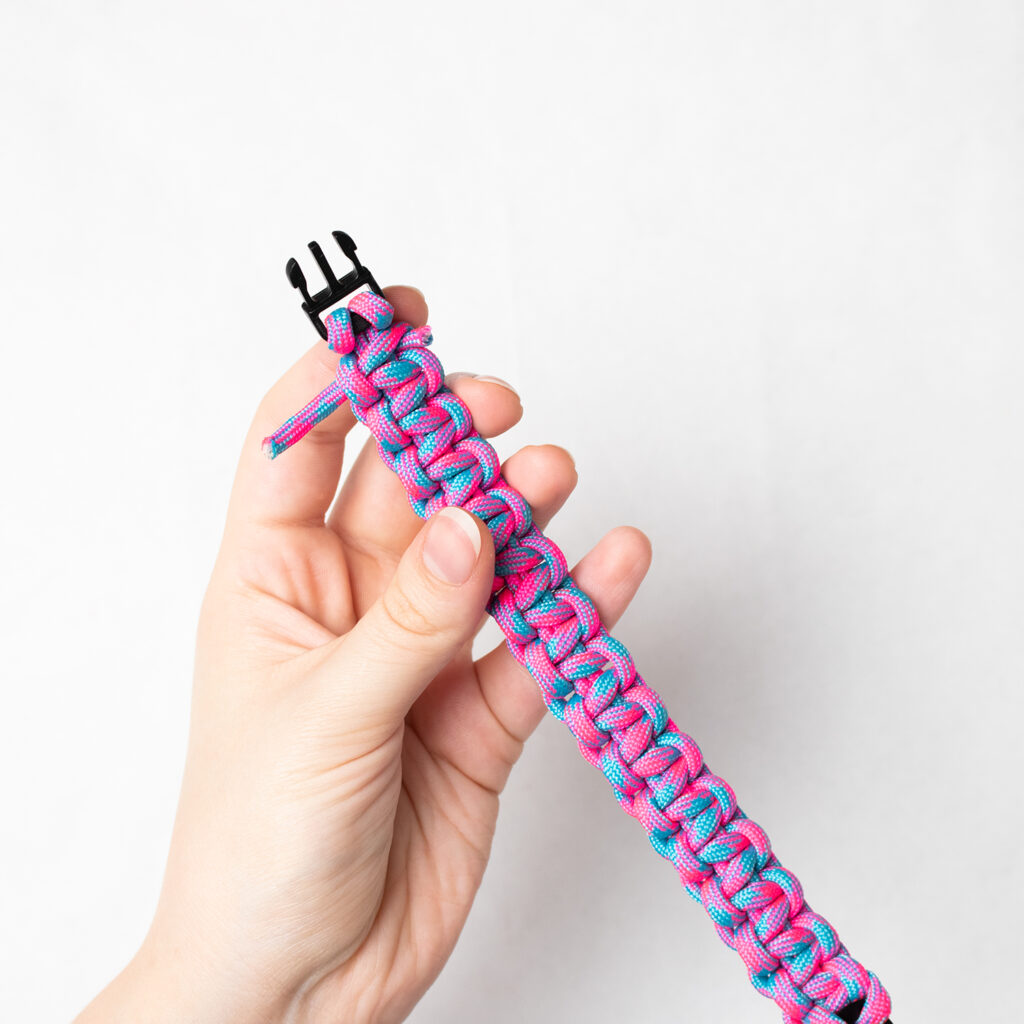
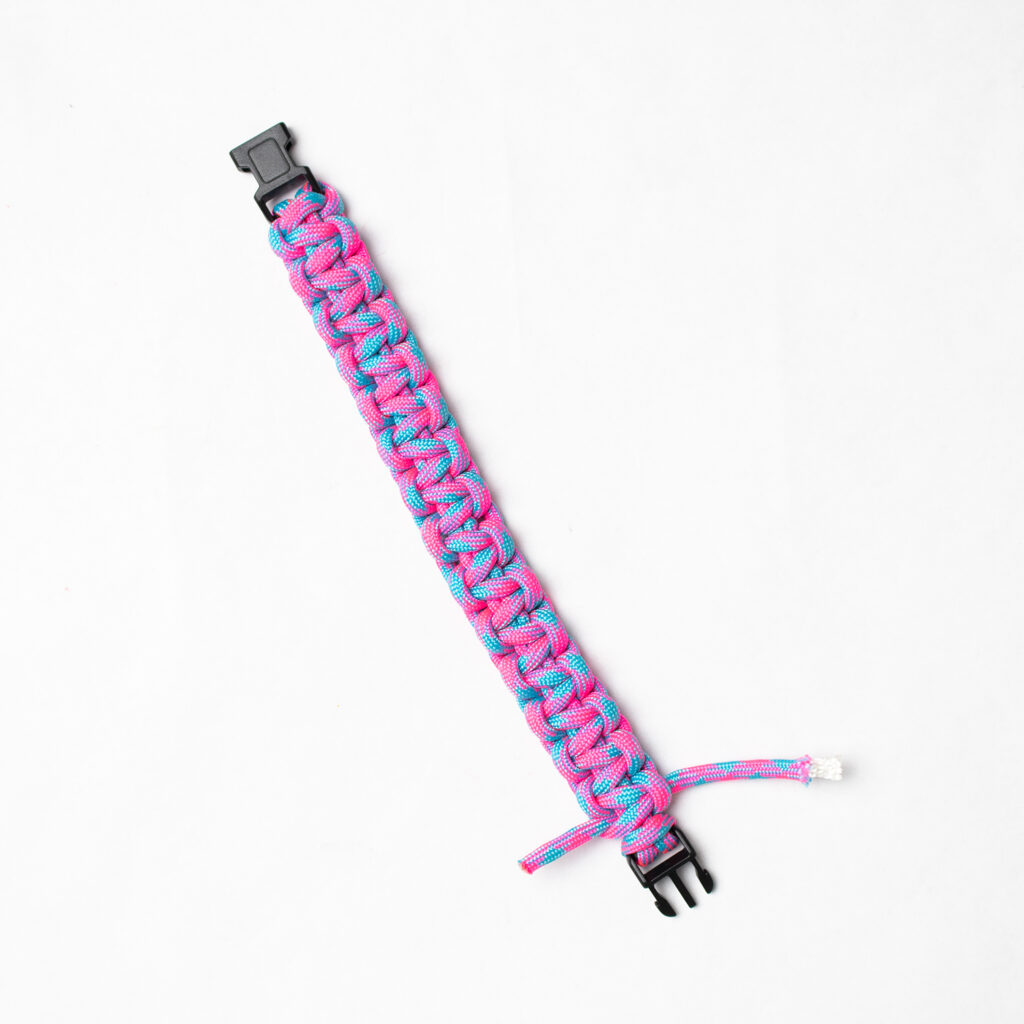
Trim the ends almost flush with the edge of the bracelet. About an 1/8th of an inch long.
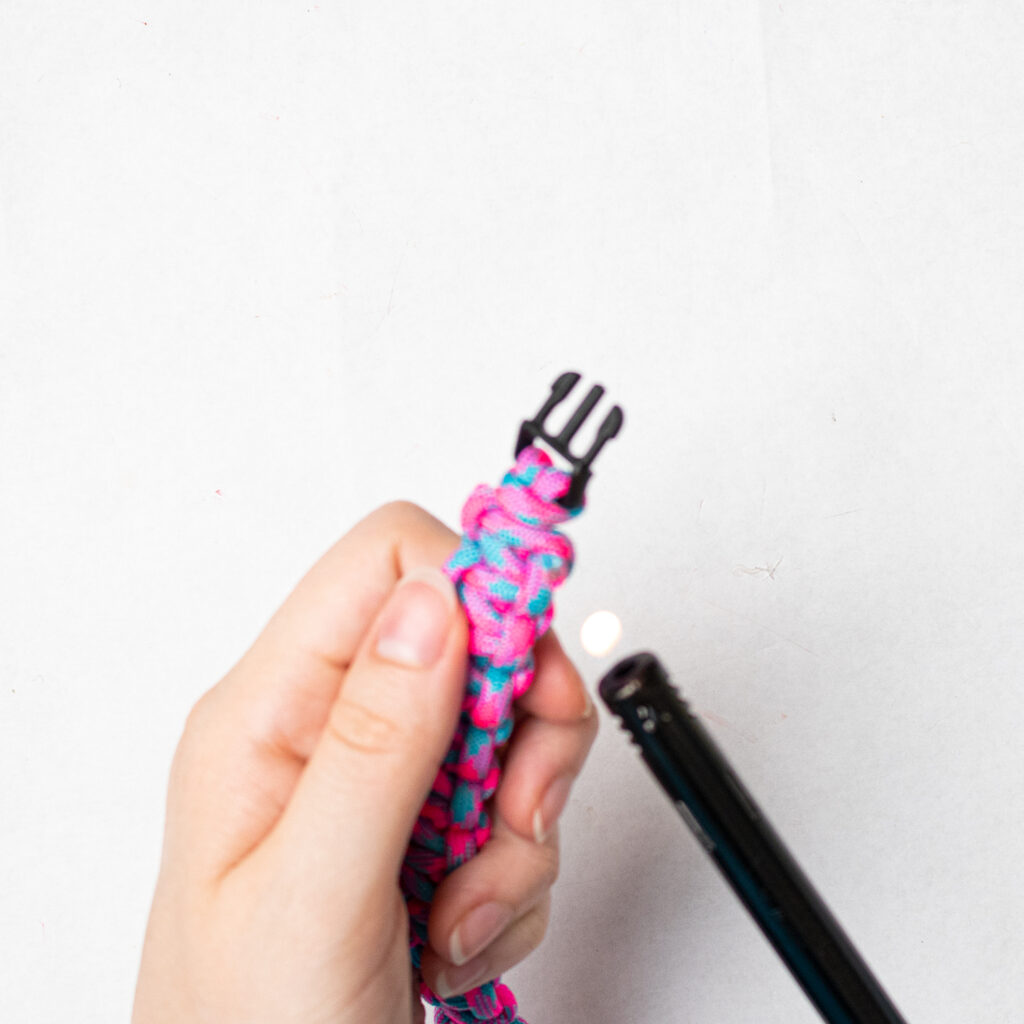
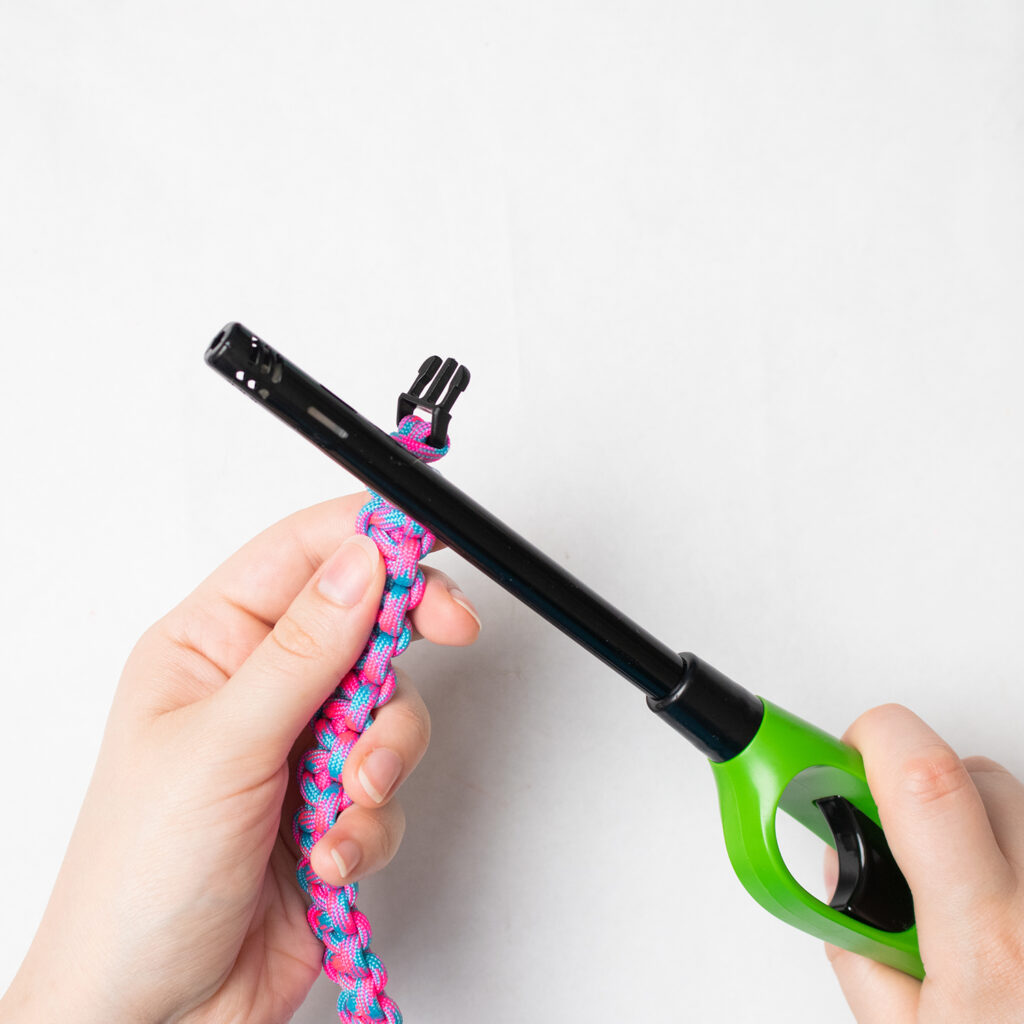
To melt the ends, I use a lighter. Hold the flame next to the end of the cord allowing it to melt and form a small bead of polyester on the end. While it is still hot, lightly press it against something metal and flat. Don’t squish too much, just enough to smooth it a bit, so it lays flat.
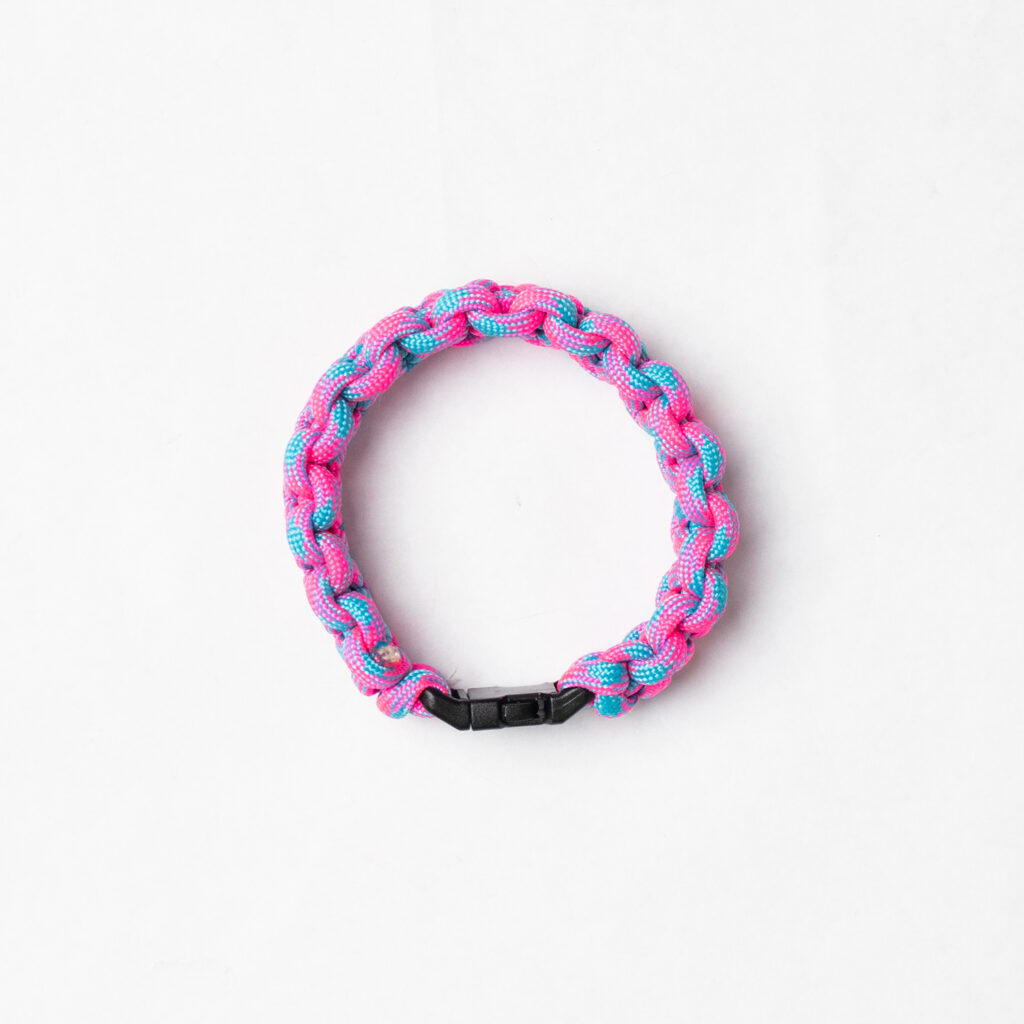
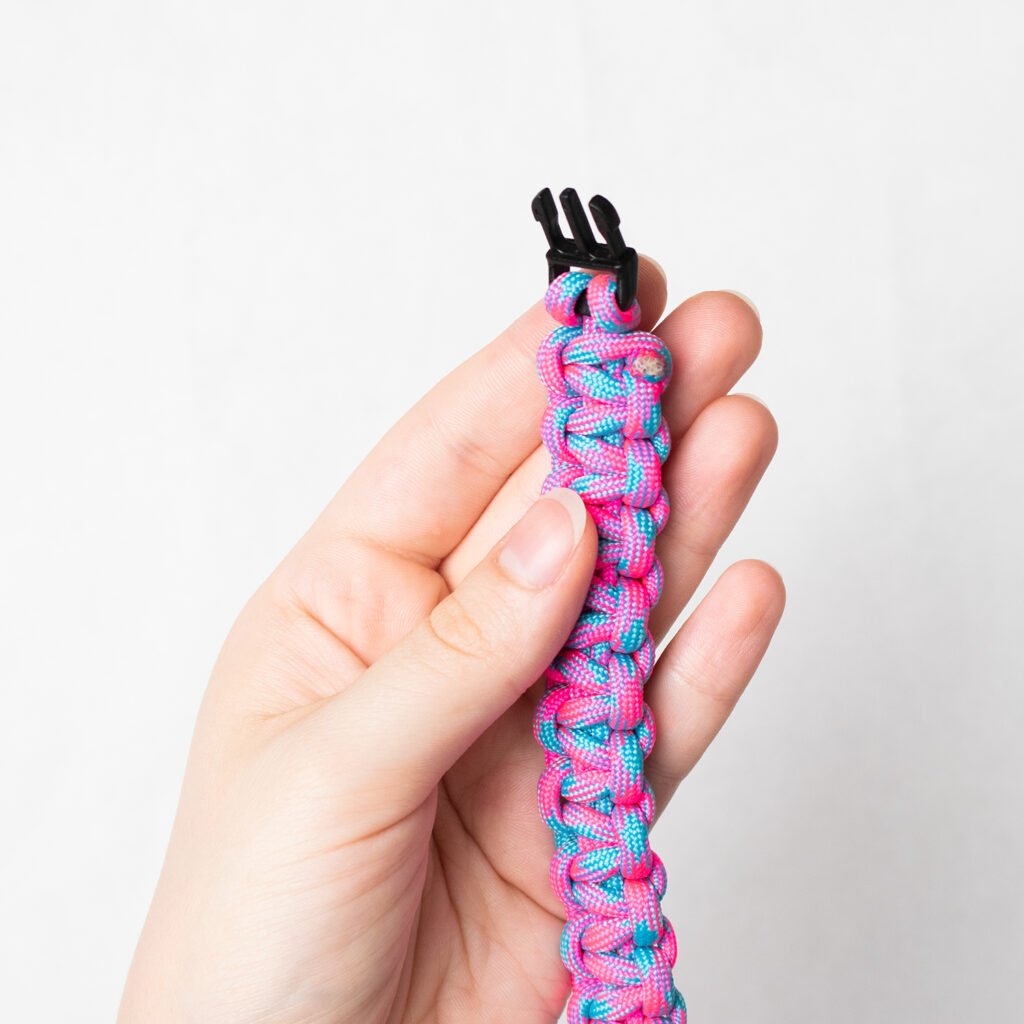
And there you go!

EsmeSalon
Saturday 13th of July 2024
I need to show this to our Granddaughter as she will love to make this Found your post at A Morning Cup of Joe. My entries this week are numbered #37+28 Please join and share your posts with us https://esmesalon.com/tag/seniorsalonpitstop/
Cecilia
Sunday 29th of August 2021
Very cute! Thanks for sharing at Vintage Charm!