
Yes…I’m still on this Dollar Tree Train, and I’m taking it all the way into town… I still have a bunch of stuff to play with from my big haul, and I’m not one to let things go to waste.
Supplies:
This post may contain affiliate links. This means that if you purchase from one of these links I will make a small commission, but rest assured you will not pay more for any products.
- Hanging Pumpkin
- Standing Pumpkin
- Tiny Pumpkin
- Wooden Leaf Cut Out
- Mod Podge
- Brush
- Pencil
- White and Gray Dot Paper
- Orange Debossed Paper
- Wood Grain Paper
- Green Crackle Paper
- Ribbons
- Hot Glue Gun & Glue Sticks
- Scissors
Let’s Make It!
First things first, I took off all of the extra pieces on the pumpkins.
Then I figured out how I wanted them to be placed together.
From there, I picked out 4 papers I thought would look good together and decided which paper would go on each piece.
I flipped each wood piece front side down onto the back of the paper and traced the shape with a pencil.
Afterward, I cut each of the pieces out, being careful not to cut inside of the outline.
At this point, I grabbed a brush and some Mod Podge. I applied the mod podge to fronts of the wood and the backs of the paper and smoothed them out. Then I applied more mod podge to the top of the papers and allowed them to dry.
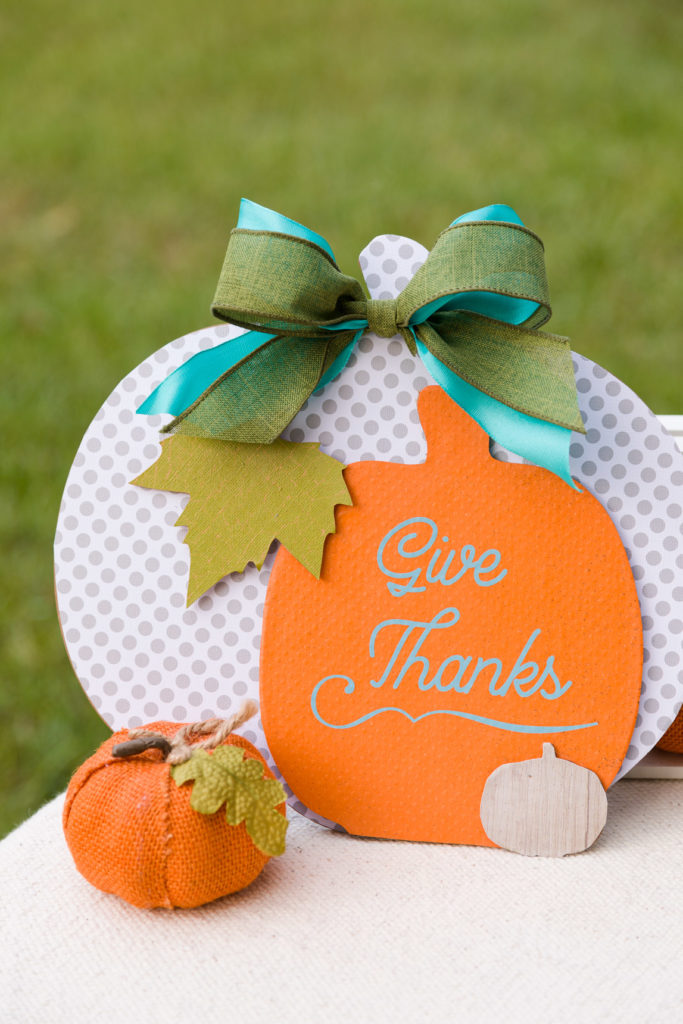
Finally, it’s time to put the pieces together! I positioned them where I thought they should be and hot glued the pieces together one at a time.
But wait, there’s more!
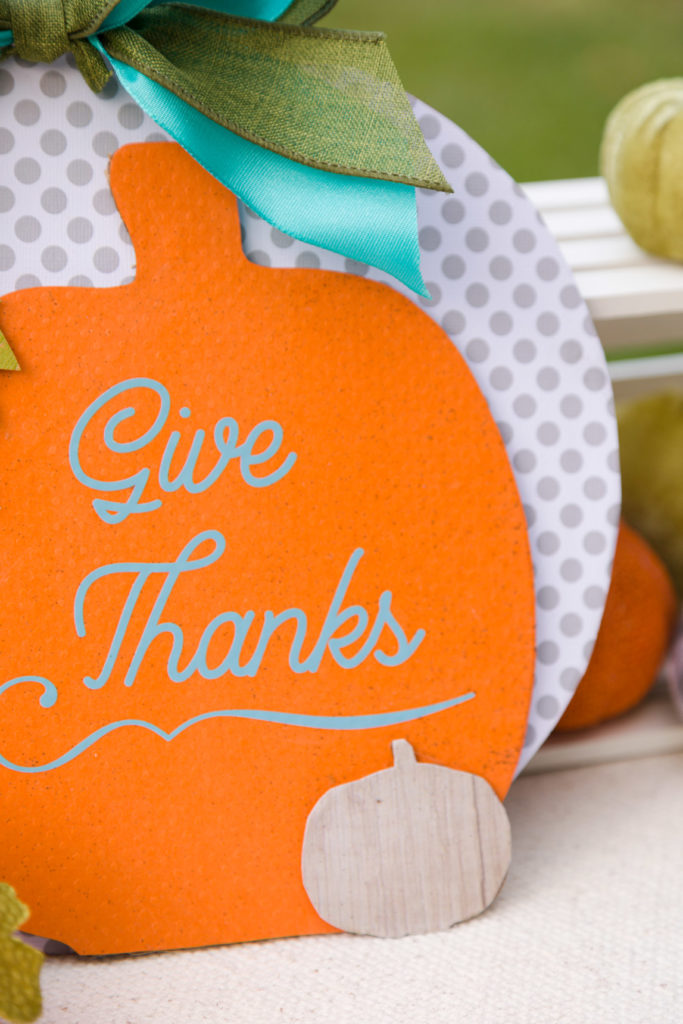
I couldn’t just leave these pumpkins alone…They needed some vinyl cut with my Cricut Maker! I just wanted a sweet little sentiment.
More Supplies
- Blue Vinyl
- Transfer Tape
- Scraper
- Weeder
- Cricut Maker
You know the drill:
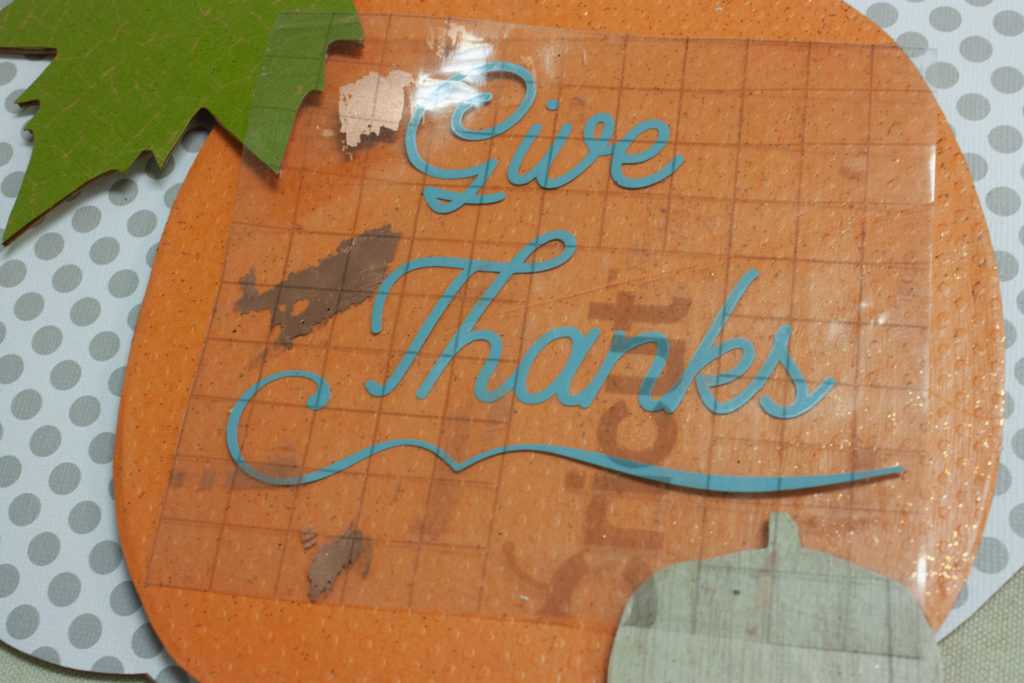
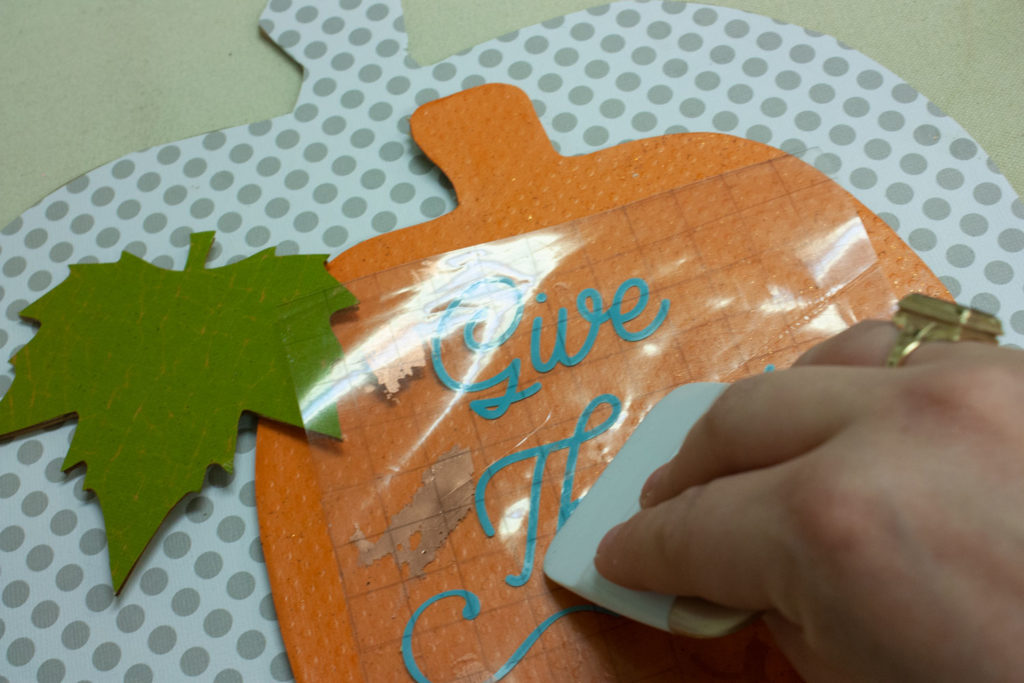
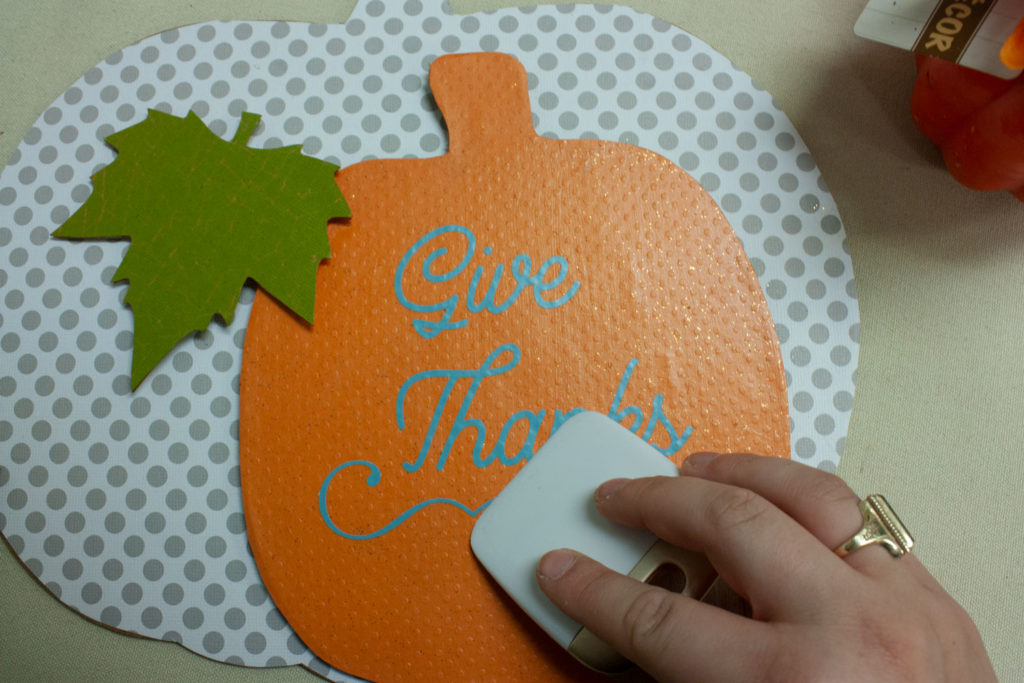
Upload the image. Attach all of the parts together. Hit that “Make it” button. Have your Cricut cut it out. Weed the extra vinyl from around the design. Rub some transfer tape on top and pull off the backing. Stick that design down and rub it some more. Pull off the transfer tape. Voilà.
Where did that bow come from??
Here is a great instructional post on easy bows!
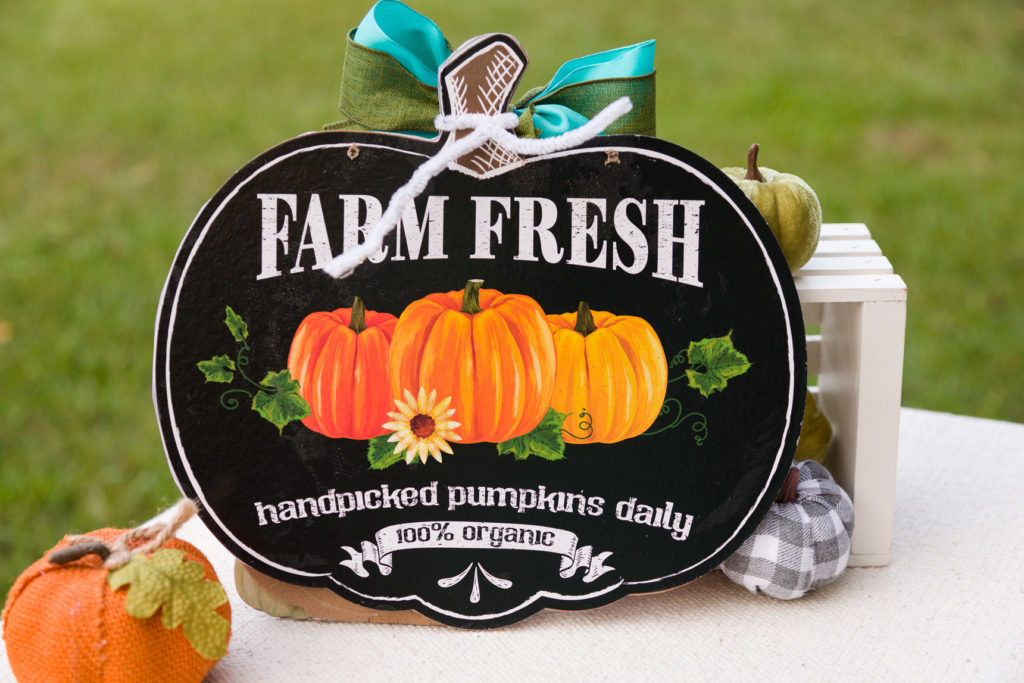
At last, here are the final results:
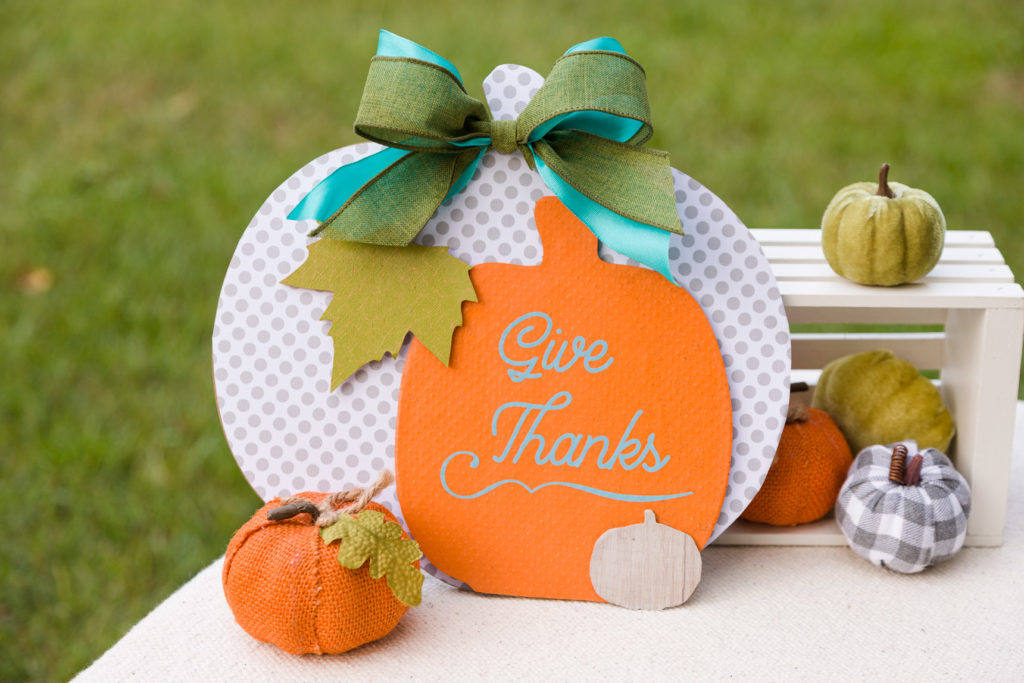
What would you make with all of those Dollar Tree Items?

20+ DIY Pumpkin Ideas | Olivia OHern
Thursday 5th of August 2021
[…] Pumpkin Door Hanger […]
Cute Easy Felt Pumpkin Garland How To | Olivia OHern
Thursday 1st of July 2021
[…] Crossing Inspired Felt Fall Garland “Hello Fall” Door Hanger Decoration Ideas Fall Dollar Tree Pumpkin Trio Door Hanger Easy Fall Decorating Dollar Store DIY Ideas Fall Acorn Door Hanger Easy Fall Embroidery Hoop […]
Easy Fall Decorating Dollar Store DIY Ideas Fall Acorn Door Hanger | Olivia OHern
Thursday 27th of May 2021
[…] November 21, 2020 […]
Dee | Grammy's Grid
Sunday 22nd of September 2019
Turned out really nice!! Thanks so much for linking up at #AThemedLinkup 1 for Crafts and DIY. Shared.
Kippi
Saturday 21st of September 2019
WOW! this is an amazing transformation for a simple Dollar Tree door hanger. Happy Fall, Kippi