Supplies
This post may contain affiliate links. This means that if you purchase from one of these links I will make a small commission, but rest assured you will not pay more for any products.
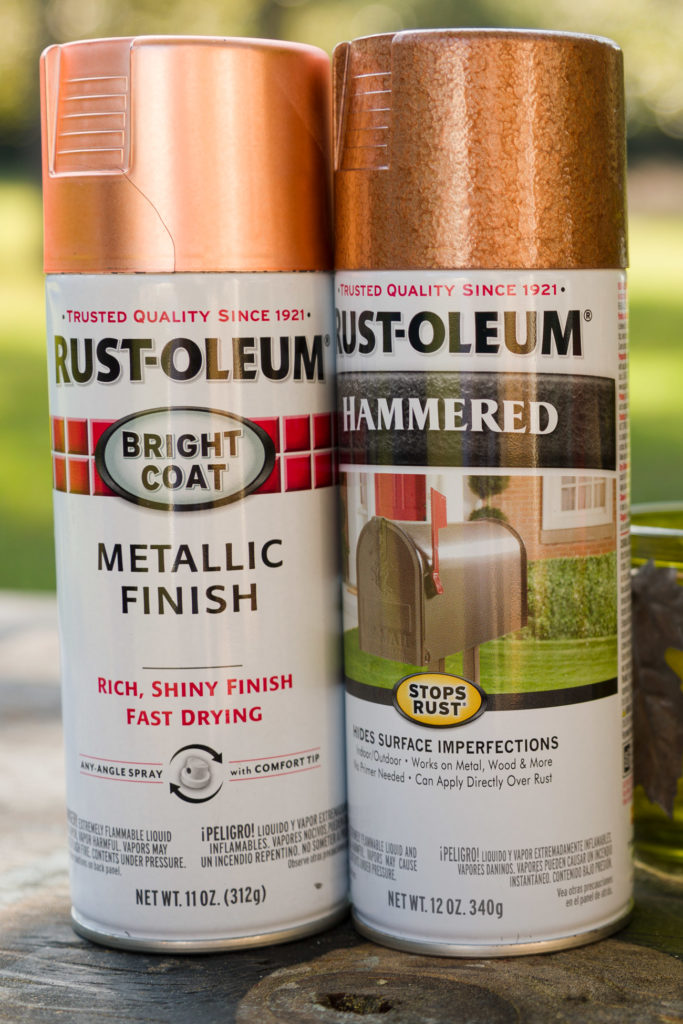
- Rust-oleum Copper Metallic Finish
- Upcycled Glass Jar
- Black Glossy Permanent Vinyl
- Transfer Tape
- Scissors
- Scraper
- Cricut Maker
Time to Paint
First, I wash and dry the jar.
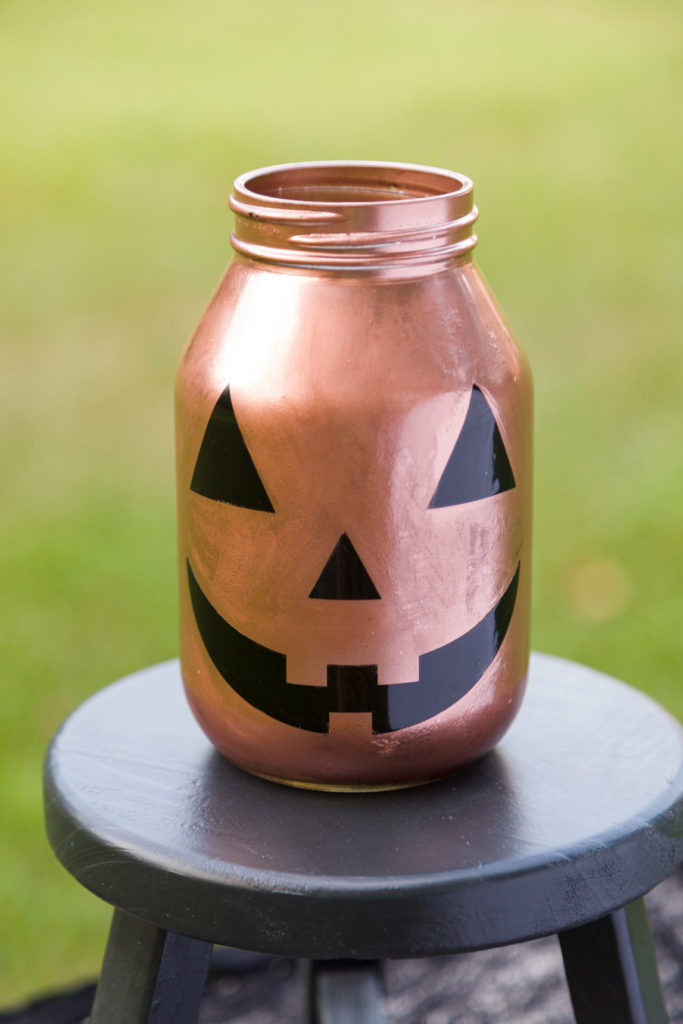
Then, I use metallic spray paint to cover the outside of the jar completely. Should I have painted the inside? Maybe. But that didn’t happen at the moment, nor did a picture. Oops. Well, when it’s completely dry I moved onto the Cricut part!
Time for Vinyl
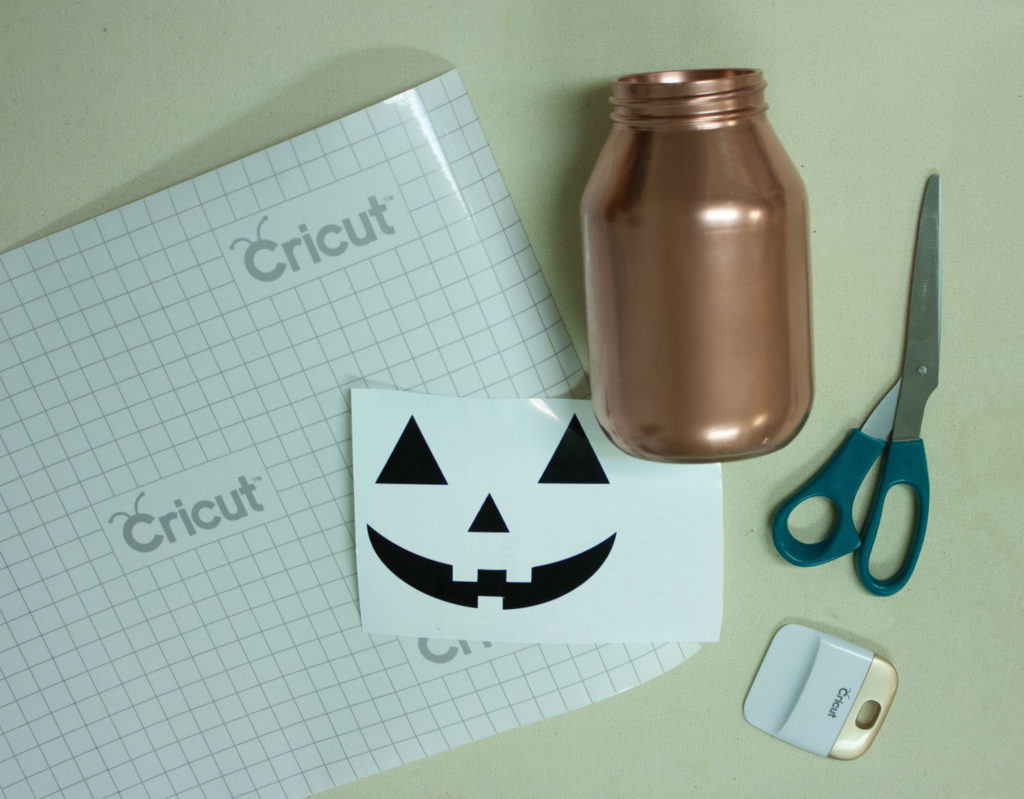
At this point, I created a cute Jack O’ Lantern face in Cricut Design Space with three triangles, three squares, two circles, and the slice tool.
Obviously, I cut it out of black vinyl using my Cricut Maker and removed the extra vinyl from around the design.

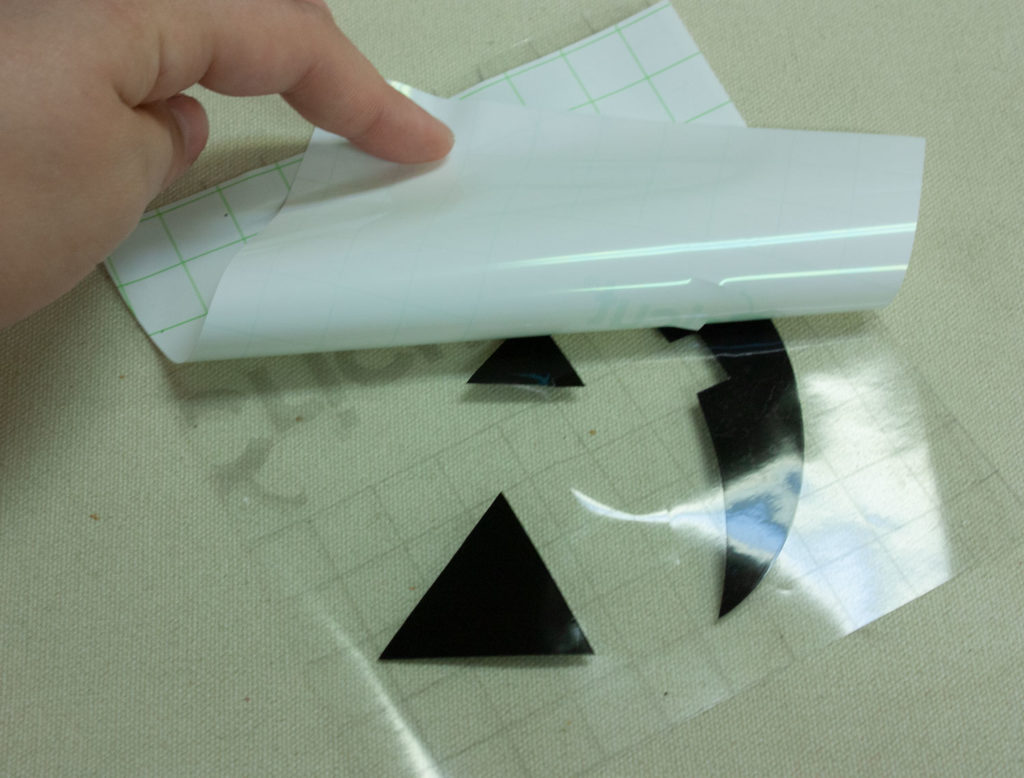
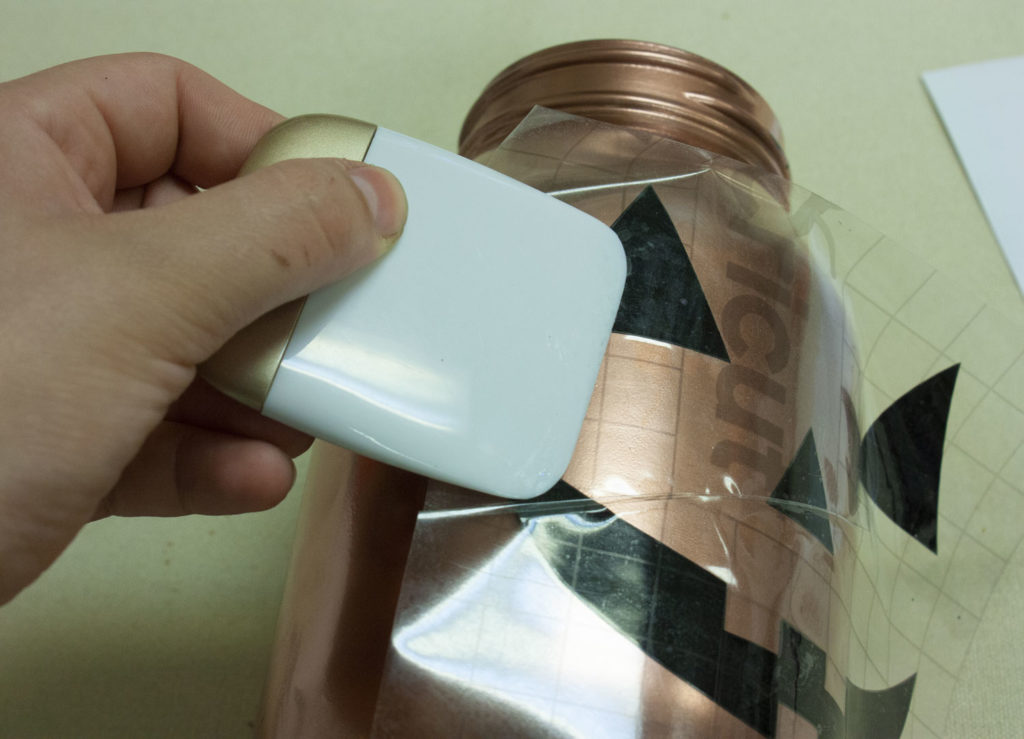
Then I cut a piece of transfer tape the size of my design. I pull off the tape from its backing, I like to save the backing so I can reuse the same piece of transfer tape multiple times. Anyway, I put the tape on top of the design, rub it with the scraper and pull the backing away. Afterward, I place the tape onto the jar and rub it with the scraper before pulling the tape off.
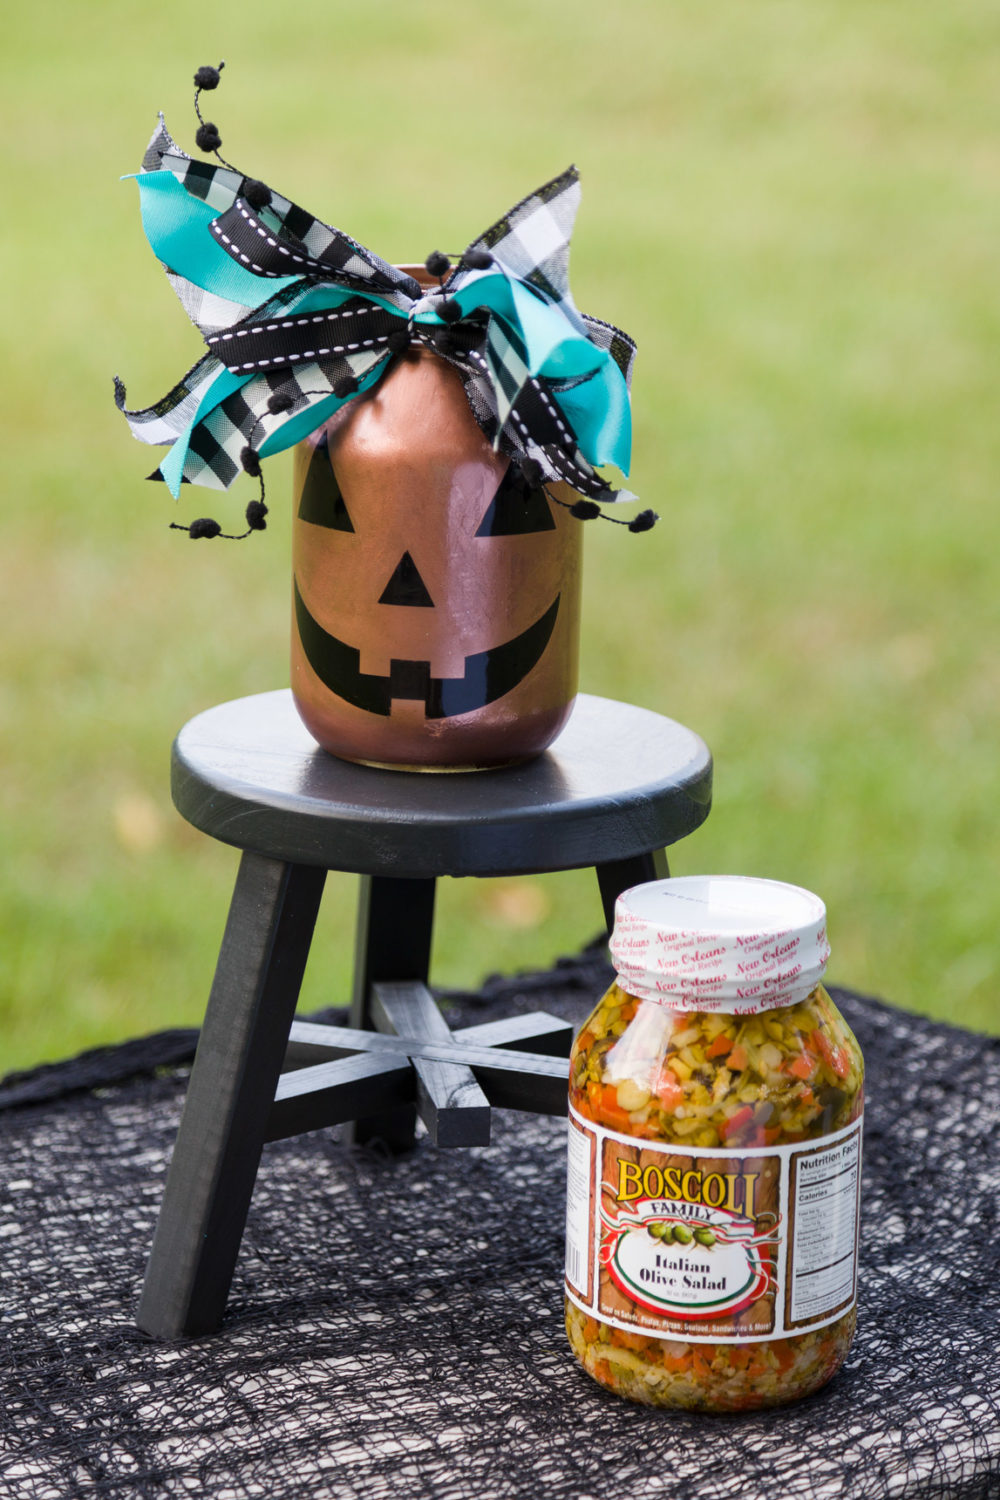
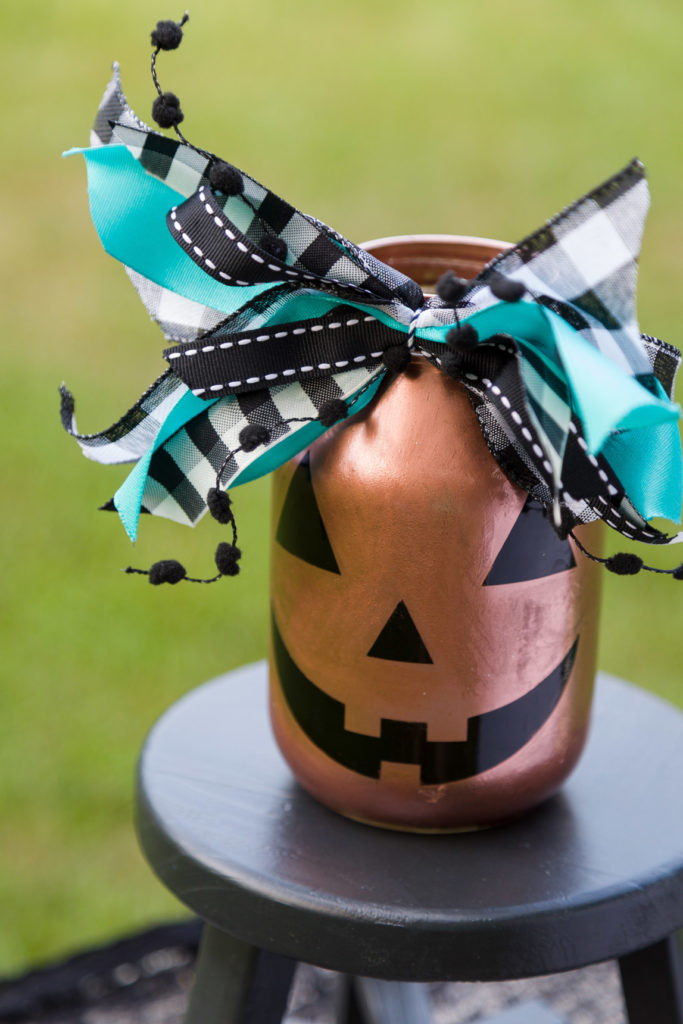
What a Happy Jack!
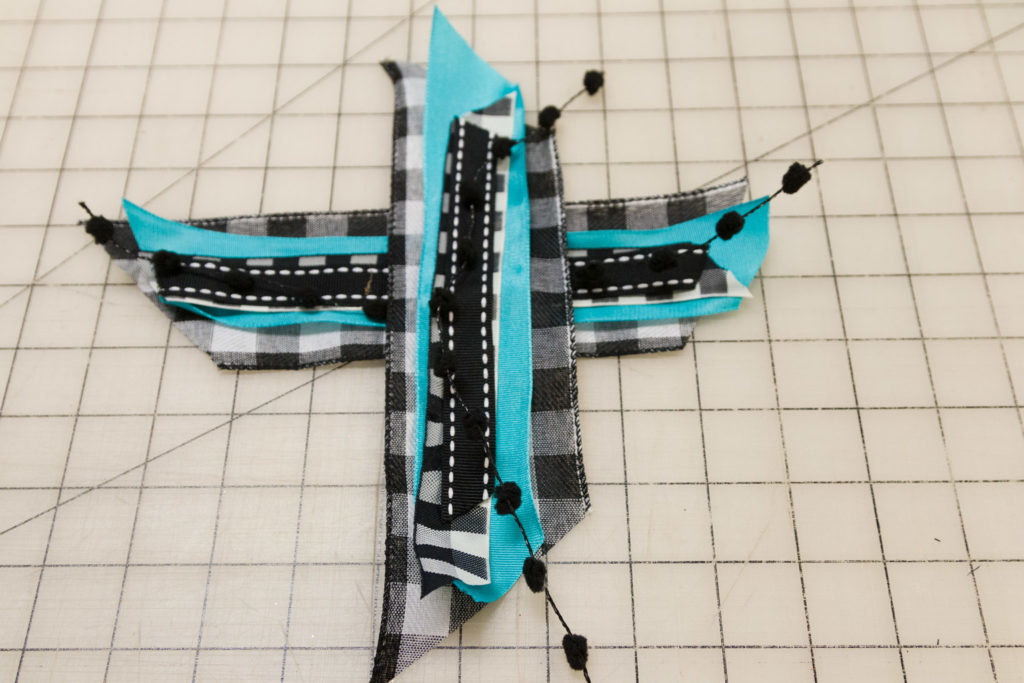
Getting Extra
Disclaimer: I was not a part of this decision, Kippi At Home went wild and made a bow she learned how to do from Just That Perfect Piece.
So, here you go.
- A variety of ribbons
- Butcher’s twine


20+ DIY Pumpkin Ideas | Olivia OHern
Thursday 5th of August 2021
[…] Upcycled Jar Jack O’ Lantern […]