If you’re like me, if you’re not crafting you’re scrolling through Pinterest or Instagram for inspiration and ideas. The other day I found this awesome ebook with 5 patterns + Instructions to machine sew your own poppets! They are super easy to make and super cute! She also sells ebooks for an adorable slug and moth. Art dolls are also available for purchase from the shop. And you can see more things made by Cait on her Instagram. I’m not sponsored by them, I just really loved their stuff and wanted to share it!
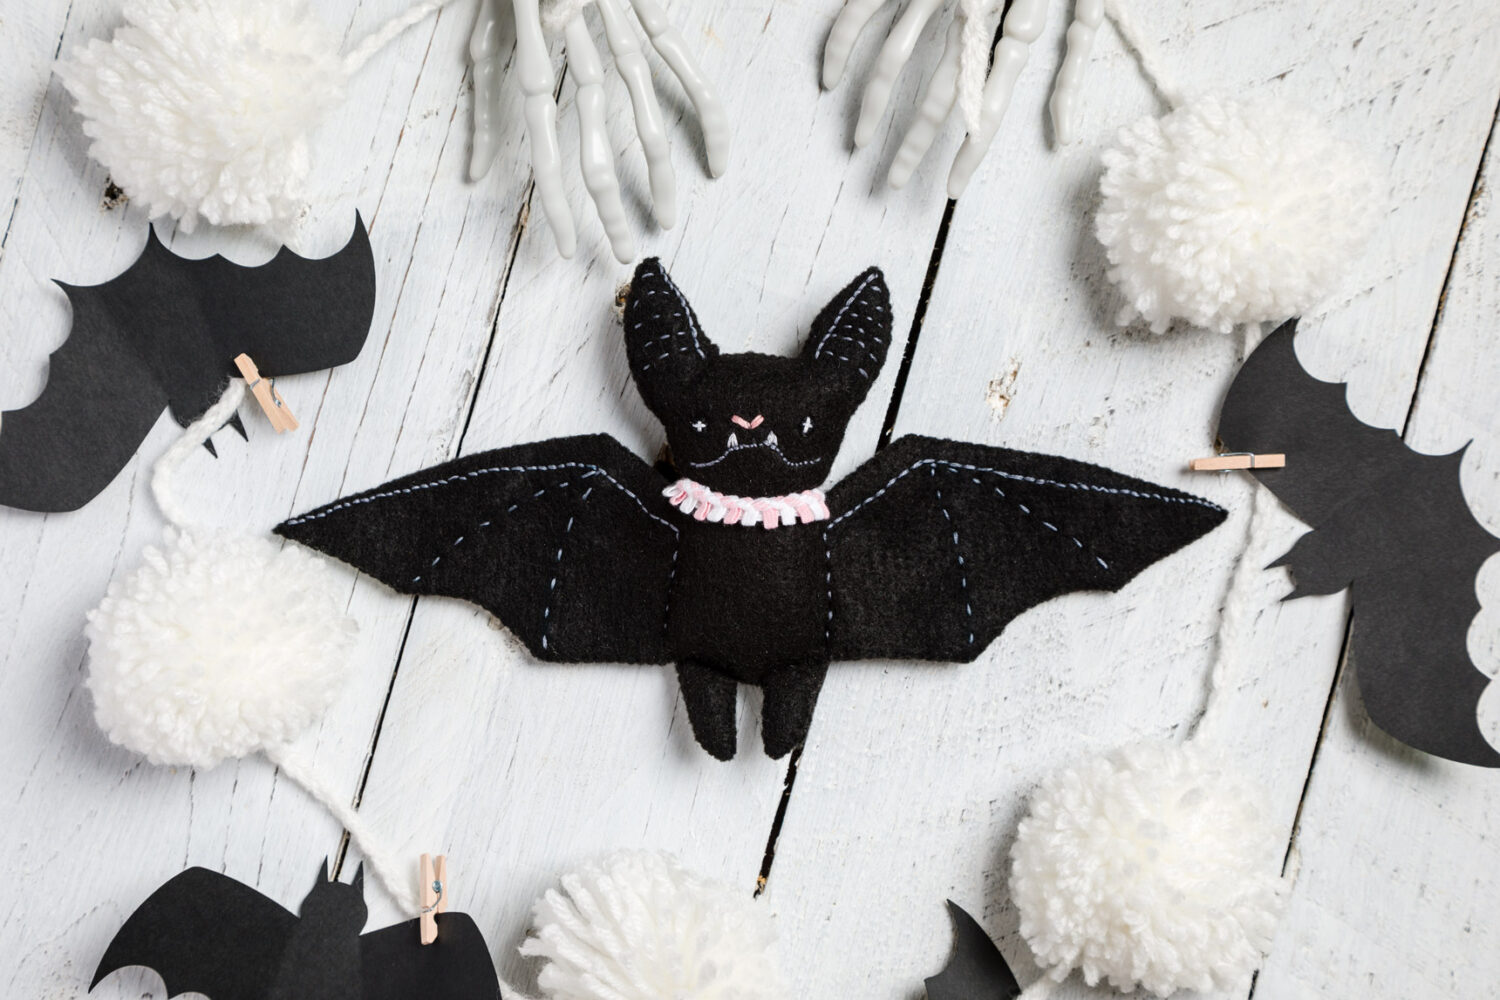
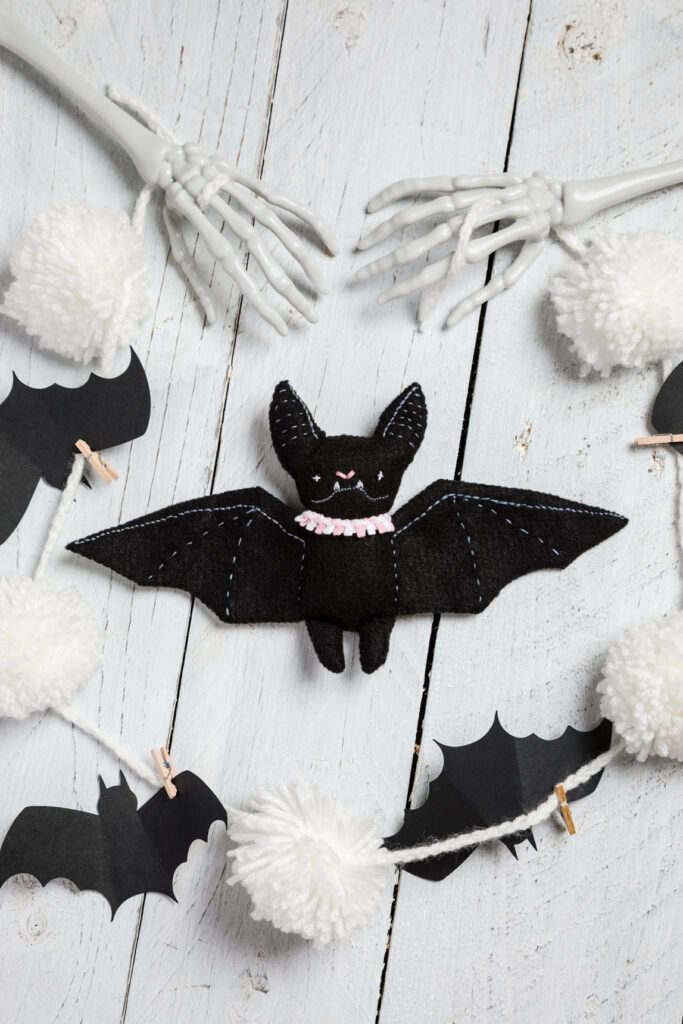
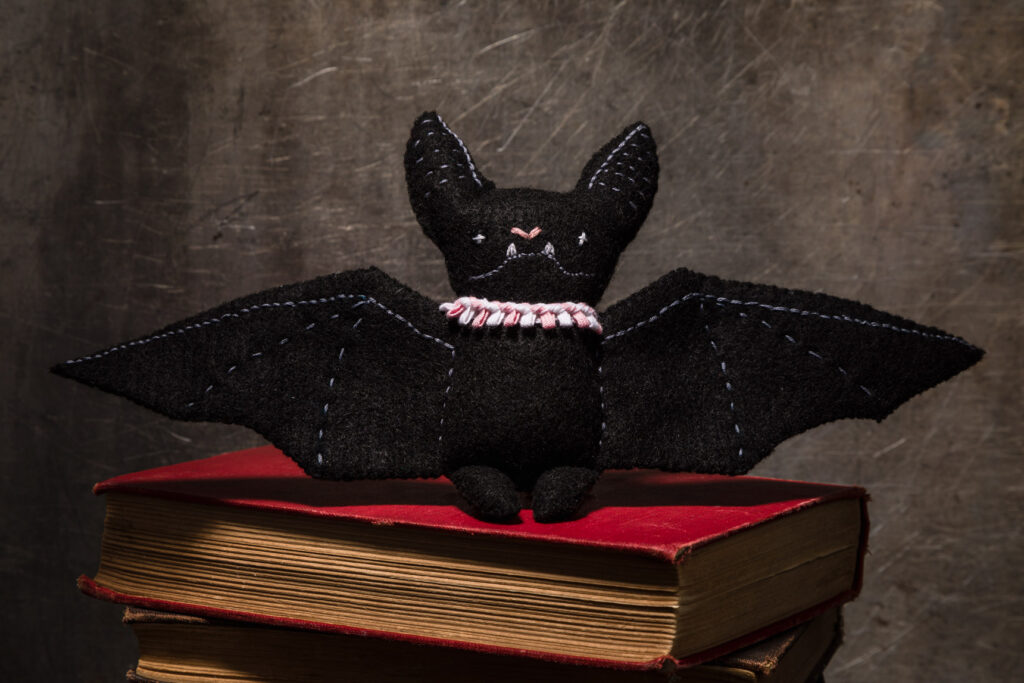
Since it’s Halloween time I decided to try out the bat pattern first (plus I love bats all year long!) and I love my little buddy so much. With how much room is left for your own creativity I could easily make these everyday.
Sewing is sometimes a polarizing word, people either are all about it or wince at the word. I’m here to tell you it’s not that hard, it’s just about practice! I’m going to show how to stitch one of these TheBeastPeddler plushes without a sewing machine.
- Poppet Pattern
- Crewel Needle
- Scissors
- Stuffing
- Pen
- Chalk
- Black Felt
- Black Embroidery Floss
- White Embroidery Floss
- Gray Embroidery Floss
- Pink Embroidery Floss
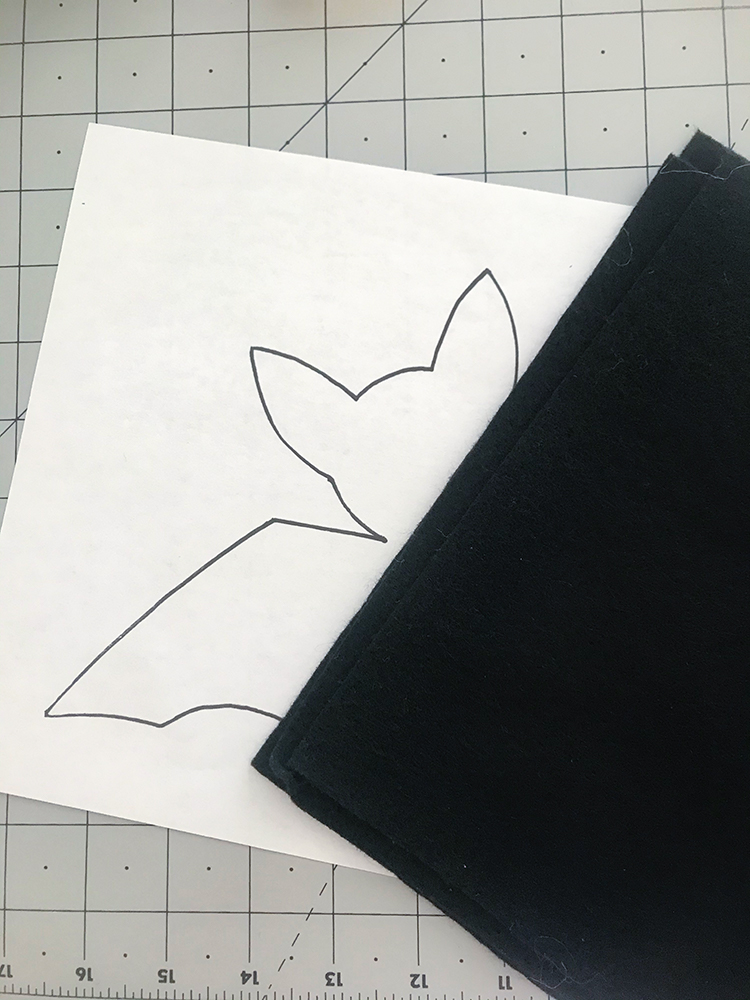
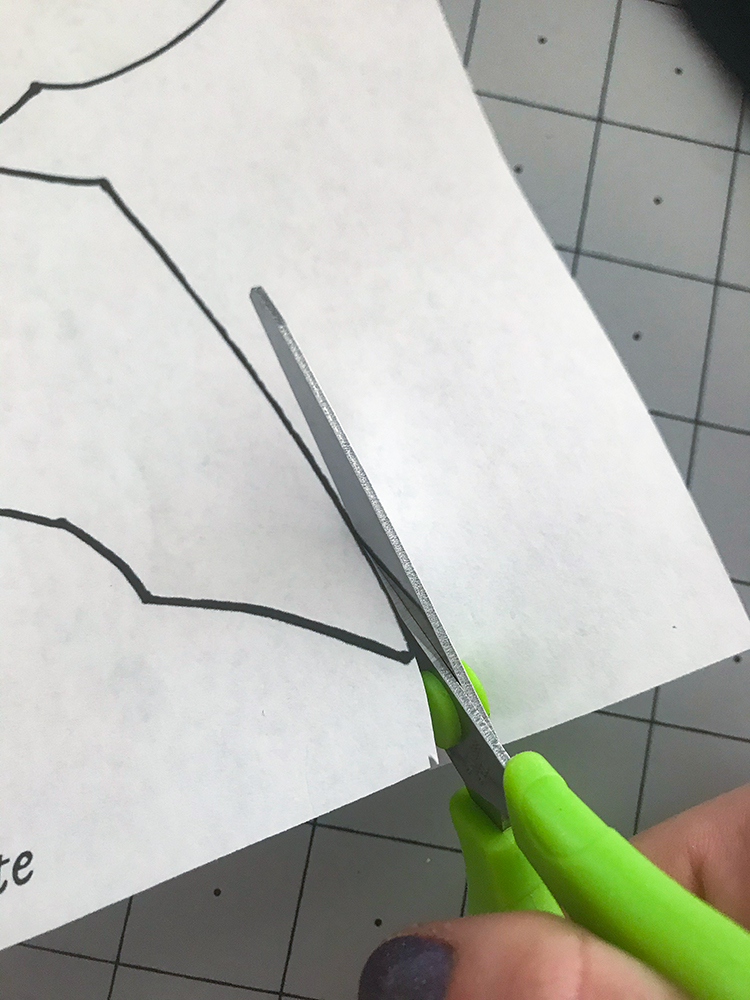
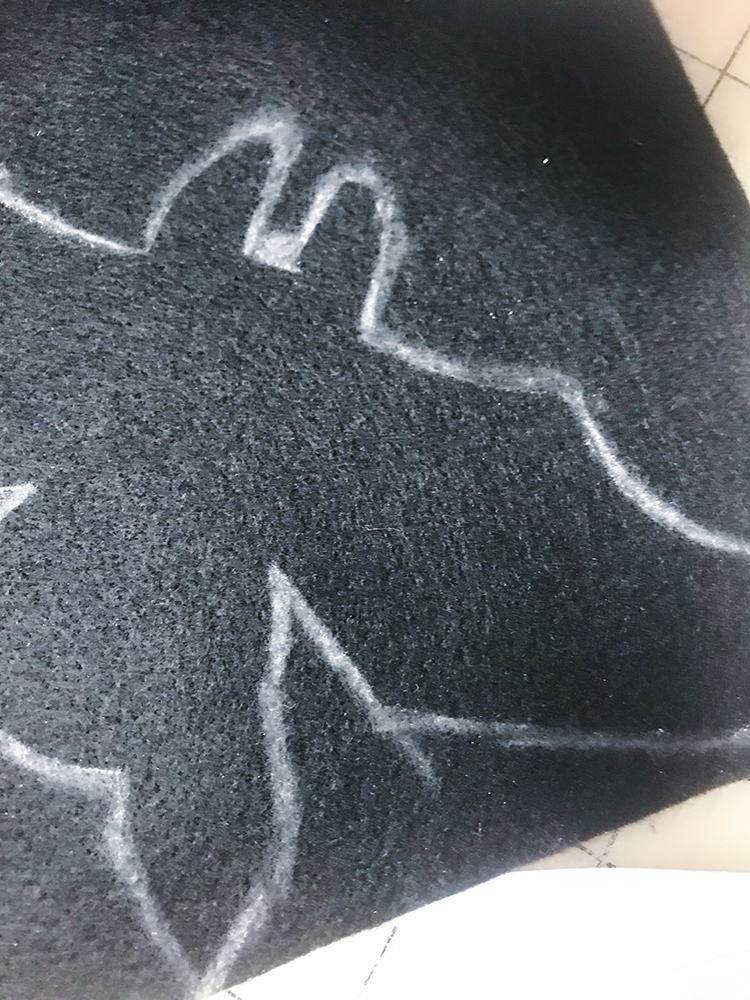
First thing to do is print out the pattern you’ll be using on copy paper (or cardstock if you want to make a bunch). Take some scissors and cut out the pattern on the outside of the black outline. Place that on top of your felt and trace around it with a piece of chalk. It might get a little messy, but it comes off easily.
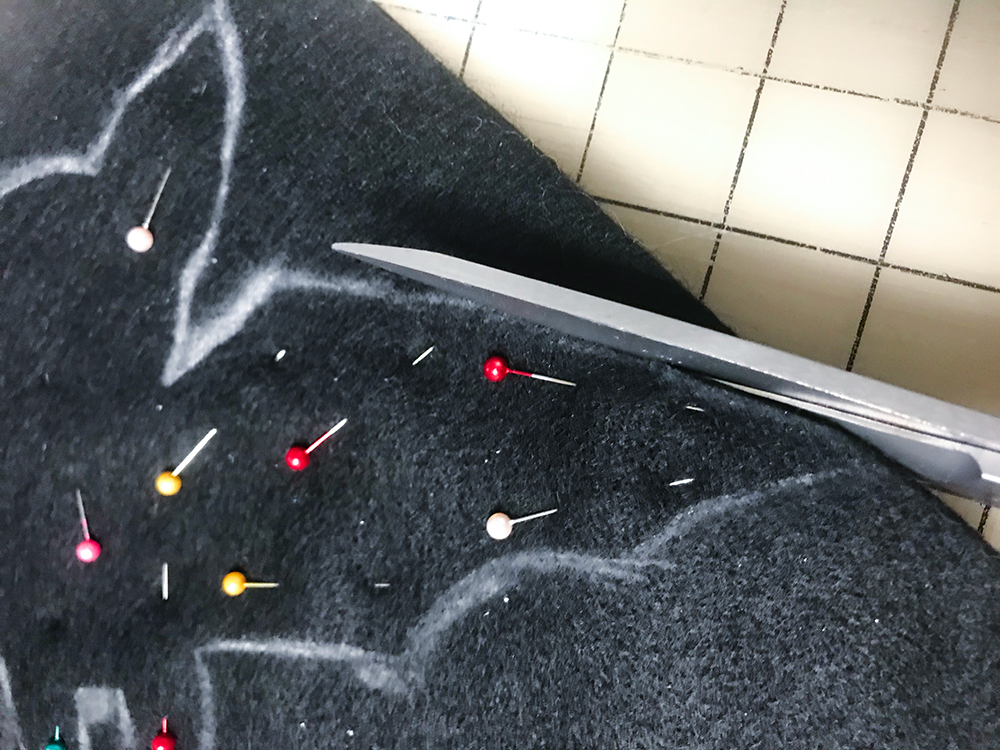
Next, take your traced felt and put it on top of another piece of felt and pin them together. This way you can cut both pieces at once and they’ll line up perfectly.
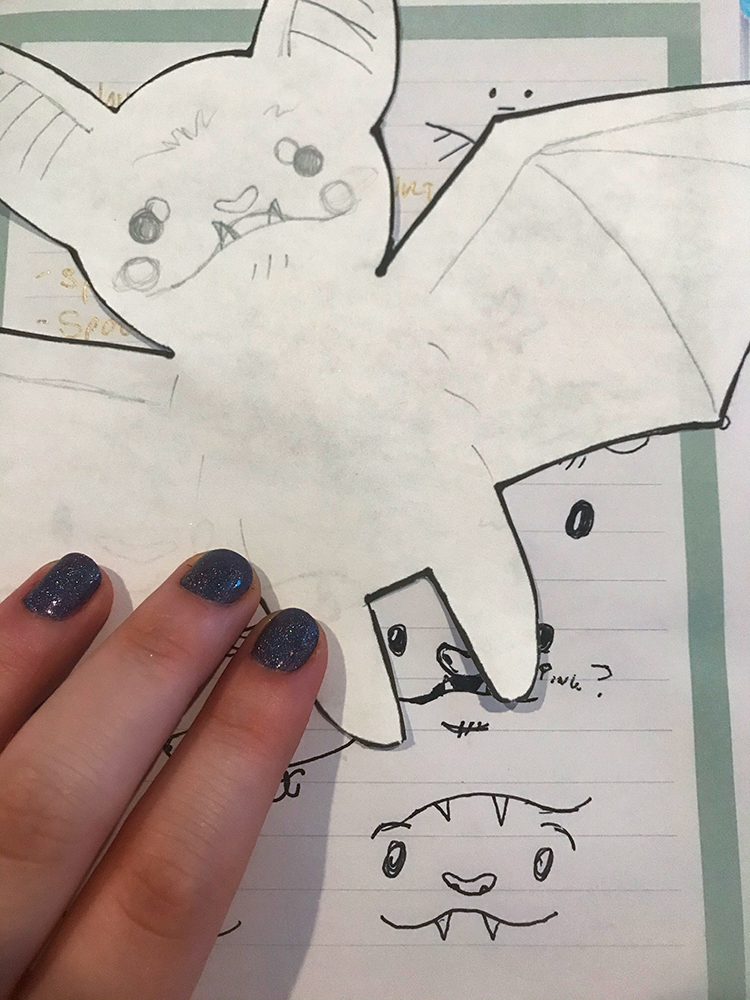
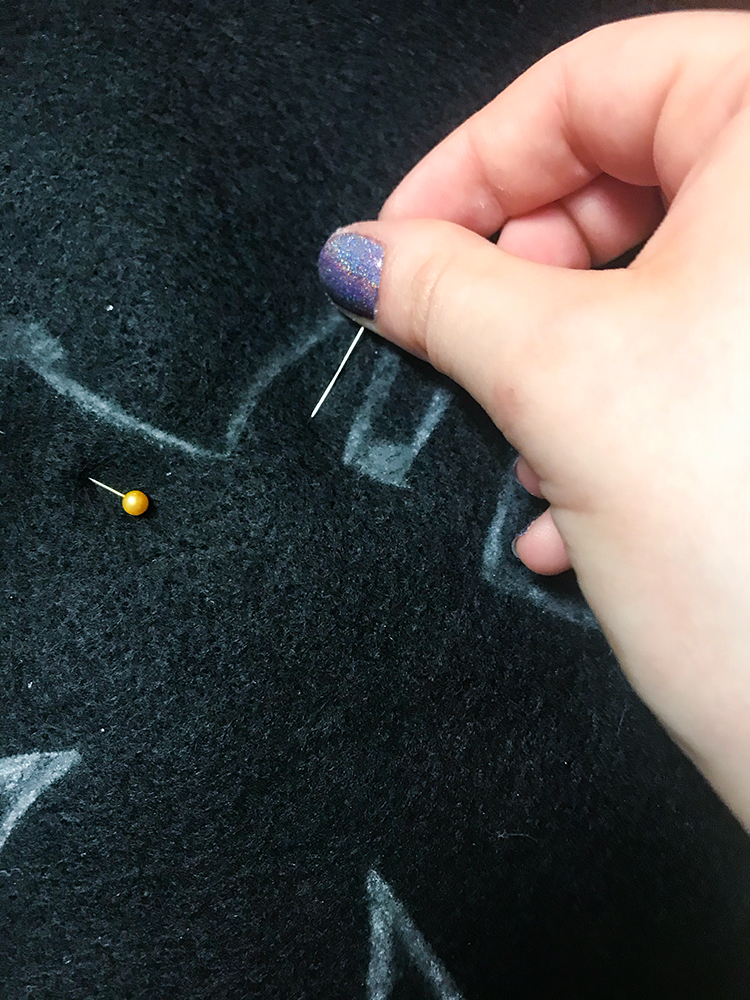
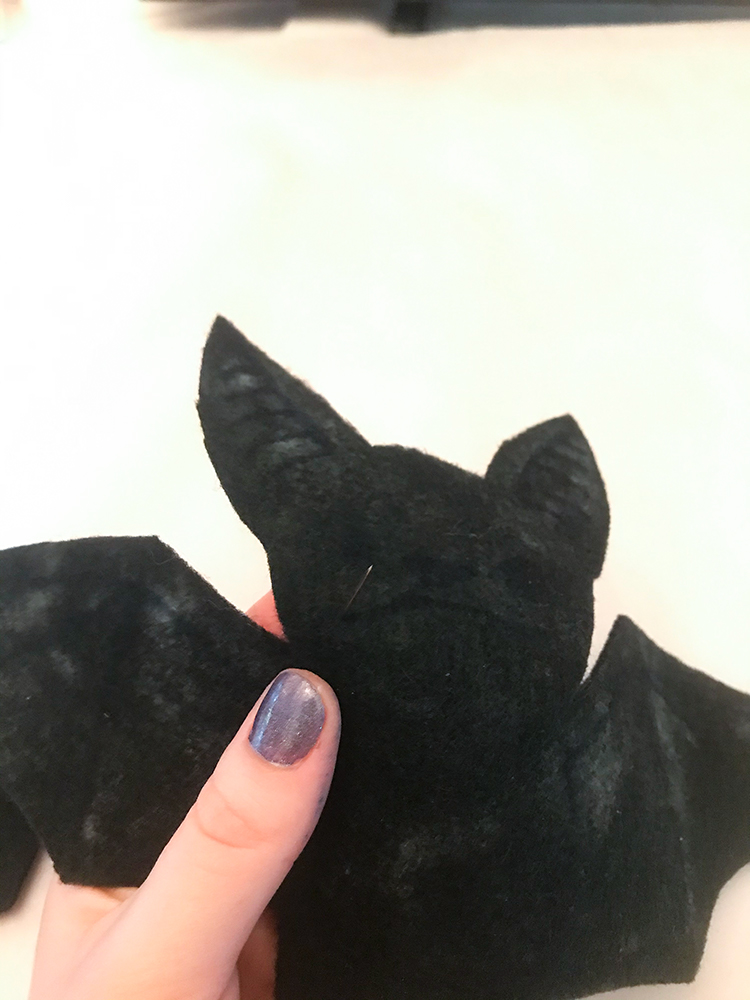
Then the creativity can really start! I used a pencil to plan out the details I wanted to embroider onto my bat. I wanted it to have a little smile with little fangs sticking out, as well as details on the ears and wings. To add guidelines, I used a felt tip pen and poked holes through the paper onto the felt in key areas then connected them.
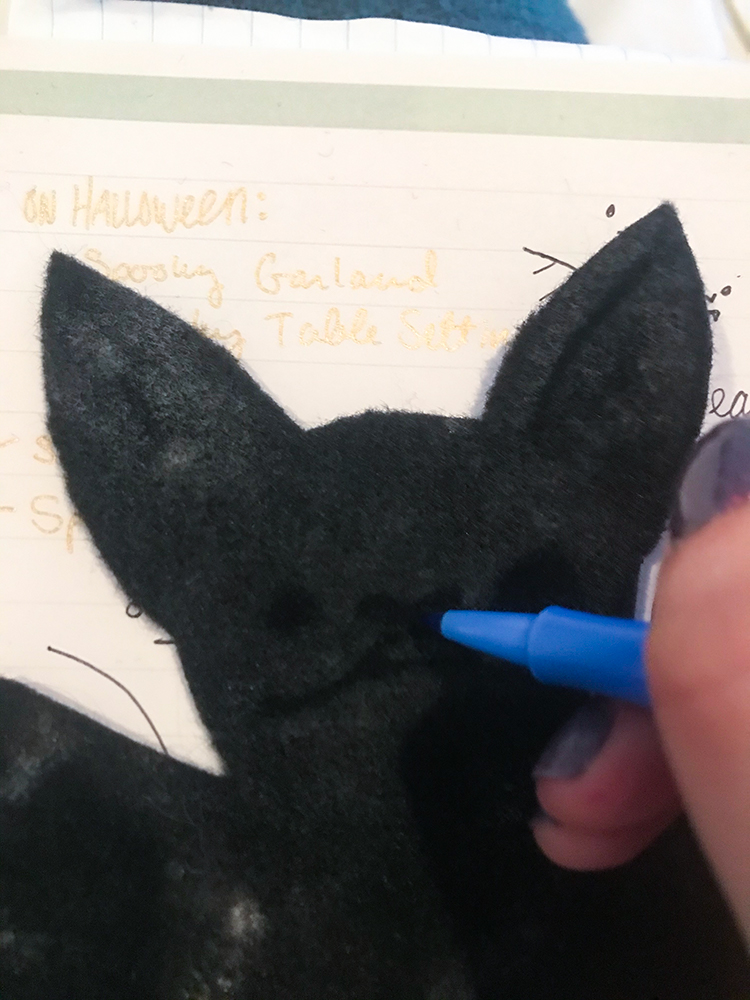
The next step is to add all of the embroidered details to the front of the top piece.
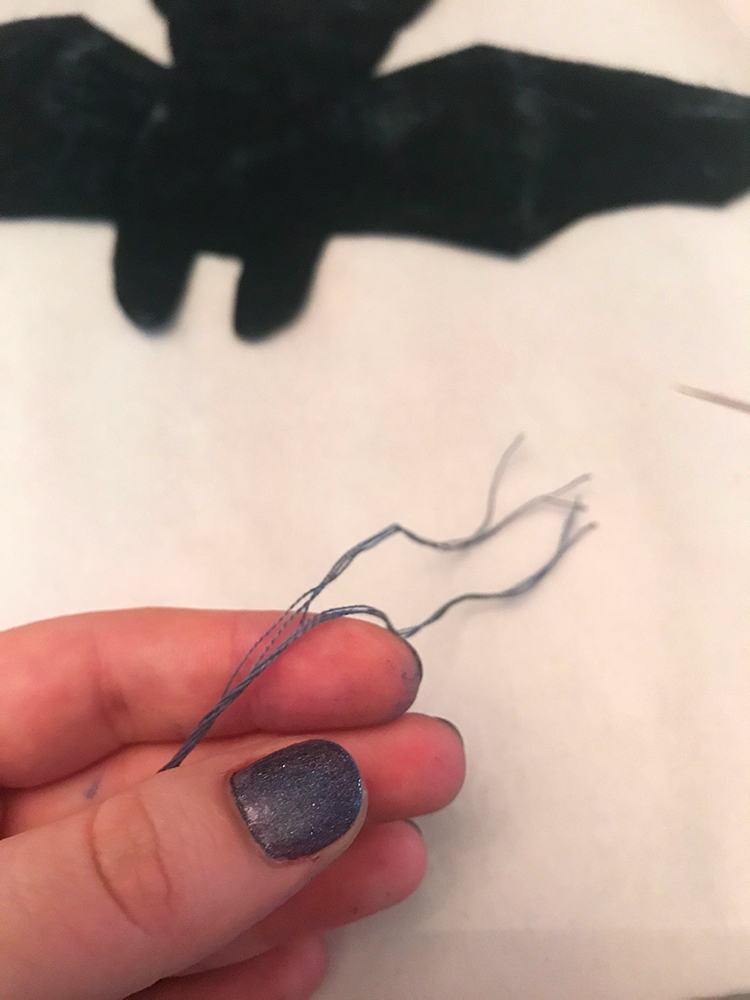
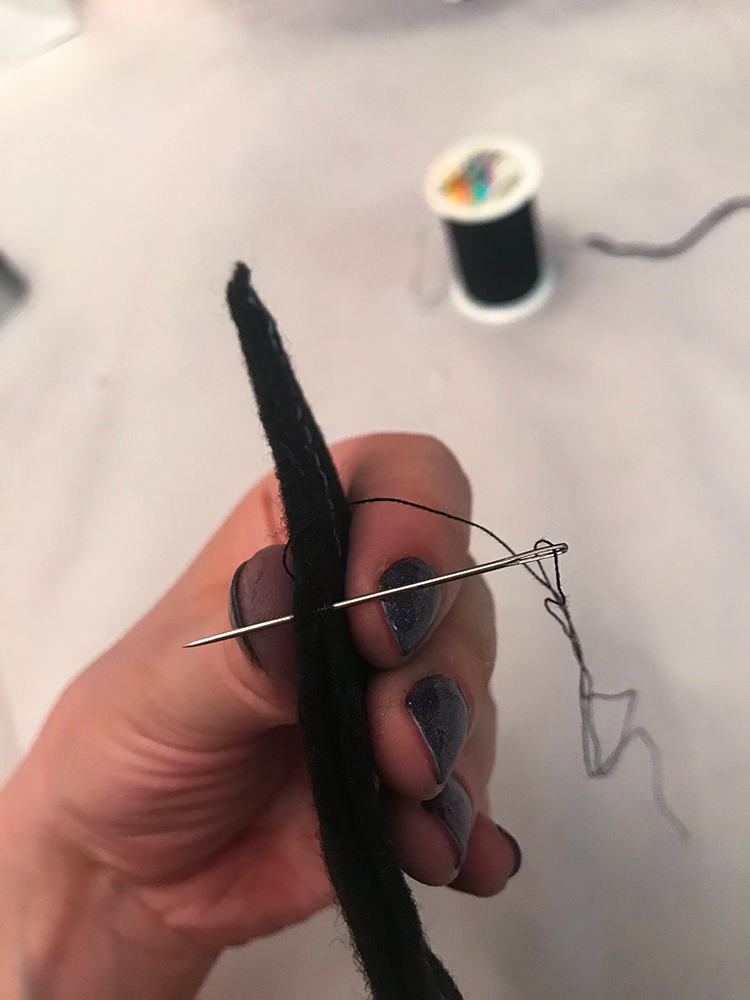
When using embroidery floss, most of the time you won’t be using all six strands, so you will need to seperate them out. The easiest method is to cut a piece approximately 20 in long and then use a needle to separate the strands into bunches. Then holding each bunch pull them away from each other.
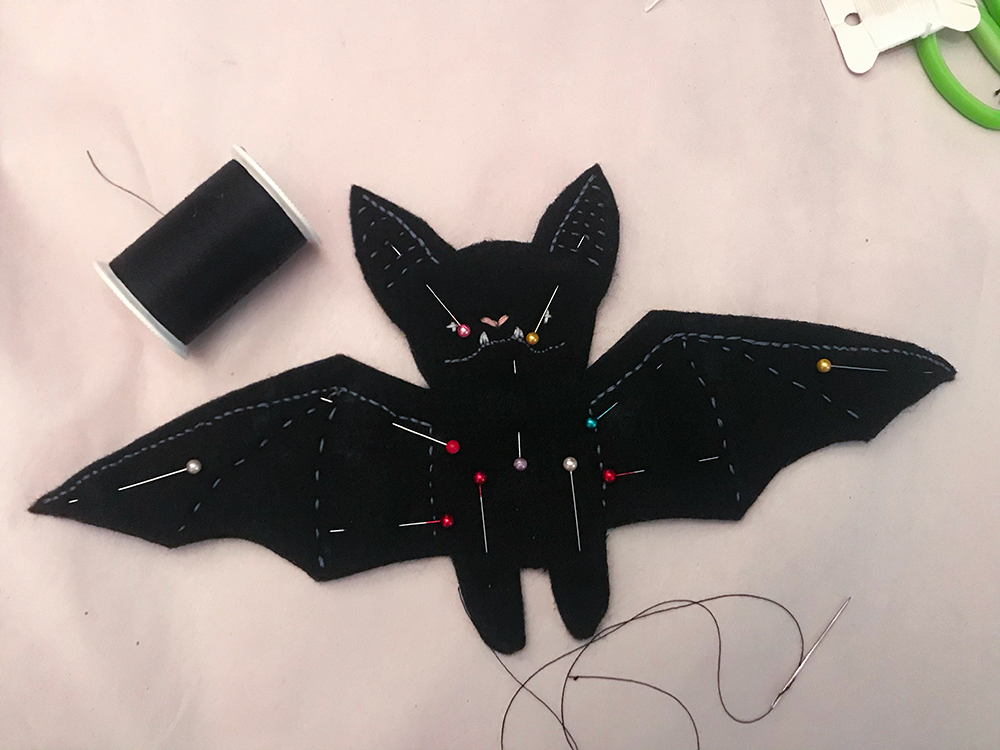
- Back Stitch – Wings, Ears, Mouth
- Straight Stitch – Wings, Ears, Fangs, Eyes, Nose
- Grey Floss (3 strands) – Mouth, Ears, Wings
- Pink Floss (6 strands) – Nose
- White Floss (3 strands) – Fangs, Eyes
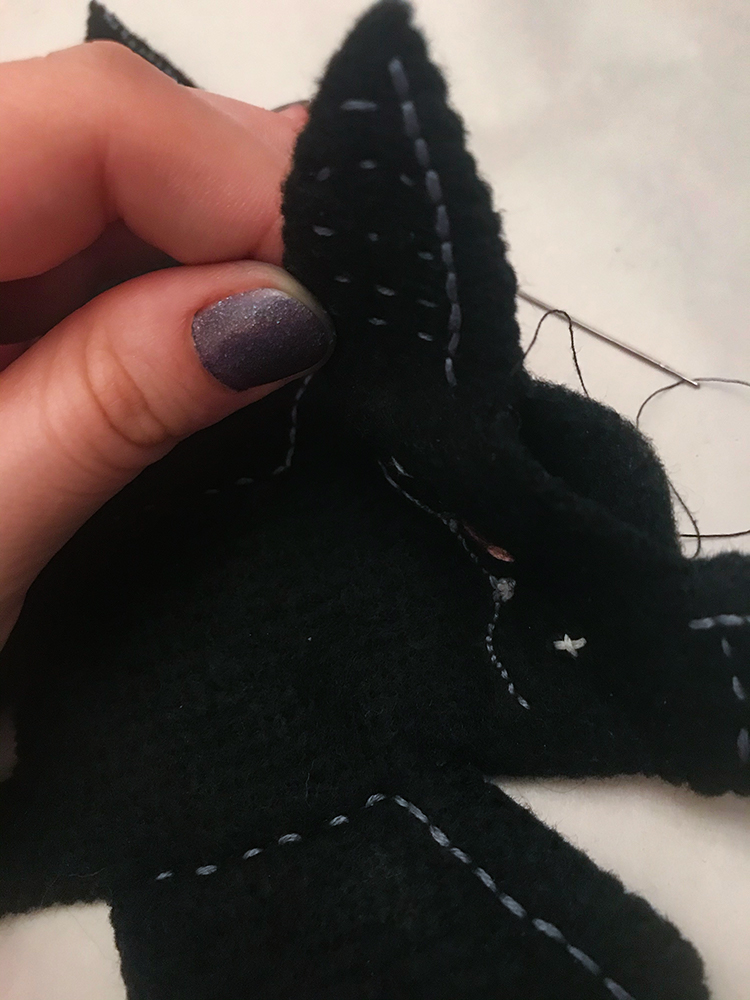
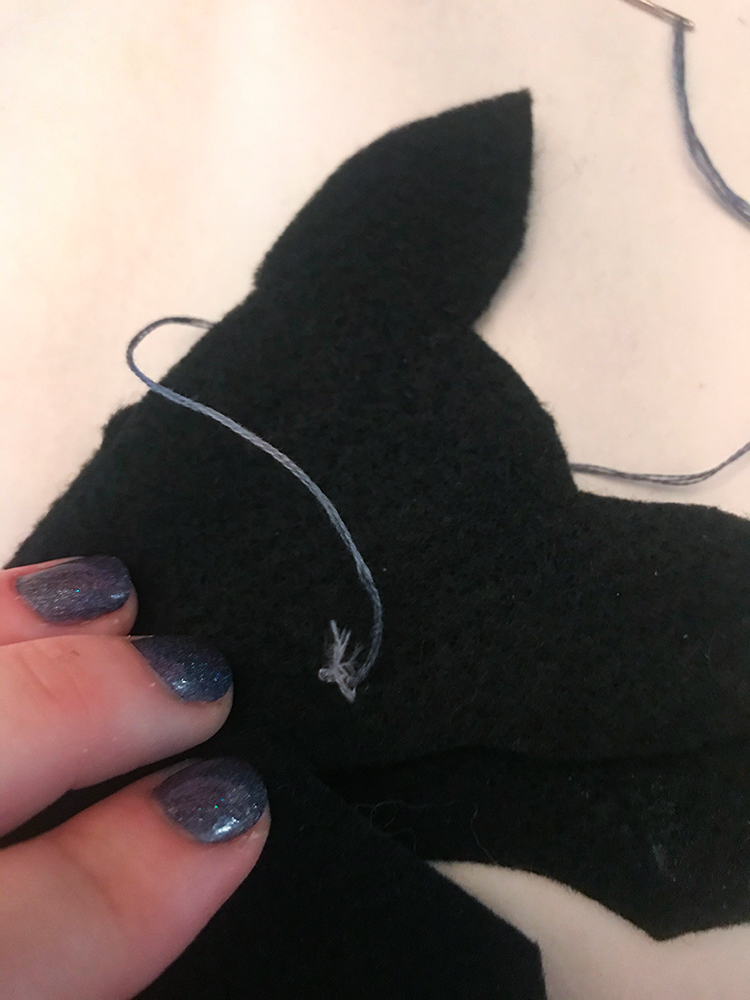
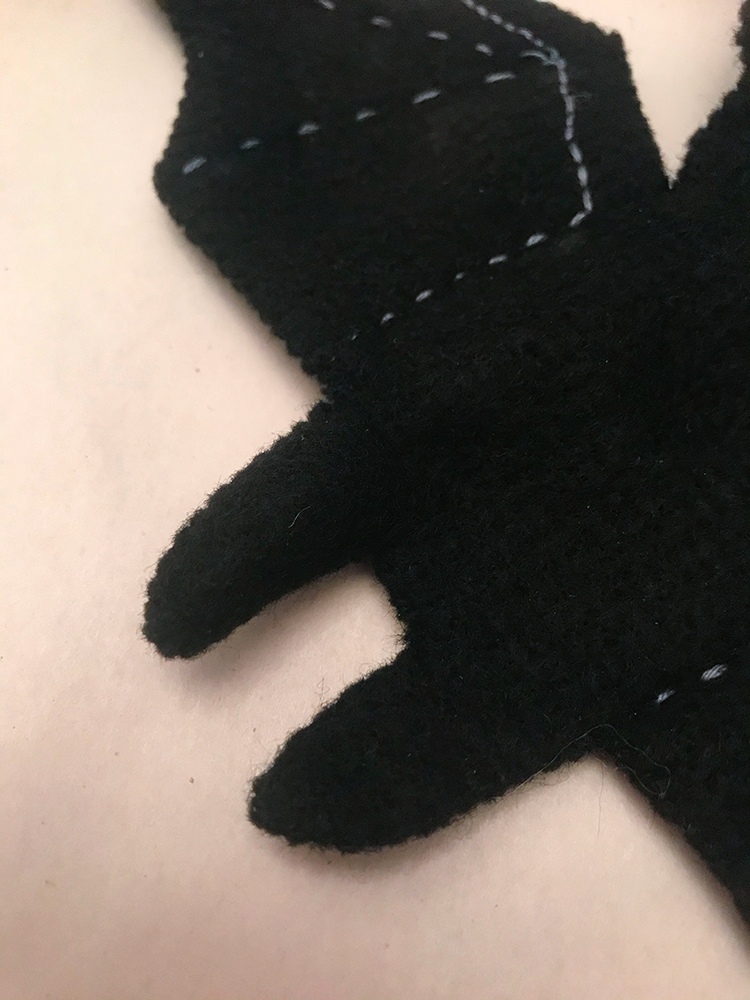
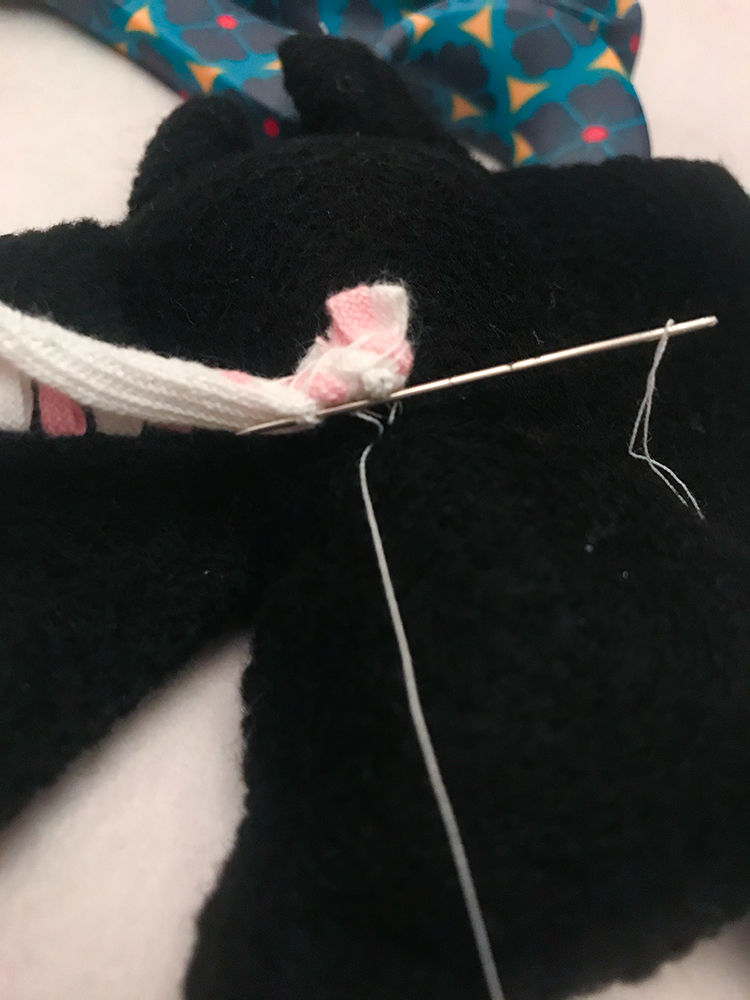
Once all of the embroidery details are finished it is time to stitch the bat pieces together. Using a needle and black thread, I whipstitched the felt pieces, leaving the top of the head open for stuffing. Then I used a straight stitch through both layers where the body and wings meet to keep the stuffing from getting inside of them and increasing flappability.
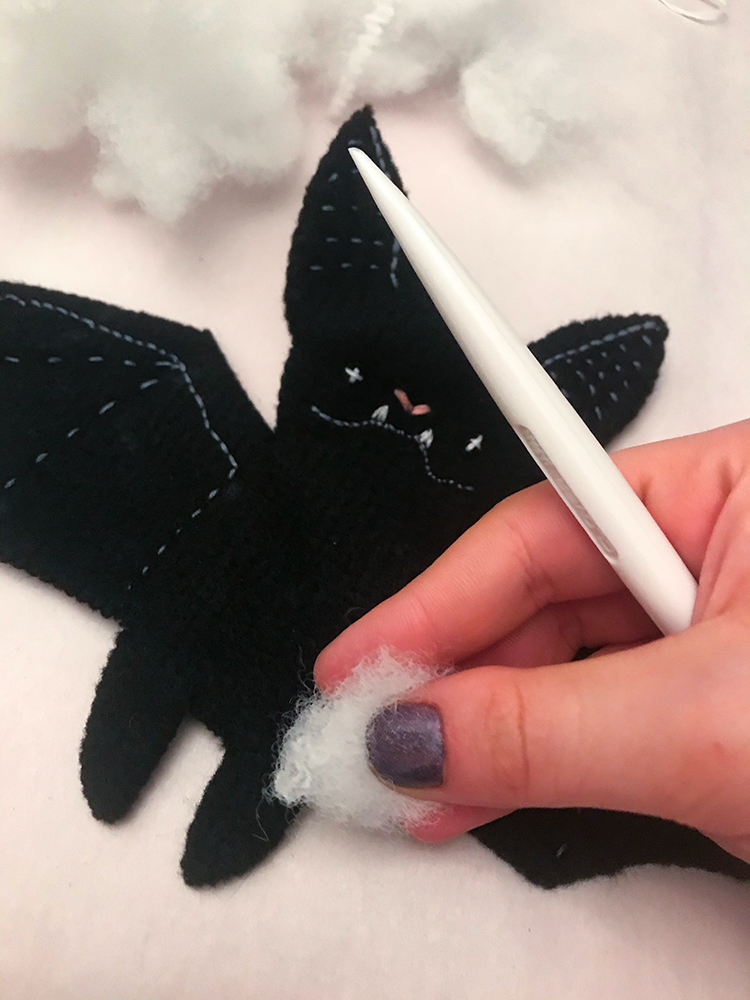
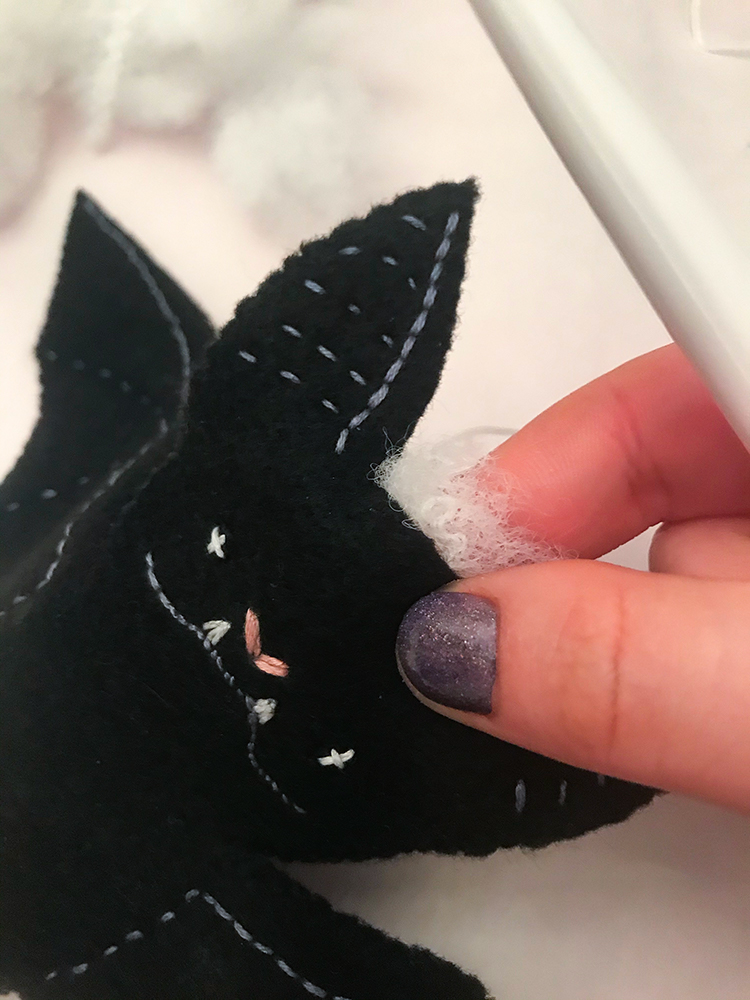

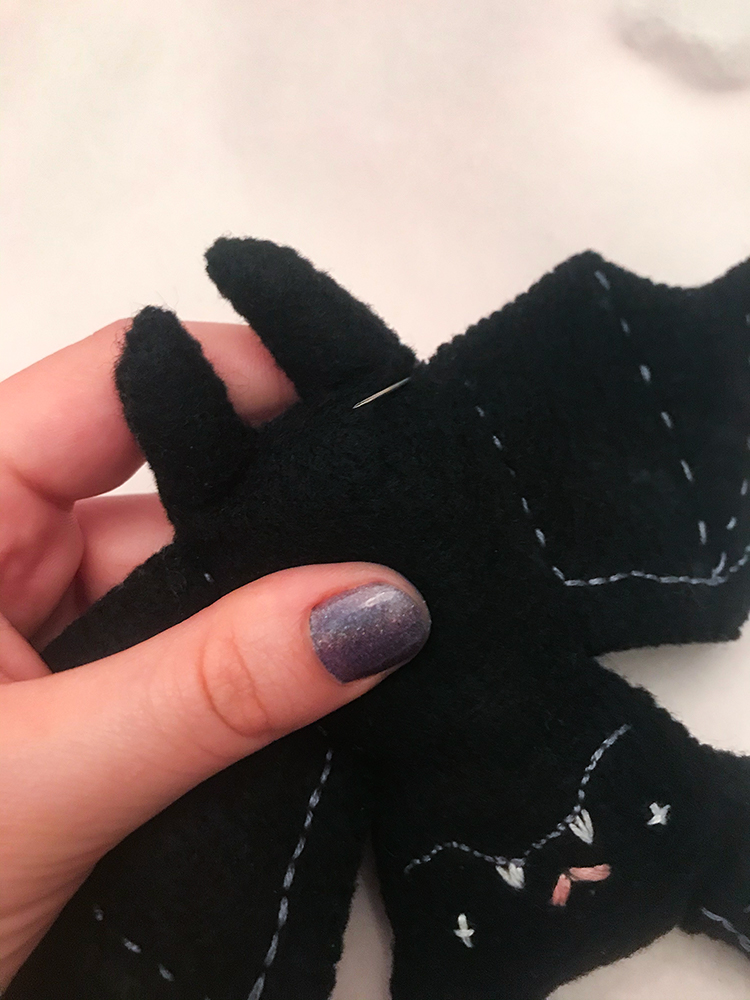
To stuff a plush, especially a small one, it’s best to use smaller balls of stuffing working them into position with a slim hera marker. Start by stuffing the extremities such as the legs and ears. Then fill the body and head.
Whipstitch the head opening closed and tie off your thread.
To add some bendability to the legs, use a straight stitch across where the legs meet the body.
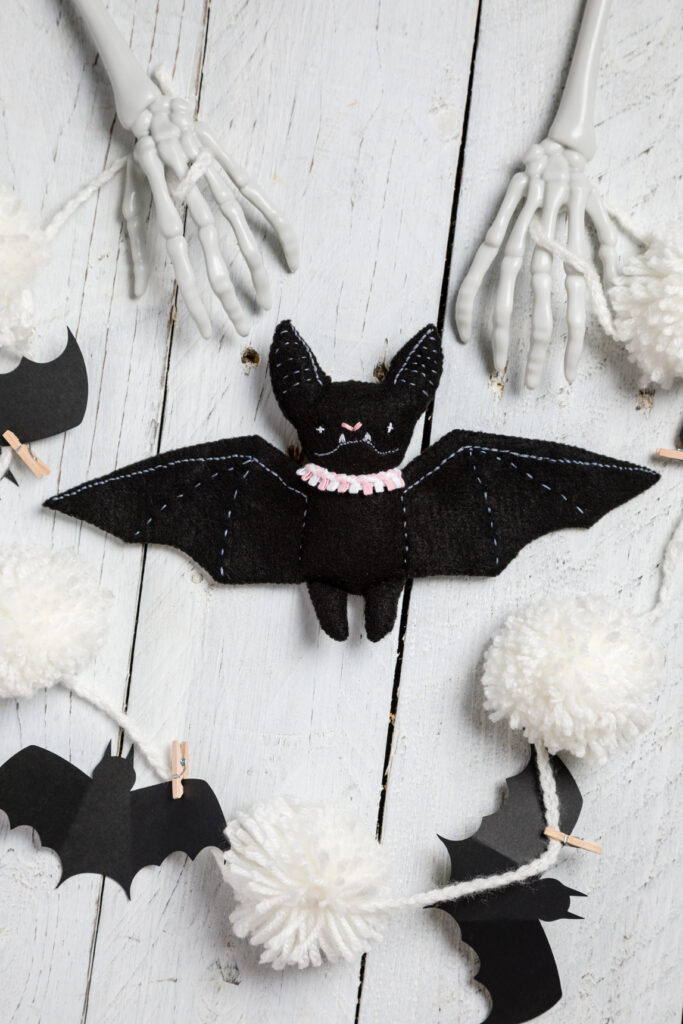
And from there our little bat poppet is complete, unless you want to dress it up a bit (which, of course, I do).
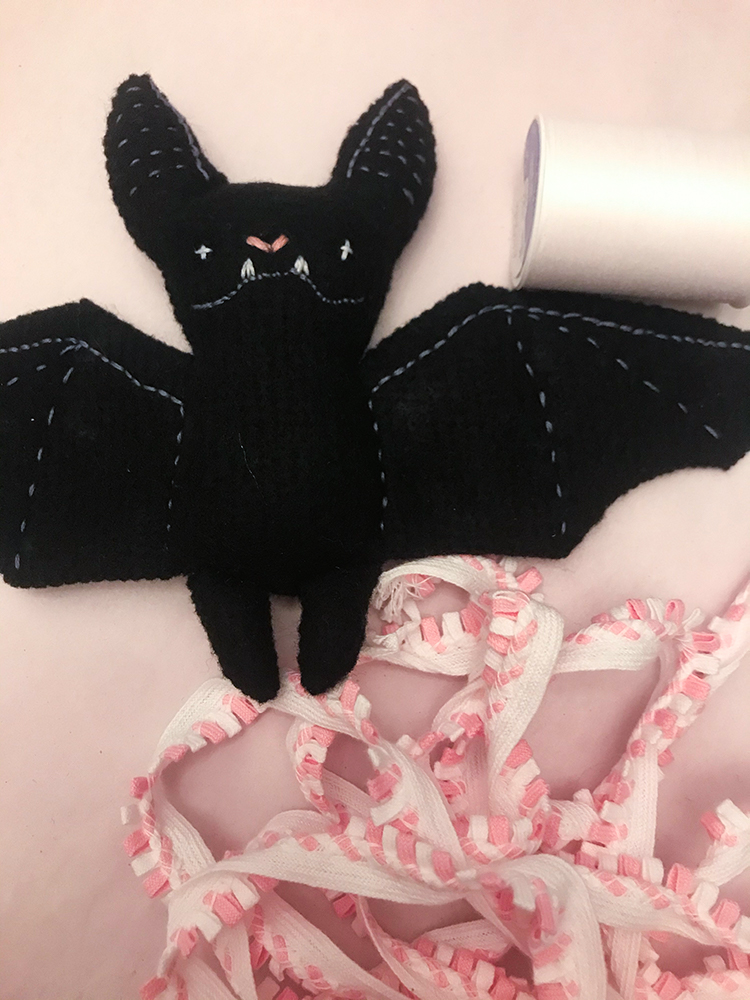
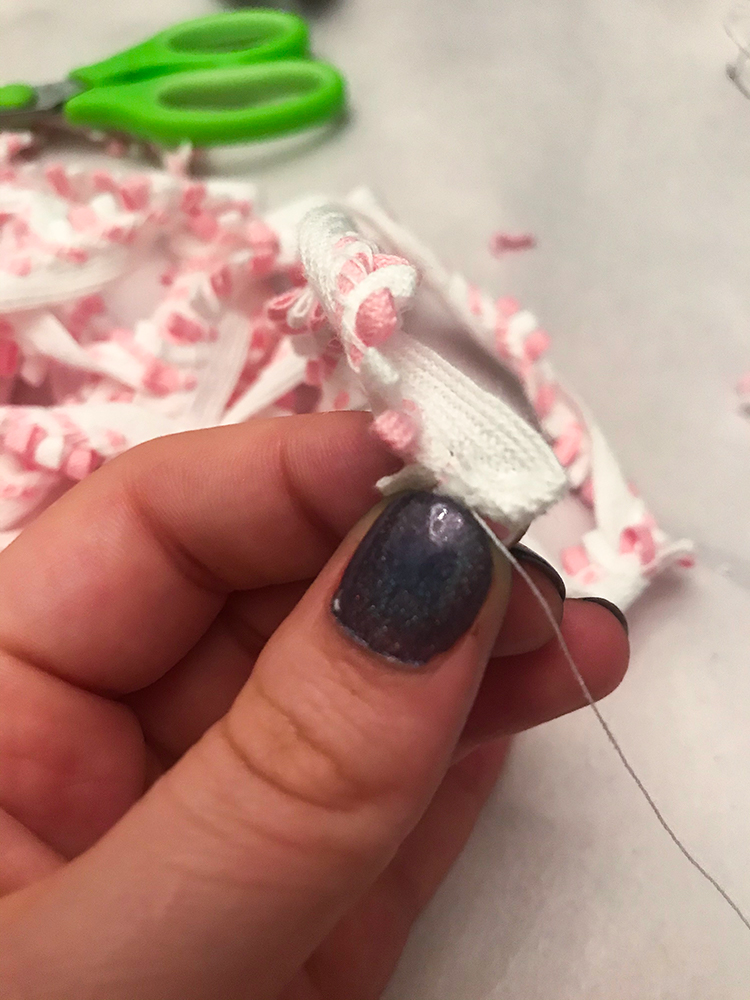
So this part is pretty straight forward, I found some trim in our scrap box which I thought would make a super cute collar that makes the facial features pop. I cut a piece about an inch longer than what it would take to go around the neck.
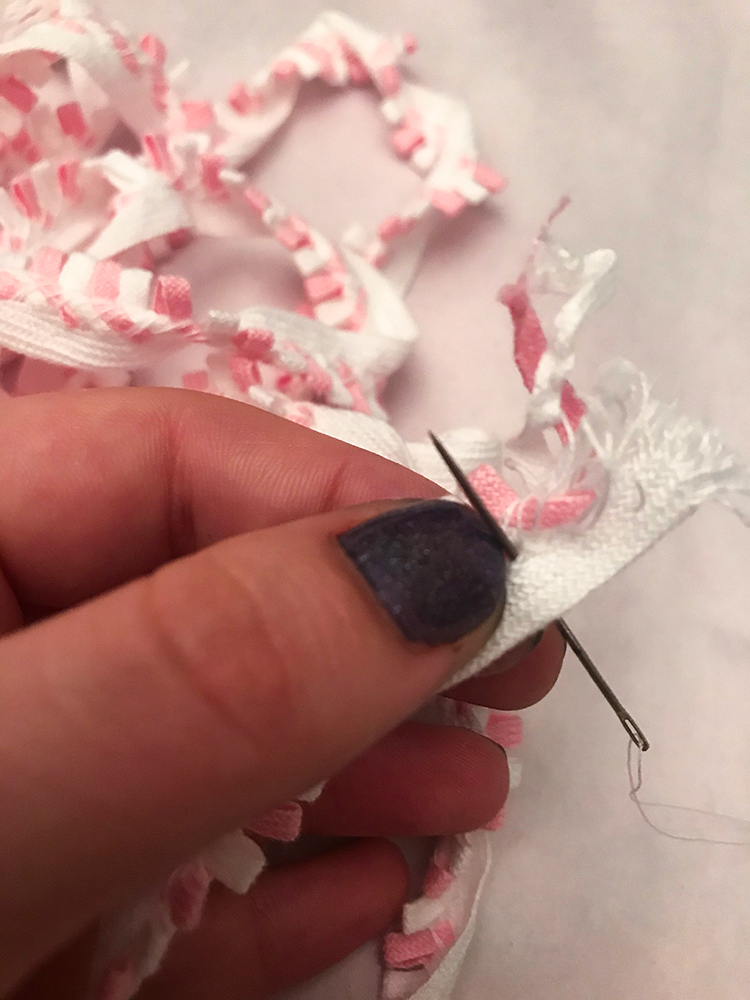
Start by folding the ends in and securing it with a few stitches, do this to both ends. Then, use the ladder stitch to sew the collar onto the bat. I suggest starting in the center back and working your way around. When you meet the other end in the back I would suggest putting a few whipstitches through them to keep them together.

You’ll Go Batty Over These 40 Bat-Themed Sewing Patterns for Halloween! – Sewing
Wednesday 29th of April 2026
[…] How to make a Hand Sewn Stuffed Bat – Olivia OHern […]
You’ll Go Batty Over These 40 Bat-Themed Sewing Patterns for Halloween! – Sewing
Thursday 4th of September 2025
[…] How to make a Hand Sewn Stuffed Bat – Olivia OHern […]
25 Bewitchingly Easy DIY Bat Craft Ideas to Add a Spooky Flair to Your Space!
Tuesday 5th of December 2023
[…] Get the Ideas Here: Olivia OHern […]
25 Bewitchingly Easy DIY Bat Craft Ideas to Add a Spooky Flair to Your Space! – Vani Life
Thursday 30th of November 2023
[…] Get the Ideas Here: Olivia OHern […]
Paula@SweetPea
Saturday 9th of October 2021
Your bats are adorable!