Remember that epoxy resin tray I made? (THIS ONE) Well, my mom saw it and she wanted one too, so I figured to show this easy modern epoxy resin tray here!
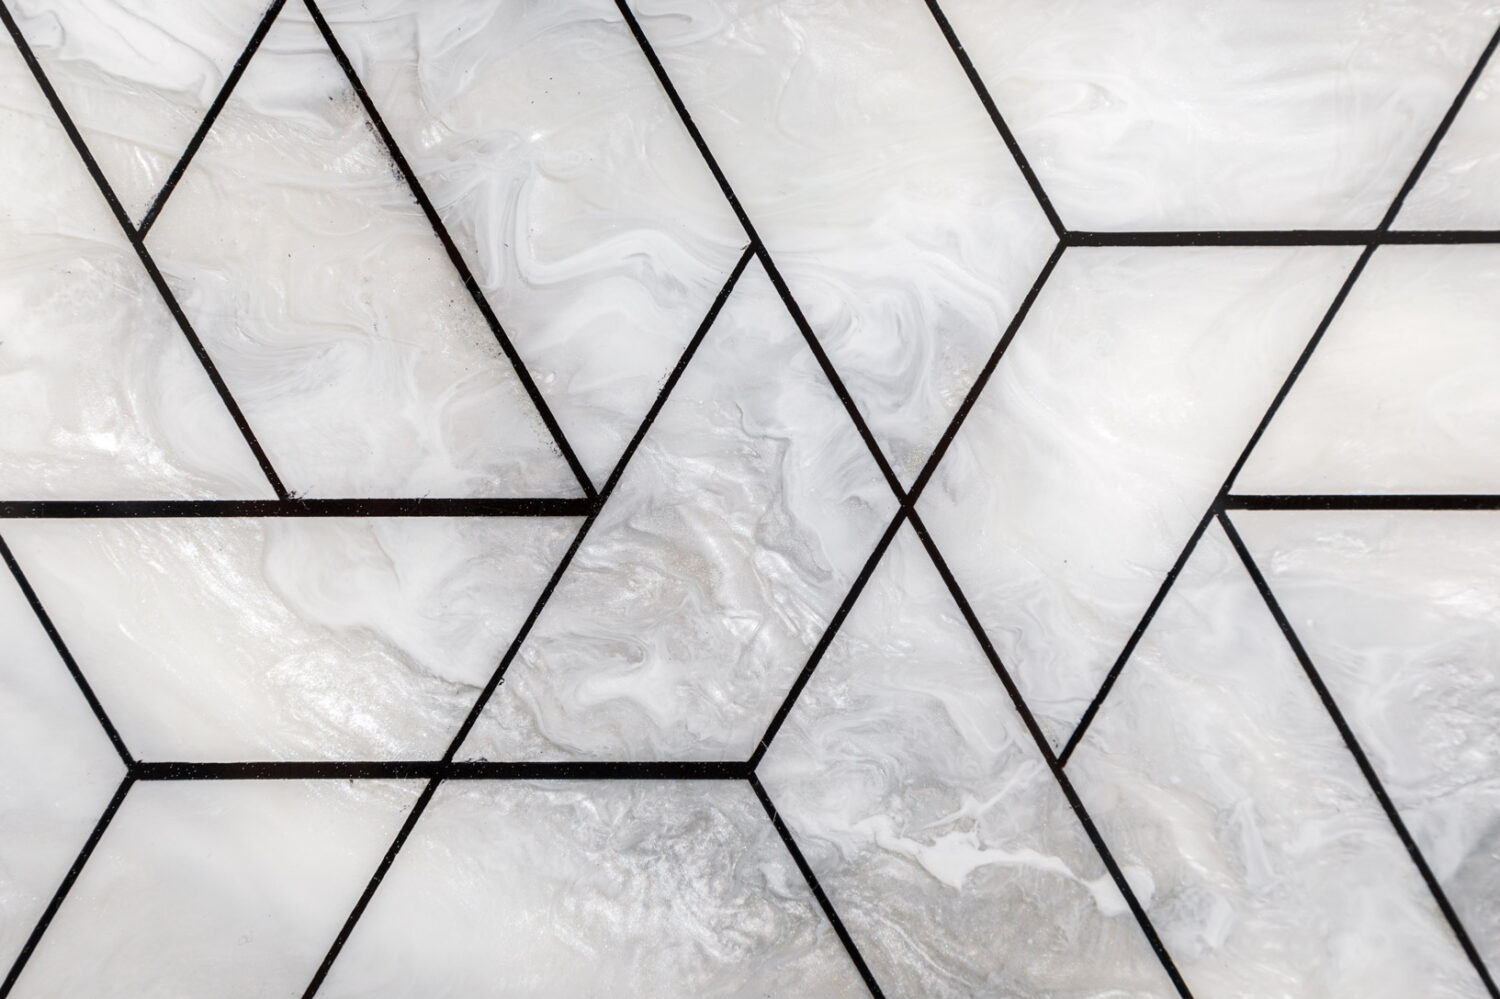
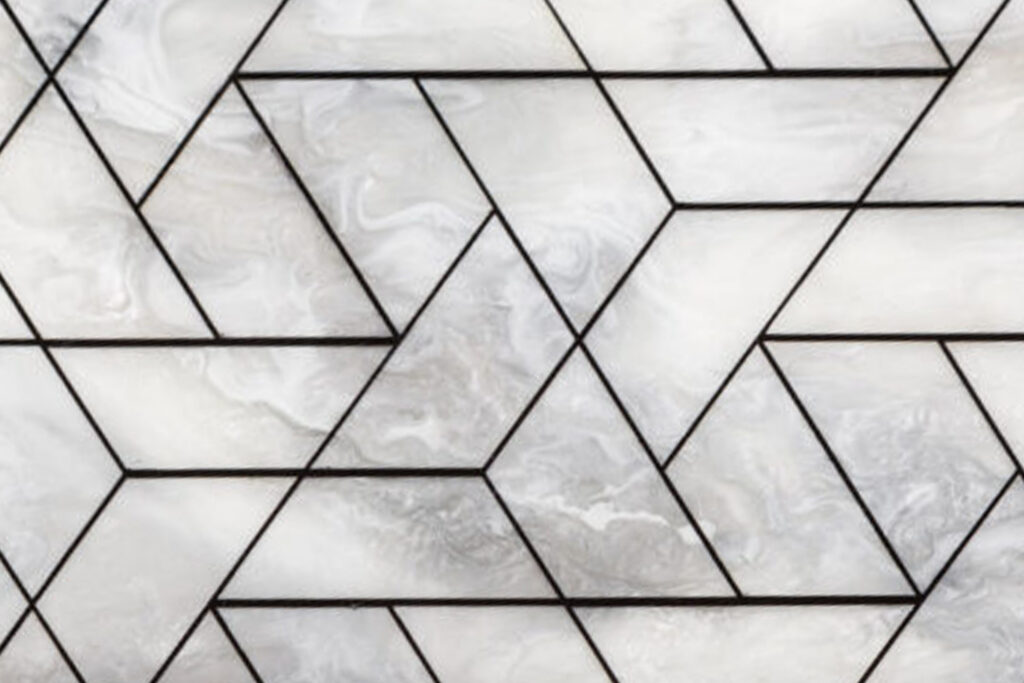
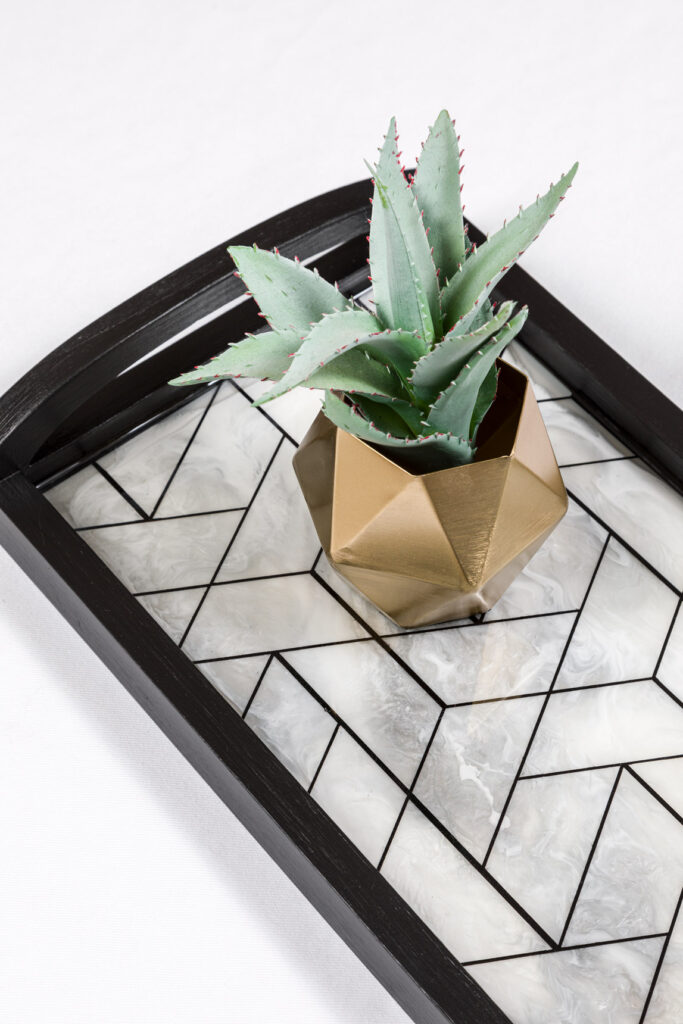
This time I nixed the words entirely for something I know she loves…geometric patterns! I wanted to go high contrast. So I decided to go black and white, and organic and geometric.
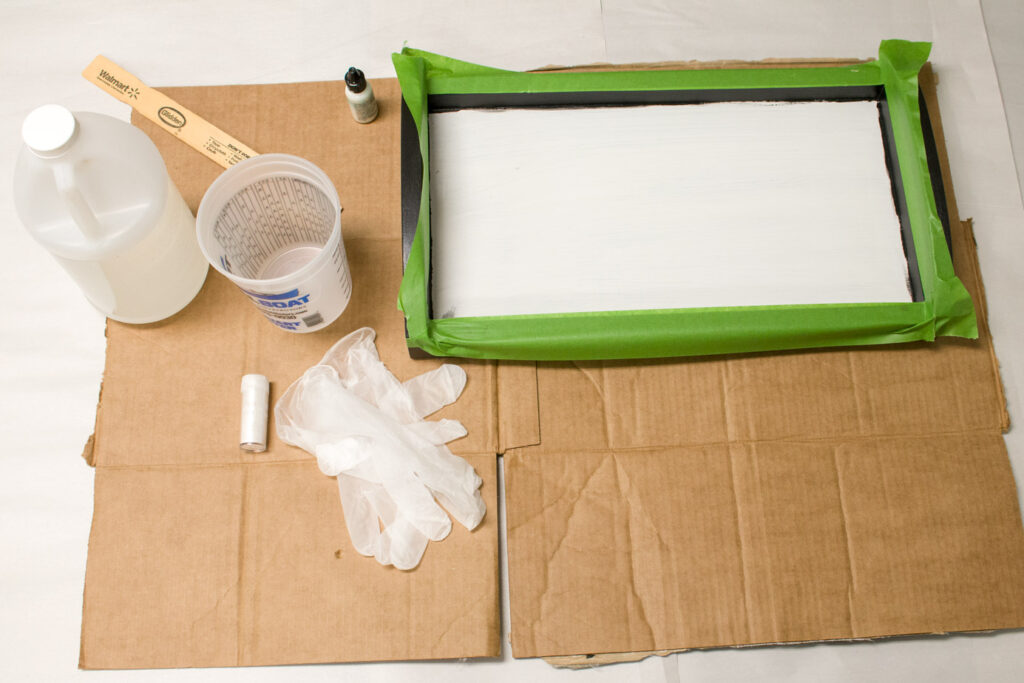

Resin Tray Supplies 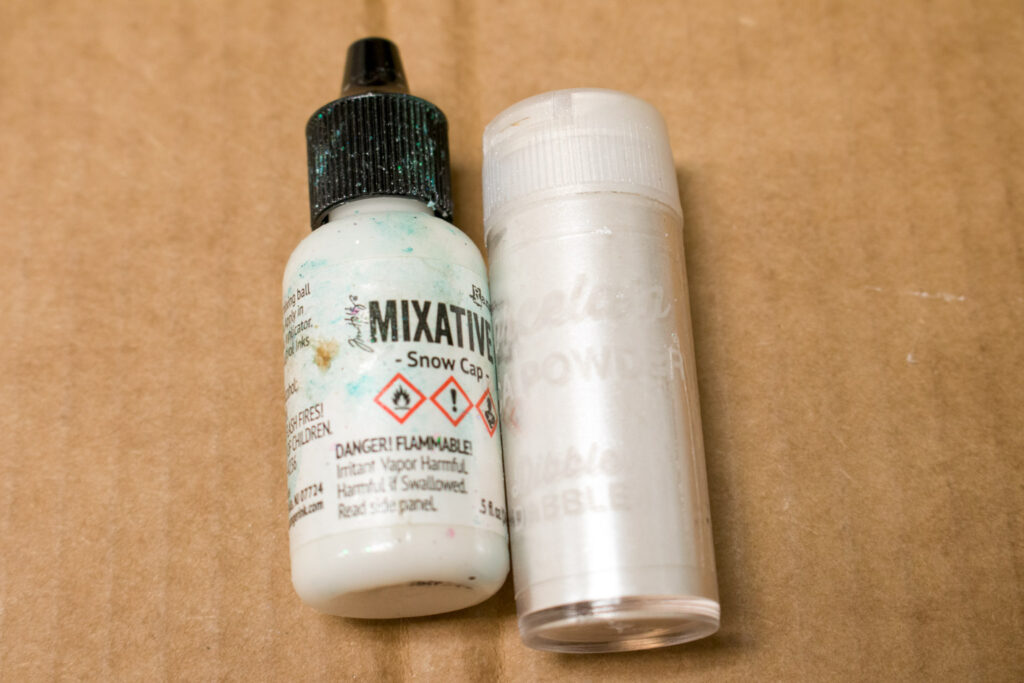
White Mixative & Mica Powder
This post may contain affiliate links. This means that if you purchase from one of these links I will make a small commission, but rest assured you will not pay more for any products.
- Mica Powder – White and Grey
- White Alcohol Ink
- Black Paint Marker
- Disposable Gloves
- Mixing Cups
- Popsicle Sticks
- Plastic Portion Cups
- Heat Gun – Wagner Furno 300
First, I built and painted the tray black. Before beginning the resin part of the project I taped off the edges of the tray to minimize the risk of any resin getting on the handles or outside of the tray.
This first layer of the pour is called a seal coat. It helps minimize any air bubbles or moisture that could come in through the wood. Even though the bottom piece of wood already had some paint on it, I still colored my resin to get a perfect base for the more exciting layers to come.
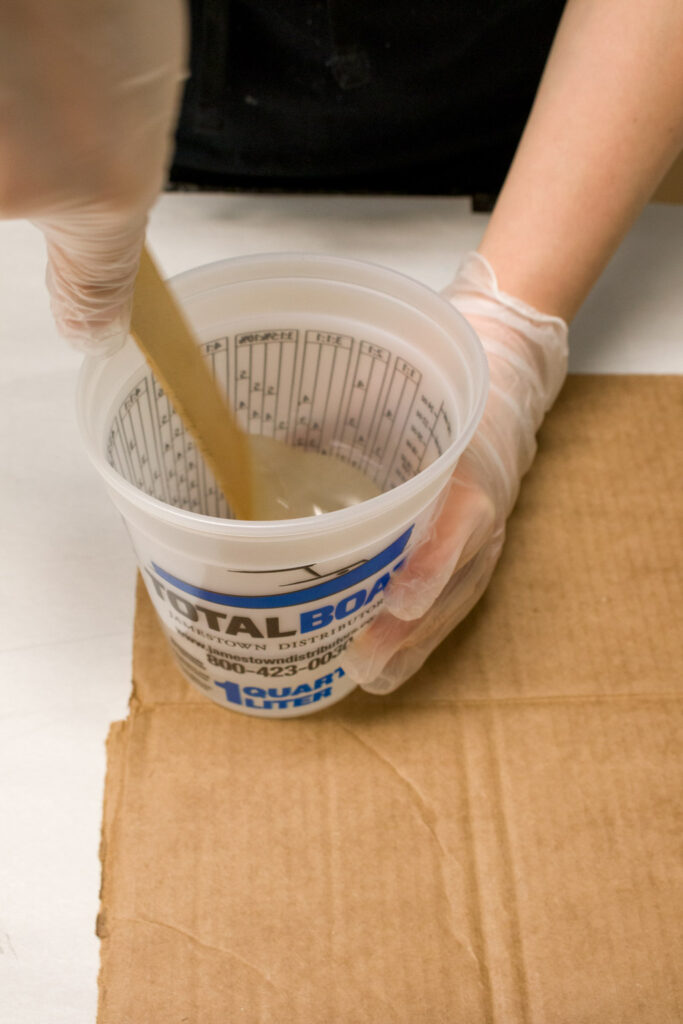

Stirring Epoxy Resin 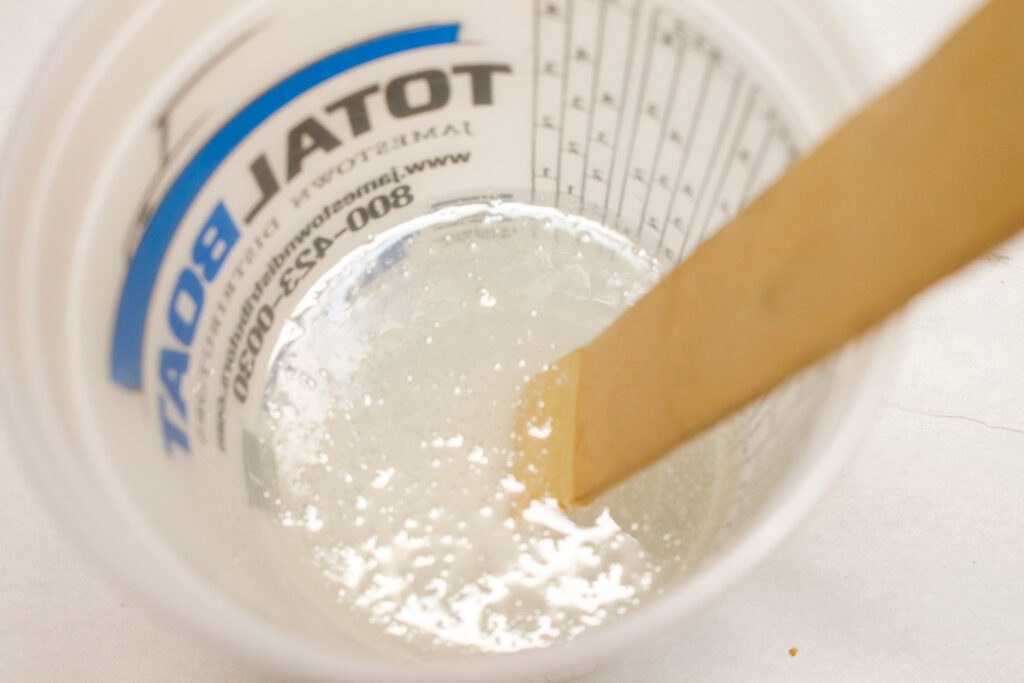
Stirring Epoxy Resin
The resin I used was a 1:1, meaning equal parts of resin and hardener. I like to use these measuring cups so I can easily pour and measure out the 4 ounces of resin and then the 4 ounces of hardener on top.
This will need to be mixed for about a minute or two. It is best to stir in a slow and deliberate manner to minimize the build up of air bubbles in the resin. While stirring, make sure to scrape the sides and pull up from the bottom to thoroughly mix the resin and hardener together.
For more information on the best practices when using resin CLICK HERE.
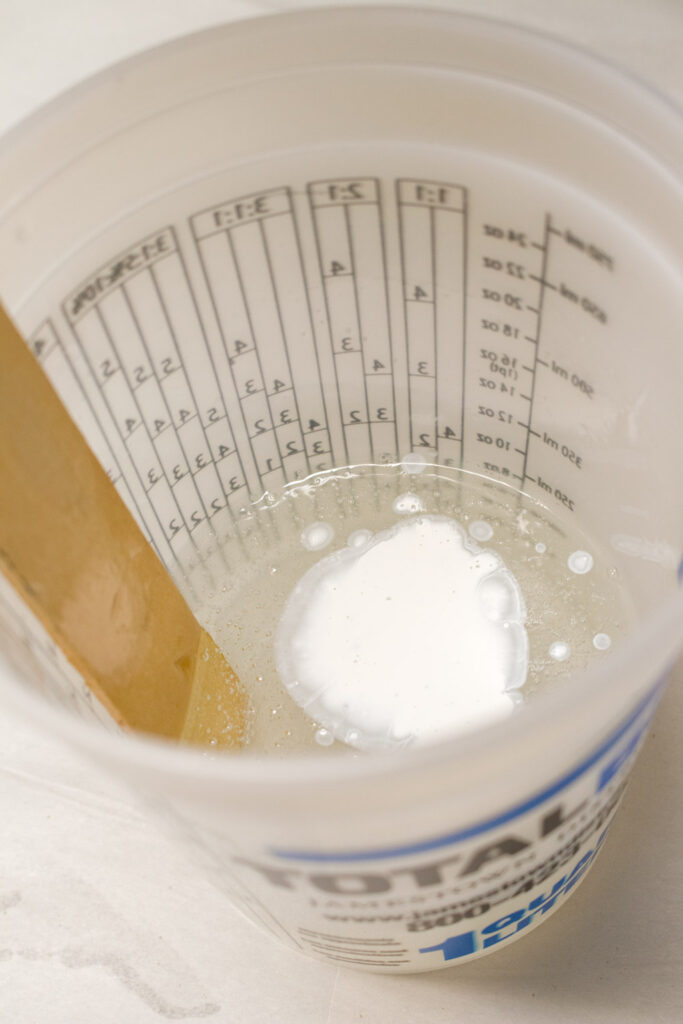
Adding White Mixative 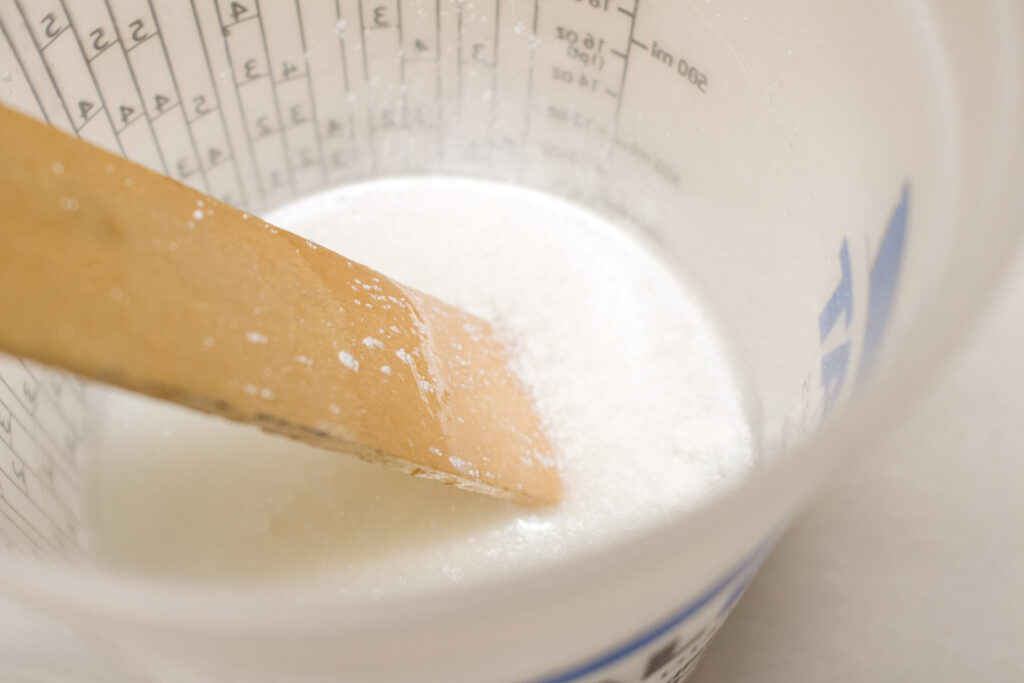
Adding White Mixative
I added several drops of white to the resin and stirred it in. When adding colorants into resin it is best to add a little at a time and stir it in since a little goes a long way.
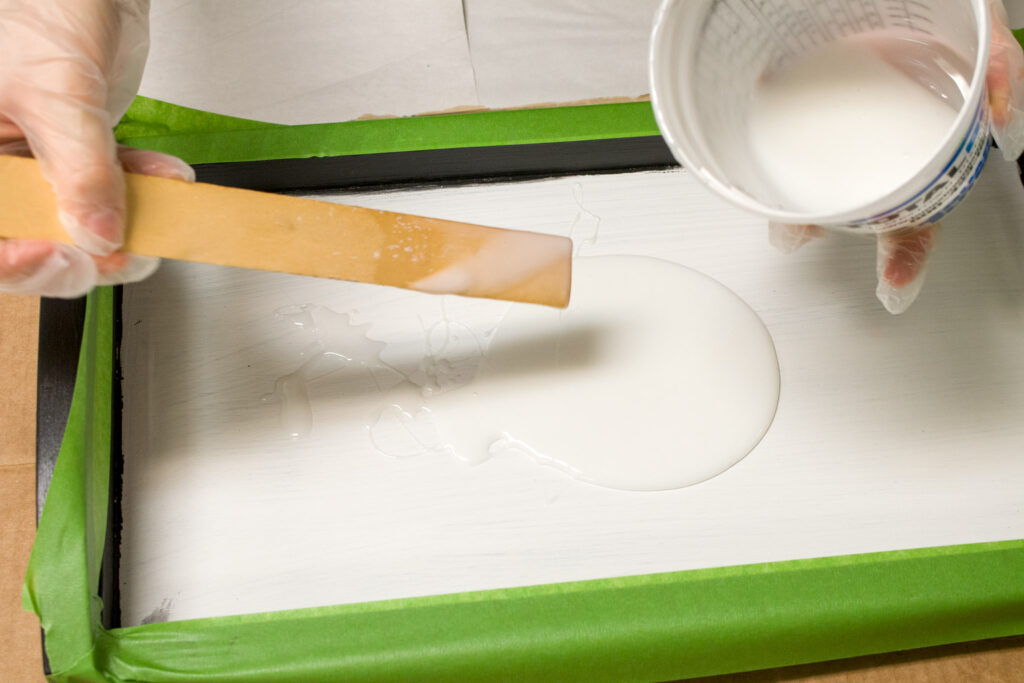
Pouring Resin Layer 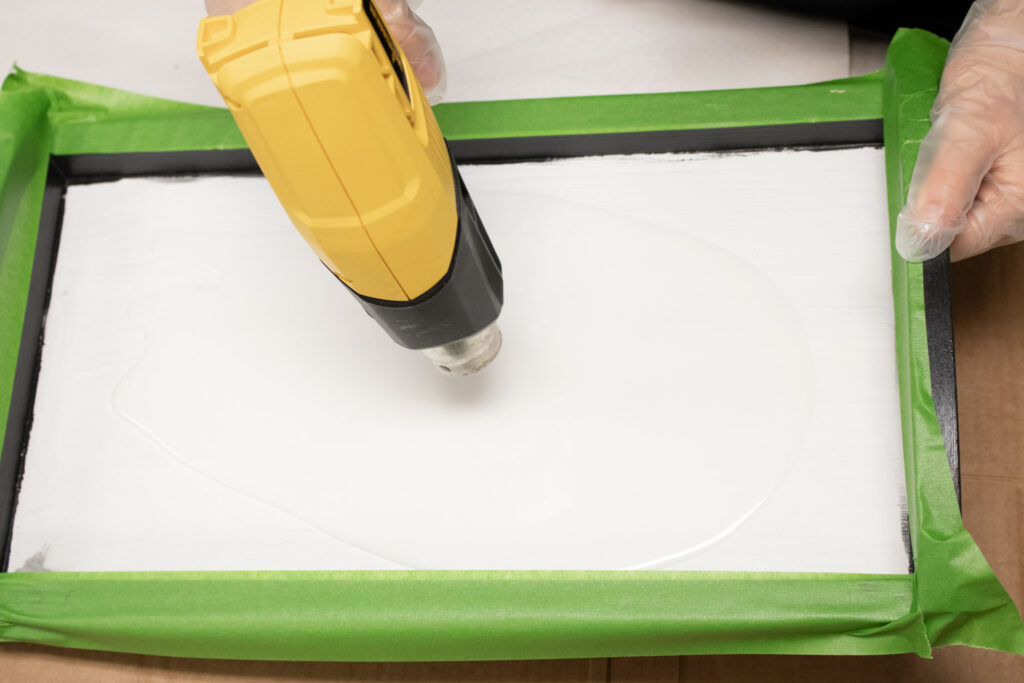
Pouring Resin Layer 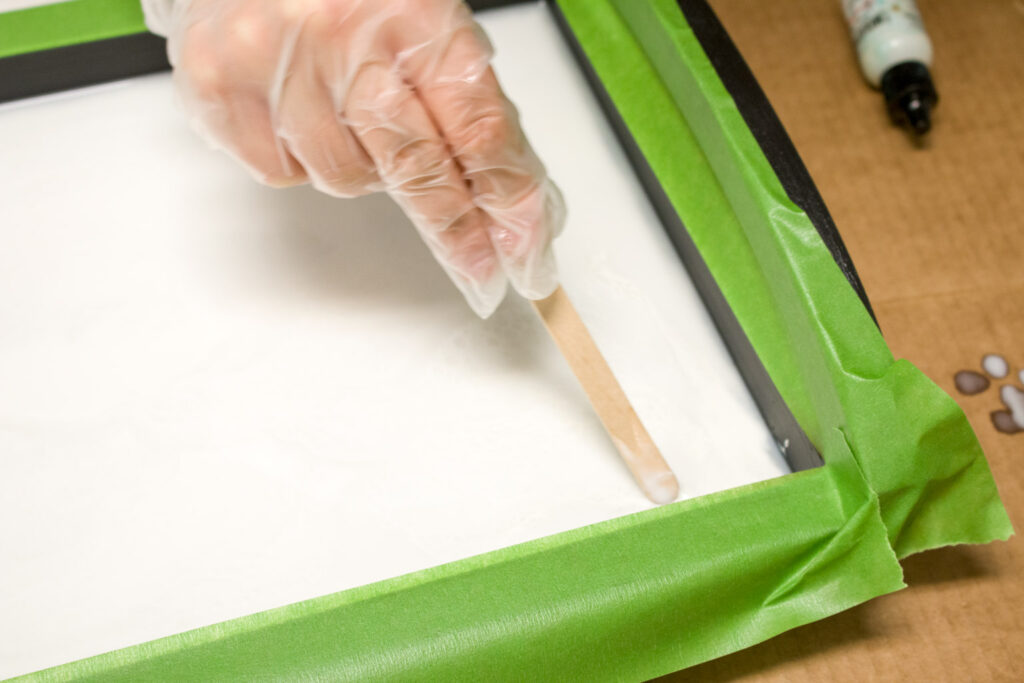
Distributing Epoxy Resin
This first layer is considered to be the “seal coat” it will keep any air coming into the rest of the resin from the pores of the wood.
Pour the resin into the center of the tray. To make sure the resin covers the entire surface of the tray, use a heat gun and popsicle stick to guide and push the resin around. Also use the heat gun to help bring any bubbles to the surface and release any air.

Curing Self Leveling Epoxy Resin
Leave this to cure overnight. I used a level to make sure the tray was completely level when curing so the resin, which is self leveling, would not pool anywhere.
The next layer is probably the most fun part! Basically, I did a resin pour using a variety of similar colors to create almost a marble-like look.
Resin Pouring
I mixed up 12 ounces of resin this time to make sure I had plenty to work with.
This is where all of the little cups and popsicle sticks come into play! Each color will need its own cup and stick for mixing to eliminate color contamination.
I like to break my popsicle sticks in half when needing to mix up a multitude of colors. Since the cups are small the shorter stick still mixes it well and uses up less of them.
So I pour approximately 1-2 oz. into each of the little cups I put out. Then, I start adding pigment into them. The mica powders I’ve been using have a shaker top so I can easily tap small amounts into the resin. The alcohol inks are designed to easily drip out, I try to not tip it over too much to maintain control of the number of drops. With this small of an amount of resin, I put in one drop at a time, stirring in between. I actually used multiple cups with the same color in them, but in different concentrations of the colors.
To start, I pour out a good amount of the clear resin onto the tray then pouring in the colored resins so they spread around more. I took the gray and poured it diagonally across the tray to go for a marble-like look. Helping the resin move around with my heat gun on low heat. I work back and forth with the various colors until I am happy with it. Then I let it cure overnight.
Since I was using this as an entry for an #ArtistsChallenge I was in too much of a time crunch to do this properly…
If I made another one, I would add a thin layer of clear resin before the next step. That way, if I made a mistake I could easily sand or cut it away.
Using a Stencil
Epoxy Resin Tray Stencil
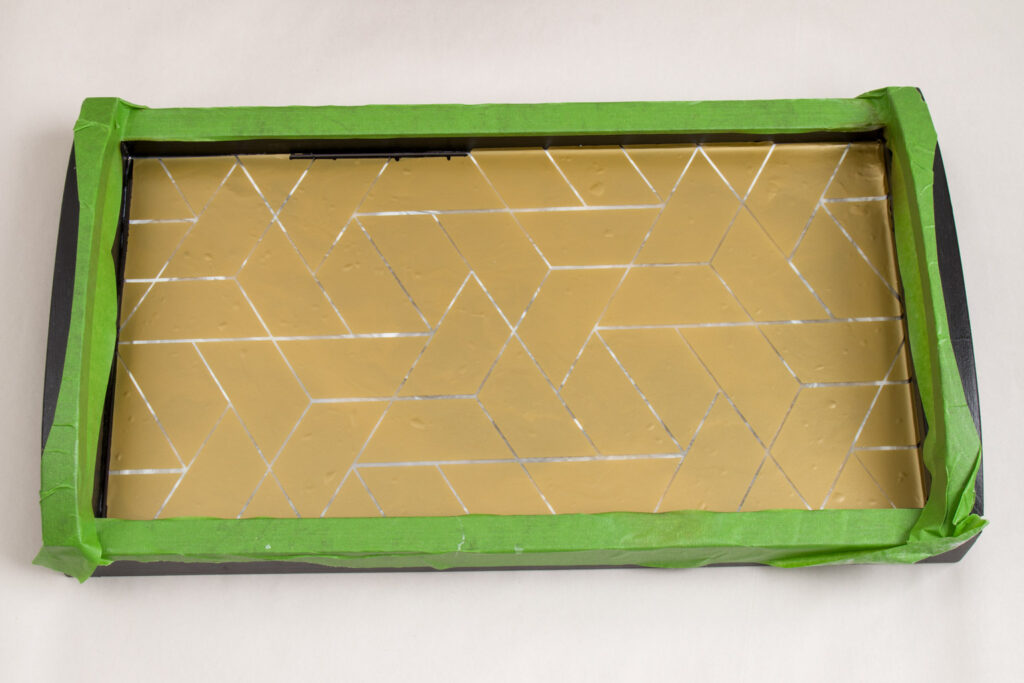
I cut out this vinyl stencil with my Cricut Maker and applied it onto the tray with Cricut Transfer tape. I made sure all of the edges of the stencil pieces are completely adhered to the tray to minimize paint leakage.

Epoxy Resin Tray Stencil
Use a black paint marker, or black paint to fill in the open areas of the stencil.
Epoxy Resin Tray Stencil 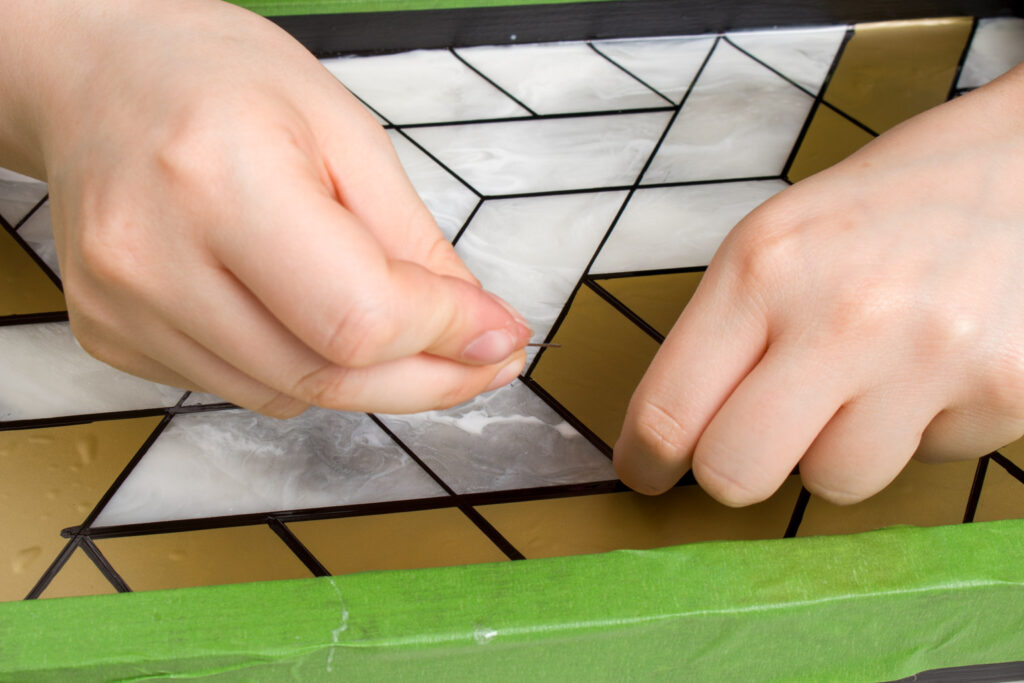
Epoxy Resin Tray Stencil
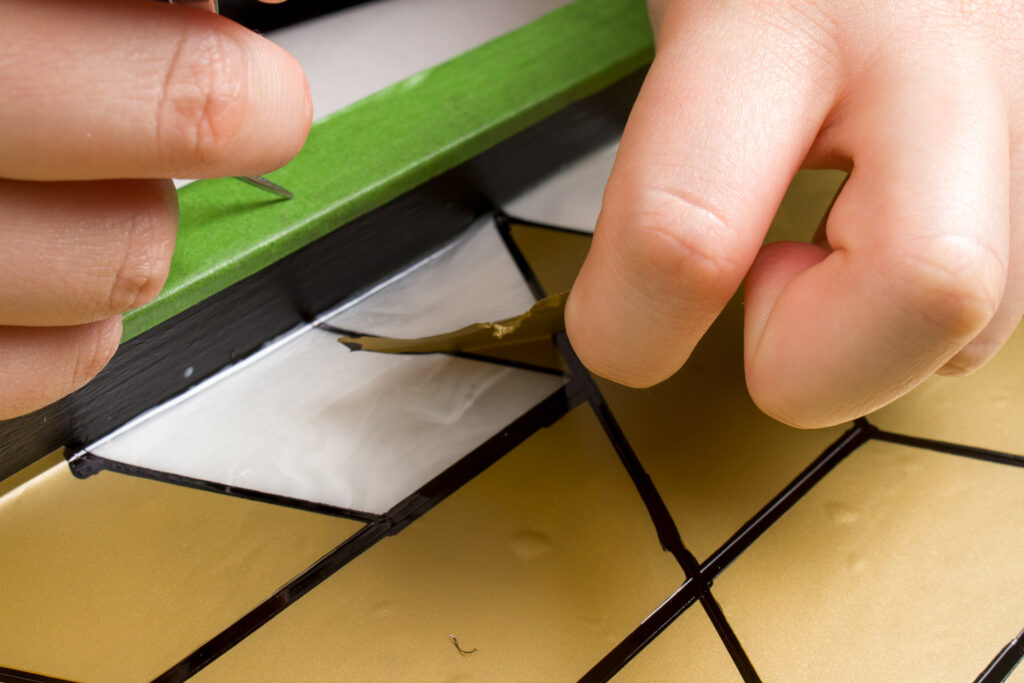
Now peel up the vinyl stencil pieces. I suggest using a small pin to poke into a corner and lift the vinyl decal away.
After making sure the paint is thoroughly dry, mix approximately 8 ounces of epoxy resin and pour a clear top coat over the whole design.
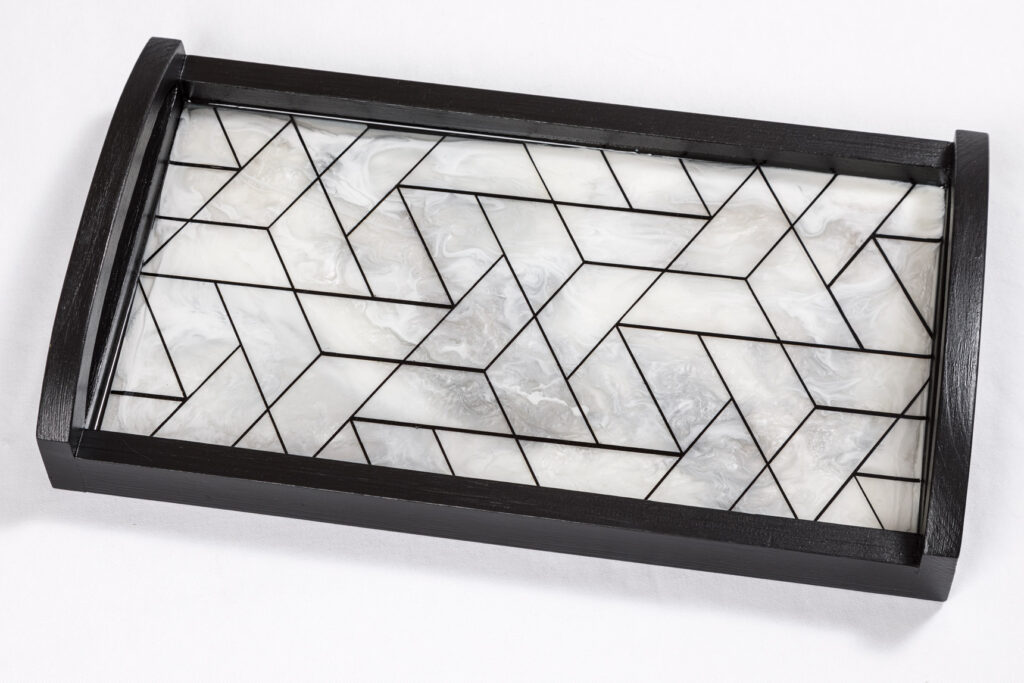
Epoxy Resin Tray
More Epoxy Resin Projects

Epoxy Resin Pour Quote Tray
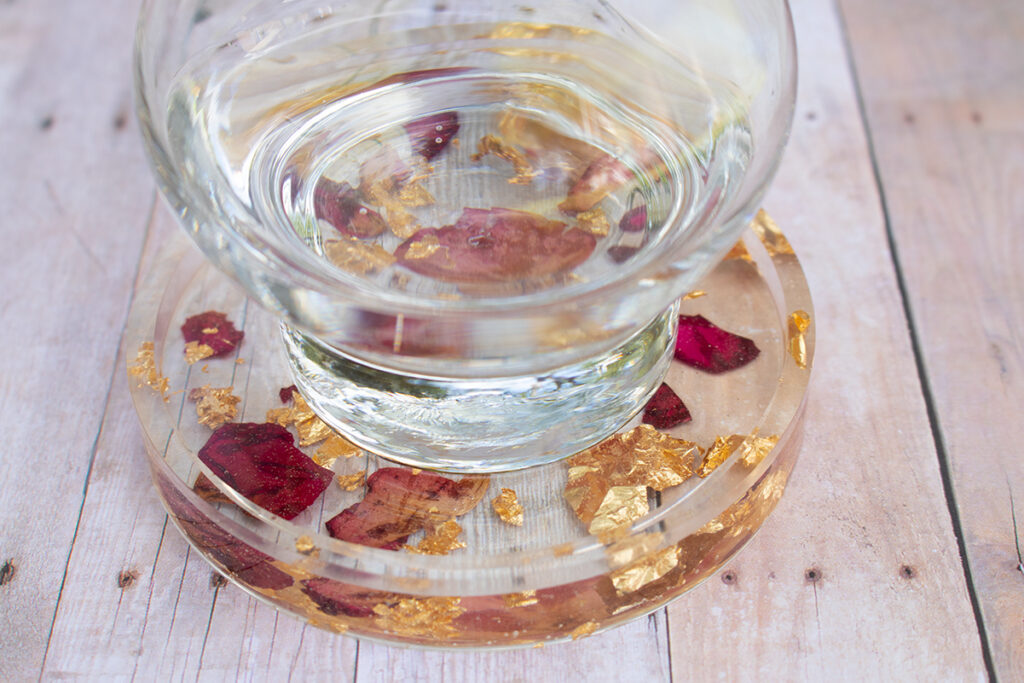
Rose Petal & Gold Foil Epoxy Resin Coasters
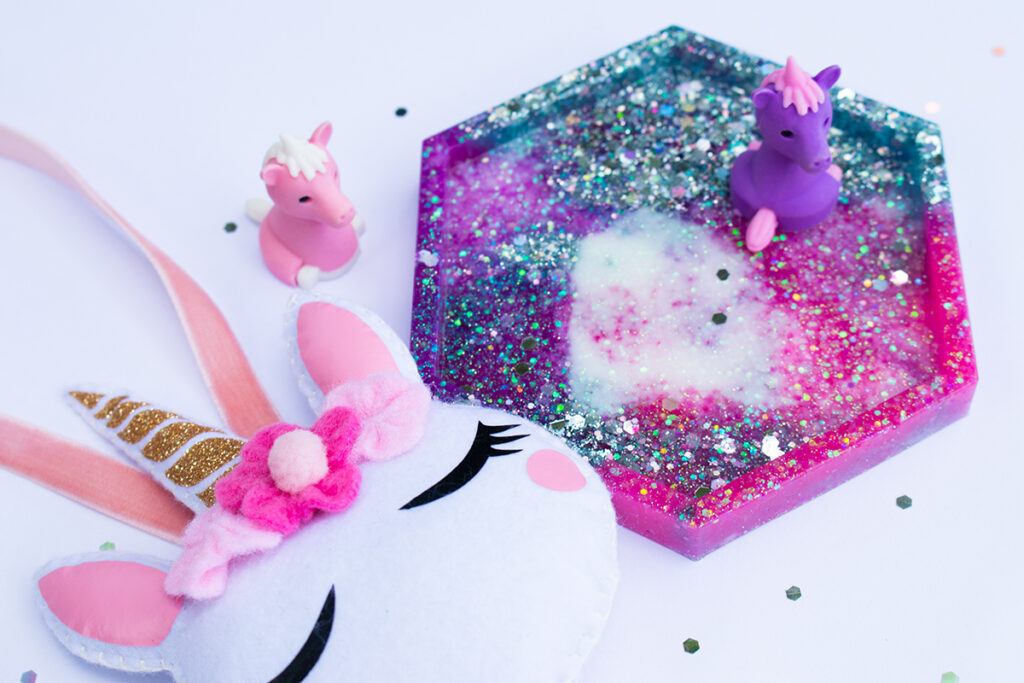
Unicorn Glitter Epoxy Resin Coasters
