This post may contain affiliate links. This means that if you purchase from one of these links I will make a small commission, but rest assured you will not pay more for any products.
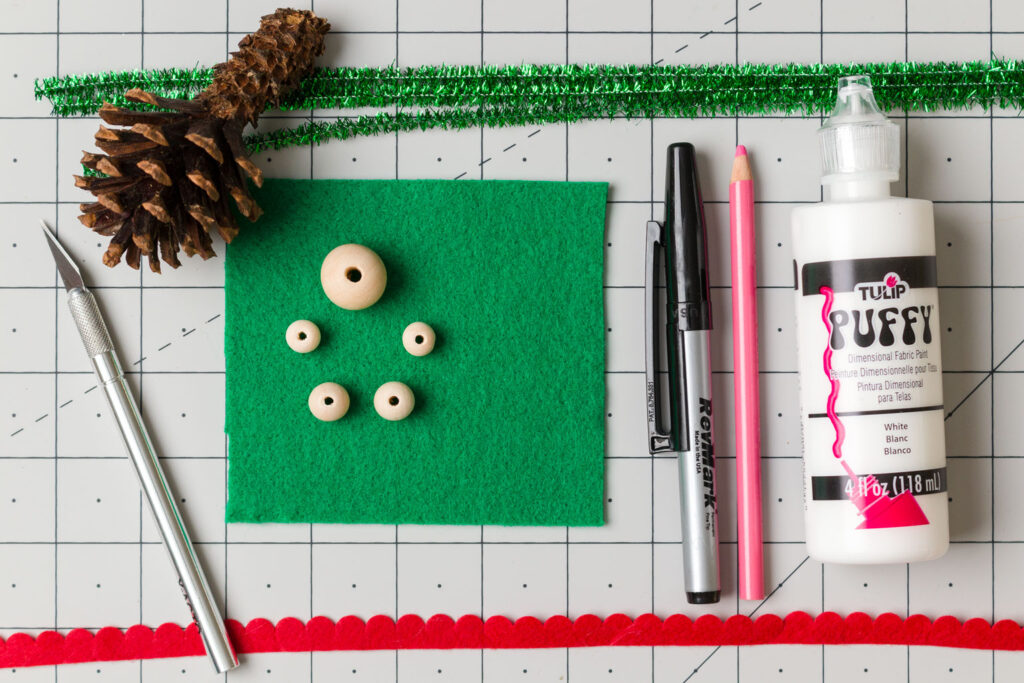
- Wood Beads: 10mm (2), 12mm (2), 20mm (1)
- Chenille Stems (3)
- Pinecone
- Hot Glue Gun and Sticks
- Trim
- Sheet of Green Felt
- White Puffy Paint
- Scissors
- Black Sharpie
- Pink Colored Pencil
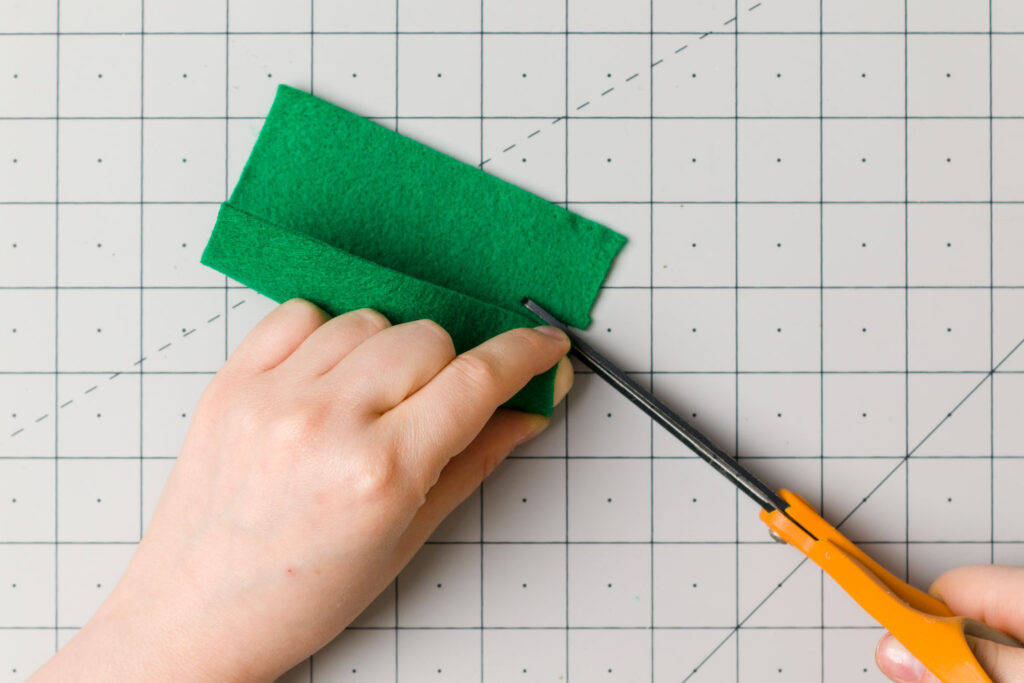
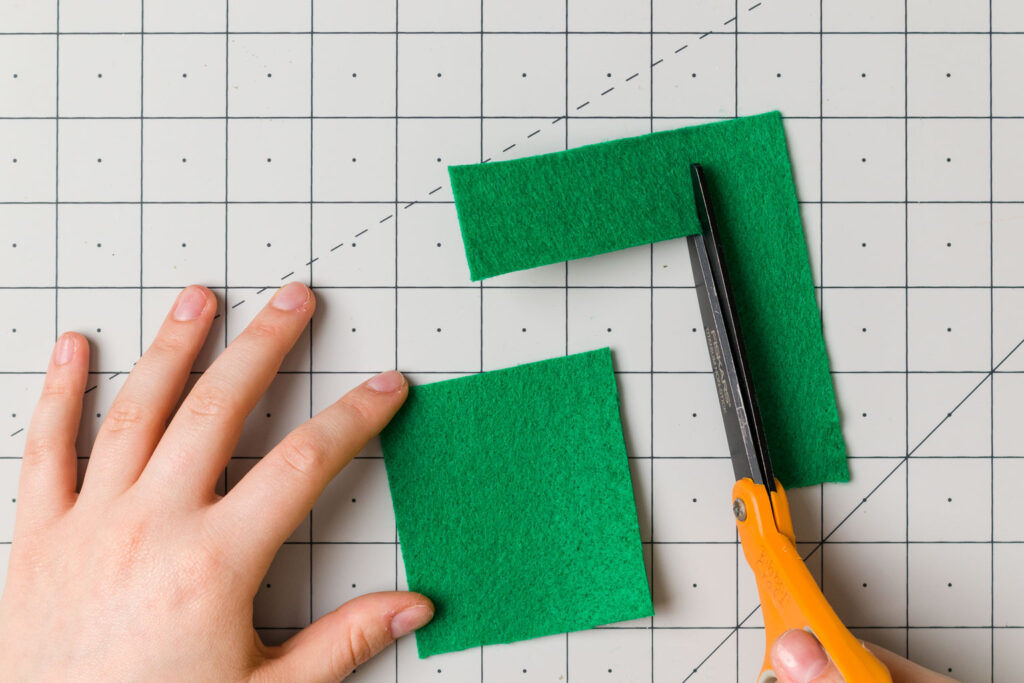
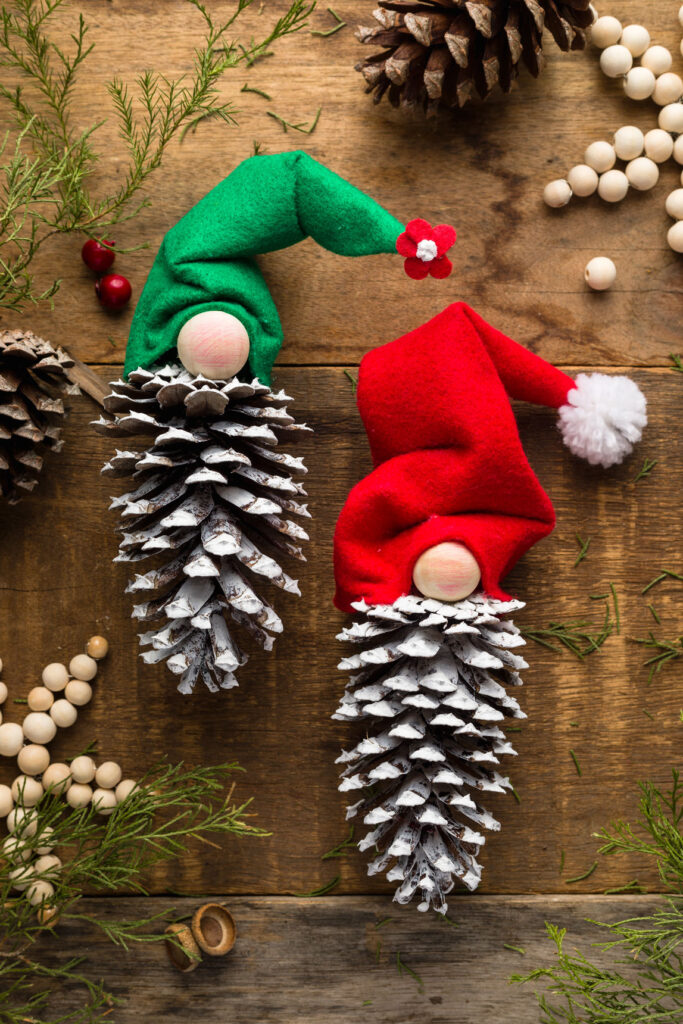
Start by making a little hat out of the felt. To make it, I first wrapped the felt around the largest bead to figure out the width. Add a little extra to the width to make room for the glue. Decide how tall you want the hat to be and cut across at that height. You should now have a rectangle.
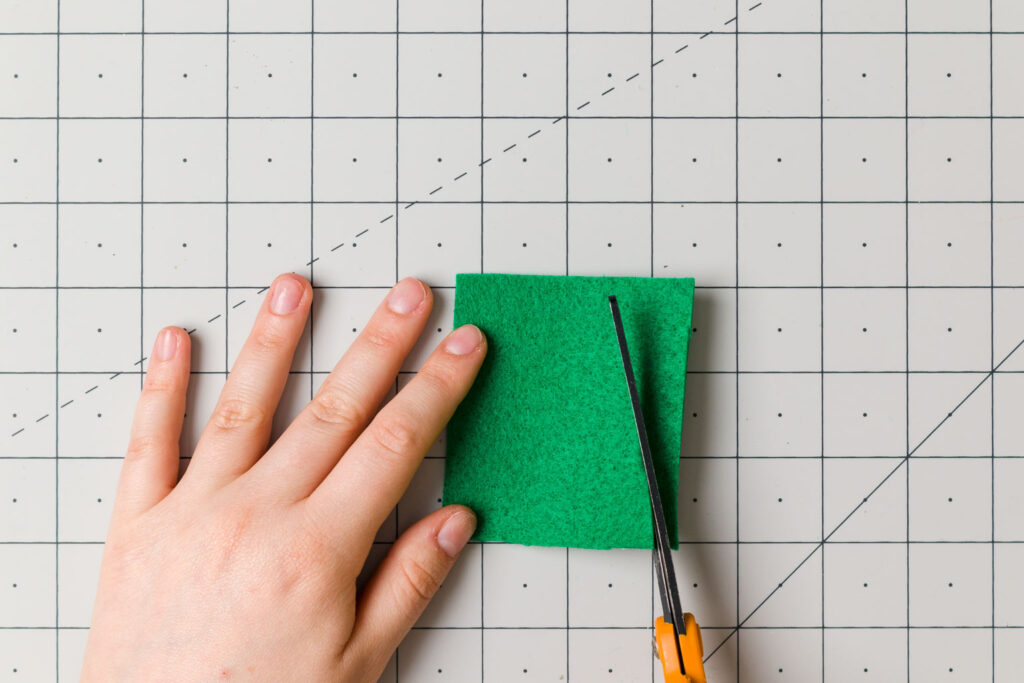
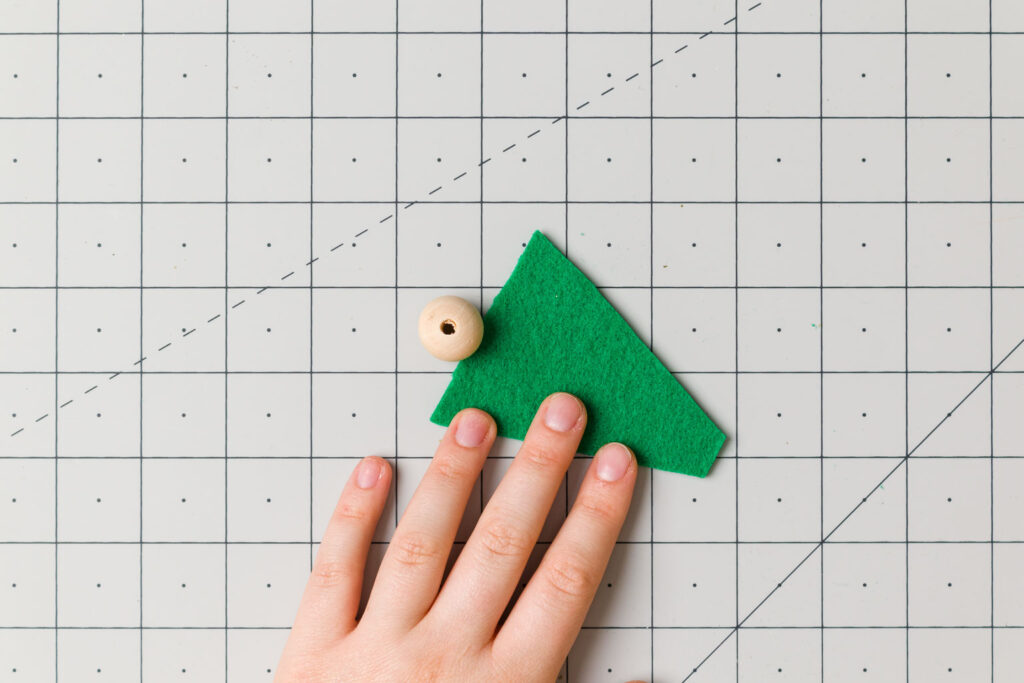

Cut inward from the outer bottom corners to almost the center top with scissors, forming a trapezoid. put down a line of hot glue and roll the felt to form a cone. Cut off the excess at the seam of the hat.
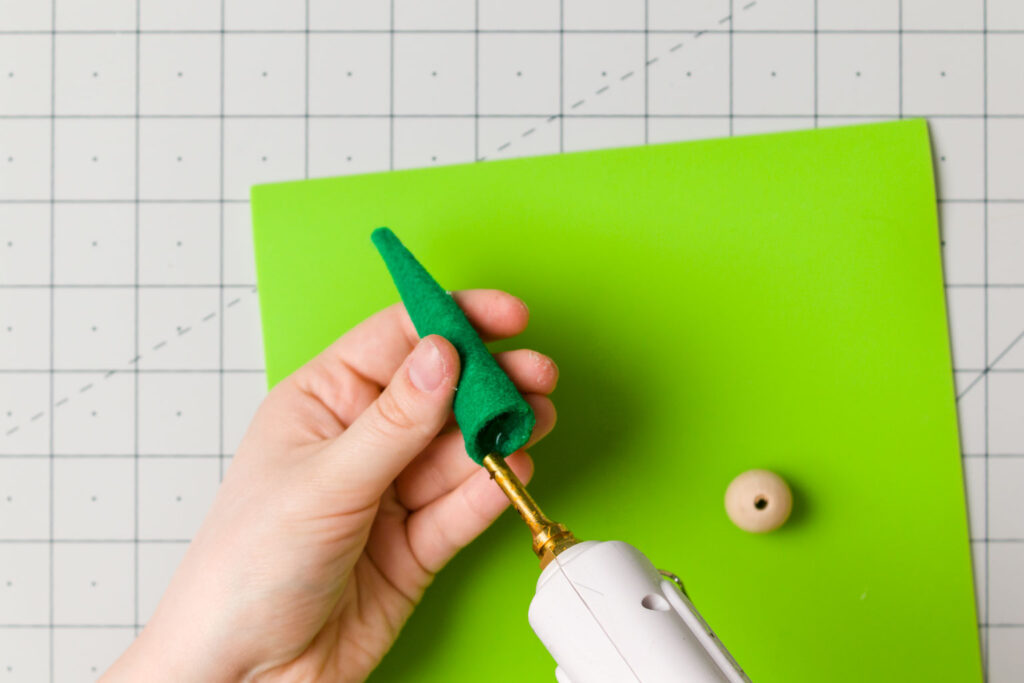
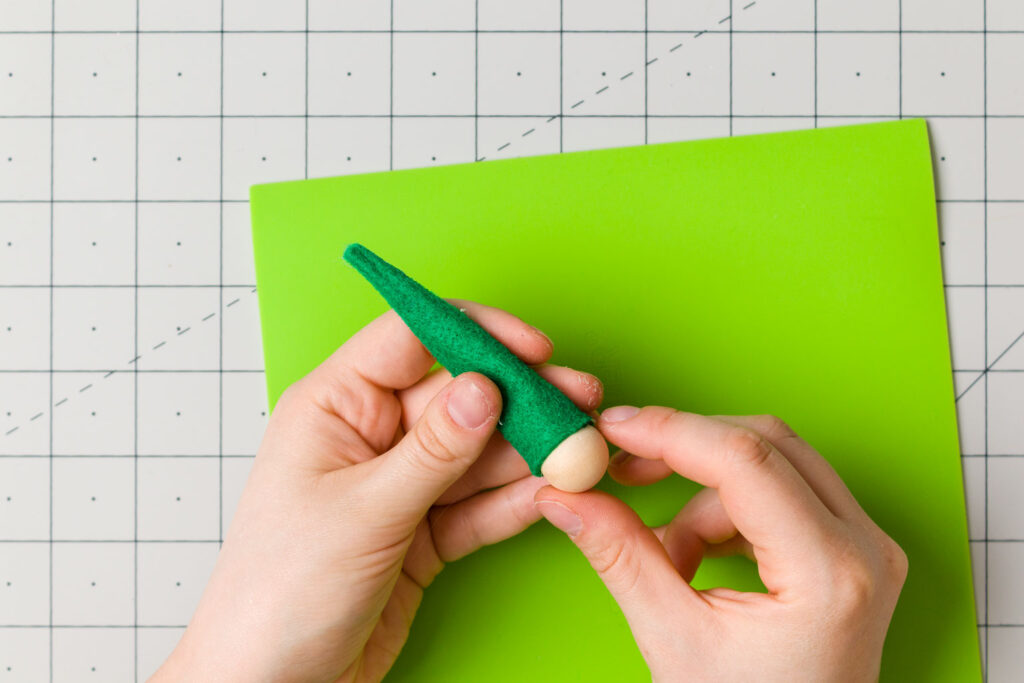
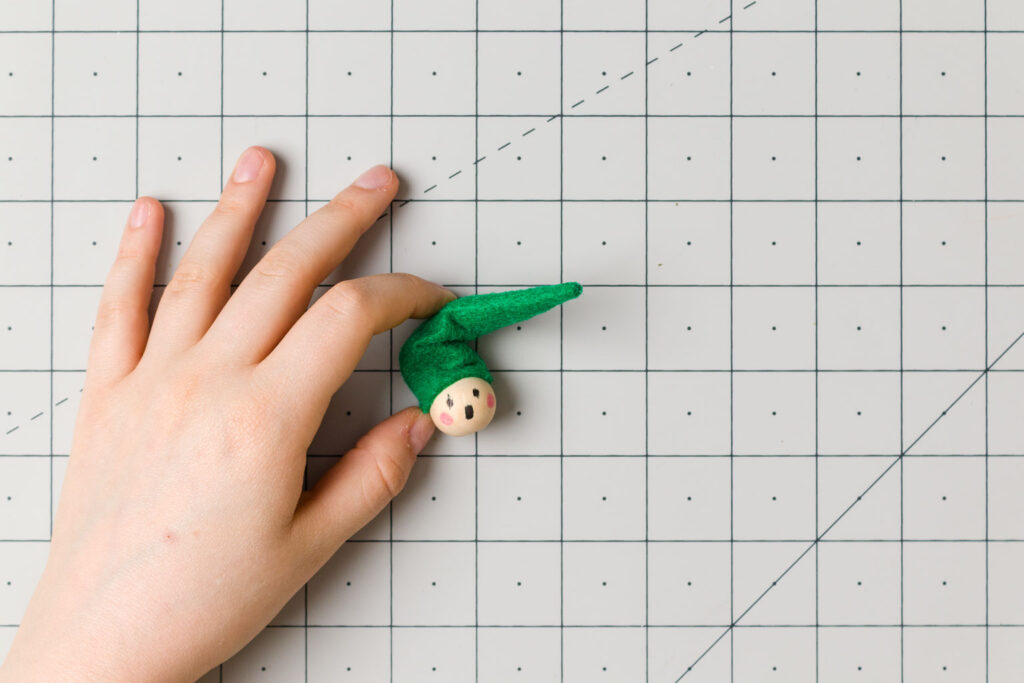
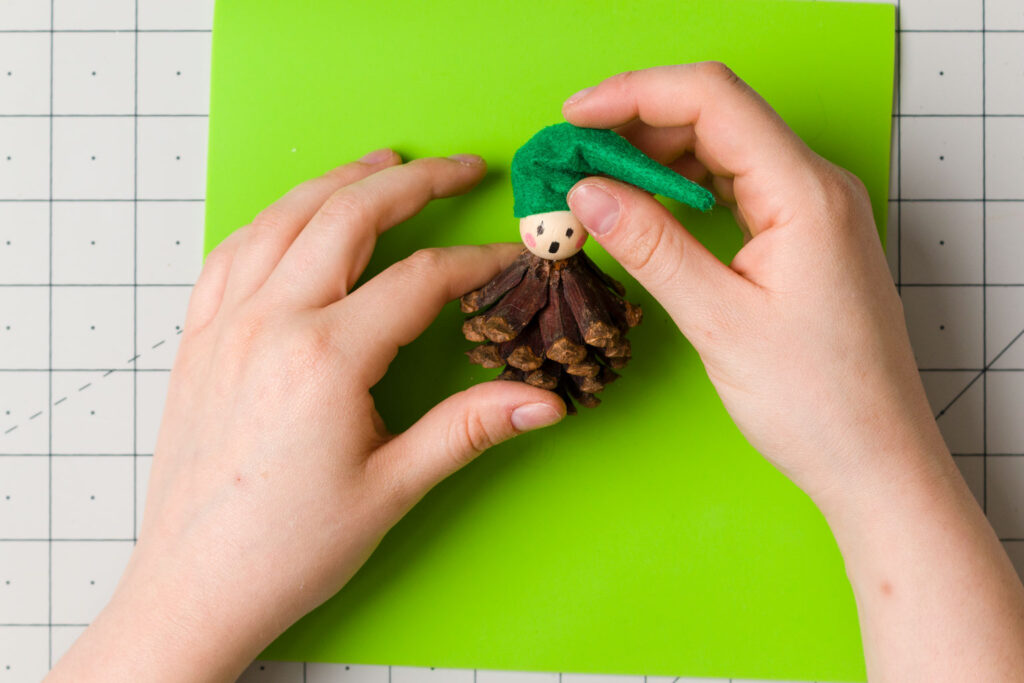
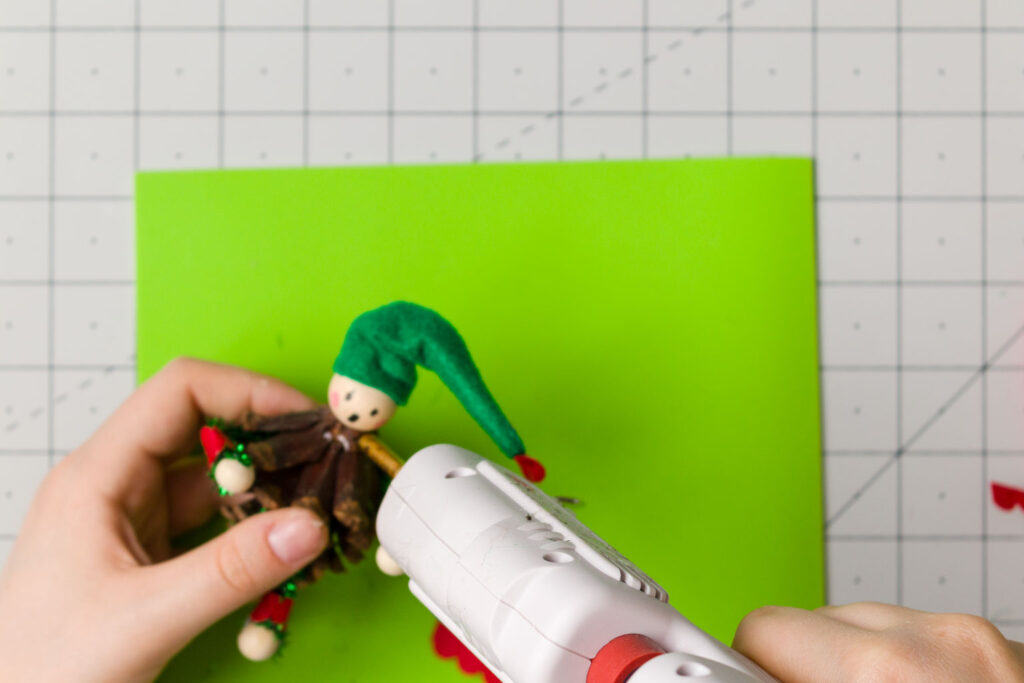
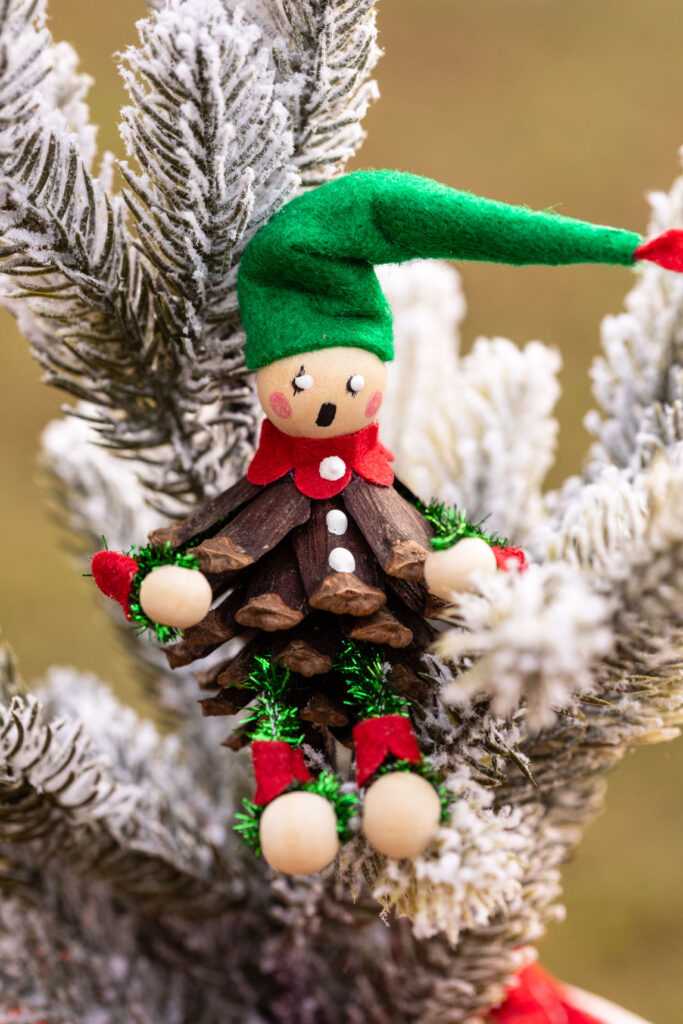
Hot glue the hat onto the head bead covering the hole.
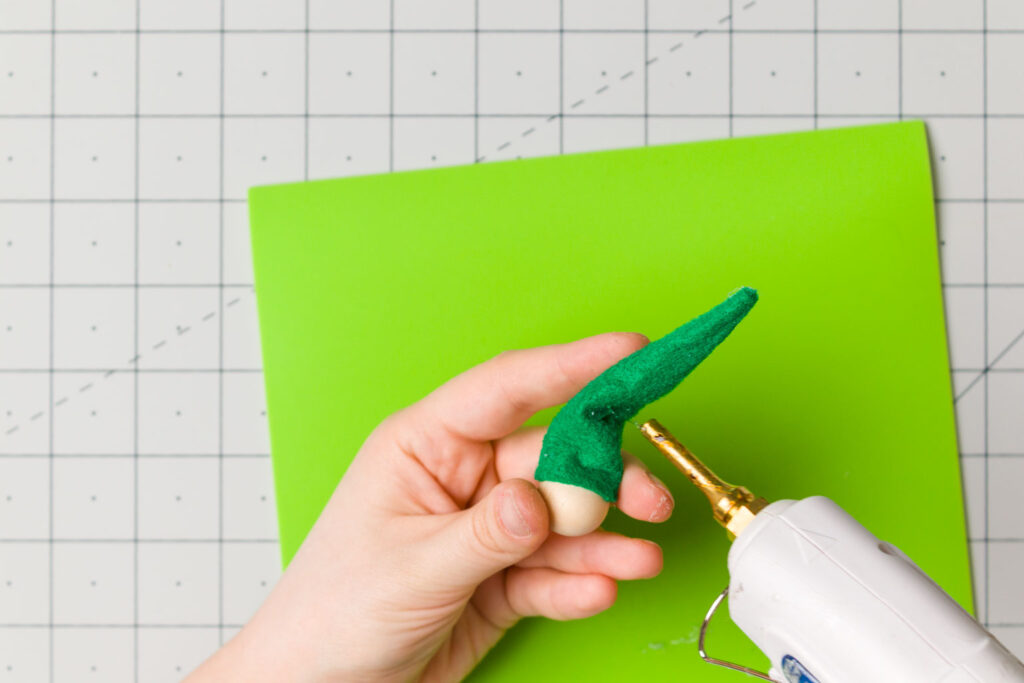
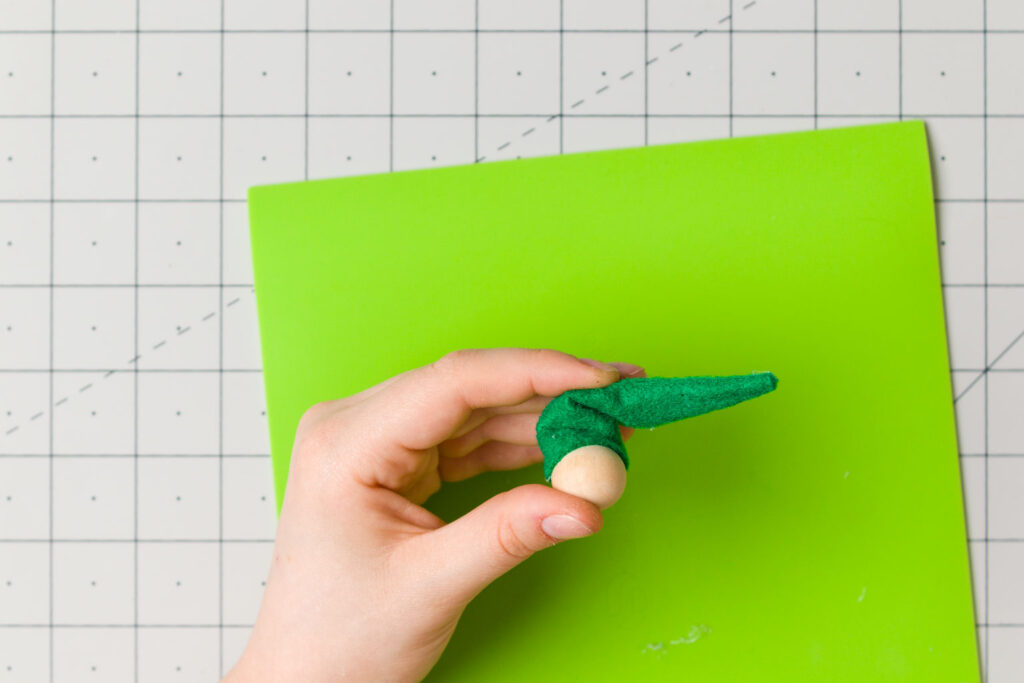
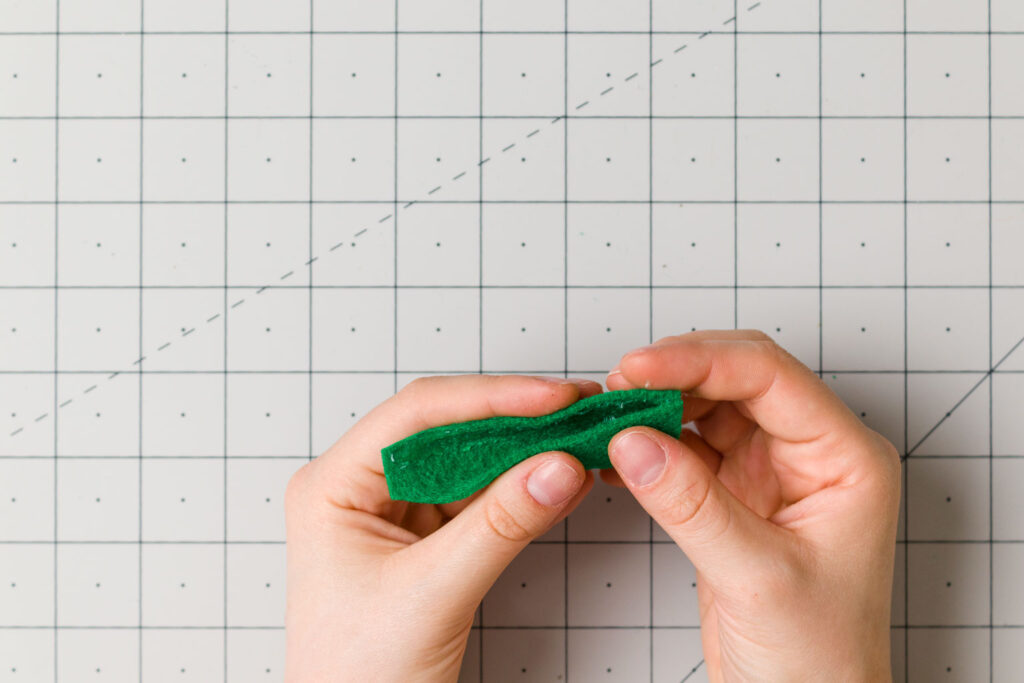
The hat can be kept straight, but I like how they look a little crumpled. To create this look place a drop of hot glue where you want a fold and pinch and hold it until the hot glue cools and hardens.
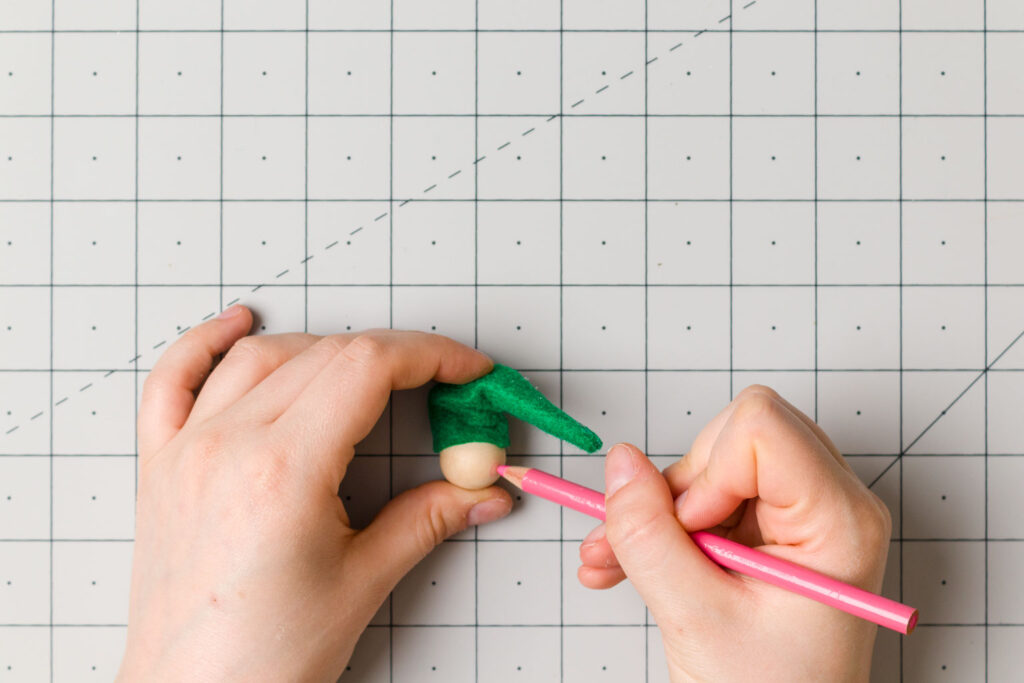
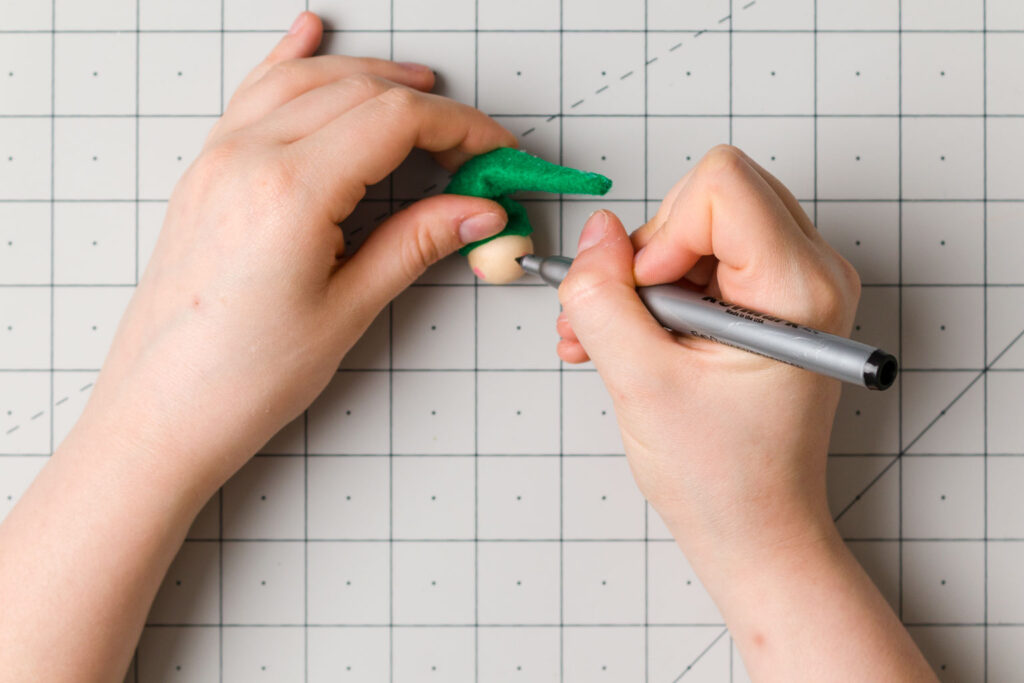
Now to add a face, I used a pink colored pencil to add little pink cheeks. Do the cheeks first because they will frame the face to make sure all of the facial features fit inside a certain width to make sure the whole face can be seen from the same angle. I used a black permanent marker for the eyes and mouth.
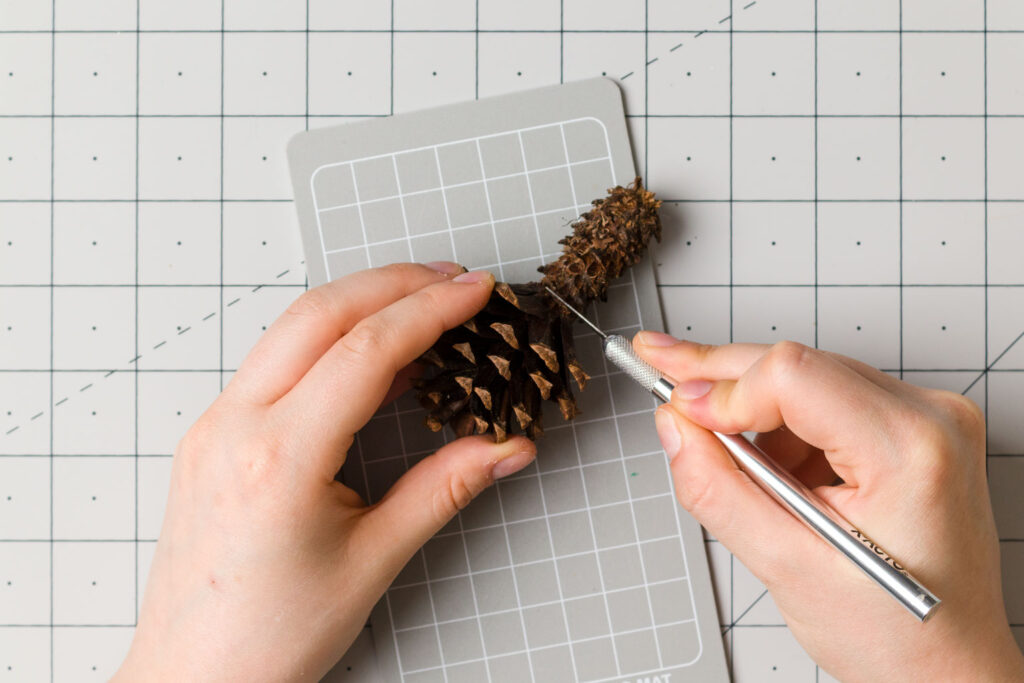
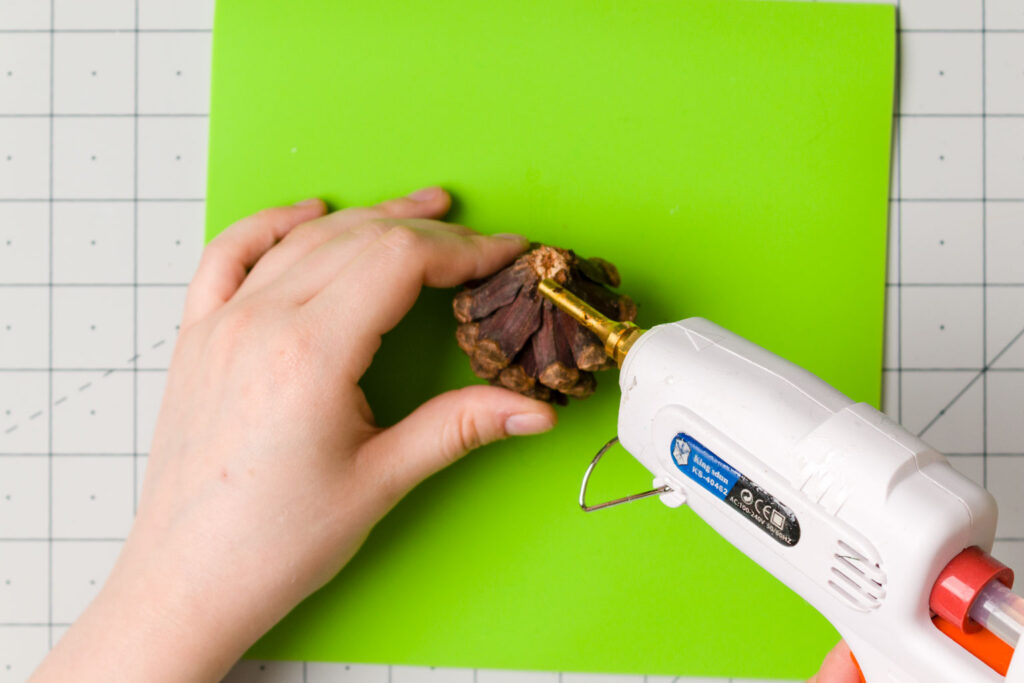
I couldn’t find a pinecone that was exactly the size I wanted, so I cut off the excess to get the right height. Then, hot glue the head to the center of the bottom of the pinecone.
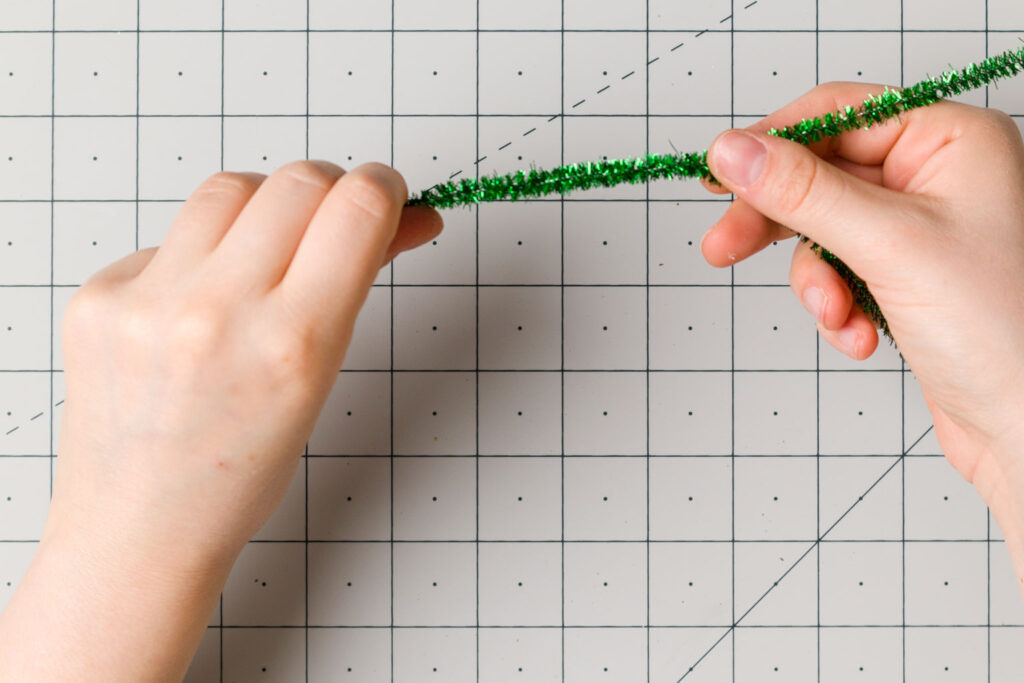

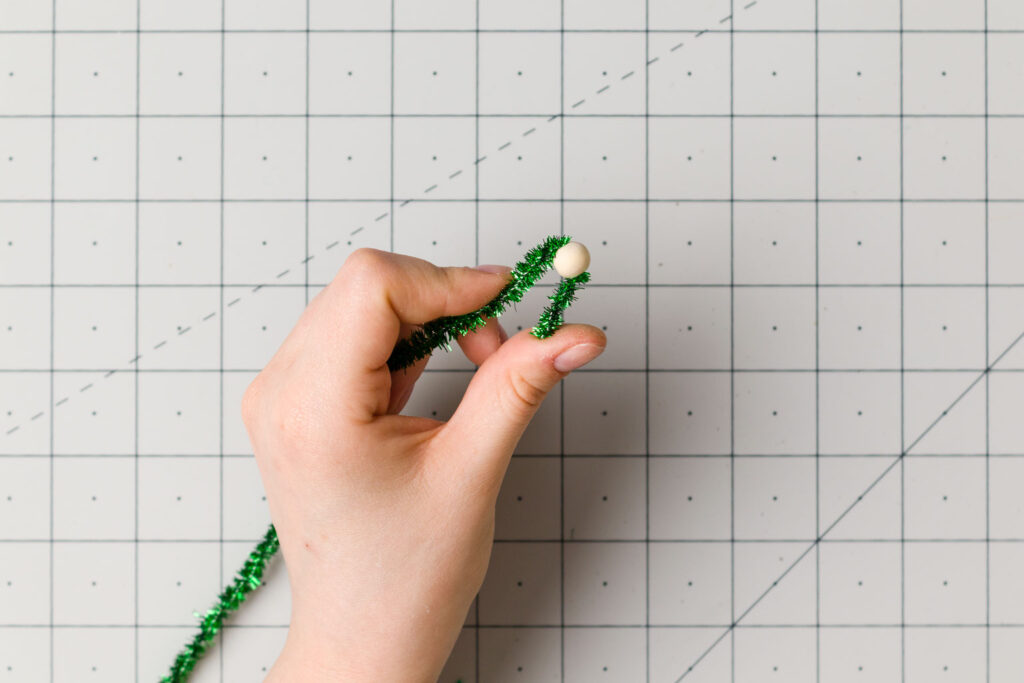
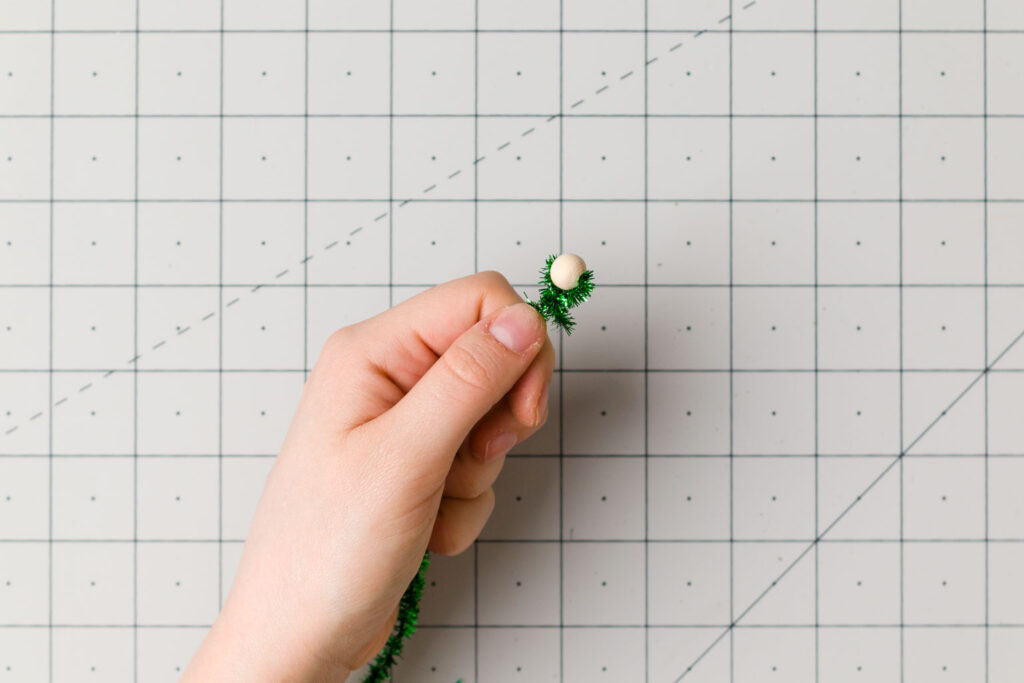
To make the chenille stems thicker, I twisted two together. Take one of the 10mm wood beads and slide it onto one end leaving some room on the end to twist it in place.
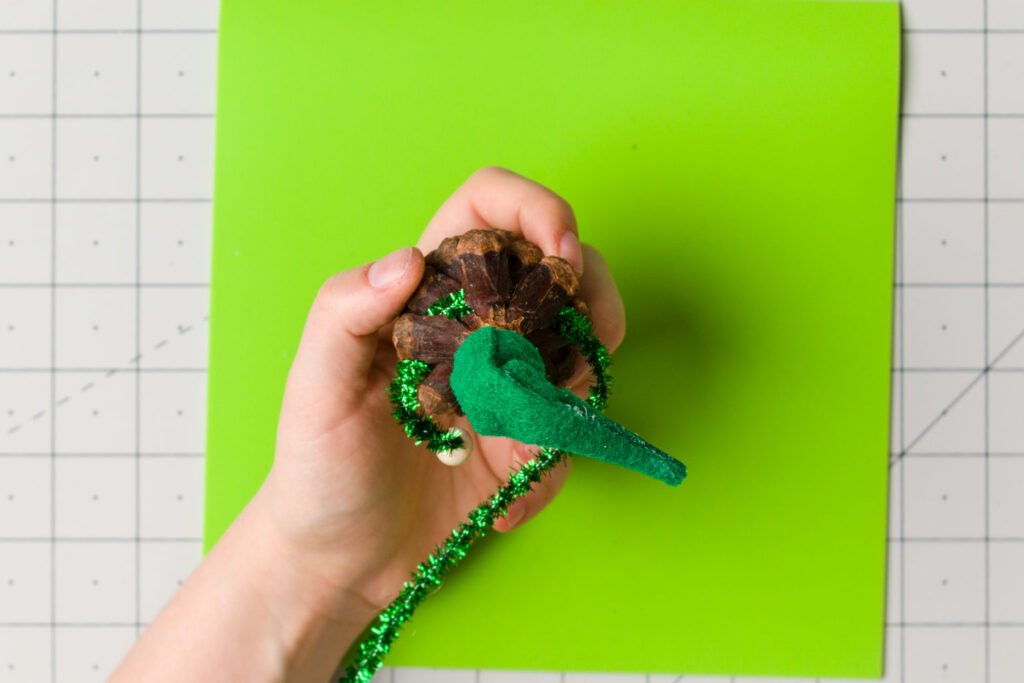
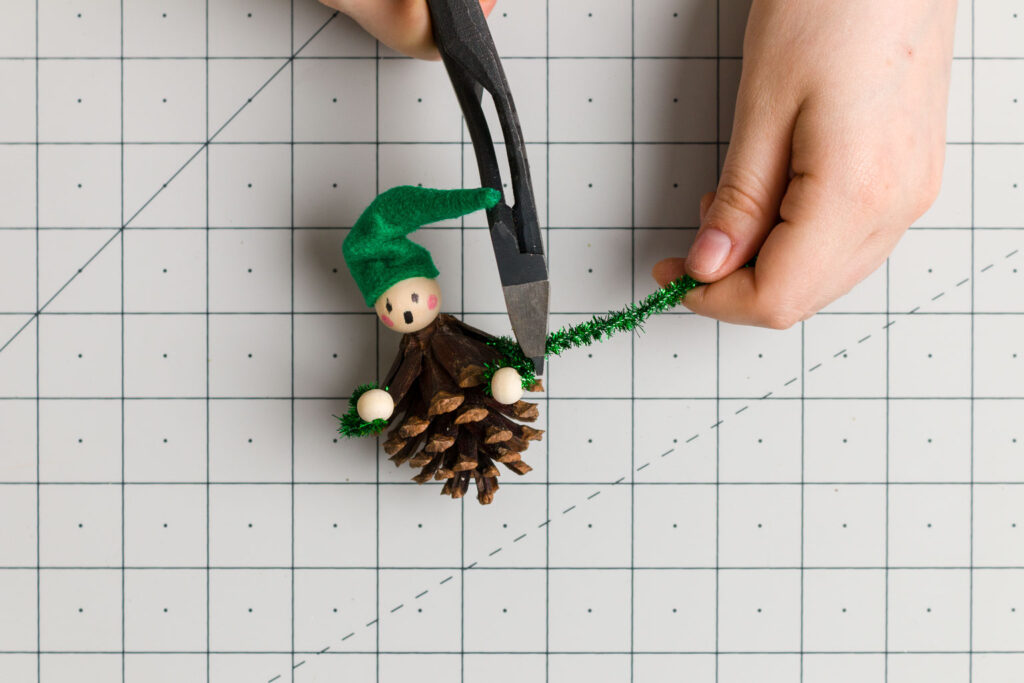
Bend the chenille stems around the pinecone in a “C” shape to make the arms. Slide the other hand bead on to the other end and twist. Then, cut off the extra.
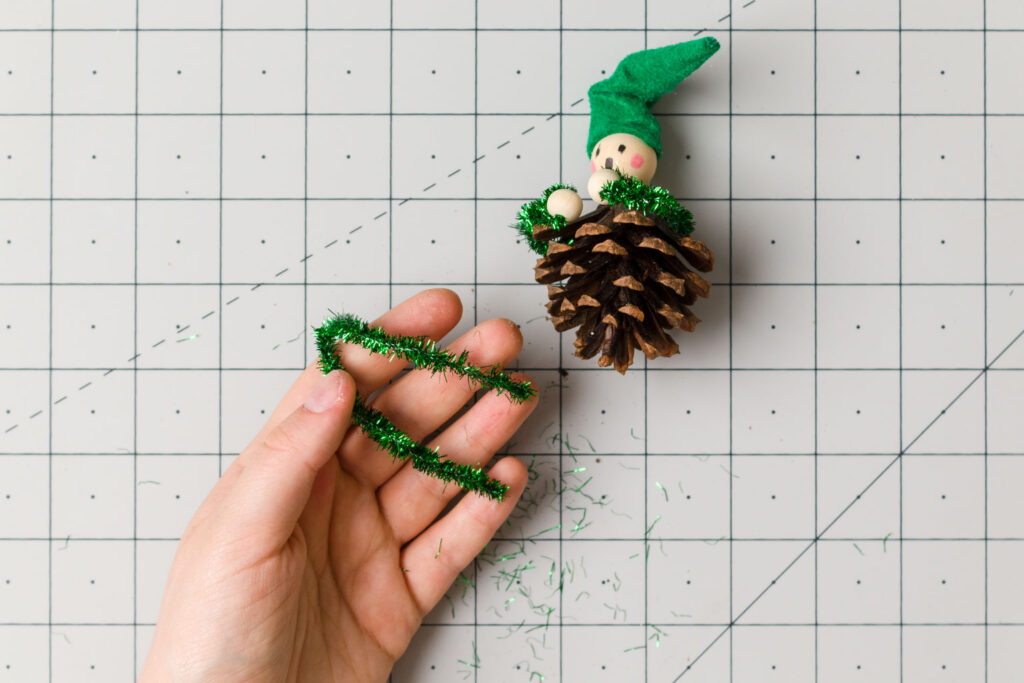
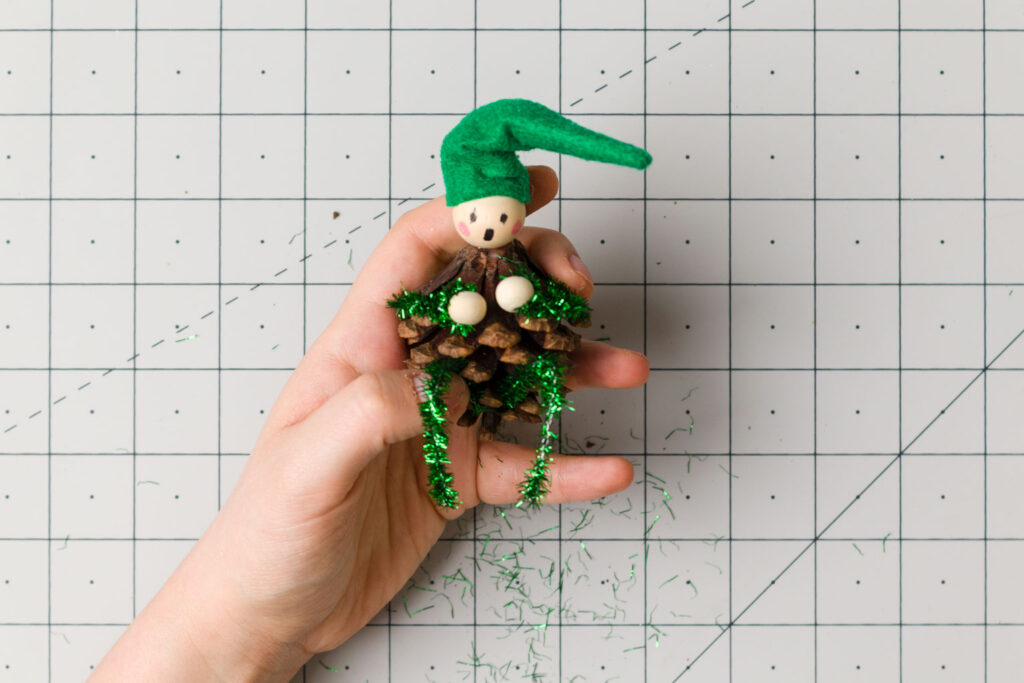
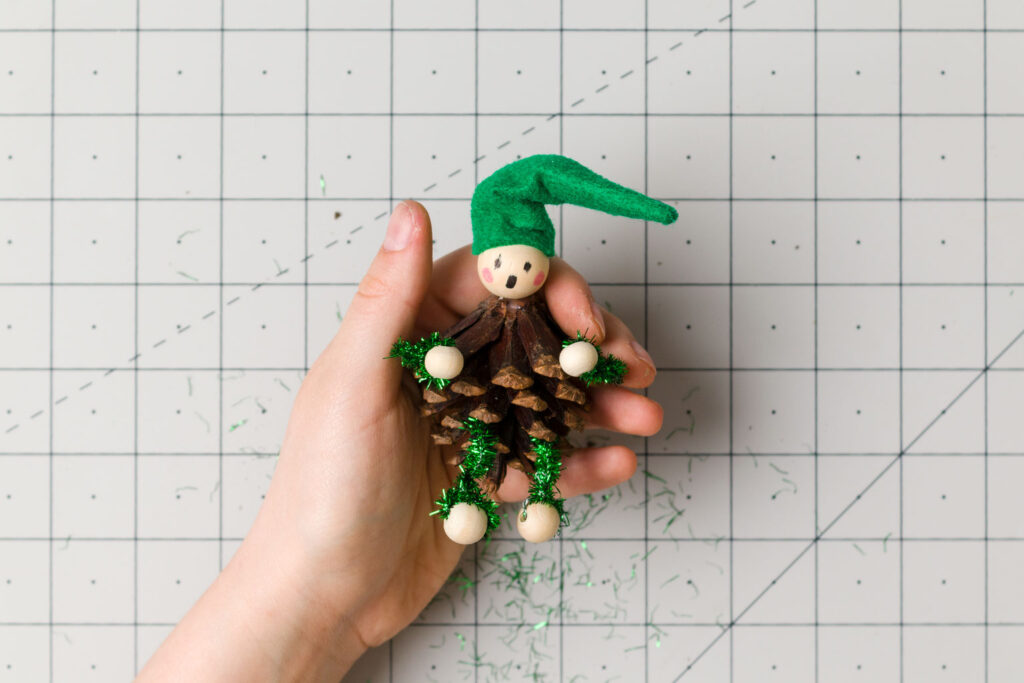
For the legs, bend the chenille stems in half and push them up into the pinecone, then glue in place. Add the foot beads the same way the hand beads were attached.
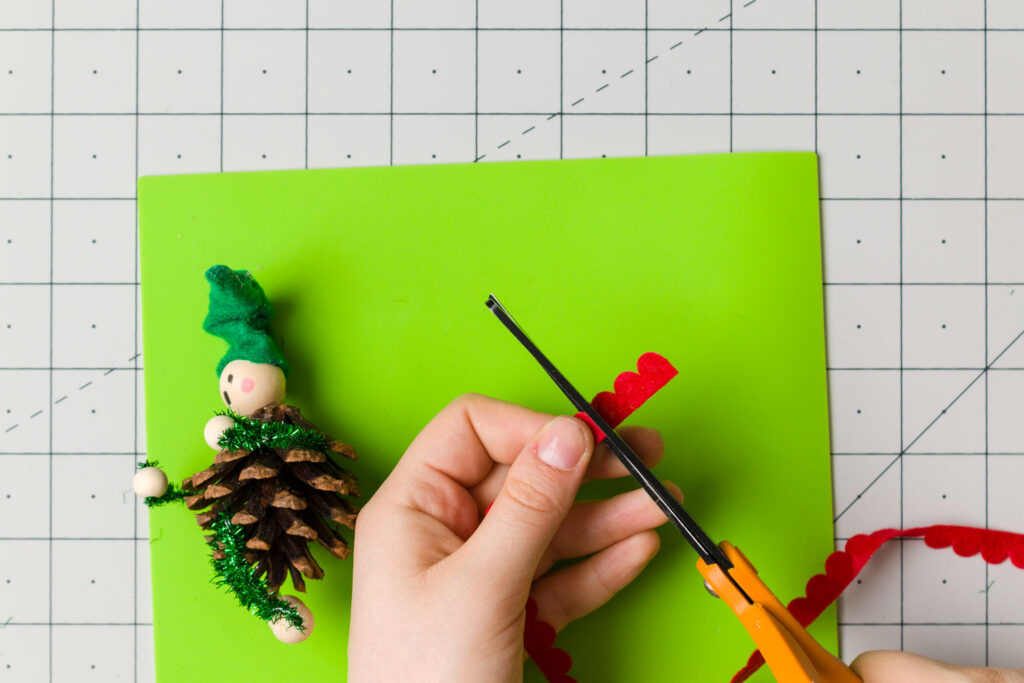
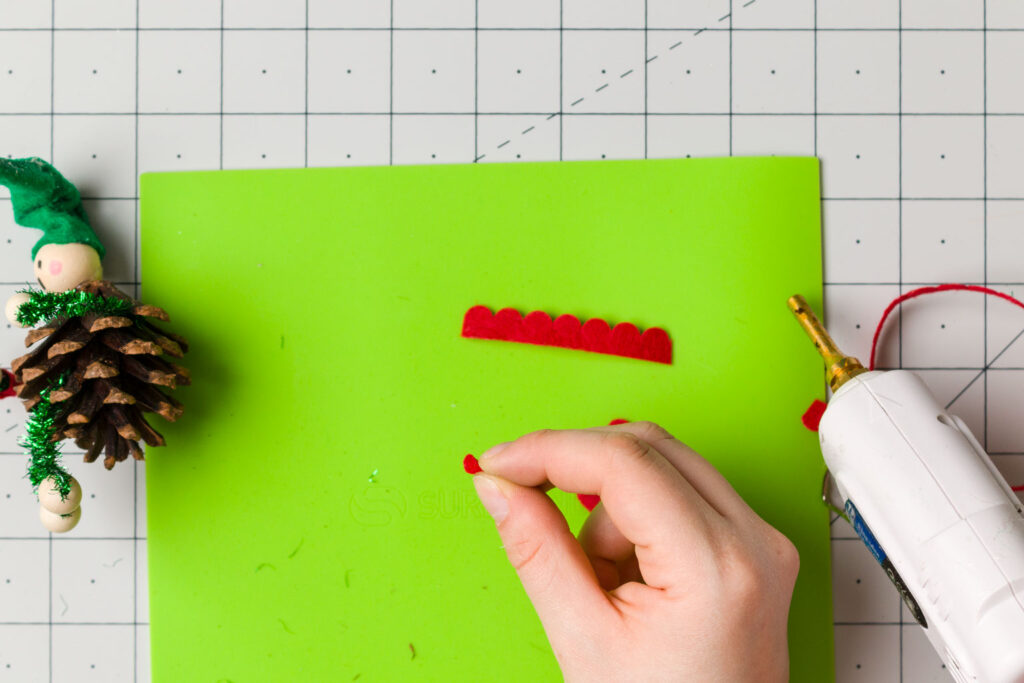
Cut off pieces of trim to create cuffs on the arms and legs. Use hot glue to attach them.
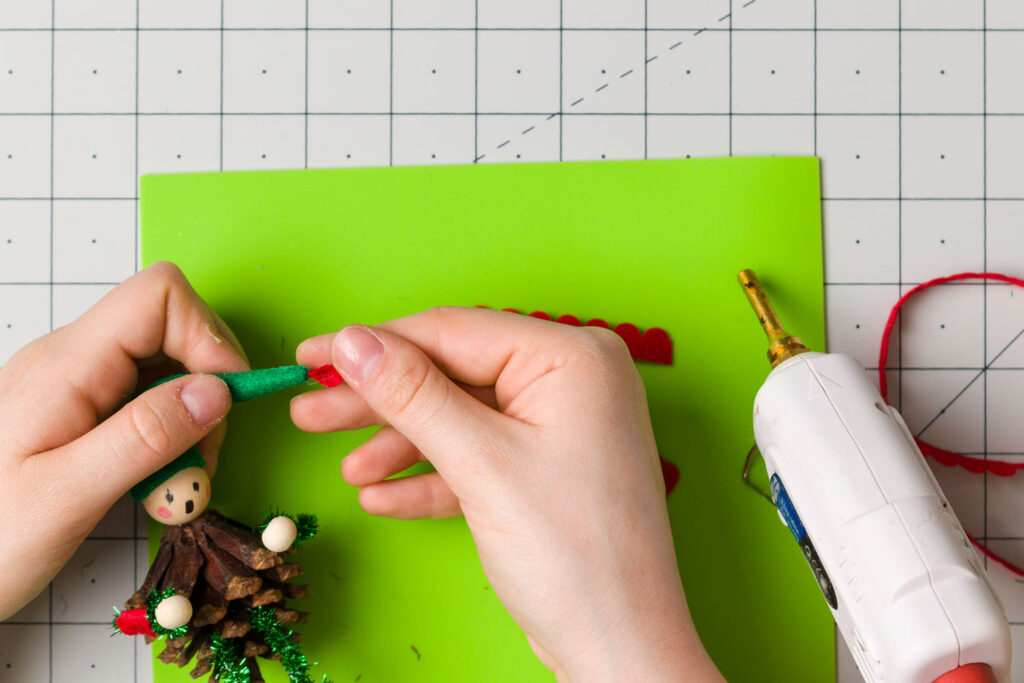
Cut one piece off, apply a drop of hot glue and pinch to make a little leaf shape. Then glue to the tip of the hat.
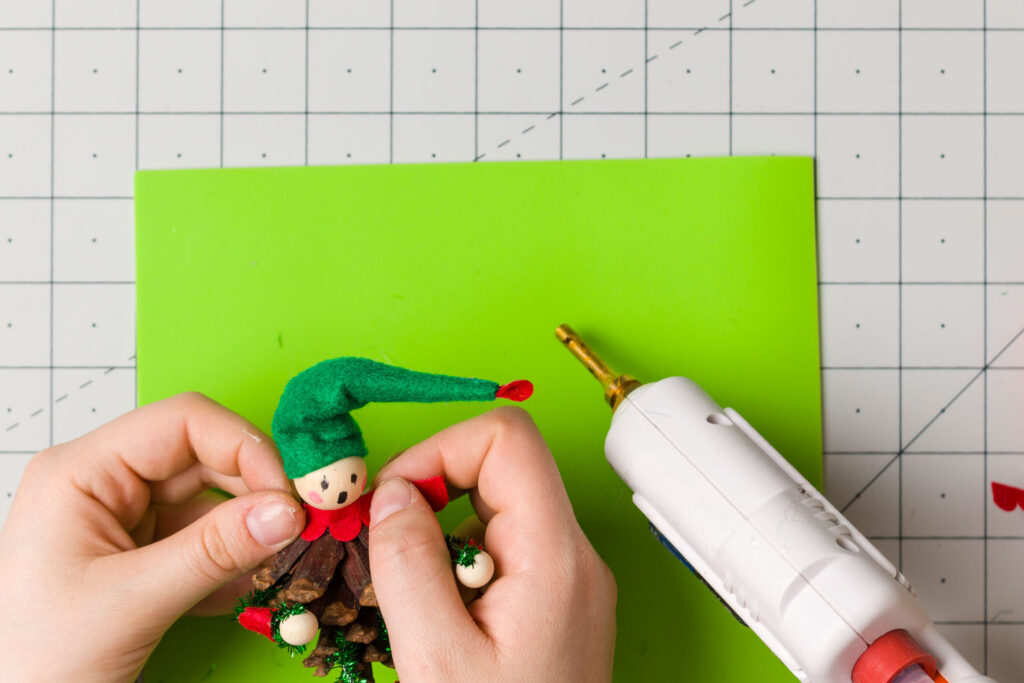
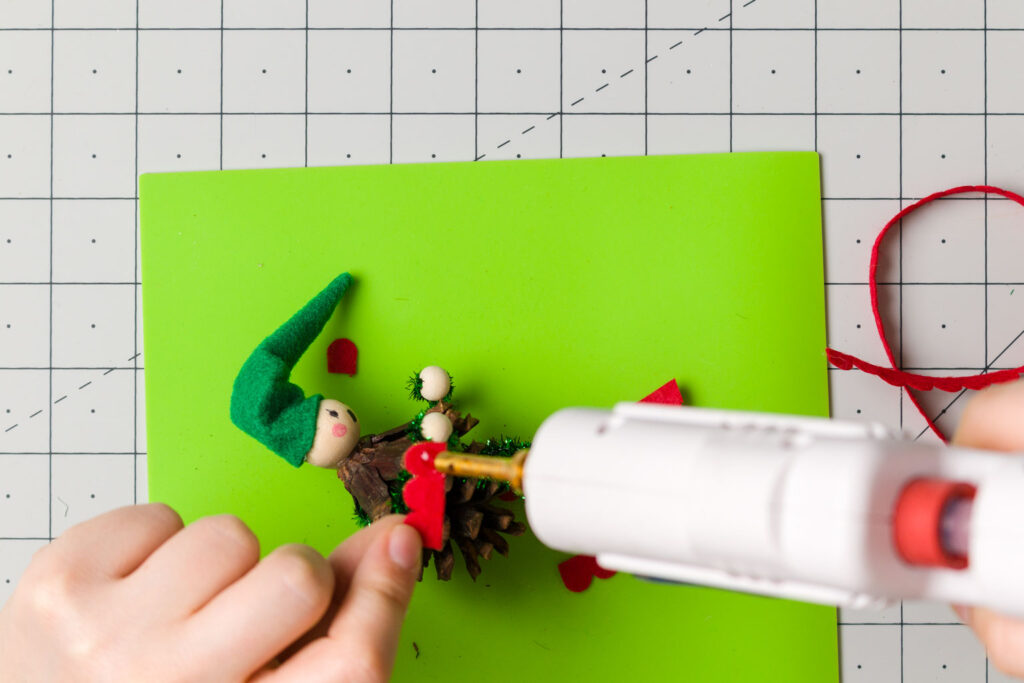
Hot glue the trim around the neck for a collar.

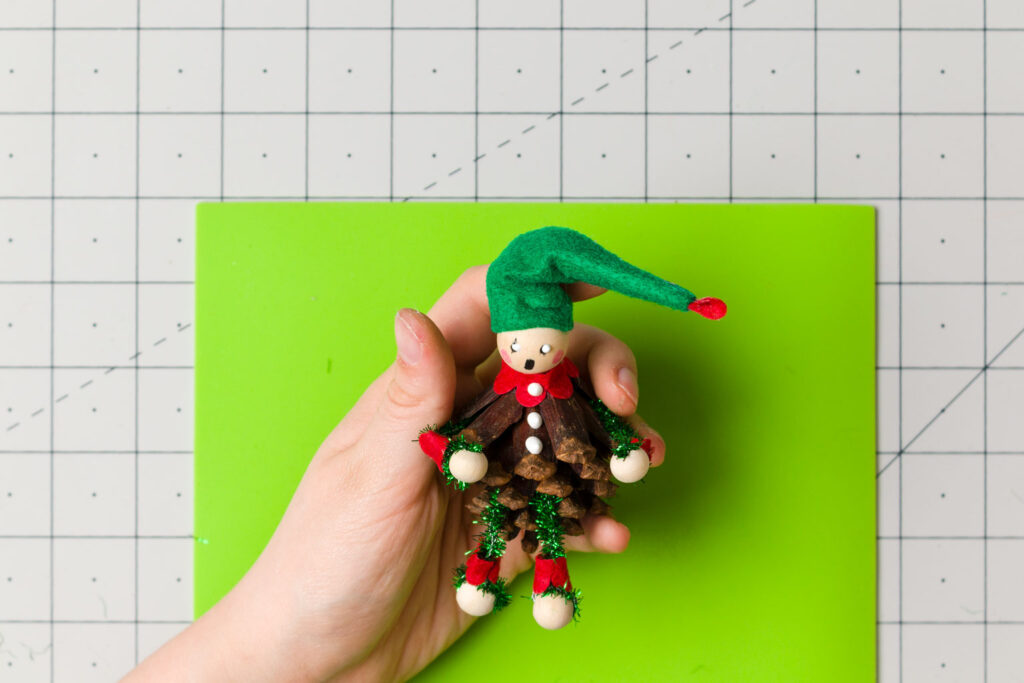
Use some puffy paint to add the final touches to really bring him to life. Little dots to add highlights to his eyes and bigger dots like buttons on the front.

More Pinecone Crafts

Barbara
Friday 10th of January 2025
Olivia, these gnomes and elves are adorable!!! I am so happy to feature them at this week's Share Your Style #447 for you. I took two weeks off for Christmas and New Year's but decided to have a Christmas afterglow on the party. I like Christmas all year, really. :)
Hope you are keeping warm out your way! Thanks for sharing these cute crafts. My mother used to make felt elves. I have a few older acquaintances (in their 80's or better) who still make felt crafts. Beautiful craft which needs reviving!
Hugs, Barb :)
Share Your Style #447
Thursday 9th of January 2025
[…] if Christmas is over for the season… Olivia O’Hearn shares the new and old craft of How to Make Felt and Pinecone Christmas Ornaments. Love the gnomes and elves!!! My mother made elves long ago. 🙂 Jeanie from The Marmalade Gypsy […]
19 Rustic DIY Christmas Ornaments for a Handmade Holiday
Thursday 19th of September 2024
[…] Source: Olivia OHern […]
Rachelle
Friday 10th of December 2021
Both of these pinecone ornaments are darling. I'm happy to feature you at the FWF link party! Rachelle
How to Make Your Own Wood Bead Garland | A Life of Balance
Saturday 17th of July 2021
[…] Elf Christmas Ornaments by Olivia O’Hern […]