
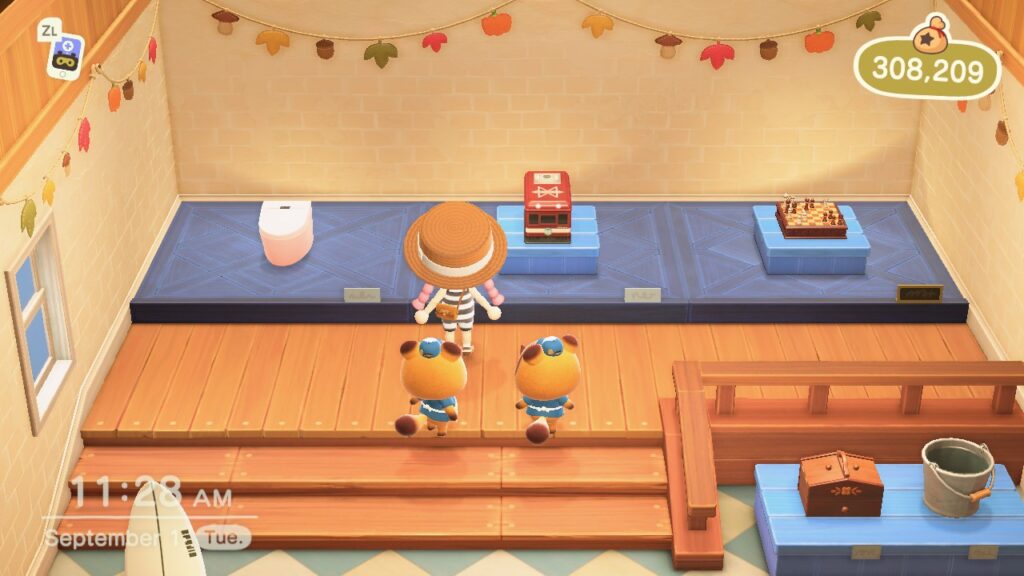
For the Fall update Nook’s Cranny has an adorable garland hanging inside the shop. This garland includes leaves, mushrooms, acorns and pumpkins. I don’t have all the colors of felt that are used for the one seen in-game, so I took a few creative liberties and switched some things around.
Materials:
This post may contain affiliate links. This means that if you purchase from one of these links I will make a small commission, but rest assured you will not pay more for any products.
- Cricut Maker
- FabricGrip Mat
- Rotary Blade
- Applicator Set
- Needle
- Scissors
- Felt
- Embroidery Floss
- Fishing Line
- Template Download
If you do not have a Cricut or other cutting machine, you can still make this craft! Just download the files and print the pieces out. I explain this process in my Bat Poppet post HERE.
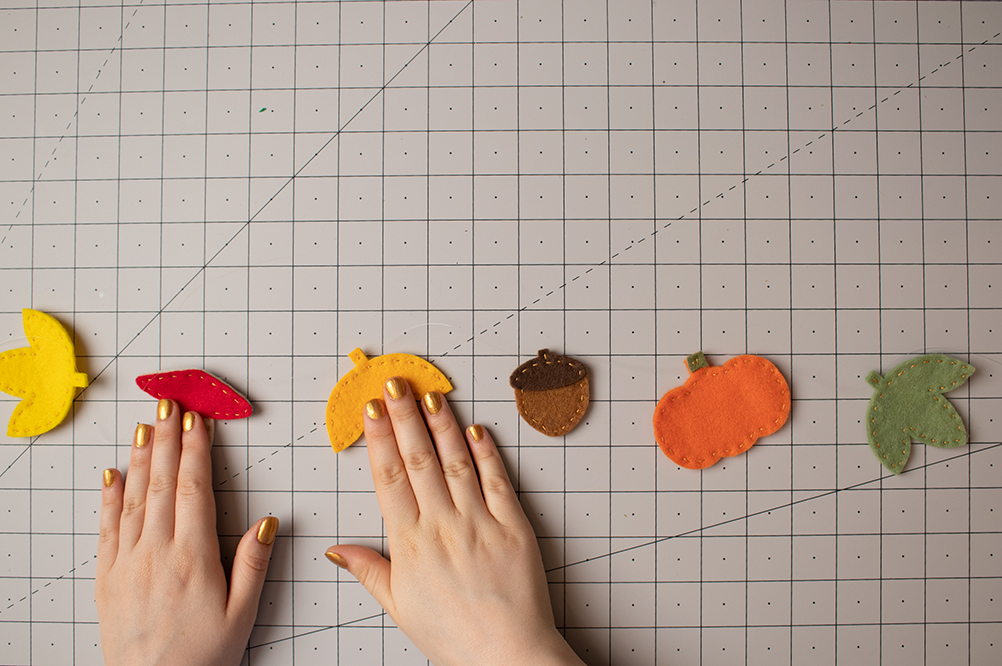
First you’ll need to download the SVG files and download them into Design Space. I’ll be coming out with a video on this soon, so keep an eye out for that. For the purposes of this post I’ll be making one “set” of garland pieces: 3 leaves, 1 mushroom, 1 pumpkin and 1 acorn. Feel free to make as many of whichever parts as you’d like, variety is the [pumpkin] spice of life.
Some things to keep in mind:
How long do you want the garland to be? From what distance will it be viewed?
One of the great things about SVGs is that they are super easy to scale up and down in Design Space. If you decide to make the pieces smaller or larger you’ll want to make sure you have everything selected at once and to have the dimensions “locked” so everything stays in the correct proportions.
The Best Way to Apply Felt
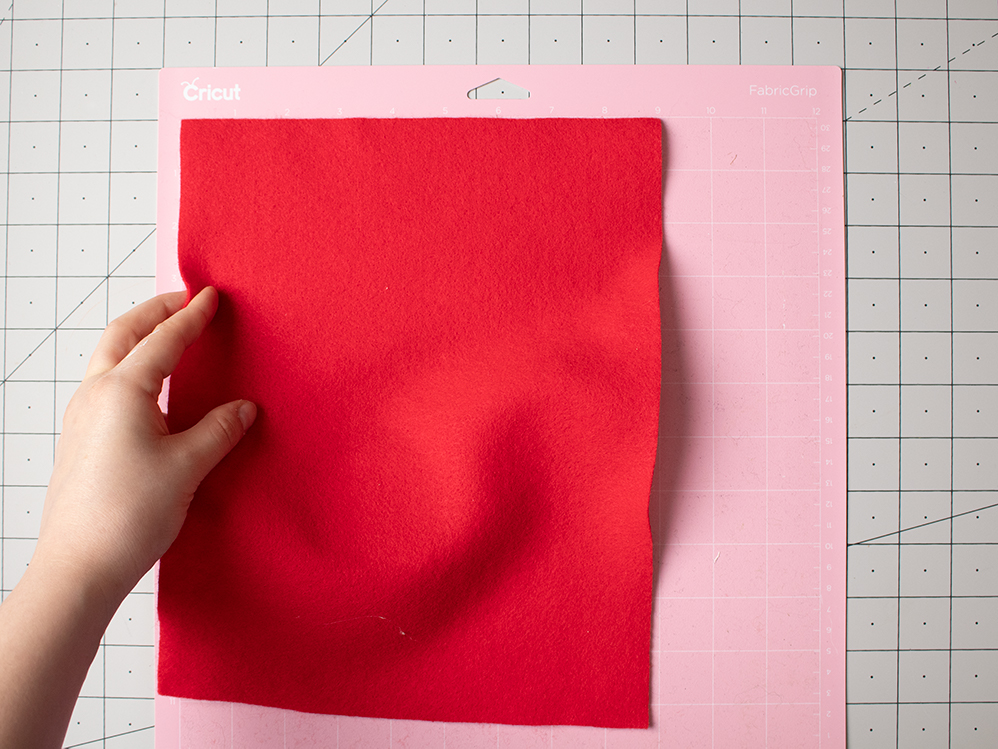
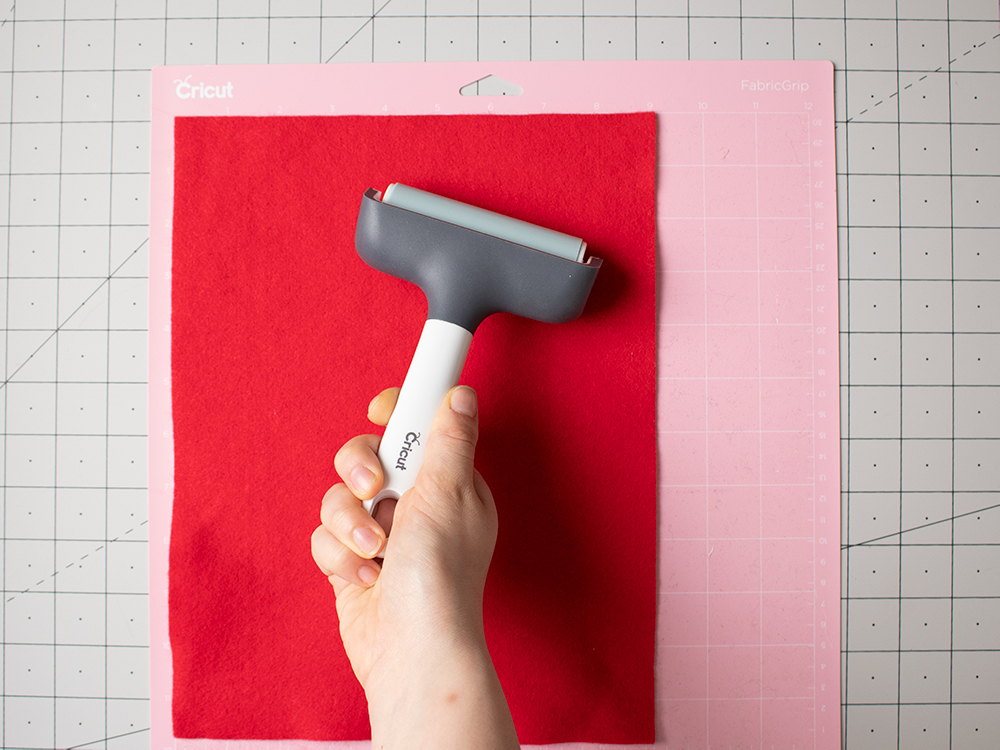
The FabricGrip mat works best when using your Cricut to cut out felt. Using the Cricut Maker makes cutting out felt super easy. They have all kinds of materials settings ready to go and I love to use the rotary blade for nice crisp edges to my felt pieces. When putting felt down onto the mat I like to start in the top left corner so I can easily see if I have the rectangle properly oriented so the felt will be square on the mat. I like using a brayer to get the felt onto the mat smoothly. Any bubbles or wrinkles could distort the cut shapes.
When cutting felt it’s best to have some wiggle room between the pieces just in case. So I will go in and edit the auto layout. Most of the time I check my mat layouts and cut out a rectangle a little larger than the minimum needed for the design to cut out. This minimizes the amount of fuzz that’ll stick to the mat, but sometimes I’ll just slap the whole sheet on there.
Since I am exclusively cutting felt for this project I’ll go ahead and put my rotary blade in place before starting.
Changing out the blade:
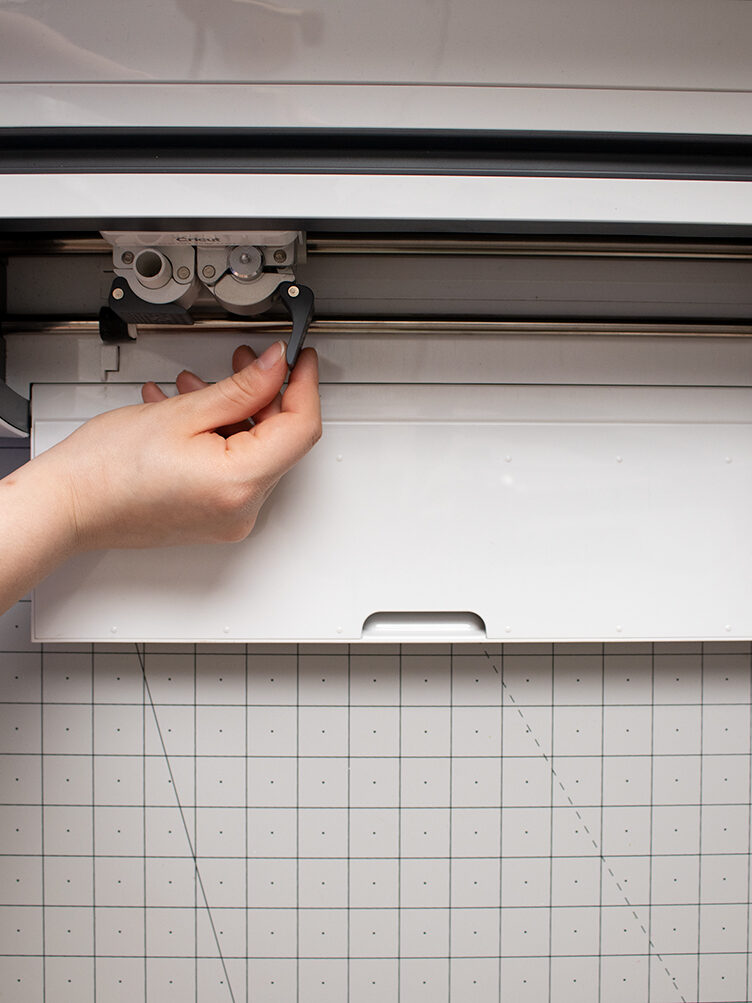
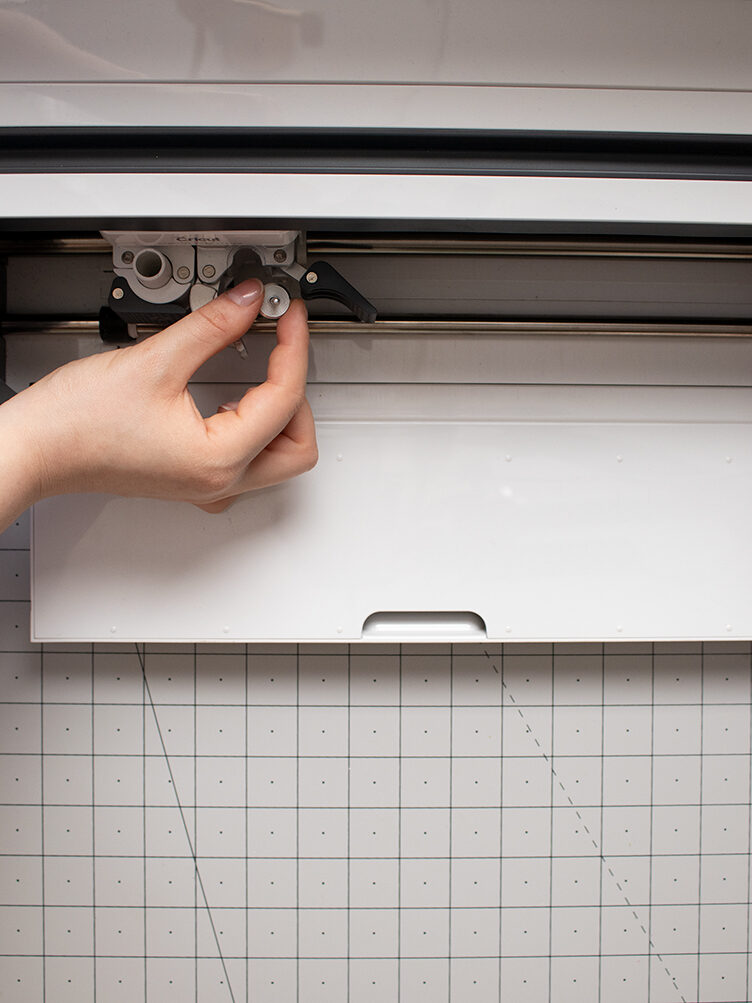
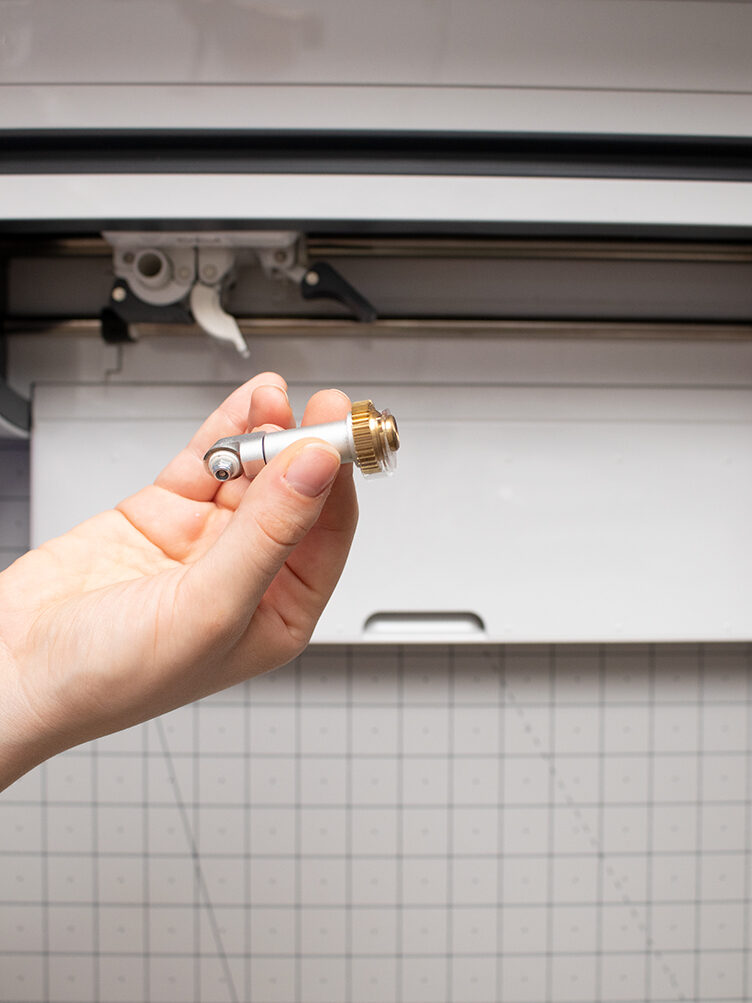
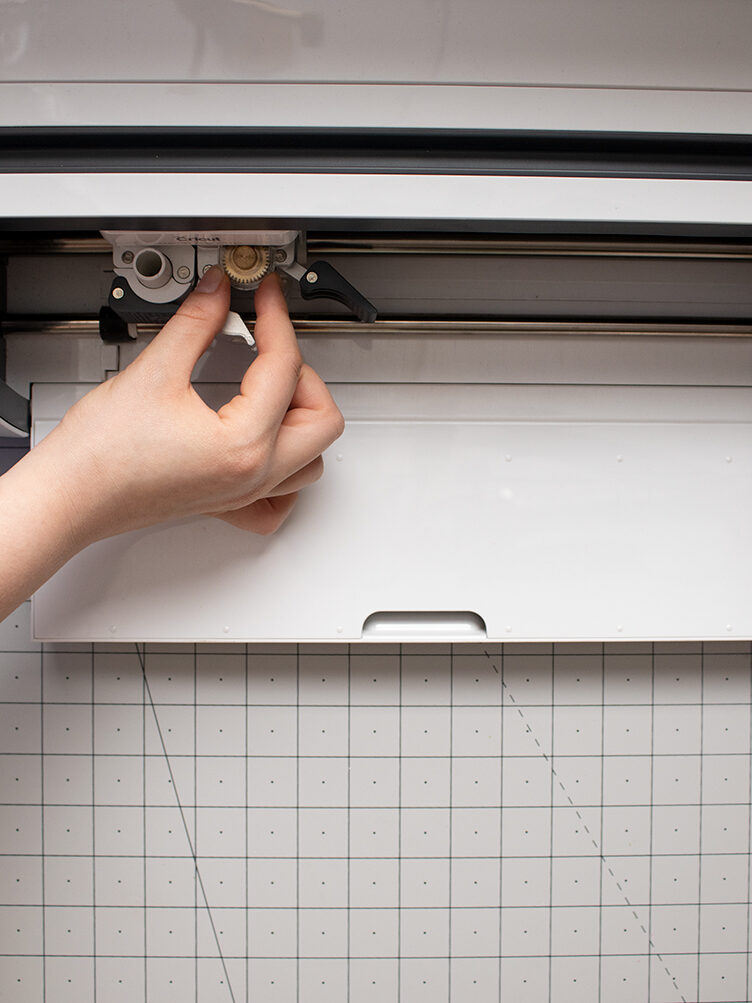
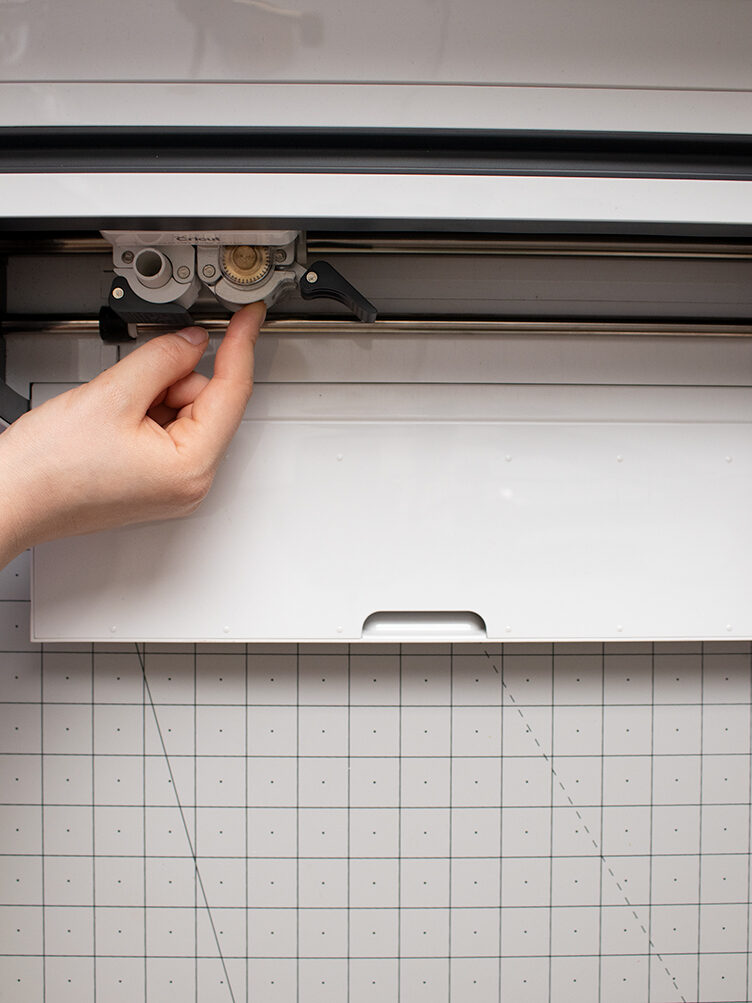
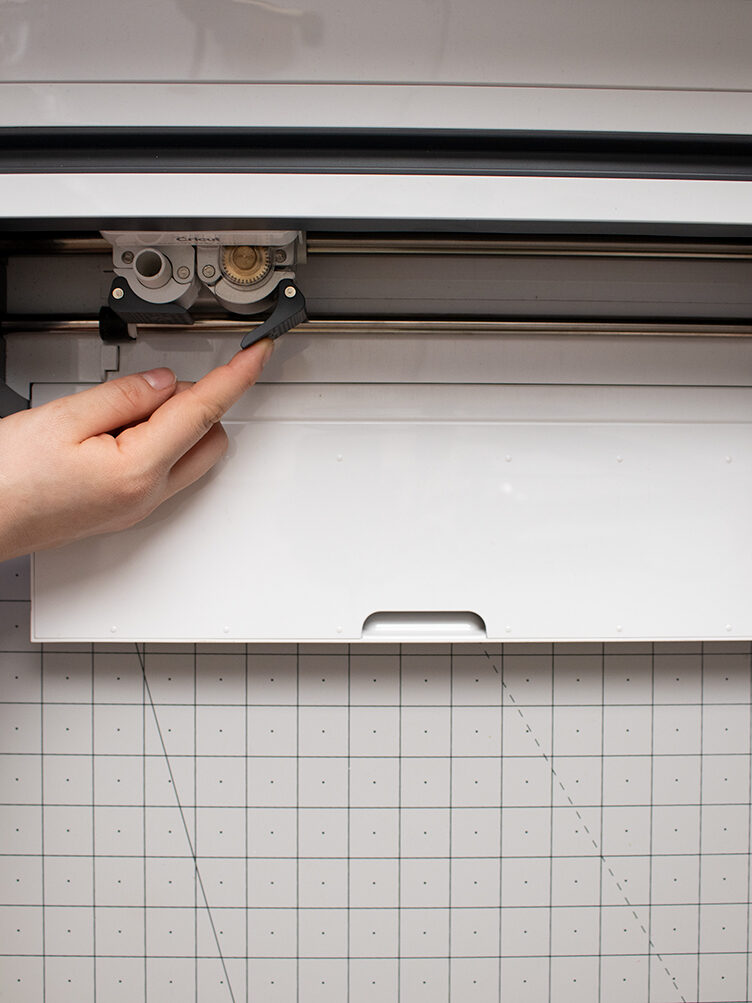
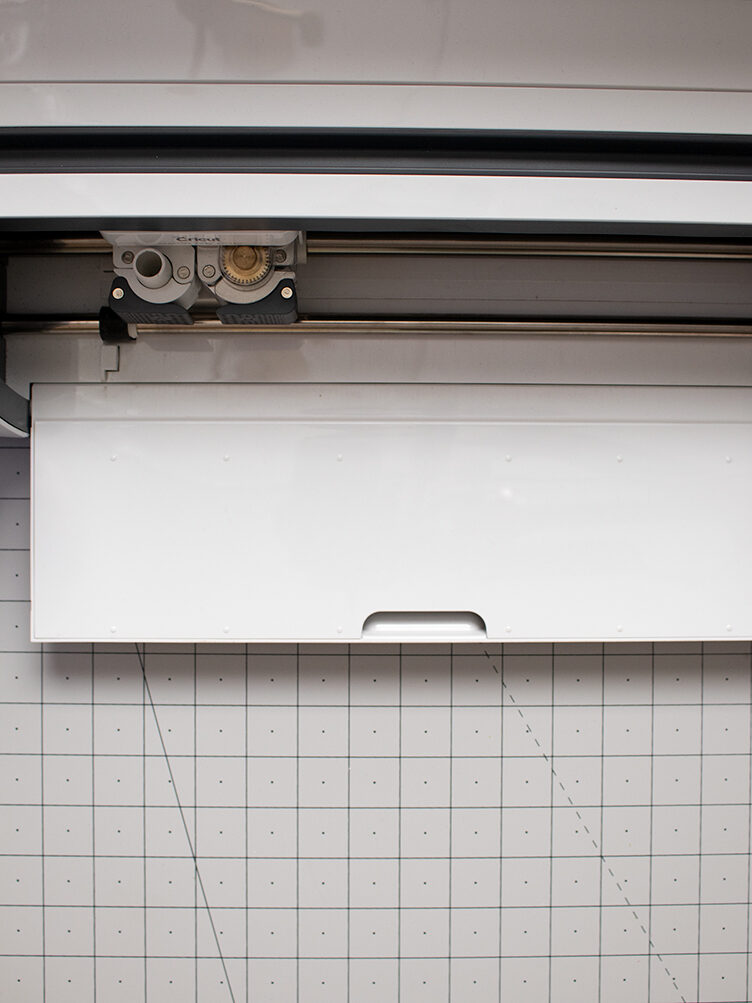
Changing out your blade and housing is pretty straight forward. Note: Blades and tips with a housing will go in the “B” slot. You’ll want to unlock the blade from the carrier and pull it out then place the rotary blade in the same spot. Make sure the exposed metal gear is against the machine and that the bottom of the gear is flush with the holder. Then close it back up.
Set the material to felt. It will default to the fine point blade, just change it to the rotary blade.
Now starts the loading, unloading of mats and the cutting. If you have multiple mats you can prep the next ones while the machine is cutting.
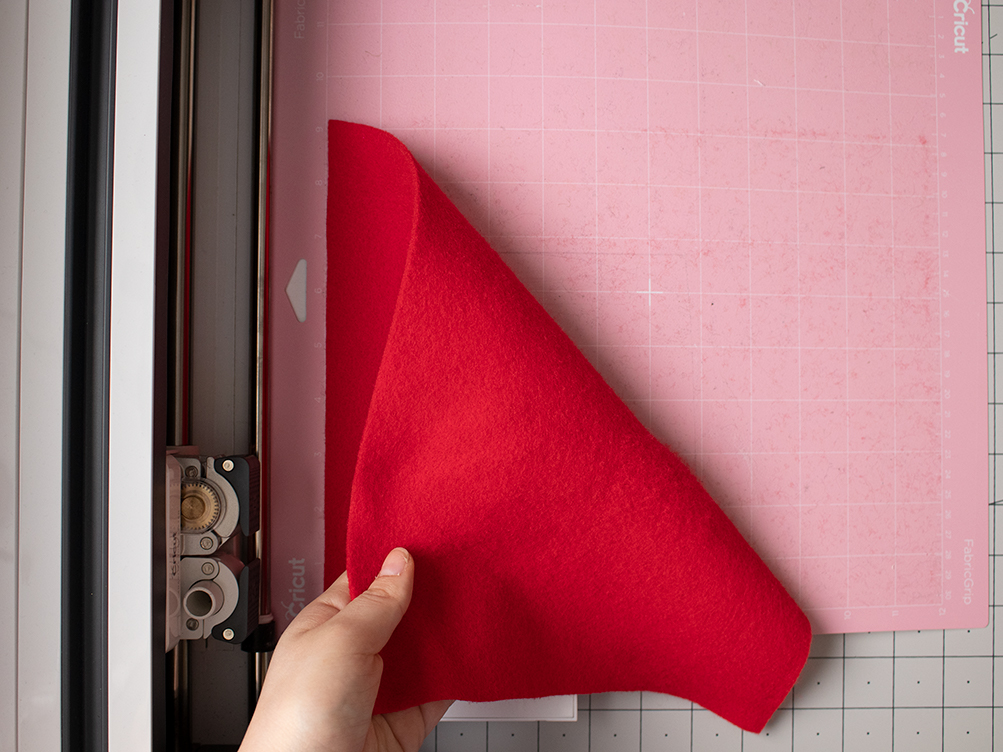
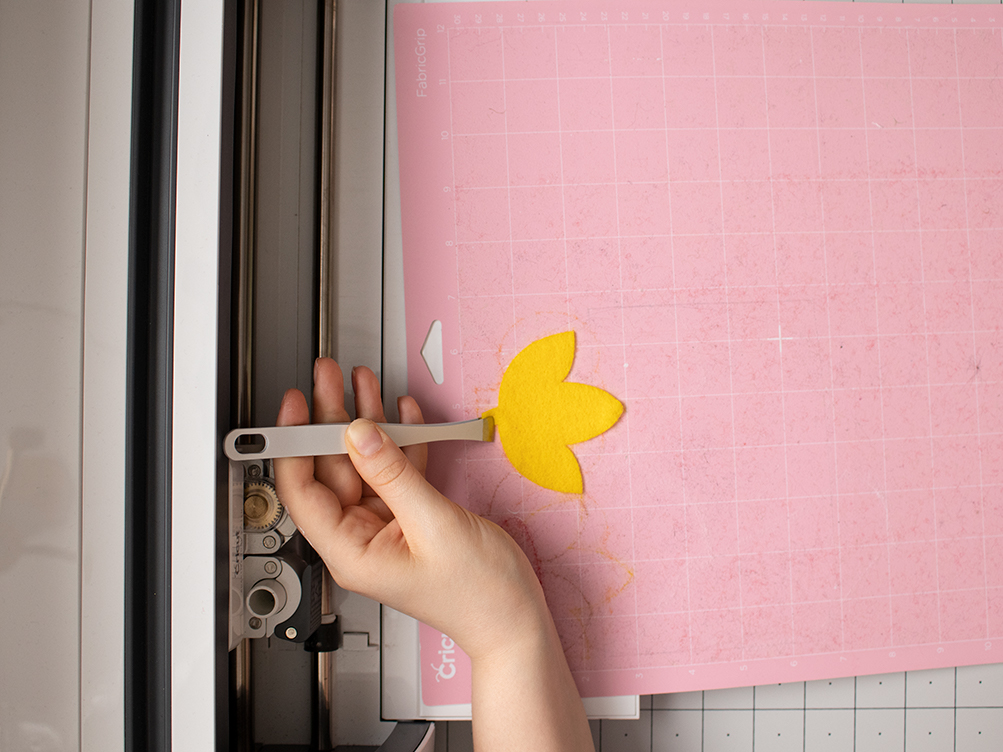
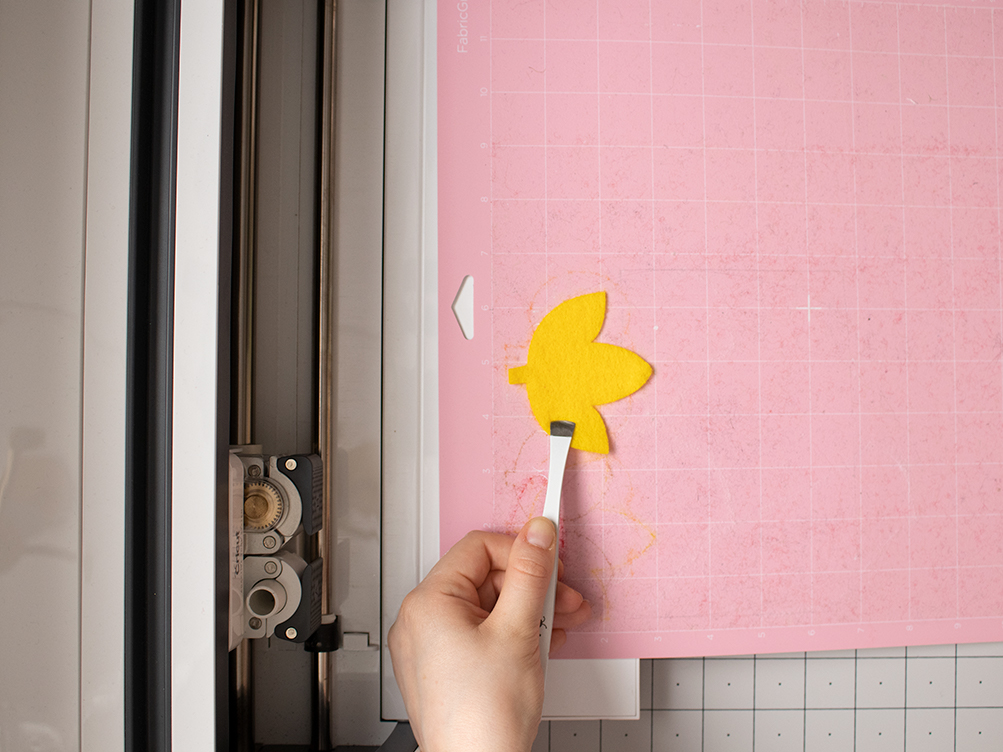
To remove the felt, I’ll bend the mat into an upside-down “U” so the edges will pull up from the mat making it easier. I like using the wide-headed tweezers that come in the Applicator Set for felt and fabric. First you’ll want to pull away the excess felt from the mat and then your cut pieces. Try to pull it from a large area, like the side. Skinny areas are more prone to tearing. Repeat until all of your pieces are cut out.
Layer Your Pieces:
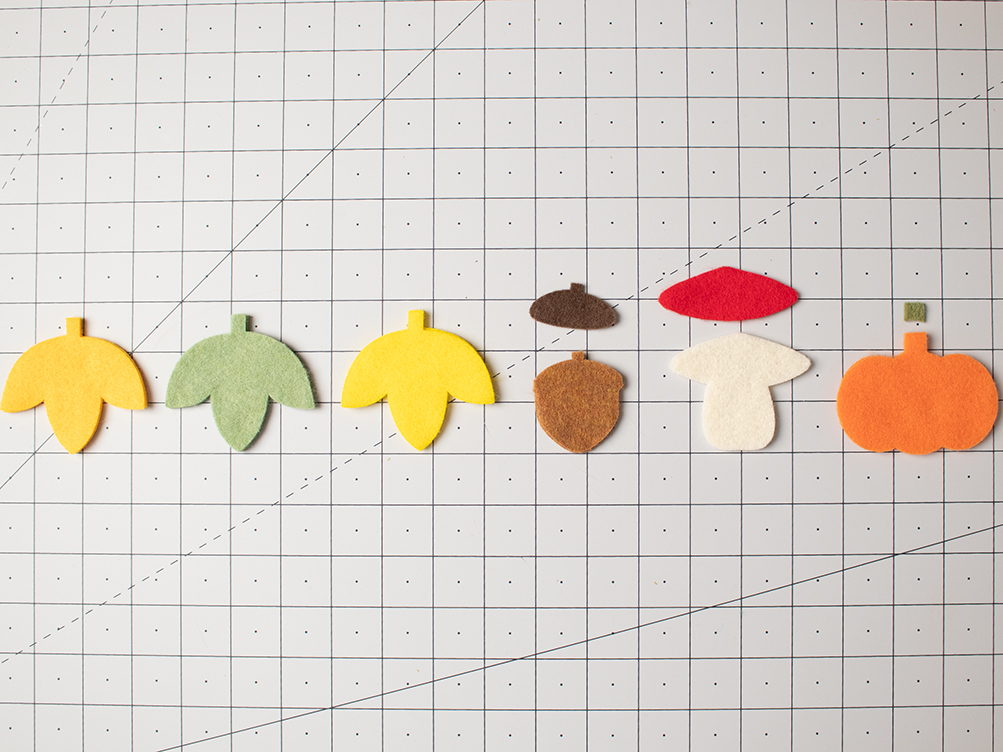
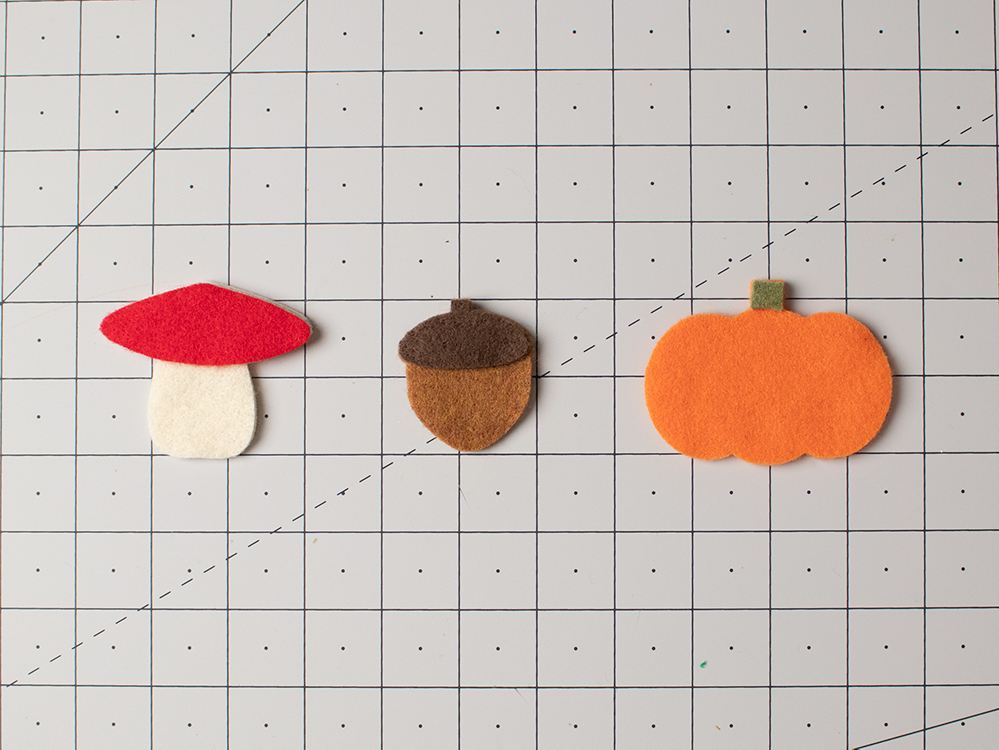
Stack all of the pairs together and place the extra pieces on top.
Sewing the Pieces
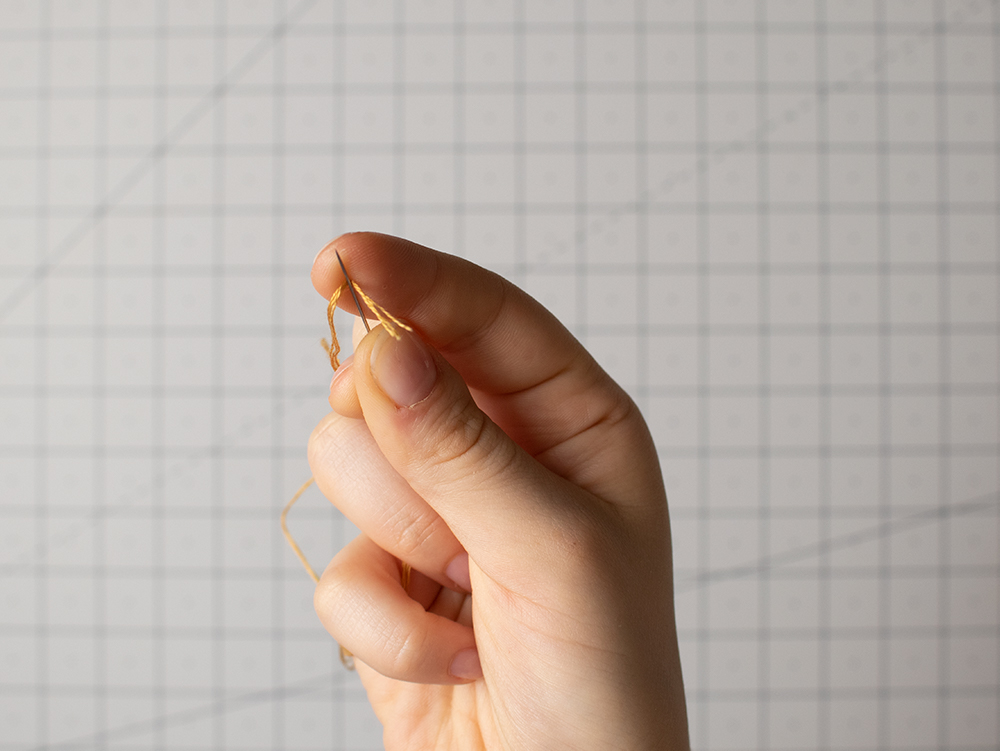
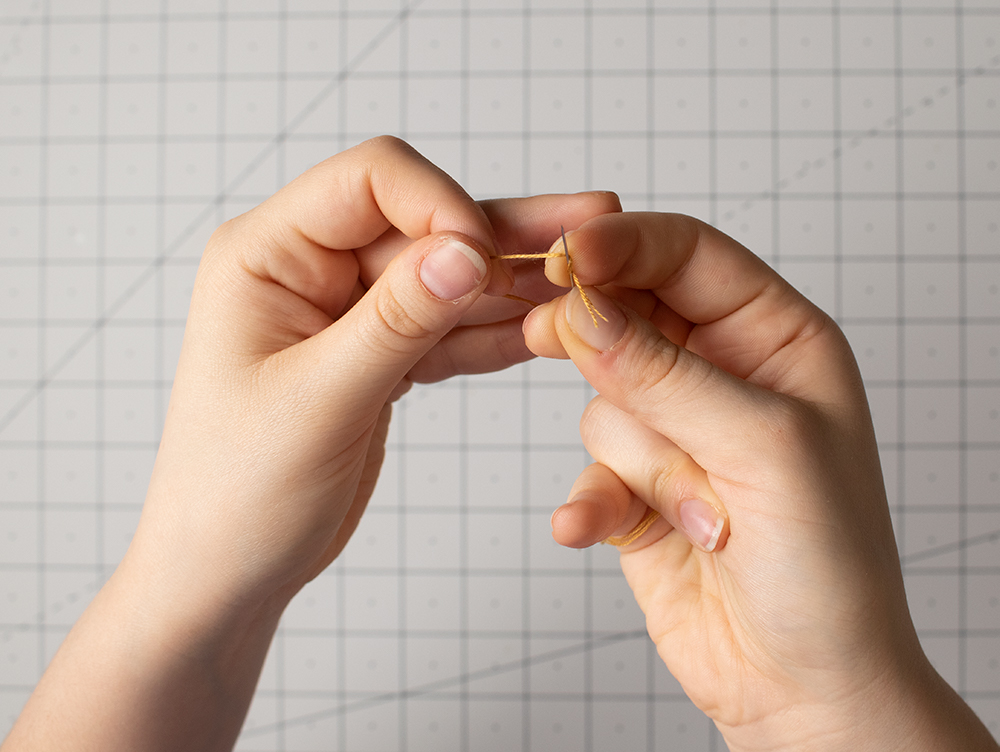
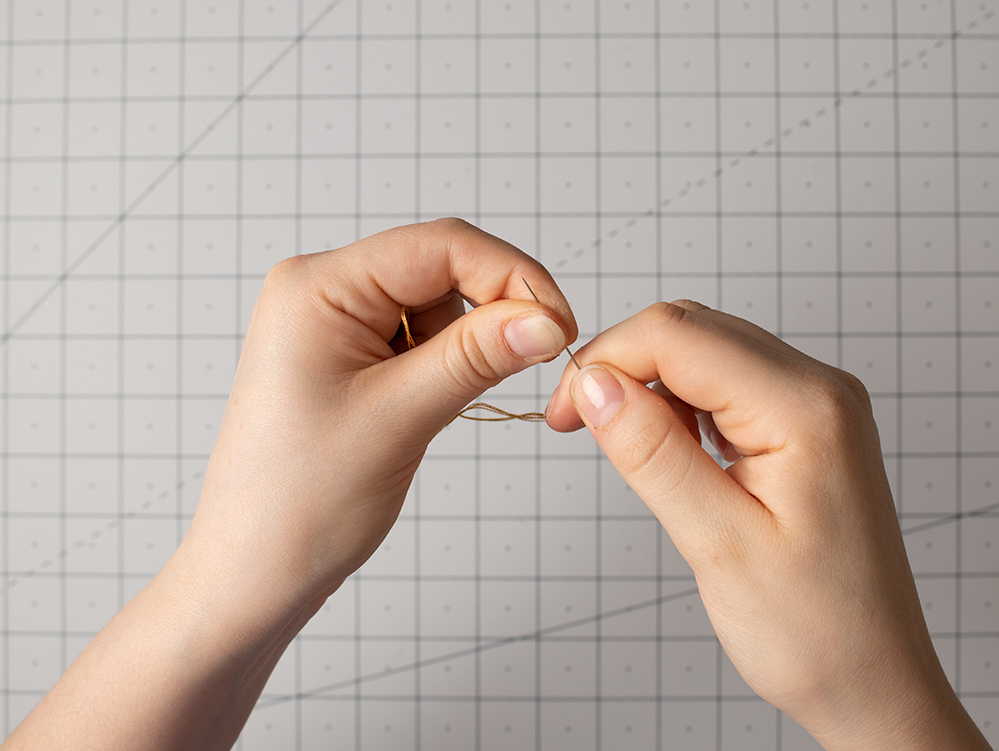
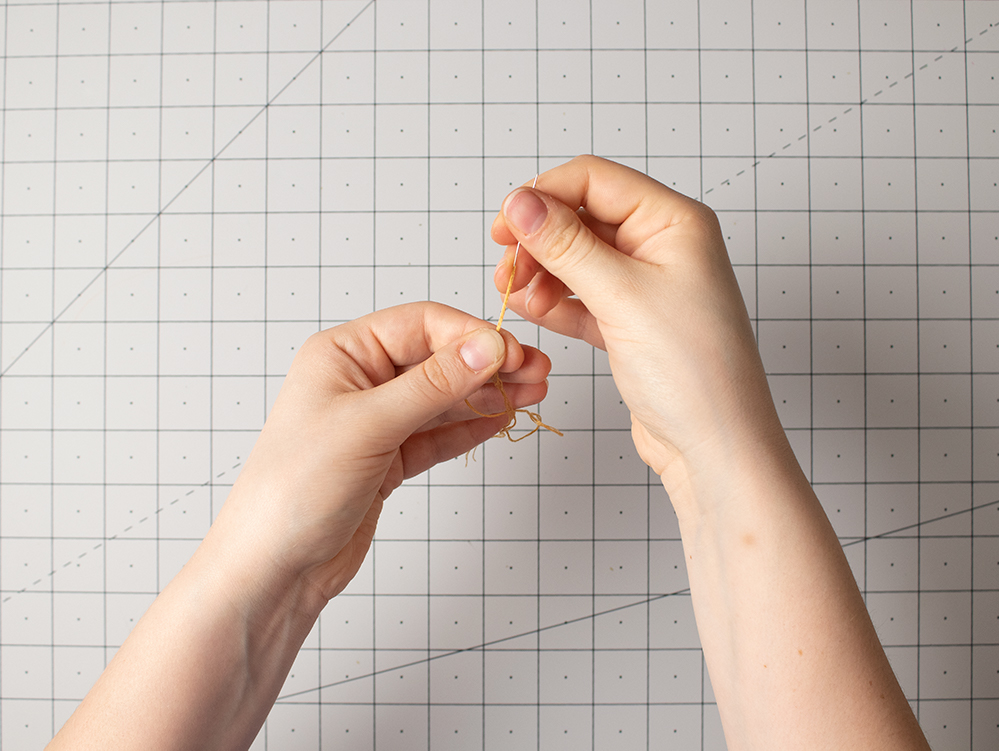
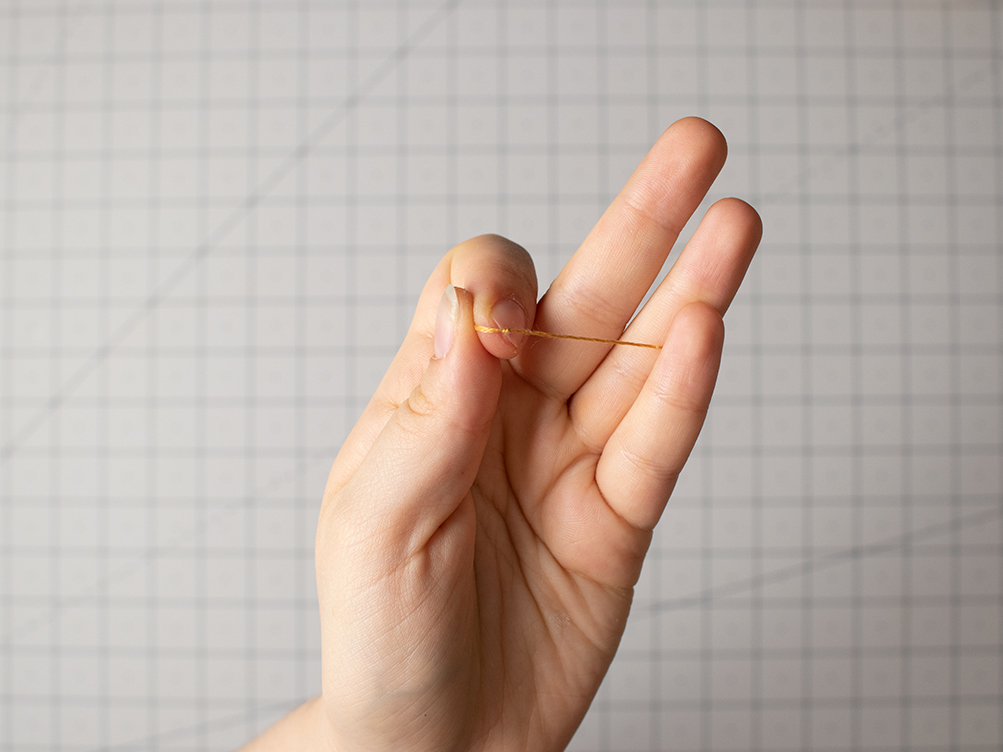
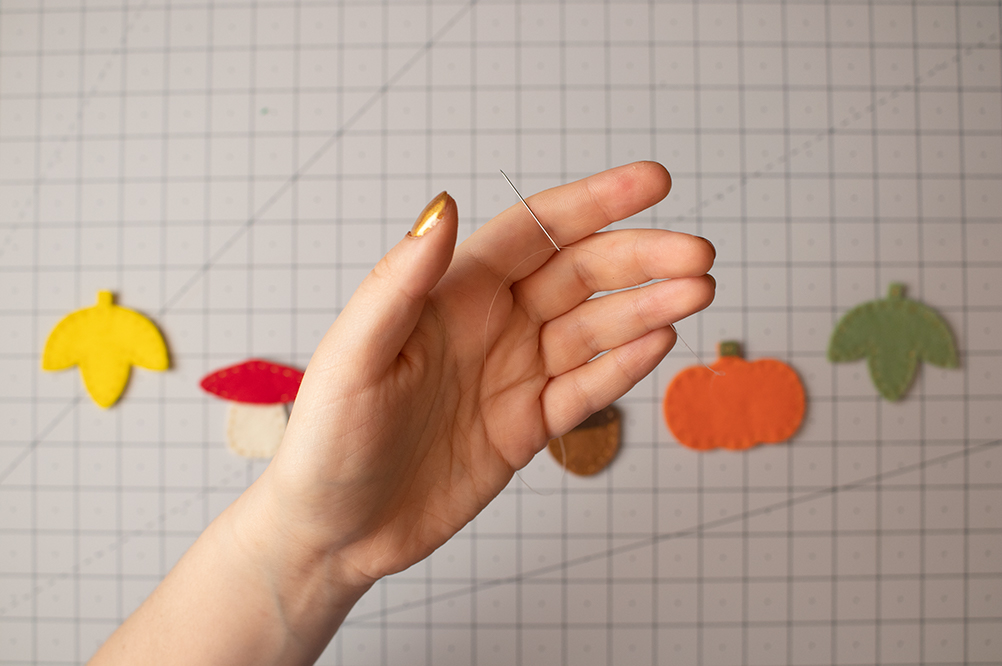
To make a knot at the end of your thread place the tail of the thread on your index finger, hold the needle against it. Taking your other hand wrap the thread around the needle (not the tail end). The more times you wrap, the larger the knot will be. Two or three wraps is usually enough. Now you’ll want to hold the wrapped thread on the needle between your thumb and index finger on your wrapping hand. Push the needle up past your fingers and then pull the wraps down the thread until you reach the end.
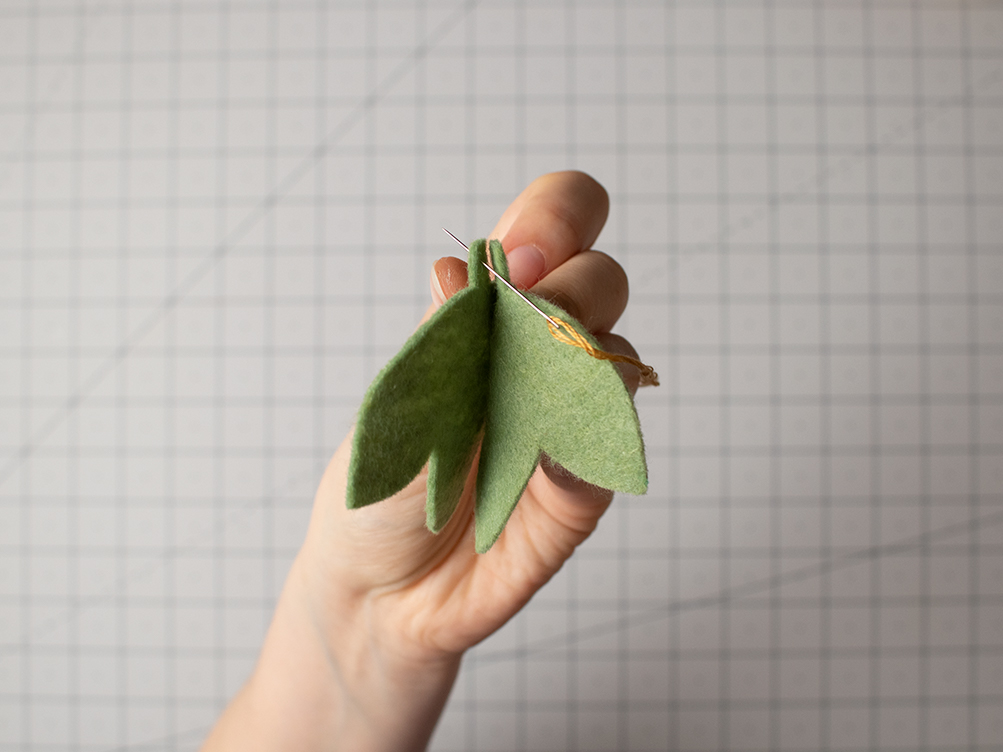
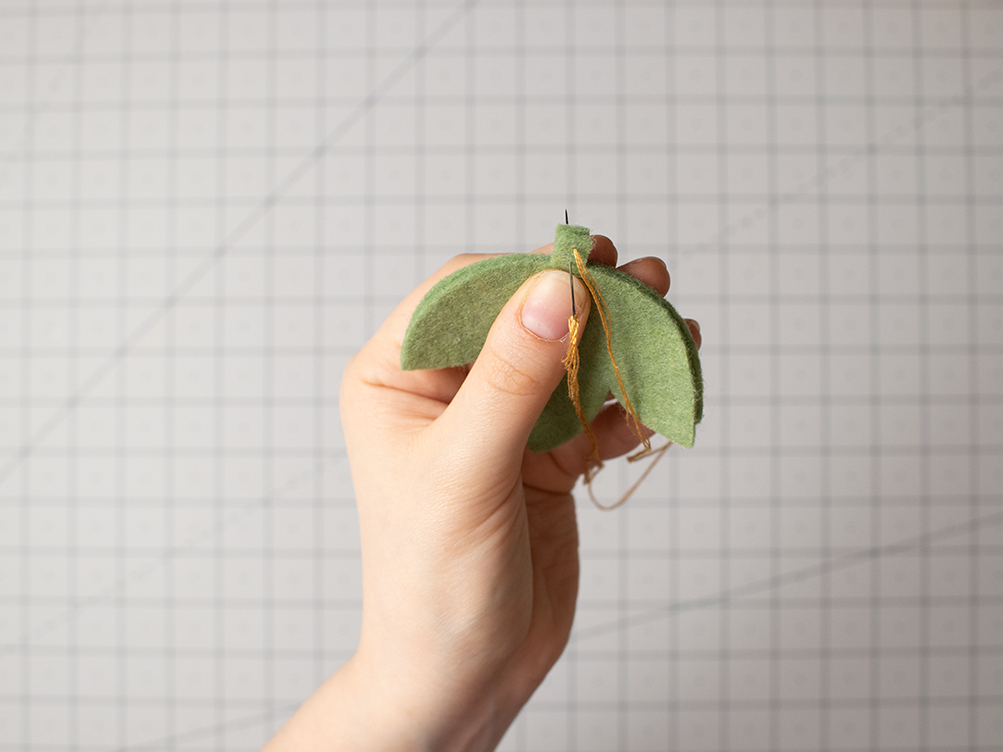
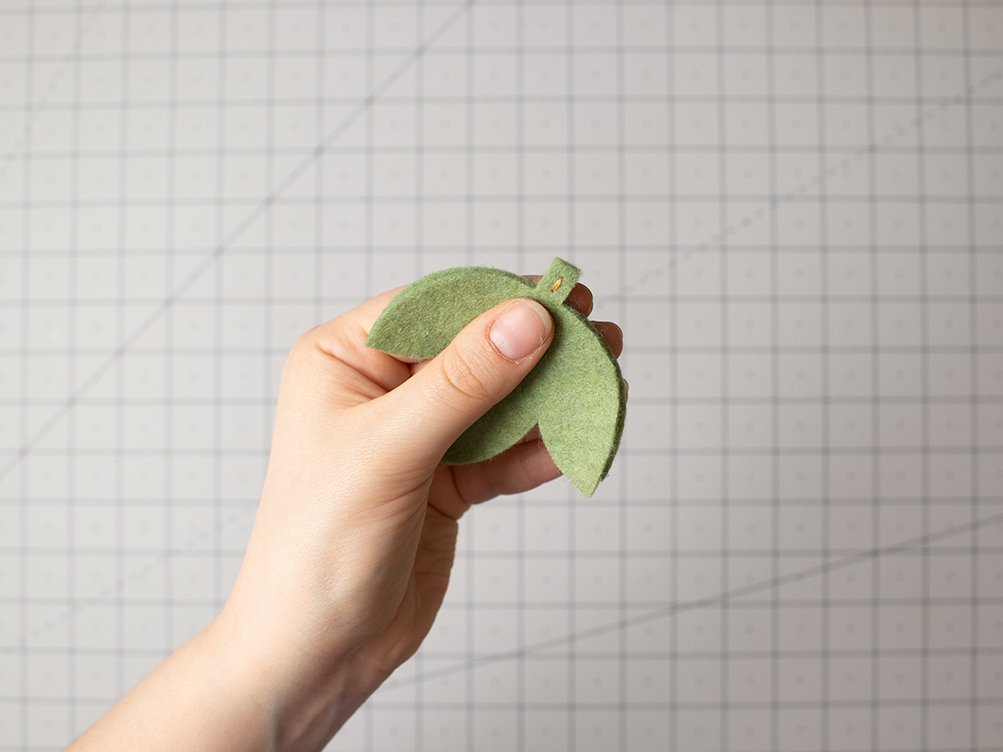
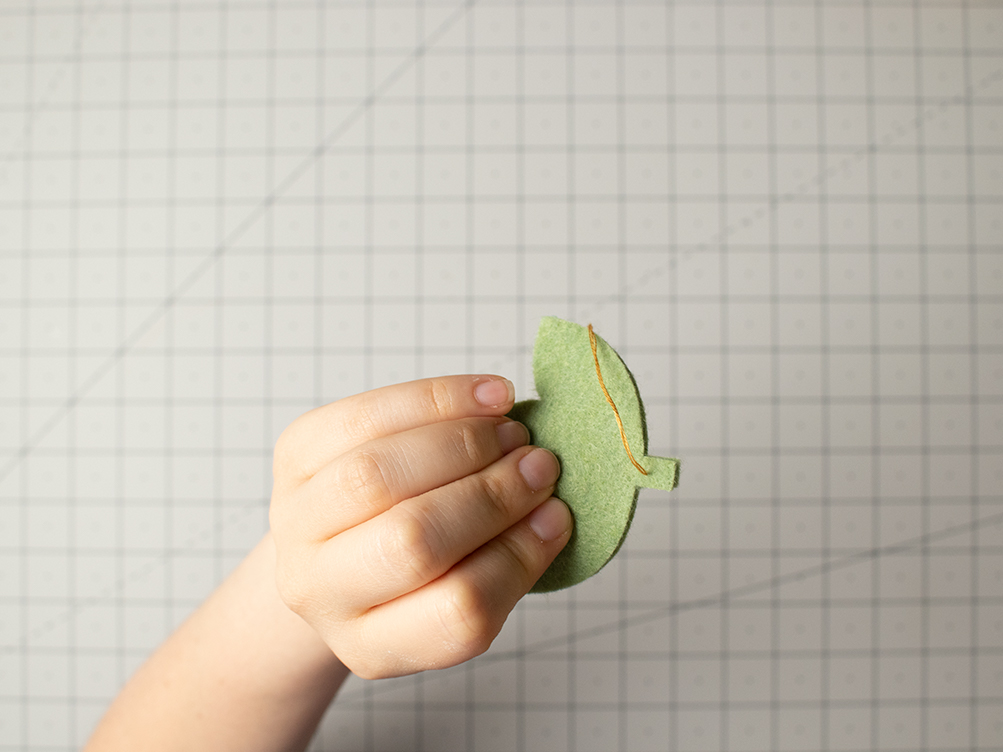
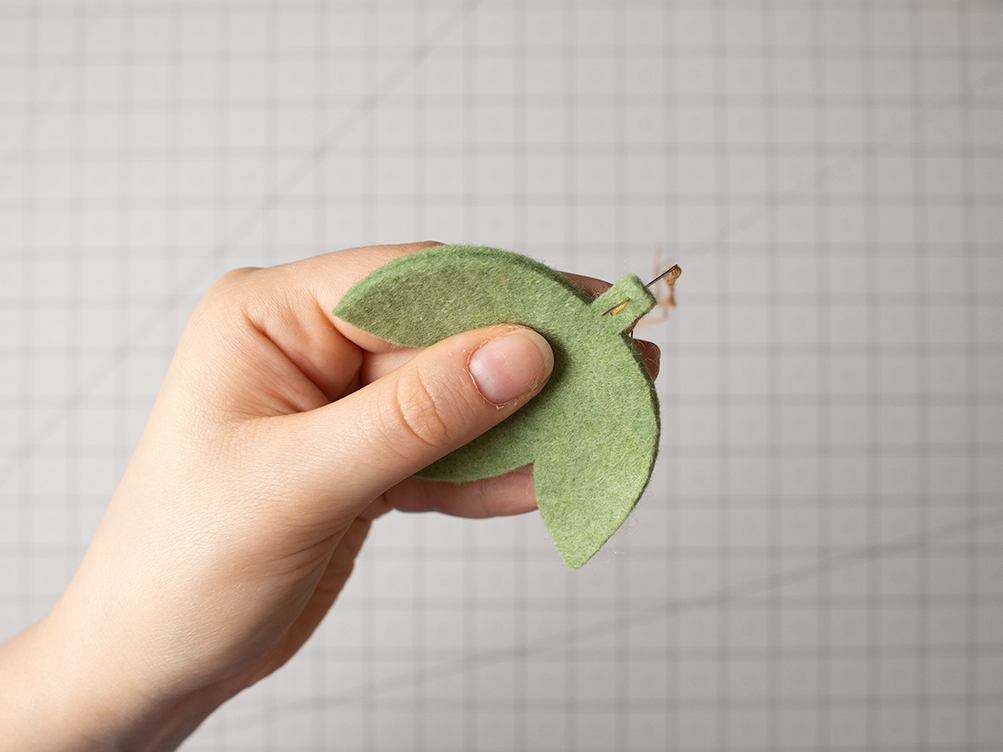

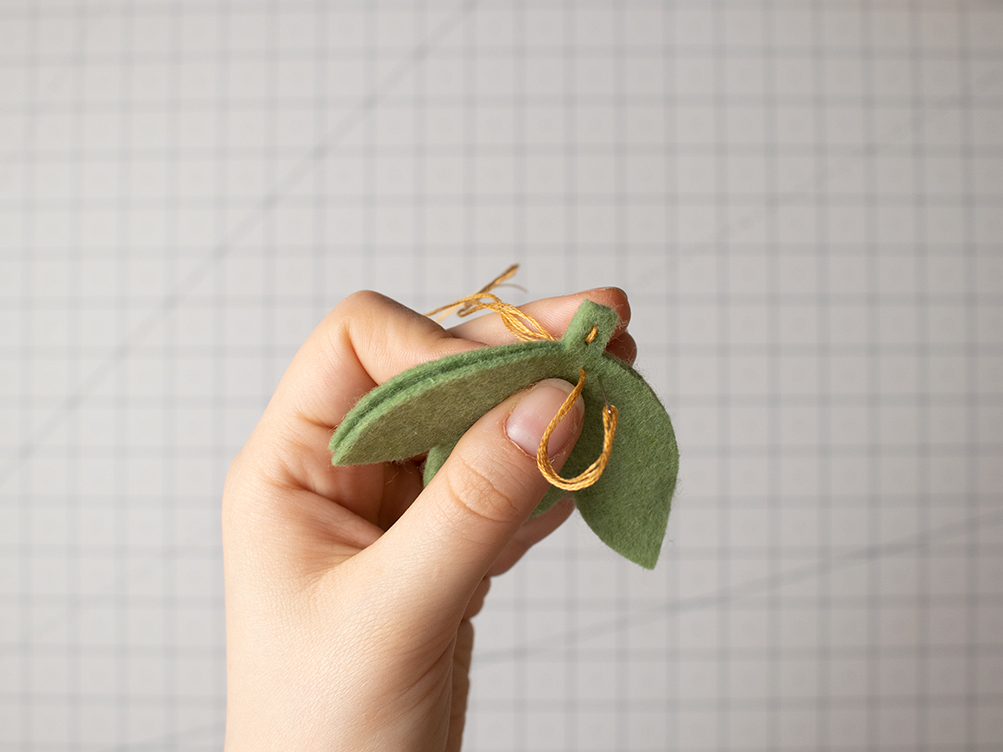
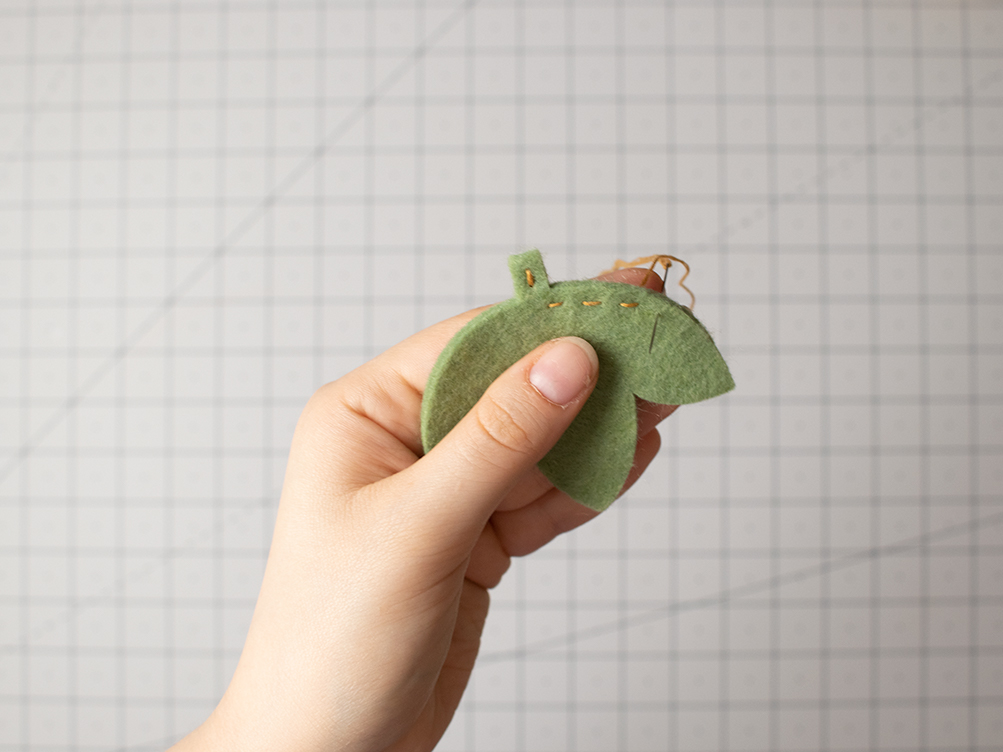
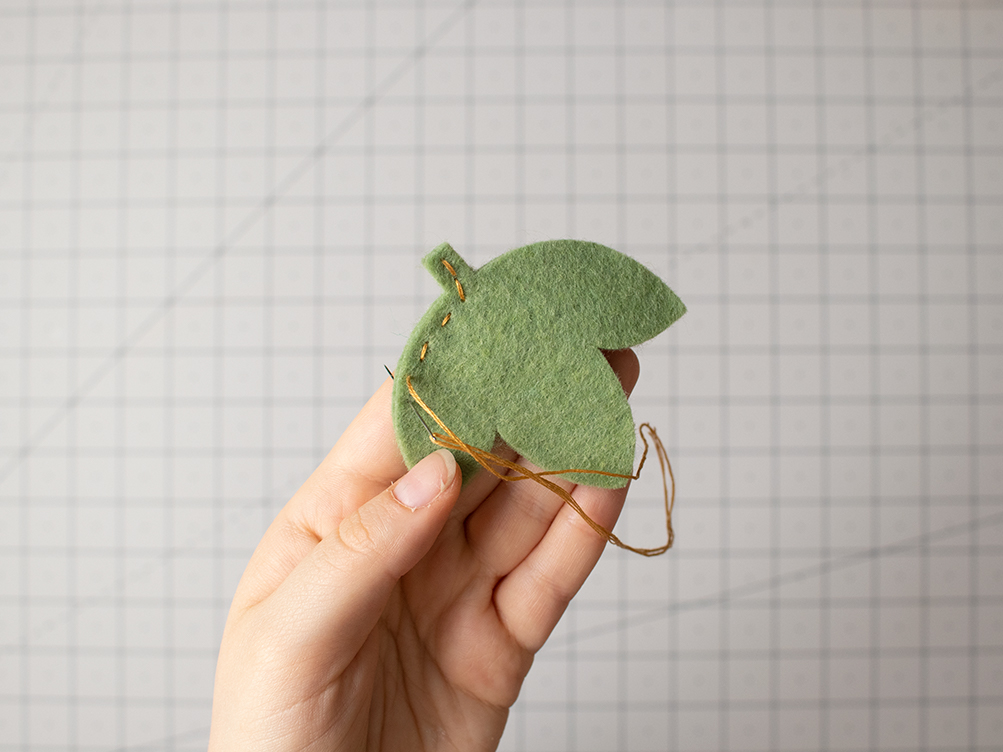
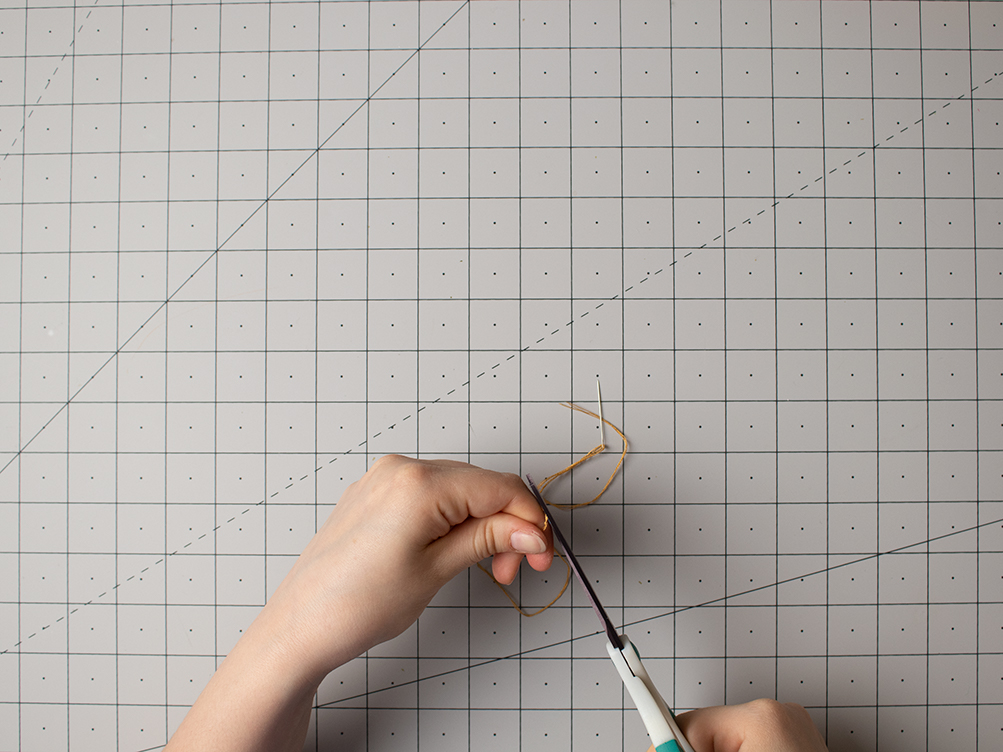
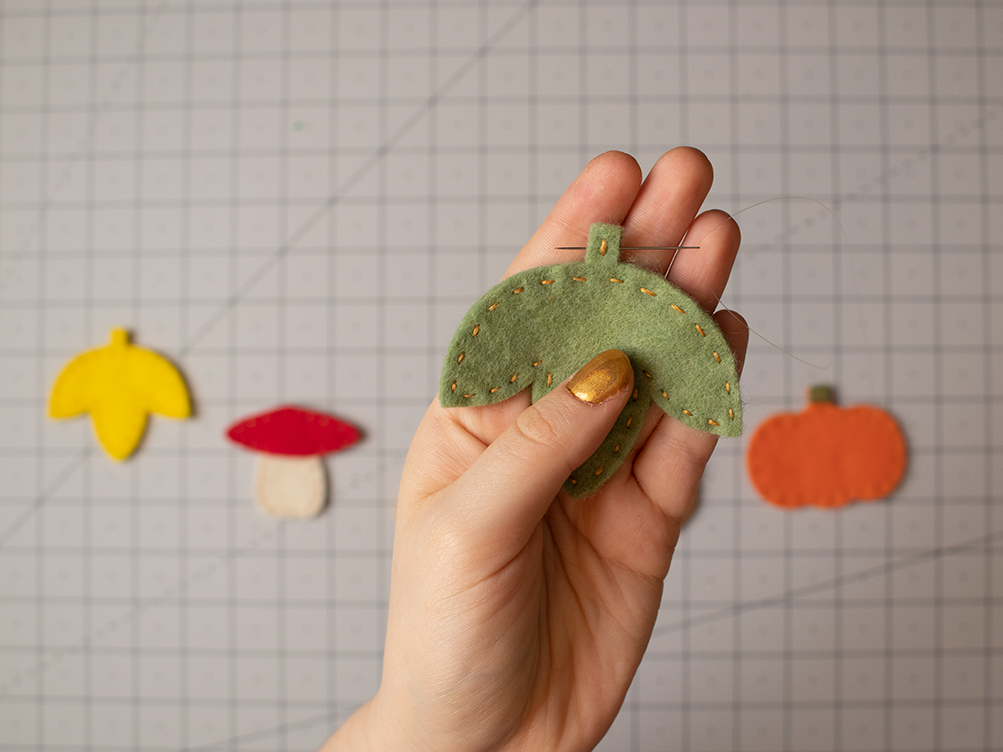
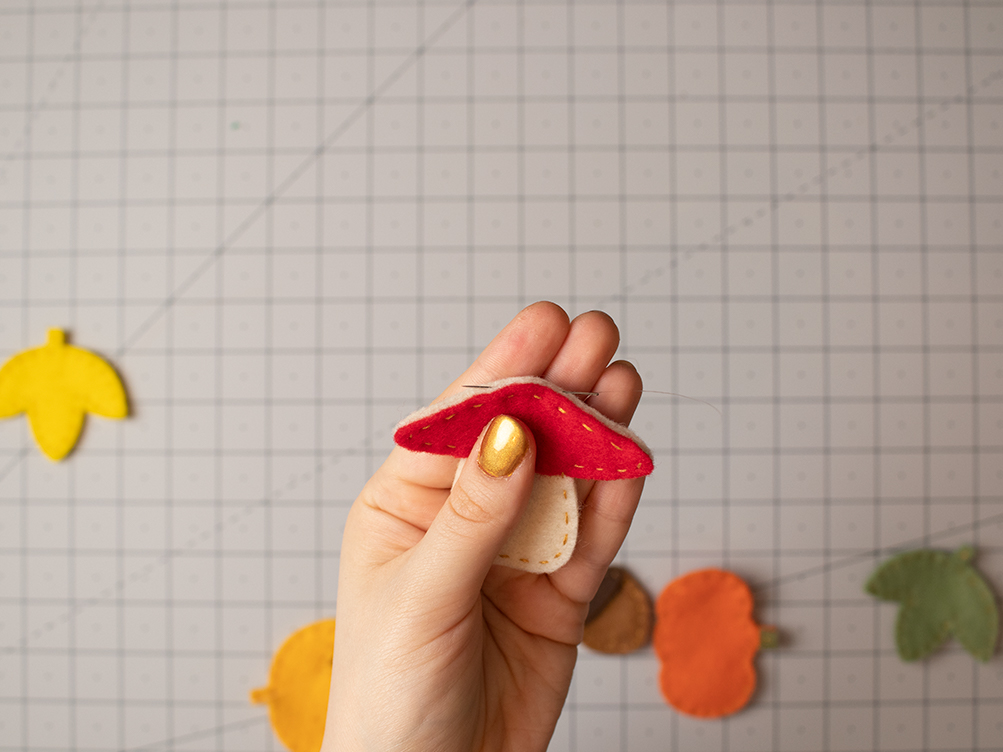
Using 3 strands of yellow embroidery floss straight stitch about 1/4in from the edge of each object. If you want to stuff these you can either stuff the centers when you have about 2 inches left to stitch or you could use the technique I used in my Bat Poppet post HERE.
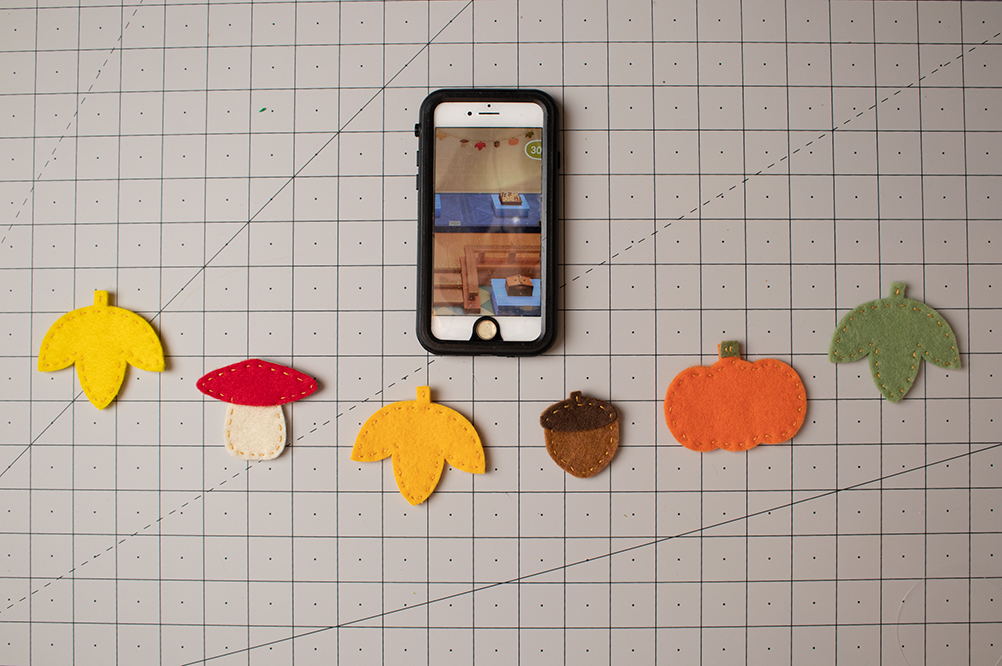
I checked a screenshot I took of the original design to get the pieces in the same order.
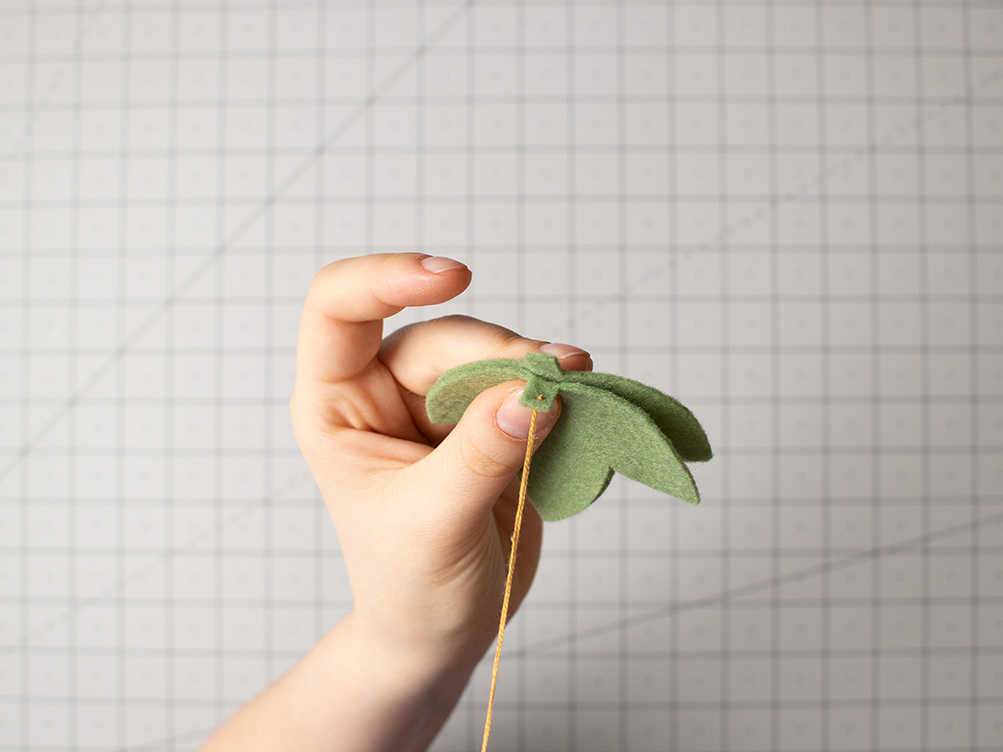
Stringing the Garland
Once all of your pieces are stitched up it is time for them to come together into a garland. Use a needle to guide the fishing line through each piece near the top. You can tie knots in the fishing line on either side of the felt pieces to keep them in one place if desired and you’re done!

Now you can hang it up and wait impatiently for November to come if you are in the Northern Hemisphere. It has taken all my willpower not to time travel to get all the mushrooms. I’ll probably make some real life versions of the mushroom items since I love them so much!
I’ll probably end up redoing my whole island once the mushrooms finally show up. Not to mention Fauna moved to my island just in time for Fall, I’m so happy.
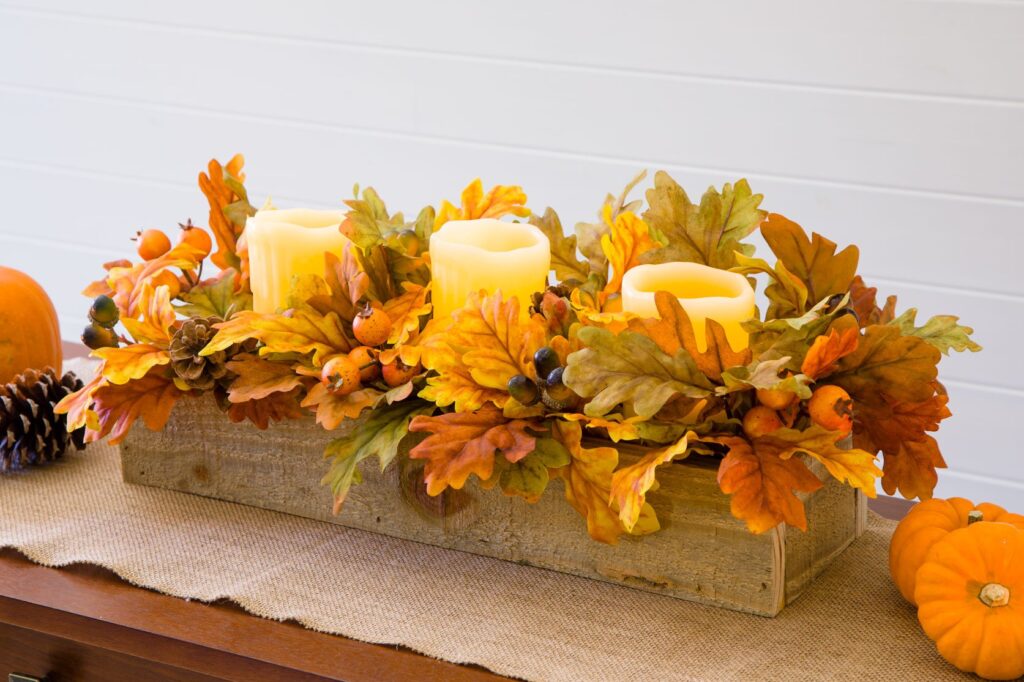
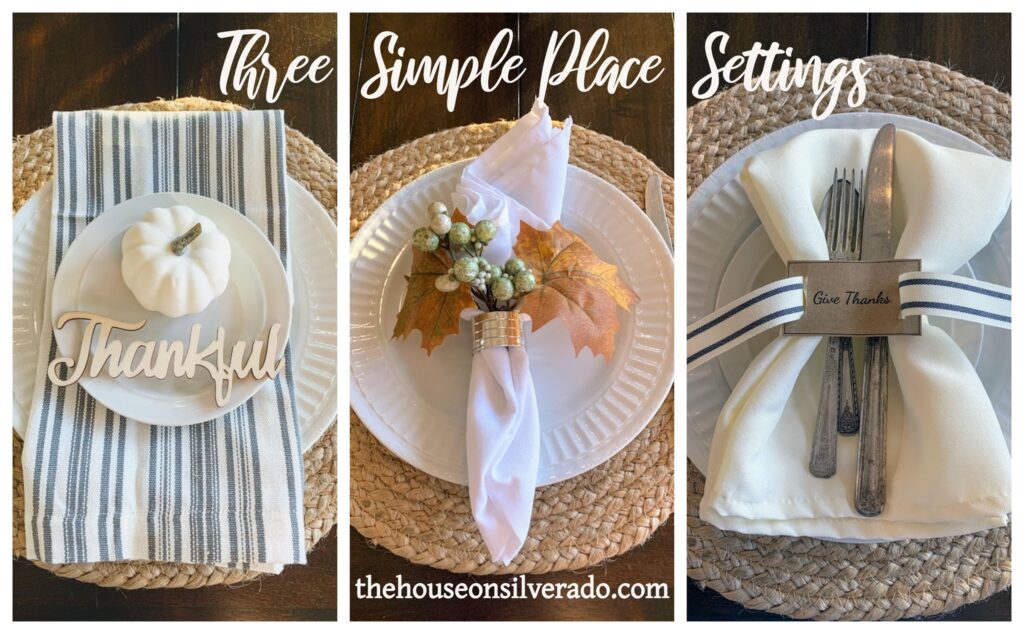
Thanksgiving Decor Ideas:

Andreas
Sunday 28th of September 2025
Didn't receive anything when entering mail for subscription. Tried 2 mail carriers and 3 different mails nothing received.
Simple Thanksgiving Table Decor - The House on Silverado
Thursday 17th of February 2022
[…] Oliva O’Hern […]
Cute Easy Felt Pumpkin Garland How To | Olivia OHern
Thursday 1st of July 2021
[…] By ConvertKit Fall Decorating Ideas – DIY Fabric Pumpkin Animal Crossing Inspired Felt Fall Garland “Hello Fall” Door Hanger Decoration Ideas Fall Dollar Tree Pumpkin Trio Door Hanger […]
Cherryl Ehlenburg
Monday 9th of November 2020
What a cute idea, and I love the colors you chose!
Mary from Life at Bella Terra
Monday 9th of November 2020
This felt garland is SO adorable. Unfortunately I do not have a Cricut machine....I've always wanted one but find them a bit intimidating. Thank you so much for sharing how it is done!