
This post may contain affiliate links. This means that if you purchase from one of these links I will make a small commission, but rest assured you will not pay more for any products.
- White Paint
- Black Paint
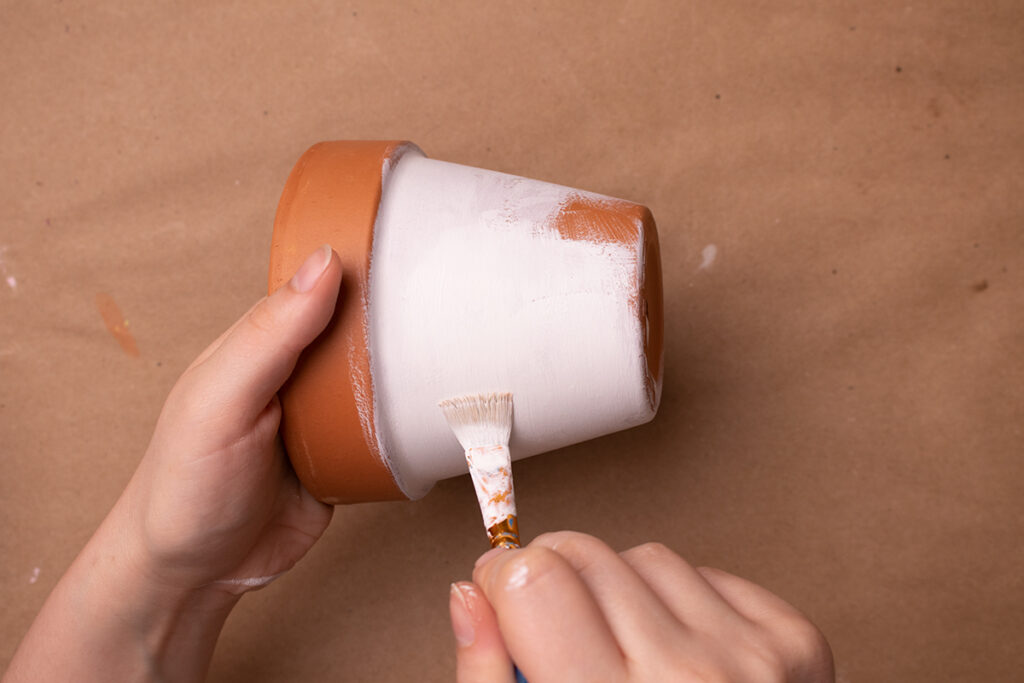
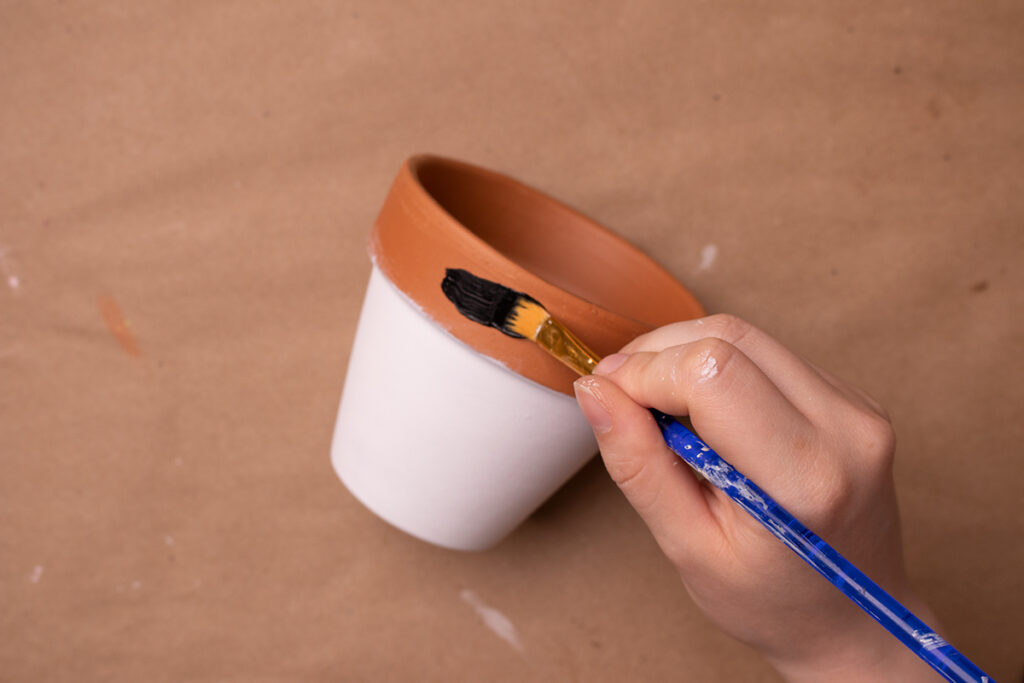
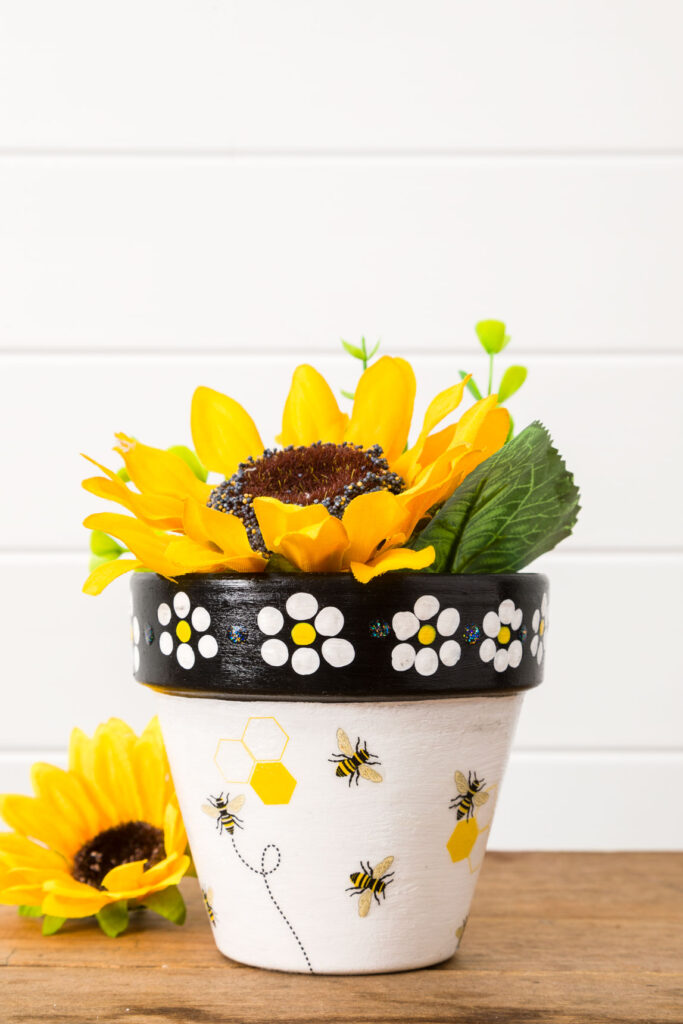
Start by painting the main portion of the terracotta pot with white chalk paint. Then, paint the rim with black paint.
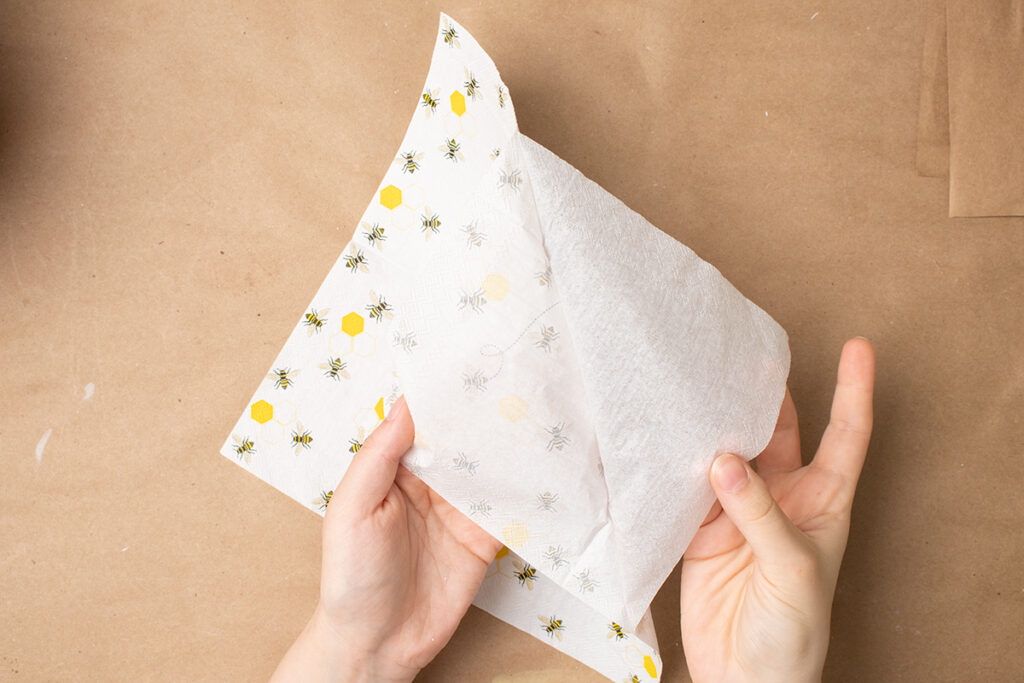
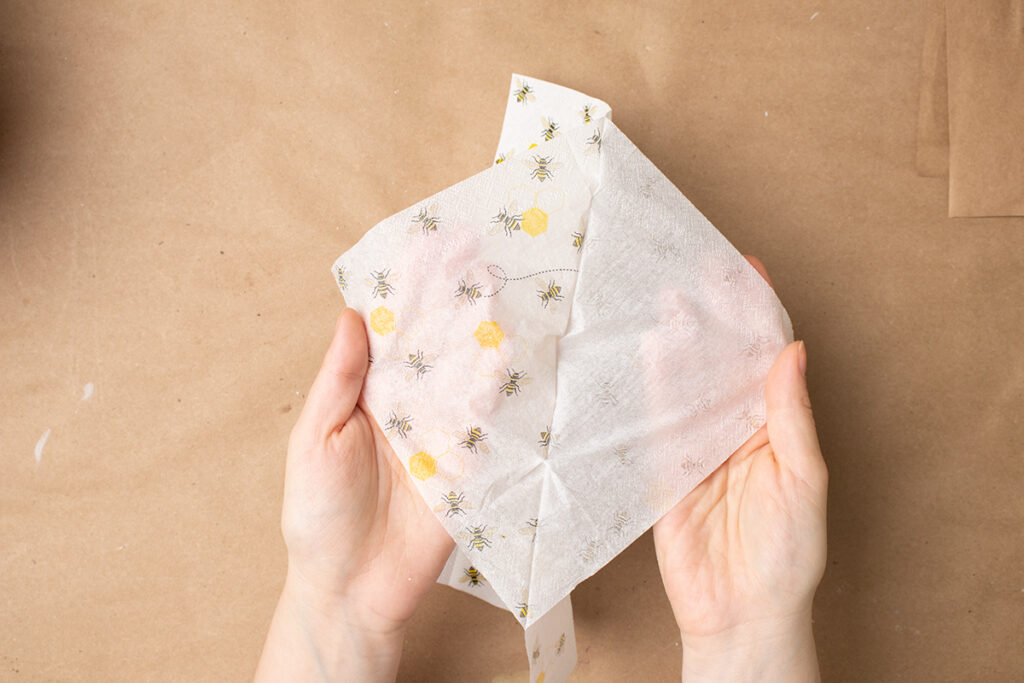
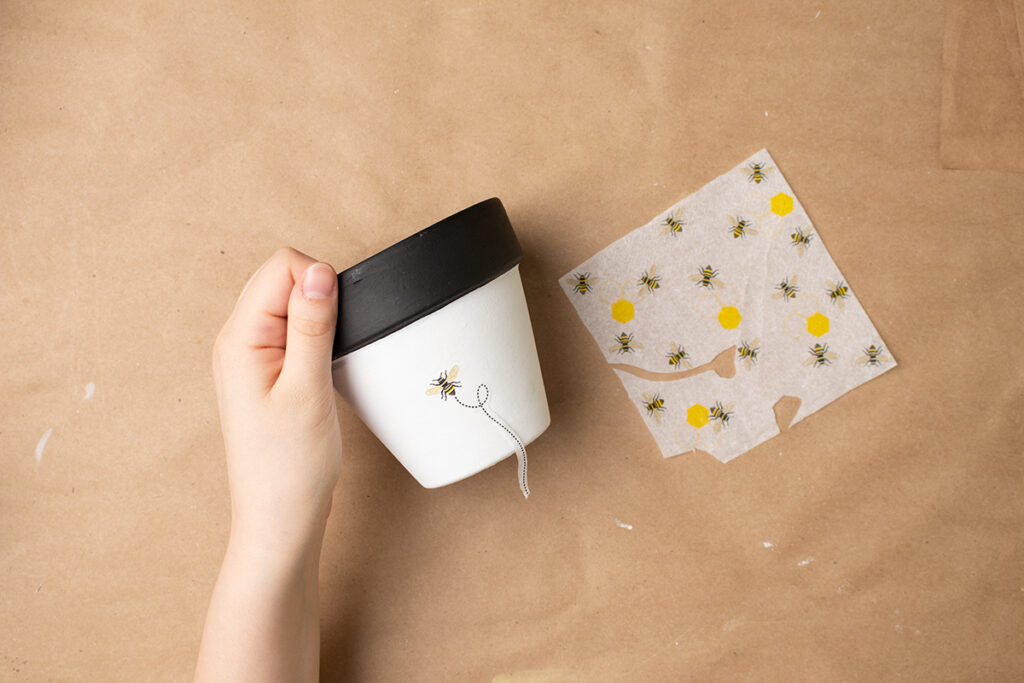
When using napkins for decoupage you’ll want to remove the printed layer from the rest of the napkin. A lot of these printed napkins are 3 ply. Be careful, these get pretty thin and delicate.
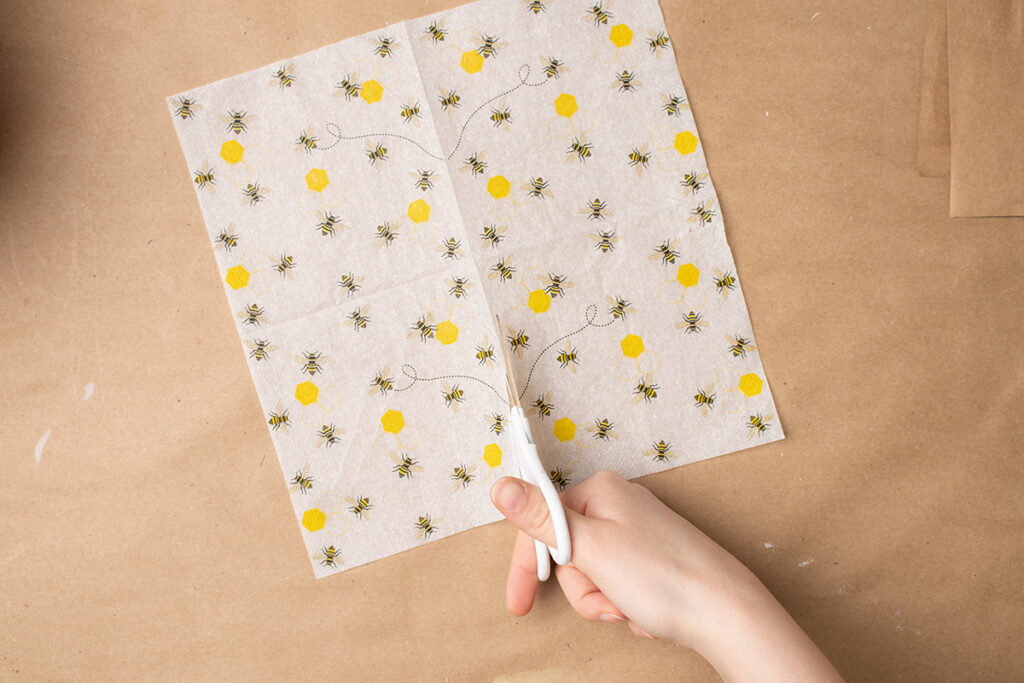
For this pot I ended using a quarter of the napkin, so I cut off a square of it to start with.
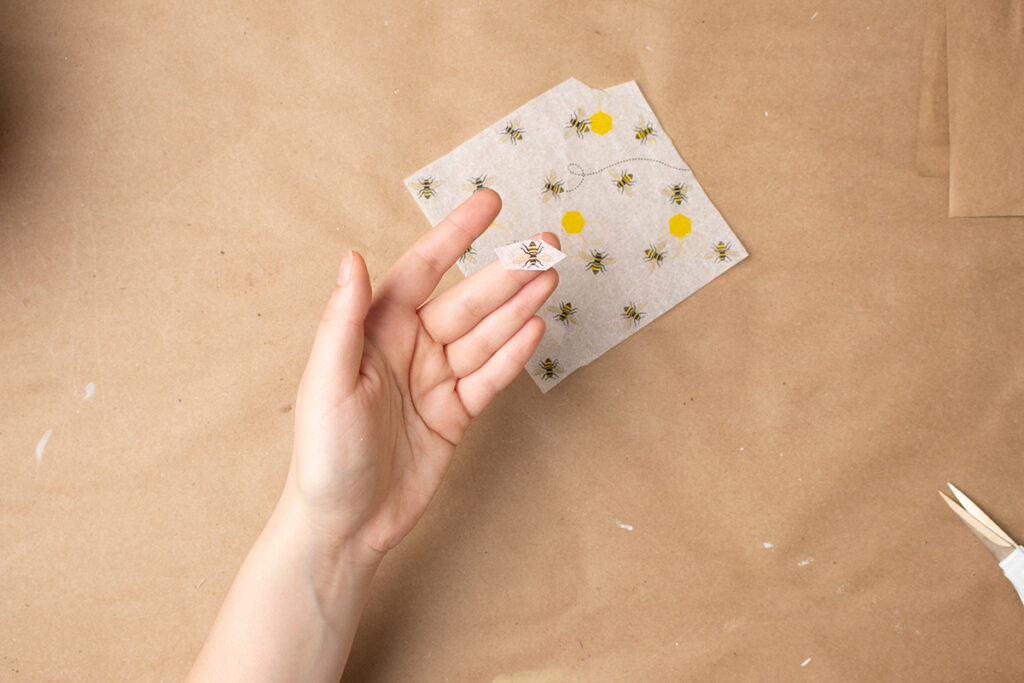
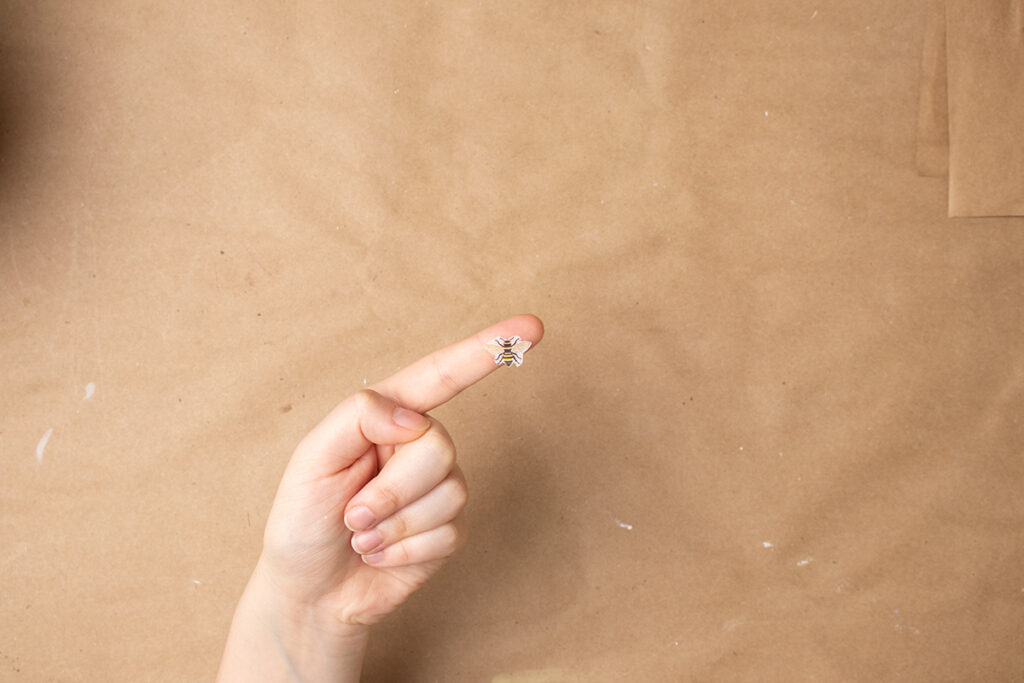
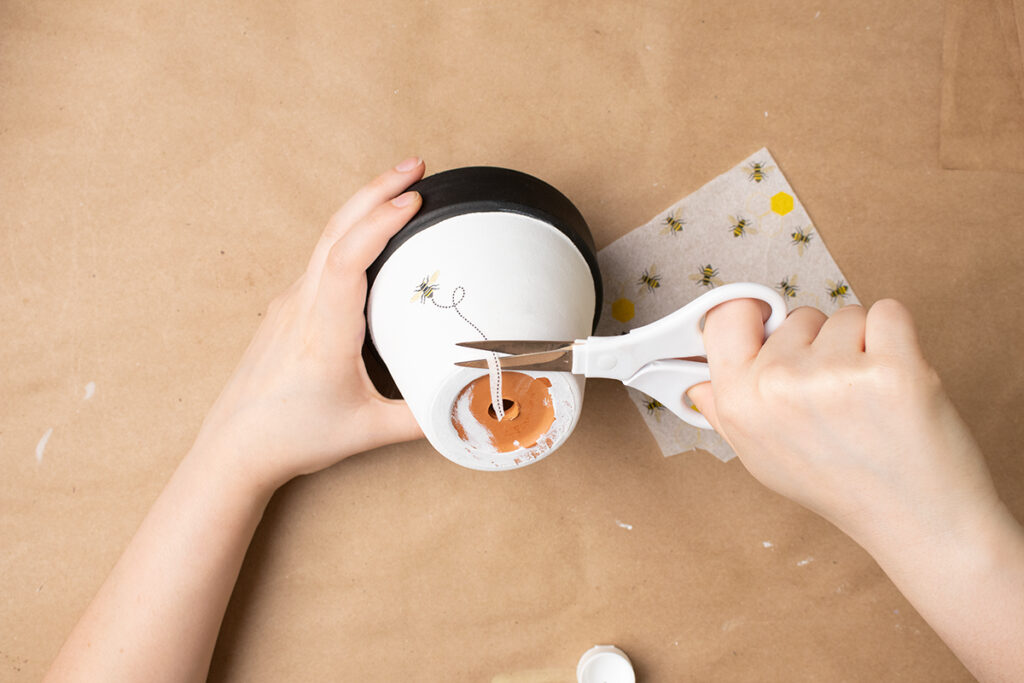
I definitely recommend using a pair of small sharp scissors to cut these out. The closer you cut to the design, the better it should turn out. If you leave on a lot of extra napkin it can create unwanted extra texture such as outlines, bubbles, and crinkles.
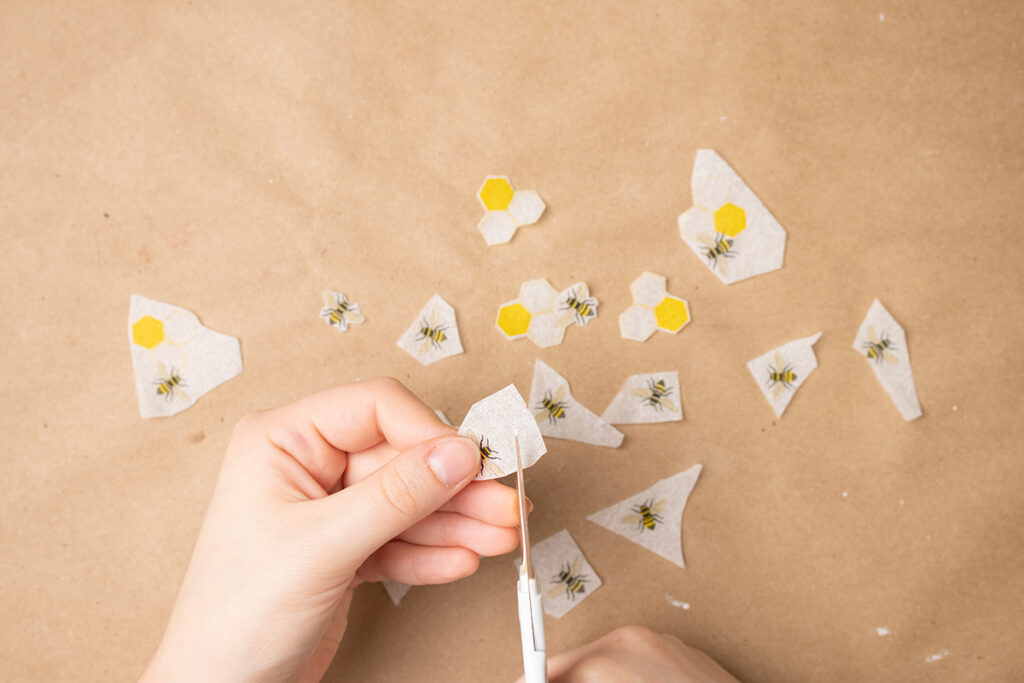
When cutting out little objects like these bees, I find the best method is to separate each object before going back in and cutting it closer to the design. Even going in to make little snips if needed.
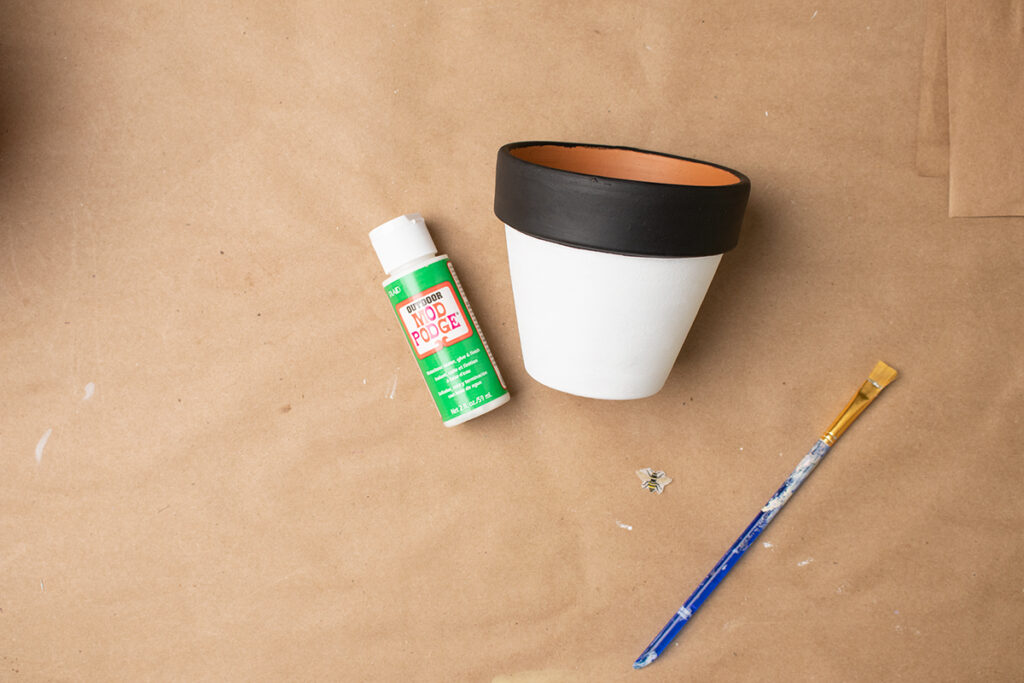
I wanted to be able to use this pot outside, so I used the outdoor mod podge. It’s a little thicker than the ones I usually use, but it goes on smooth and didn’t get any foam or bubbles.
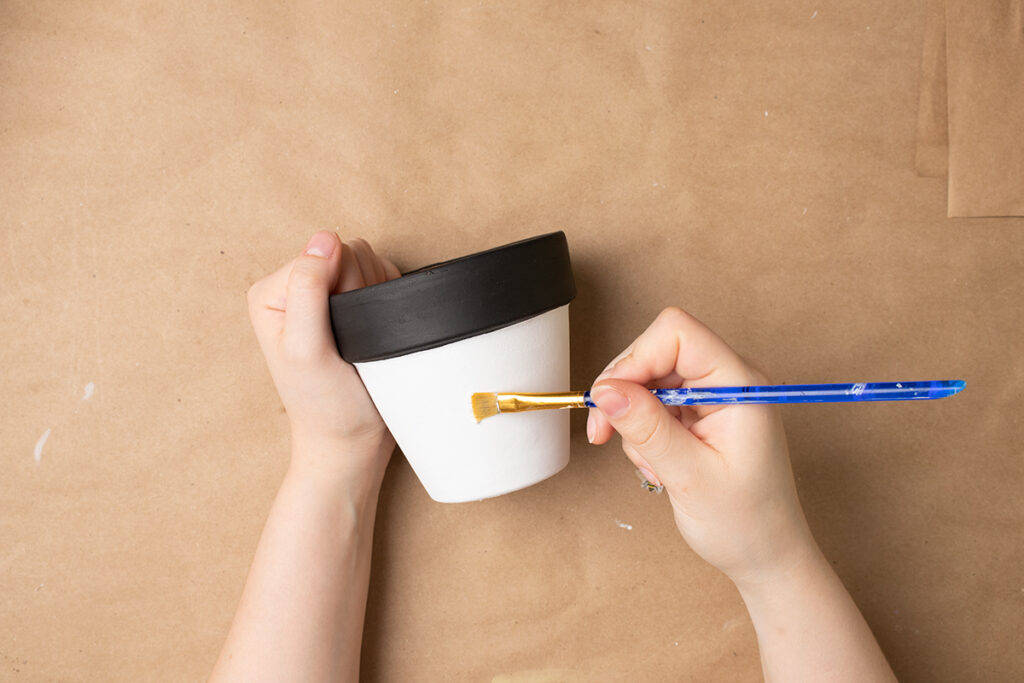
Start by painting on a patch of mod podge where I want to place the bee. I’ll dip the brush into a bit of mod podge to pick up the paper piece and press it down onto the pot. Then I spread it out over it to smooth the napkin down.
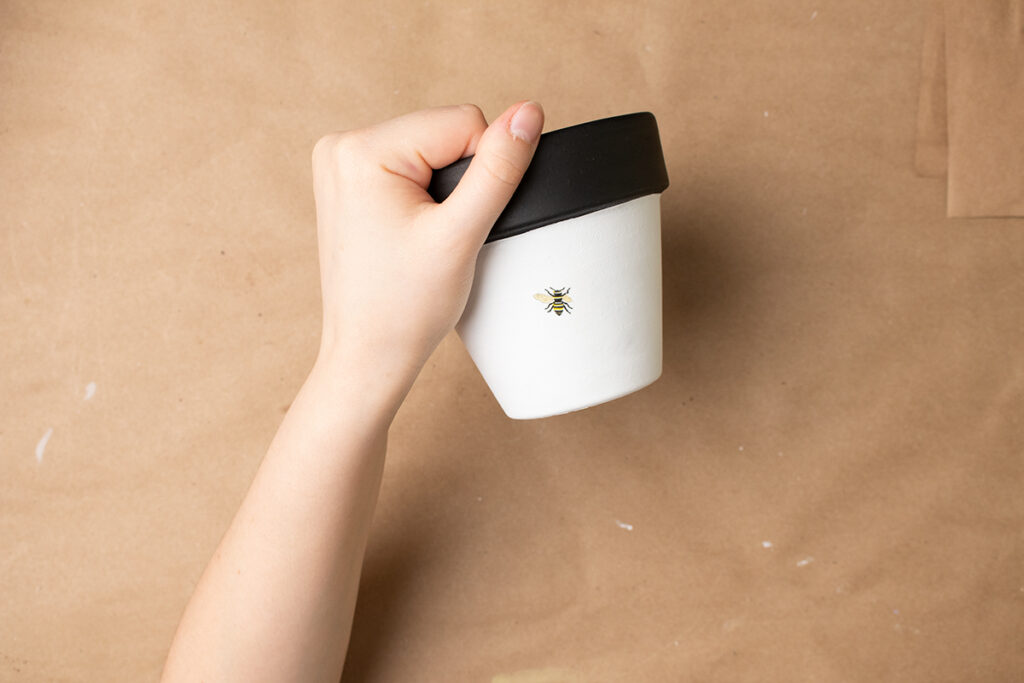
Since I cut out each piece separately I can easily move them around on the pot to get the look I want.
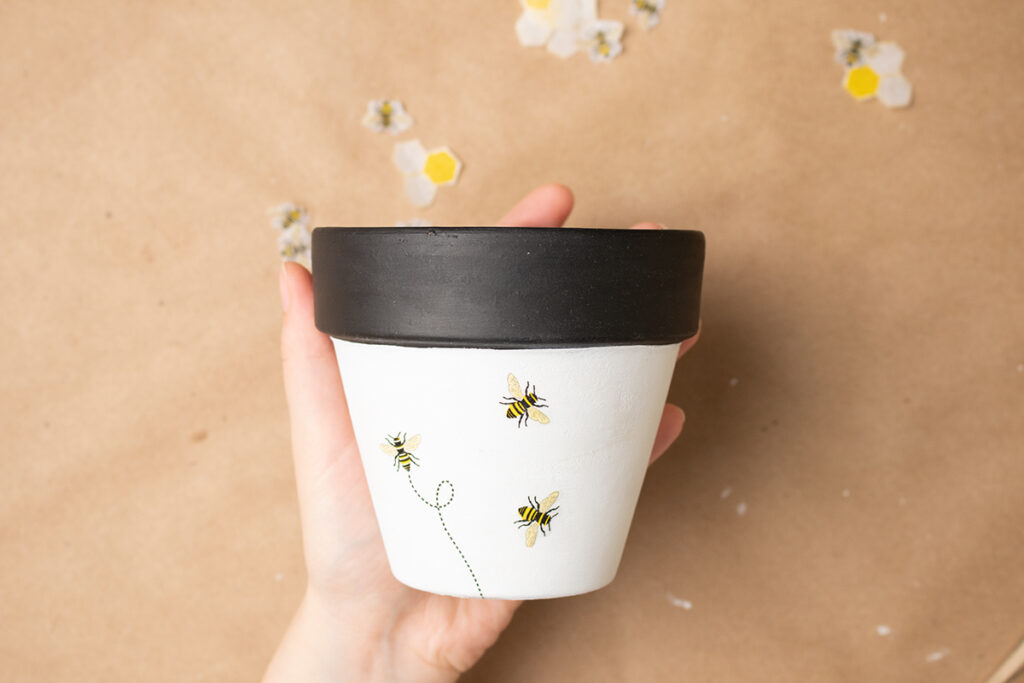
I continue working around the pot adding bees. To add more interest I put the bees going in different directions like they would when crawling around a hive. I covered the whole pot with just 1/4 of the napkin using this method.
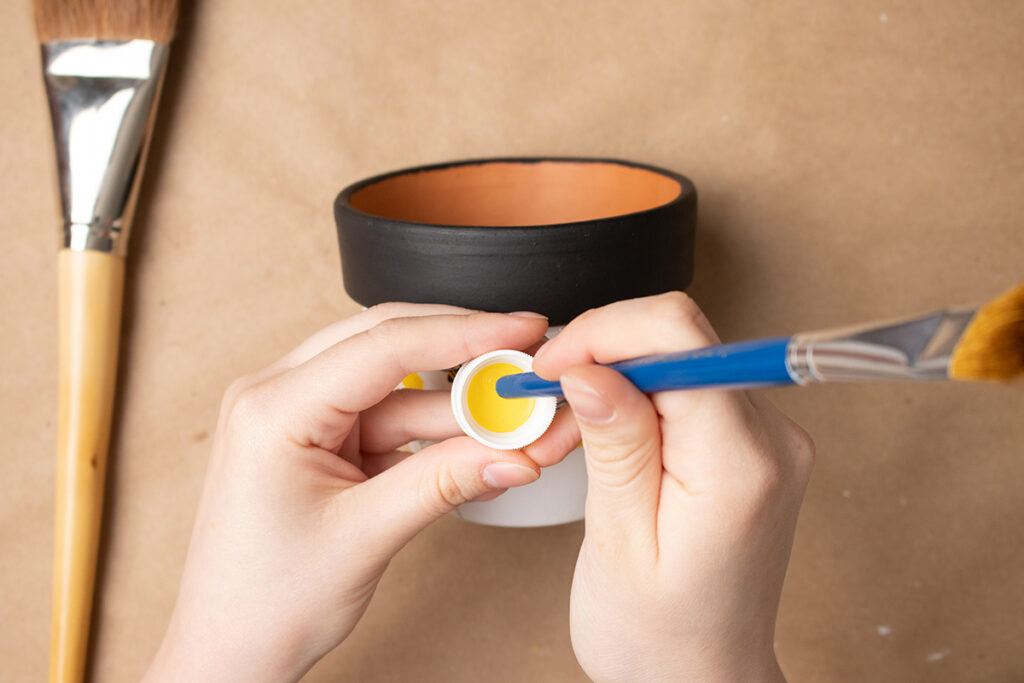
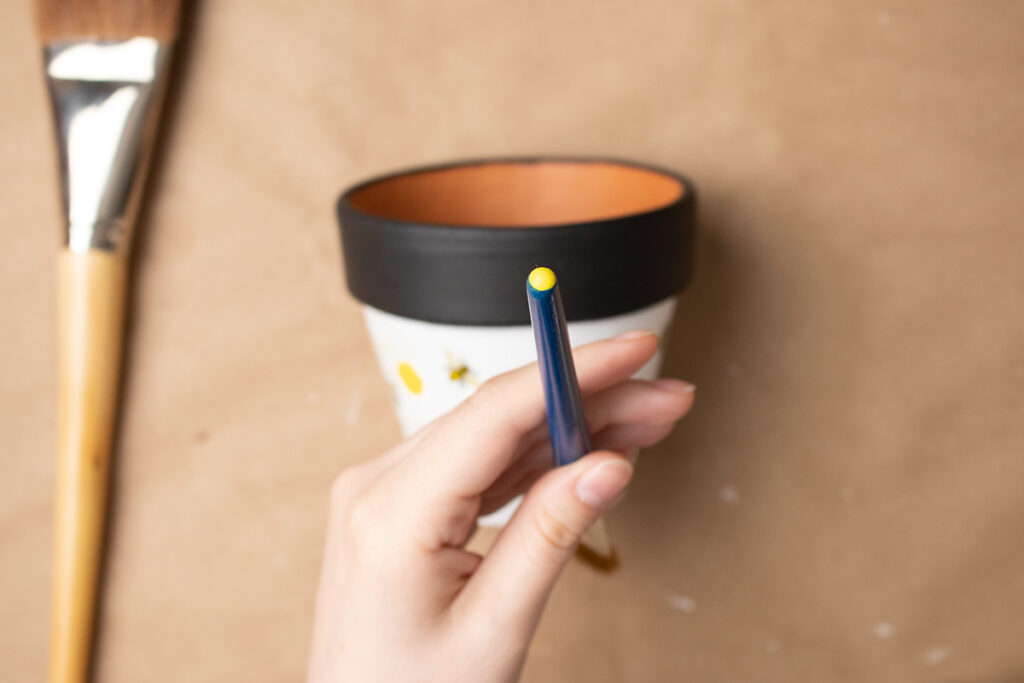
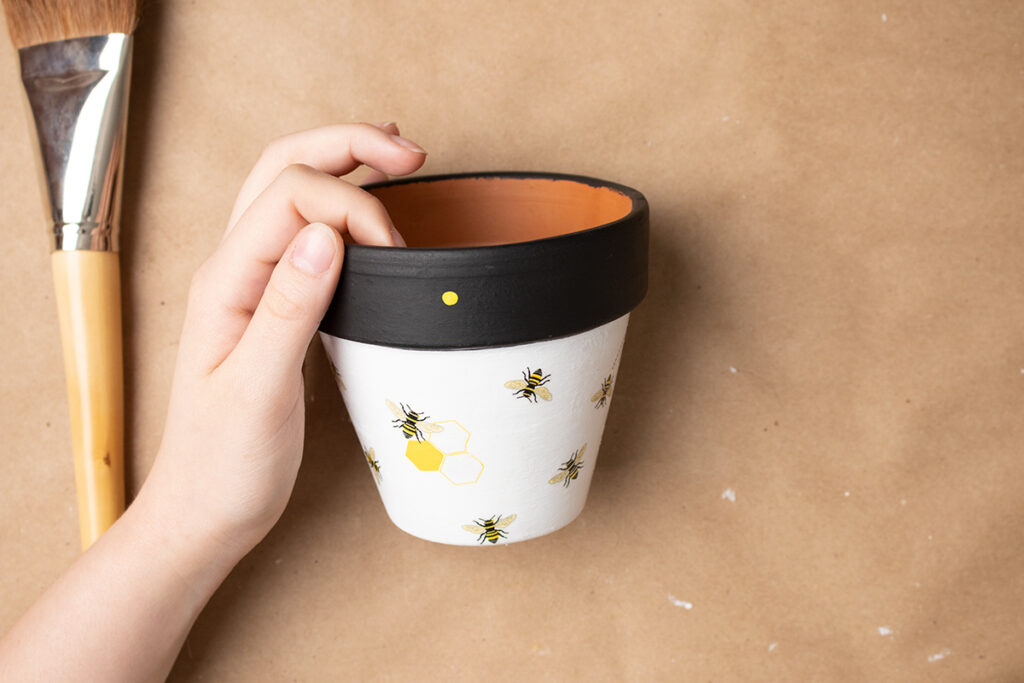
For the rim I wanted to add some cute daisies. I used the ends of two paintbrushes to paint them on. Dipping the end in the lid of the paint seems to work really well. I put the yellow in the center of the rim to serve as the center of the flowers.
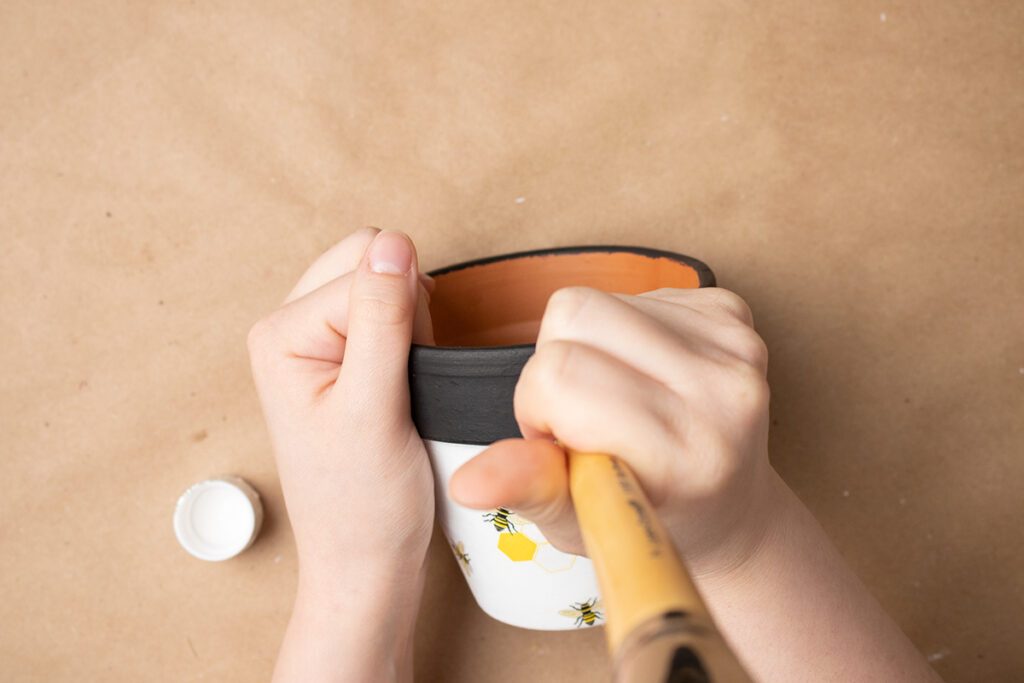
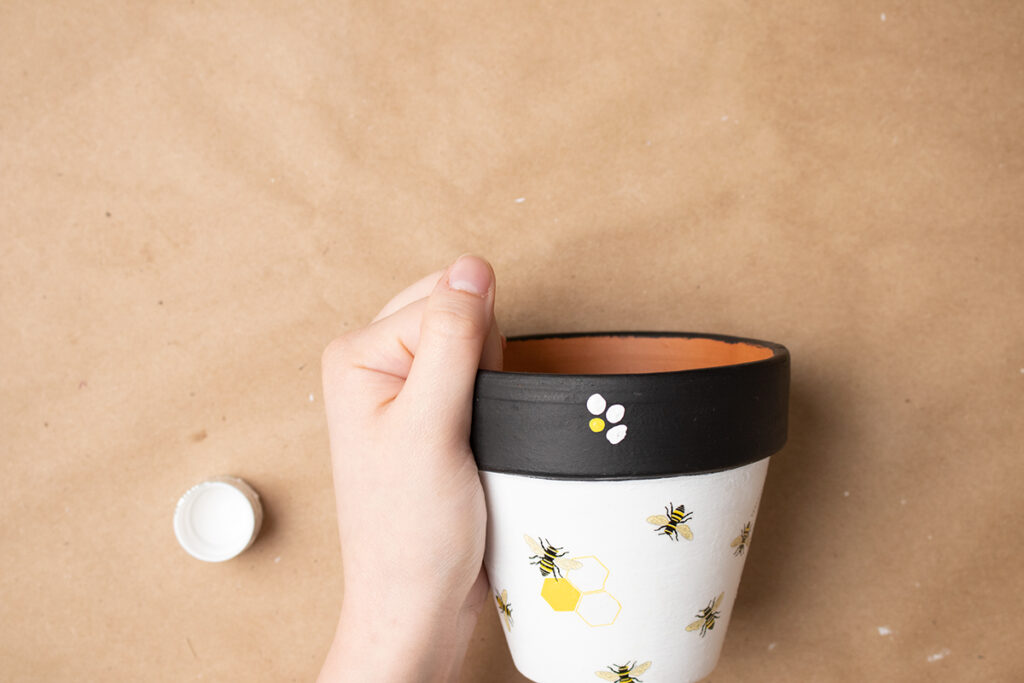
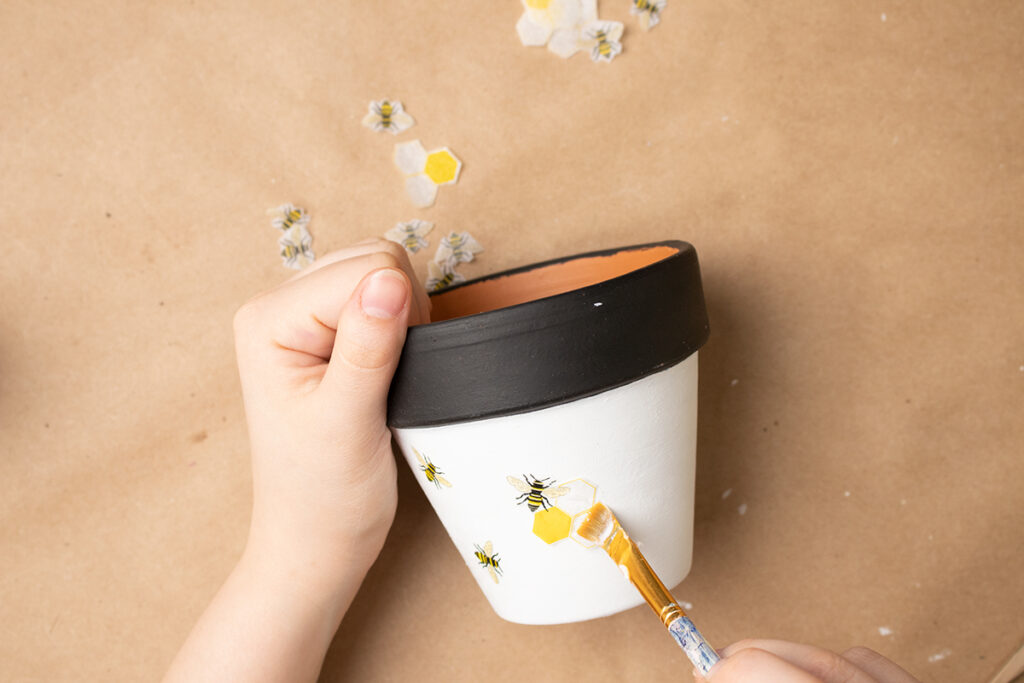
Then I go around the yellow dot with six white dots. I went around the whole rim like this and added in dots of sparkle mod podge in between as well as on the wings of the bees.
Once everything has dried I add one final coat of the outdoor mod podge to seal everything in.

Barbara
Saturday 5th of April 2025
So fun to pick up this post, too, Olivia!! I pinned several photos from both of your Mod Podge pot posts. :) Funny, I still call Mod Podge "Modge Podge..." Bad habit I guess from childhood, lol!
Have a great weekend, Barb :)
Friday With Friends #55 January I’ll Follow the Sun
Friday 14th of January 2022
[…] Decoupage is one of my favorite crafts. Olivia OHern shows you how to create a Pretty Bee Inspired Flowerpot. […]
rachelle
Friday 14th of January 2022
I love decoupage projects. This little flowered bee pot is so cheerful and has put me in the mood to buy my summer flower seeds :) Look to be featured at the next Friday with Friends link party!
Barbara Chapman
Wednesday 11th of August 2021
Love your sweet flower pot!!! So cheery... Happy to feature your post at tonight's Share Your Style #313 for you. :)
Enjoy creating those pots, Hugs, Barb :)
Share Your Style #313 – French Ethereal
Wednesday 11th of August 2021
[…] Olivia OHearn who shares her tips and tricks for creating this sweet fall flowerpot in this post ~ How to Découpage Flower Pots with Paper Napkins. So […]