Supplies
This post may contain affiliate links. This means that if you purchase from one of these links I will make a small commission, but rest assured you will not pay more for any products.
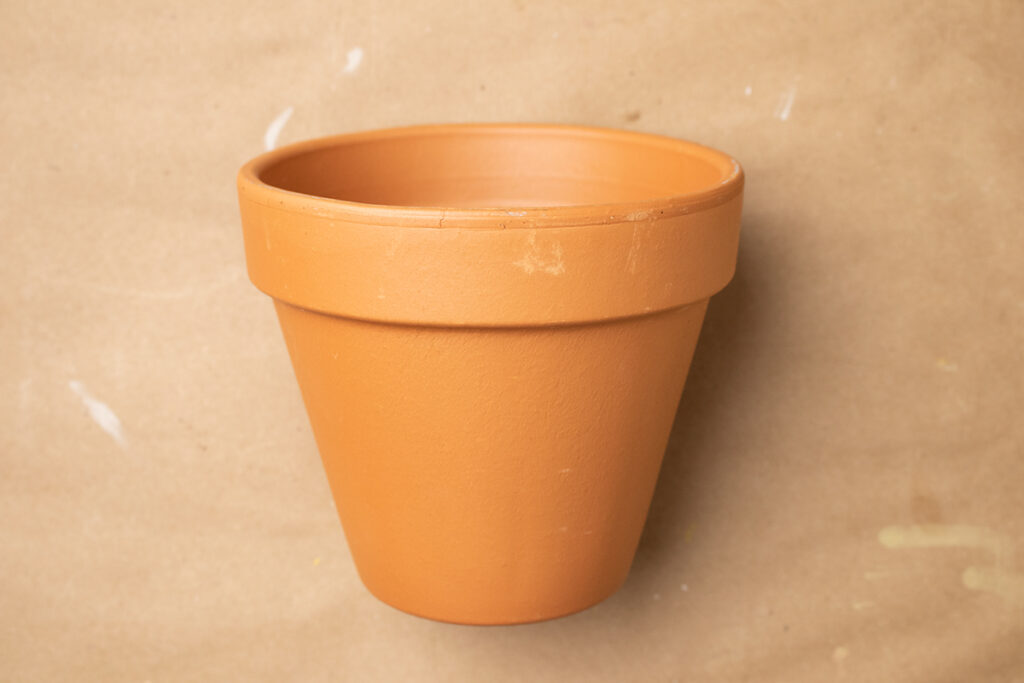
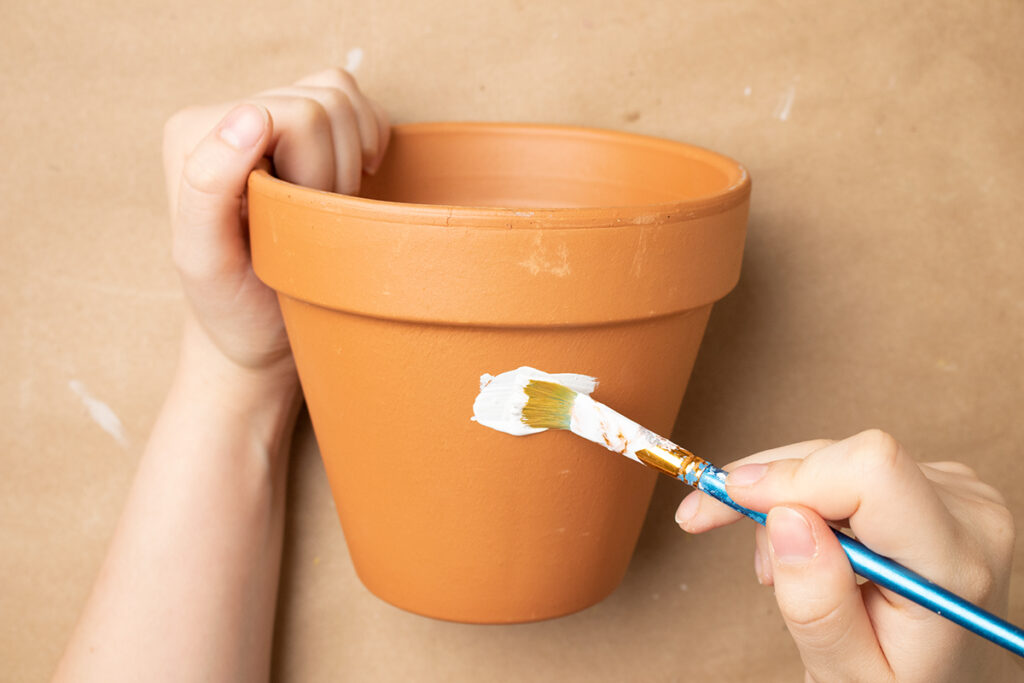
First thing I do whenever I paint pots is to wash/wipe them off and let them dry. Then I go in with a base coat of paint. For this pot I used white paint THIS is my favorite kind to use. I typically use two coats painting in two directions to minimize the look of brush strokes.
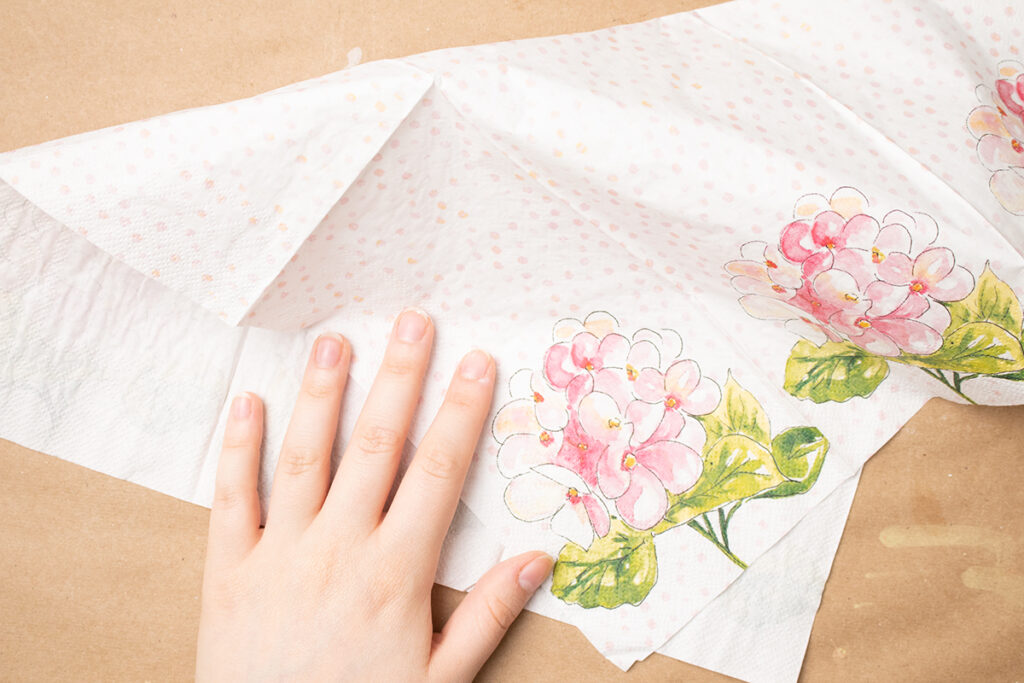
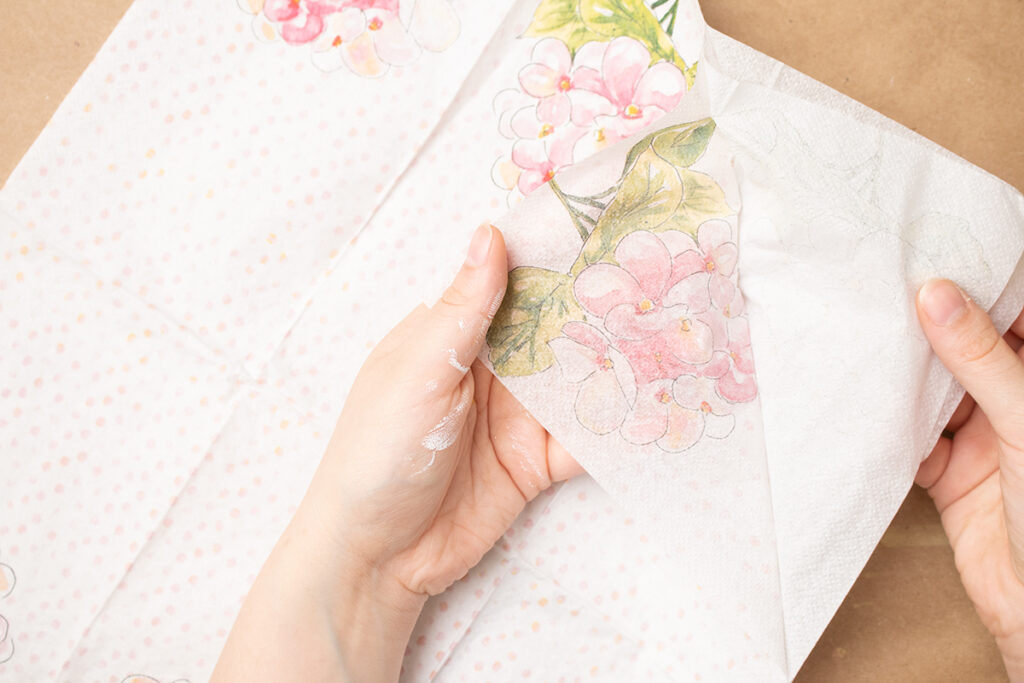
While the paint dries I prepare the napkin I will be decoupaging onto the pot. Napkins work great for decoupage because a single ply is so thin, making it similar to decoupage with tissue paper. You’ll want to use just the very top, printed layer. I usually go to a corner to find and separate the layers from each other carefully.
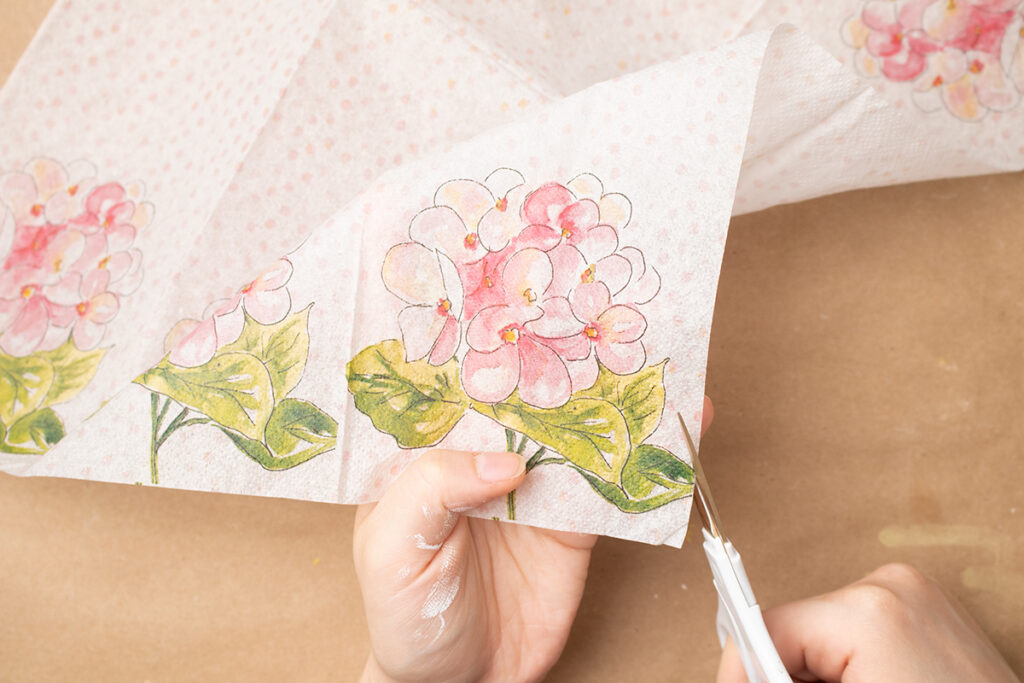
Once I have just my top layer, I can cut out one of the flower bunches. I start with a rough cut, separating it from the rest of the napkin.

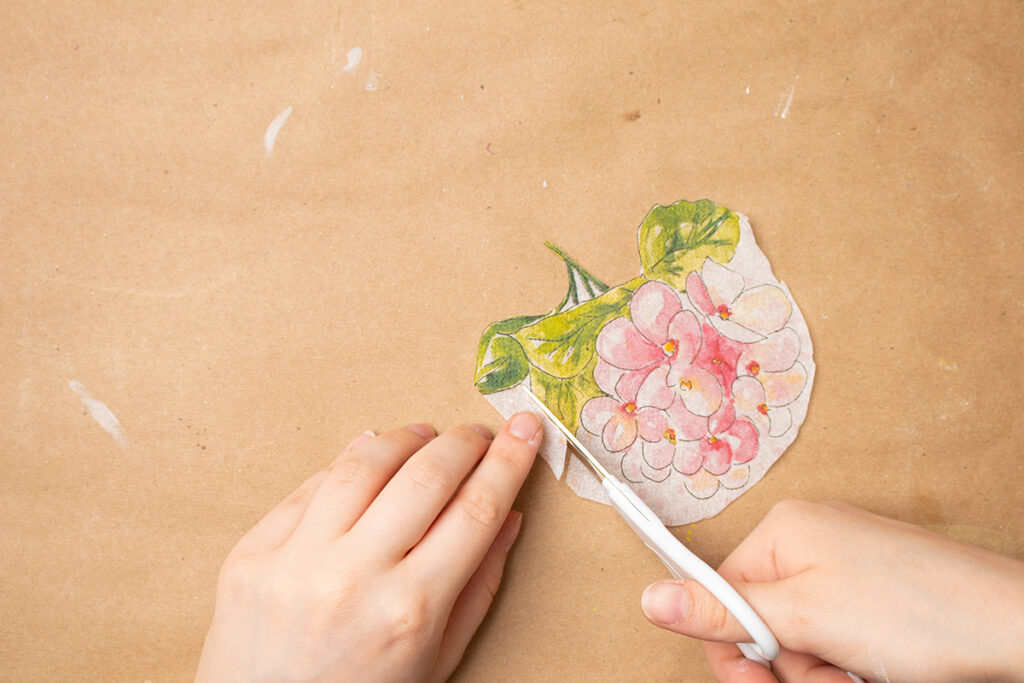
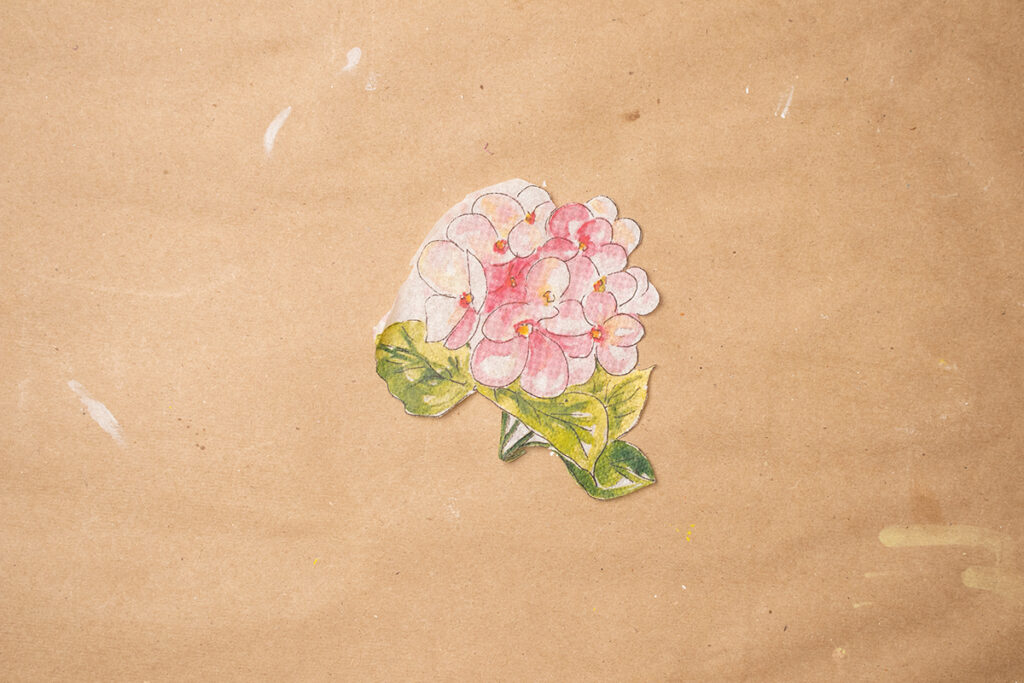
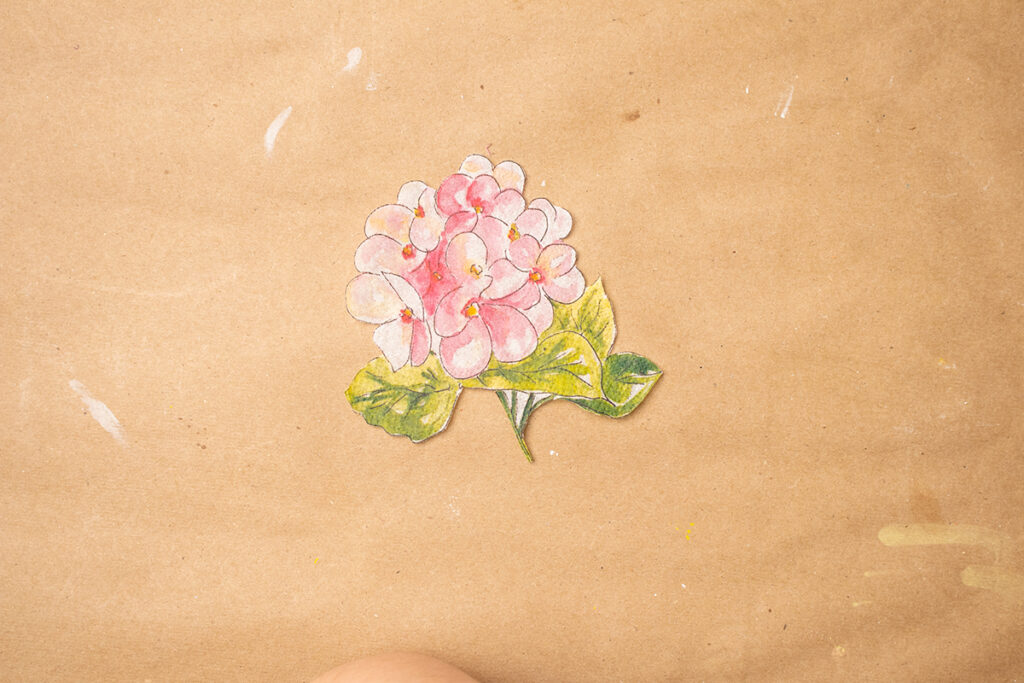
So I go in, cutting away the white from the edges of the design. One of the leaves had a cut off tip so I went in with my scissors to give it a new one.
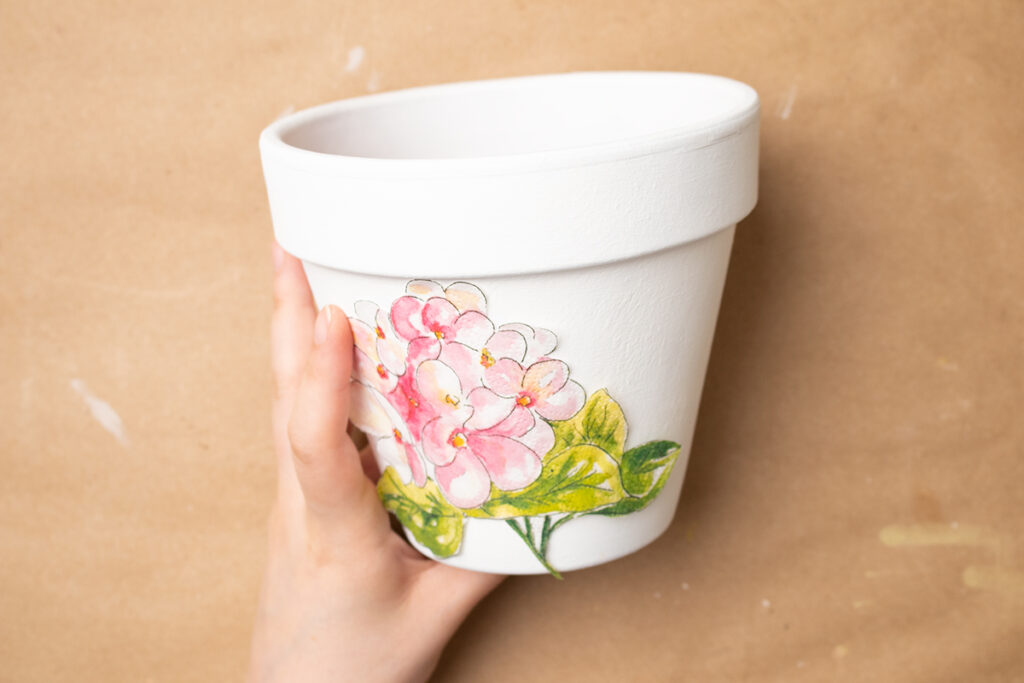
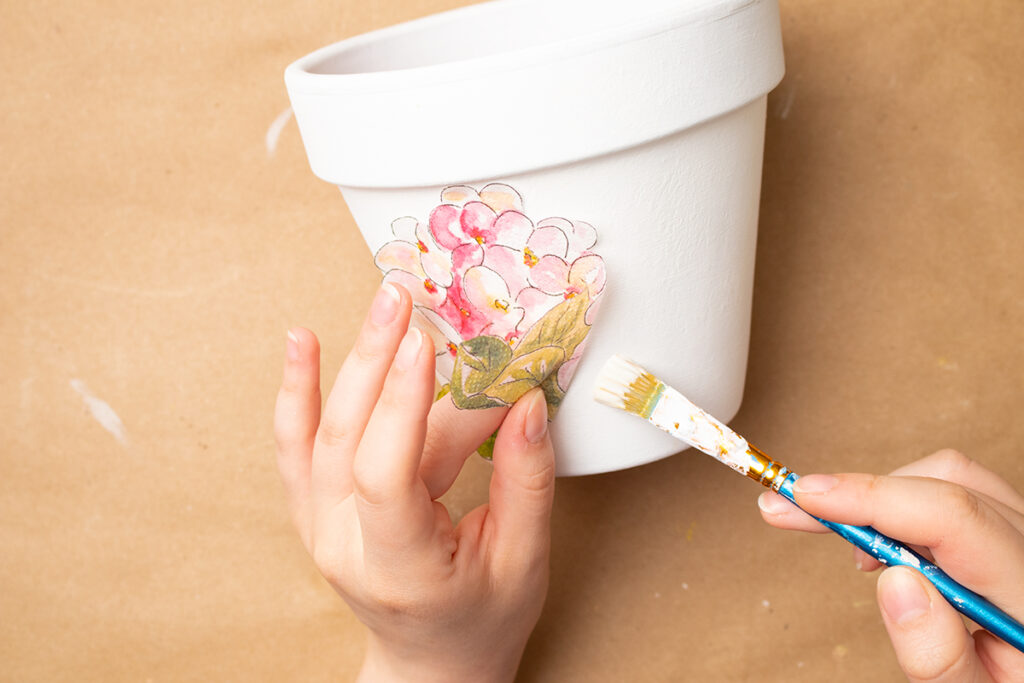
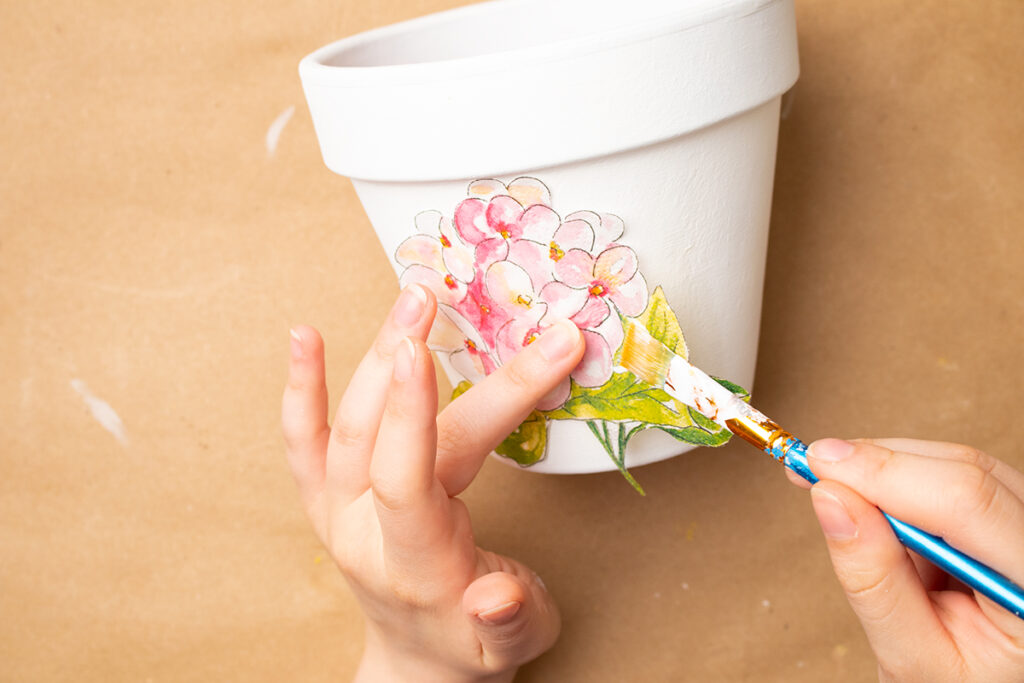
Now I can figure out how exactly I want to place the napkin on the pot. Once I have it where I want it, I hold it down with one finger and hold up the edge with the rest of my hand. This way I can start putting down the mod podge with out worrying about misplacing the design. I press the napkin down into the wet area so it holds itself in place.
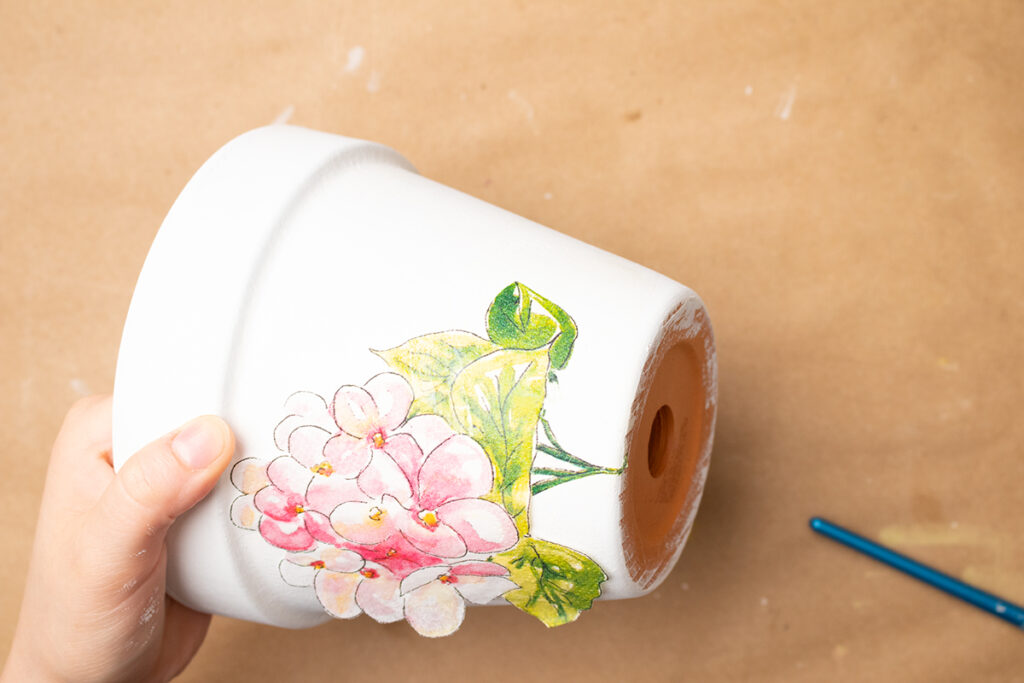
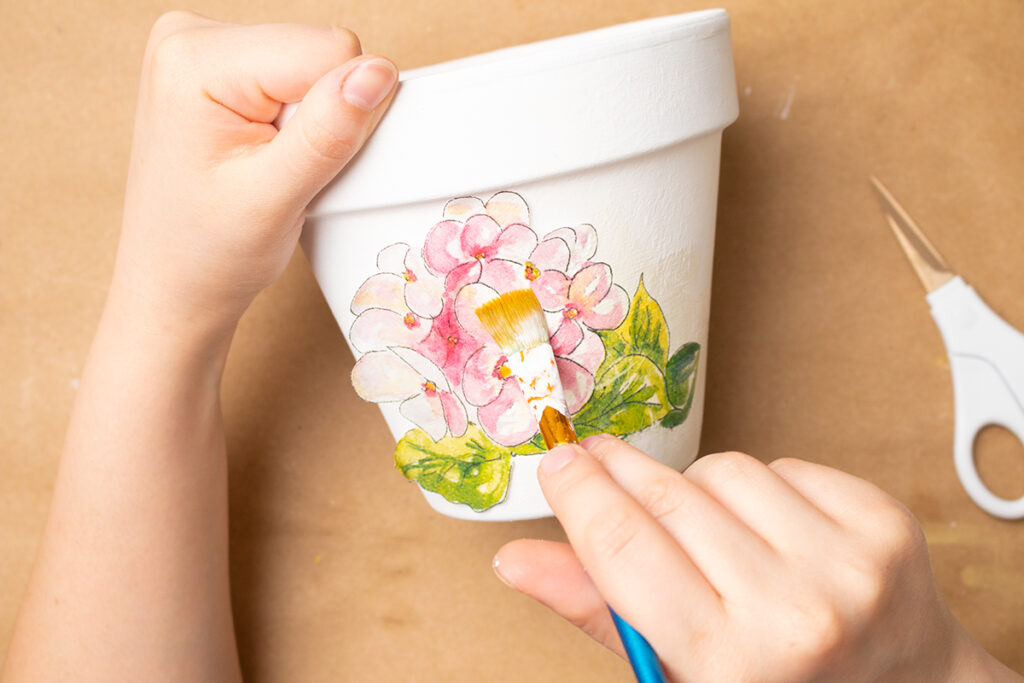
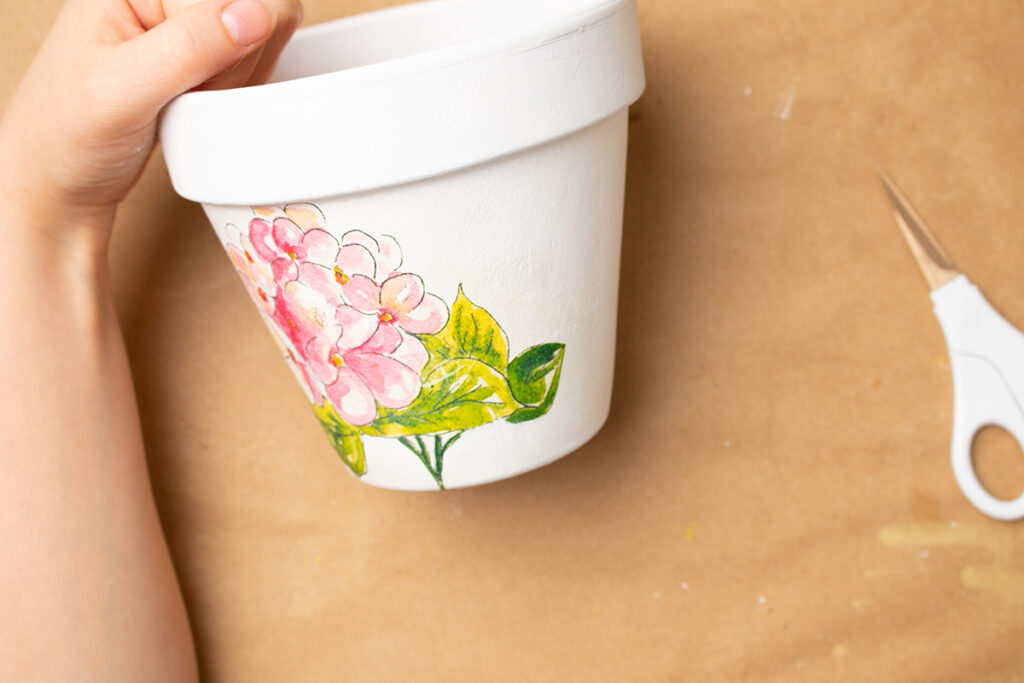
I continue adding Mod Podge under the design and then adding some over it to seal the napkin in and to work out any creases or bubbles that may have tried to form.

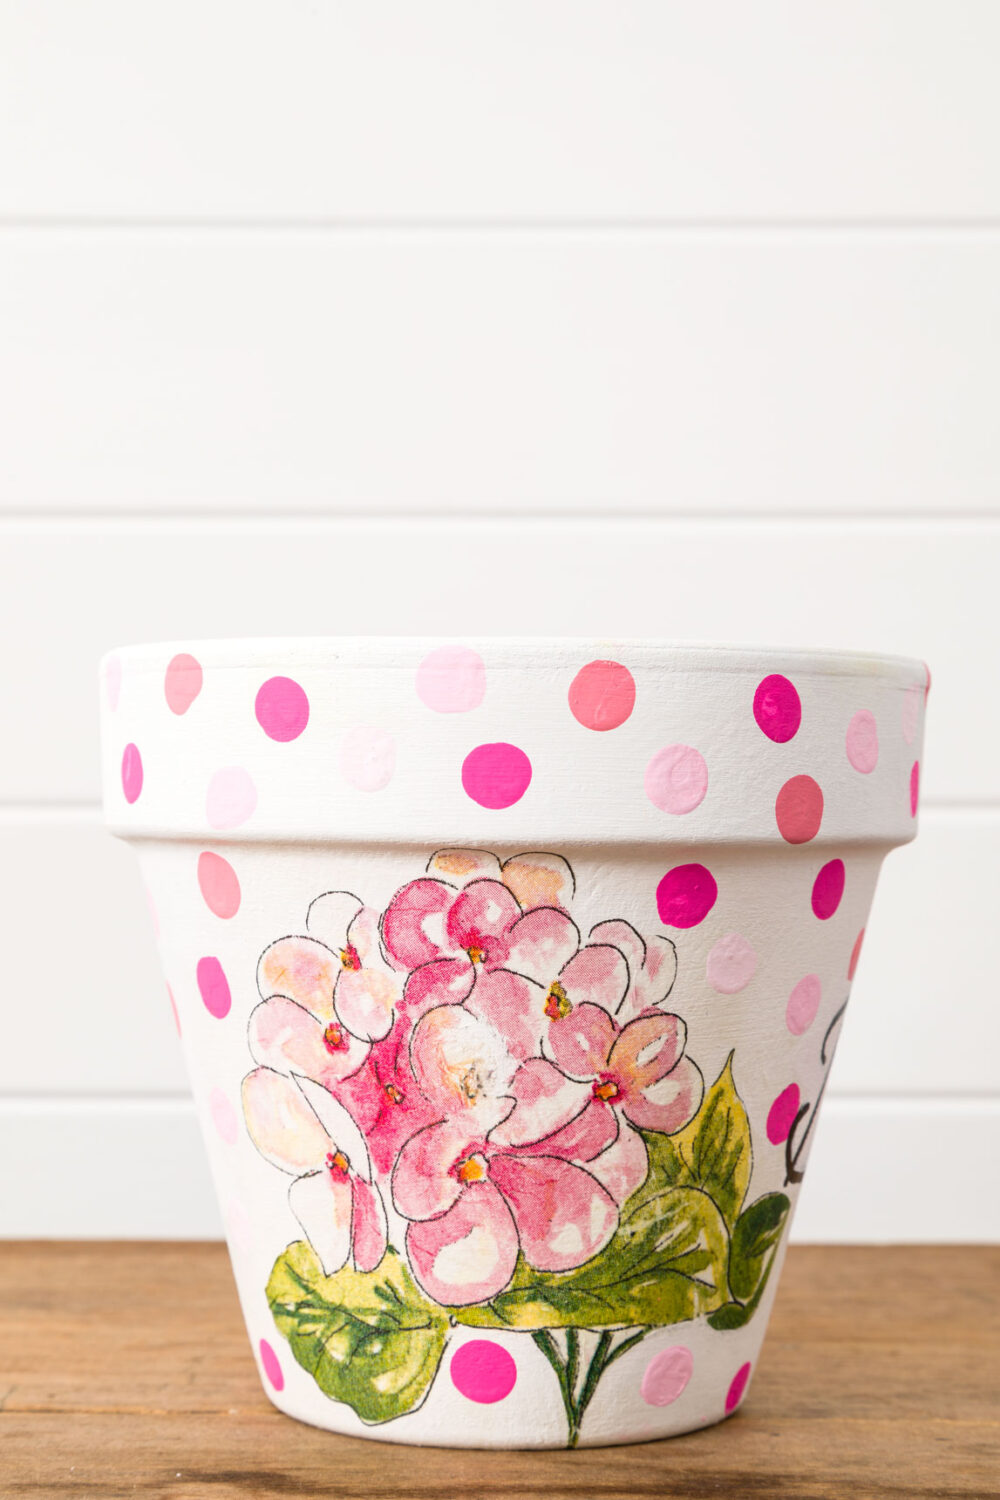
Once the Mod Podge is dry, I start adding dots all over the pot somewhat mimicking the pattern from the napkin, but larger. I mixed up 4 shades of pink that matched the pinks of the flowers.
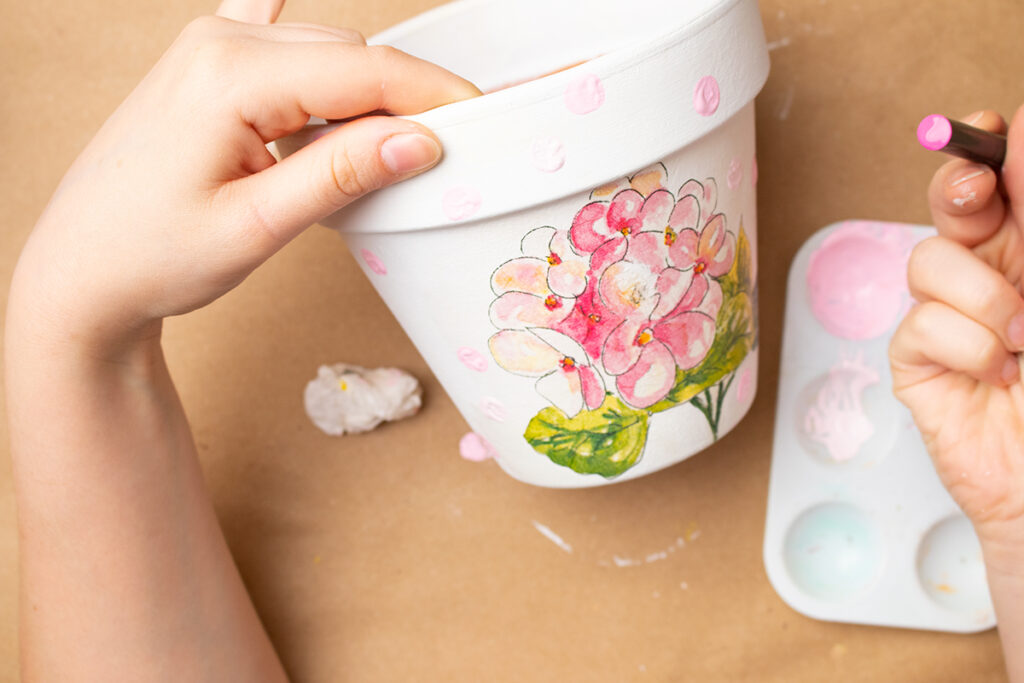
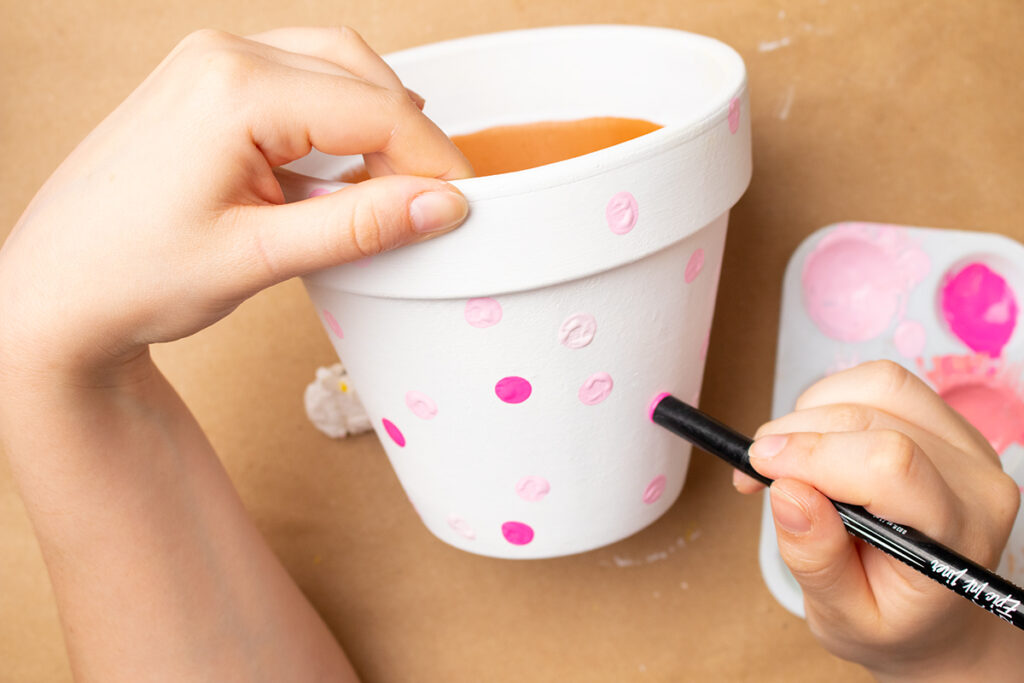
The cap of this eyeliner worked perfectly for these dots since the end is a flat circle. I did one color at a time around the pot, spacing them out so I would have plenty of room for the other colors. There is a portion I left purposefully blank so I can add a word to the pot.
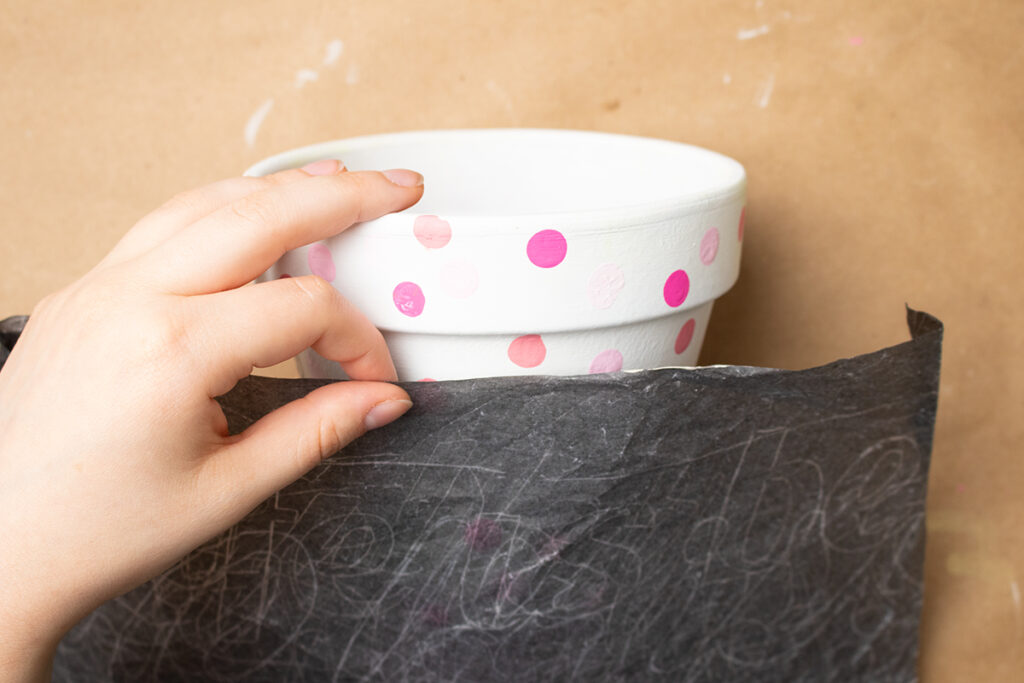
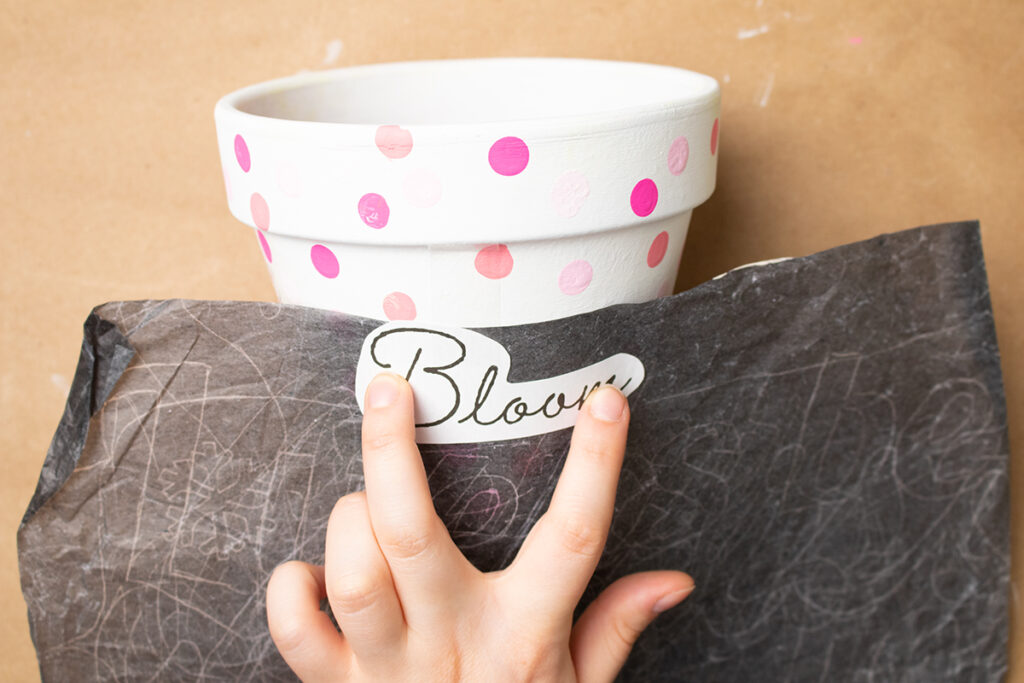
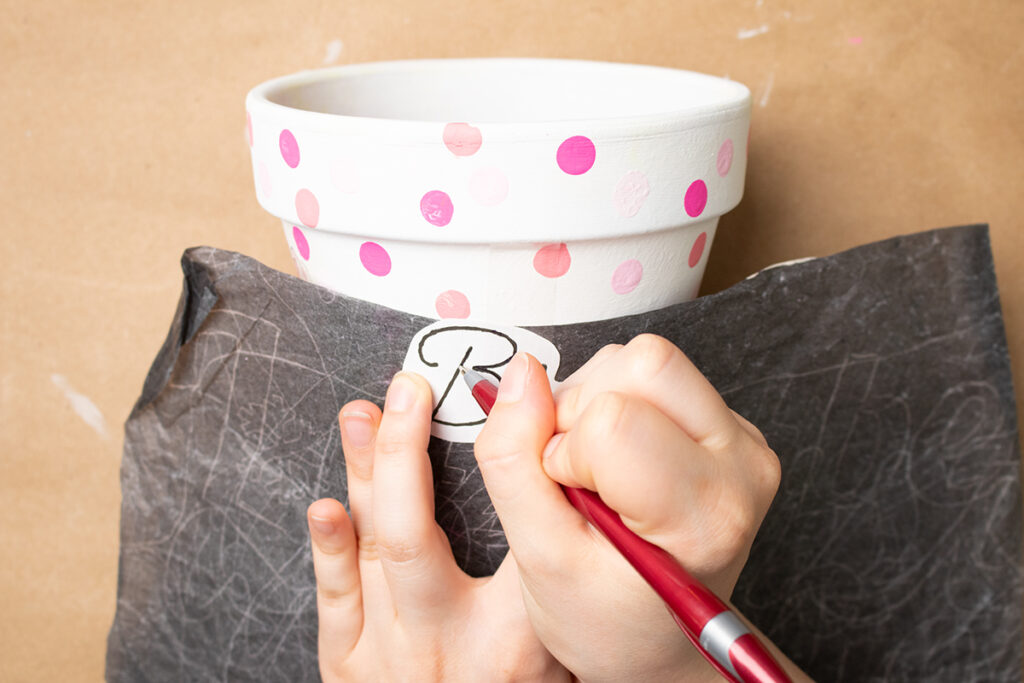
It’s super easy to use transfer paper, for this one you simply put the shiny side down onto the surface you want the design to go on. Then place the design, printed out on copy paper, where you want it to go. Go over the whole design with a pen or pencil.
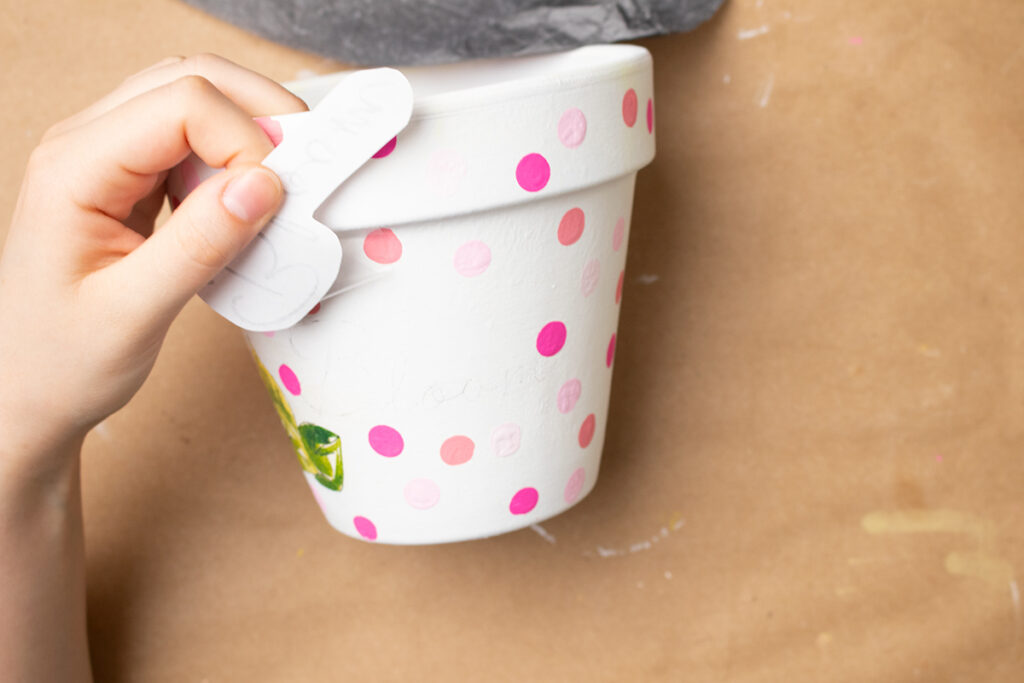

When you’re done it leaves a graphite line wherever you went over it with the pen. From there, I use a paint marker to write over the lines.
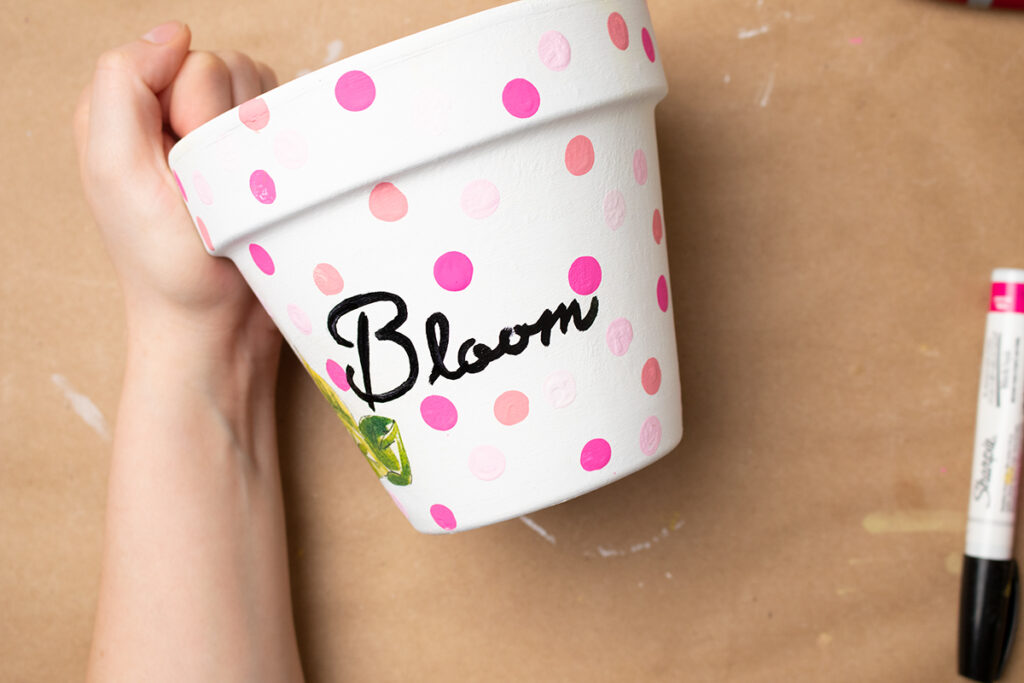
I went back over a few spots where I made a mistake with some more white paint, and it’s as good as new.
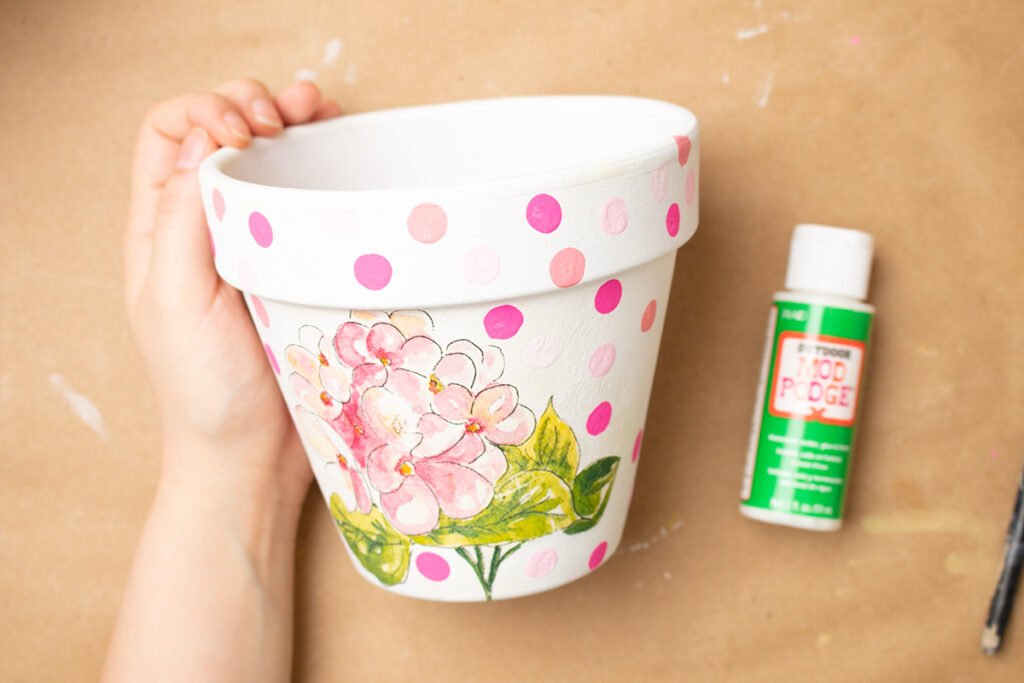
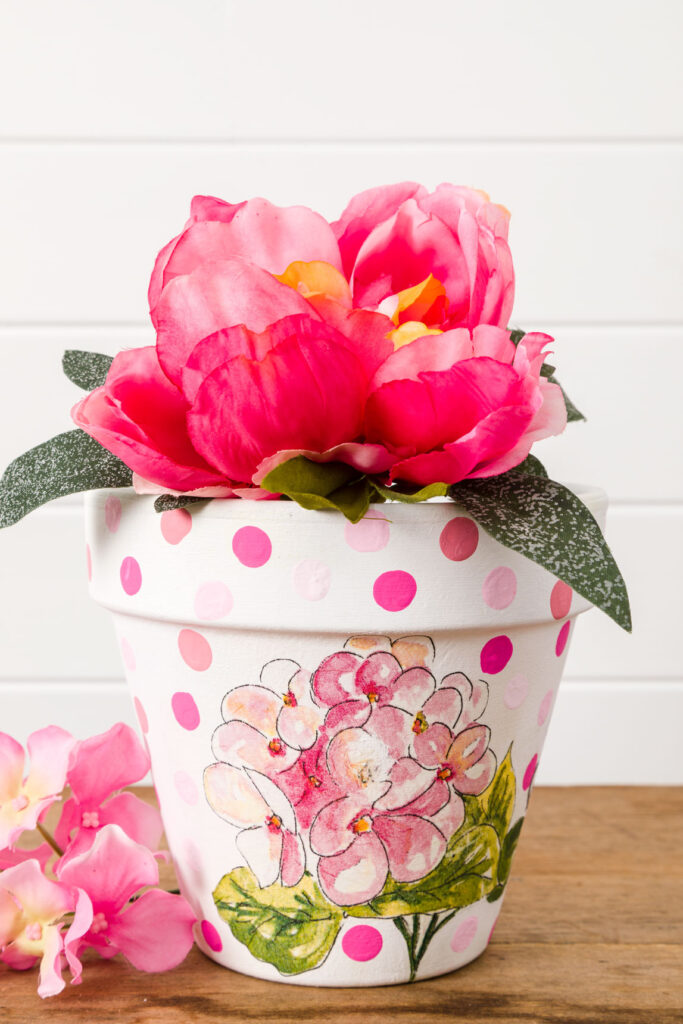
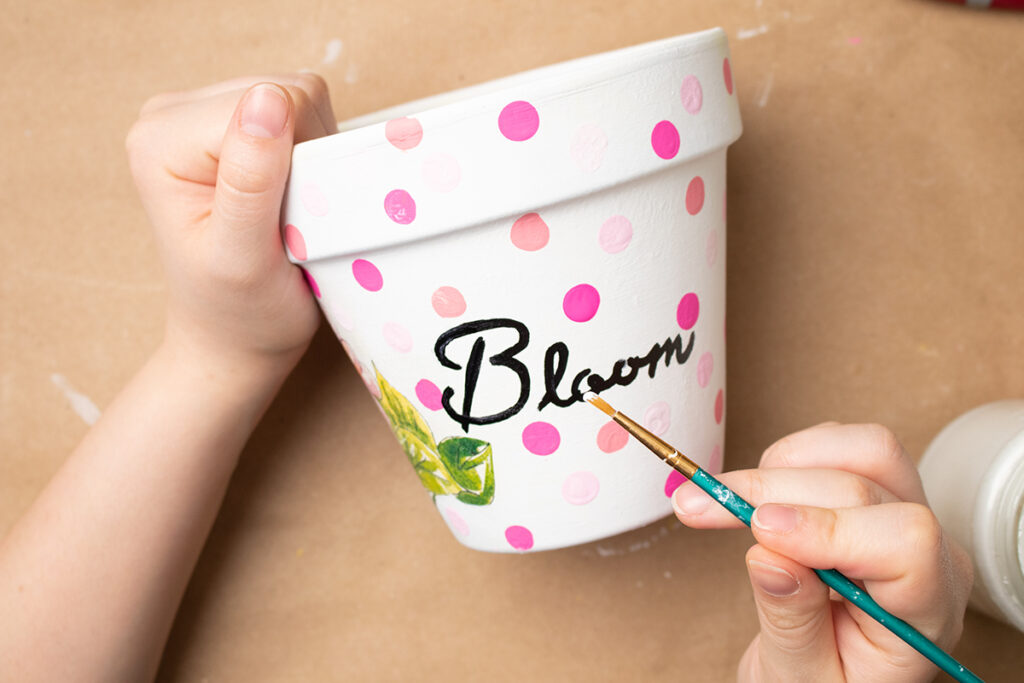
Then I go over the whole pot with Outdoor Mod Podge. I suggest two coats, and make sure it is completely dry before bringing it outside.
More Painted Pot Ideas

Barbara
Saturday 5th of April 2025
Hello Olivia! Your flower pots are adorable!!! I always forget that pencil erasers make the best dots in paint. ;) I need to make a few to give as end-of-year teacher gifts for my coworkers at school. They would enjoy these!! Thank you for the idea and I'm happy to share your post at this week's SYS #458 for you. <3
Happy spring! Barb :)
Share Your Style #458
Wednesday 2nd of April 2025
[…] to visit! Olivia from Olivia O’Hern created and shared her DIY in this perfectly pink post ~ DIY Mod Podge Terra Cotta Pots for Outdoor Use. Lovely!! Our final feature for this week comes from Sally from Within a World of My Own who […]
EsmeSalon
Friday 28th of March 2025
Amazing, as not the artistic person, I love how you have made this, so soft, dreamy colors and oh so pretty. Visiting via French Ethereal. My entries this week #37+38 Hope to see you share with SSPS: https://esmesalon.com/tag/seniorsalonpitstop/
Sceller les pots en terre cuite – mes emplois préférés
Monday 3rd of June 2024
[…] infinies. Ce conception d'abeille occupée d'un pot de fleur a été peint par ma fille, Olivia O'Hern (elle est aussi […]
Maya Kuzman
Friday 1st of July 2022
Olivia, This is absolutely fantastic. The flower pot looks wondrous!