
This post may contain affiliate links. This means that if you purchase from one of these links I will make a small commission, but rest assured you will not pay more for any products.
Supplies
- River Rocks
- Acrylic Paint – White
- Acrylic Paint – Red
- Acrylic Paint – Blue
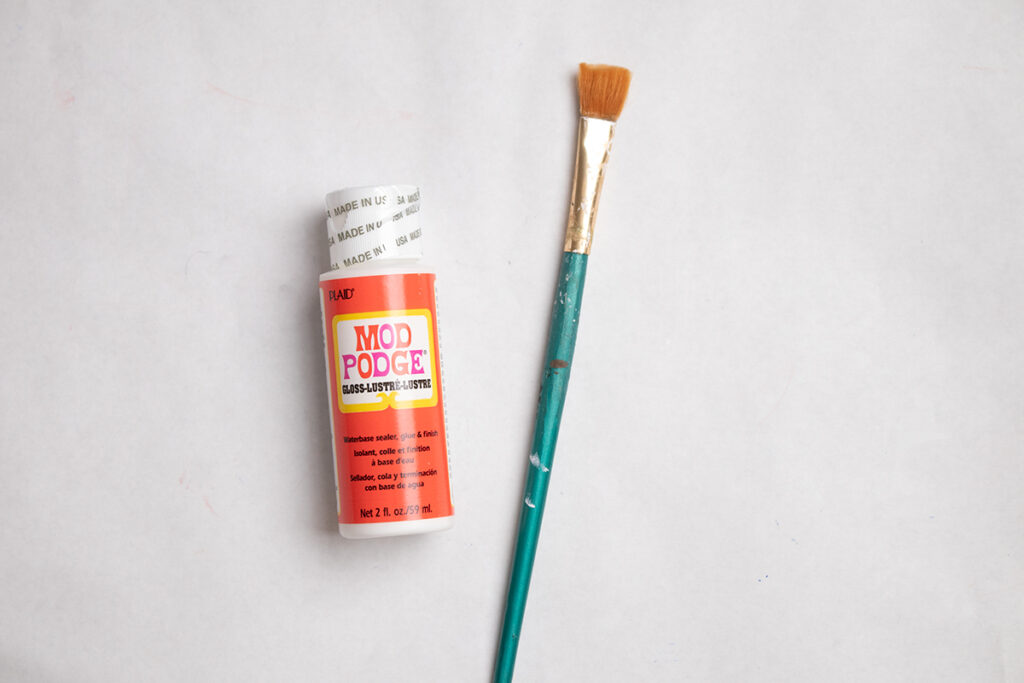
- Mod Podge – Gloss
- Paint Brush
- Paint Marker – Silver
- Paint Marker – Black
- Glitter/Sequins
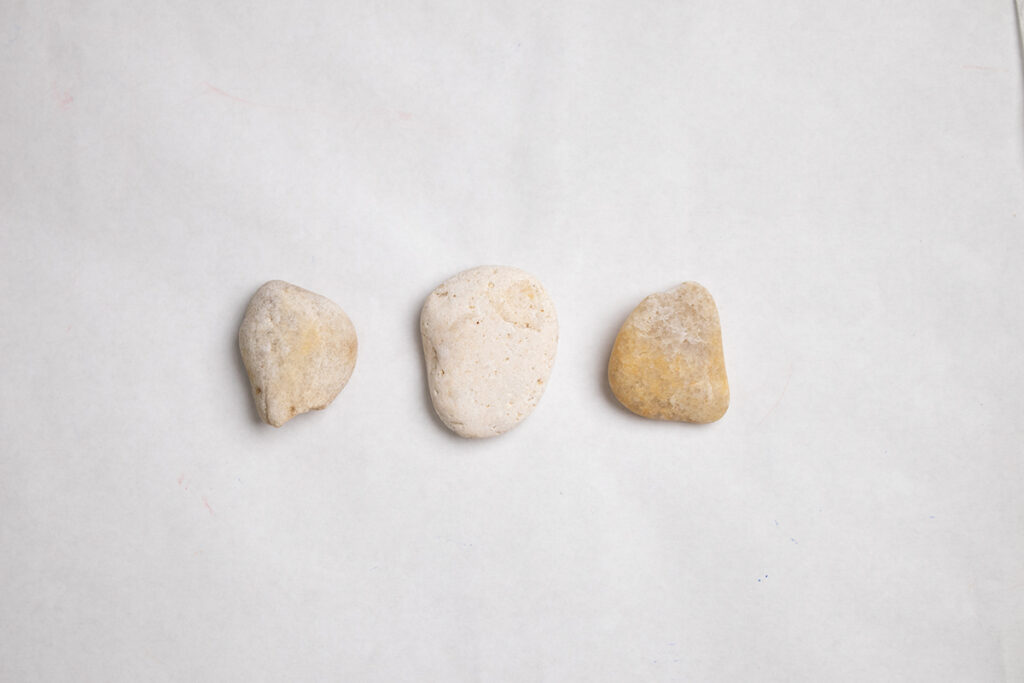
The first thing I did for this project was dig through my collection to find three small/medium rocks of a similar size to use for this project. Whenever painting rocks, I always give them a thorough washing and drying beforehand so the paint will stay on better.
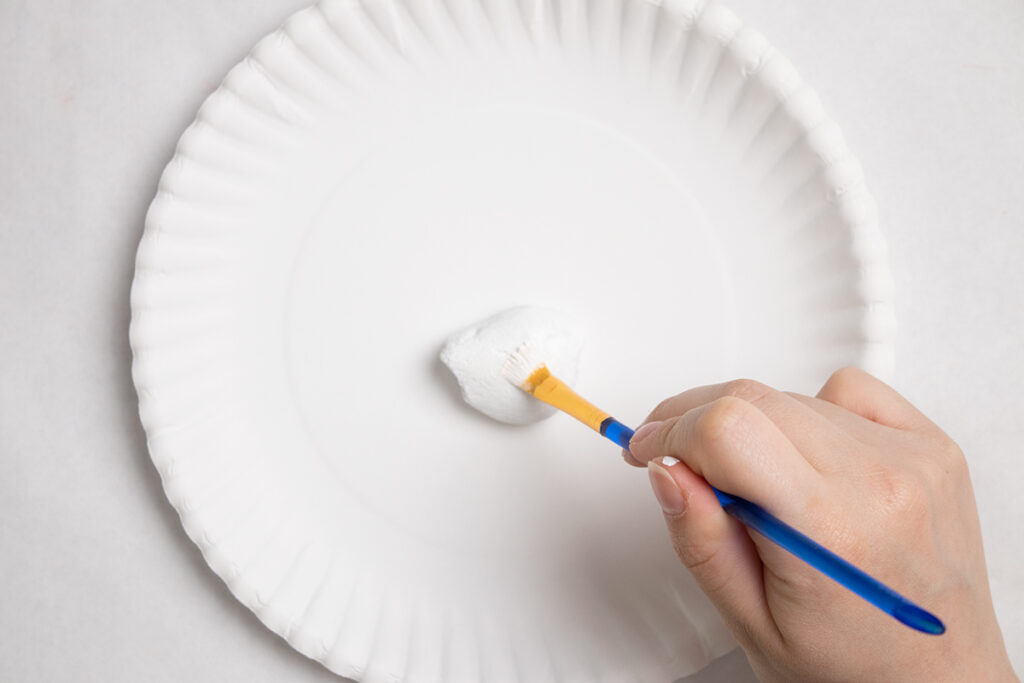
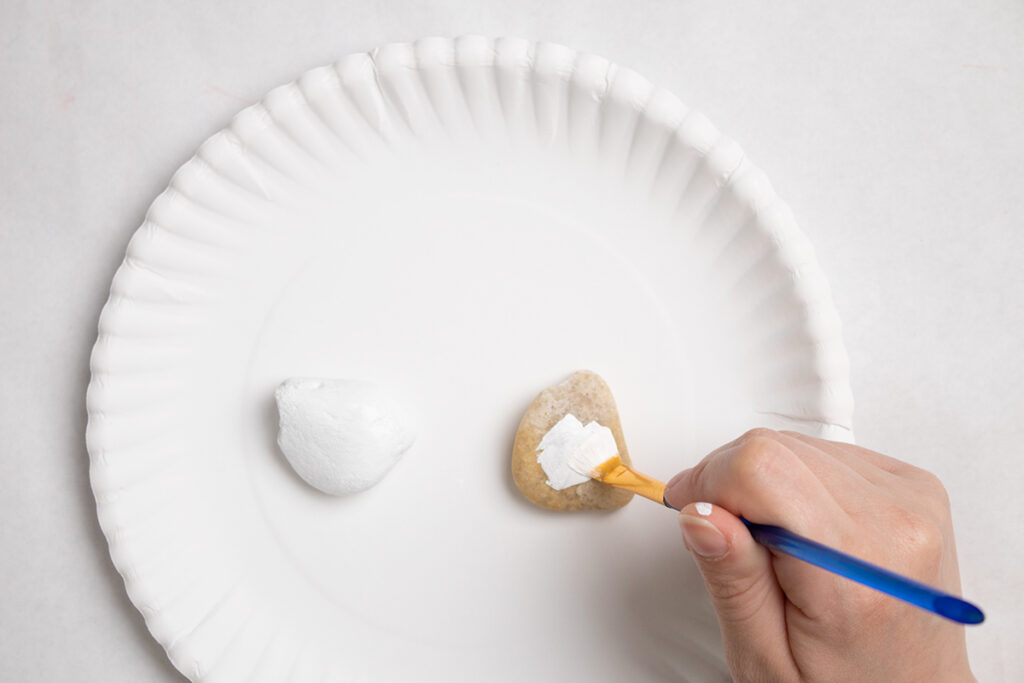
Then, I paint each of them with a coat of white paint, this really makes the colors pop! I put an extra layer on the one that’s going to stay white.
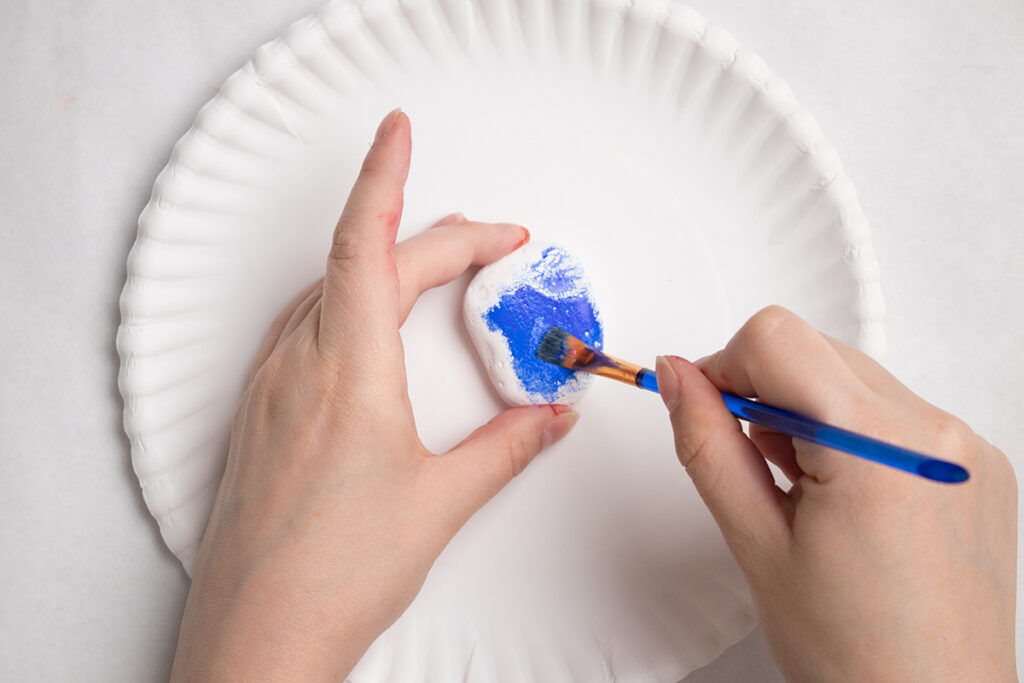
Once they are dry I can paint the red and blue rocks. I suggest working in multiple light coats to build up the color.
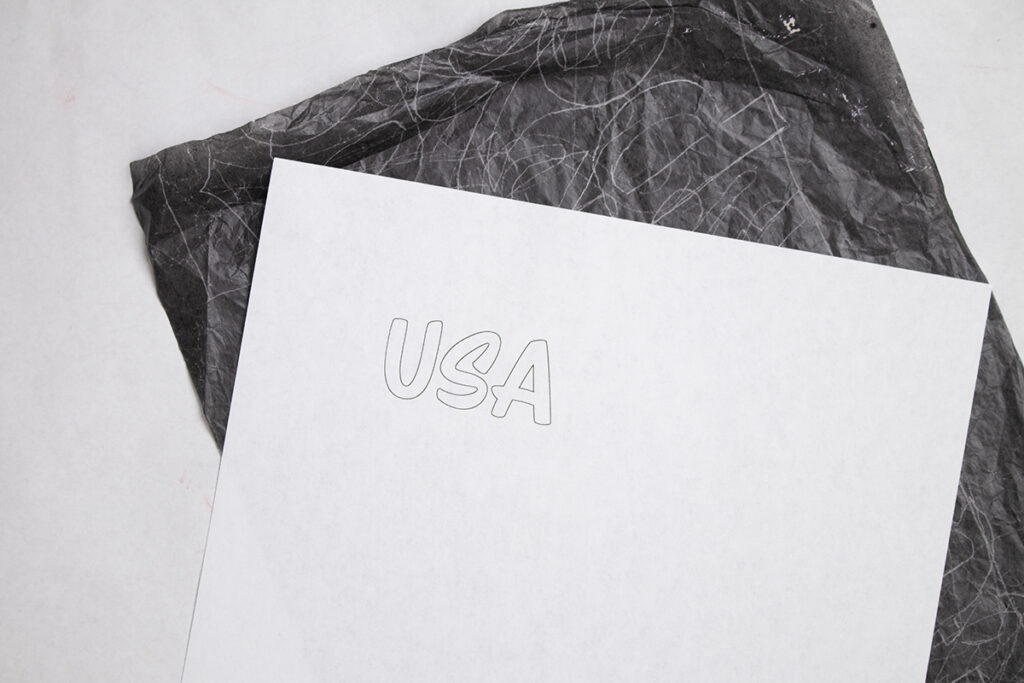
Drawing out letters is so scary to me, so I like to make myself a template to use you can find it HERE (I spaced the letters out more for you guys).

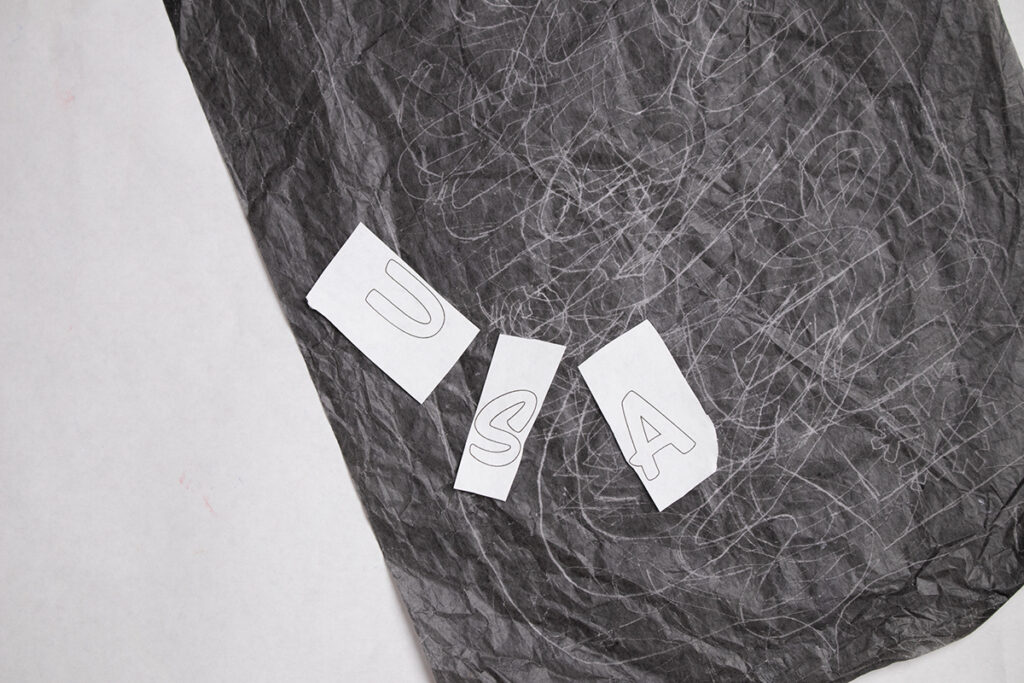
Since I’m working on three separate rocks I cut the letters apart so I can position them easier.
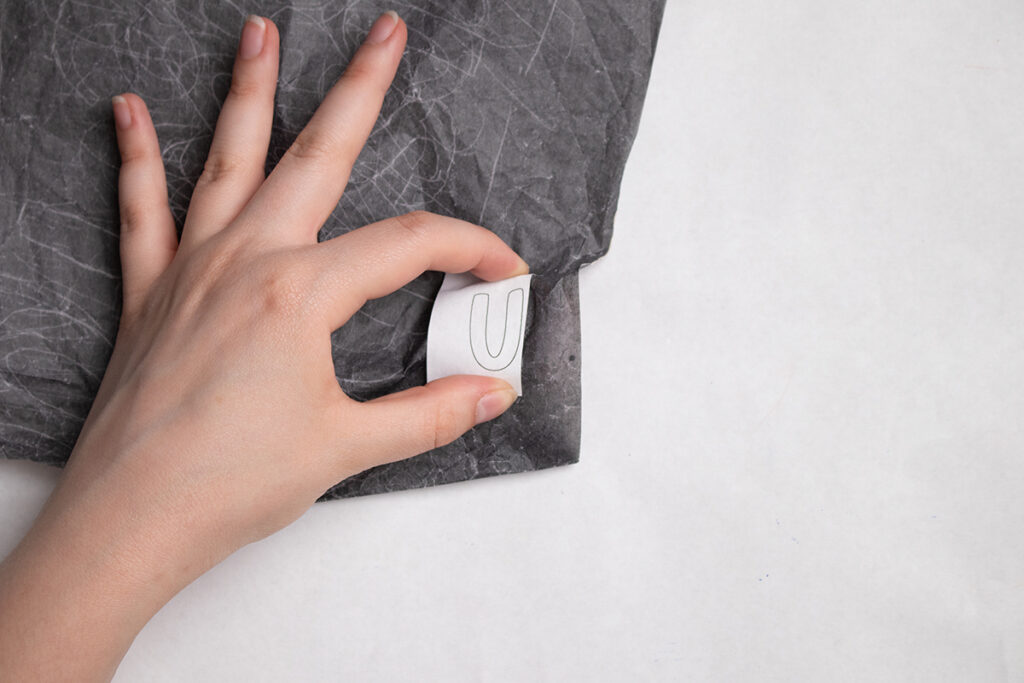

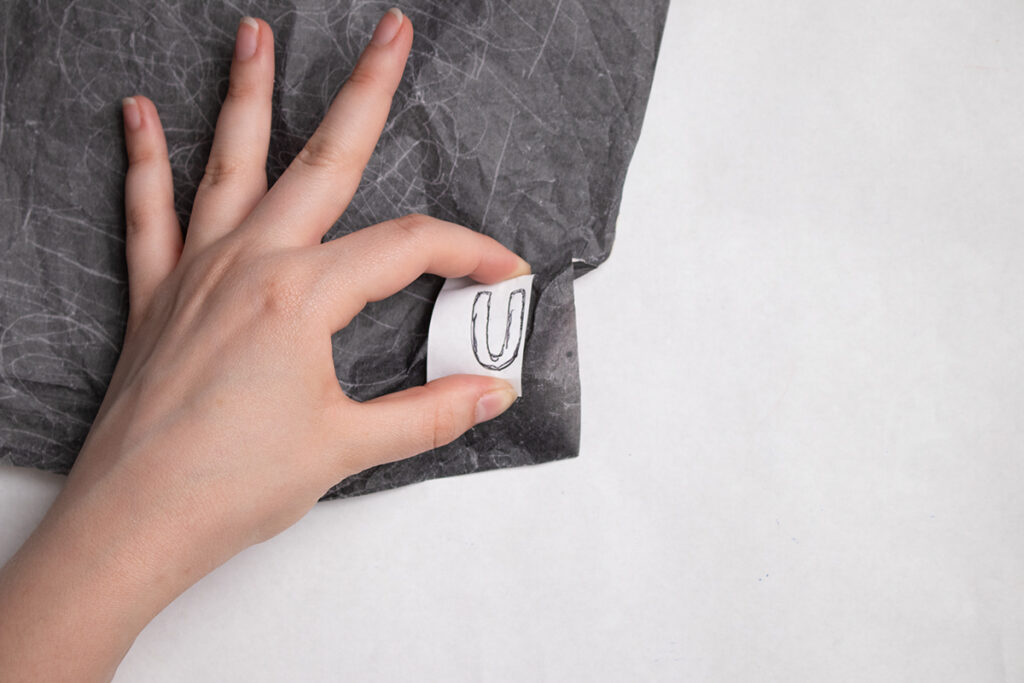
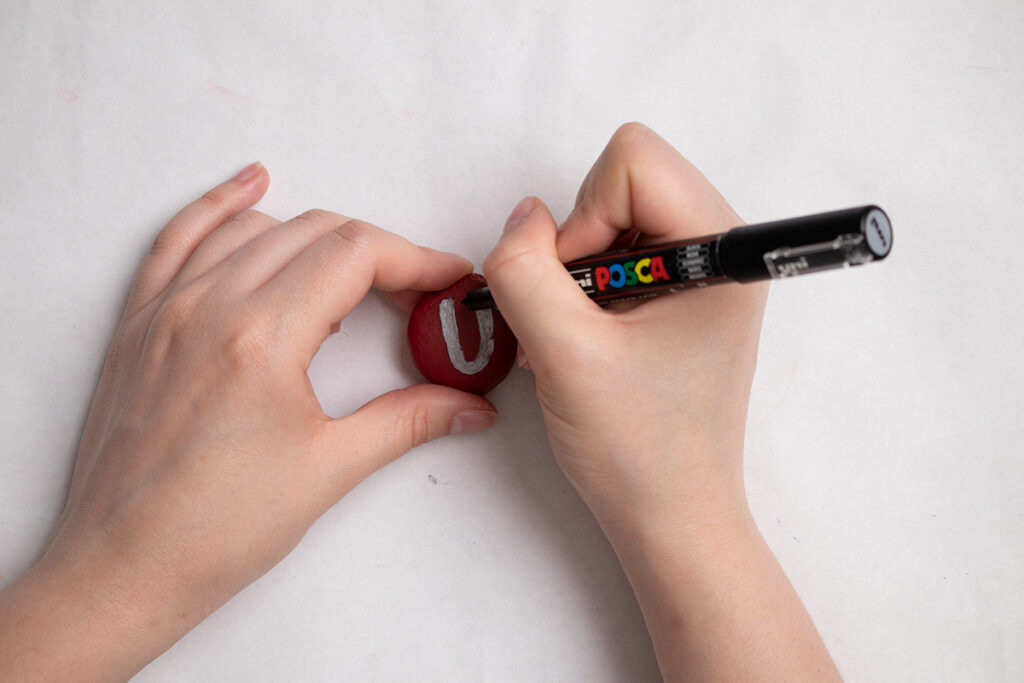
I start by placing the graphite paper shiny side down on top of the rock and then positioning the letter on top of that. Since these rocks are small and have an irregular surface, I hold the paper in place with one hand instead of taping it down. Then, with a ball point pen I trace the shape. You will want to press down with some force for the best results.
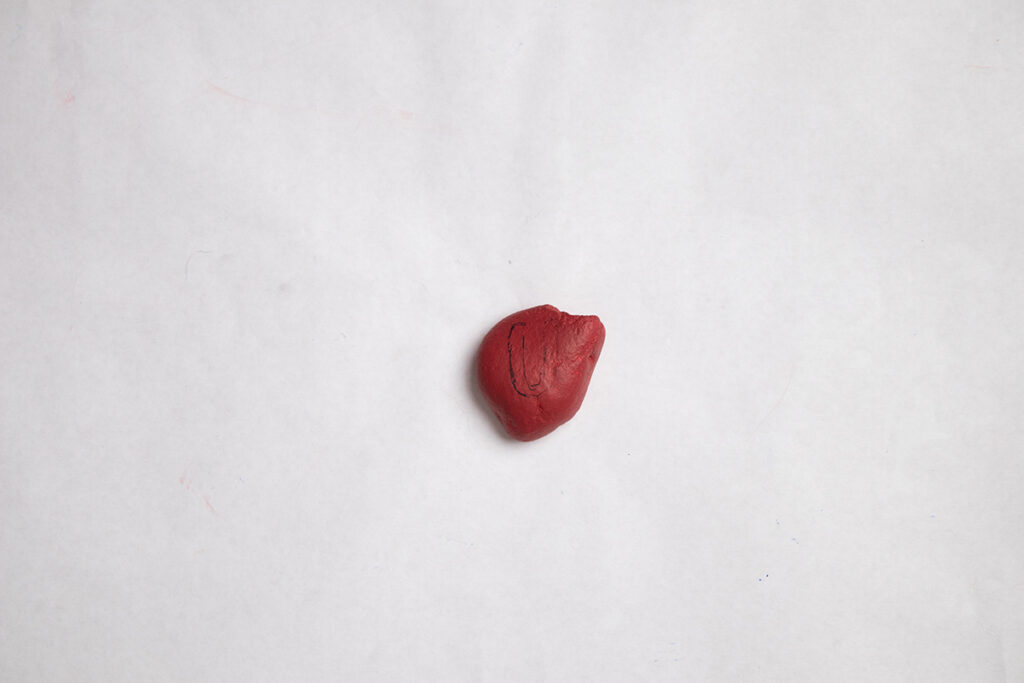
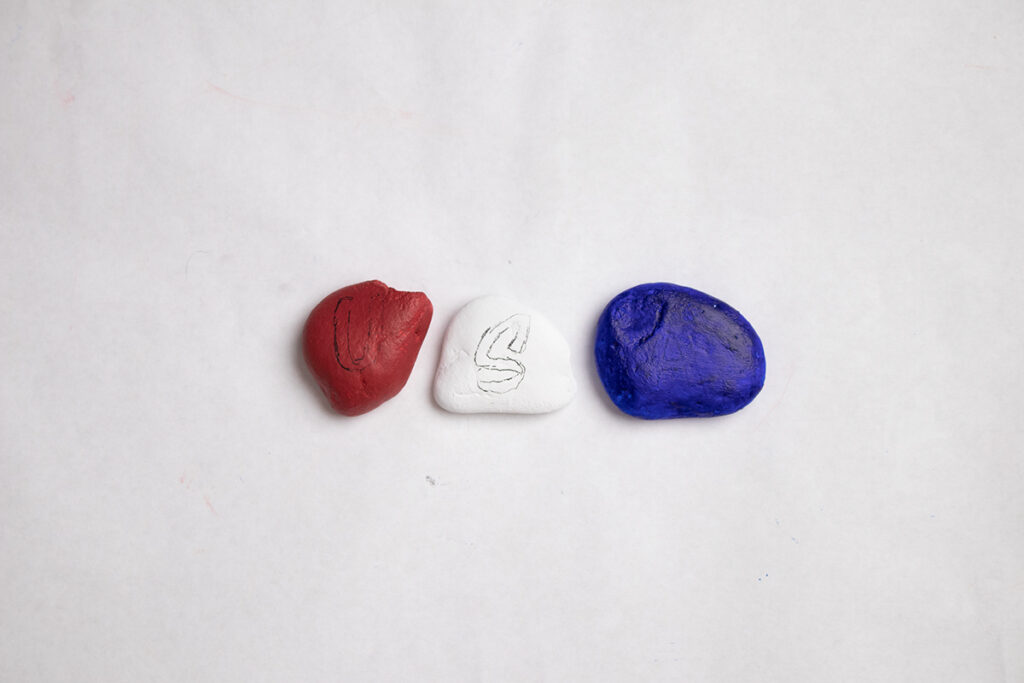
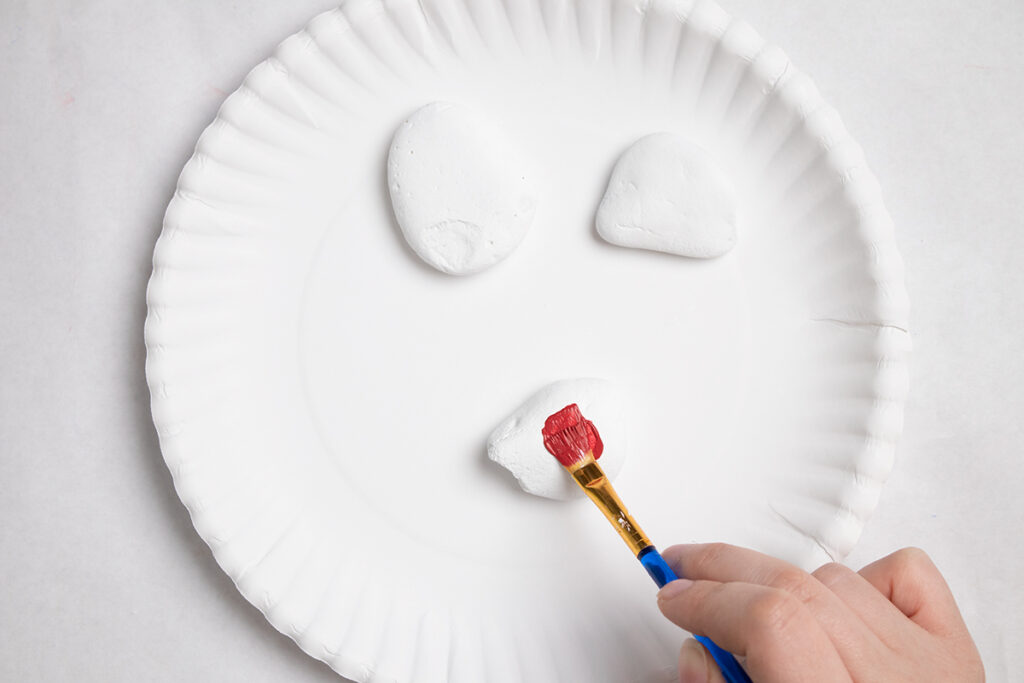
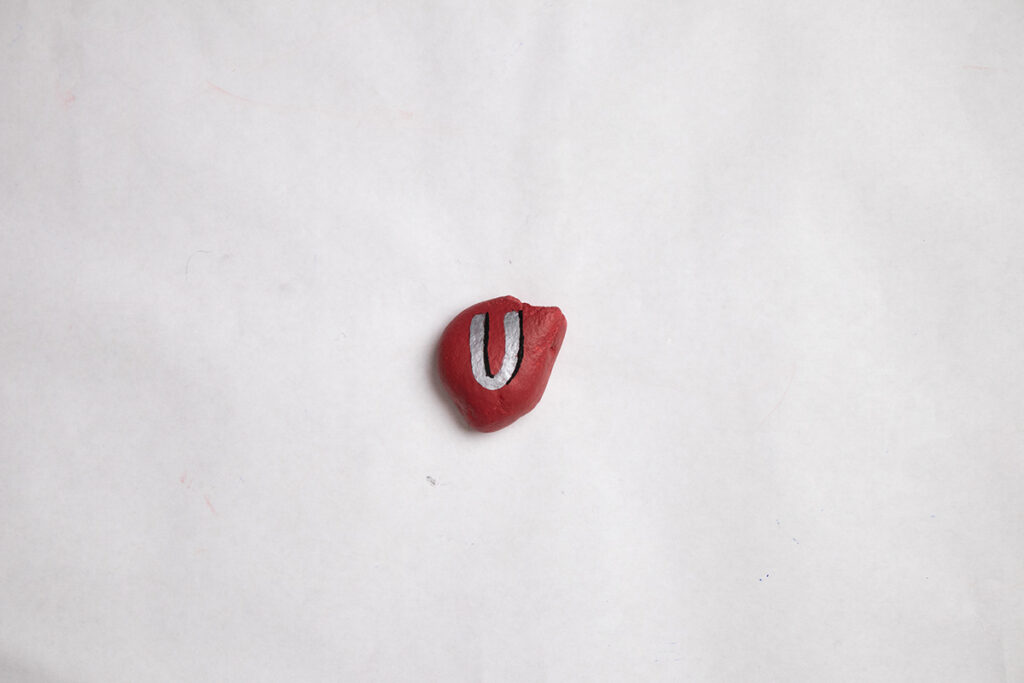
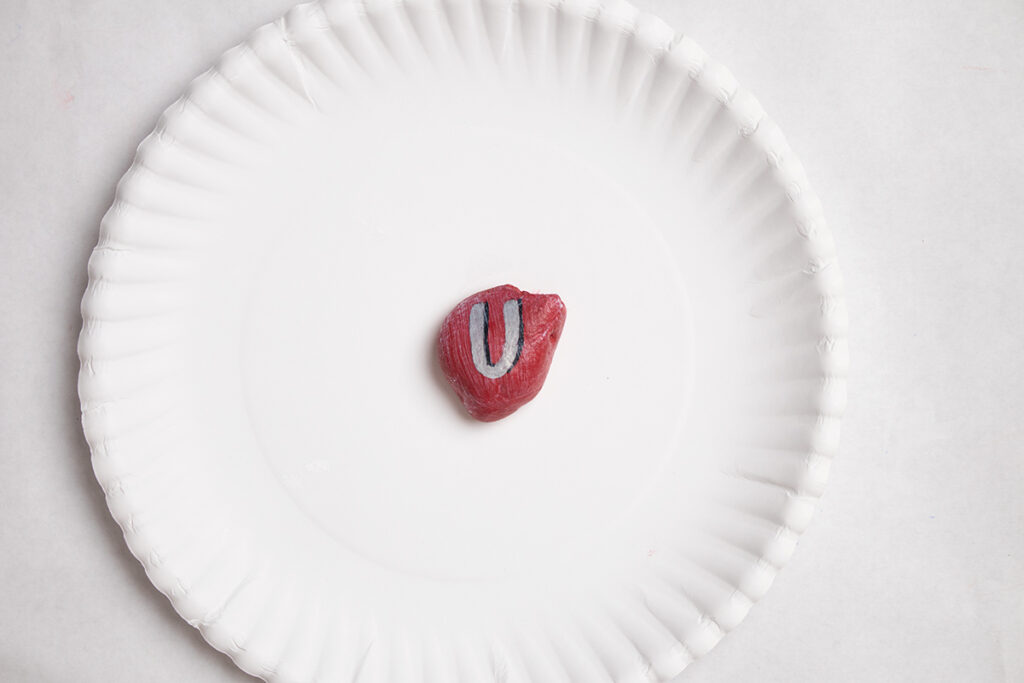
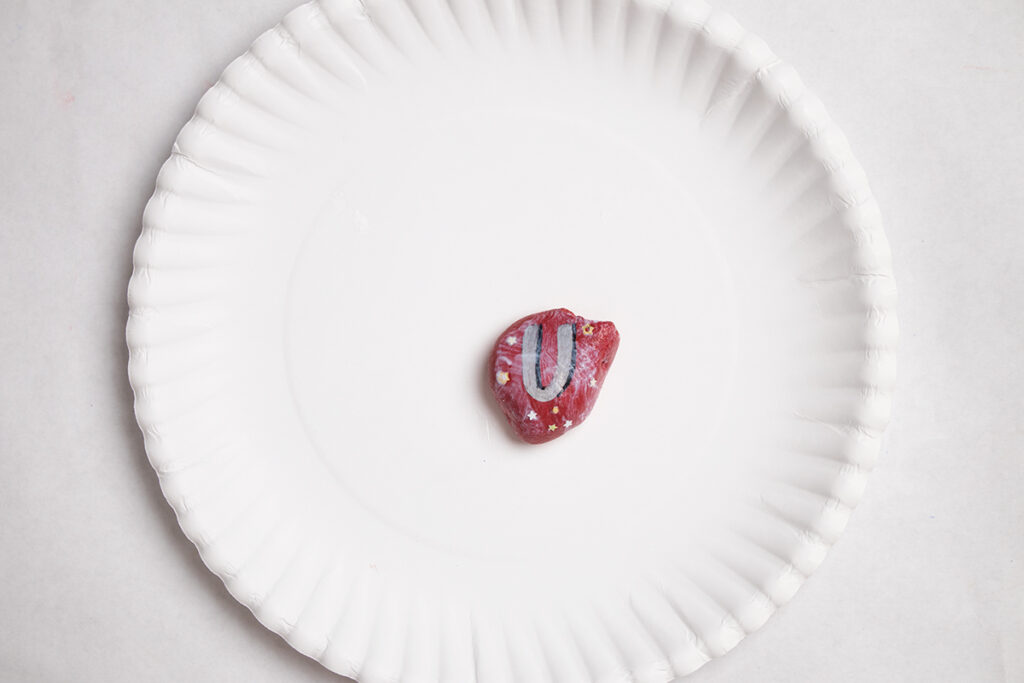
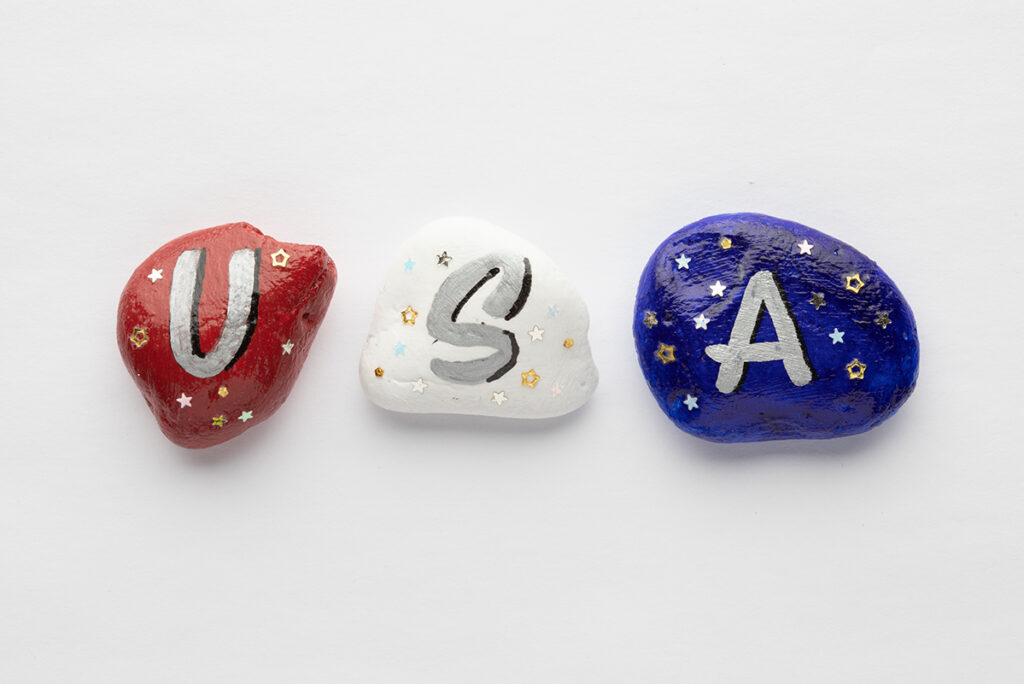
This is how it looks once the letter has been traced on. Repeat with the rest of the rocks and letters. I made the U red, S white, and A blue.

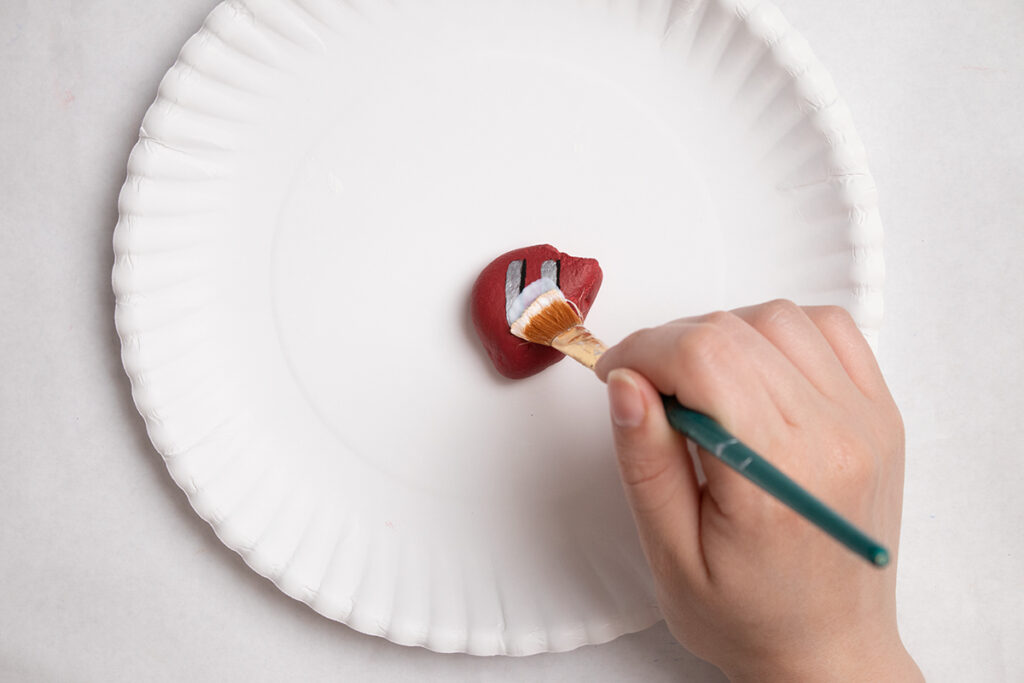
Now I go in with a silver paint marker to fill in the letters, if you can’t get a paint marker, one of THESE would work as well.
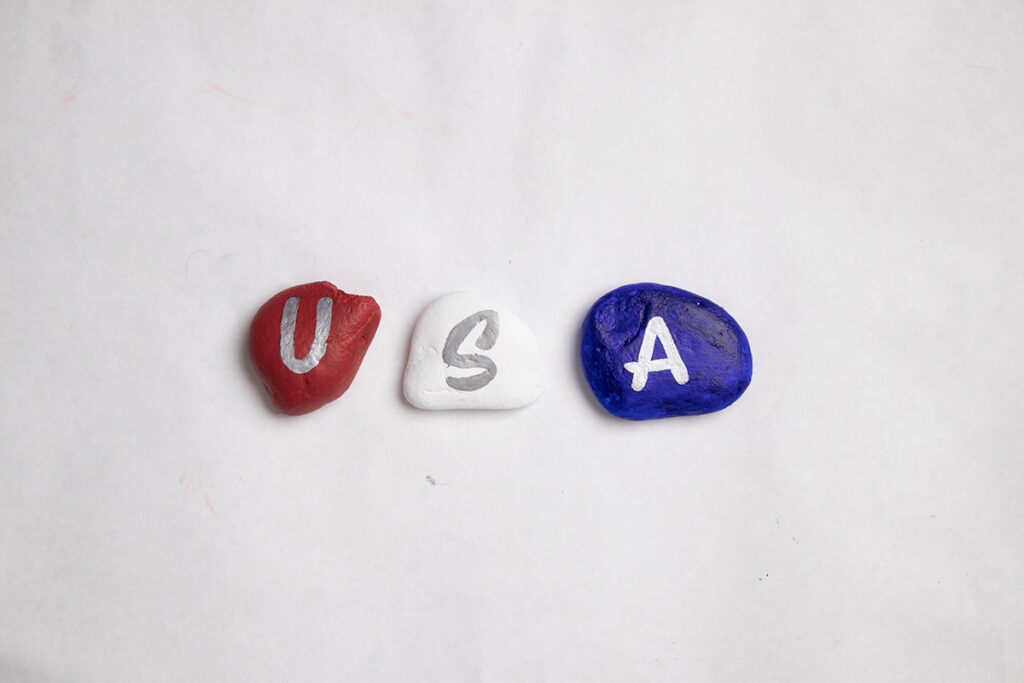
They are all filled in, but what if I want more pop?
I go in with my favorite black paint marker to add lines to the right sides of the letters for a drop shadow effect.
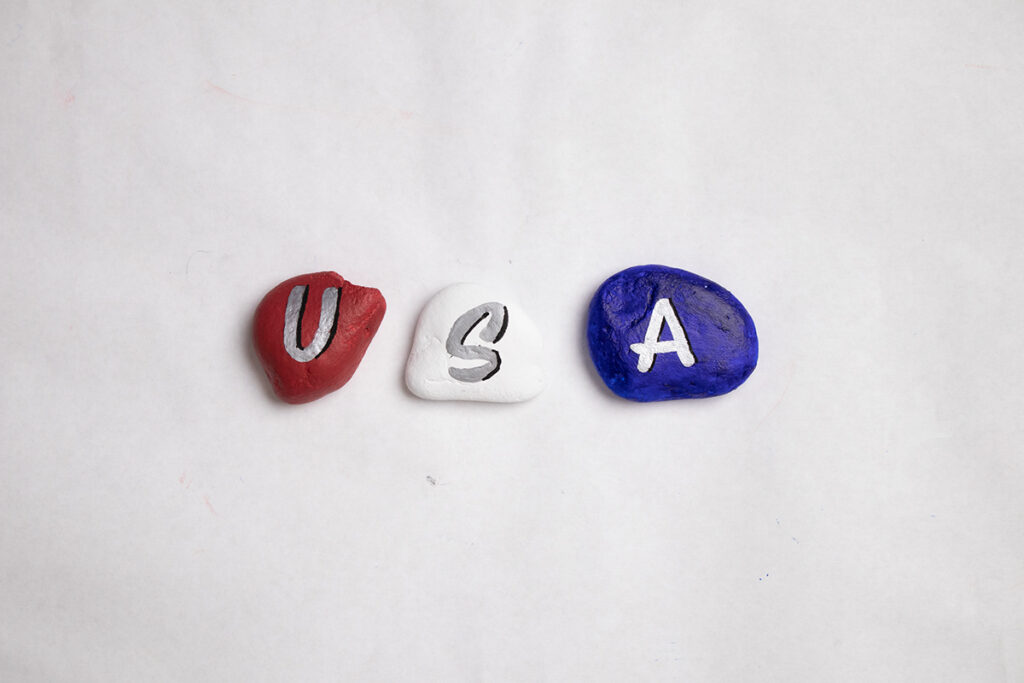
Here’s how they all look with the black added.
Now to seal them!
So I brush on a layer of gloss mod podge, but wait there’s more!
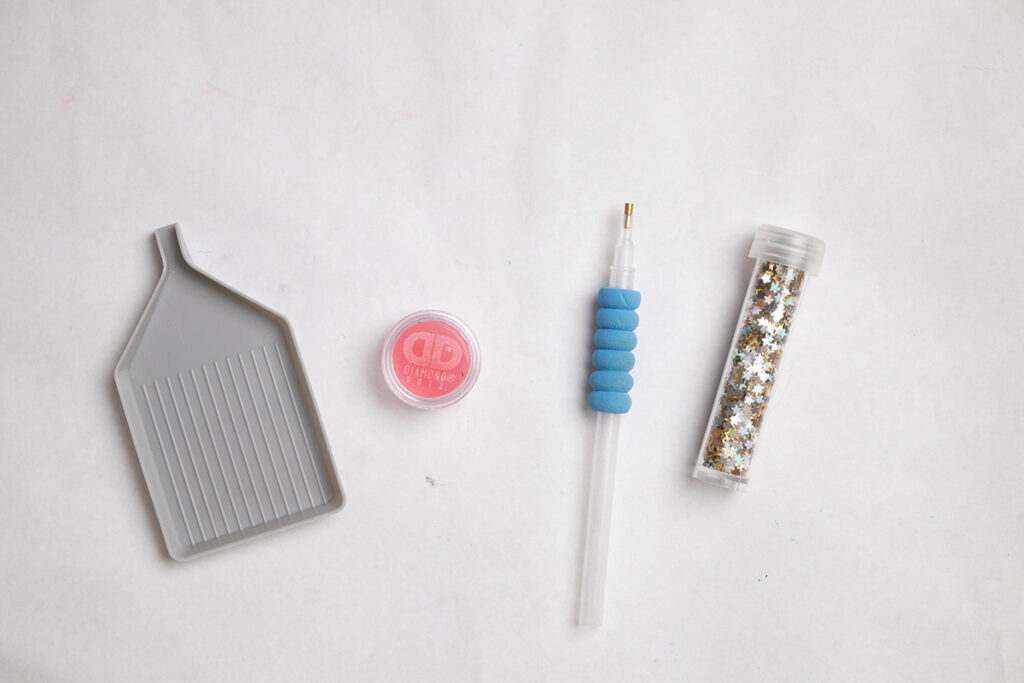
We have to add sequins! I always reach for these tools when placing glitters or rhinestones you can find them HERE.
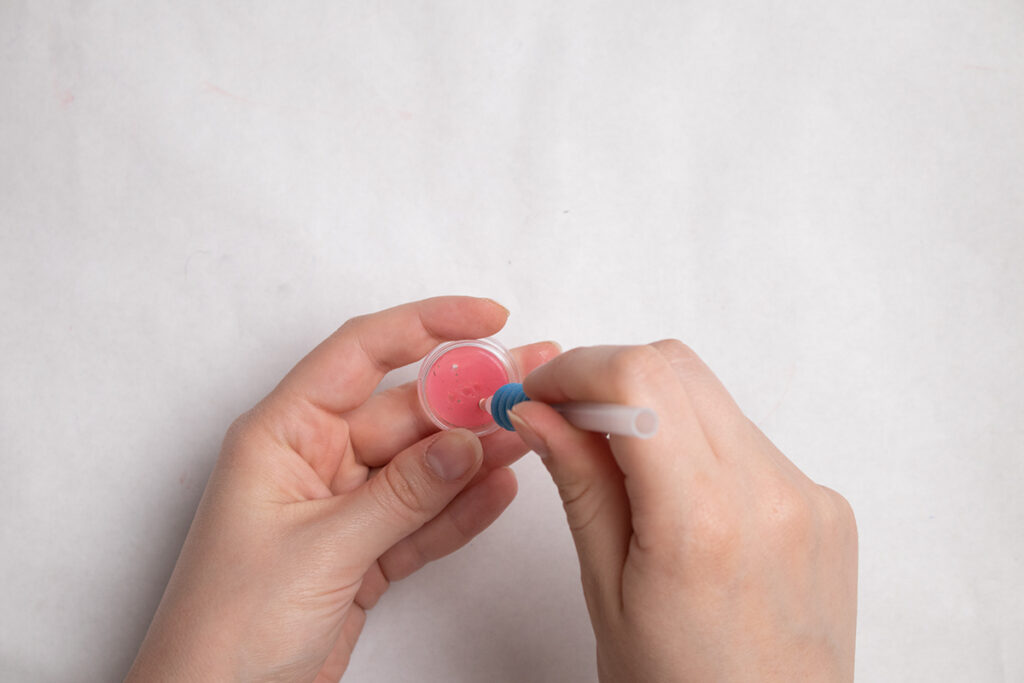

First, I stab the metal end of the pen into the wax and pull it out. Now I can easily pick up these little stars one at a time.
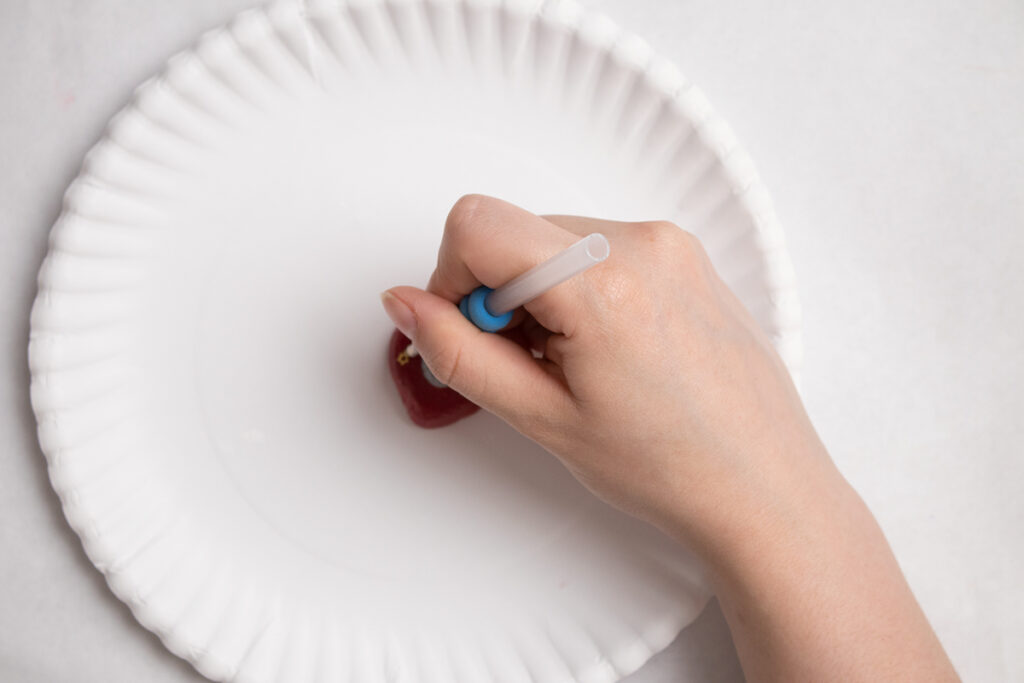
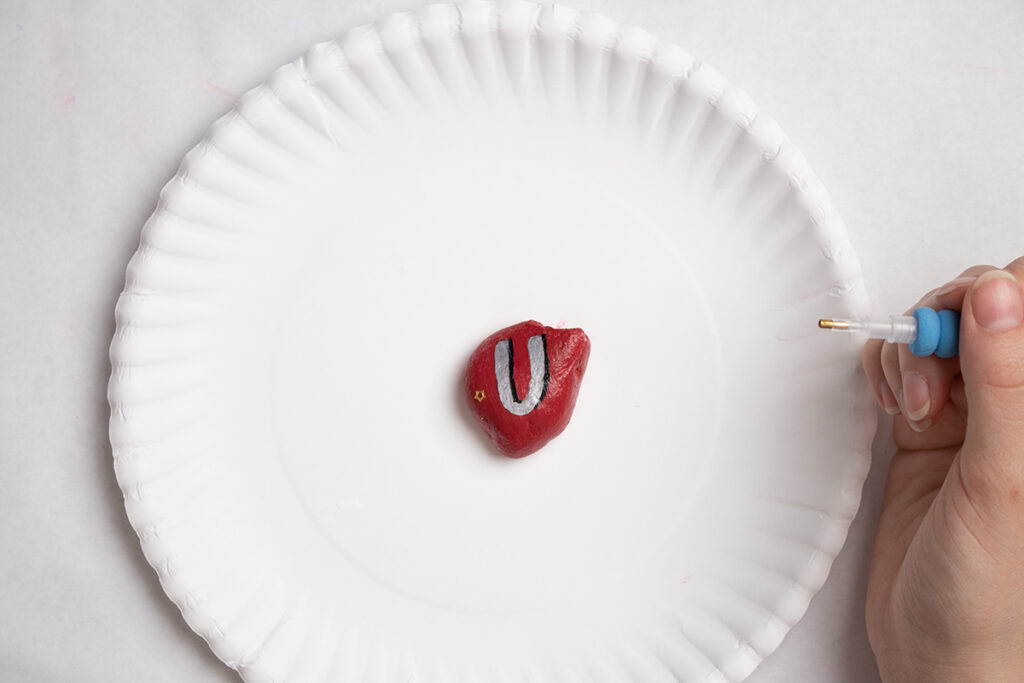
While the mod podge is still tacky I press the star down onto it and…Presto! So easy to do, and mess free.
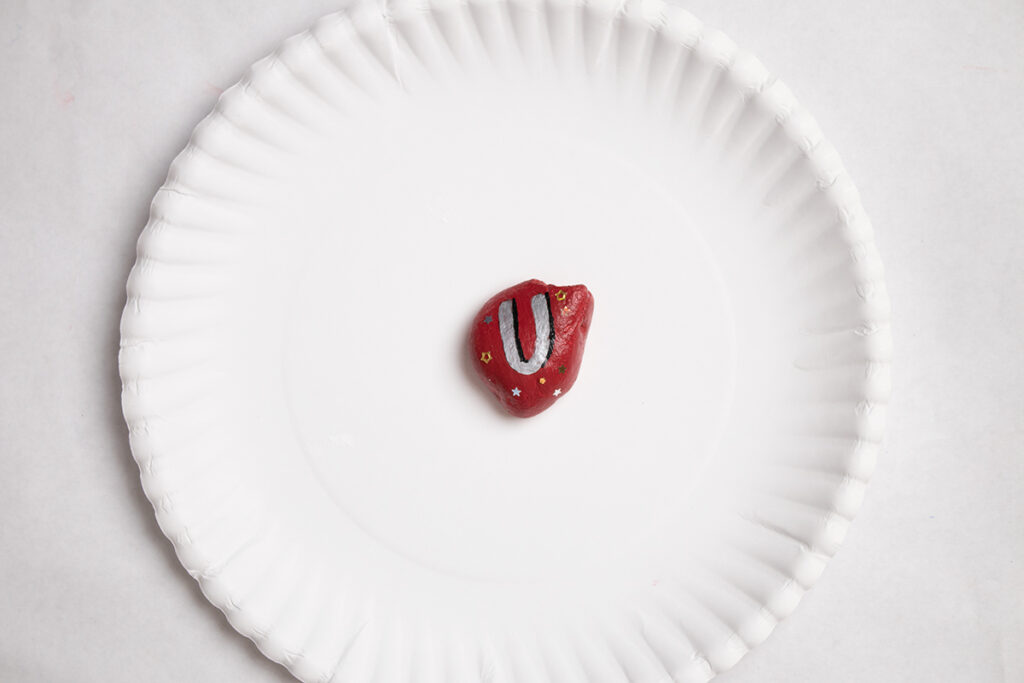
I work with one rock at a time since the mod podge dries pretty quickly.
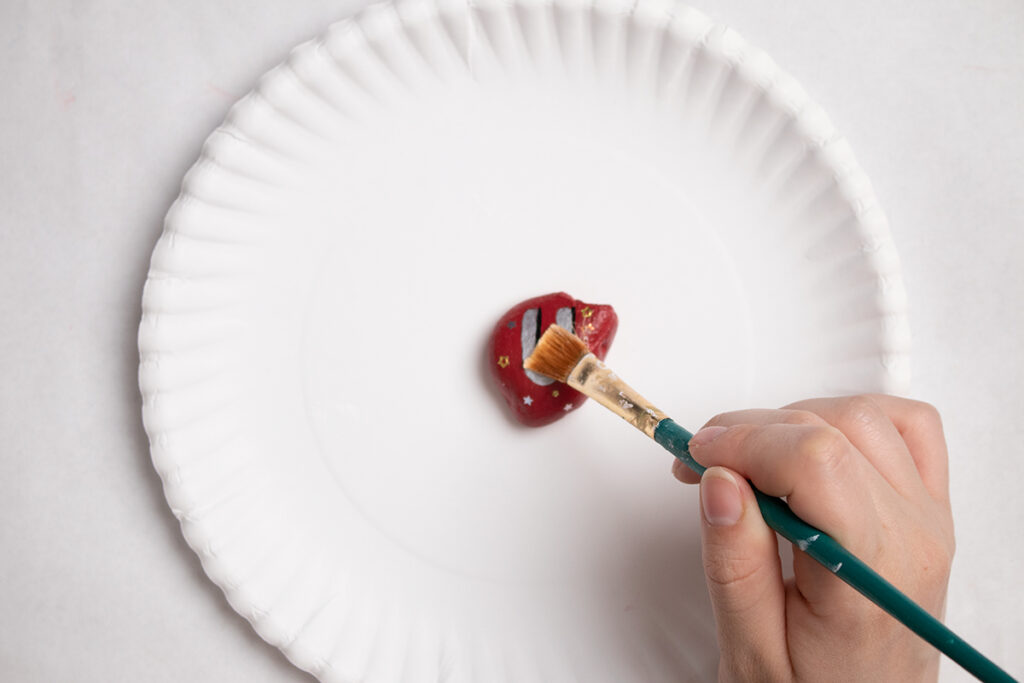
Now I add a second (and third) coat of mod podge all over to seal everything in!
A Few More 4th of July Projects

Kippi Ohern
Wednesday 2nd of June 2021
What a cute craft for the 4th of July. Have a great day, Kippi