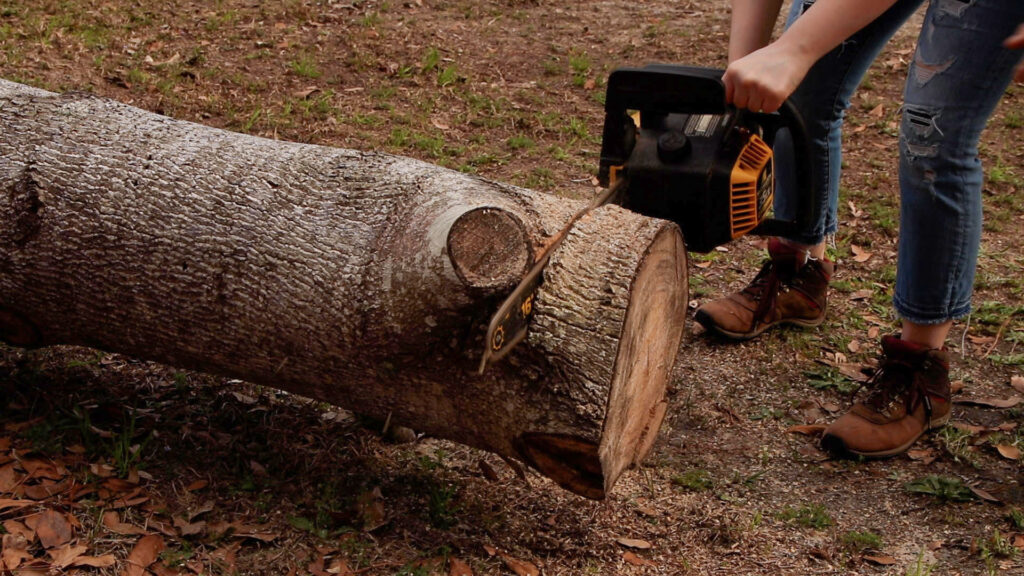
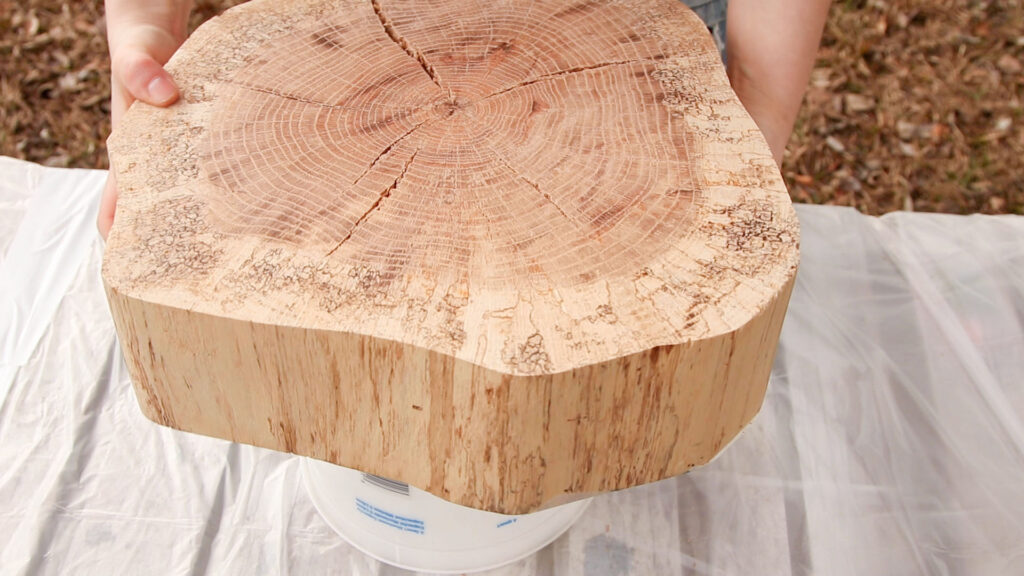
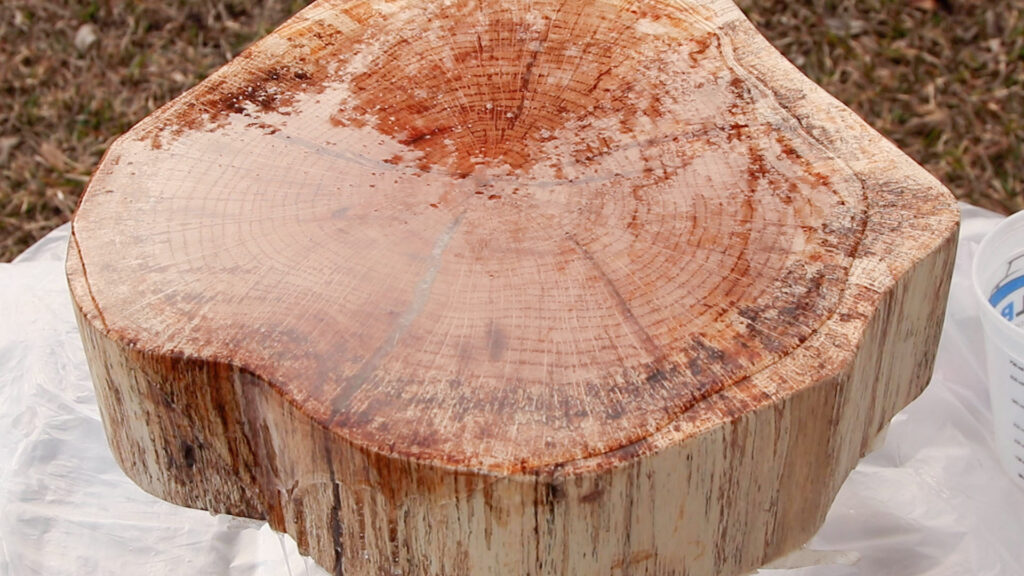
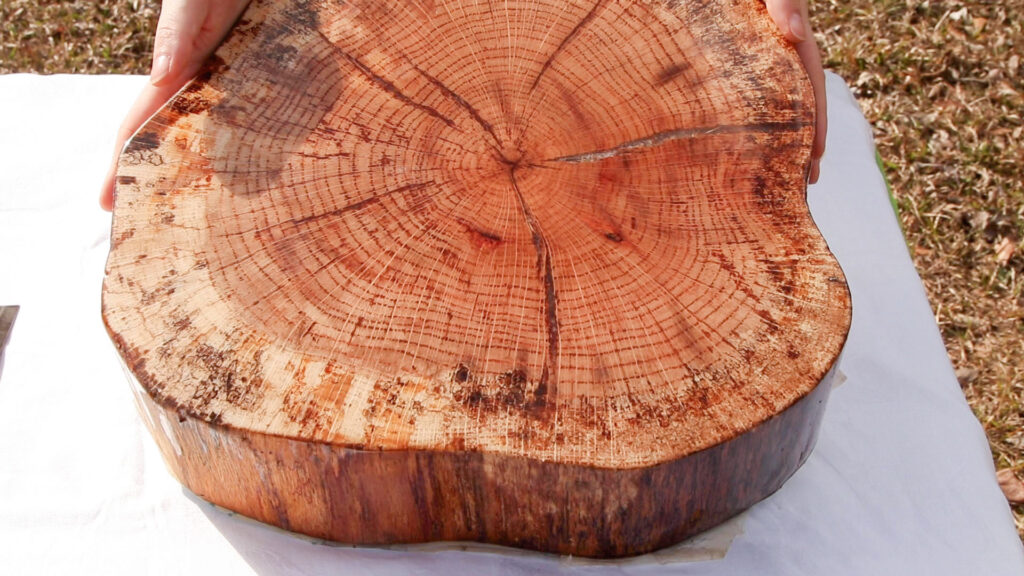
We had multiple trees fall during Hurricane Sally this past year, and instead of burning them or throwing them away, we figured we would make some great projects from it. The slice I used for this particular project started at 5 inches thick. I tried my best to cut it flat, but I’m going to level it regardless.
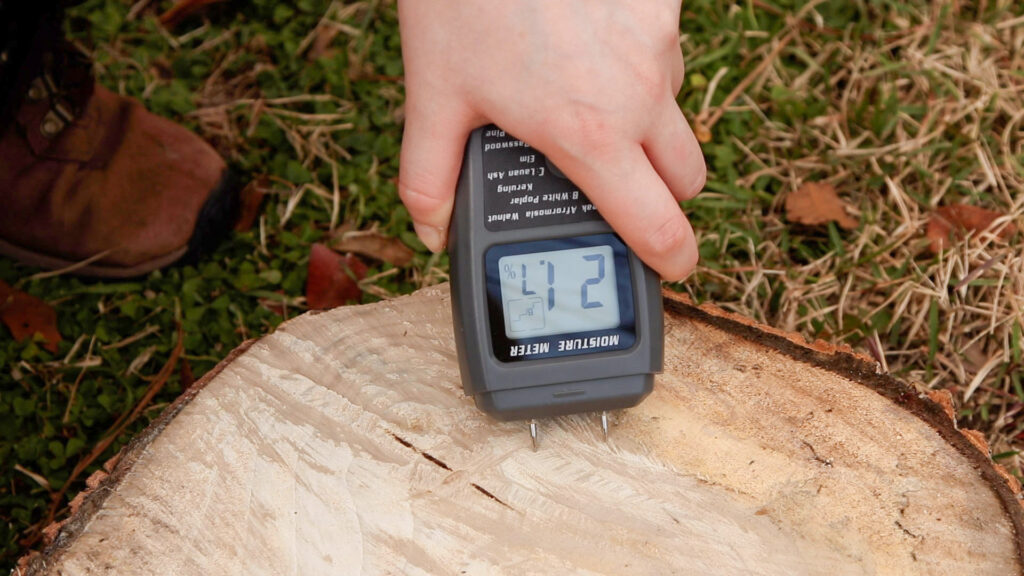
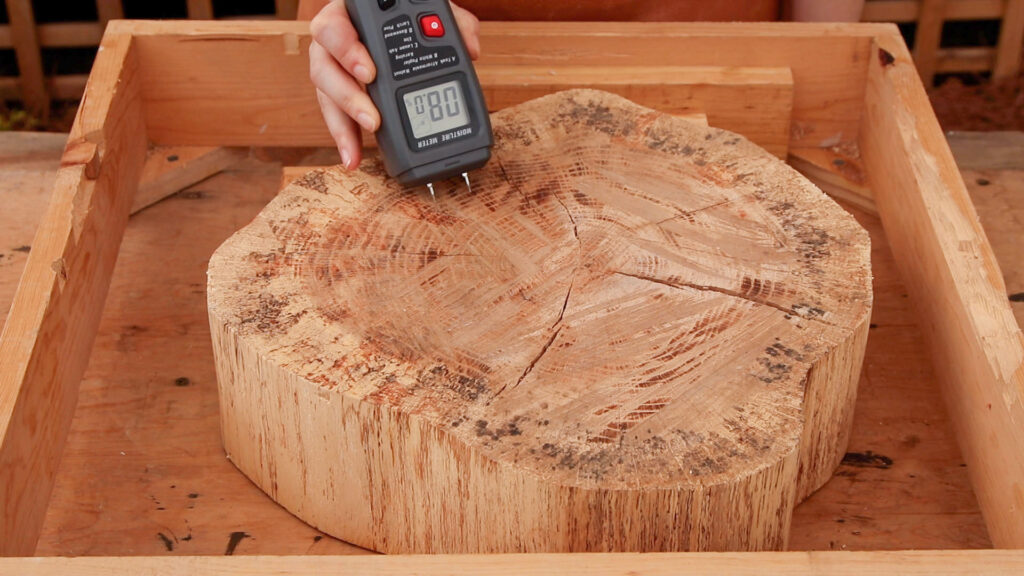
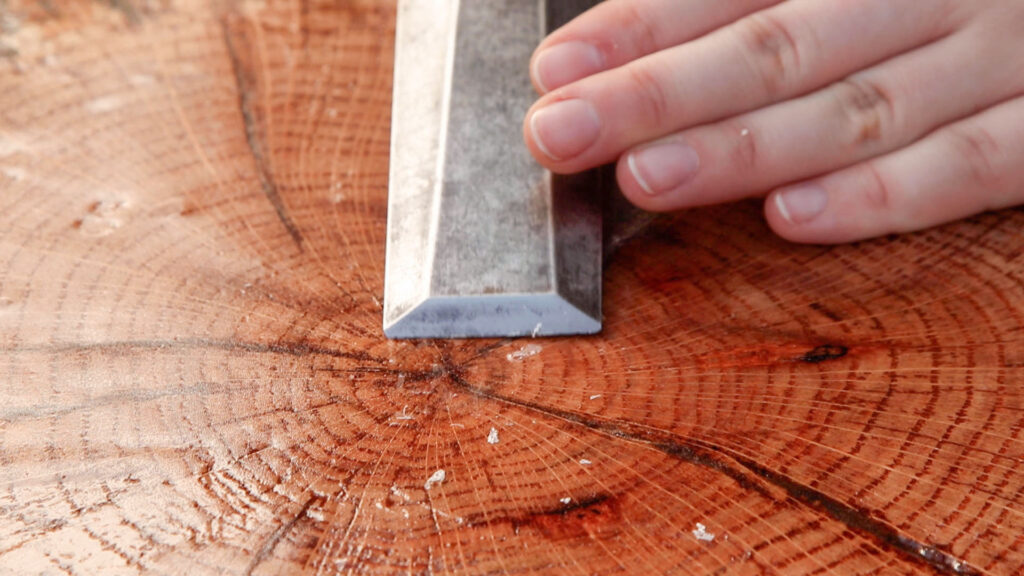
When it comes to working with resin, water is the enemy. I let the piece of wood dry for a month or so until the moisture in the wood read at under 10%. So this two-pronged device is a moisture meter, by pushing the prongs into the wood you will get a read out on how much moisture is in the slice. This piece of wood ended up cracking whilst drying and some of the bark came off, so I pulled it off the rest of the way. But that’s no problem. I also removed the bark.
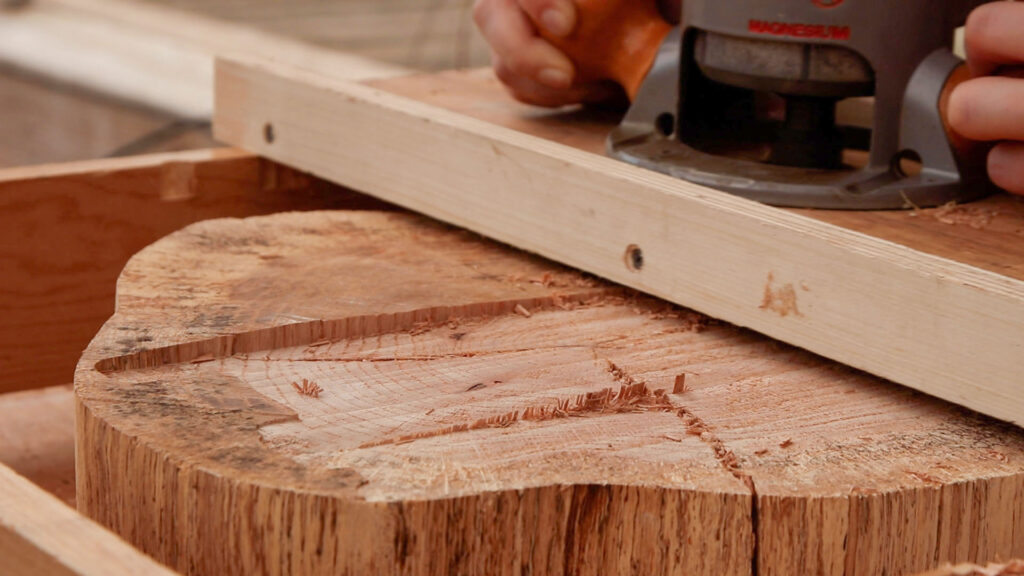
The wooden frame I wedged the wood slice into works as a flattening jig. The router is attached to this wooden sled so the router can be moved around and remain completely even. I push the router forwards and back moving horizontally slightly with each pass.
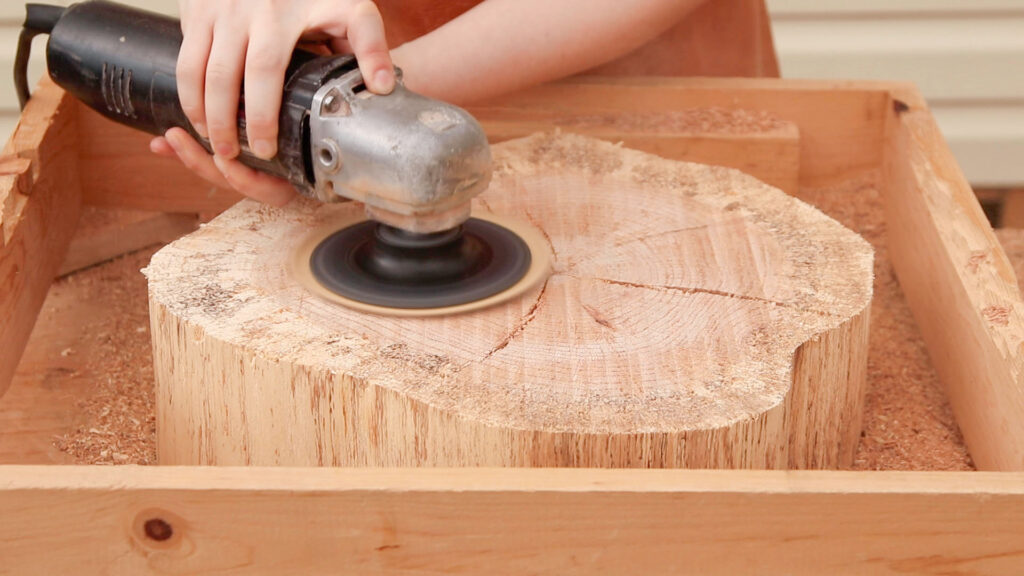
The wood wasn’t completely smooth, so I use an angle grinder with 50 grit sandpaper to flatten out any little remaining ridges.
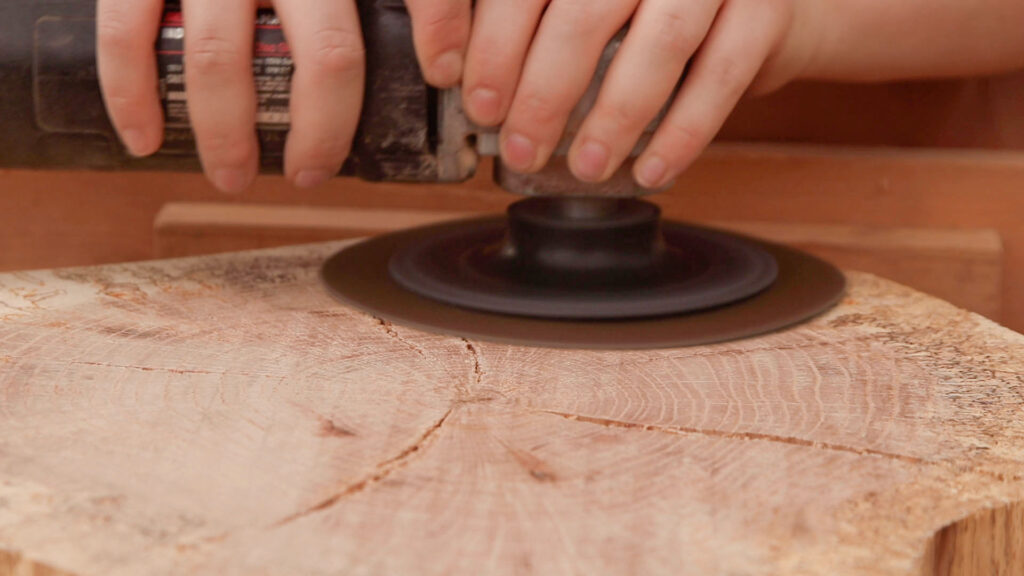
Then I go over the wood with a higher grit of sandpaper.
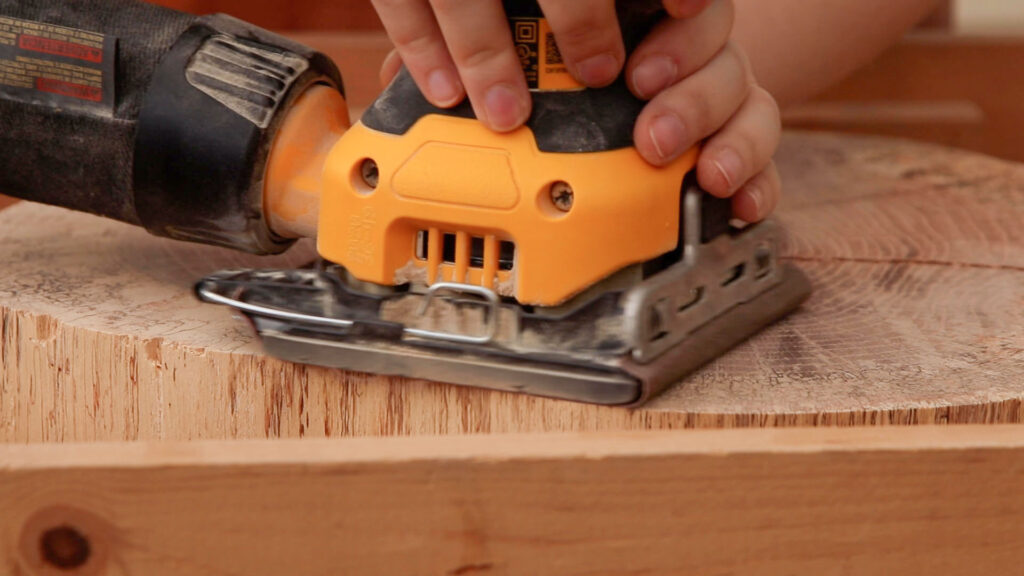
Finally, I go back over the piece with a palm sander.
Filling in the Cracks
Prep
Once the wood is flat and smooth use a brush, lint-free cloth and/or compressed air to clean any debris from the the piece. If you use water, than you will have to wait for the wood to dry completely before moving on.
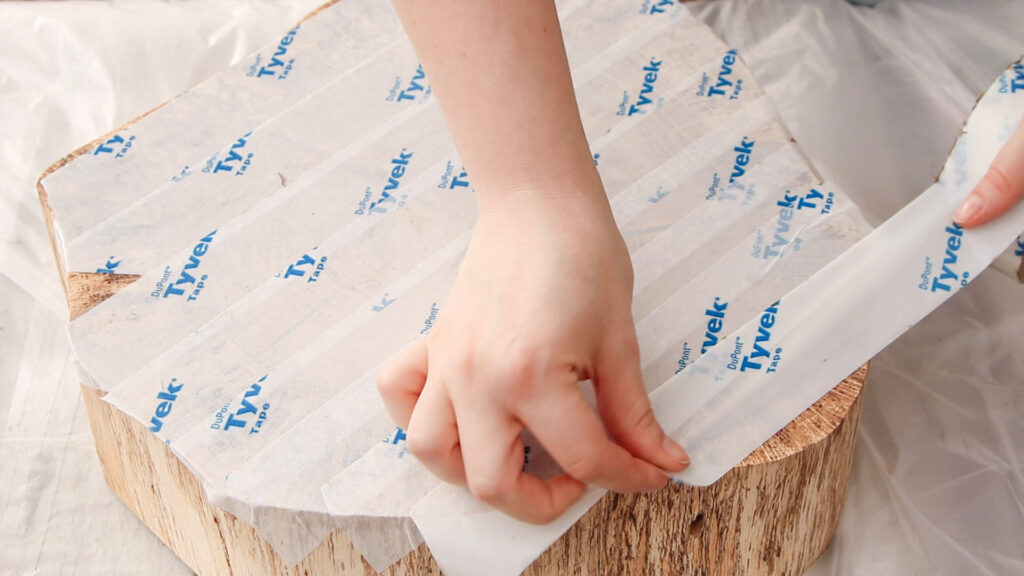
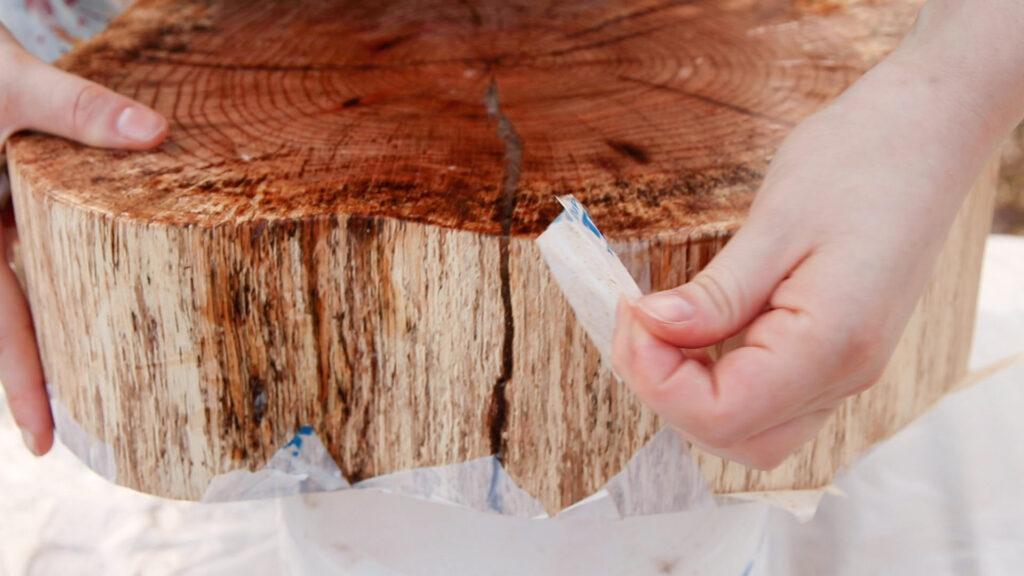
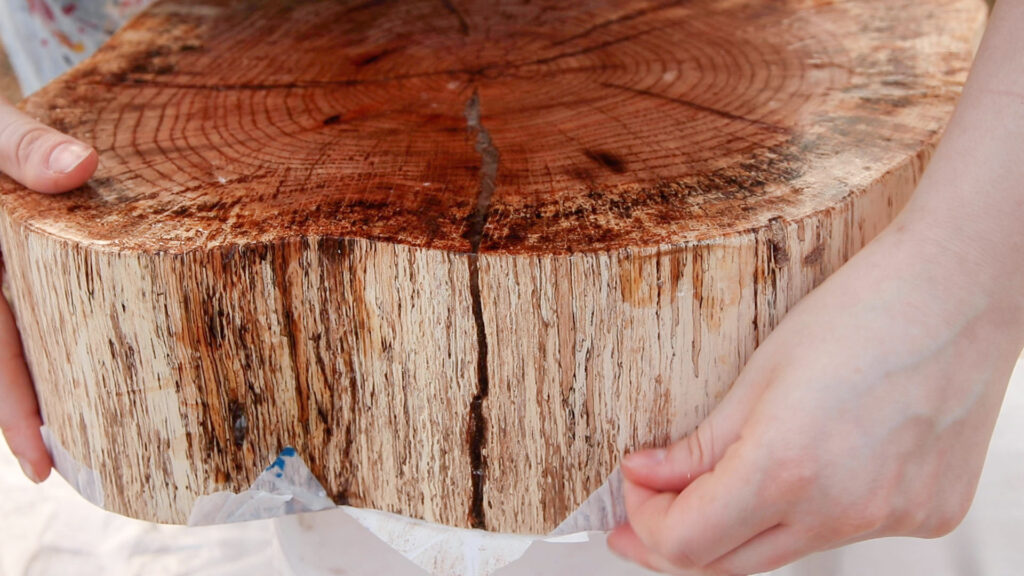
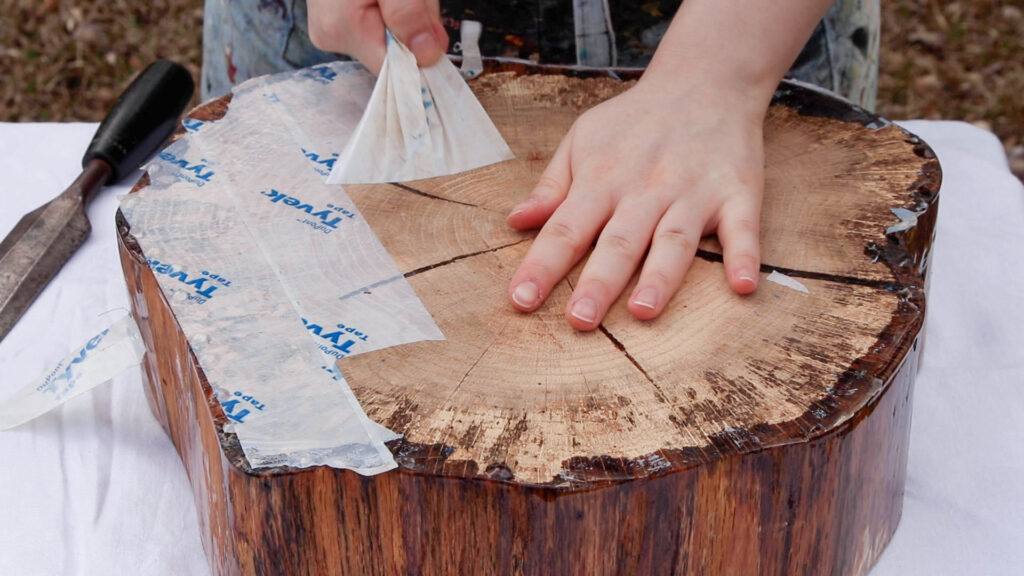
I used sheathing tape all over the bottom of the piece of wood, overlapping the strips of tape. This will keep the resin from leaking out of the cracks and keeping excess air from coming up through the pores in the wood.
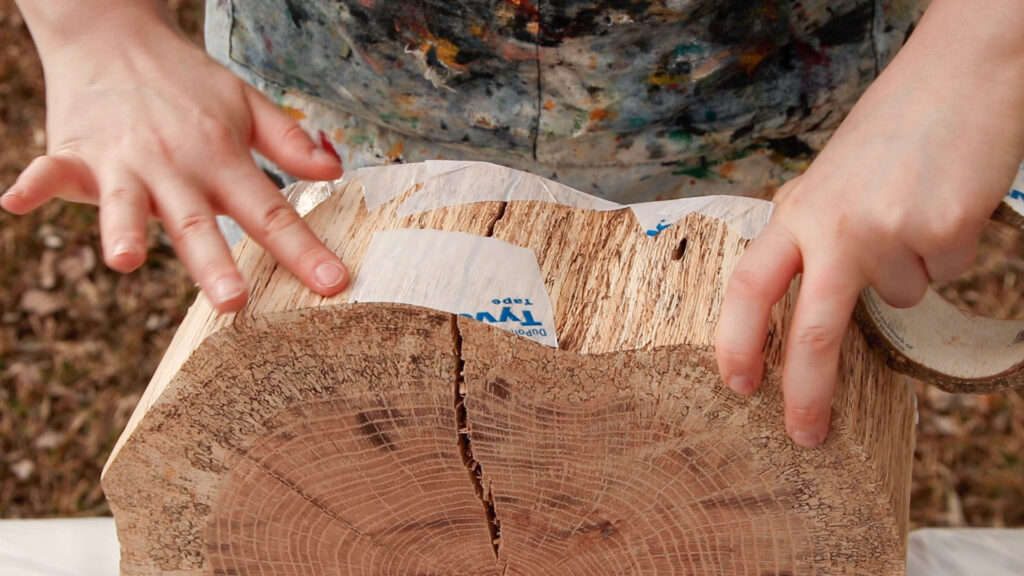
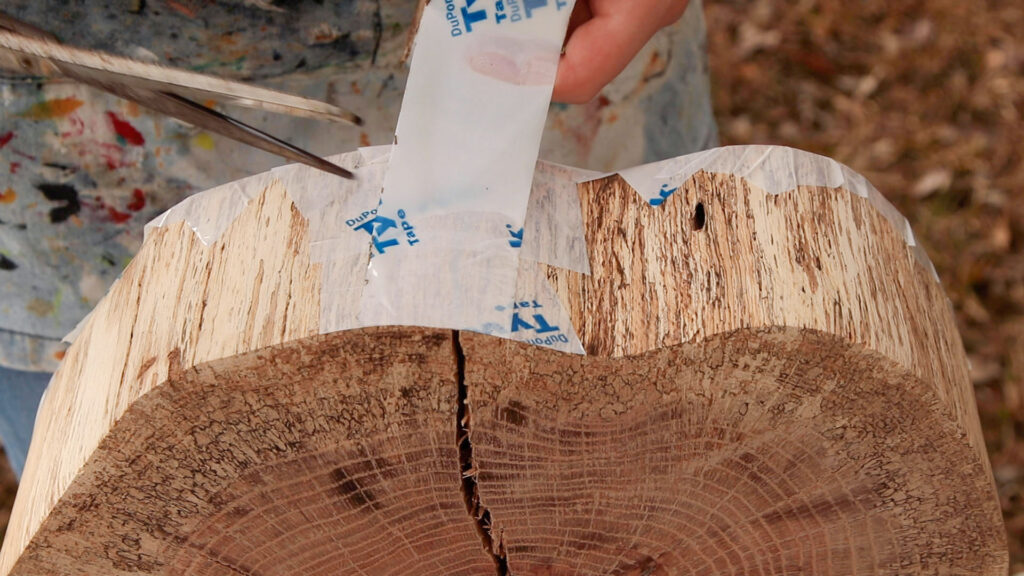
The tape needs to be taut across the crack so it will be filled flush with the side of the wood. I put two pieces of tape horizontally, and one vertically. The overlapping will help keep any resin from leaking out.
By placing the wood piece on the top of an upturned tub, I can prevent excess resin from pooling at the bottom edge.
Using Casting Resin
Personal Protection Equipment (PPE)

Always work with resin in a well-ventilated area. When working with small amounts of low VOC types of resin for a short amount of time you potentially could get away without a respirator. But for this particular project it is definitely needed.
- Half Face Respirator – For all Important Usage Information click HERE and go to the Resources Tab.
To check the fit and seal of the respirator on your face you’ll want to put your hand over the output in the center of the mask and exhale forcefully. If any air escapes around the edges of the mask you may need to make adjustments or purchase another size. I’ve included the link for the Medium size of the respirator that I use because it fits the majority of people. I, personally, wear a small because it fits my petite face best.
- Respirator Cartridges – Protects against Organic Vapors, Acid Gases, and Particulates
The cartridges are the most important part! They are effective for approximately 24 hours. That may not seem like long, but if they are stored in an airtight container than they last much longer. I don’t take mine out until right before I am going to open the resin. You should not be able to smell anything outside of the mask. If you can smell the resin through your mask, than the cartridges have gone bad and need to be replaced.
Safety goggles or glasses should also be worn to prevent any chemicals from getting in your eyes in the case of a spill or splash.

- Disposable Nitrile Gloves – You’ll want at least a medium thickness with no latex or powder. Latex can dissolve when exposed to solvents, so it is not a good option when working with resin.
Cleaning Up
Sometimes, even with gloves, your hands may end up sticky, or you might drip some onto your skin. To wash up, THIS is the hand cleaner I’ve been using for years. I found out about it when I took a printmaking class in college, it worked great to get the oily ink off of my hands.
Mixing

This type of resin can harden fairly quickly and is less expensive than epoxy, but it contains styrene, making it extra harmful to breathe.
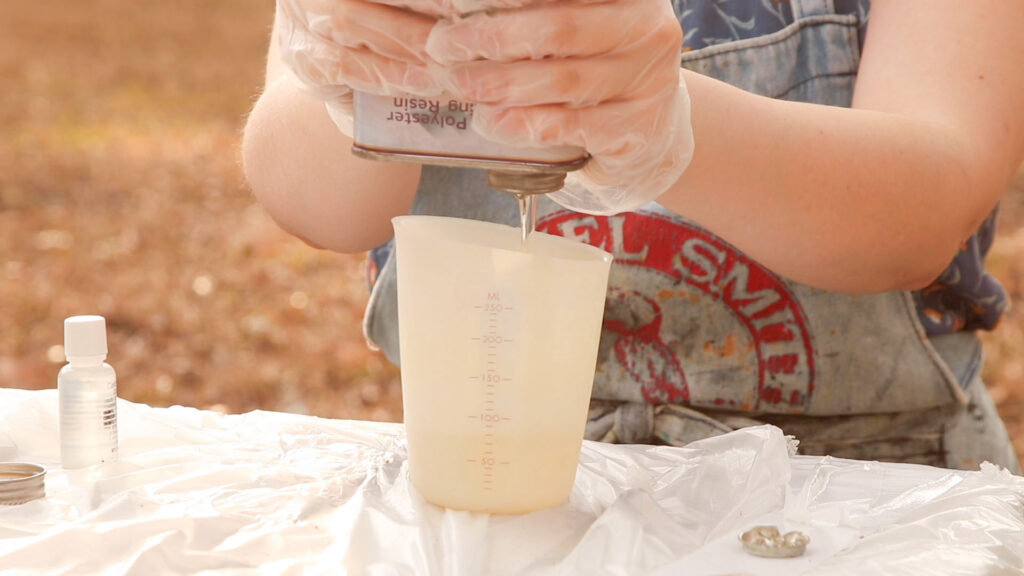
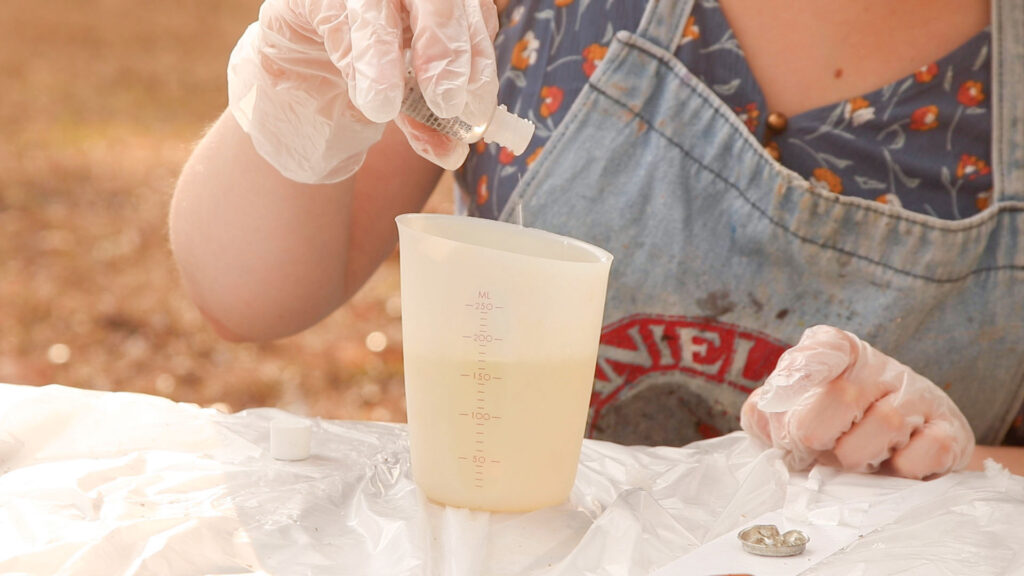
To use this casting resin, I first pour out the number of ounces I anticipate using. I suggest working in small batches because the pot time is about 5-10 minutes. This means the resin is only workable for a small amount of time before it gels. Then, according to the chart located on the back of the resin container, I add drops of the catalyst. The number of drops per ounce depends on the number of layers and how thick you plan on pouring your layer.
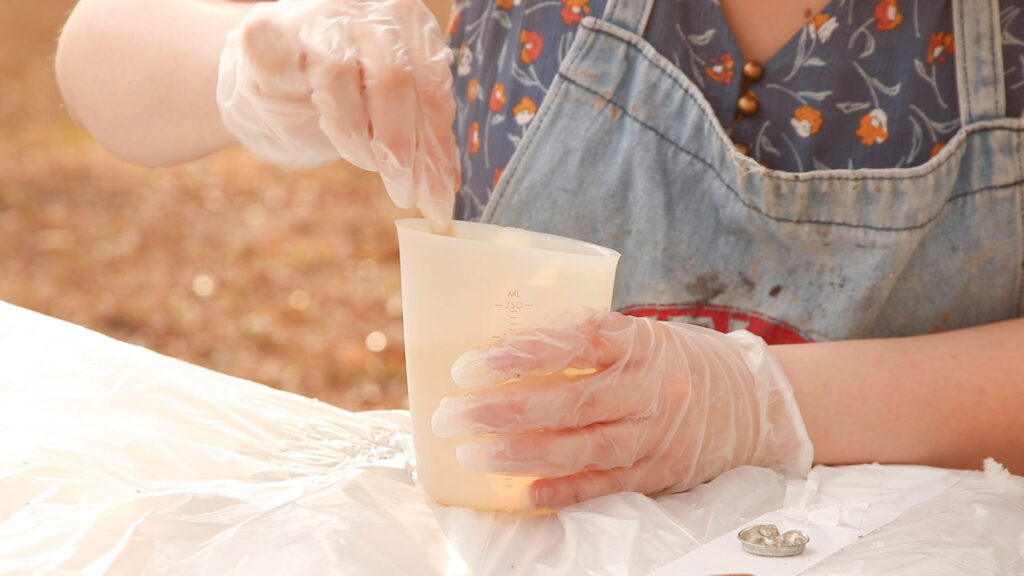
I stir the resin and catalyst together for a full minute to make sure they are thoroughly mixed. Work steadily at about a medium pace making sure to frequently scrape the sides of the cup.
Application
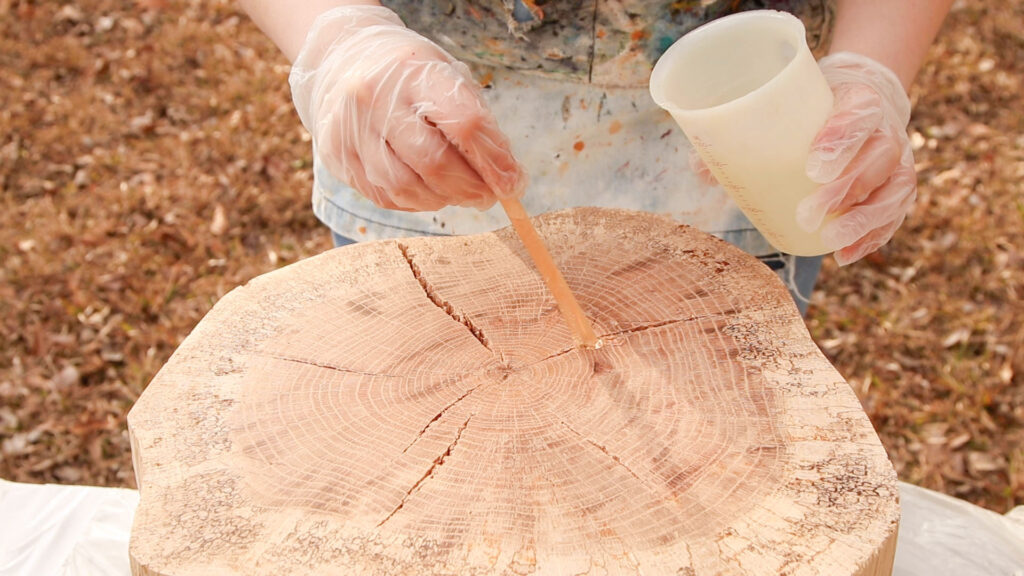
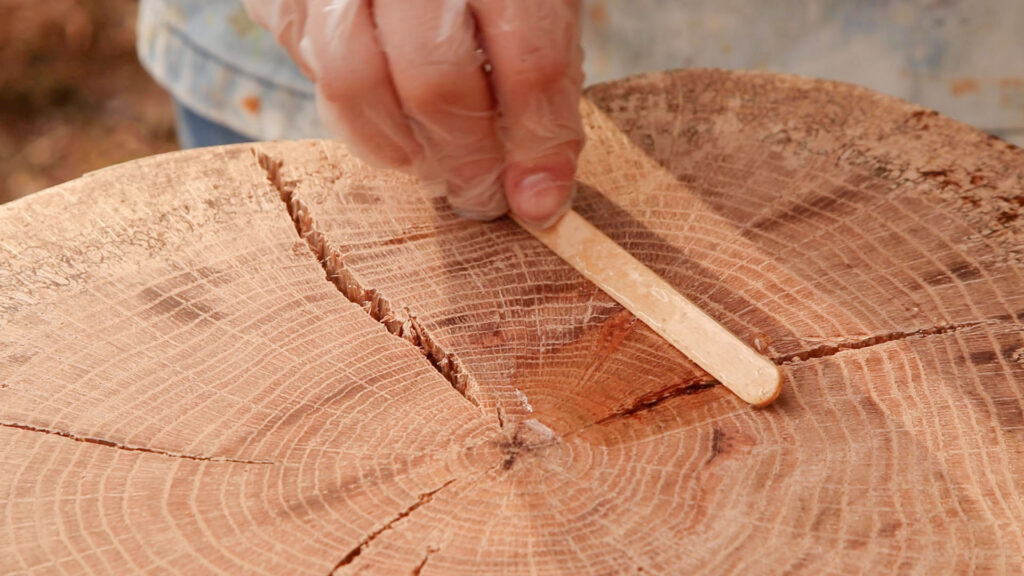
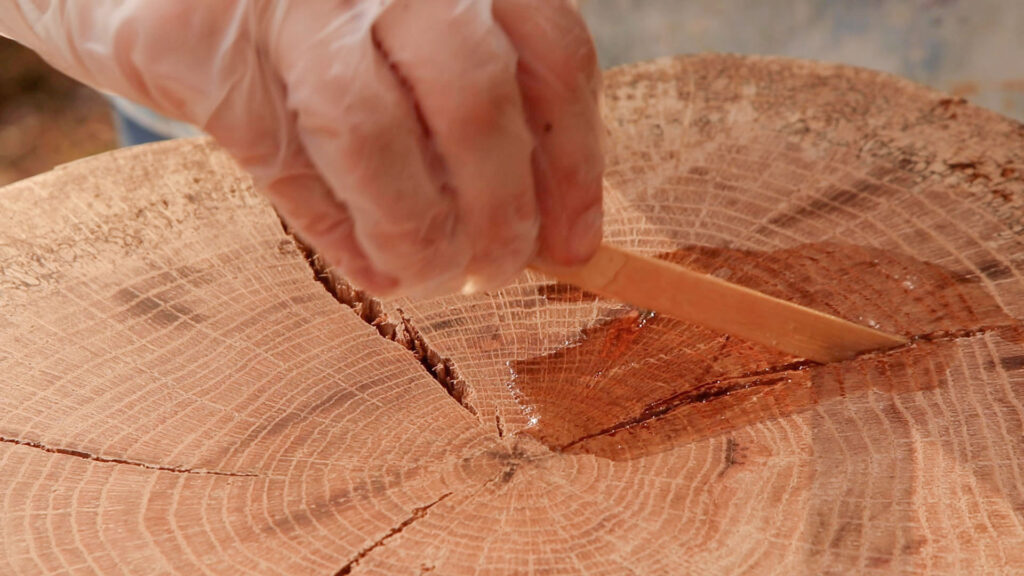
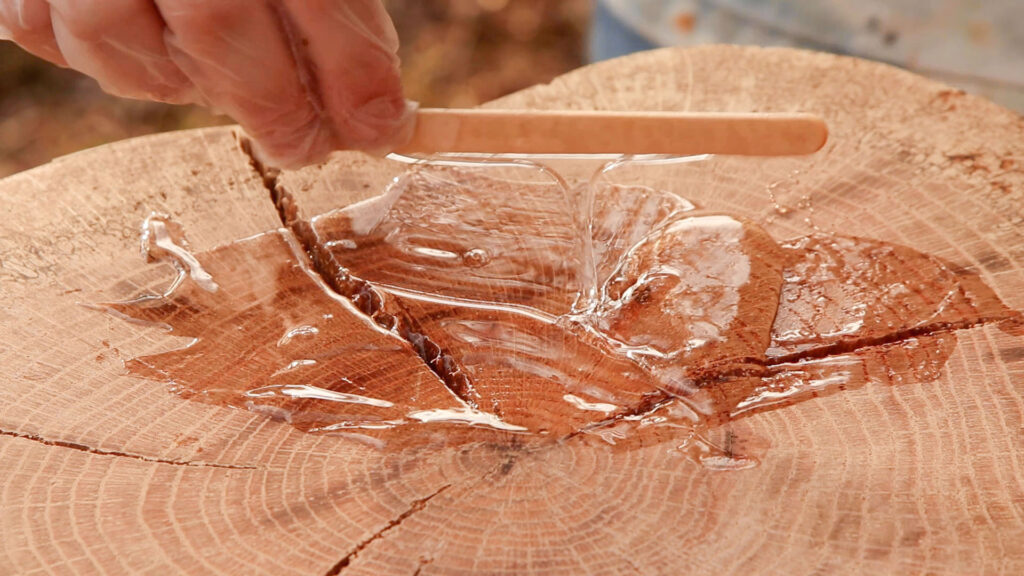
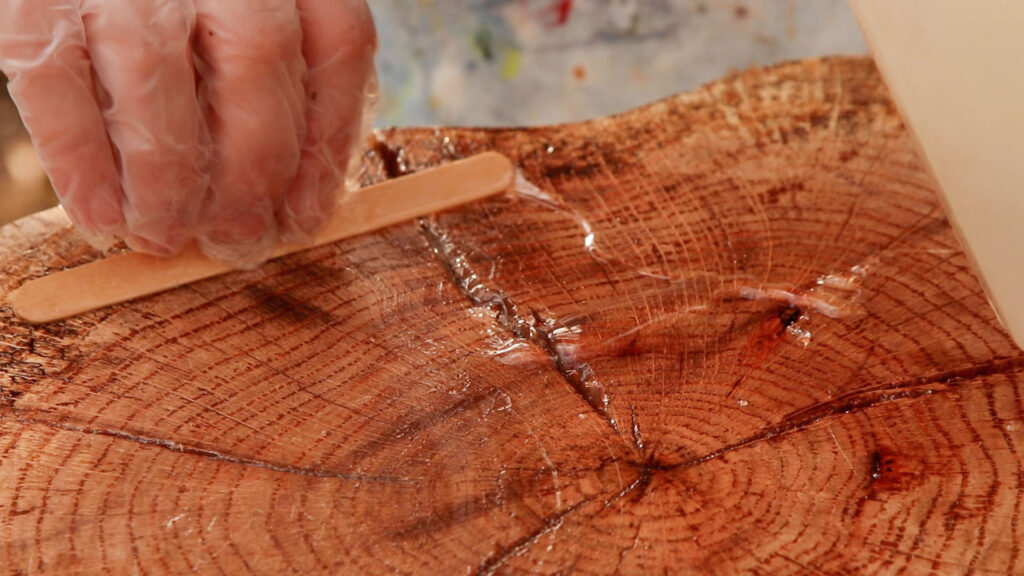
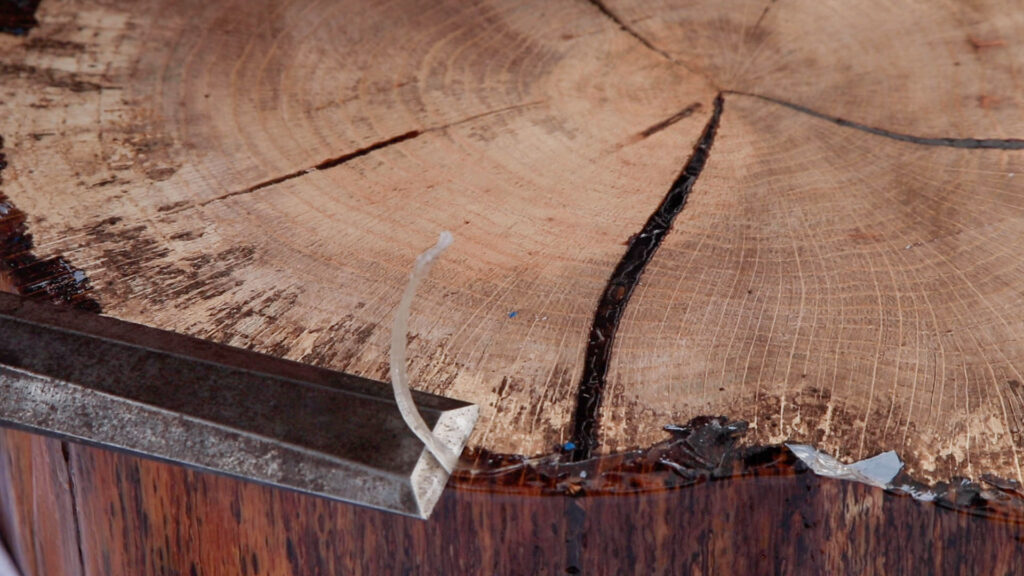
I worked fairly quickly to fill the cracks in the wood. It took several layers to get them completely full. I allowed about 4 hours between layers. You want them to be full to the point of slightly doming. Since the cracks were fairly thin I had to really work it in with a popsicle stick. Then I let the resin cure overnight.
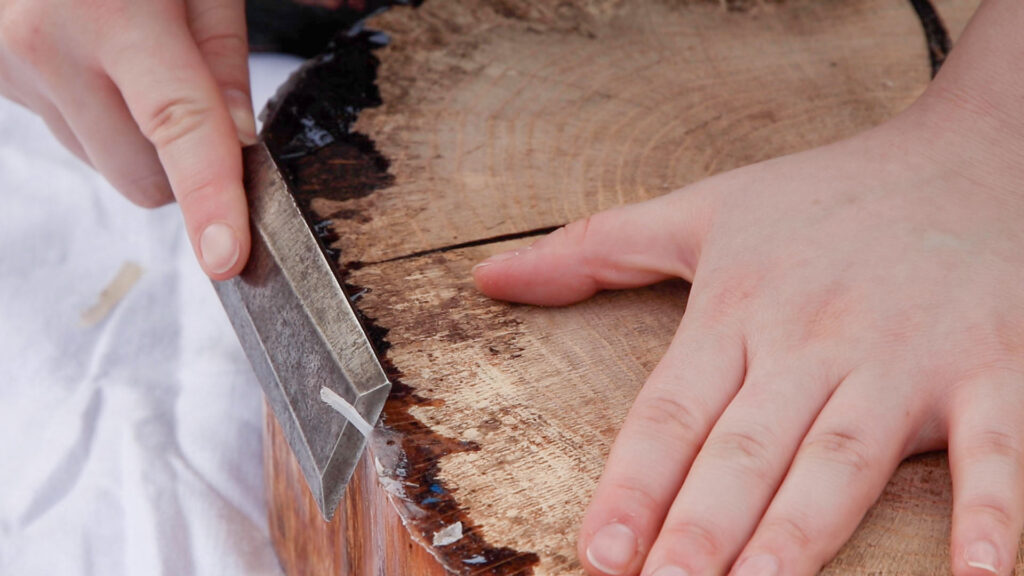
I ended up with a few lumps in the top that I knocked off with a chisel. They can also be sanded off.
The tape on the sides can now be pulled away, but keep the tape on the bottom of the wood slice intact.
Coating Resin
Coating resin has great self levelling properties. It also works well to cover the exposed pores in the wood. I ended up needing a second coat of resin because in a few spots on the sides the wood seemed to absorb the resin.
This is the same product I used for the resin art trays that I’ve made previously.
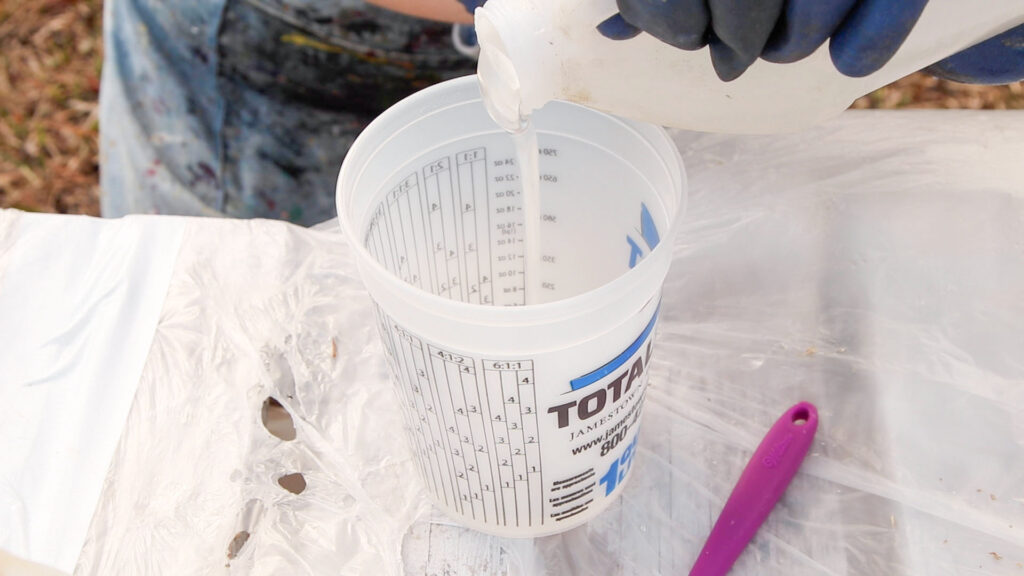
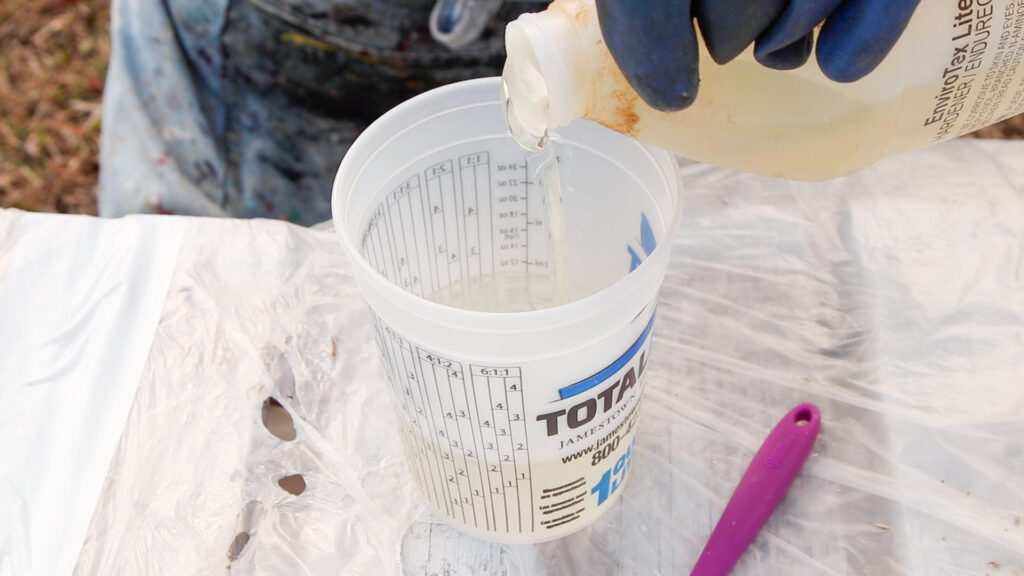
I used a larger mixing cup and a spatula to stir since I was working with a larger amount of resin at once. 12 ounces covered the wood perfectly. This resin is a 1:1 ratio, so I poured 6 ounces of resin or ‘part a’ and then 6 ounces of hardener or ‘part b’. When mixing 2 part resin you should always pour the resin before adding the hardener / accelerator / catalyst. The most accurate way to measure resin is by weight. Sometimes the measurements on mixing cups can be misprinted, so I suggest checking your cup for its accuracy before using it.
The resin and hardener need to be completely mixed together for the resin to cure properly. I stir mine for a full two minutes. You should be able to see the difference between the two swirling as you start to stir, by the time you are finished it should all look the same. Not only should you stir in the middle of the cup, but also continually scrape the sides to bring the resin down into the cup.
Poorly mixed resin can cause patches to cure at different rates or to not cure at all. If there are areas that remain uncured after 24 hours, that resin will need to be scraped off before pouring a new batch on top of it.
Pouring Resin
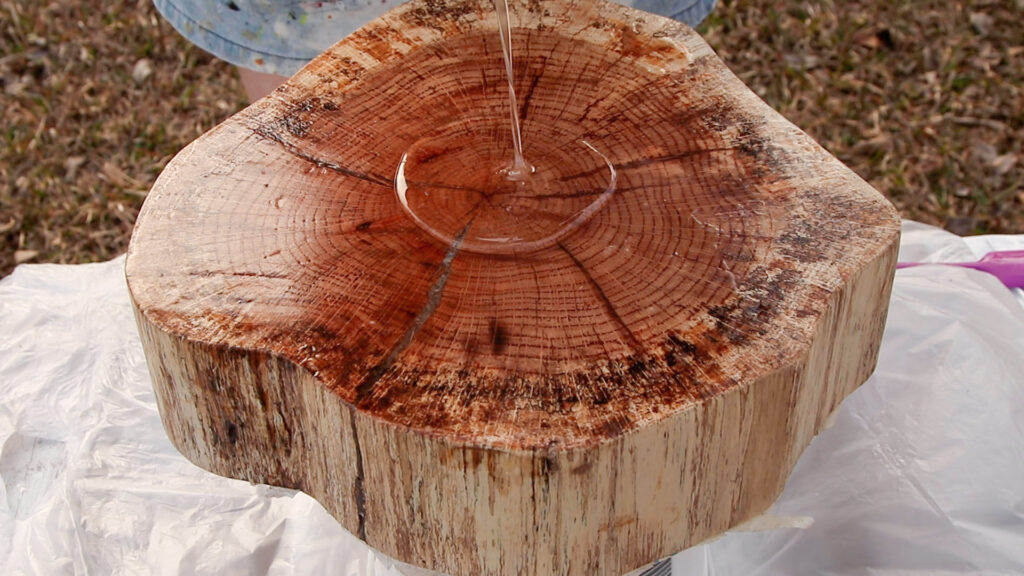
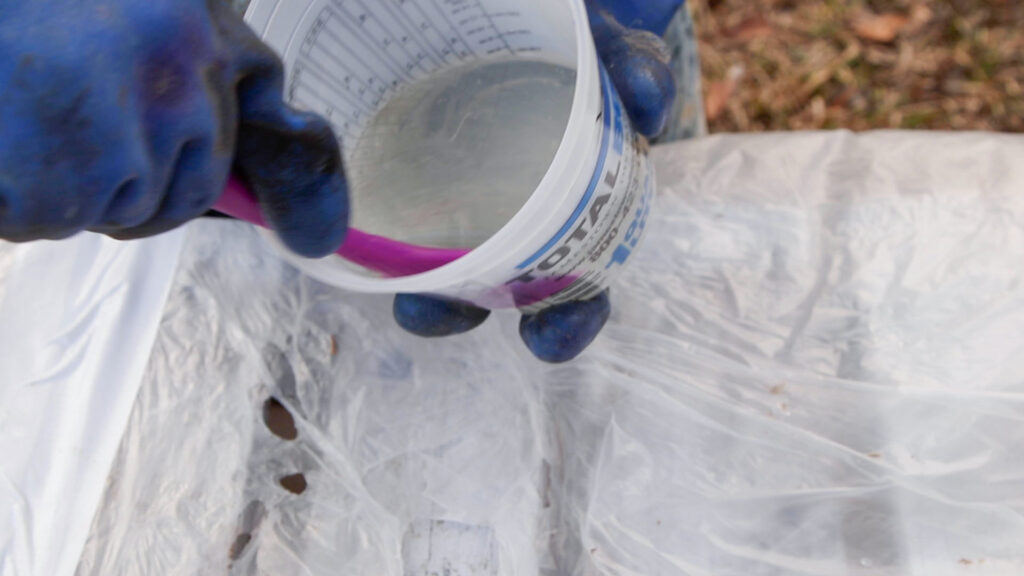
I start by pouring about half of the resin into the center of the wood table top letting it naturally work its way out.
Since the wood slice is not a perfect circle, I poured out more of the resin onto the wider areas to help it continue to push out and cover the top of the wood.
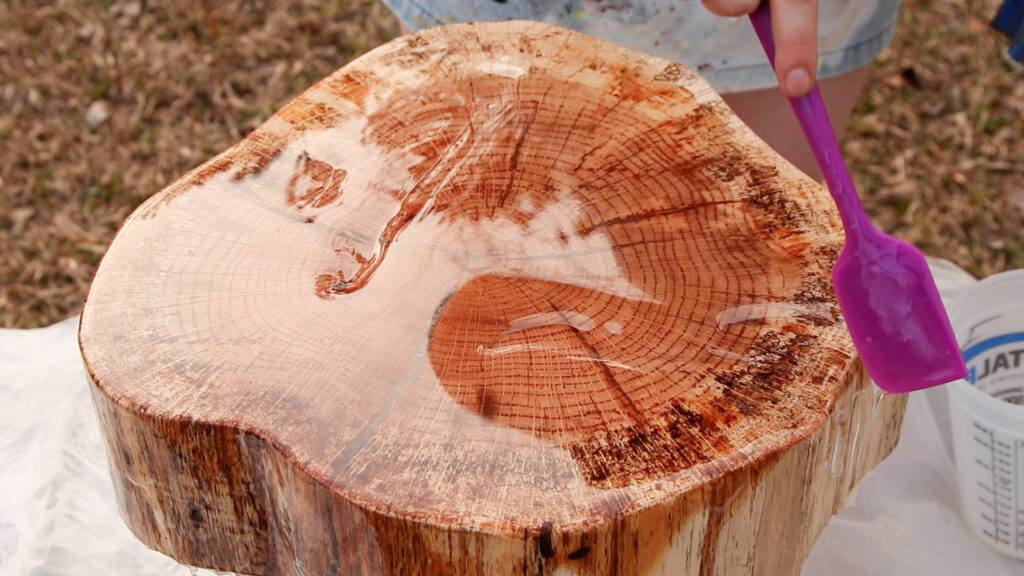
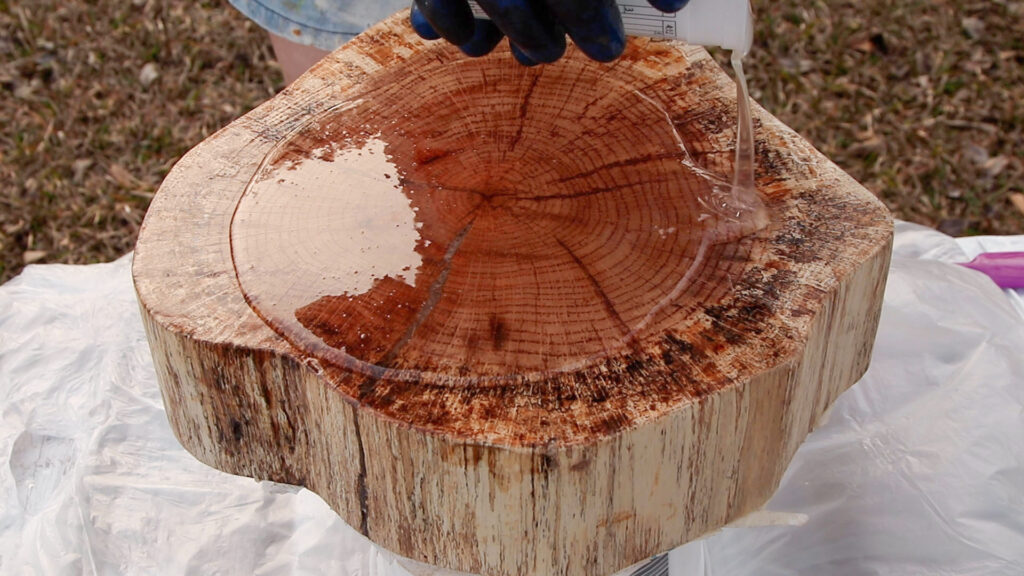
The resin should be able to push past the edge and start running down the sides, but sometimes it may dome at the edge and will need a push to break the surface tension. I had to use my spatula in a few places to help the resin evenly coat the sides.
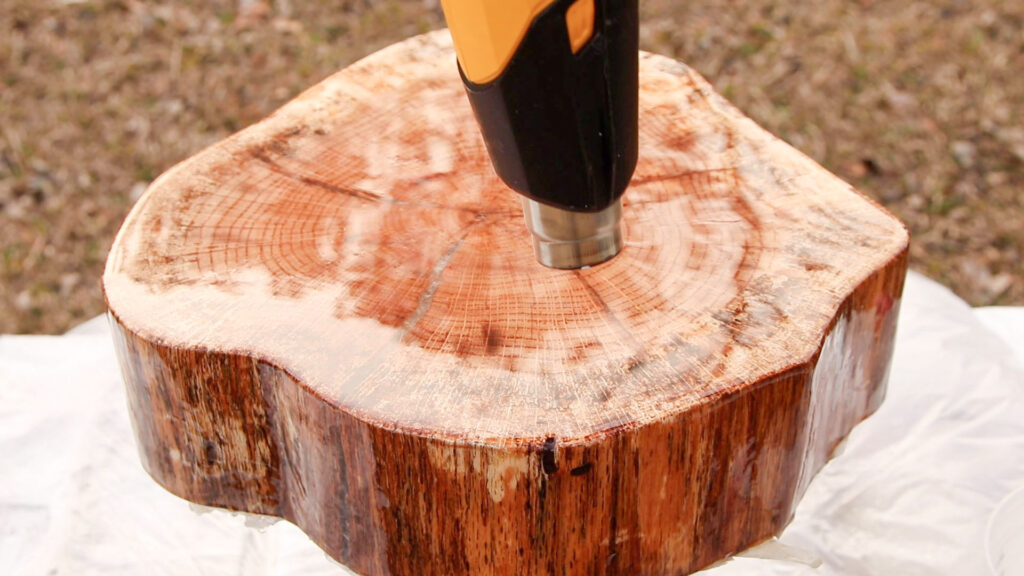
A heat gun or torch works great for removing any surface bubbles. Keep the gun moving and at least 6 inches from the surface. Now just step away and allow the resin to do its thing. It will continue to flow and drip and level out as it needs to.
If an area gets too hot it may start to wrinkle and overcure. When this happens, simply allow the rest of the resin to cure, scrape out the affected area and repour it.
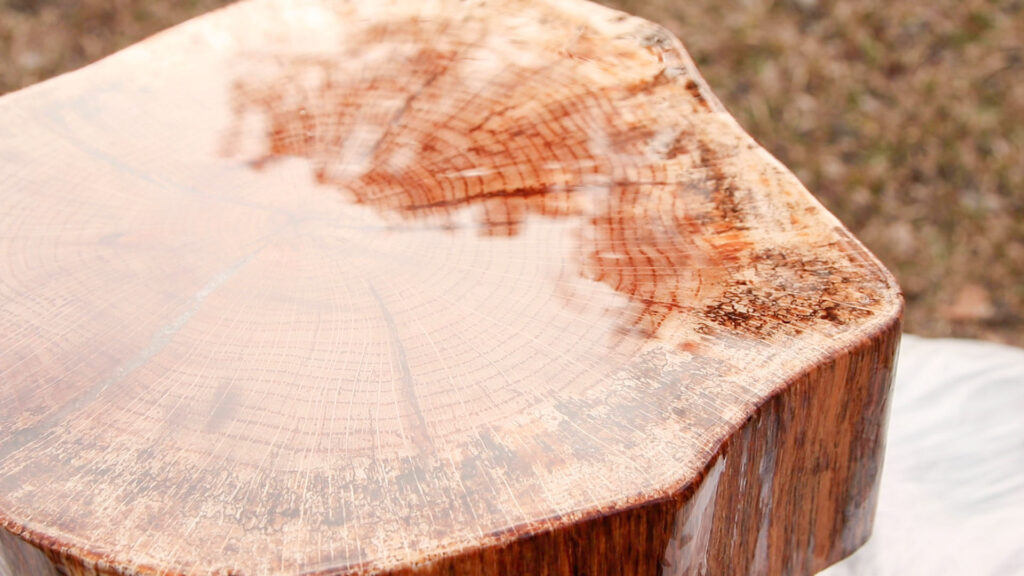
I allow the resin to cure for 24 hours before moving on to the next step.

Now I can take the tape of the bottom of the wood. In a few areas the resin coated the edge of the tape so I cut it away to get it off.
I also go over the bottom and scrape up any drips on the bottom edge. This can also be sanded away, but keep in mind you should always wear a mask that protects from particulates when sanding resin.
Installing Hairpin Legs
This is the last section of work to be done before the table is finished! It is a pretty quick process, but has lots of little steps to it.
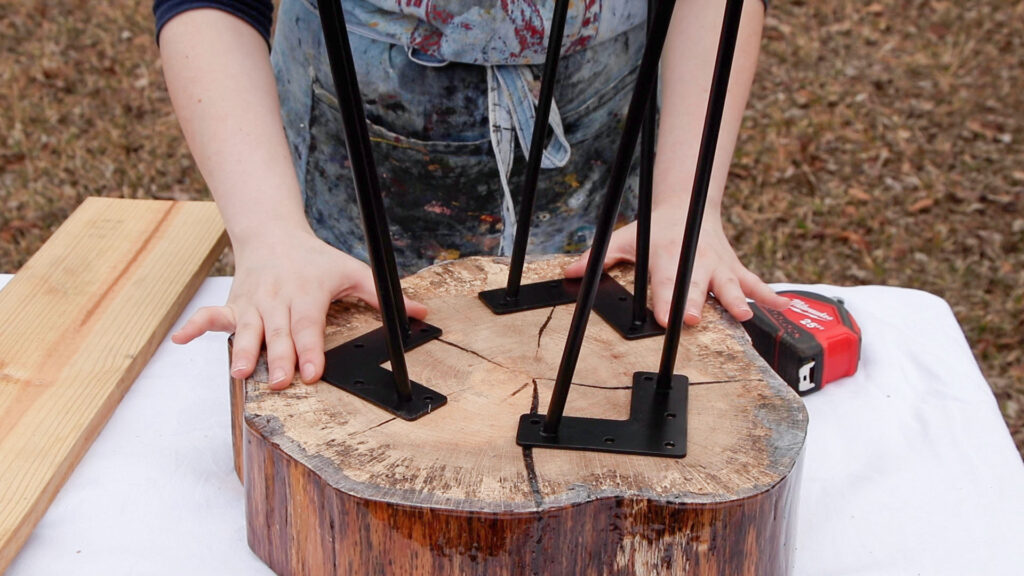
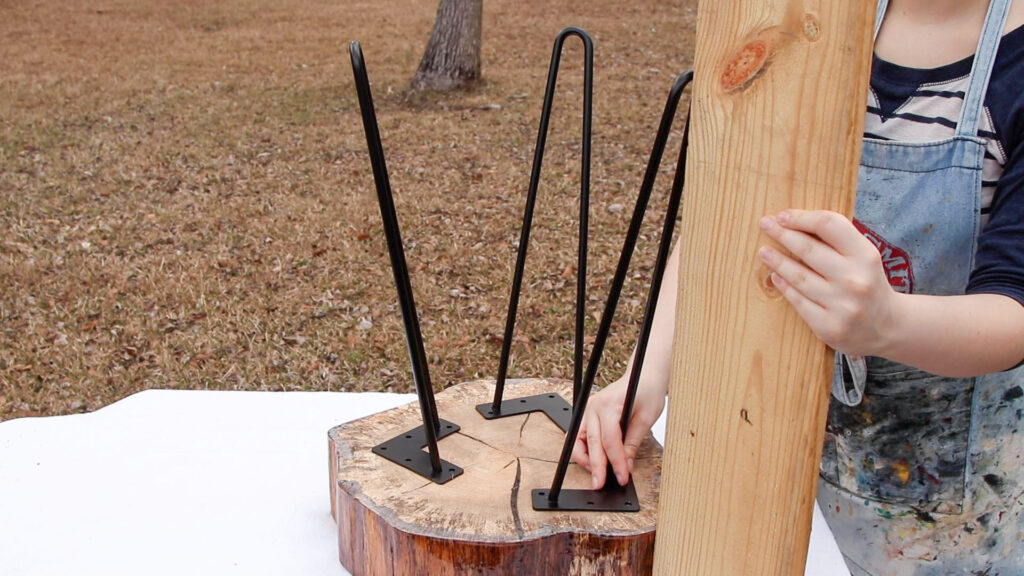
The set of legs I ordered actually included 4 legs, but I only use three of them. First I set up the legs on the bottom of the wood, positioning them so they are evenly spaced. The bottom of the leg should line up with the side of the wood table top, but not go farther. I used a scrap piece of wood to make sure the legs are flush with the edge.
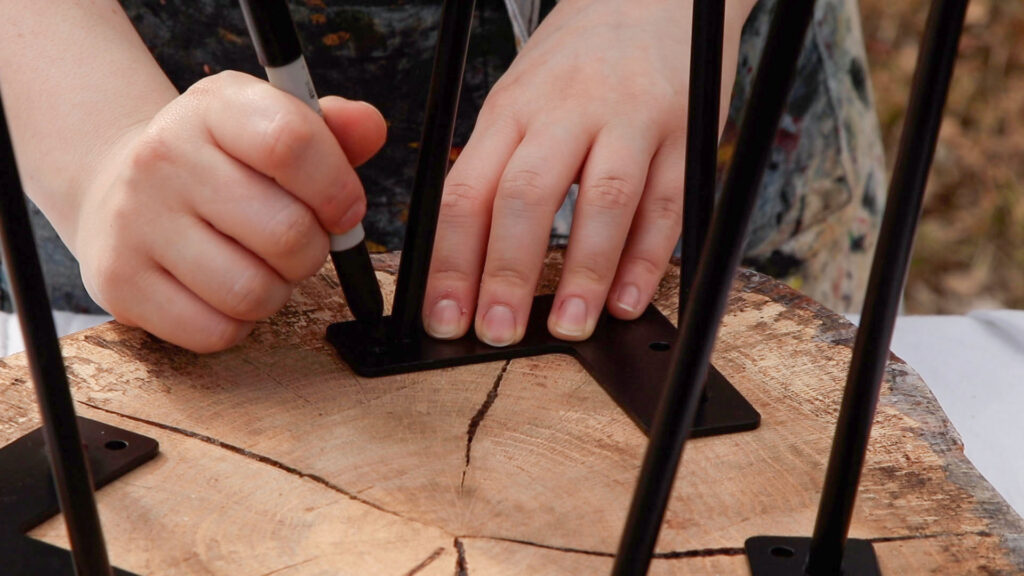
Once the legs are in the desired position, I use a permanent marker to mark the screw holes.
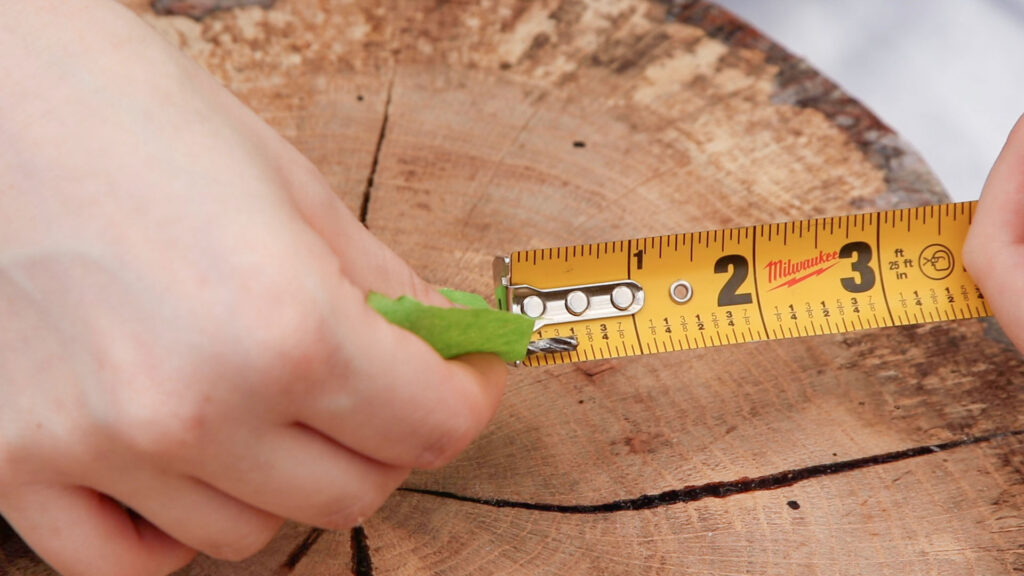
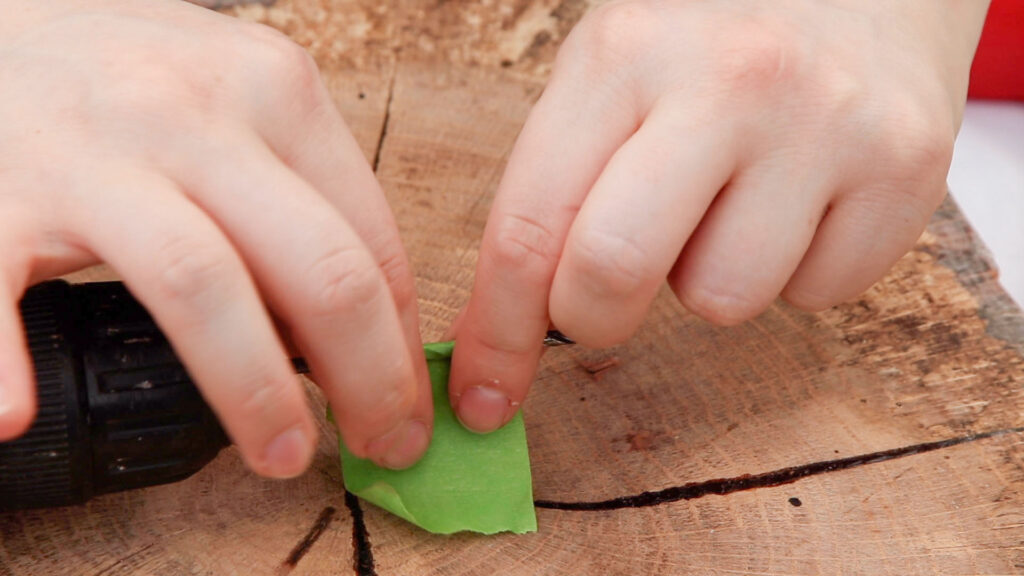
I am going to be drilling down half-of-an-inch so I used some painter’s tape to mark it off on the bit.
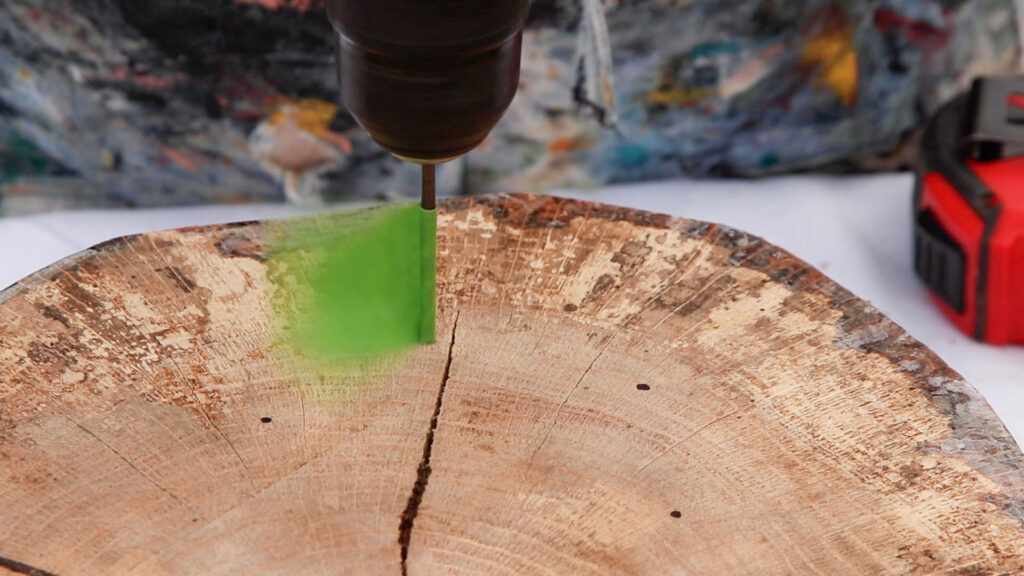
Now I drill all 15 of the pilot holes. It is important to drill these holes before using screws, so that the wood will not split.
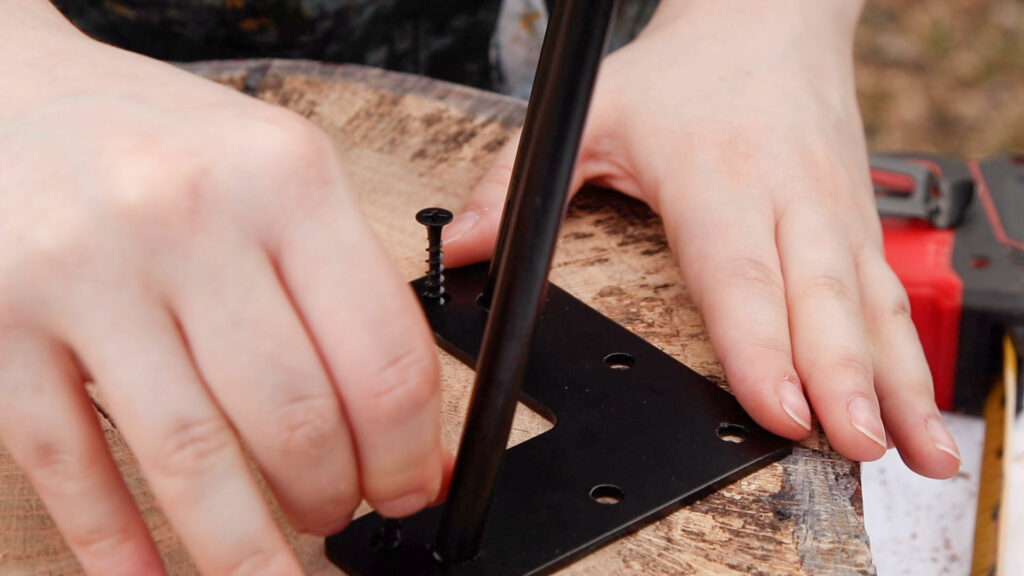
I put the leg down over the holes and start a few of the screws in by hand to keep the metal from moving around.
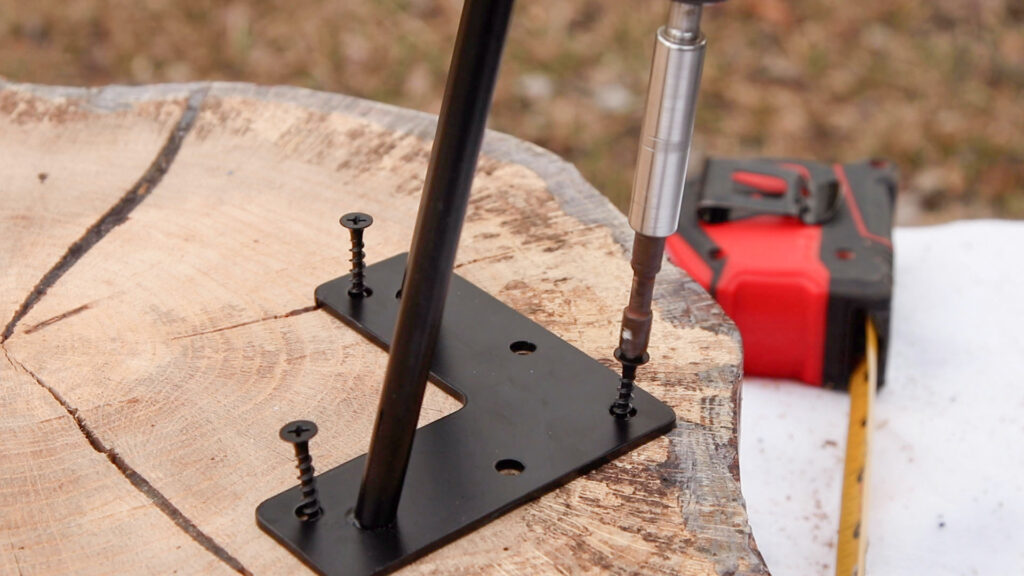
These angled hairpin legs can make it difficult to use a drill, I used an extender so the drill could work easily around the legs. Then I tightened the screws into the holes on each leg. And it’s done!
Check out the Video!
Next in the queue is Leslie of Feet Under My Table with some beautiful additions to her garden that you won’t want to miss!

Kippi at Home // Zucchini Sisters // Peacock Ridge Farm // Cloches & Lavender
🌳 🌳 🌳 🌳 🌳 🌳

Darling & Dapper Life // Olivia O’Hern // Feet Under My Table
Epoxy Resin Projects

Marcel
Friday 6th of October 2023
Very interesting love it hope to make some for family at Christmas
Imran
Monday 8th of May 2023
Such a great project idea! And I’m a little embarrassed to say that I had no clue there was such a thing as a moisture meter. The wait time for natural wood project always feels like forever, I love that with the meter you could actually check where your at! Gorgeous table leg ideas too, I just love how the raw wood edges pair with the industrial style legs.
Cecilia
Saturday 1st of January 2022
Great tutorial! Thanks for sharing at Vintage Charm!
Laurie
Friday 31st of December 2021
I found this whole Process interesting. I’d like to do some tables this way and maybe a countertop. I still am learning.
Thanks so much for sharing in detail!
Fell free to come share this at a brand new blog hop starting this Sunday—the Sunday Sunshine Blog Hop! Look for it Sunday morning.
https://www.ridgehavenhomestead.com
Blessings, Laurie Ridge Haven Homestead
Allison
Monday 26th of April 2021
Such a great project idea! And I'm a little embarrassed to say that I had no clue there was such a thing as a moisture meter. The wait time for natural wood project always feels like forever, I love that with the meter you could actually check where your at! Gorgeous table leg ideas too, I just love how the raw wood edges pair with the industrial style legs.