This post may contain affiliate links. This means that if you purchase from one of these links I will make a small commission, but rest assured you will not pay more for any products.
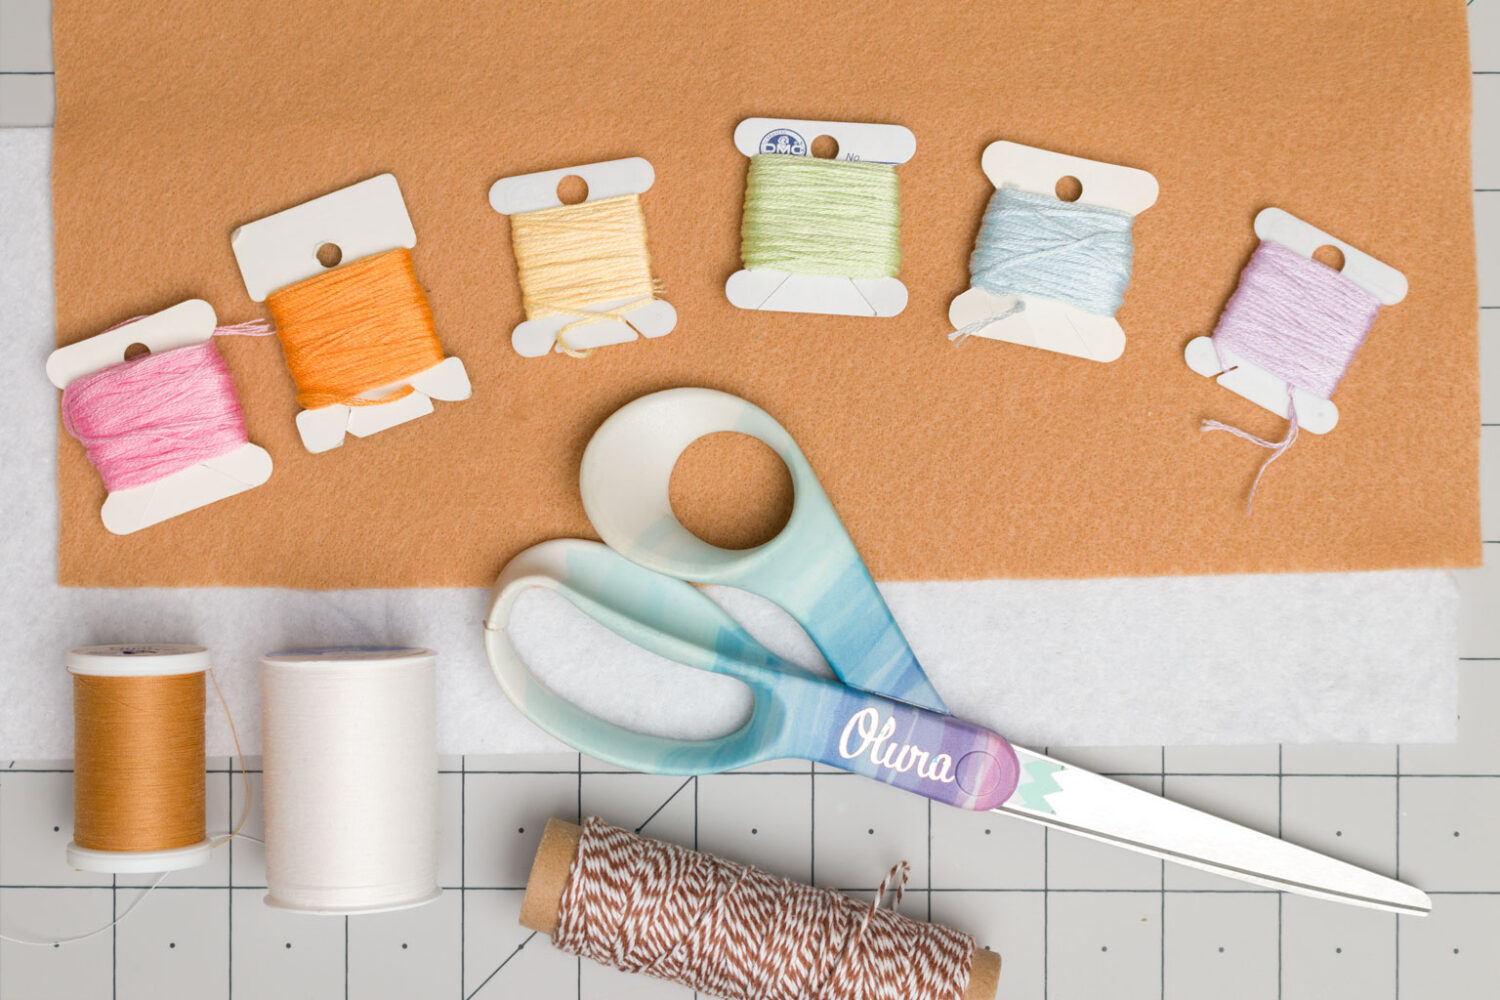
- Cricut Maker
- Cricut Rotary Blade
- Cricut Applicator and Remover Set
- Cricut FabricGrip Machine Mat
- Red Felt
- Red Embroidery Floss
- Twine
- Stuffing (Optional)
- Sewing Needles
- Scissors
- Pins
- Diamond Dotz Freestyle Metallics Pack
- Diamond Dotz Accessory Pack
- Puffy Paint
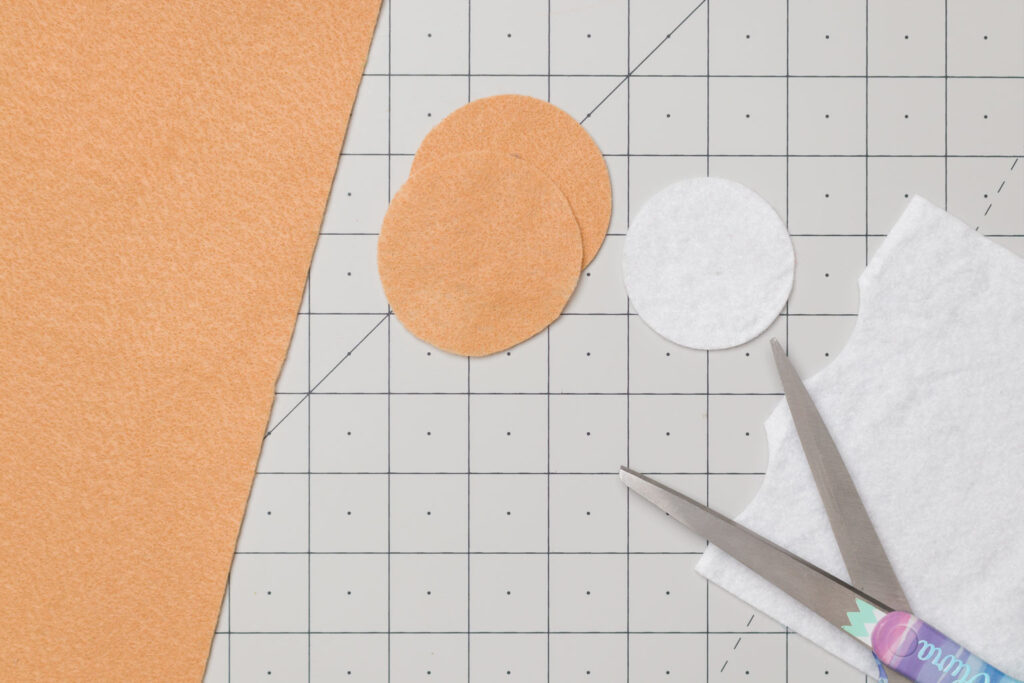
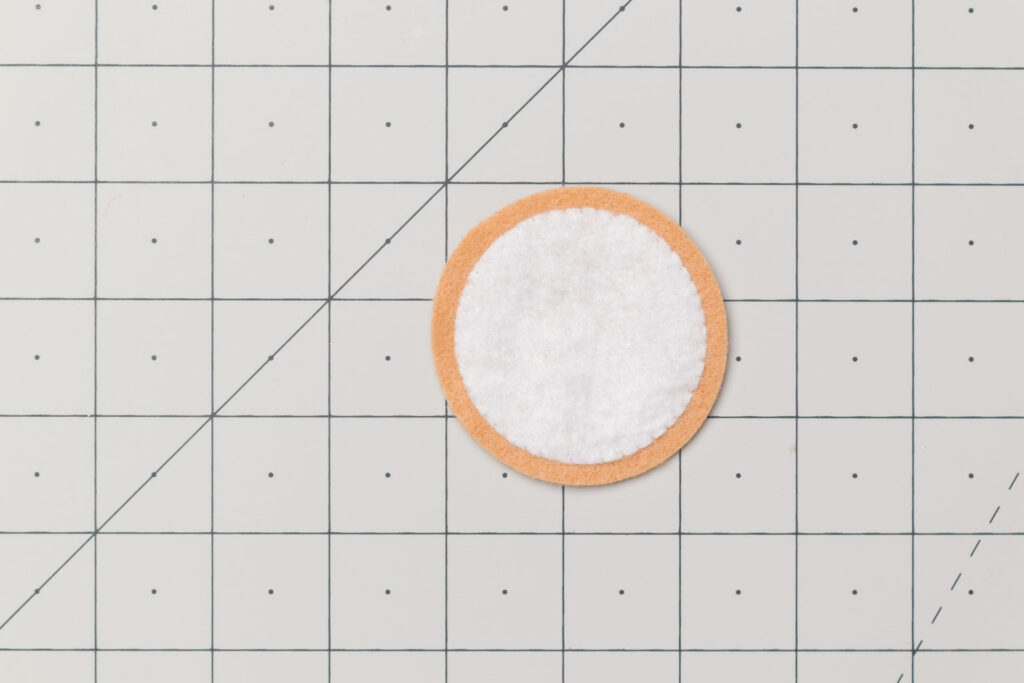
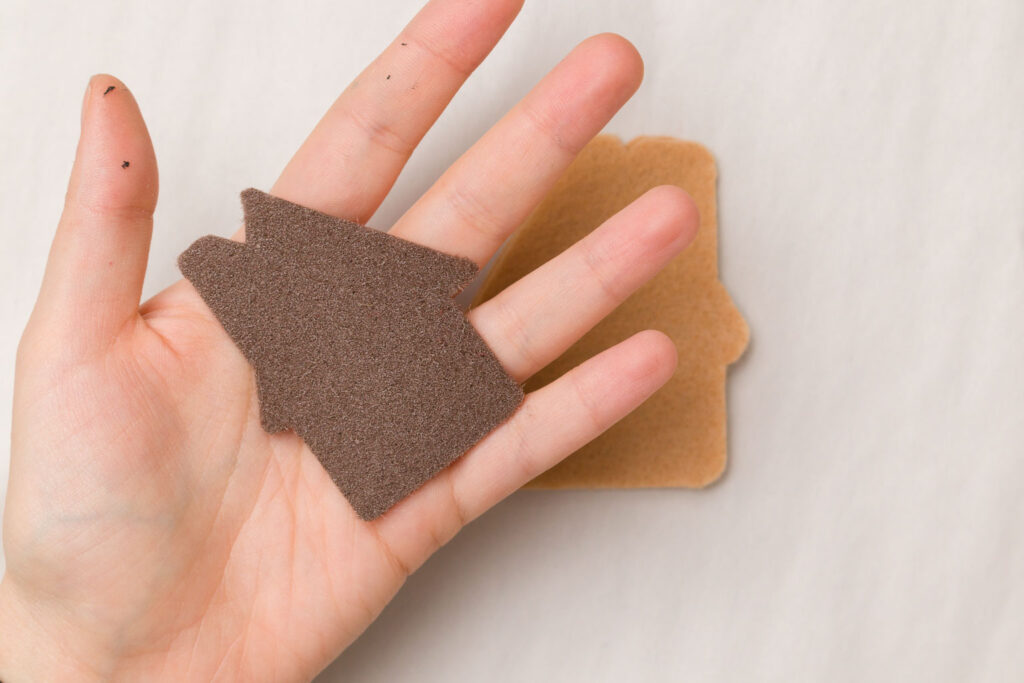
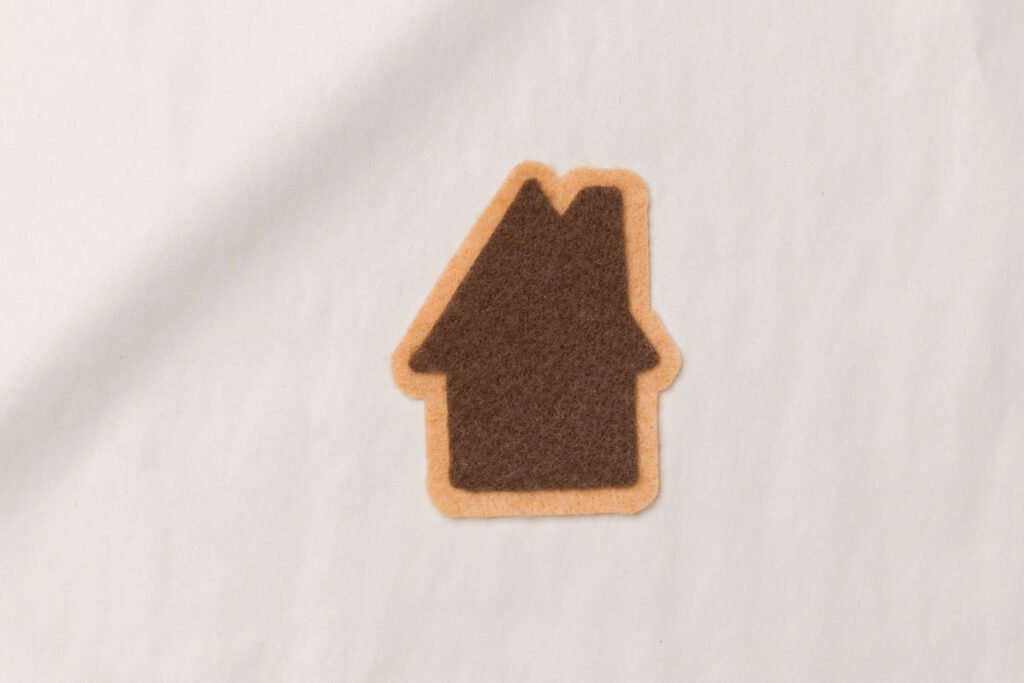
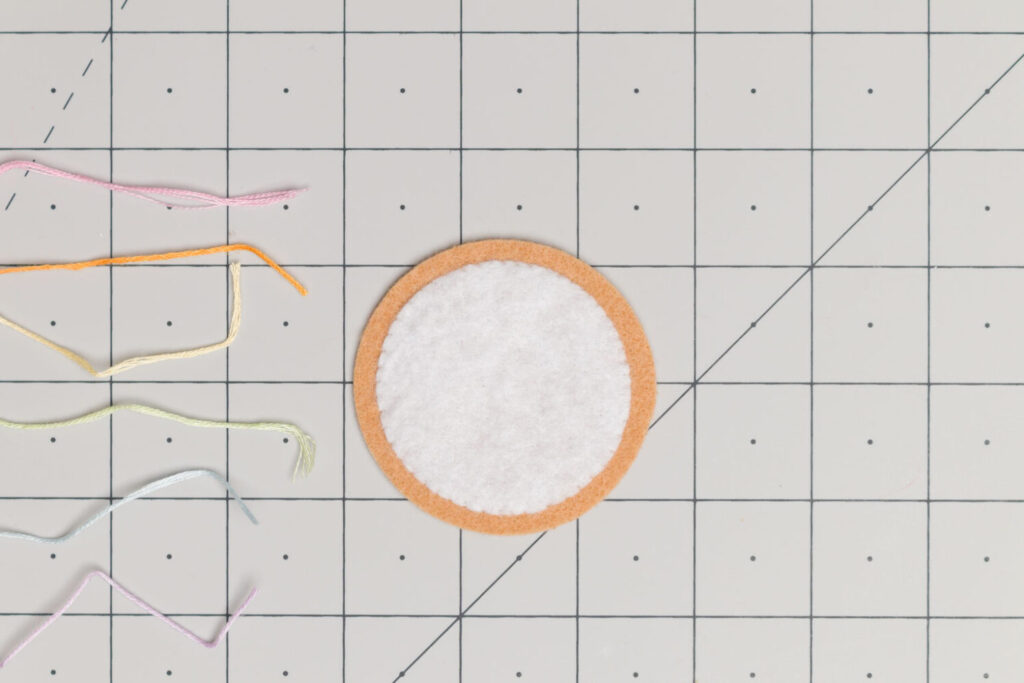
First thing you’ll need to do is cut out your cookie pieces. Each cookie will need two cookie pieces and one icing piece cut out. I like to use my Cricut Maker to cut out felt pieces because they always come out with nice crisp edges. You can find detailed instructions on cutting felt HERE.
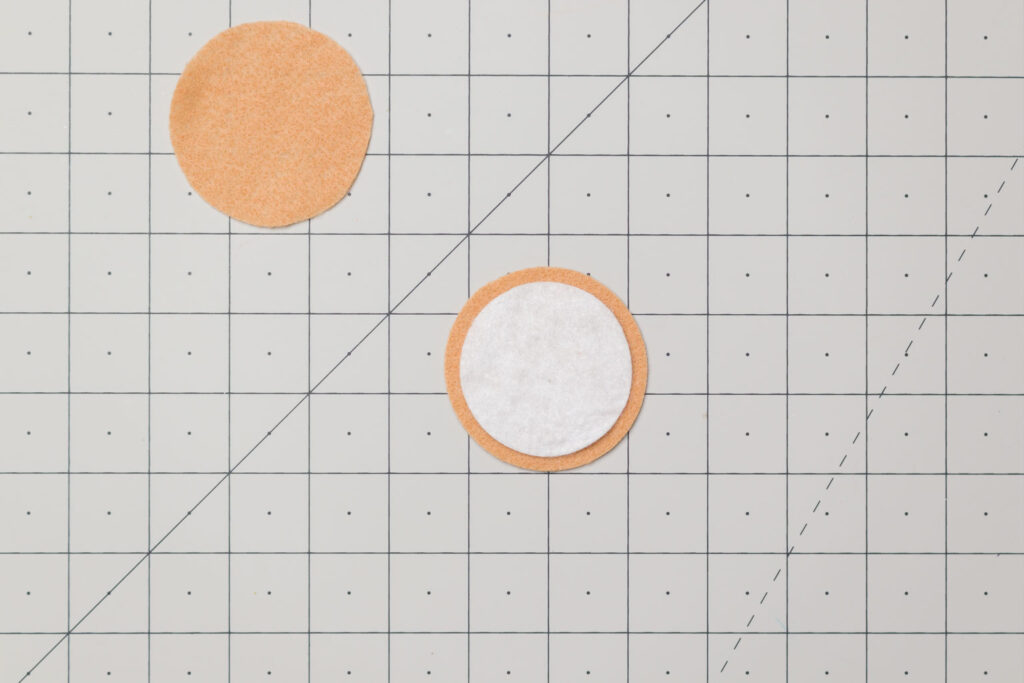
Next you’ll want to attach the icing to one of the cookie pieces, I found several effective ways to do this.
What Needle Should I Use?
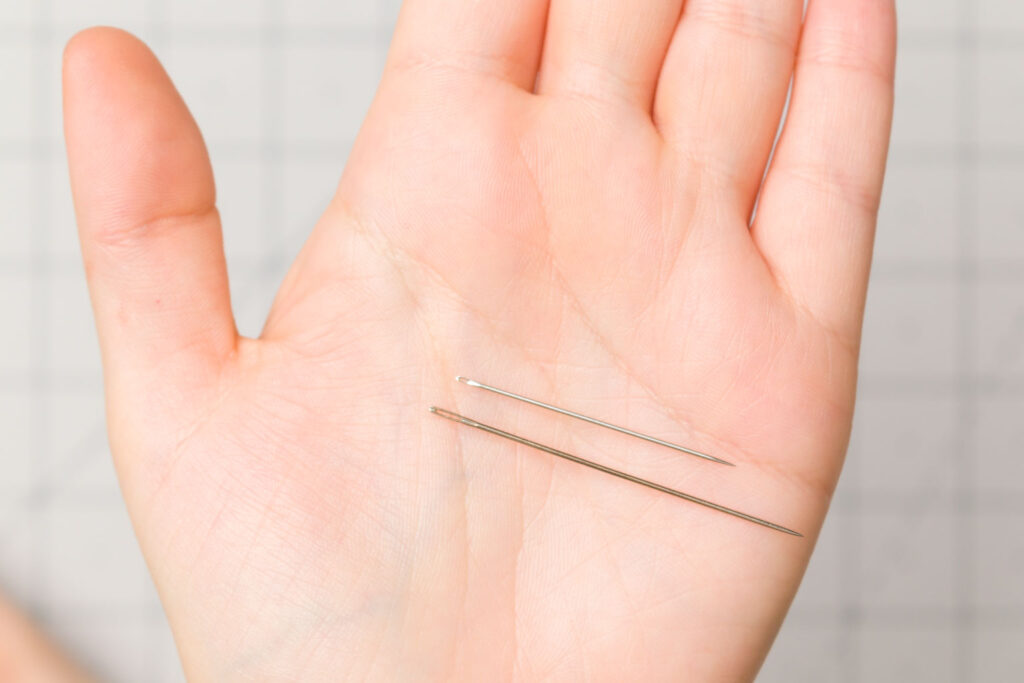
I use two different needles for these cookie ornaments. The top needle is referred to as a “sharp” it is shorter, slim and has a small round “eye” (the hole you put the thread through) and works great for hand sewing specifically all of the whip stitching in this project. Perfect with regular thread.
The bottom, longer, needle is for hand embroidery I like to specifically use “crewel” needles. It has long thin eye that can fit multiple strands of embroidery floss. I use it for the blanket stitch, and the stitched on sprinkles.
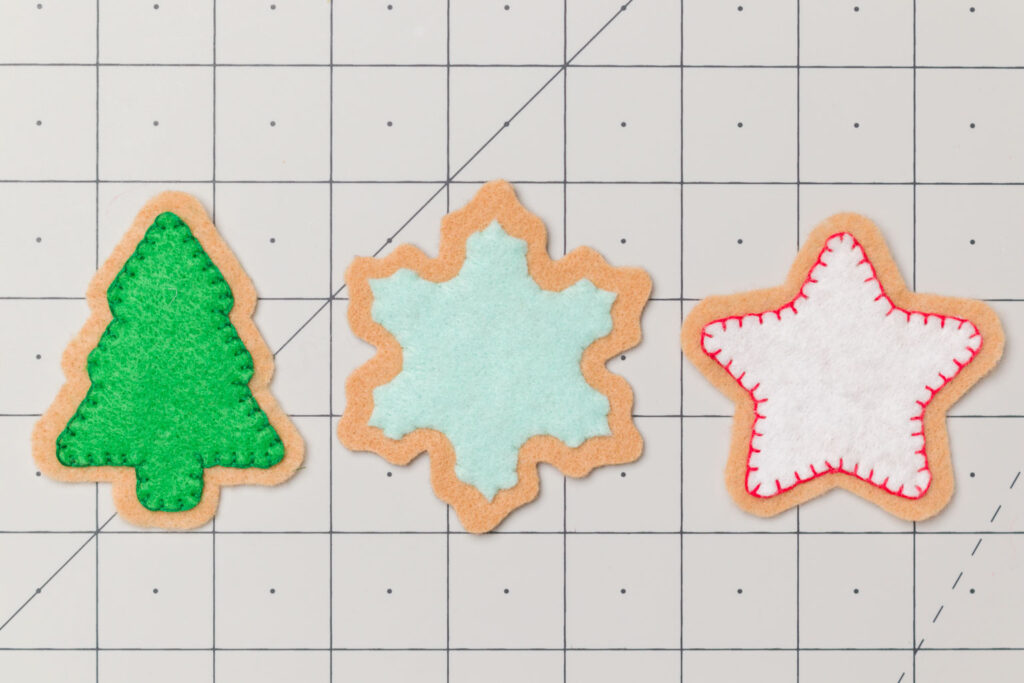
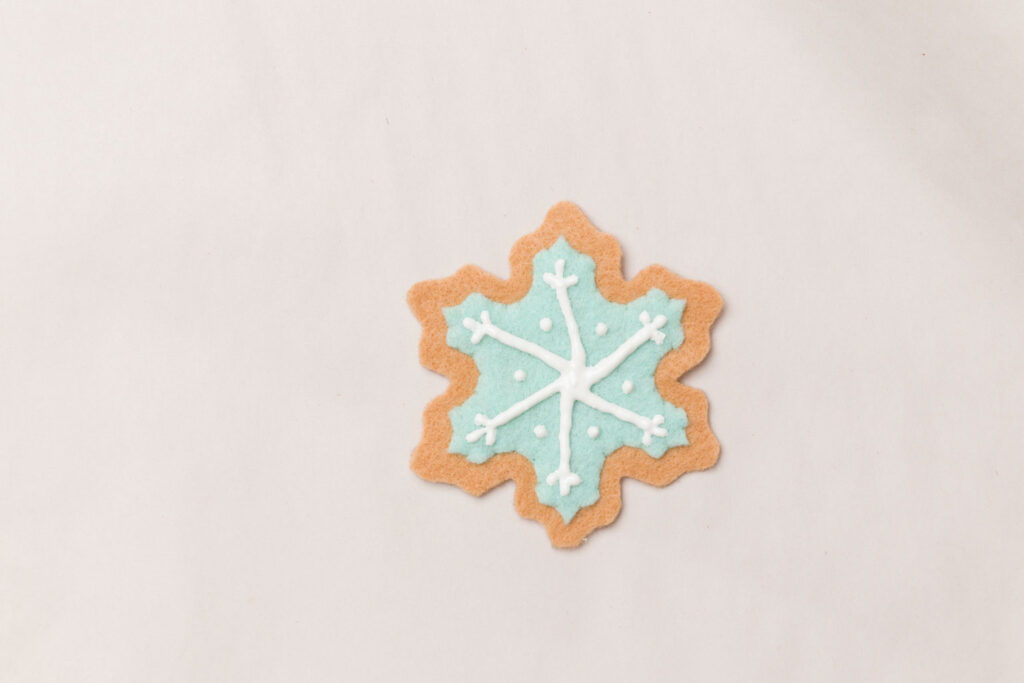
(Left to Right) Christmas Tree with matching Blanket Stitch, Snowflake with Whip Stitch, Star with Contrasting Blanket Stitch.
Methods for Adding Icing
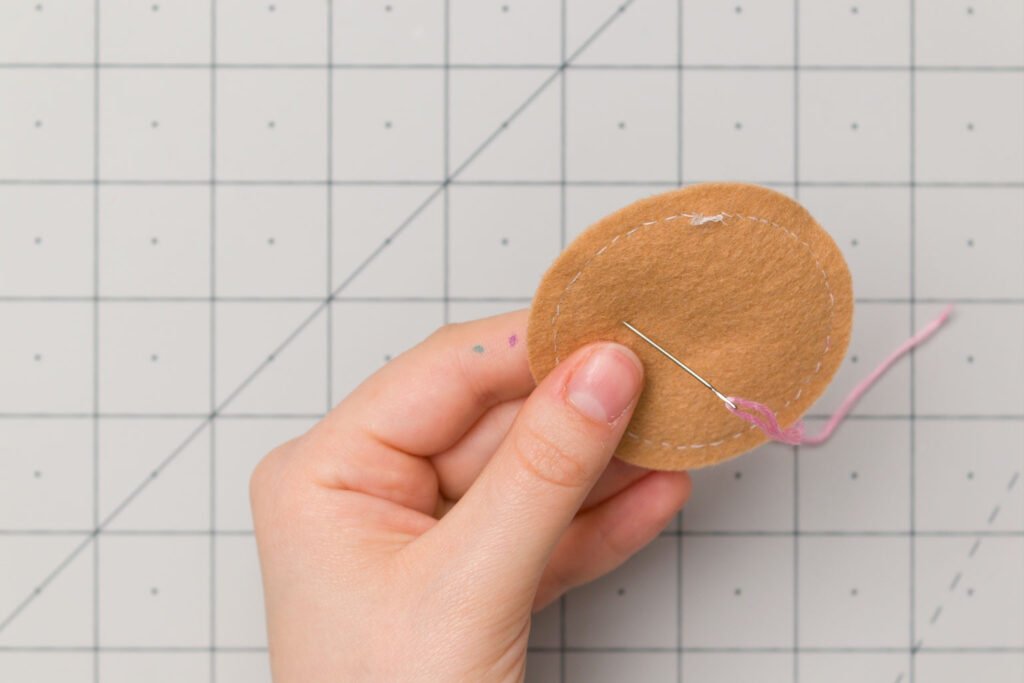
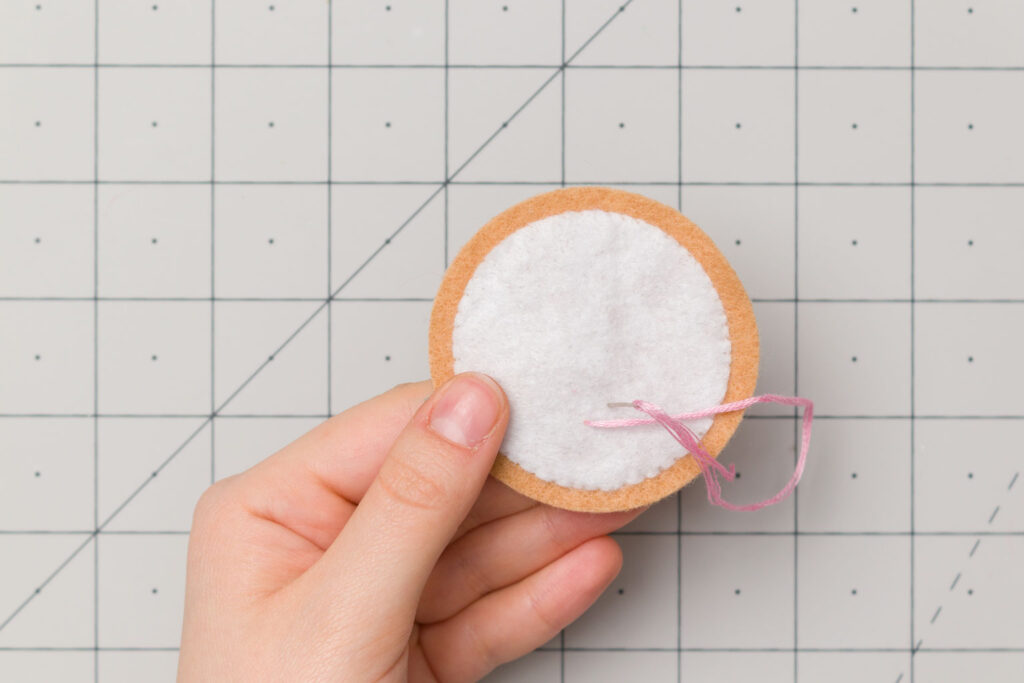
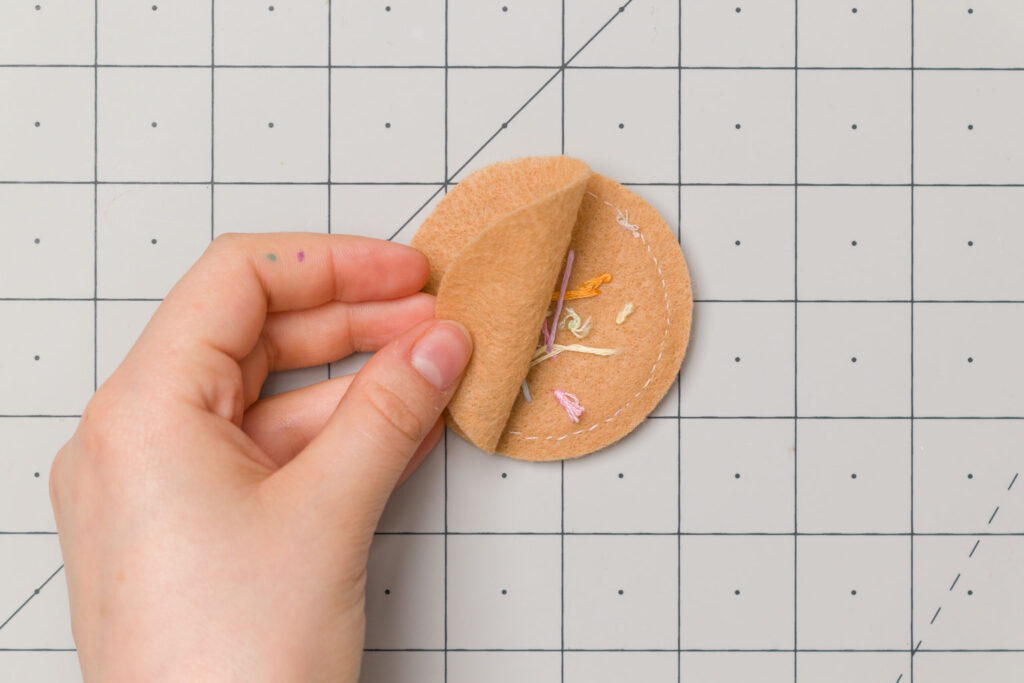
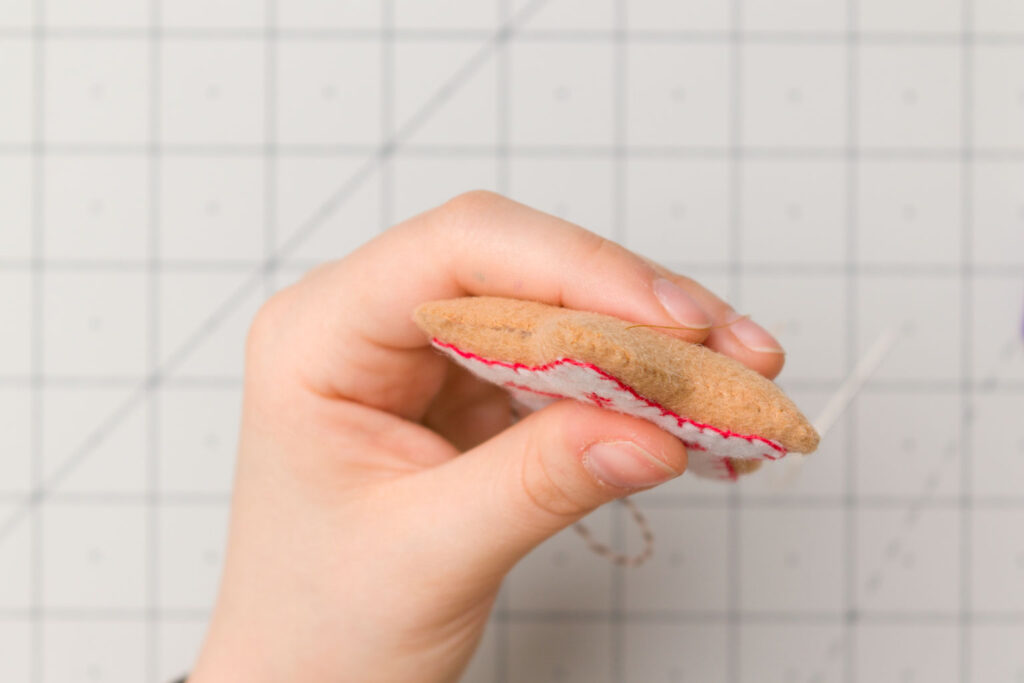
Whip Stitch
For the whip stitch method you’ll want to use thread the color of the icing.
Start the needle from the back so the knot will end up on the inside of the finished cookie. The needle should poke through near the edge of the icing.
Then I take the needle and poke it back down through on the cookie right where the icing ends. Pull the thread taut and repeat.

This is how the edge will start to look as you are stitching it.
This is how the back should look.
Blanket Stitch
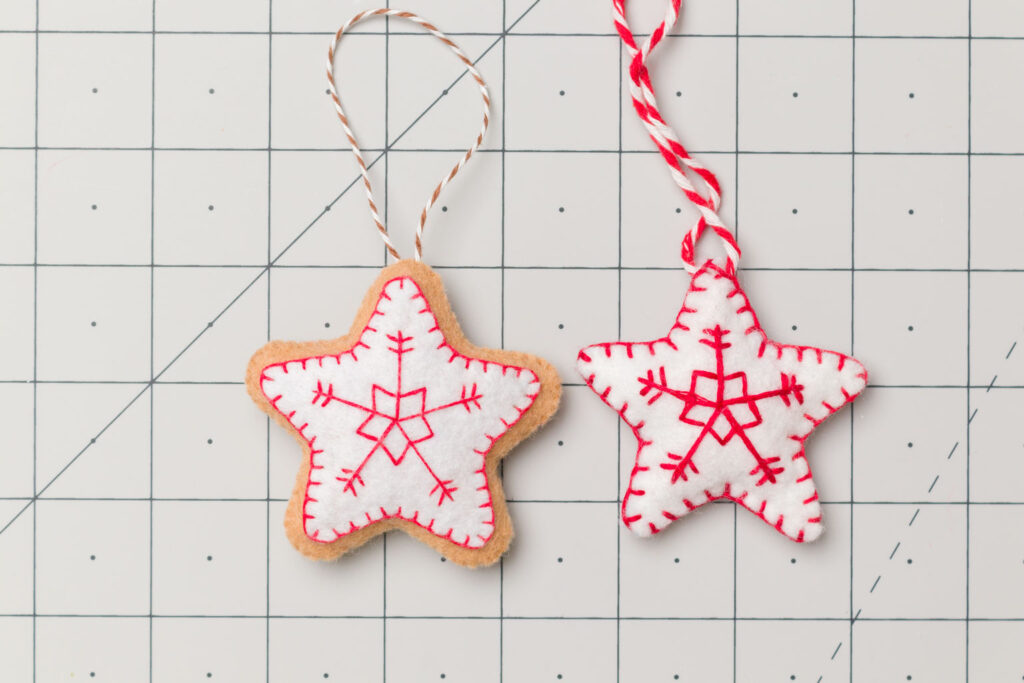
(Left to Right) Star with 3 strands of embroidery floss, Star with 6 strands of embroidery floss.
The blanket stitch is a more decorative stitch, it creates a nice finished edge. The number of strands you use will determine how thick the stitch will look.
Embroidery floss consists of 6 strands which can be separated.
Spray Adhesive
This is by far the fastest method, excluding dry time. I highly suggest wearing a disposable glove on the hand that is holding the icing piece, also it’s best to spray it outside. Spray the backside of the icing piece and place it into position on the cookie. Then press lightly to ensure the pieces have made full contact. Then allow time for it to dry.
Cookie Decorating
Embroidery Floss
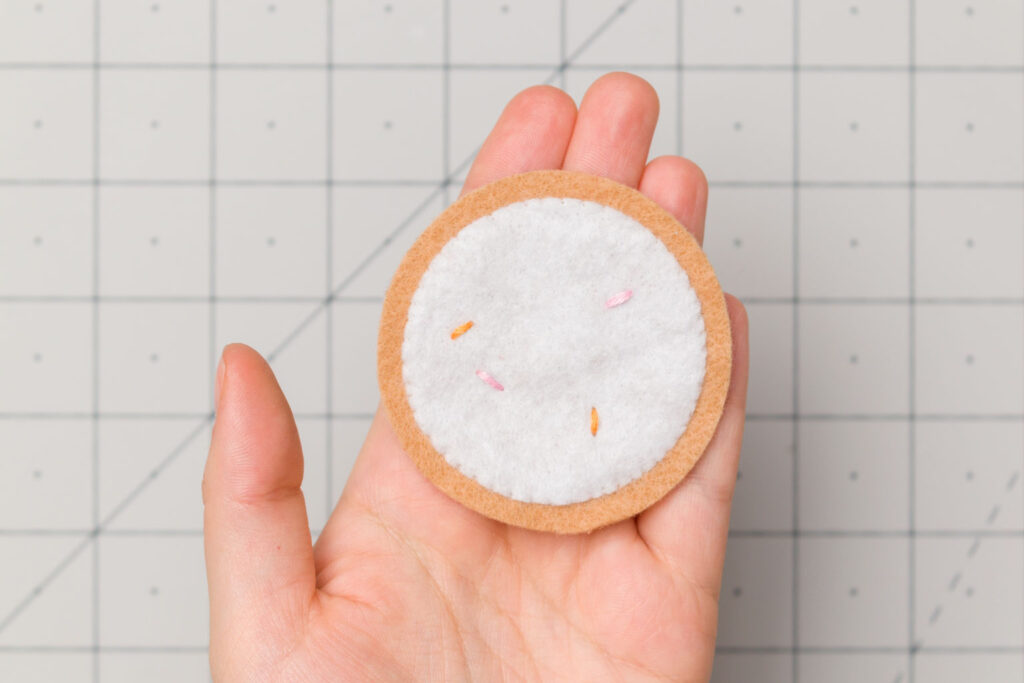
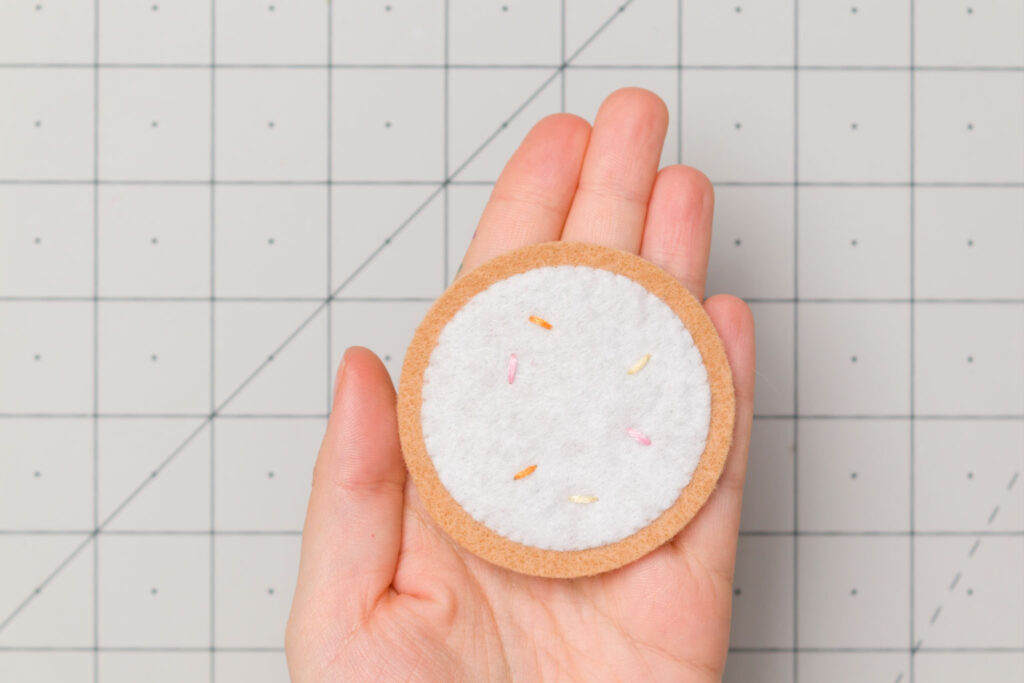
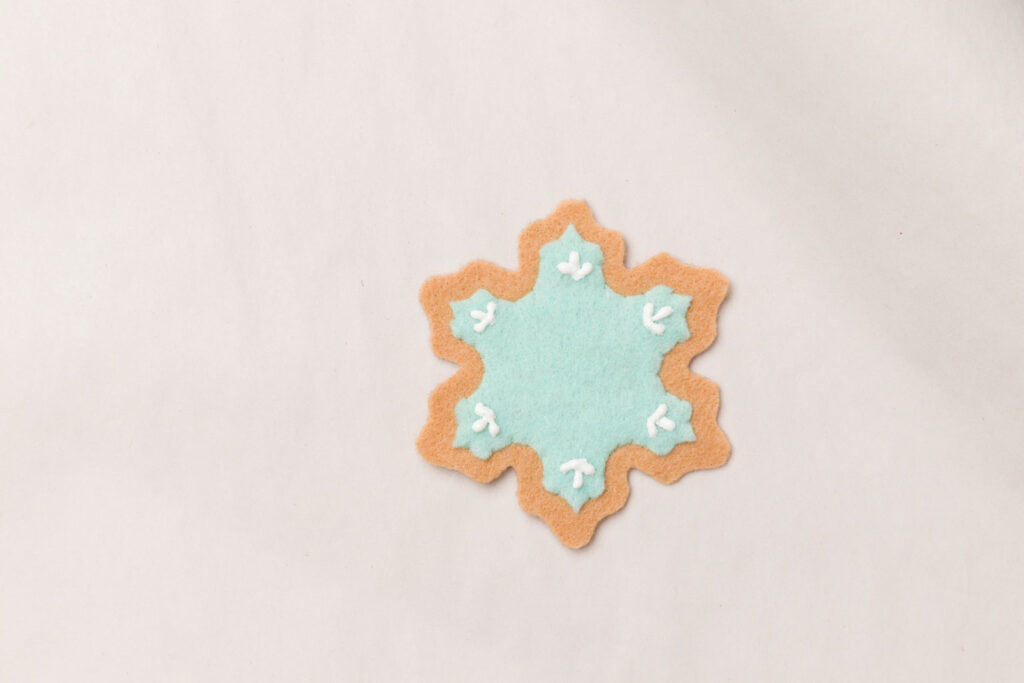
So this is the easiest way to decorate these cookies with embroidery, Sprinkles! And why not make them rainbow? I love the Lofthouse Cookies so I’m recreating that look with a pastel twist!
It’s just a few straight stitches scattered around! I did two in each color. I used all 6 strands of the embroidery floss to get that nice thick sprinkle look.

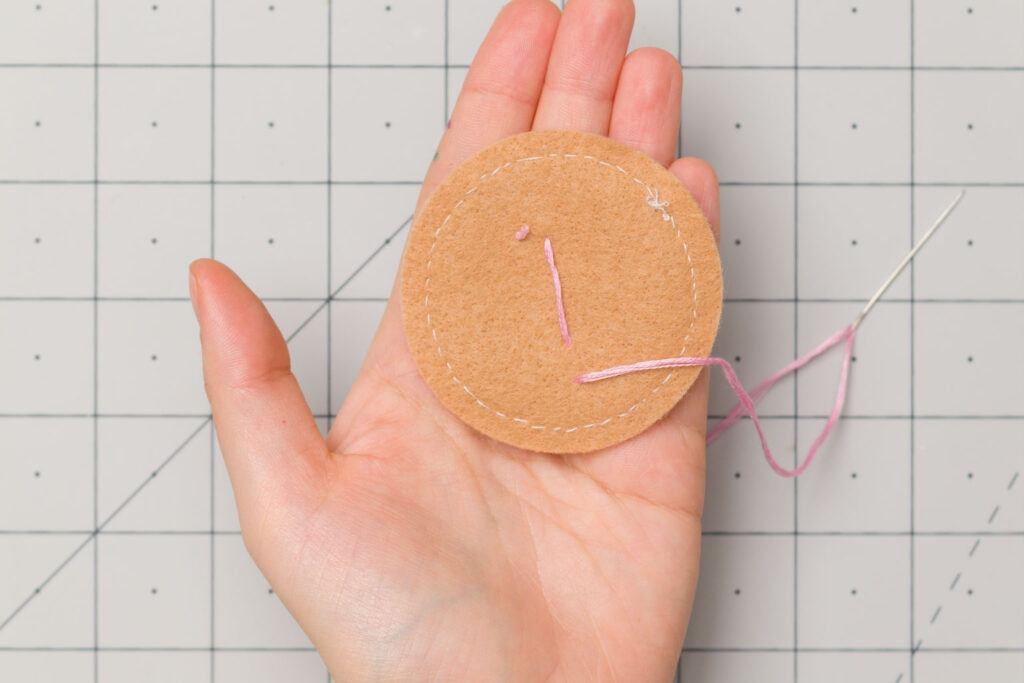
First, knot the end of the floss. The needle is going to start by going through the back to the front. Poke the needle through the front into the back where you want the sprinkle (stitch) to end. Then I repeated that stitch in another spot. You should end up on the backside.
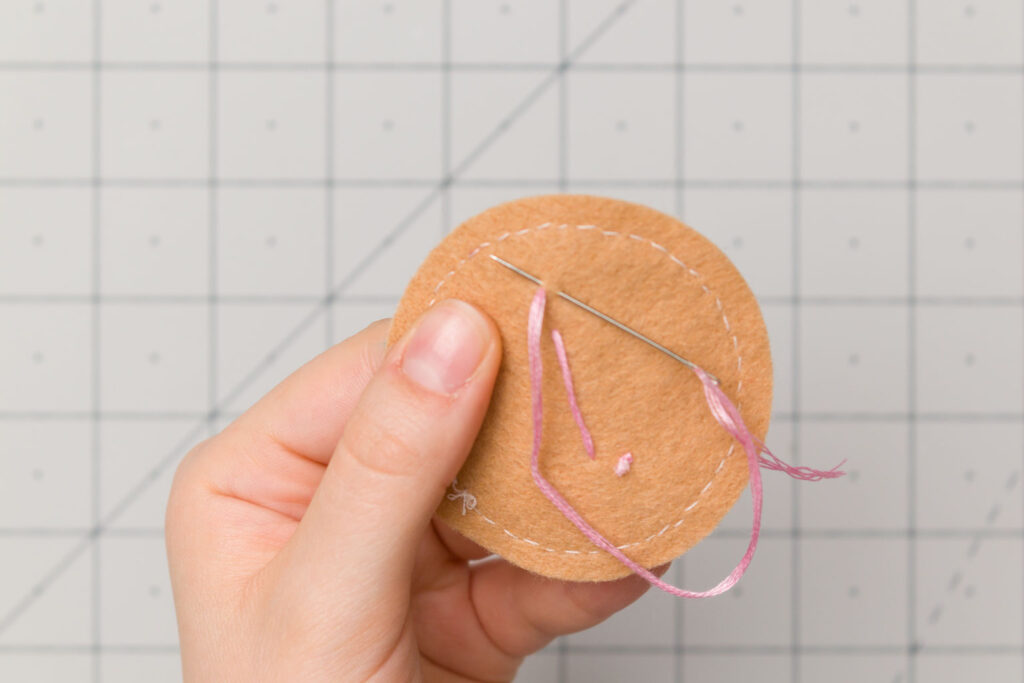
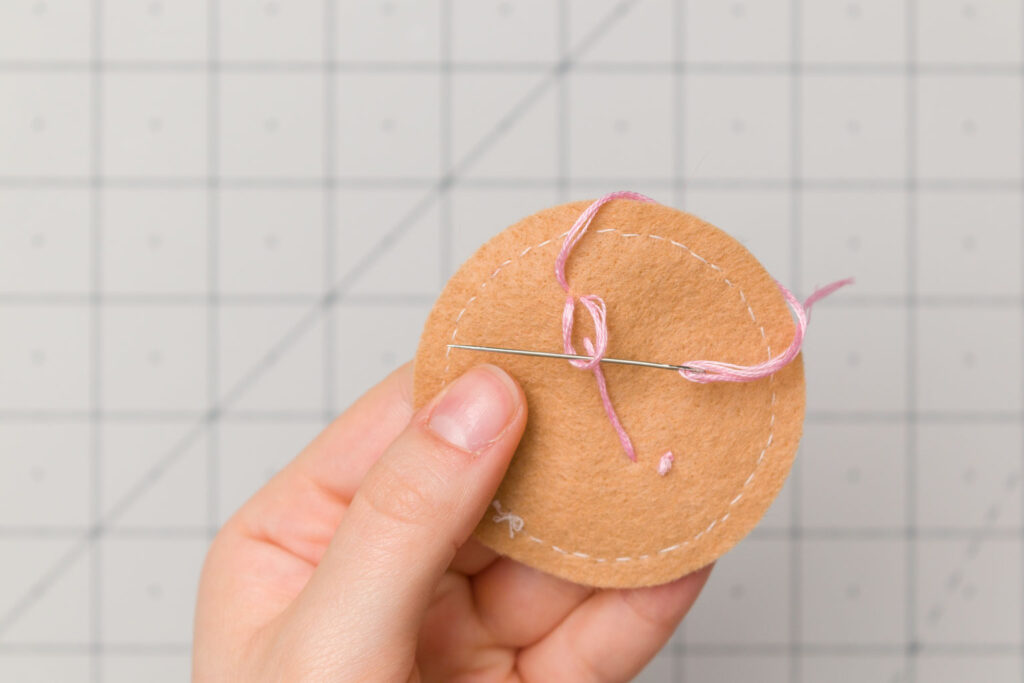
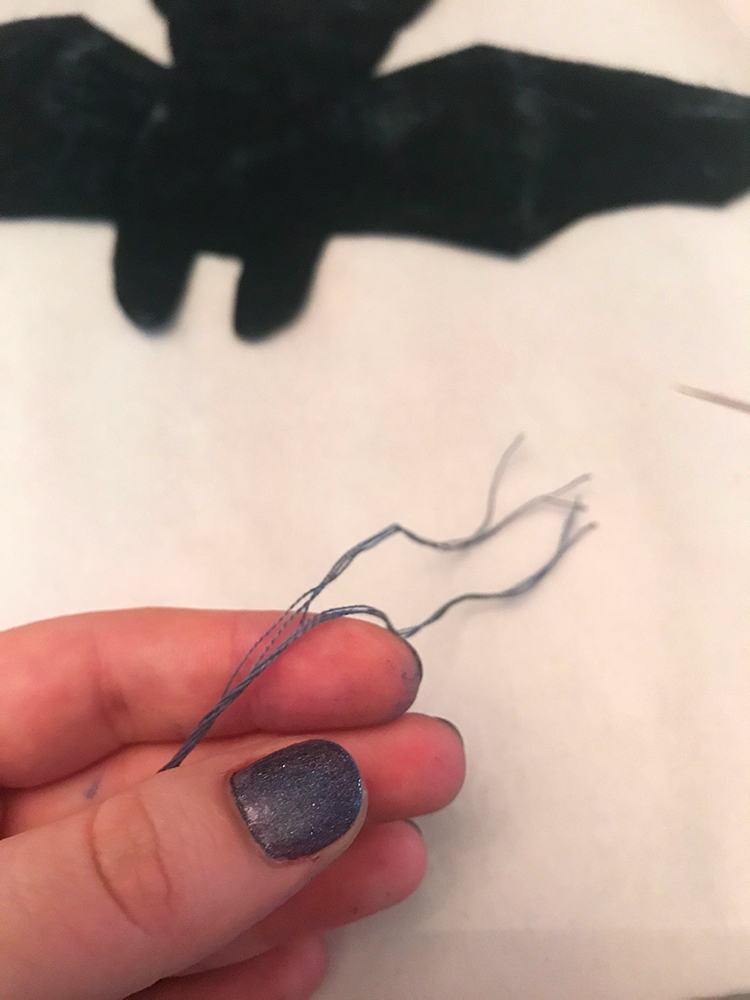
When I was finished with that color of floss I made a knot and cut the tail. To create a knot, I pushed my needle through a small spot of the felt, making sure my needle did not go through to the front, and pulled it through partially, leaving a loop. Then I put needle through that loop twice and pulled it taut, creating the knot.
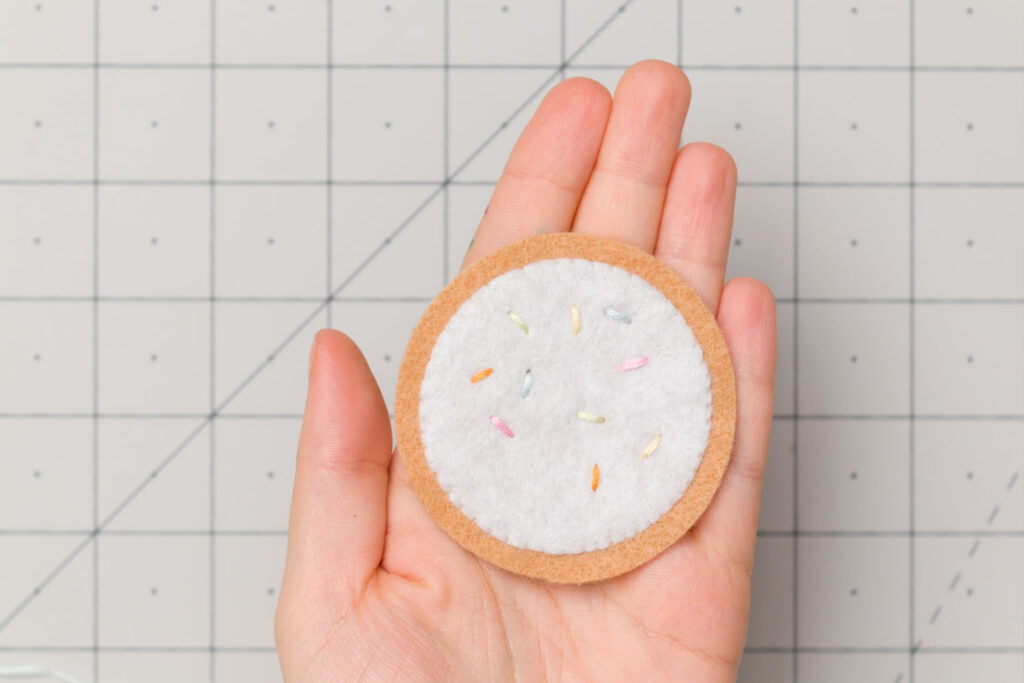
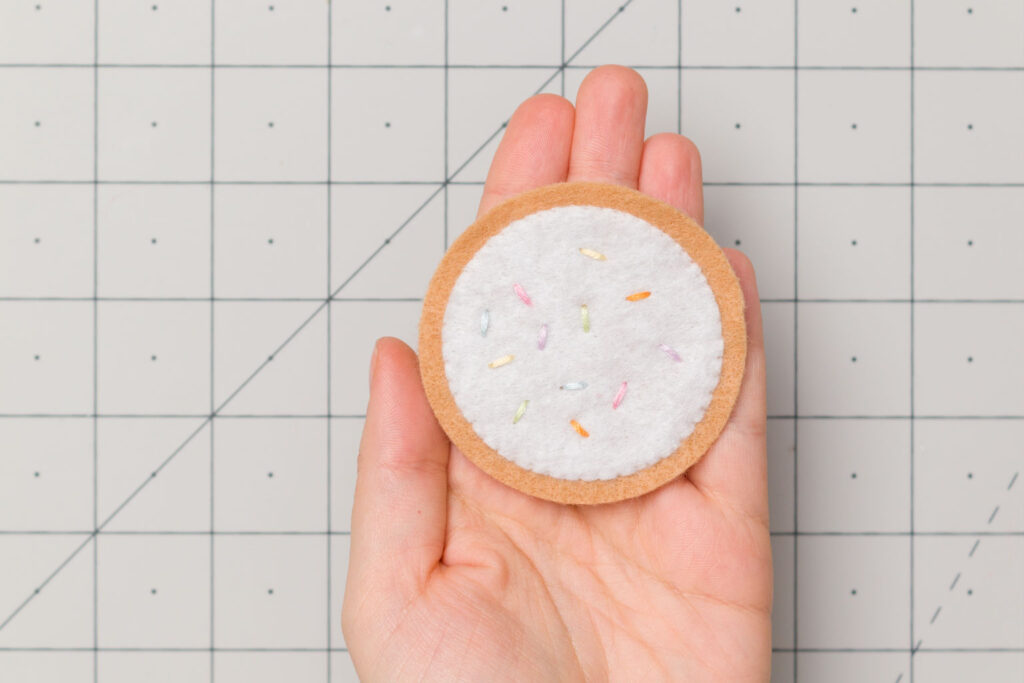
I repeated that with the remaining colors.
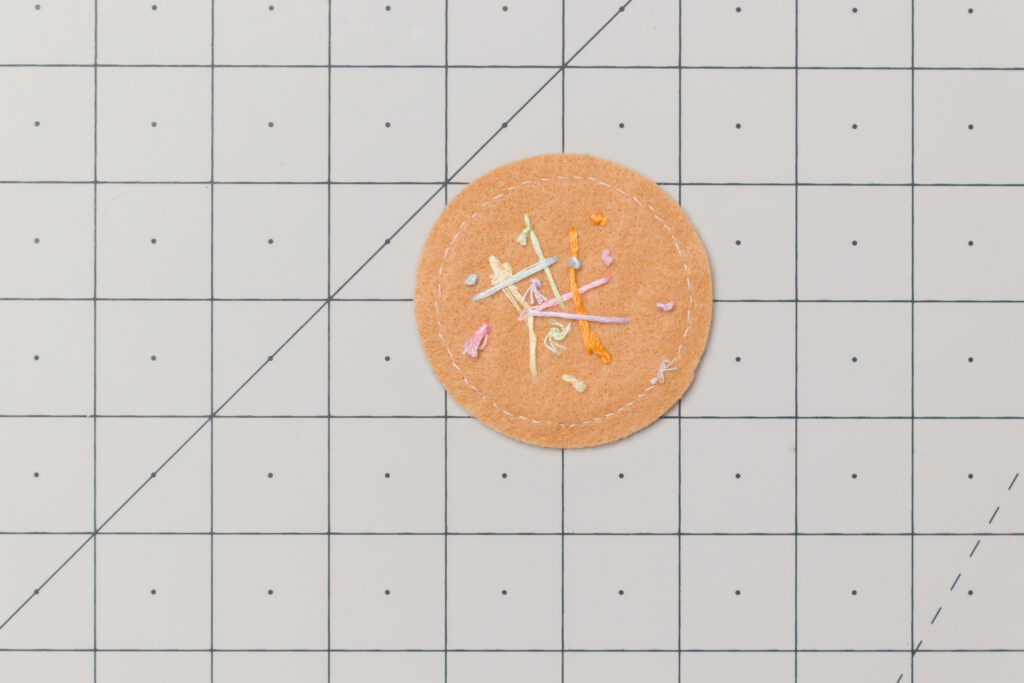
The back is going to look pretty crazy, but that’s ok, because it’s all going to be hidden on the inside.
Puffy Paint
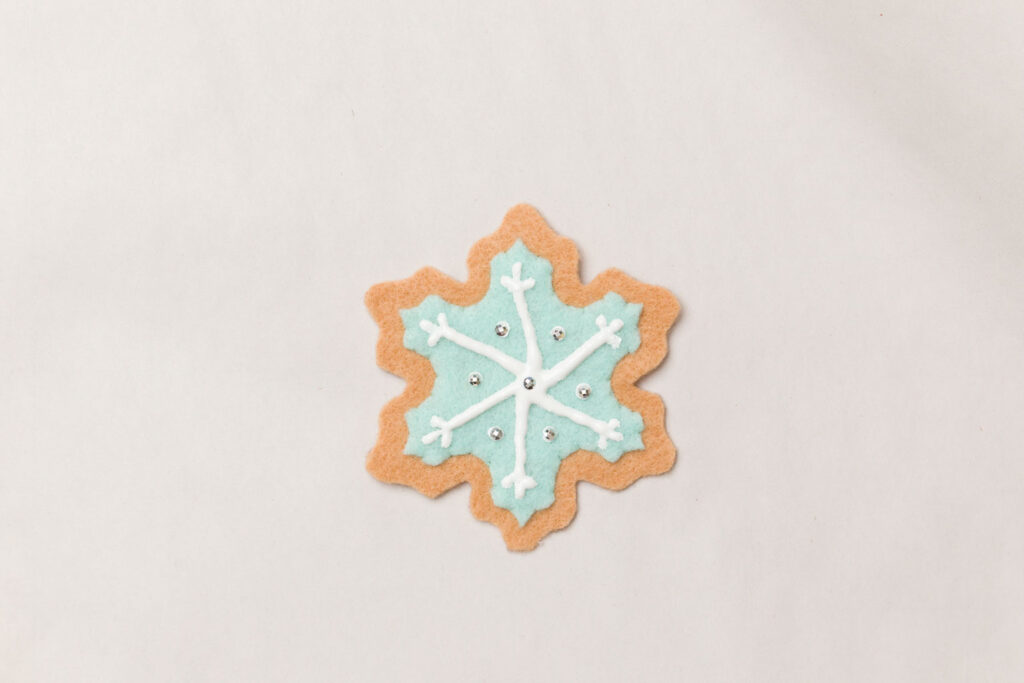
Puffy Paint works great to add some dimension to your cookie. It even looks like icing! Dry time varies depending on how thick of a layer you use.

The very first thing I did was figure out the design I wanted on the snowflake. Then I strategically worked my way around the snowflake squeezing the puffy paint.
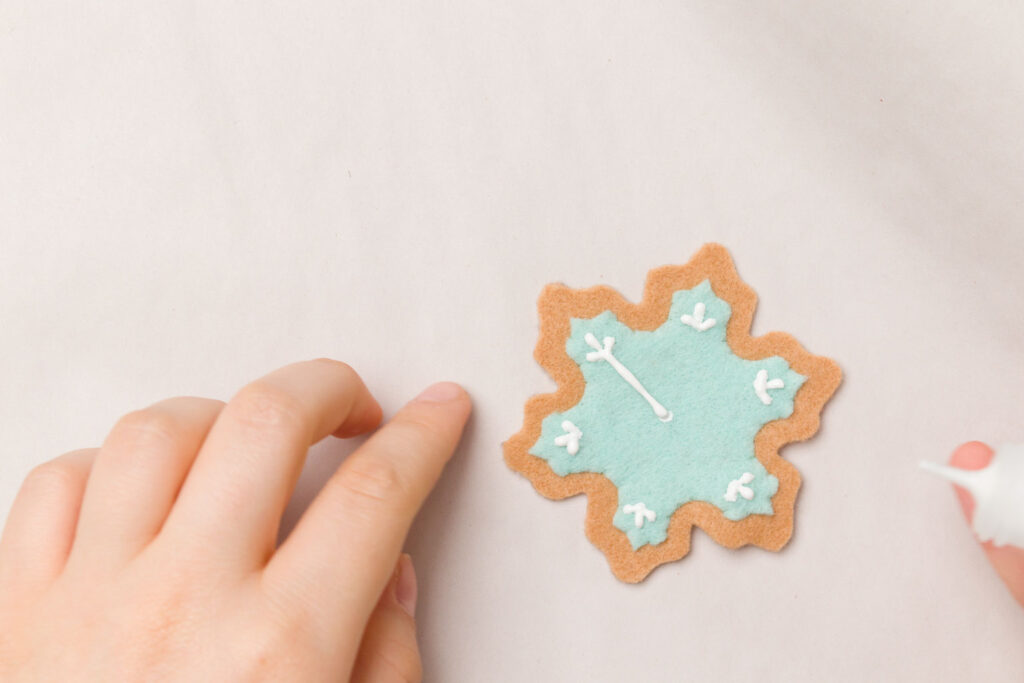
Then I added the center lines and some extra dots.
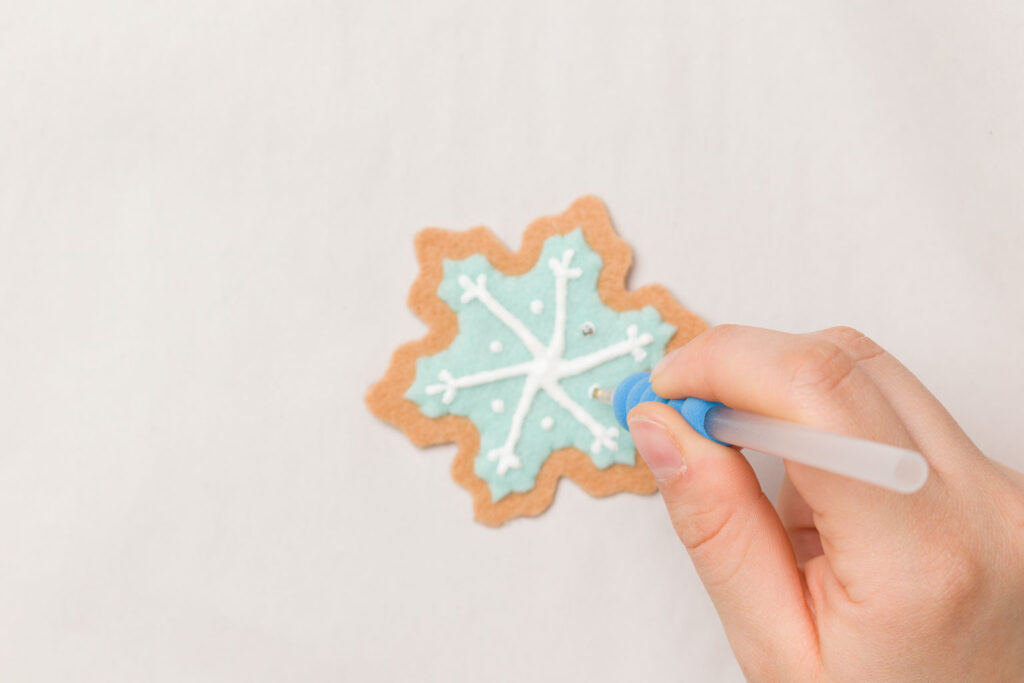
I even added some extra flair with these metallic Diamond Dotz.
Finishing Up
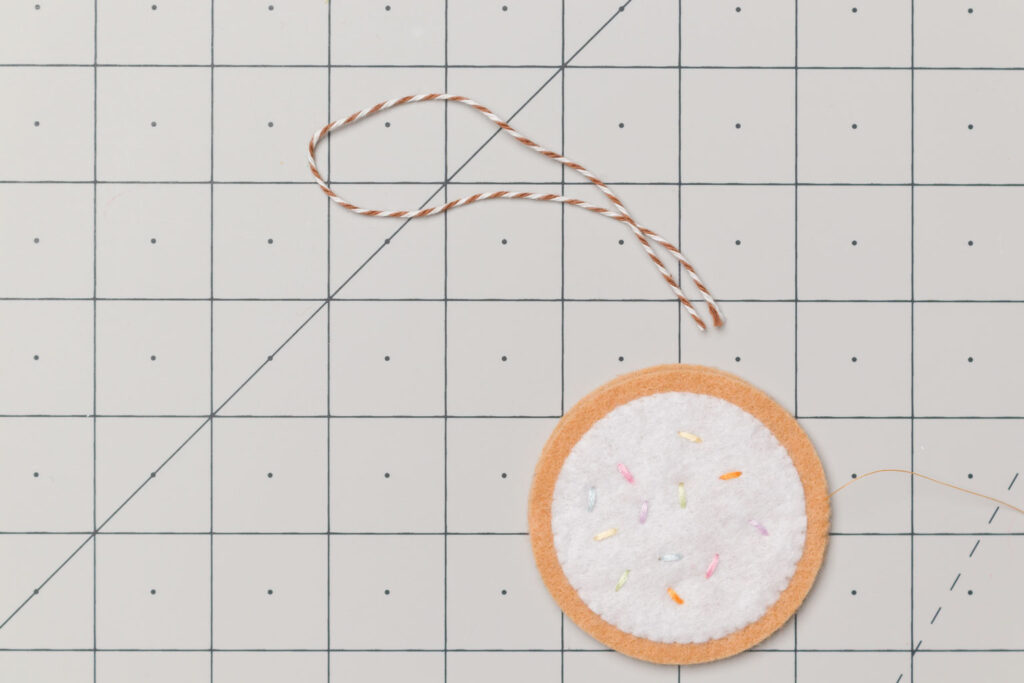
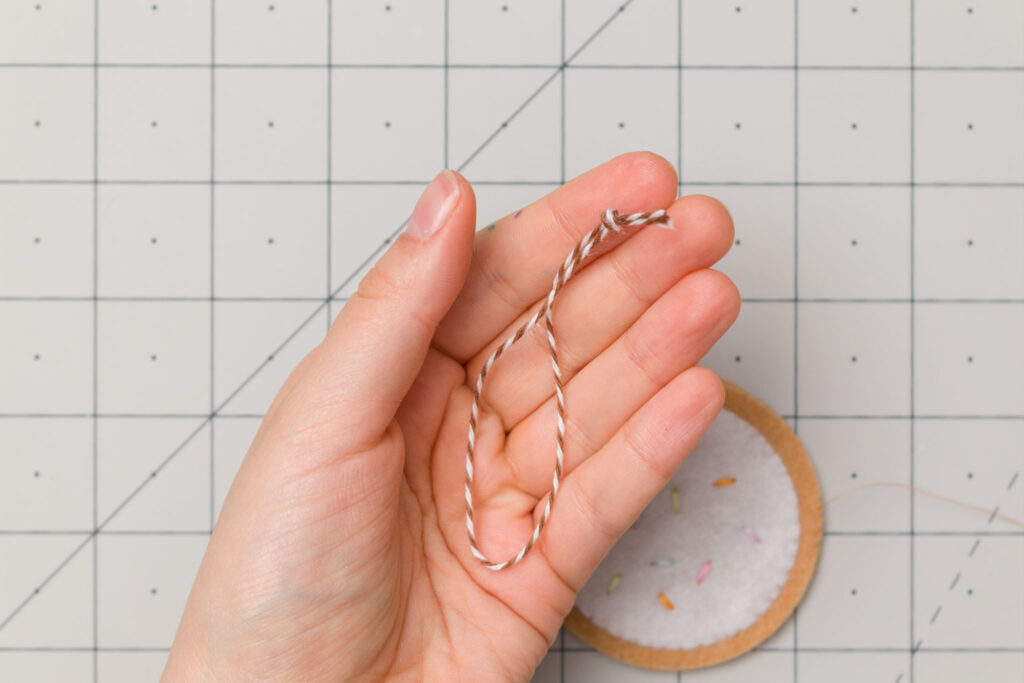
I cut approximately 12 inches of twine, folded it in half, and then knotted it at the bottom. This will be the loop for hanging. You can also use ribbon, yarn, wire, or anything else.
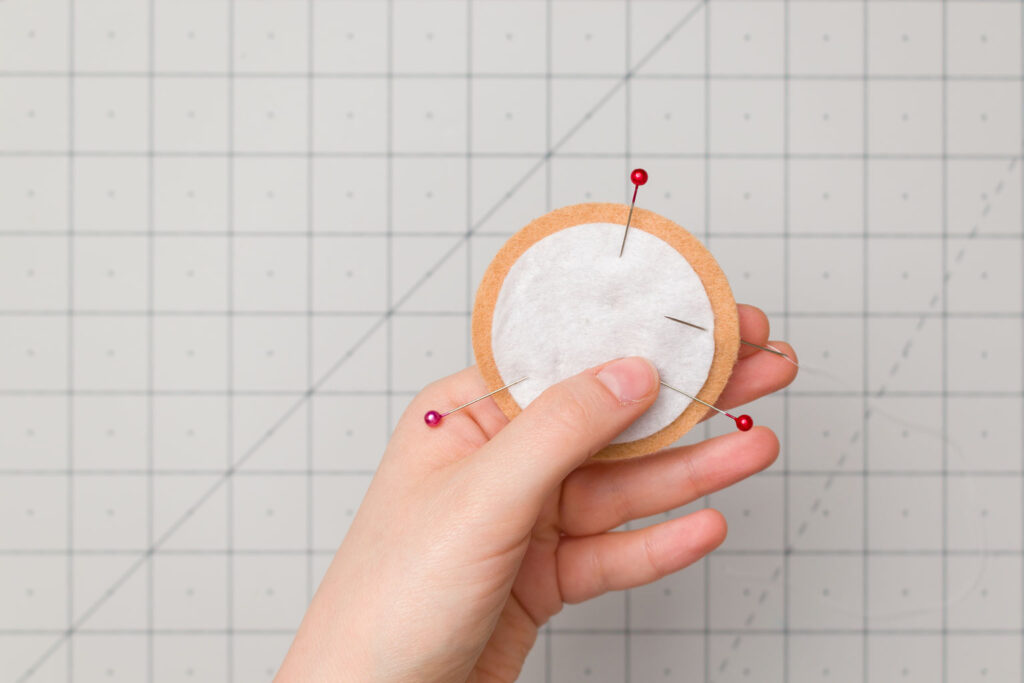
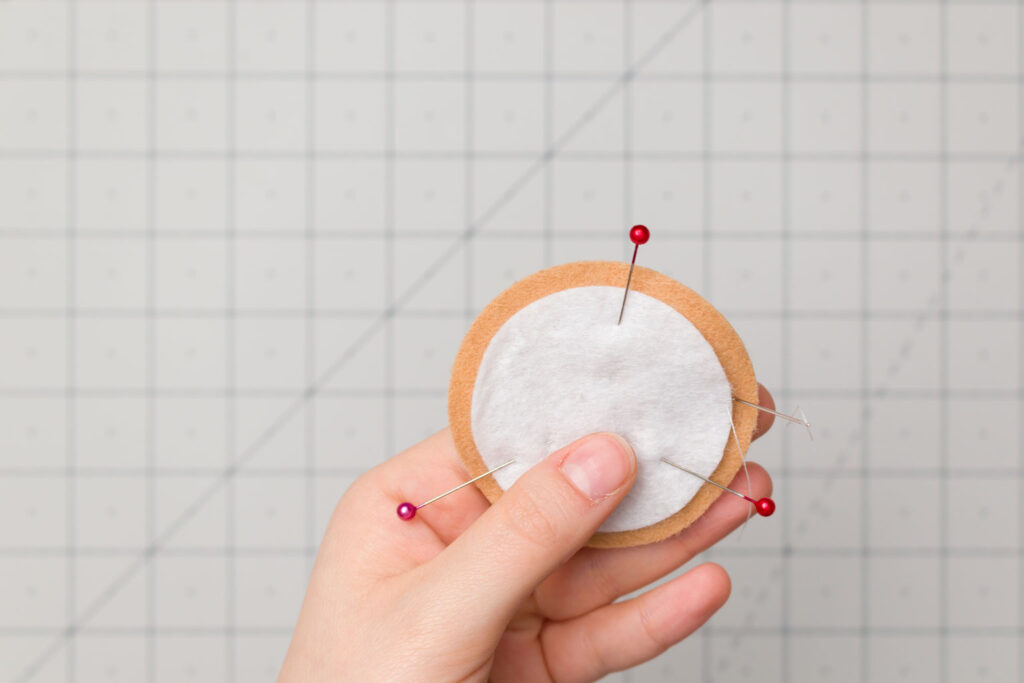
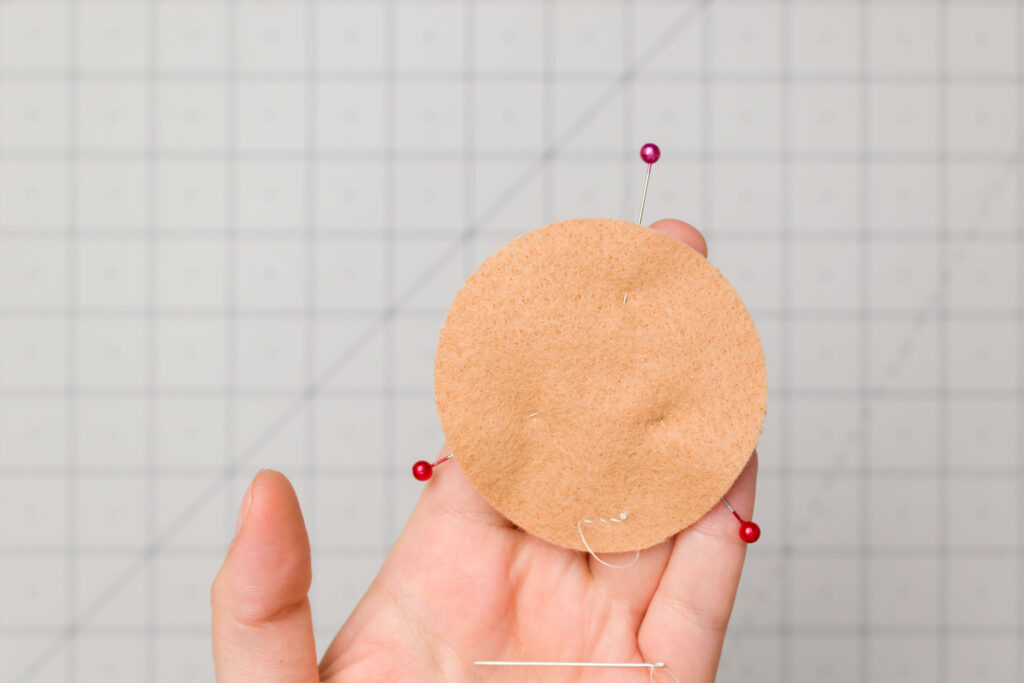
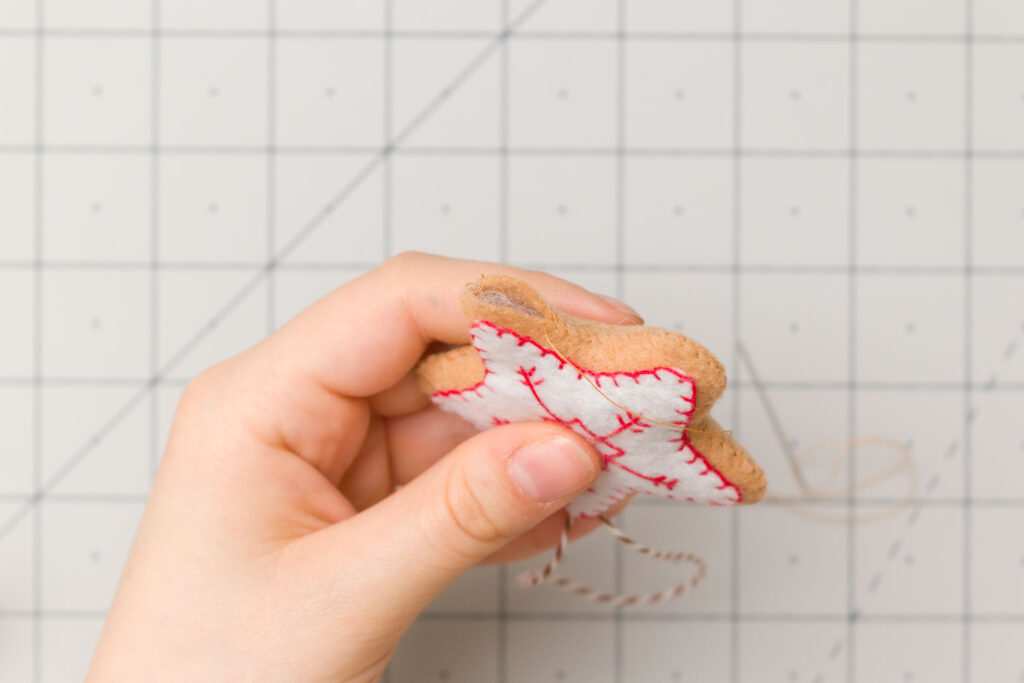
If you are going for a semi-realistic look I would highly recommend whip stitching the two cookie pieces together. No need to get out a sewing machine or sew anything inside out! Just place your top piece (the one with the icing on it) on top of the bottom piece and pick out where you want the loop for hanging to go.
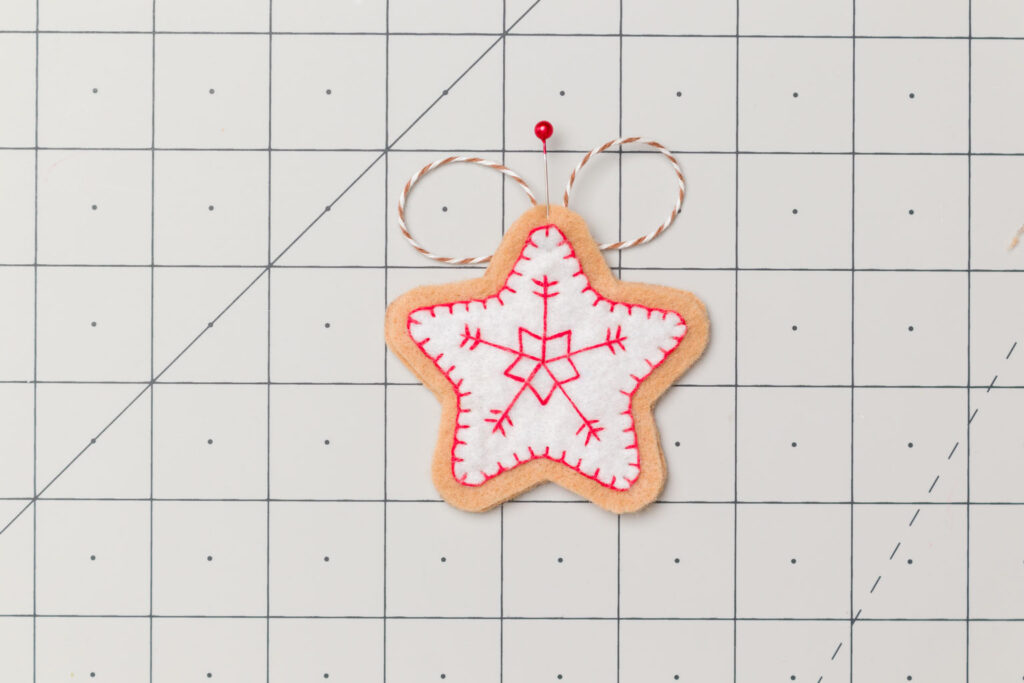
The knot will be sandwiched between the two pieces. I like to place a pin to keep it in place.
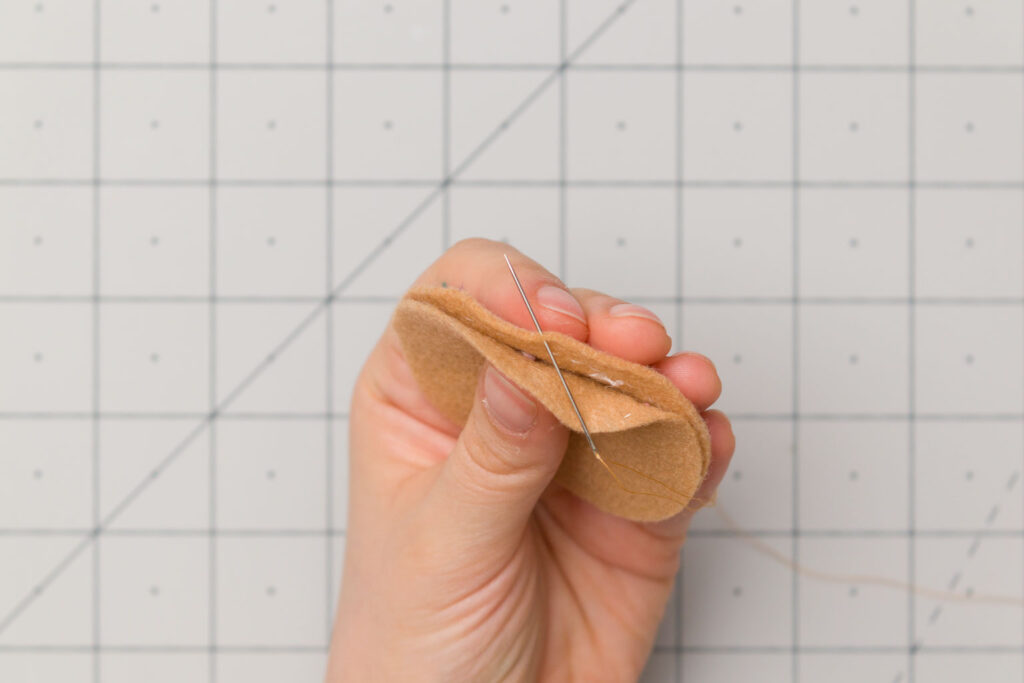
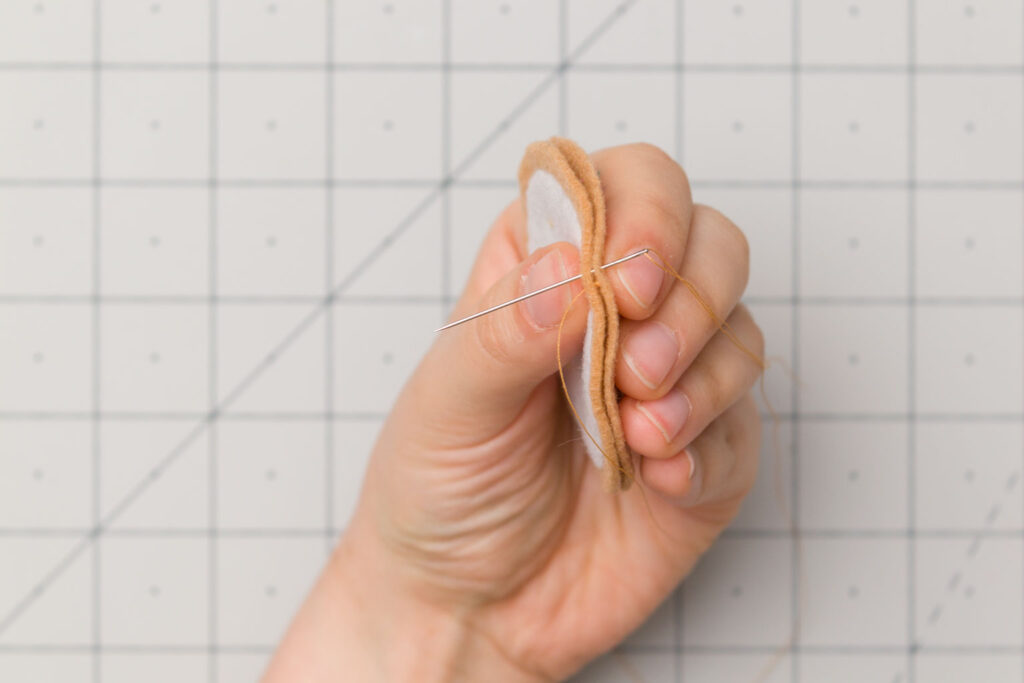
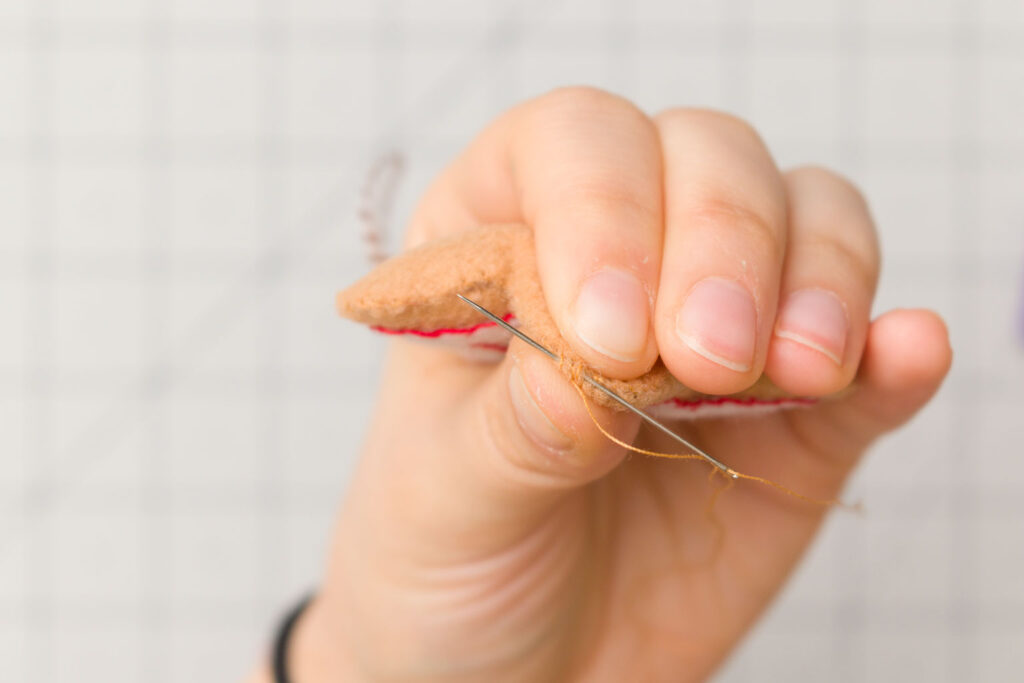
I start stitching around the bottom of the cookie, that way my final knot will be the least noticeable. Start from the inside and pull your needle through to the outside, this will keep your knot hidden. Just pierce the needle through both pieces of the felt and then pierce it again from the same side as the first one and do that over and over. If you look at the edge you’ll see the thread makes little diagonal lines.
When I get to the loop I put a couple extra stitches in between the strands of twine to keep the loop from being able to slip out.
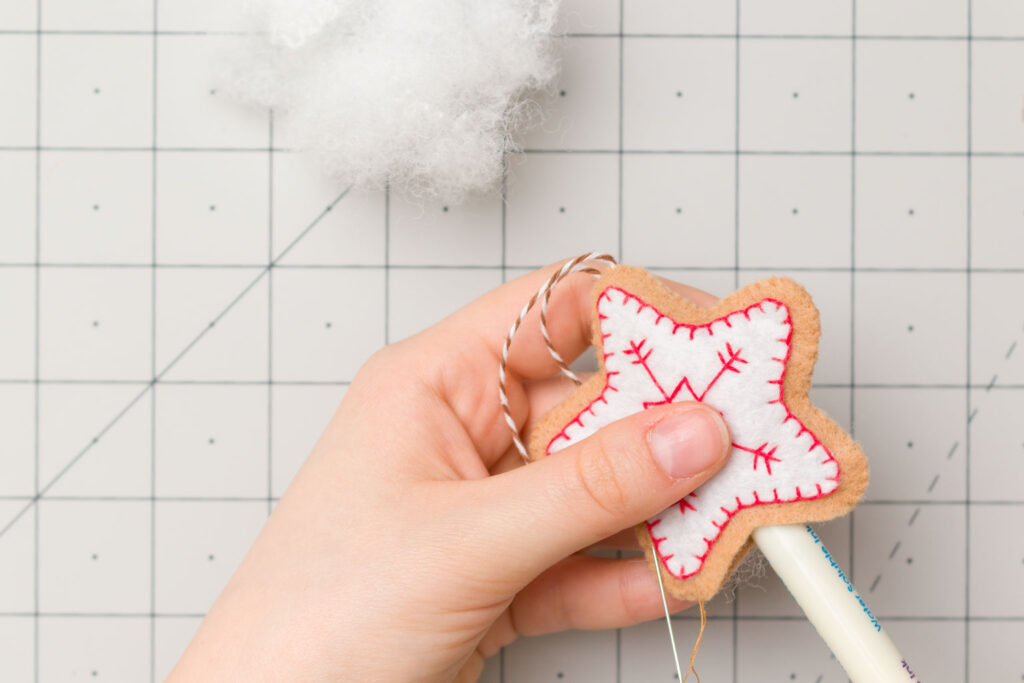
When you have about 1-1.5 inches left to sew it’s time to stuff your cookie. Now, you can add as little or as much stuffing as you’d like. I like to add one small bit of stuffing in at a time. Then manipulate it around from the outside until I get it looking smooth and a nice little squish.
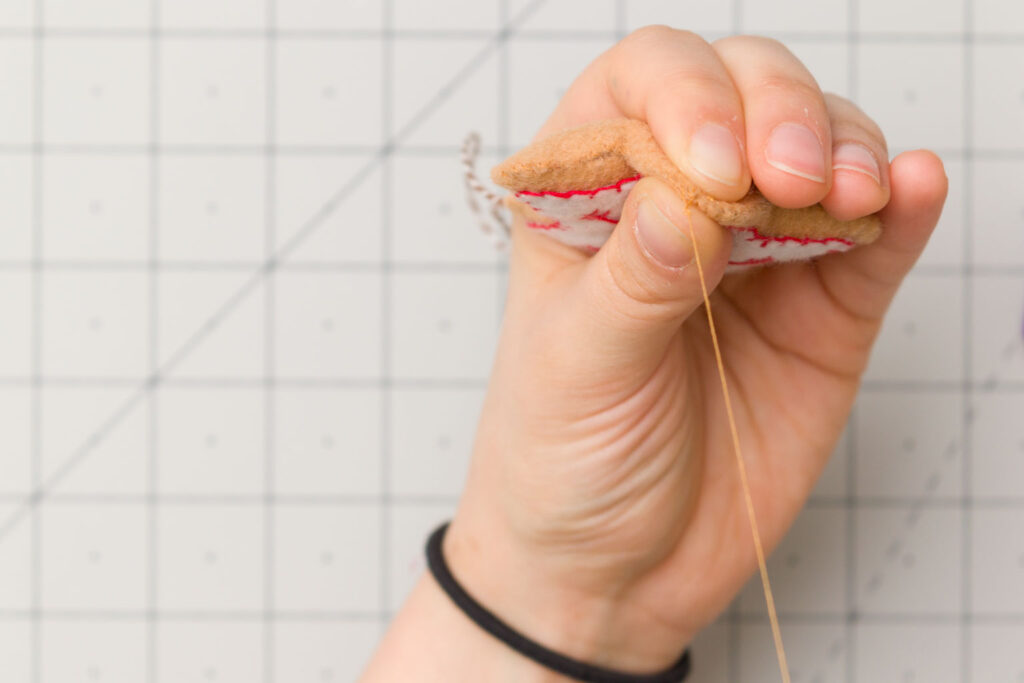
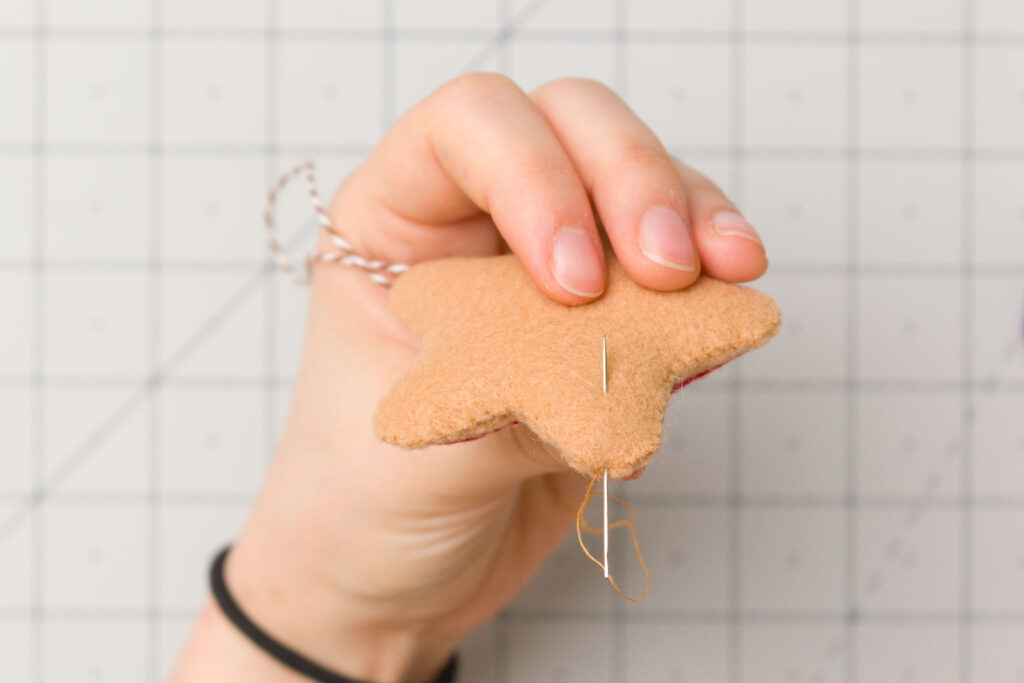
Once the cookie is filled stitch the opening closed the rest of the way. Knot off the thread down in the seam. Then push your needle through and out the back, snip the thread. This will pull the knot inside the cookie and hide the tail.

Jeretta Bliss
Sunday 13th of February 2022
I like the projects, they are fun and easy to make. Thank you for sharing.
Janet
Tuesday 7th of September 2021
These turned out so realistic looking.