
This post may contain affiliate links. This means that if you purchase from one of these links I will make a small commission, but rest assured you will not pay more for any products.
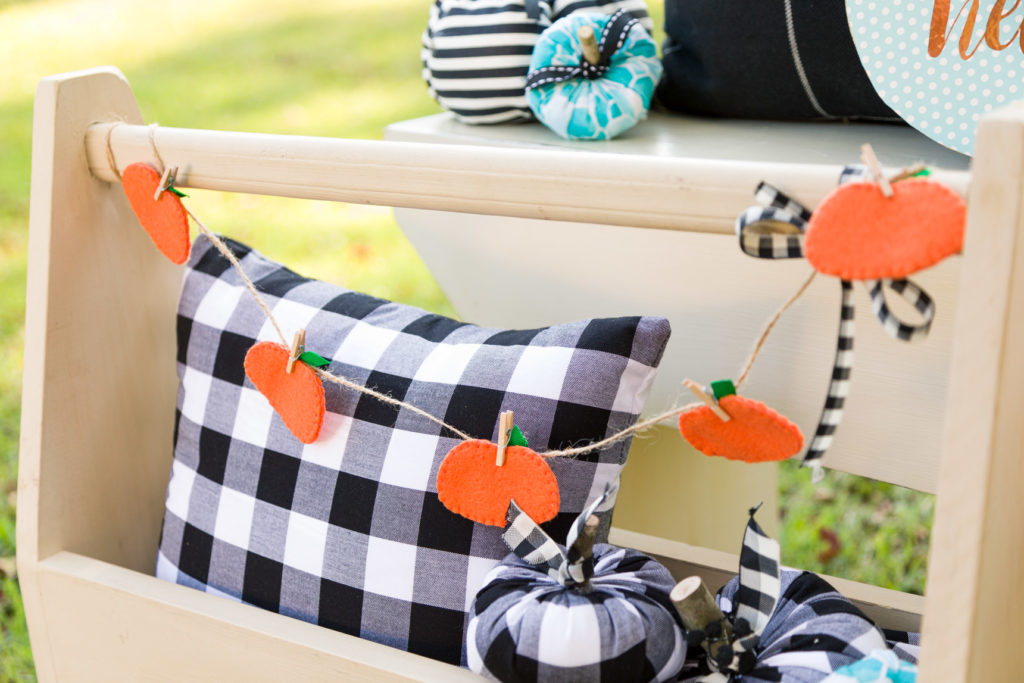
There are a variety of ways to make this felt garland, while I will be explaining specifically how to make it using fabric glue, below I’ve included links to some of my other posts using other techniques.
If you do not have a Cricut or other cutting machine, you can still make this craft! Just download the files and print the pieces out. I explain this process in my Bat Poppet post HERE.
First you’ll need to download the SVG files and download them into Design Space. I’ll be coming out with a video on this soon, so keep an eye out for that.
Some things to keep in mind:
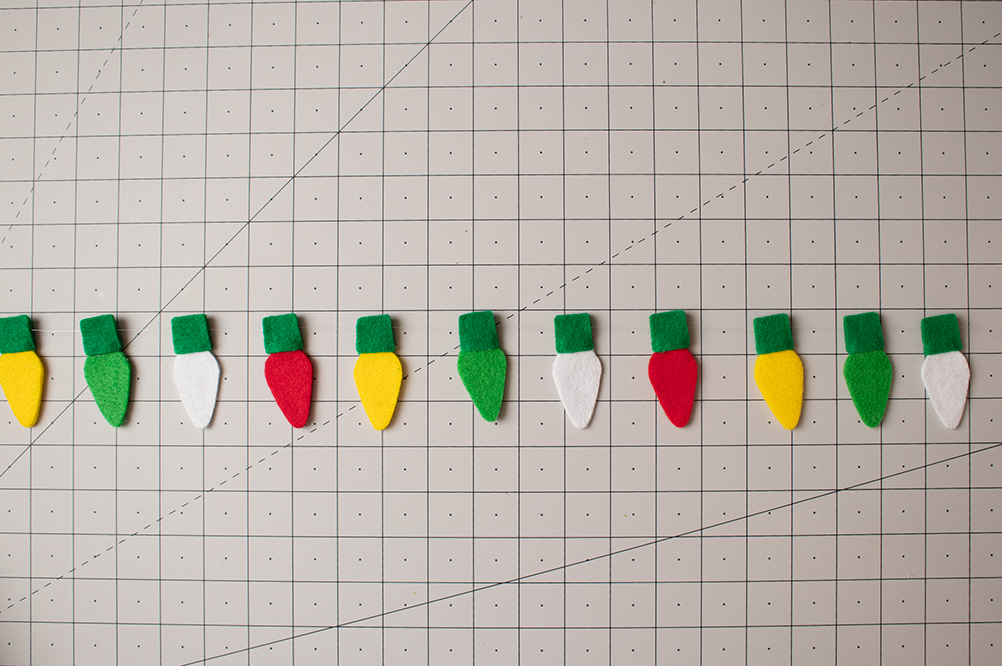
How long do you want the garland to be? From what distance will it be viewed?
One of the great things about SVGs is that they are super easy to scale up and down in Design Space. If you decide to make the pieces smaller or larger you’ll want to make sure you have everything selected at once and to have the dimensions “locked” so everything stays in the correct proportions.
The Best Way to Apply Felt
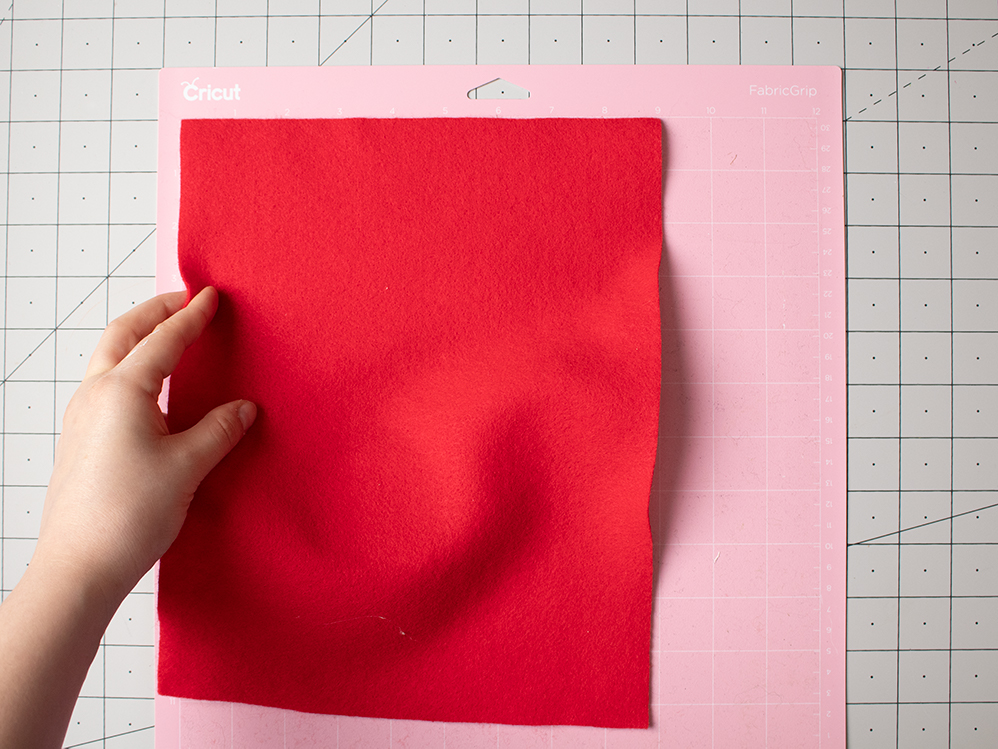
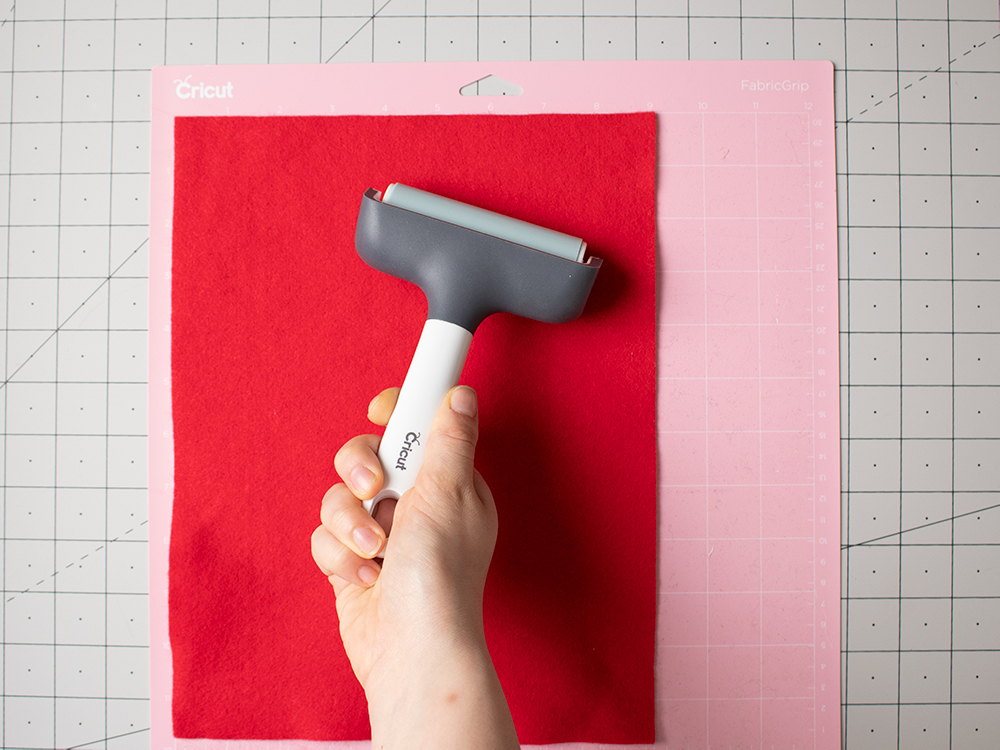
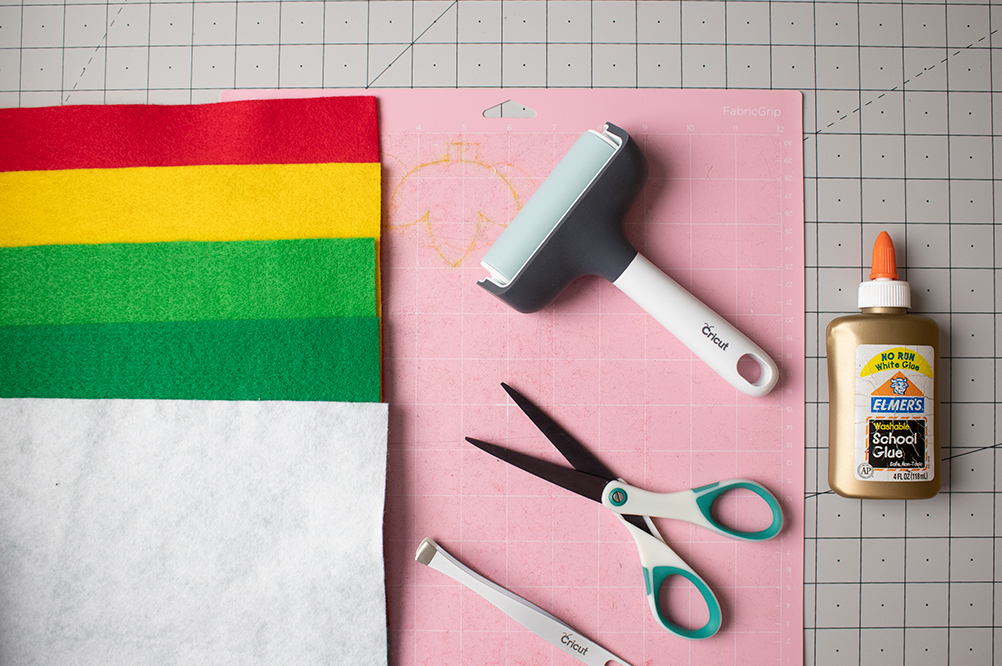
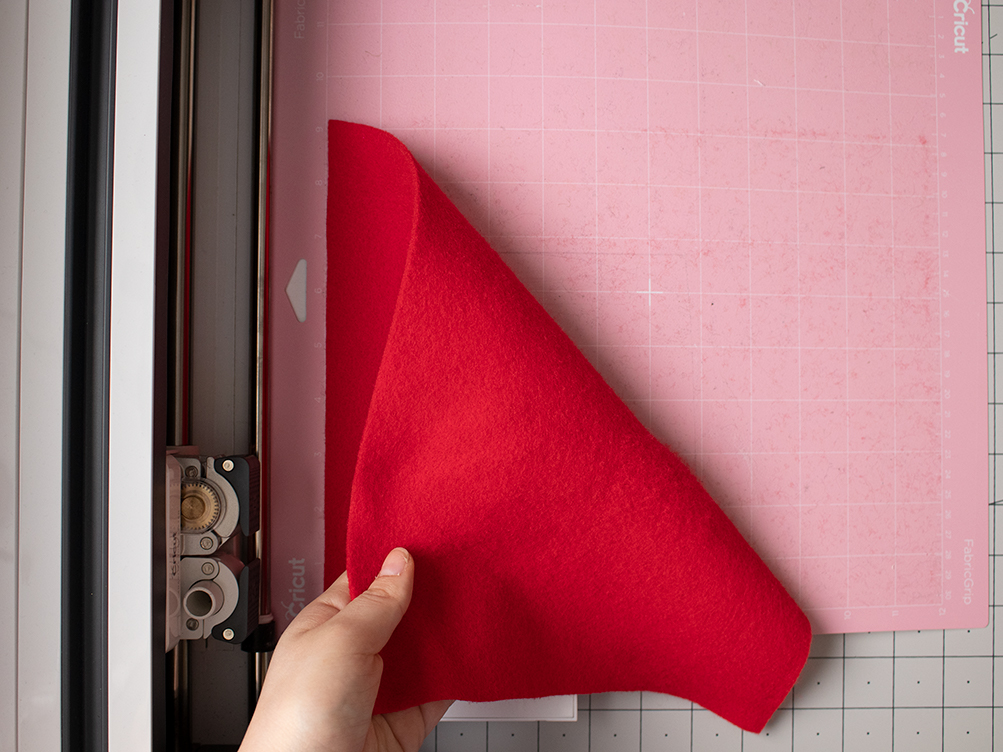
The FabricGrip mat works best when using your Cricut to cut out felt. Using the Cricut Maker makes cutting out felt super easy. They have all kinds of materials settings ready to go and I love to use the rotary blade for nice crisp edges to my felt pieces. When putting felt down onto the mat I like to start in the top left corner so I can easily see if I have the rectangle properly oriented so the felt will be square on the mat. I like using a brayer to get the felt onto the mat smoothly. Any bubbles or wrinkles could distort the cut shapes.
When cutting felt it’s best to have some wiggle room between the pieces just in case. So I will go in and edit the auto layout. Most of the time I check my mat layouts and cut out a rectangle a little larger than the minimum needed for the design to cut out. This minimizes the amount of fuzz that’ll stick to the mat, but sometimes I’ll just slap the whole sheet on there.
Since I am exclusively cutting felt for this project I’ll go ahead and put my rotary blade in place before starting.
Changing out the blade:
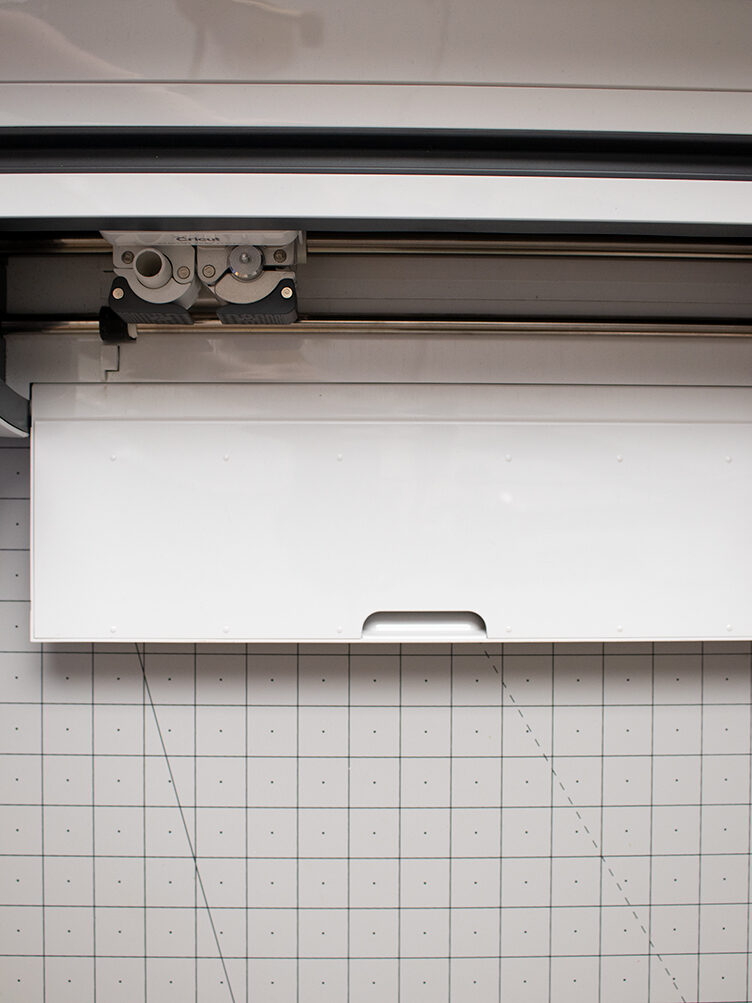
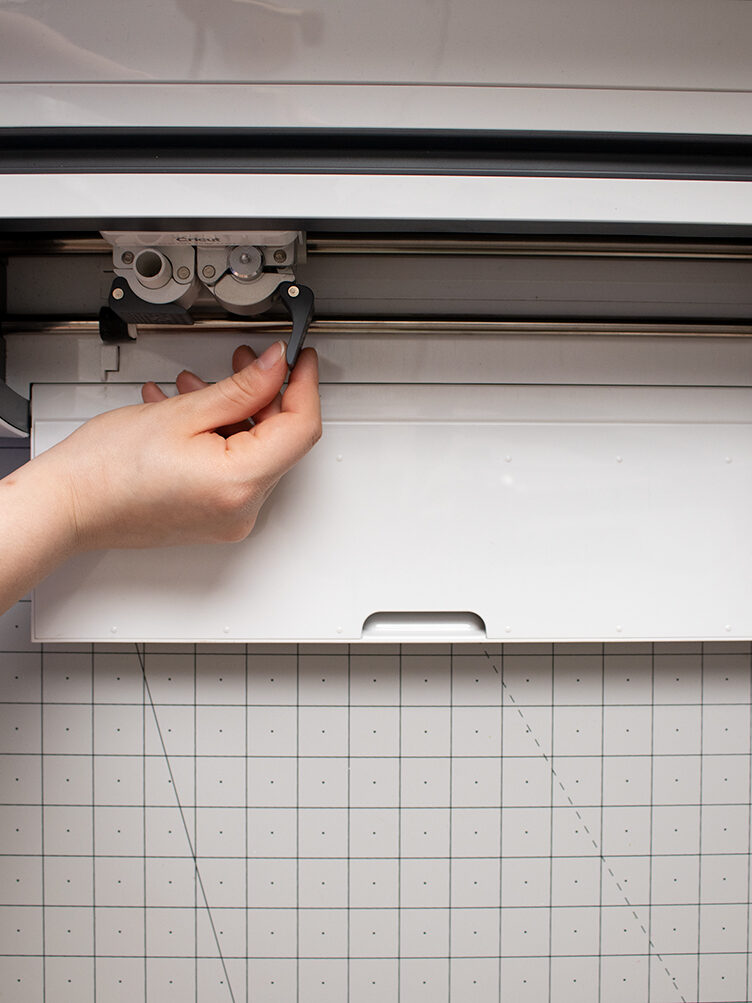
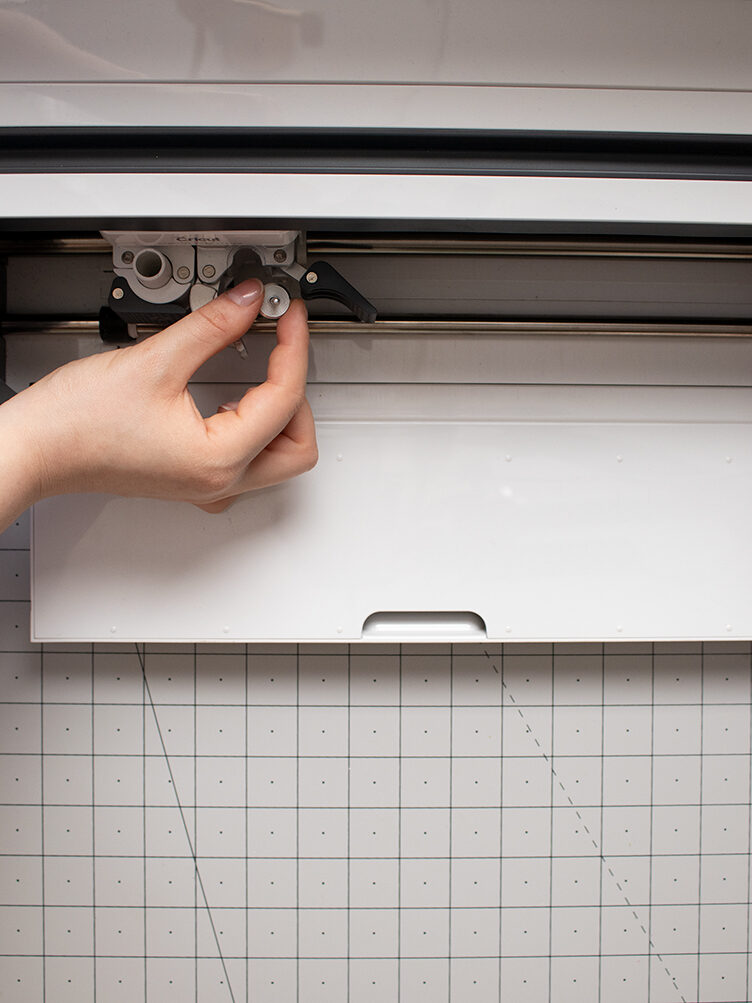
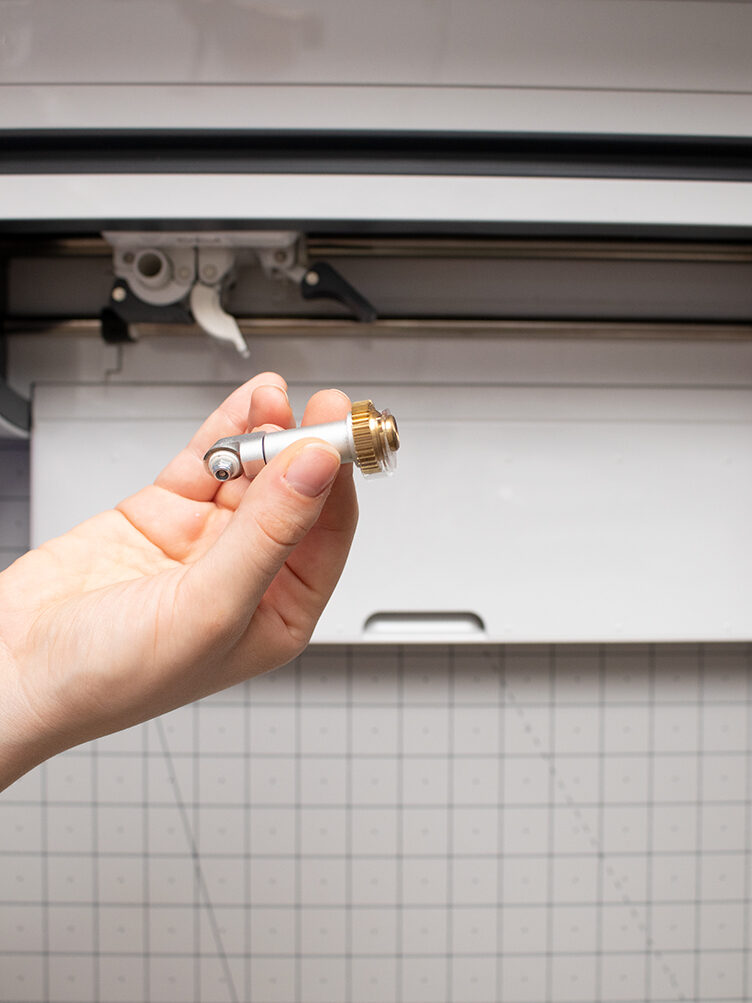
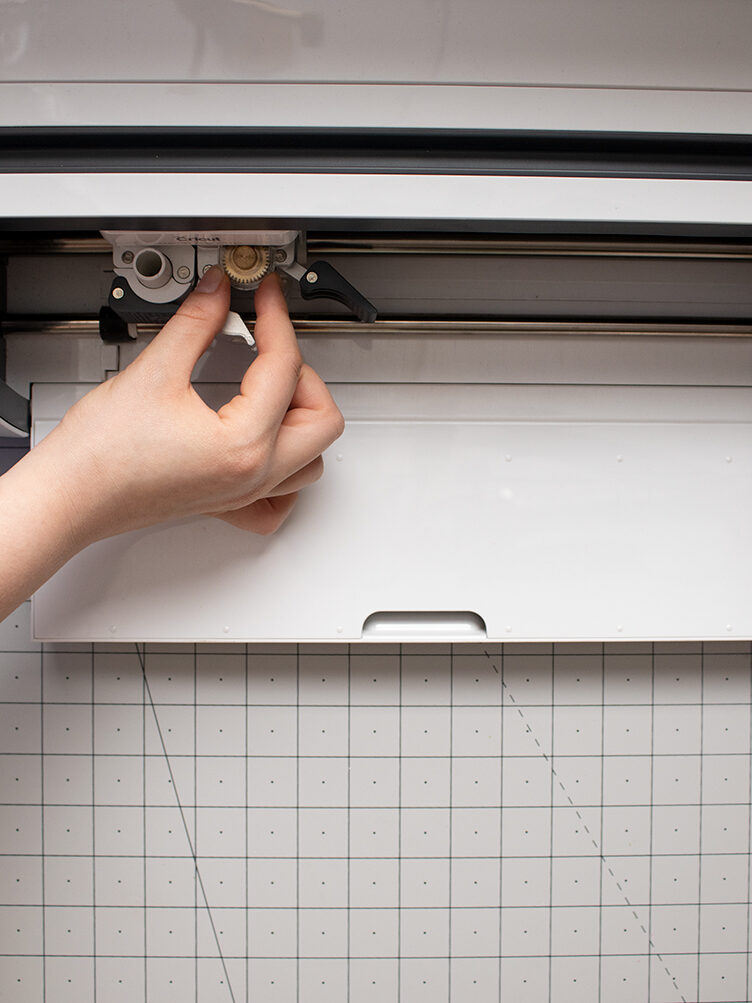
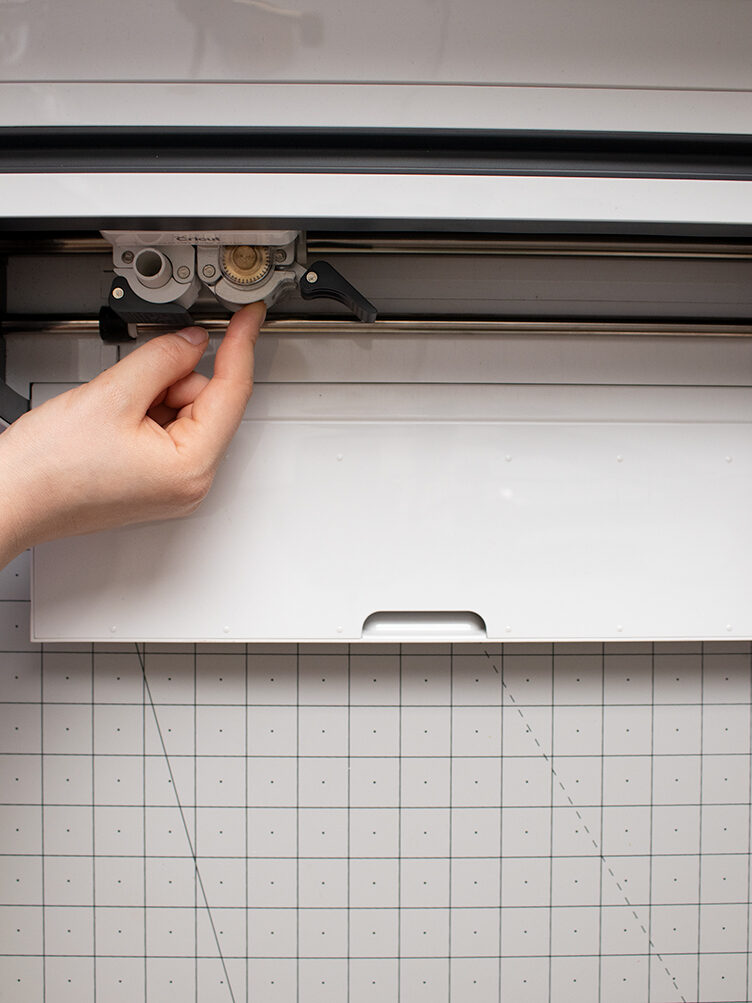
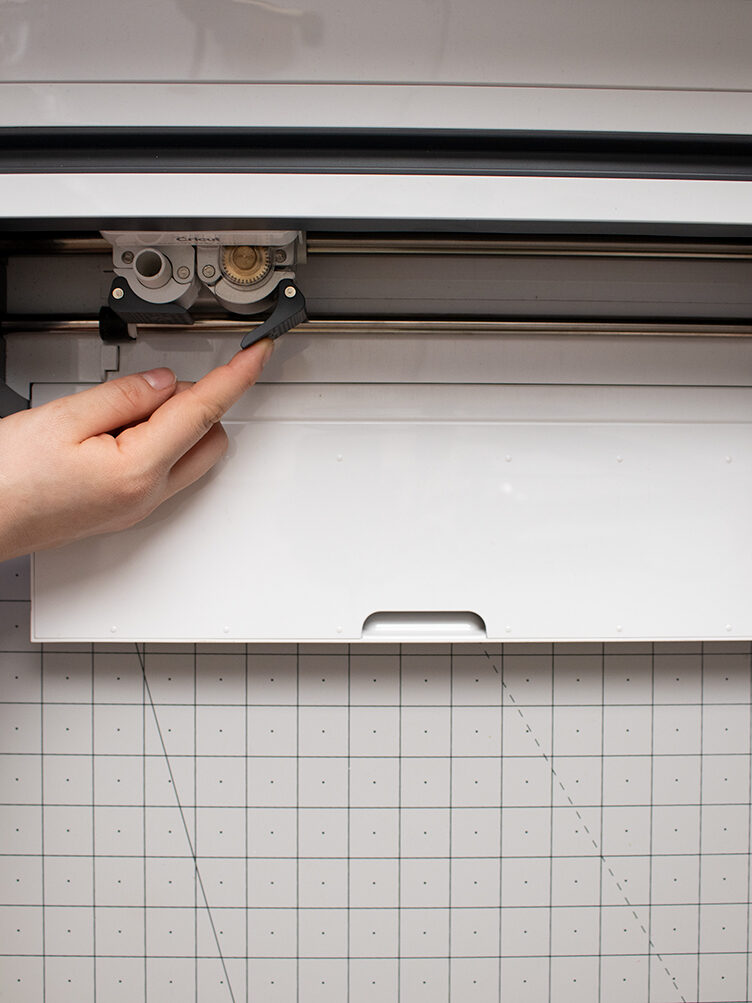
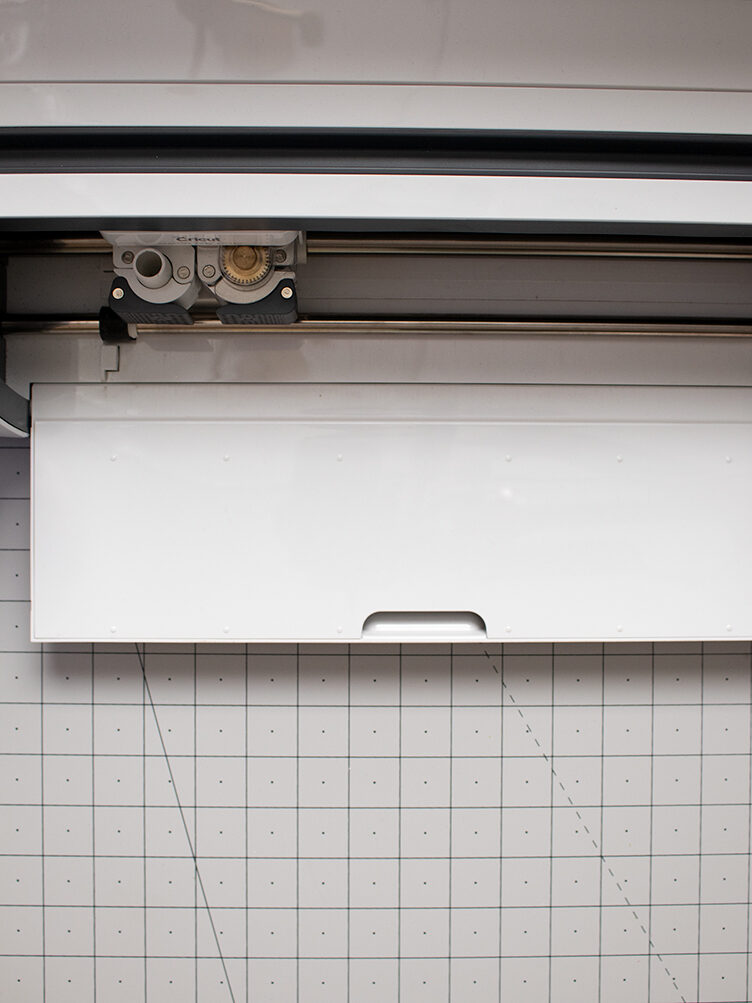
Changing out your blade and housing is pretty straight forward. Note: Blades and tips with a housing will go in the “B” slot. You’ll want to unlock the blade from the carrier and pull it out then place the rotary blade in the same spot. Make sure the exposed metal gear is against the machine and that the bottom of the gear is flush with the holder. Then close it back up.
Set the material to felt. It will default to the fine point blade, just change it to the rotary blade.
Now starts the loading, unloading of mats and the cutting. If you have multiple mats you can prep the next ones while the machine is cutting.
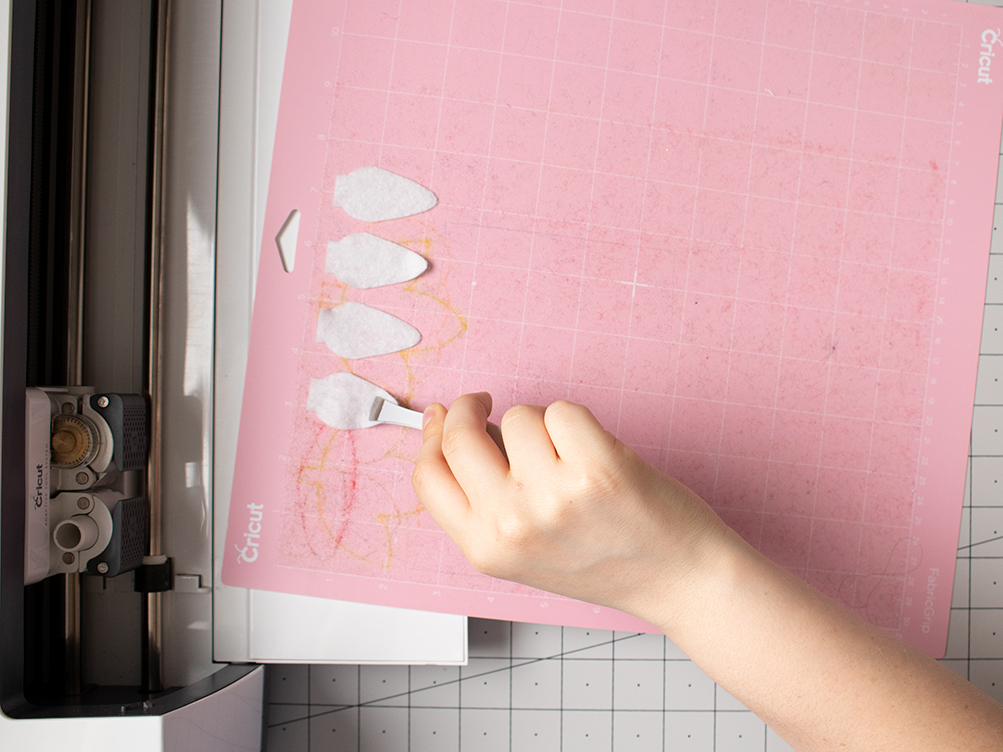
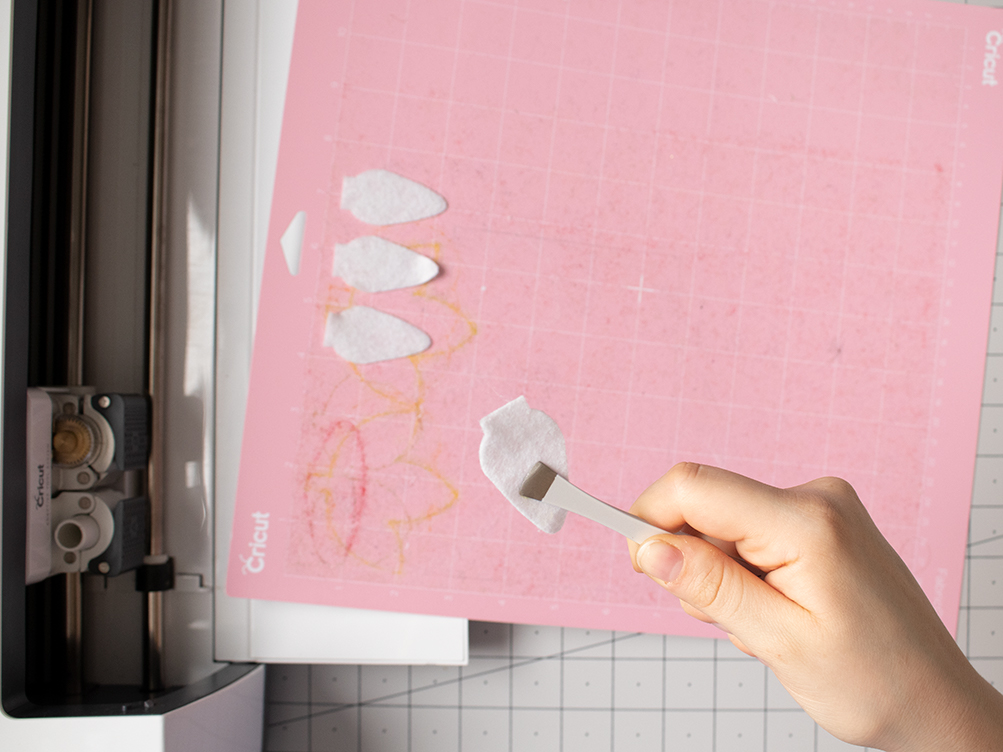
To remove the felt, I’ll bend the mat into an upside-down “U” so the edges will pull up from the mat making it easier. I like using the wide-headed tweezers that come in the Applicator Set for felt and fabric. First you’ll want to pull away the excess felt from the mat and then your cut pieces. Try to pull it from a large area, like the side. Skinny areas are more prone to tearing. Repeat until all of your pieces are cut out.
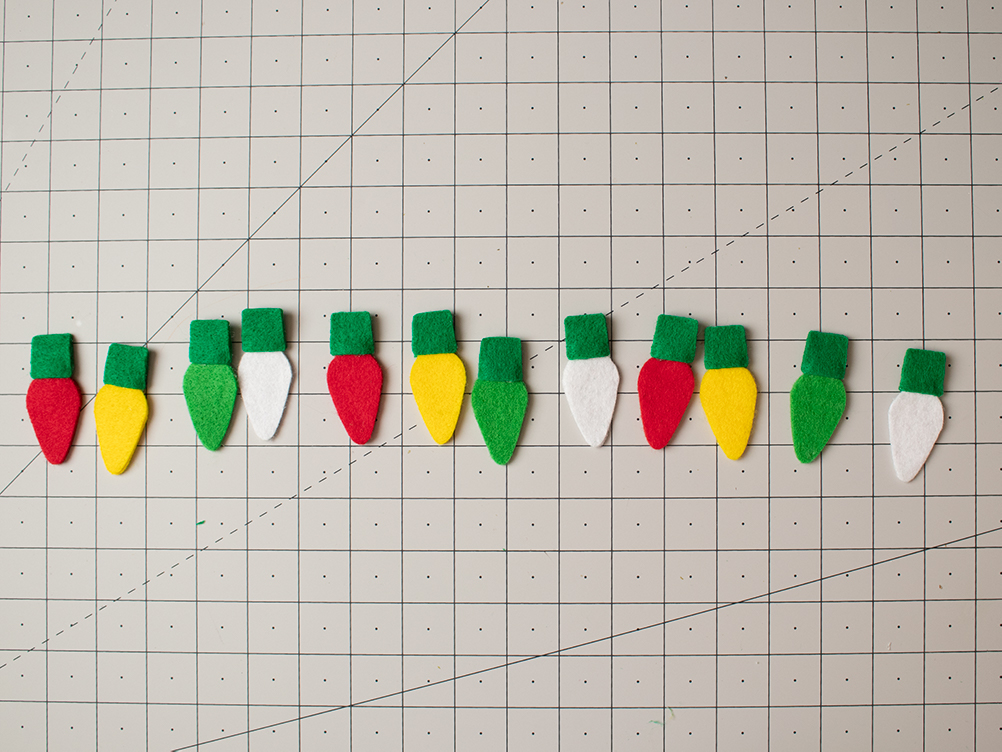
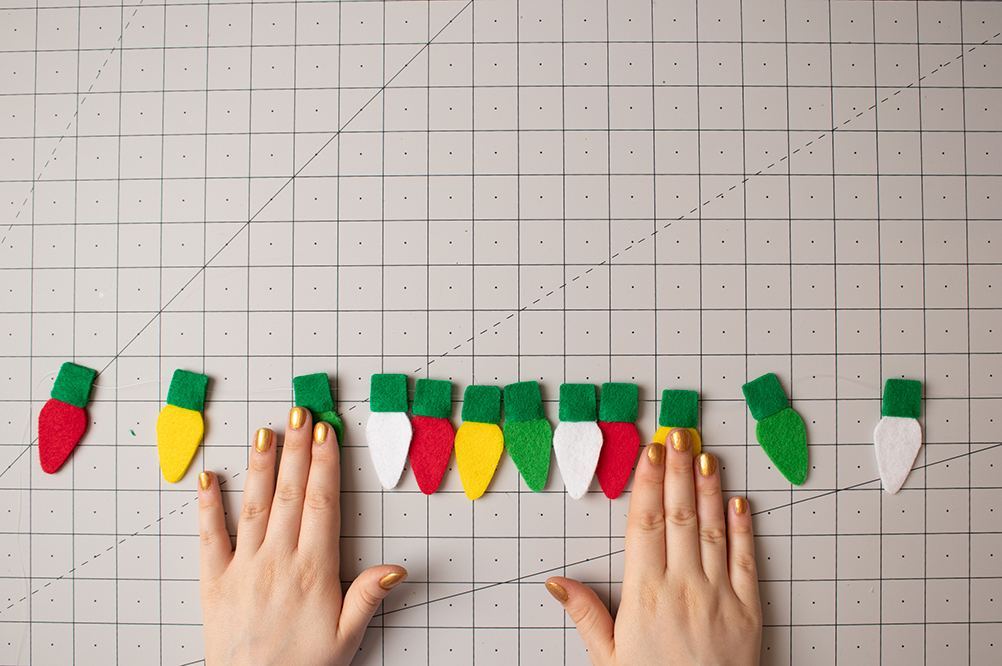
Layer Your Pieces:
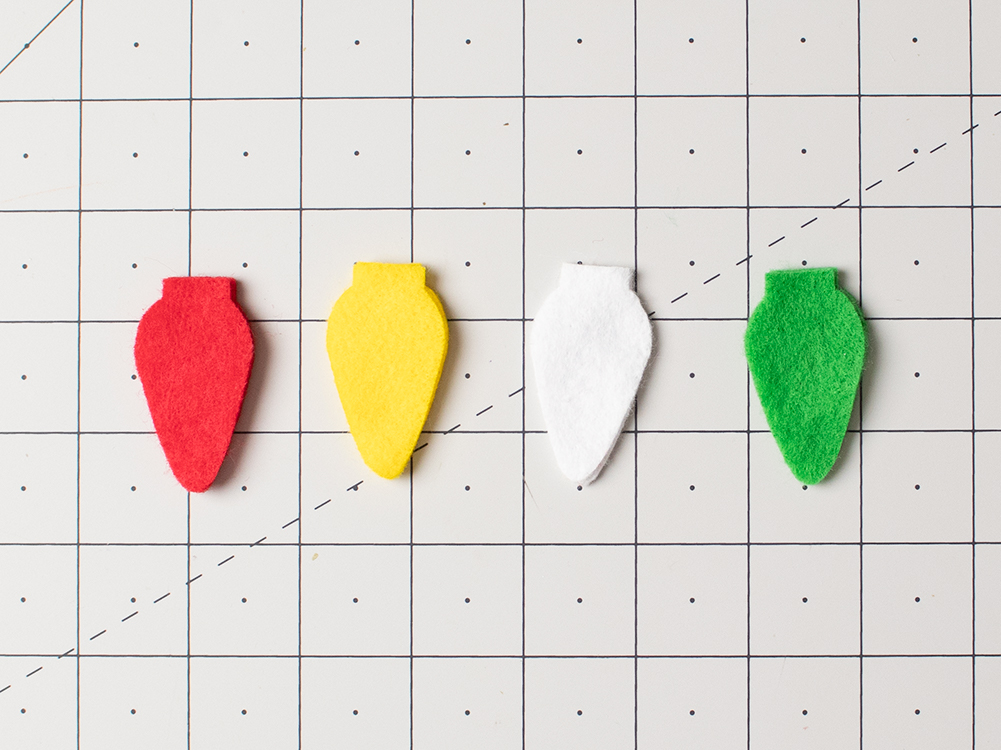
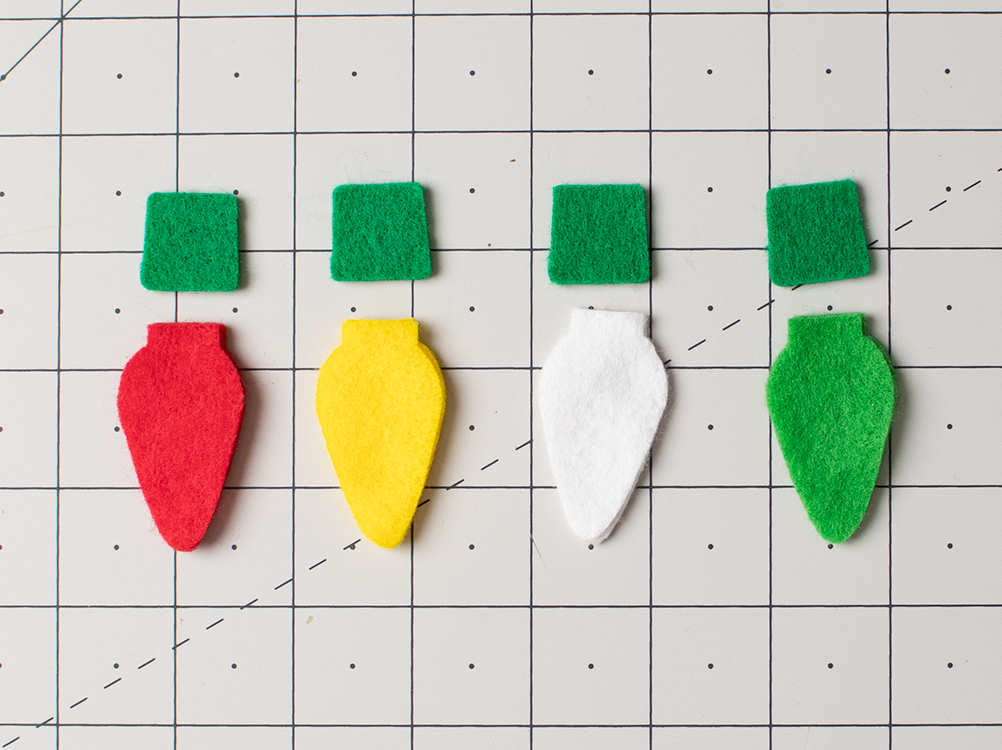
Each light bulb will consist of two bulb pieces and two top pieces.
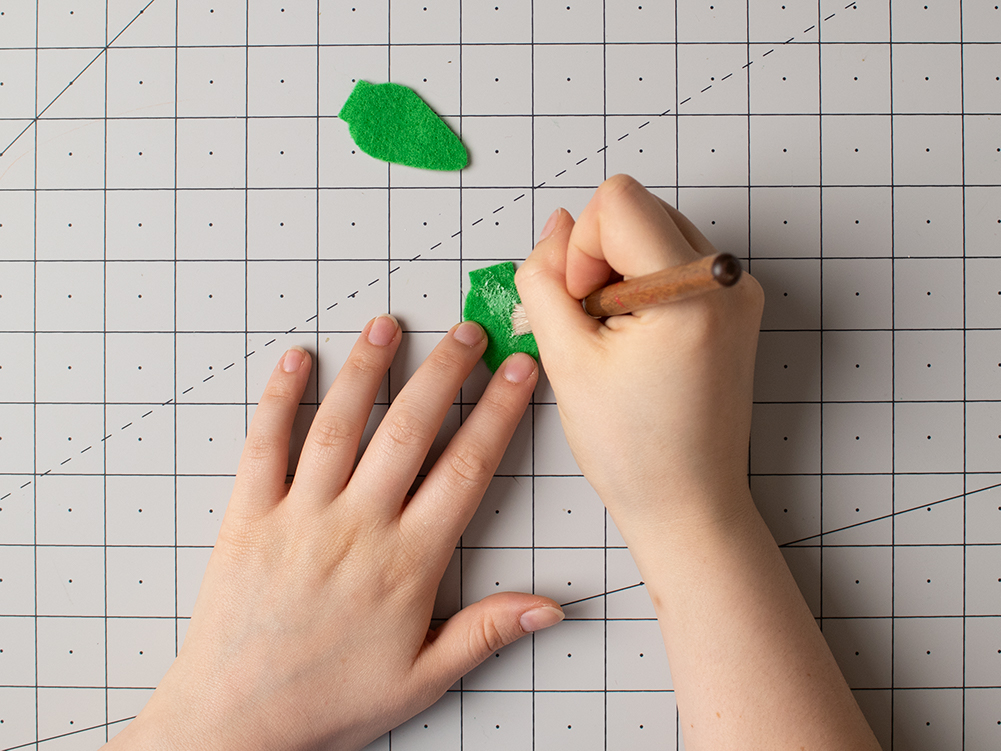
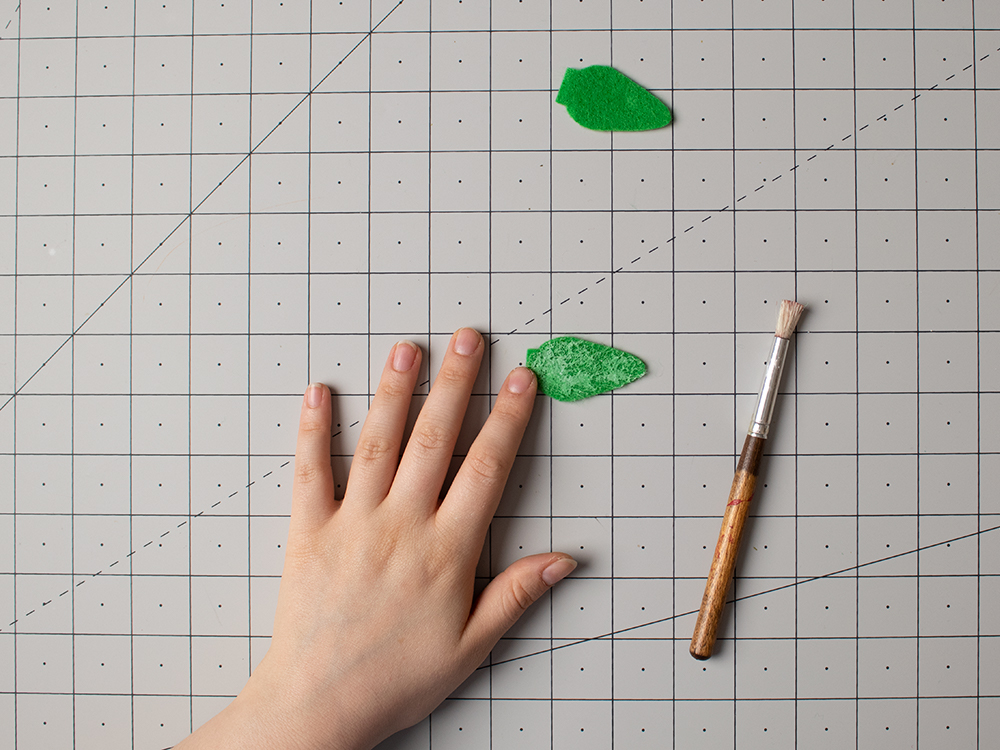
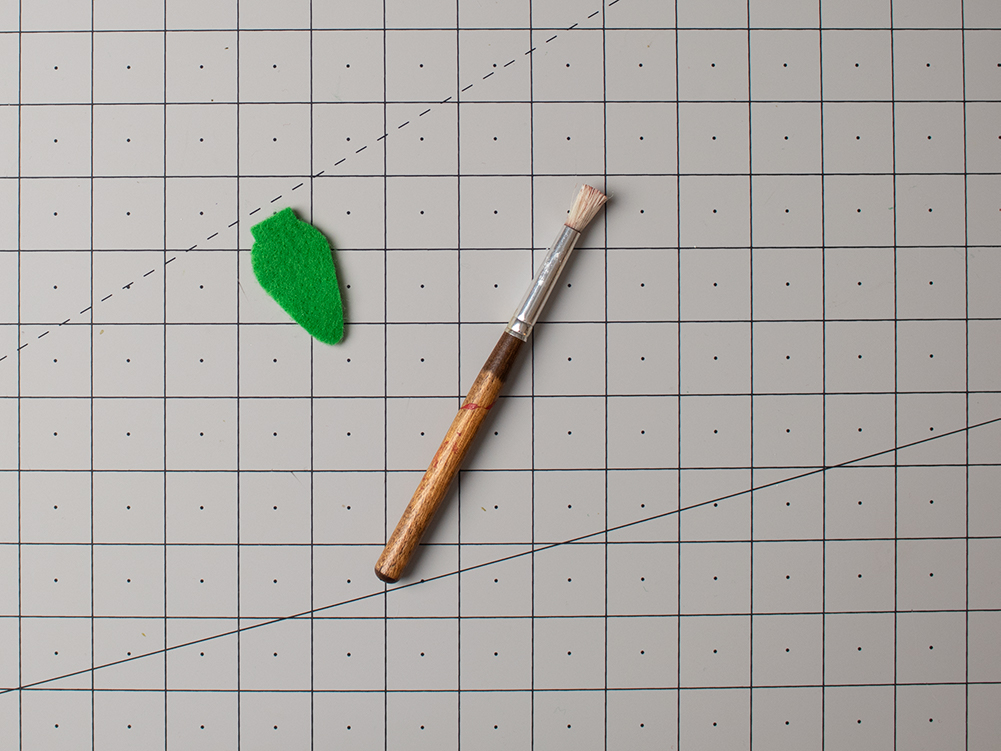
First apply Elmer’s Glue-All liquid glue on one side of of one of the bulb pieces, preferably with a brush to keep the glue in a thin, even coat. Press the other bulb piece on top of the glue gently to secure it. Let it dry.
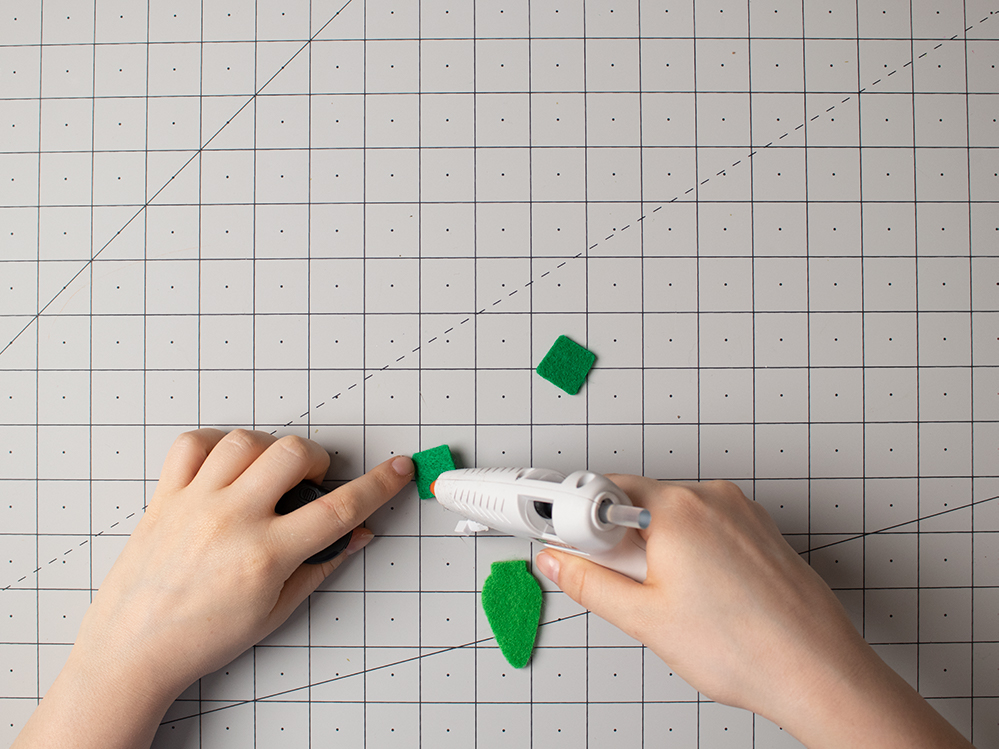
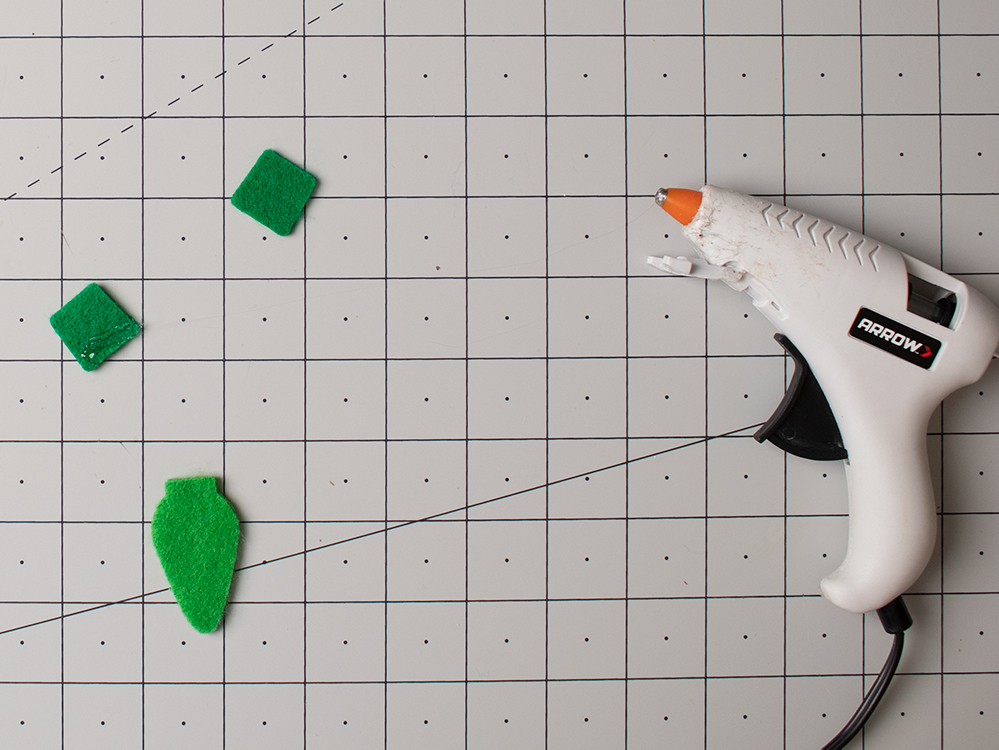
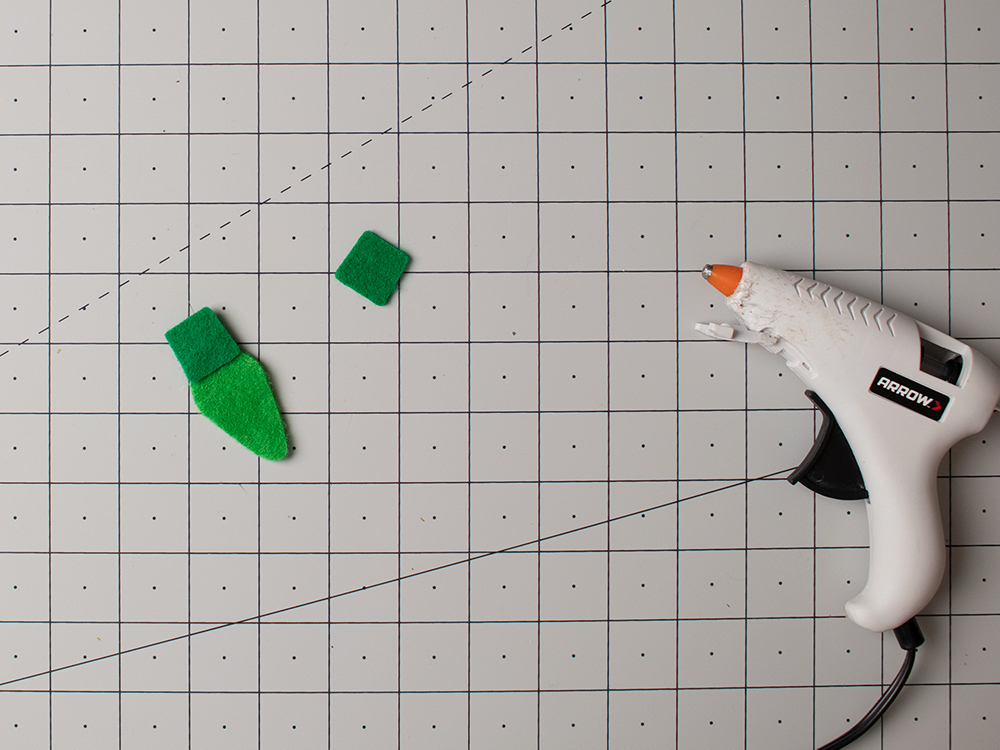

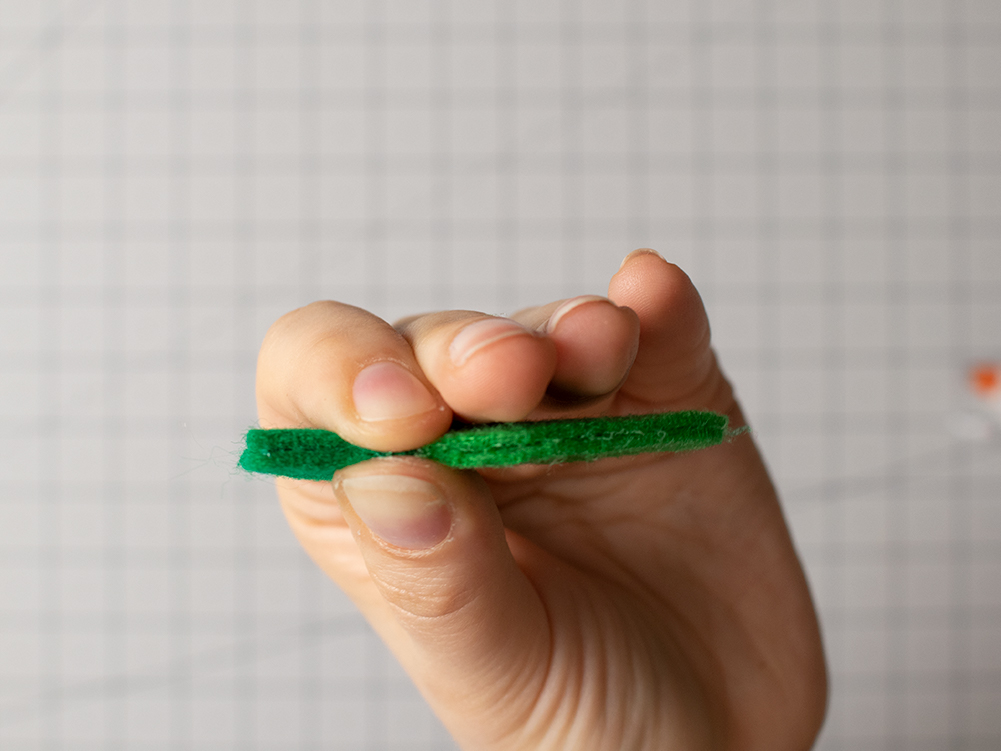
Use hot glue to attach one top piece to the bulb. On the other side add hot glue near the bottom and at the top of the top piece and place the other one on top, sandwiching the bulb. Squeeze (and potentially add a little extra glue) at the corners to close them, make sure to leave the center free of glue.
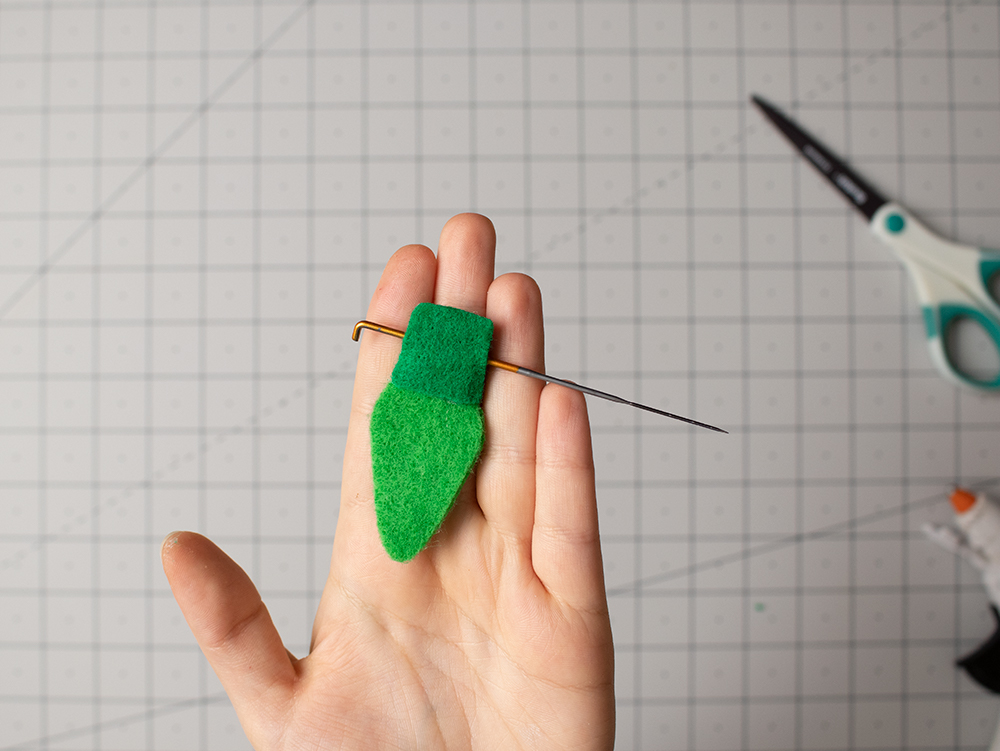
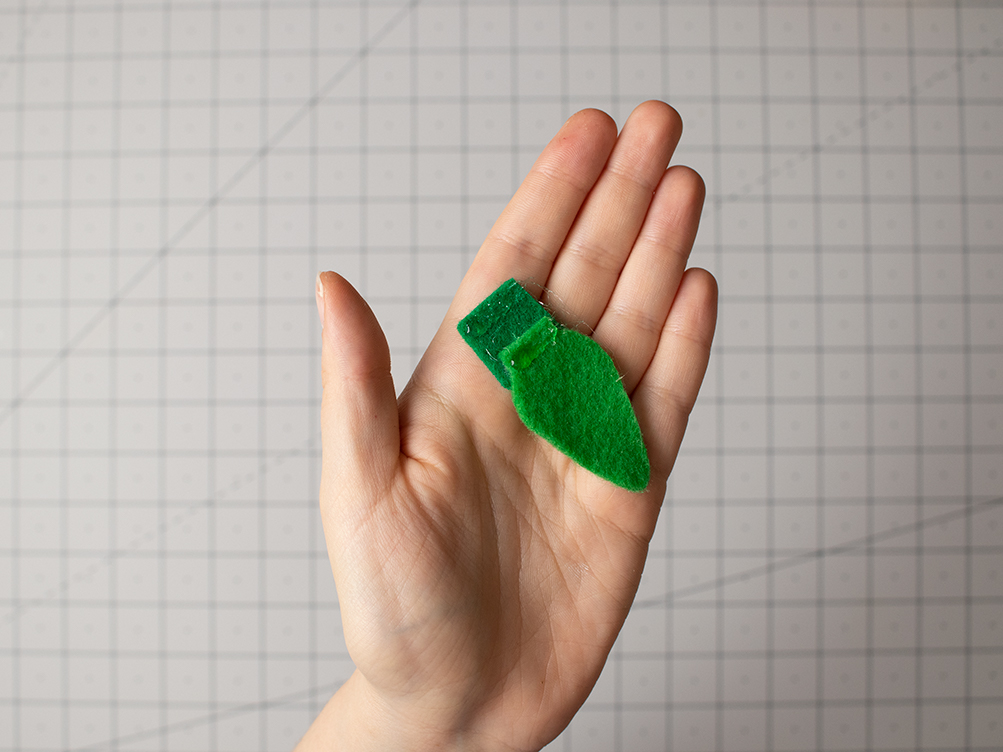
You should be able to pass a needle between the two top pieces easily.
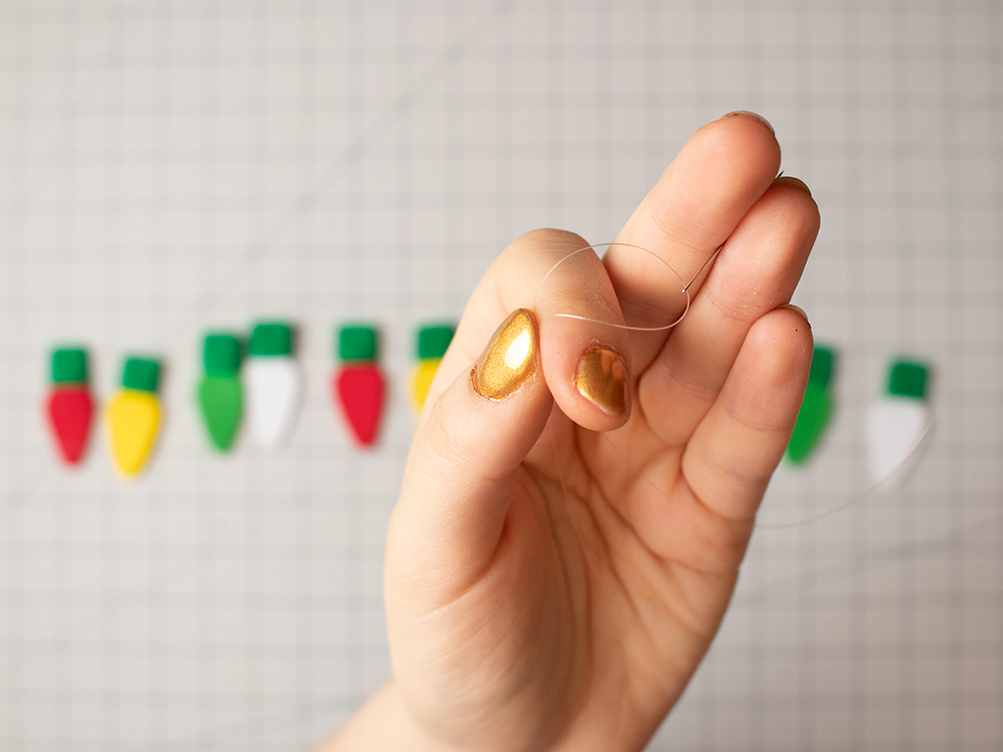
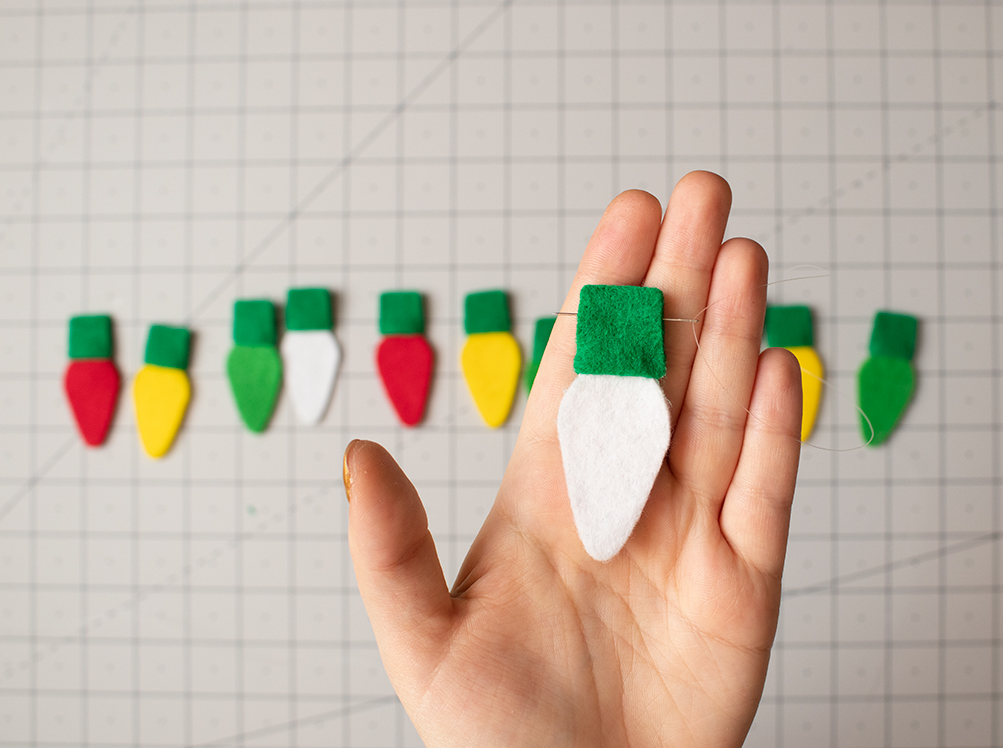
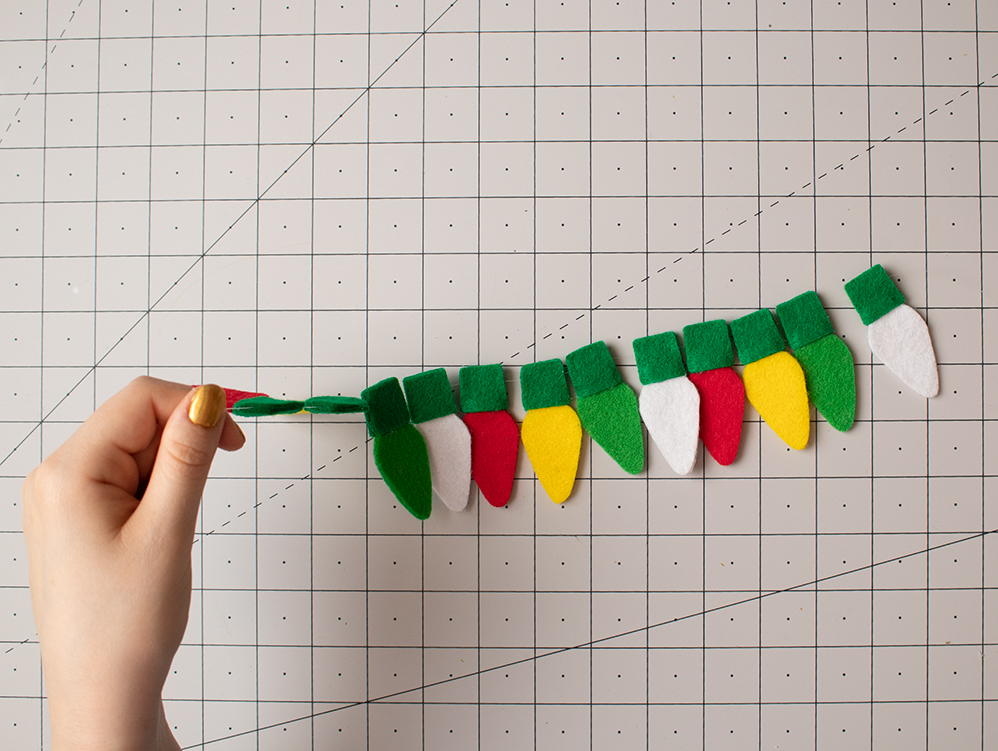
Take your needle, threaded with fishing line, and pass it through each light bulb to string them together.

Crissy
Sunday 6th of December 2020
Oh my gosh, this is adorable! I could totally see using this in my boys room as a garland this Christmas. Beautiful job, Olivia!