
I have come to the realization that a lot of people seem terrified by the idea of sewing something. So, I have come up with an easy, no-sew, no-fur gnome ornament! I stuck with supplies that you should be able to find at your local craft store (I’ve also included links in case you’d like to look online).

Supplies:
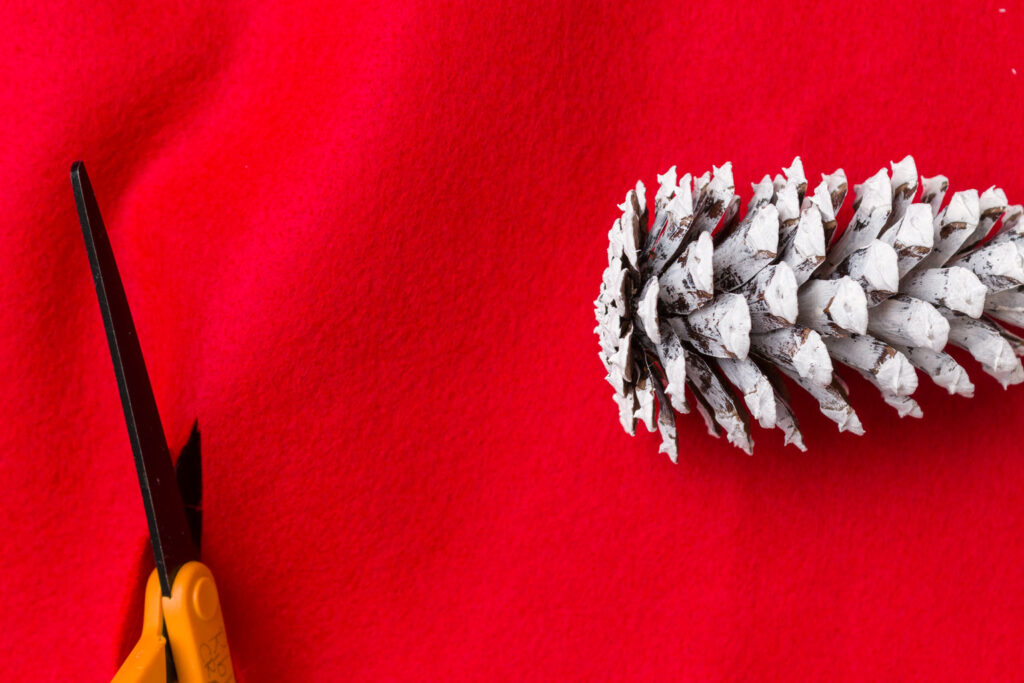
- Pinecone
- Felt – Regular (Red Gnome) or Stiff (Green Gnome)
- Hot Glue
- White Acrylic Paint
- Wood Bead
- Paintbrush
- Colored Pencil
- Scissors
- Yarn
- Pom pom Maker
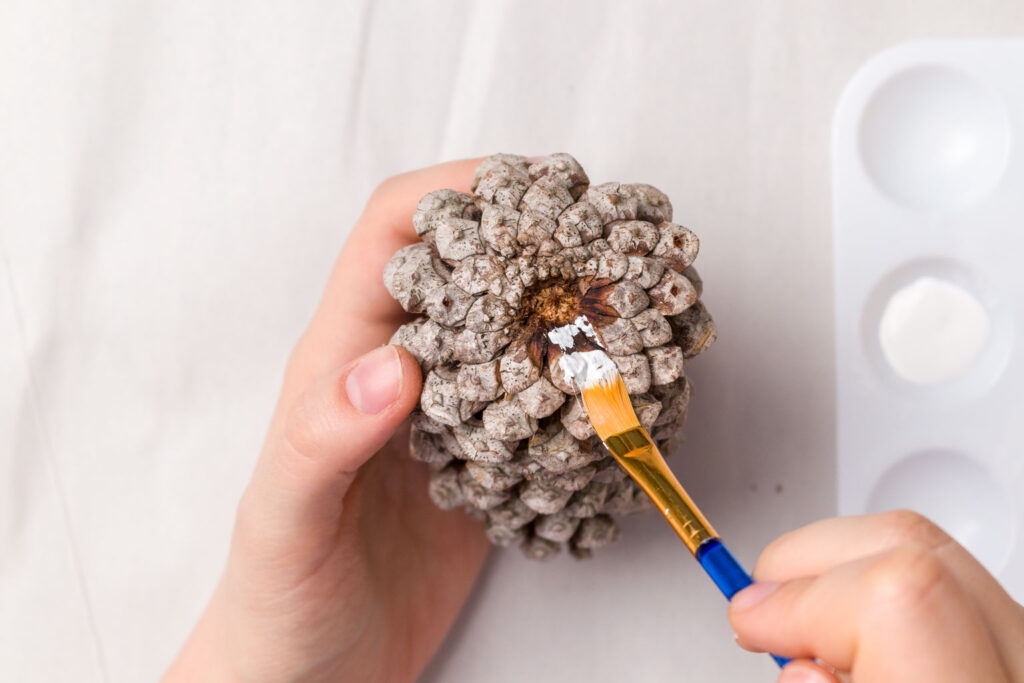
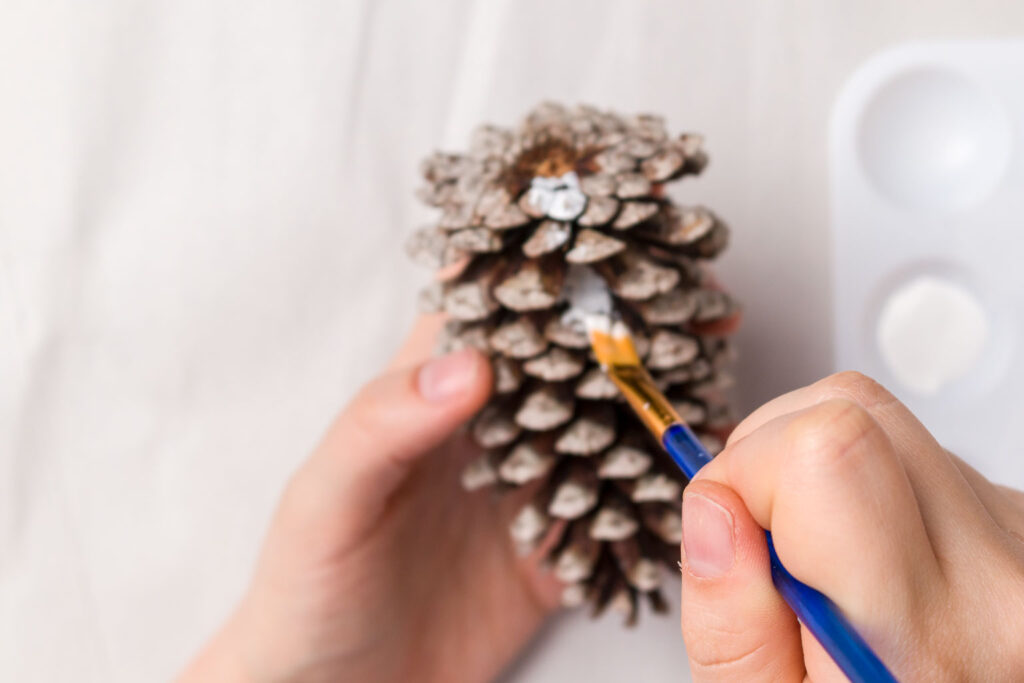
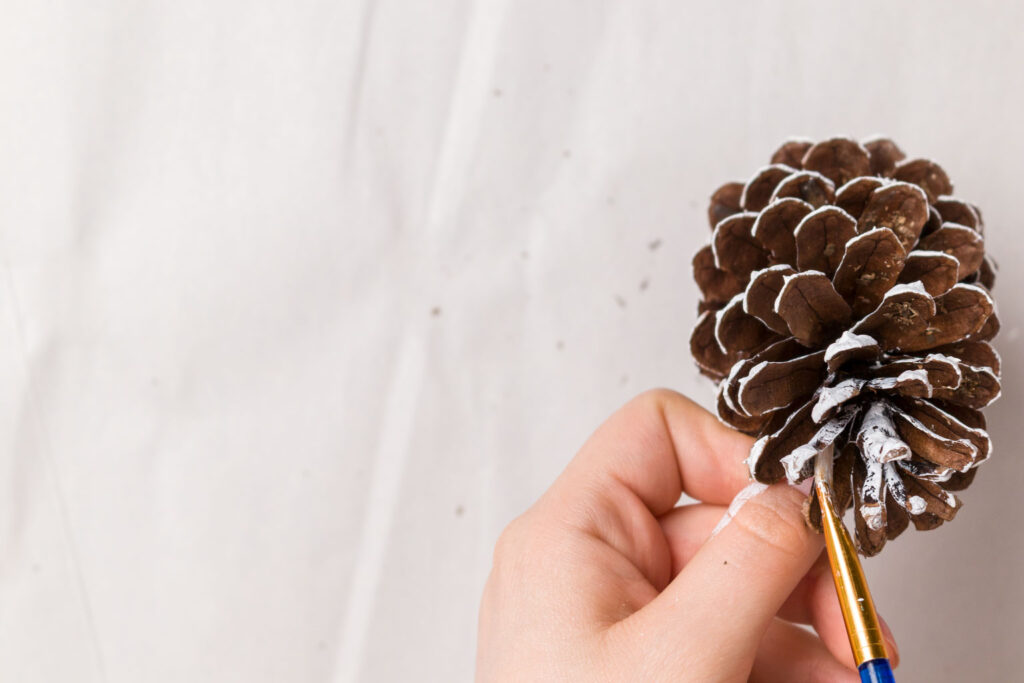
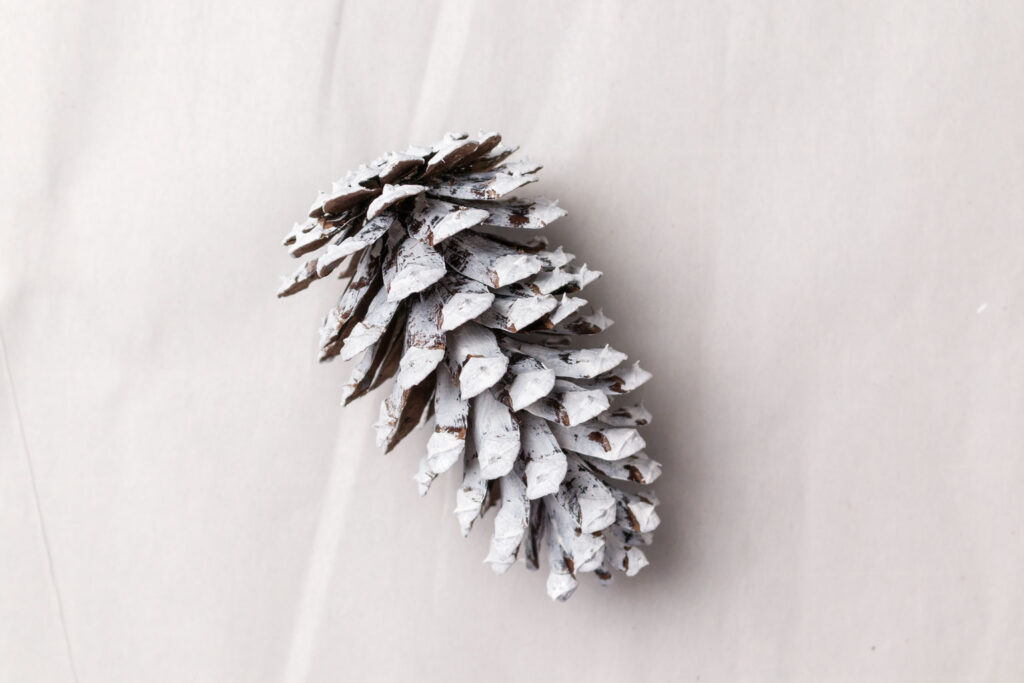
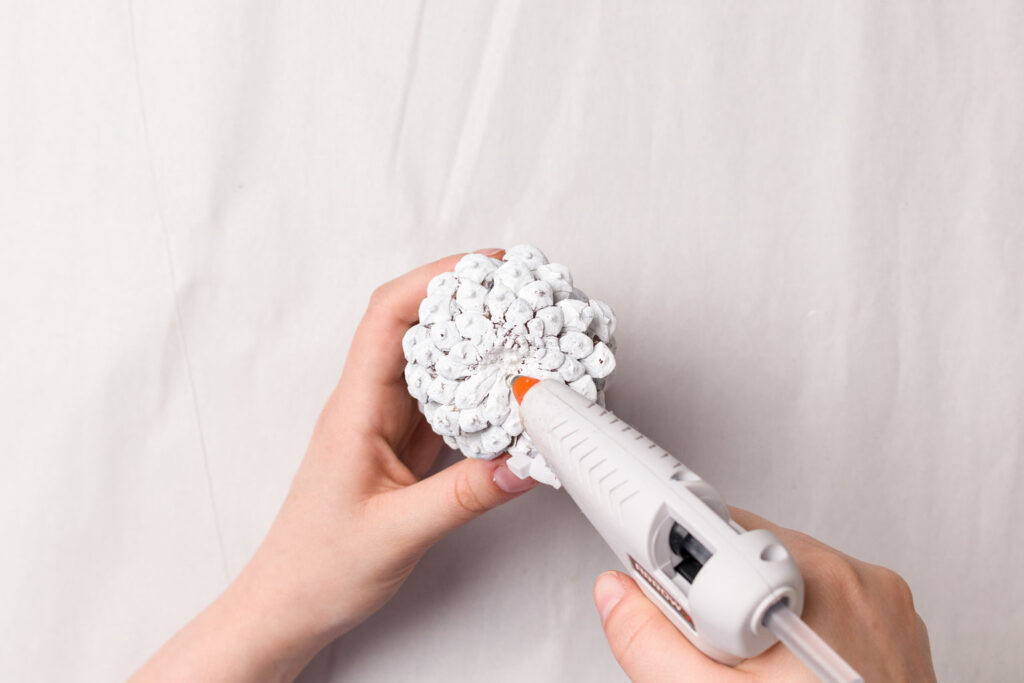
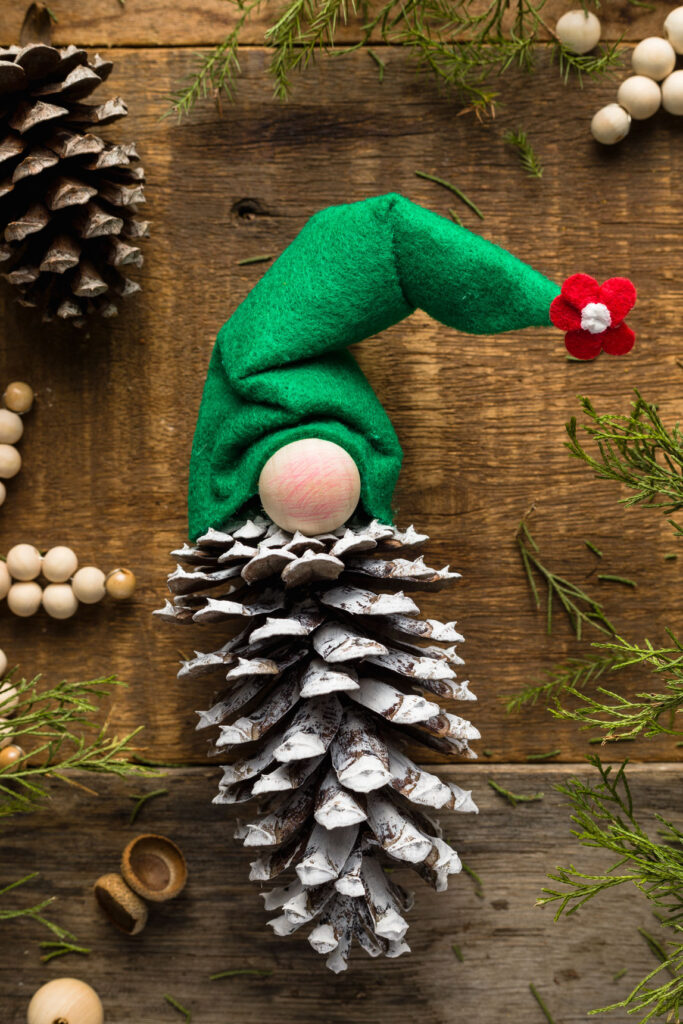
For this gnome you’ll want the pinecone so the tip is pointing down and the flat base is up. Begin by painting one vertical side of the pinecone. If you want to make some extra room for the wood bead nose, pull out some of the small top scales. I dry brushed the tops of the scales and fully painted the prickles. When it dried, I painted the other side the same way.
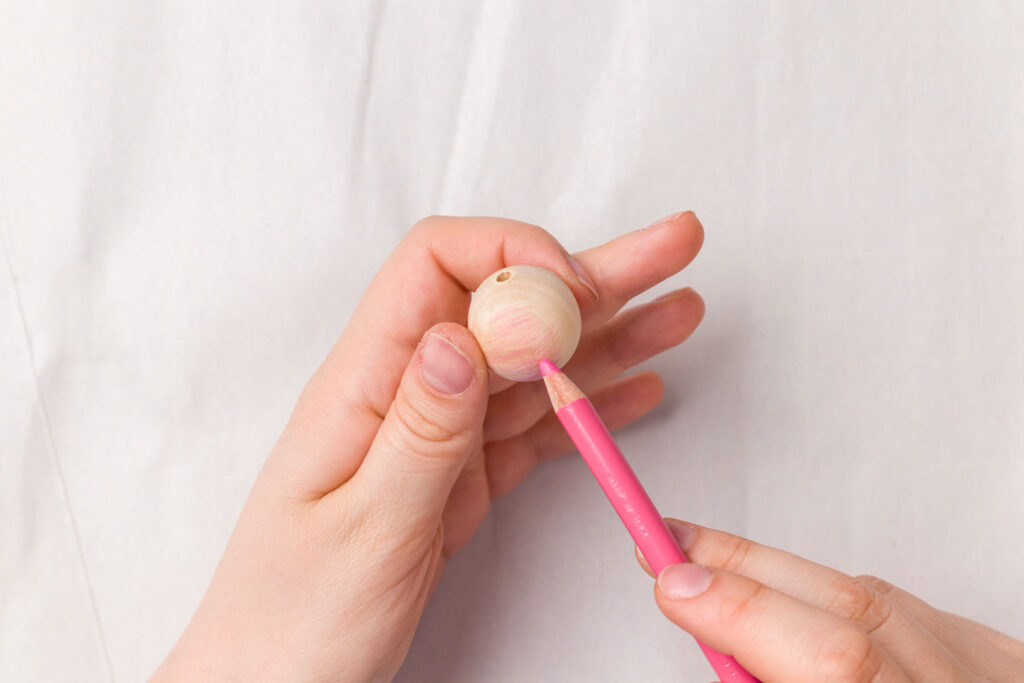
While the paint was still drying I used a pink colored pencil to add blush to the gnome’s nose (the wood bead).
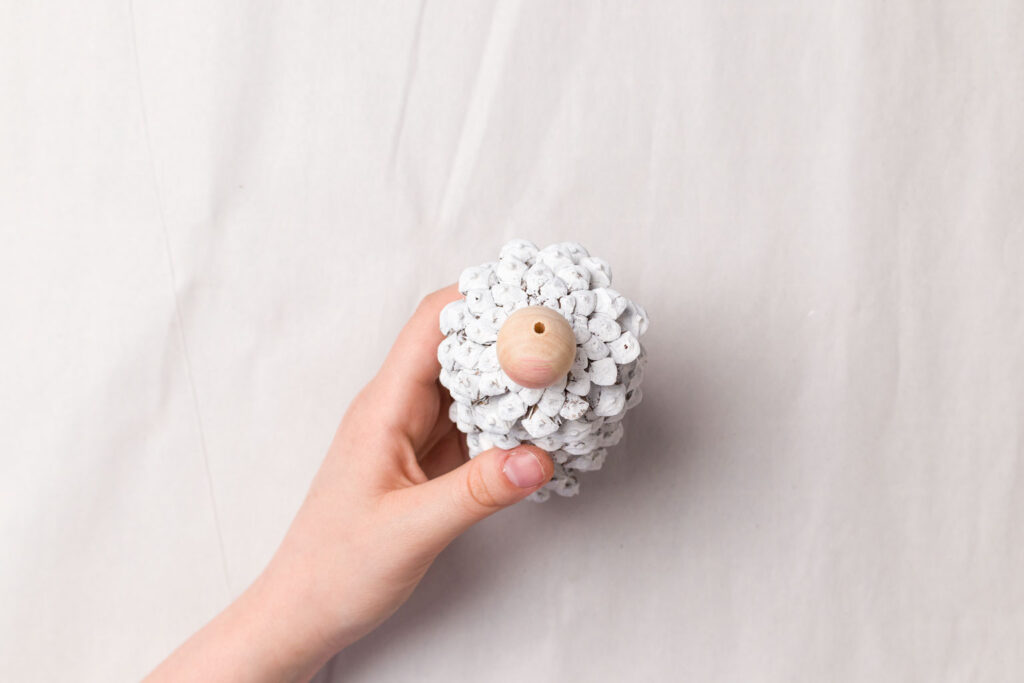
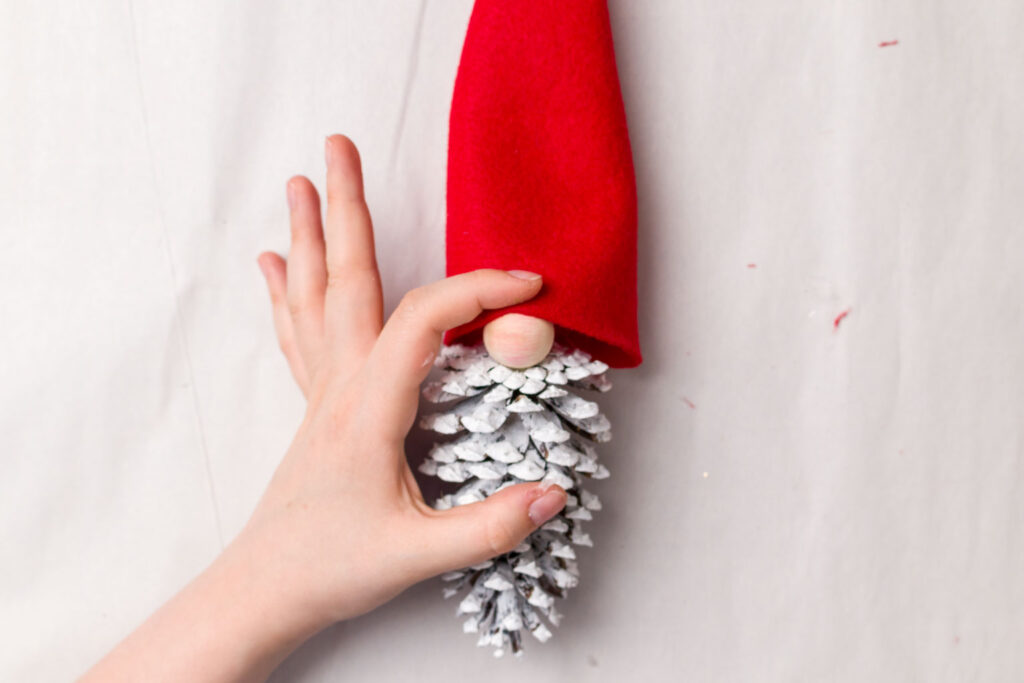
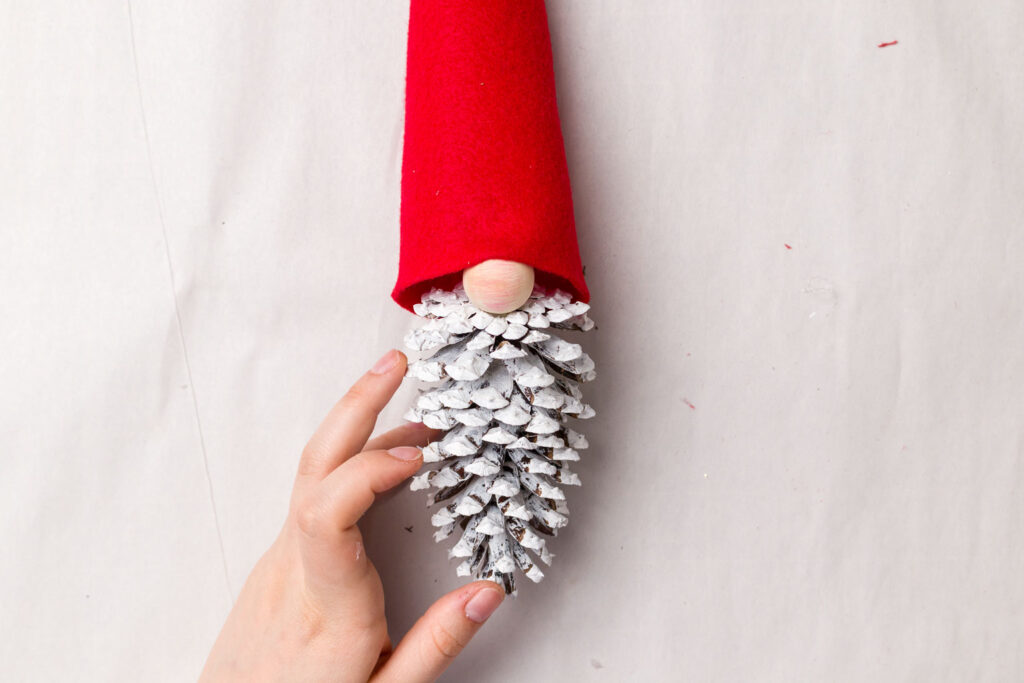
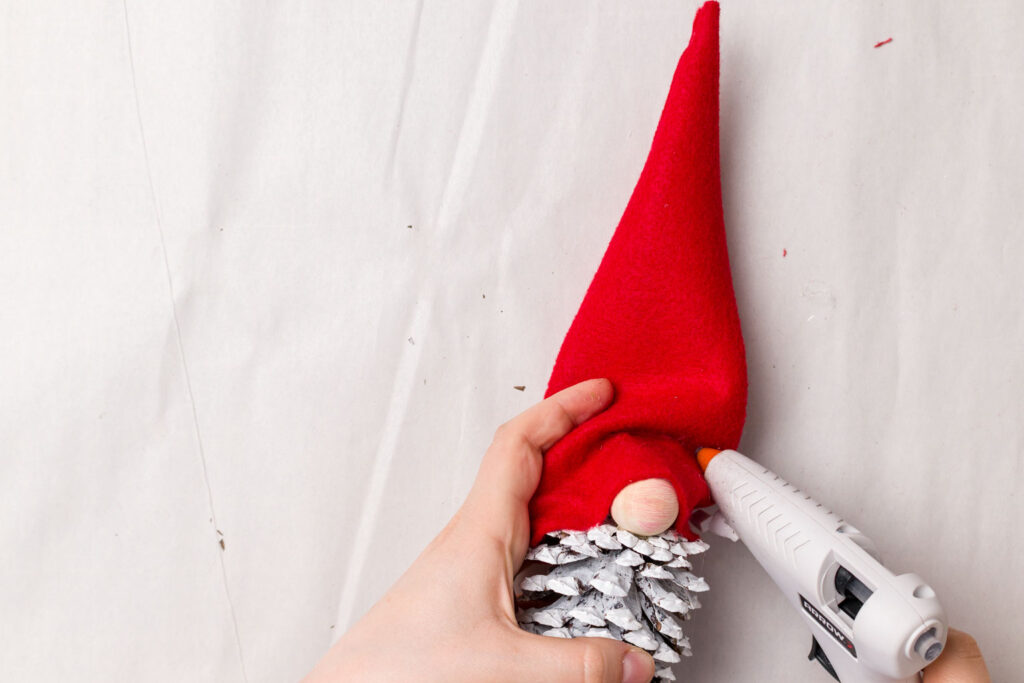
When the paint is dry, hot glue the nose on the top of the pinecone on the front half, the closer to the edge, the better.
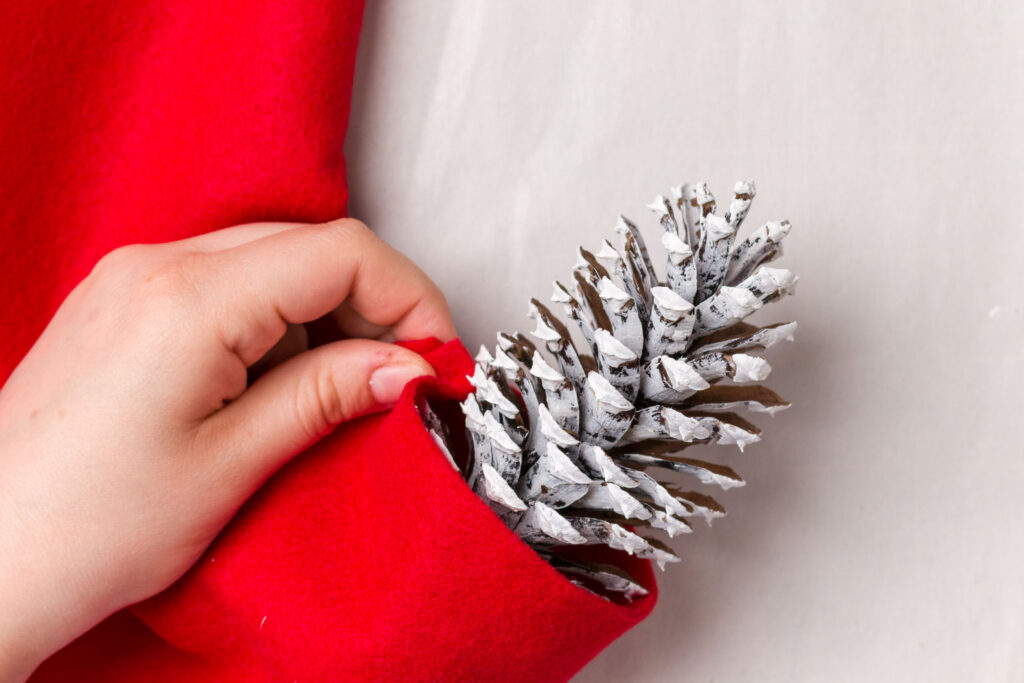
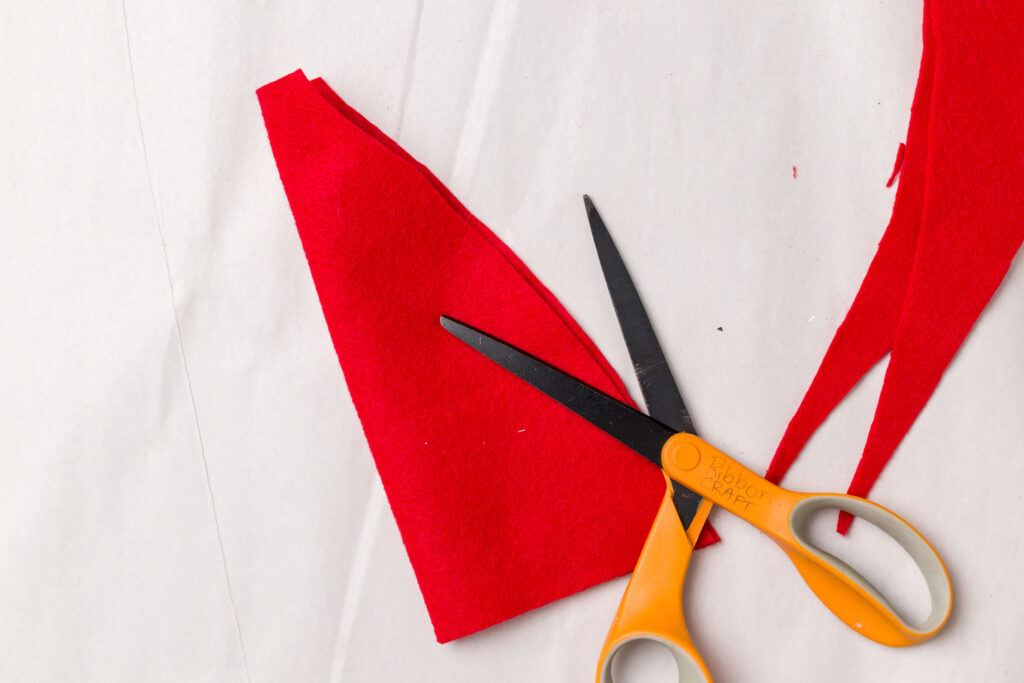
Now is time to make the felt hat. In concept it’s simple, but for me it’s the hardest part. I take the edge of the felt sheet and wrap it around the top of the pinecone where it will be going to figure out how wide the bottom needs to be and add a little extra for the seam. Then, I decide how tall the hat is going to be. From there I’ll cut a triangle and then snip the tip off.
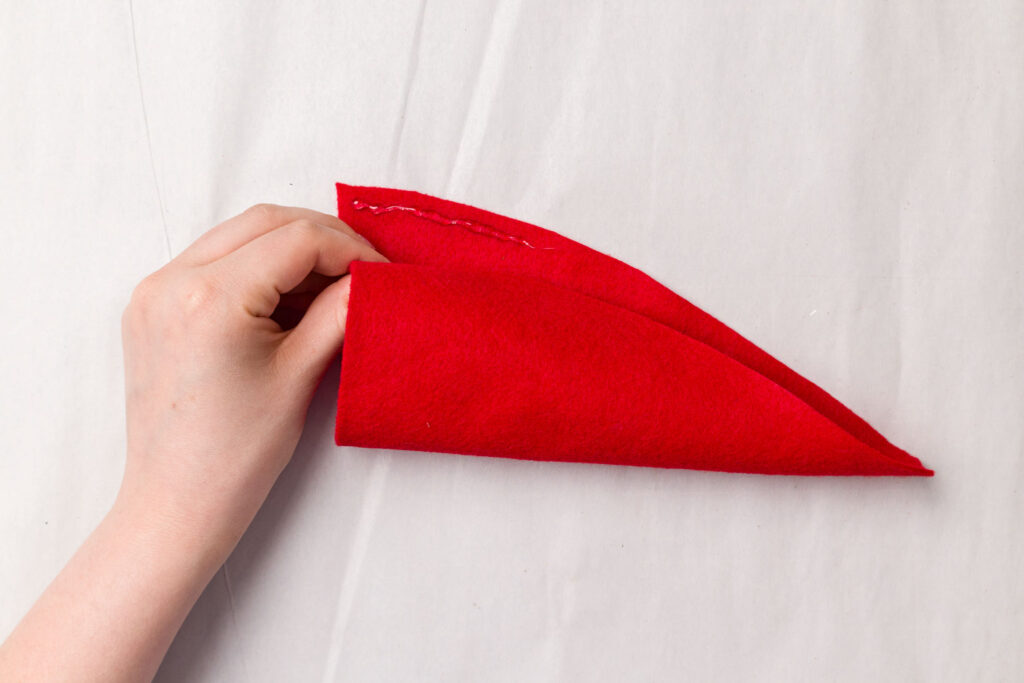

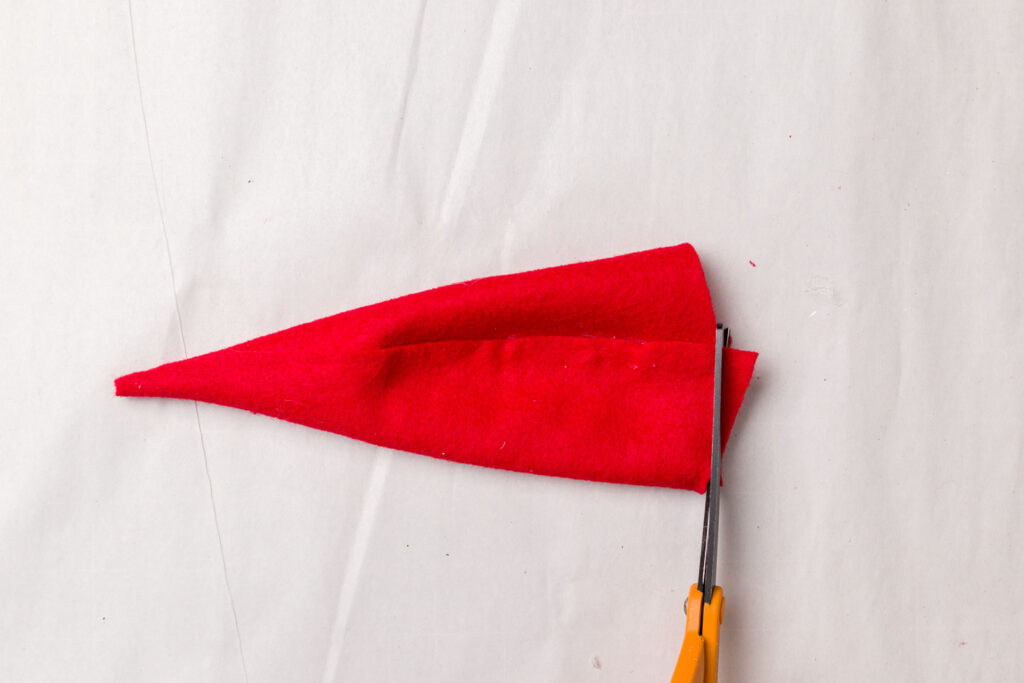
Put a line of hot glue along one side of the hat shape. Bring the other side to it to attach them together, forming the cone hat. Trim any excess felt.
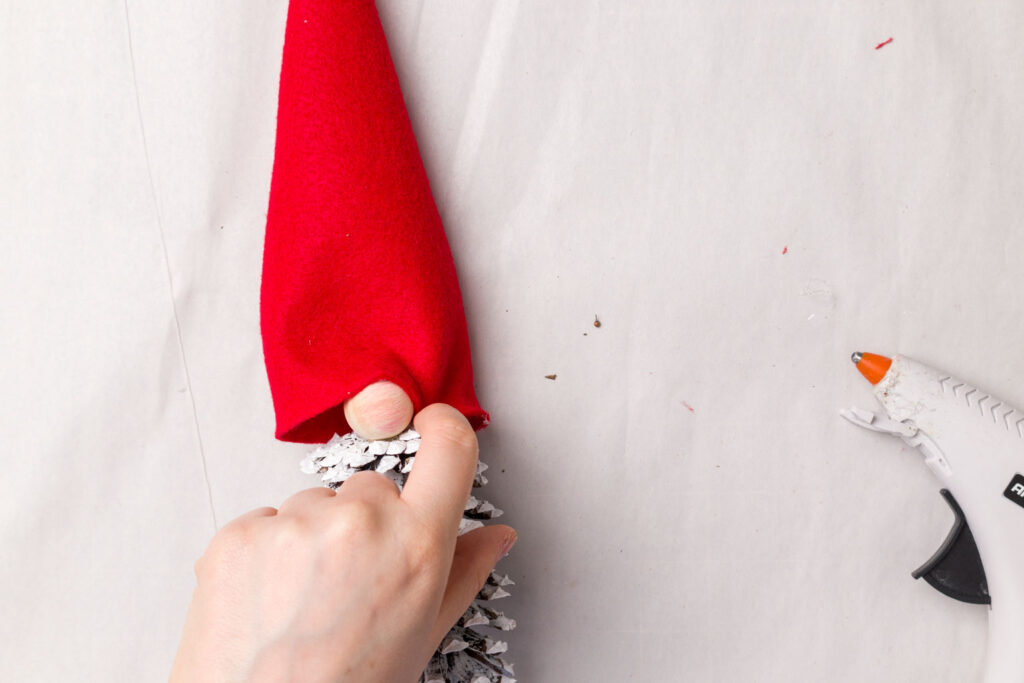
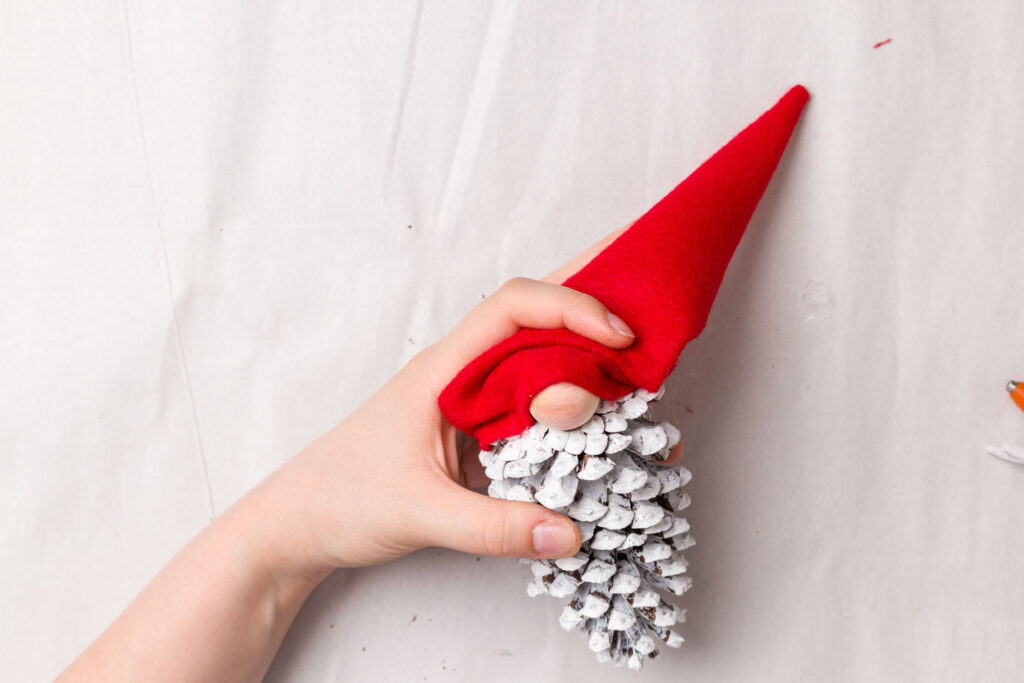
Add hot glue to the top of the gnome’s nose where you will be putting the hat and place it so it covers the hole of the bead then add a circle of hot glue to the pinecone where you want to place the rest of the hat.
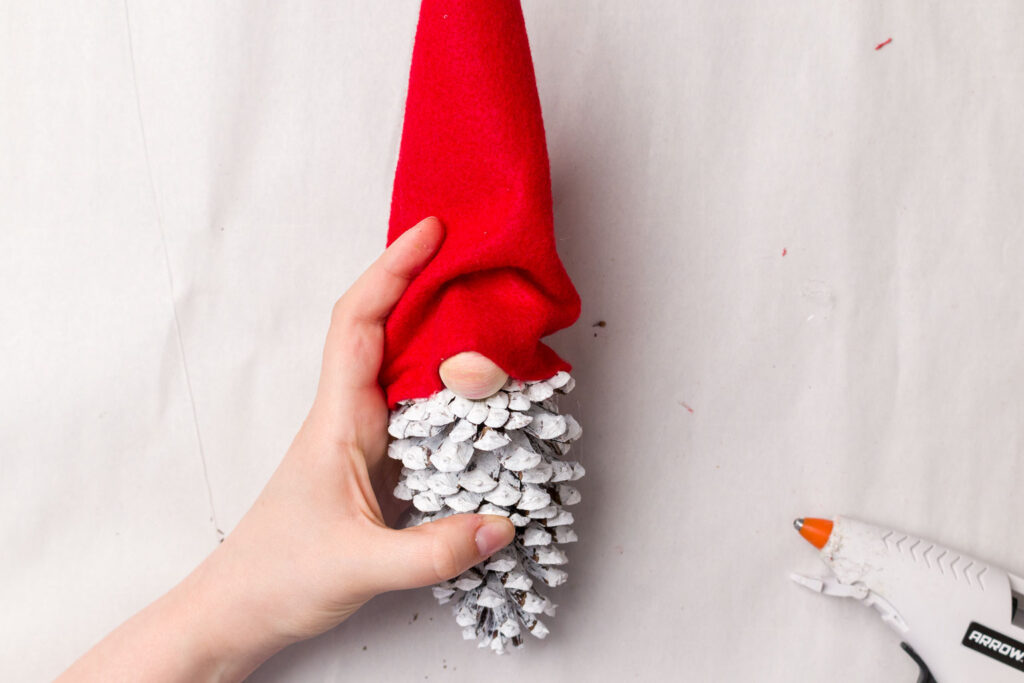
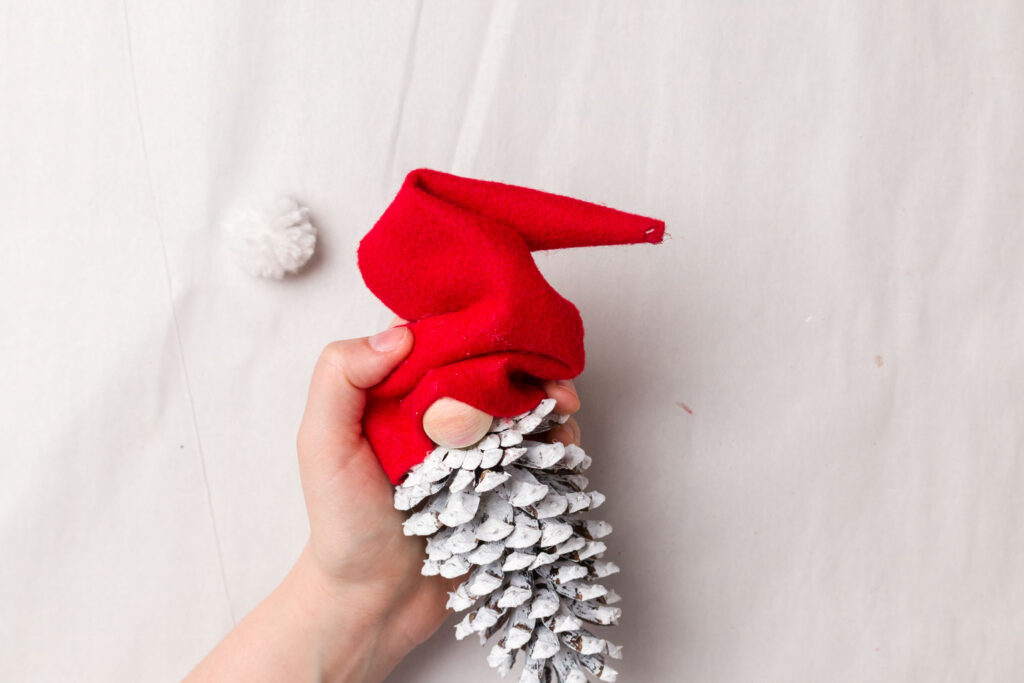
Once that glue has hardened you can start giving the hat what I like to call the “crumpled” look. To achieve it add a little hot glue where you want the folds to be placed and pinch and hold until the glue cools.
Now to embellish!
I made a small pom pom to embellish the gnome’s hat. It’s super easy with one of these makers. Keep an eye out for some pom pom how-to videos I’ll be adding soon.
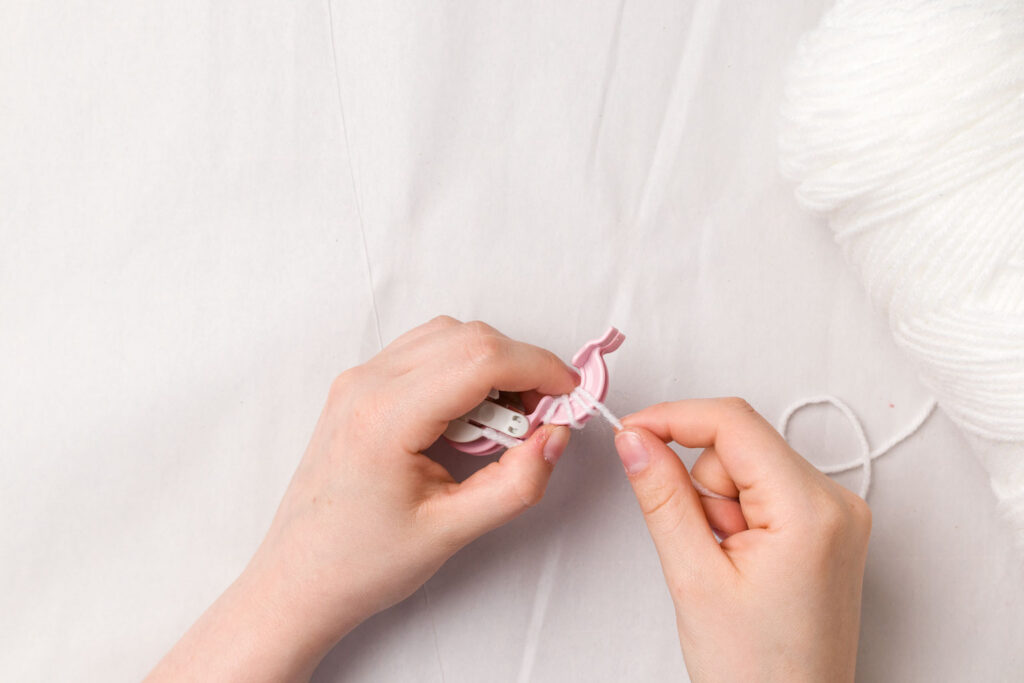
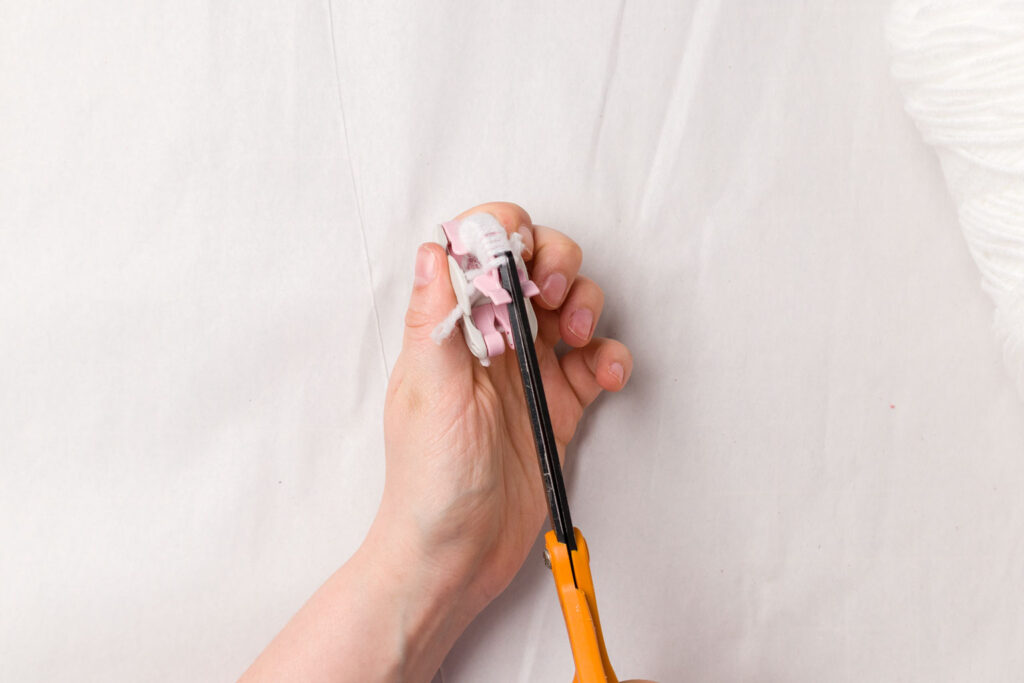
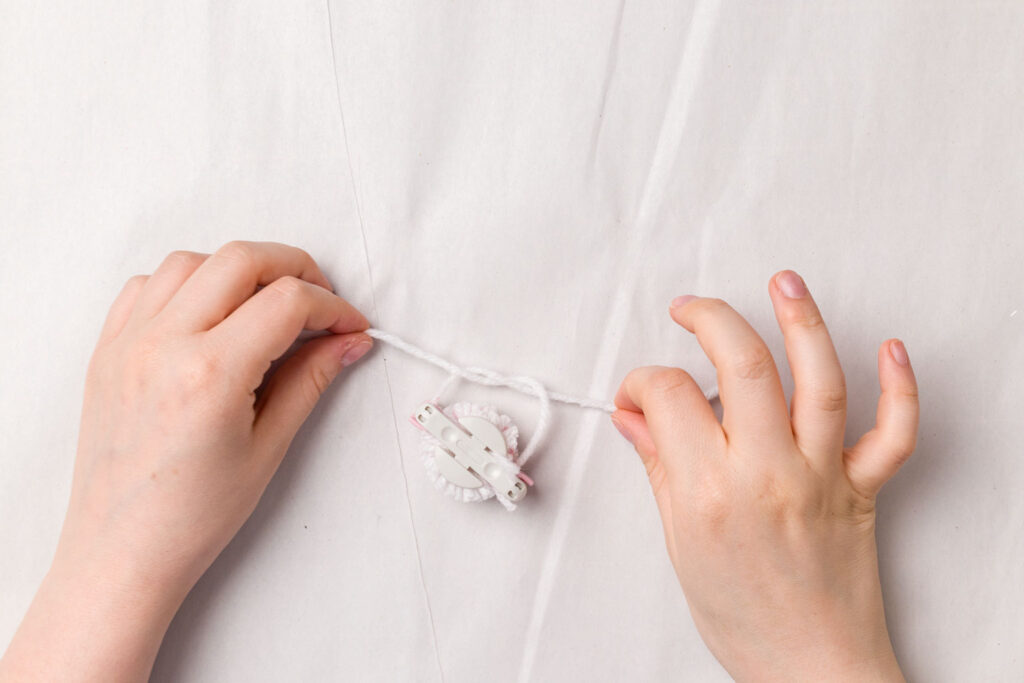
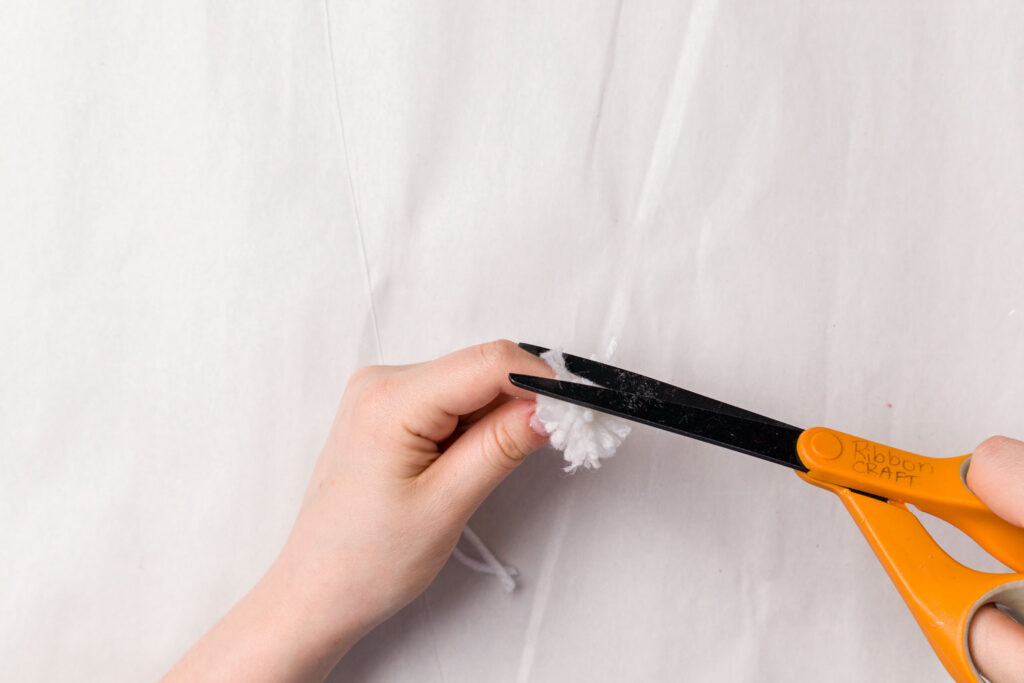
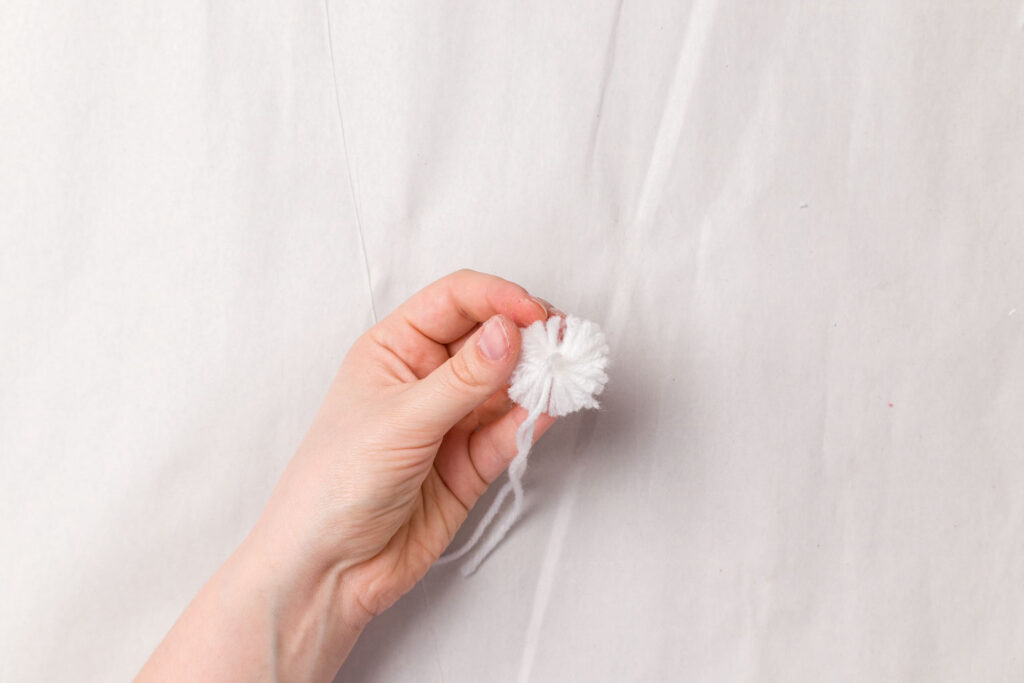
Simply wrap the yarn around both halves of the maker and snip through the center of the wrapped yarn in the valley of the maker. Then, take a length of yarn and double tie it through the center. From there, pull the halves away from each other to release the pom. Trim and fluff.
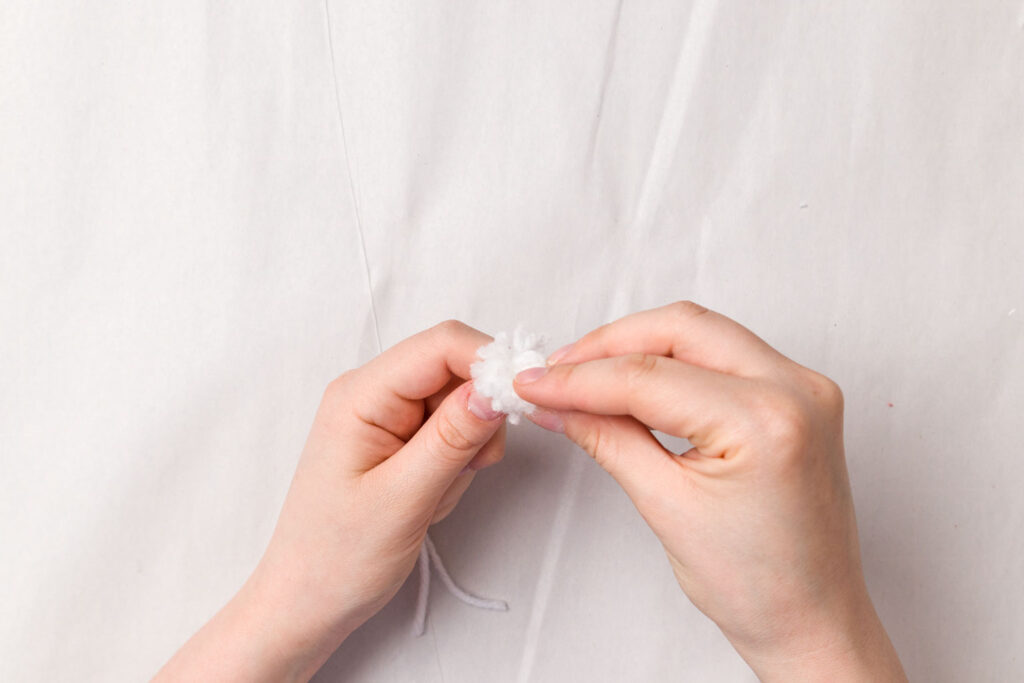
I fluffed mine so the back is flat making it easier to attach to the felt gnome hat.
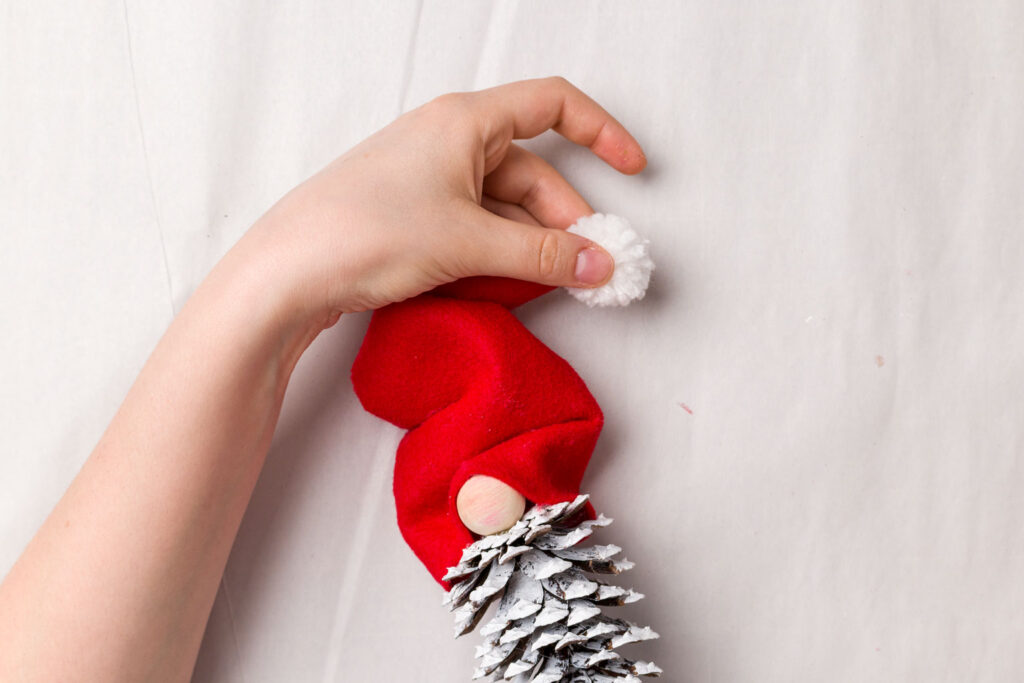
Hot glue the pom pom on the tip of the hat.


Check out this Easy Gnome DIY
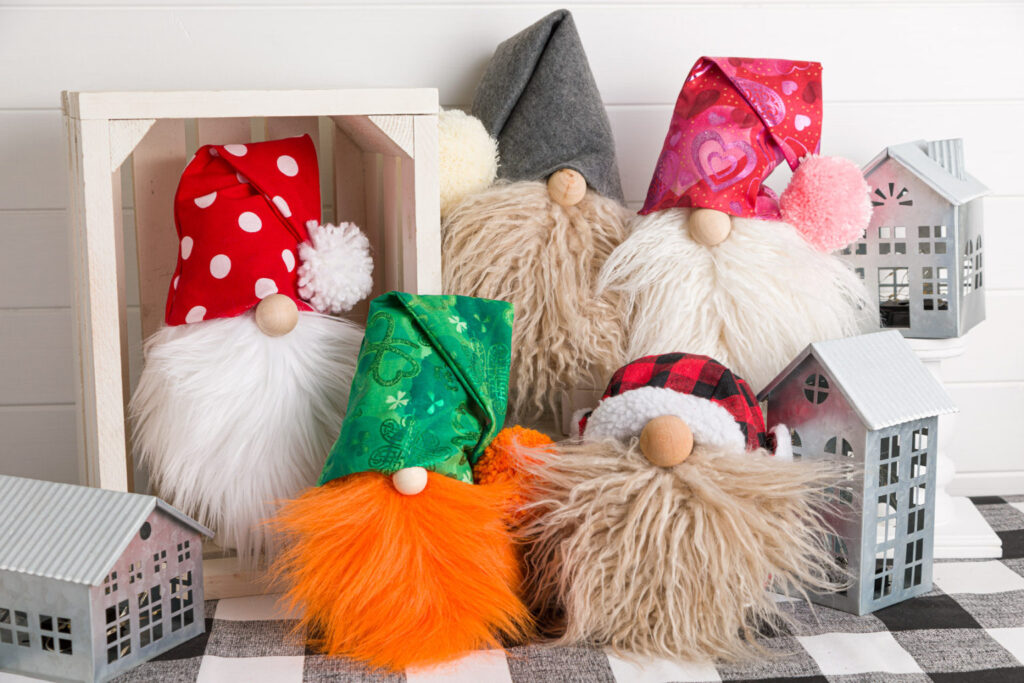
Learn how to make these DIY Gnomes on KippiAtHome’s blog!
More Pinecone Crafts


Decorazioni natalizie fai da te: le 11 migliori - Felice In Casa
Tuesday 1st of November 2022
[…] Possiamo utilizzare delle pigne per creare degli gnomi natalizi, da posizionare in giro per casa. Questo è il tutorial da cui prendere ispirazione (in […]
DIY Gnomes Crafts - Crimson Ted Artwork - Craftersoutlet
Saturday 8th of October 2022
[…] Or how about some pinecone gnome ornaments? A enjoyable thought from Olivia O’Hern. […]
DIY Gnomes Crafts - Red Ted Art - Kidelp Shop
Friday 7th of October 2022
[…] Or how about some pinecone gnome ornaments? A fun idea from Olivia O’Hern. […]
Rita
Friday 31st of December 2021
tThese are so cute! Gonna try it. Just ender what size bead you used?
Friday With Friends #52 Thrice Welcome Christmas!
Thursday 9th of December 2021
[…] At Olivia Ohearn, we can learn how to make these darling Pinecone Gnome Ornaments. Click over to learn how she creates the scrunched hats. […]